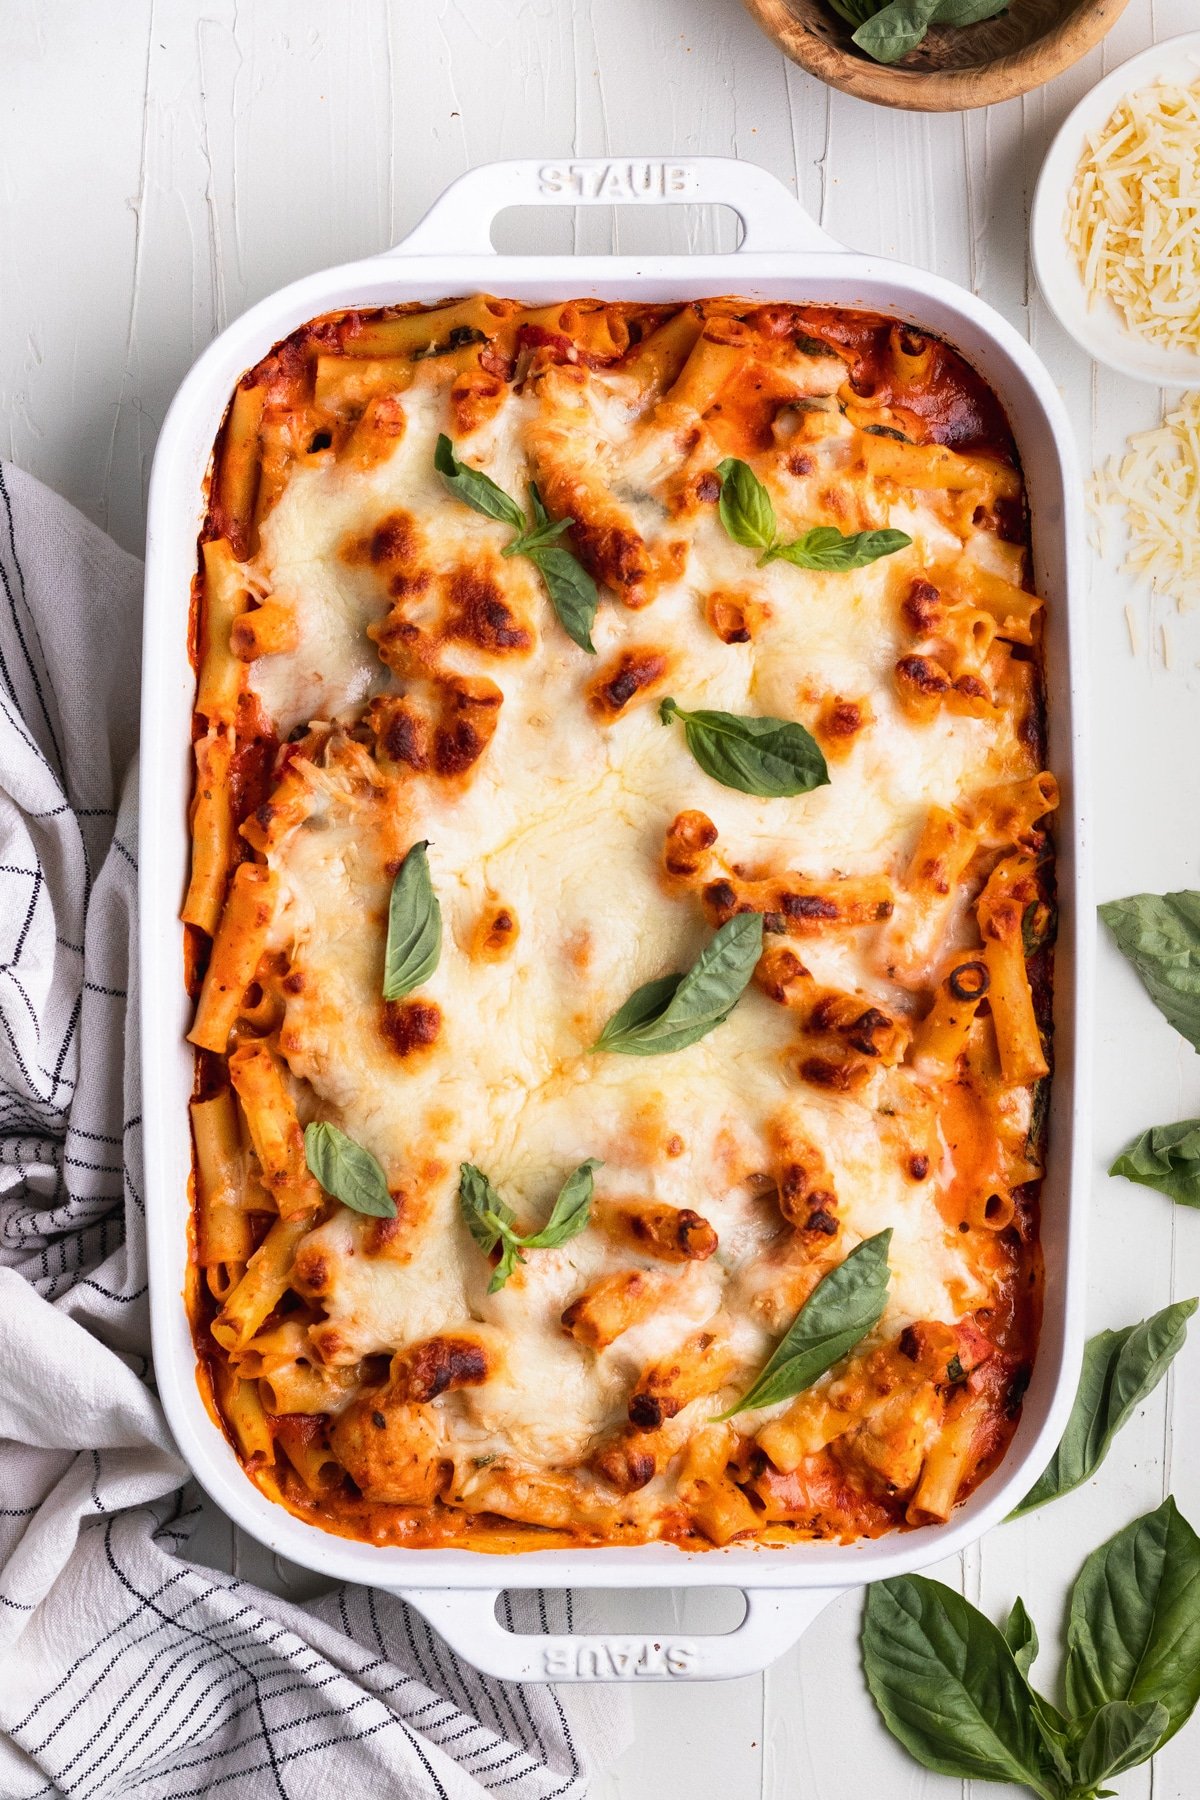
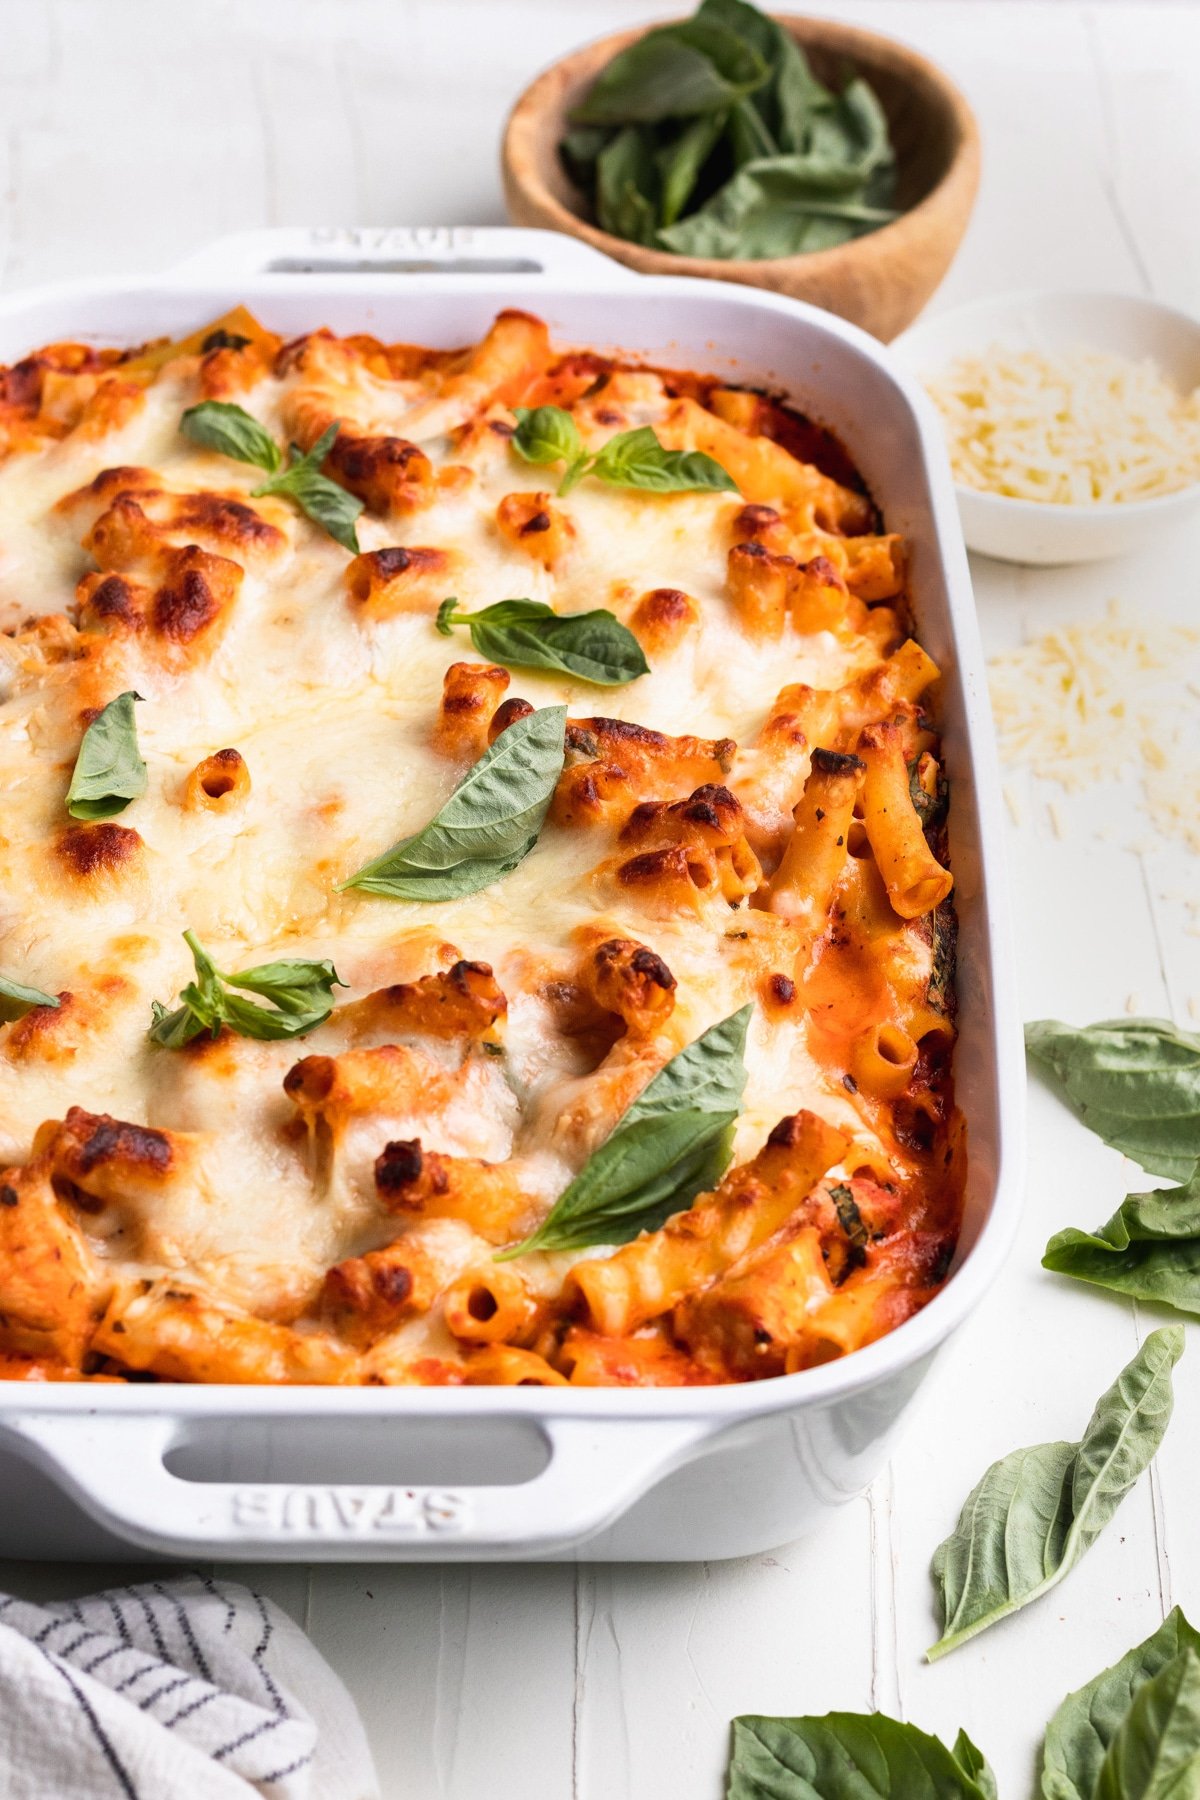
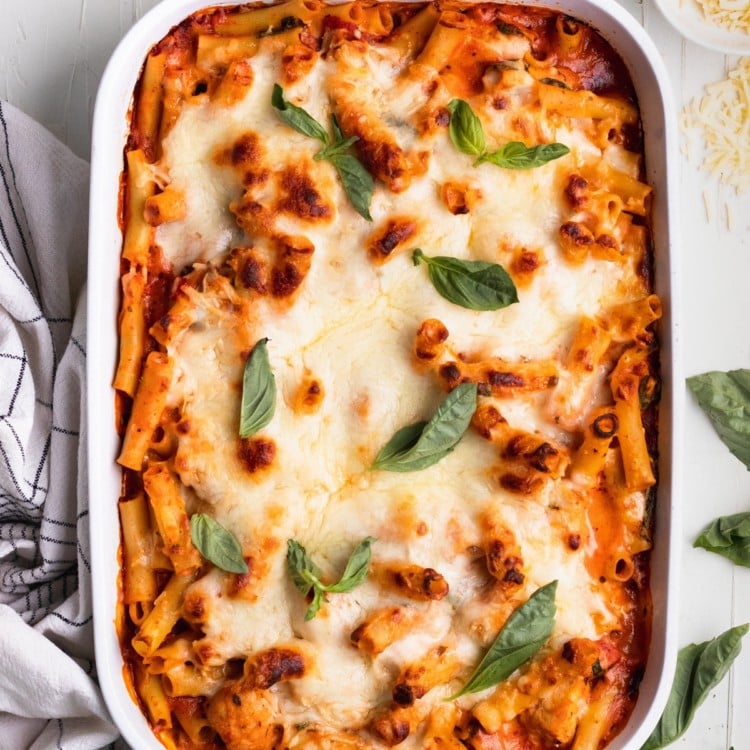
Chicken Baked Ziti
This post may contain affiliate links. Please read our disclosure policy.
Creating this Chicken Baked Ziti
Mmm…Chicken Baked Ziti!
You guys know I love a good pasta recipe. The Italian in me just can’t resist it!
Growing up, my mom made a version of this recipe. It was our go-to easy pasta recipe for busy weeknights.
All of us were busy with sports and after school extracurricular activities so we thrived off of meals just like this.
To make this meal even easier I like to have the chicken and pasta cooked in advance so all of you have to do is pour all ingredients in the baking pan and bake!
Some of my other favorite pastas for busy weeknights are my One Pot Boursin Pasta, Marry Me Chicken Pasta, and Roasted Red Pepper Pasta!
Ingredients you will need for Chicken Baked Ziti
(For the full recipe, scroll down to the recipe card below)
- Chicken: Boneless, skinless chicken breasts is what I typically use. Cube the chicken into bite sized pieces to make it easy to eat!
- Ziti pasta: A 1lb. box is what I typically use! If you can’t find ziti pasta, another pasta shape such as Rigatoni or Penne works as well. I always recommend to cook until al dente.
- Olive oil: Just a little bit will be used to cook the chicken in.
- Seasonings: Salt, pepper and Italian Seasoning to season the chicken. Red pepper flakes can also be added too if you like some spice!
- Marinara sauce: I use a 32 oz. jar. I typically open up a second jar for leftovers the next because the noodles soak up all of the sauce, so I recommend buying 2 jars if you like saucy noodles!
- Cheese: I use a blend of Ricotta Cheese, Mozzarella Cheese and Parmesan Cheese in this recipe. SO good!
- Basil: Chiffonade the basil by stacking leaves, rolling them tightly, then slice the leaves perpendicular to the roll.
How to make Chicken Baked Ziti
(For the full recipe, scroll down to the recipe card below)
- Preheat the oven to 400°F. Bring a large pot of water to boil on the stove to cook the ziti noodles according to package directions. Be sure to reserve 1/2 cup of the pasta water.
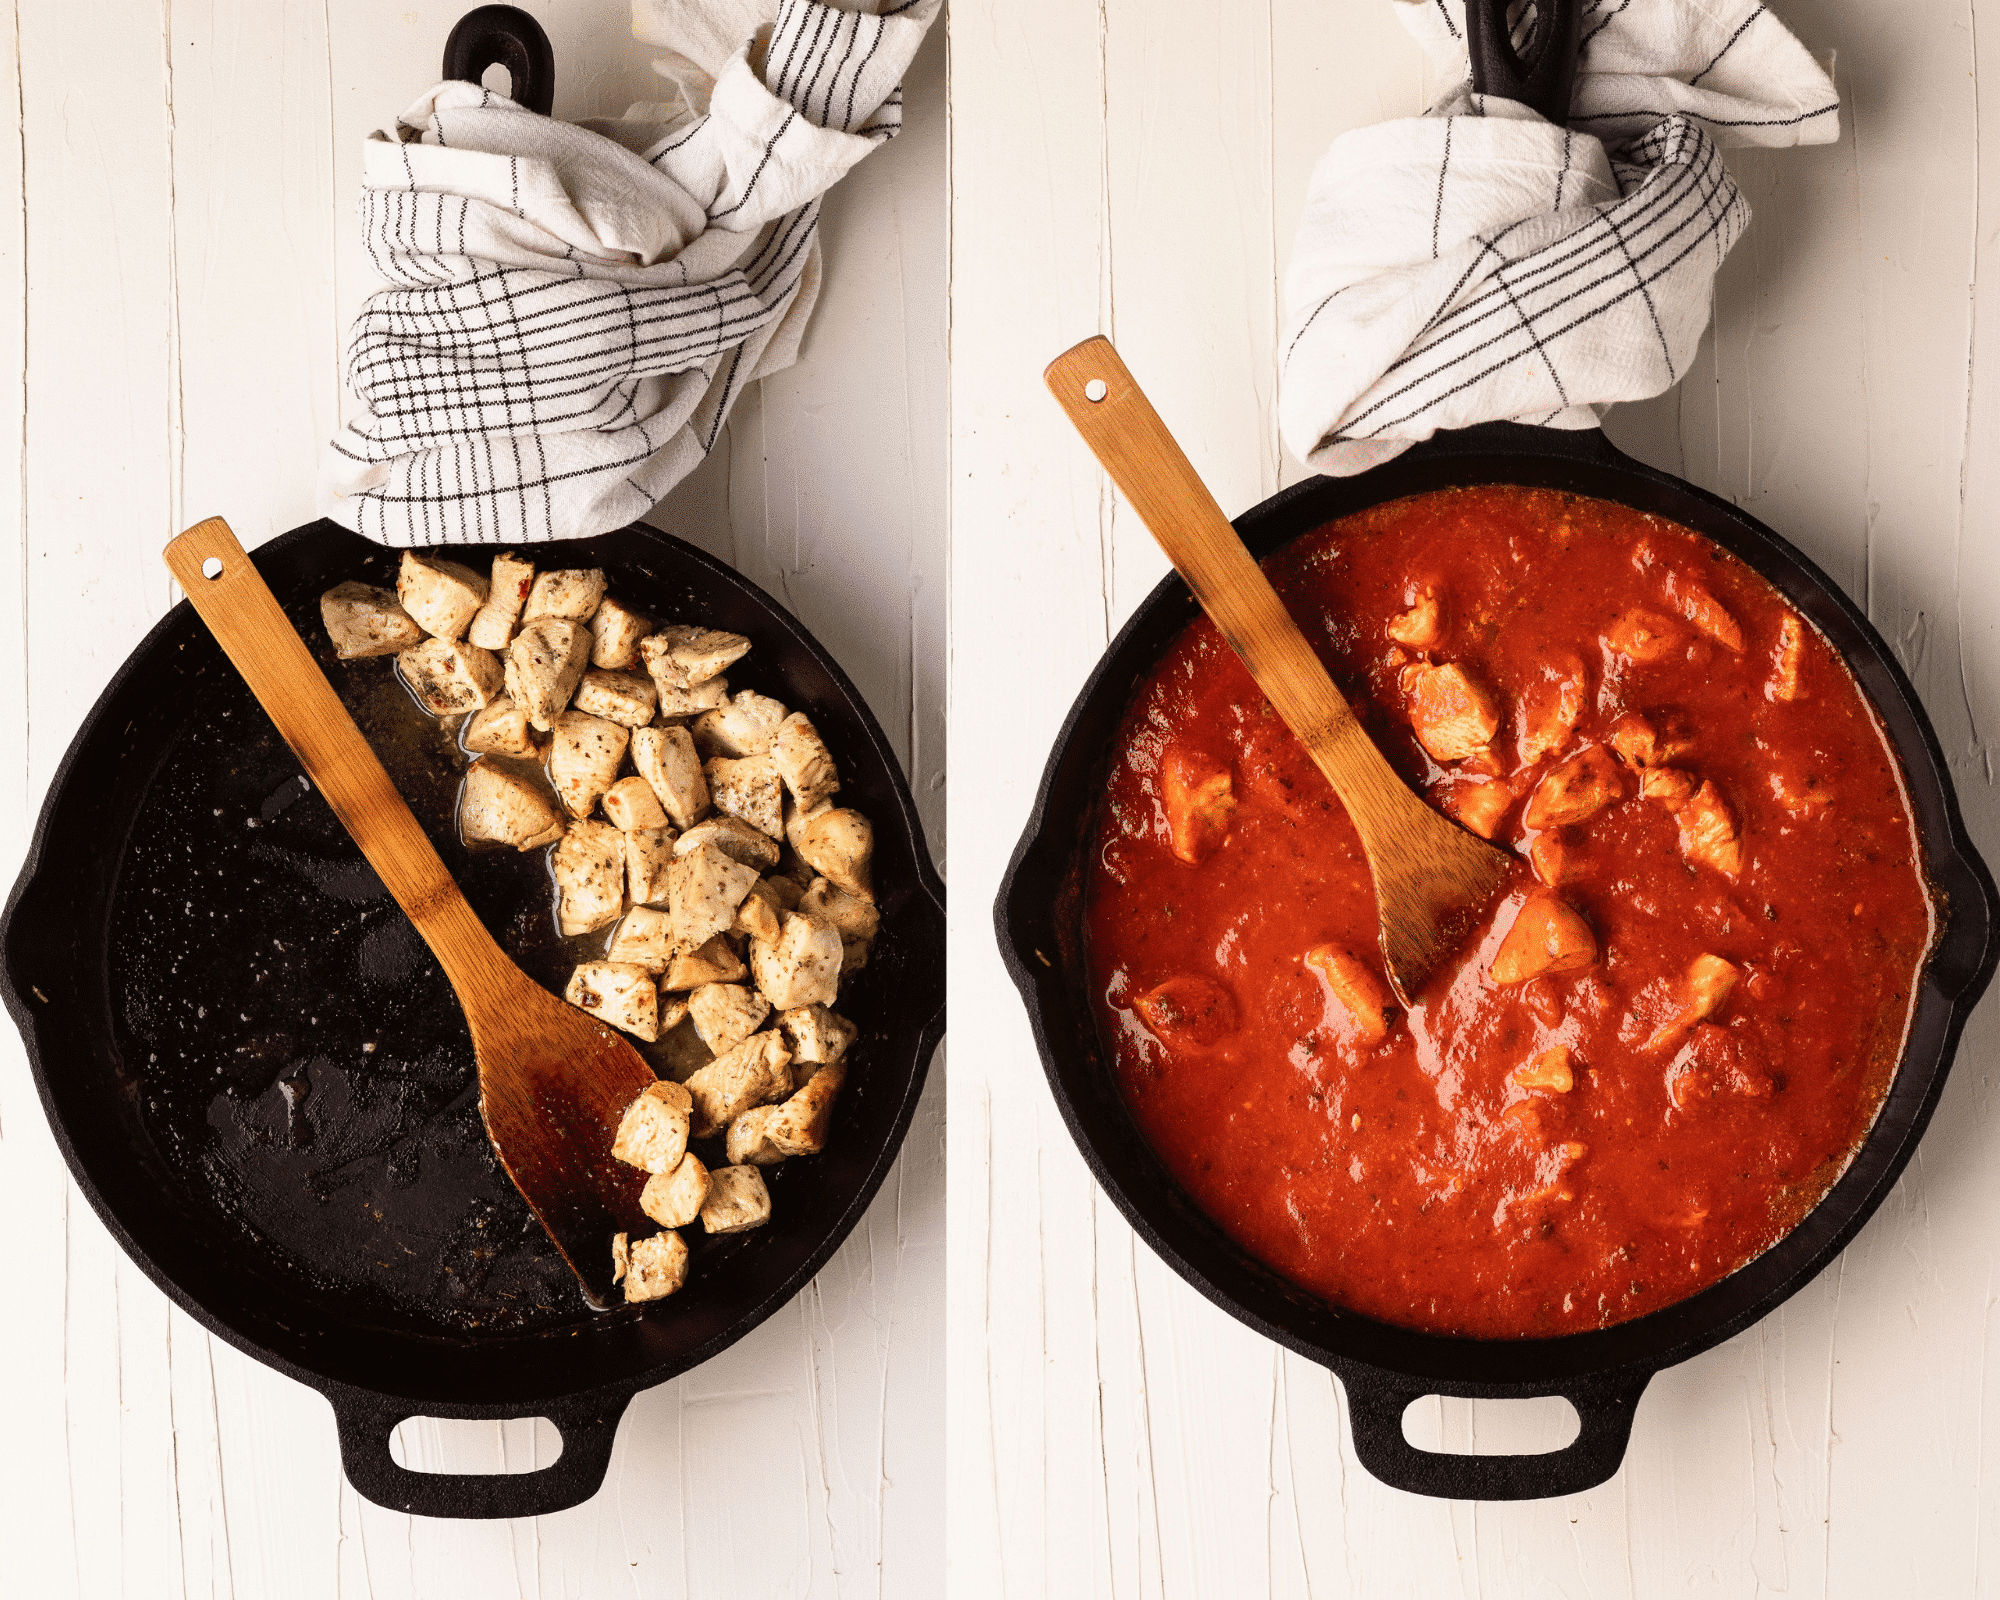
- Meanwhile, in a nonstick skillet over medium heat, heat the olive oil. Add in the cubed chicken and cook until the chicken is cooked all the way through. If there is any excess liquid in the pan, you can drain and discard.
- Add in the marinara sauce and reserved pasta water and bring to a simmer.
- Then, add the chicken and sauce mixture to an oven safe glass baking dish. (Large Pyrex 4.8 quart (10×15) recommended, needs to be fairly large to fit everything!)
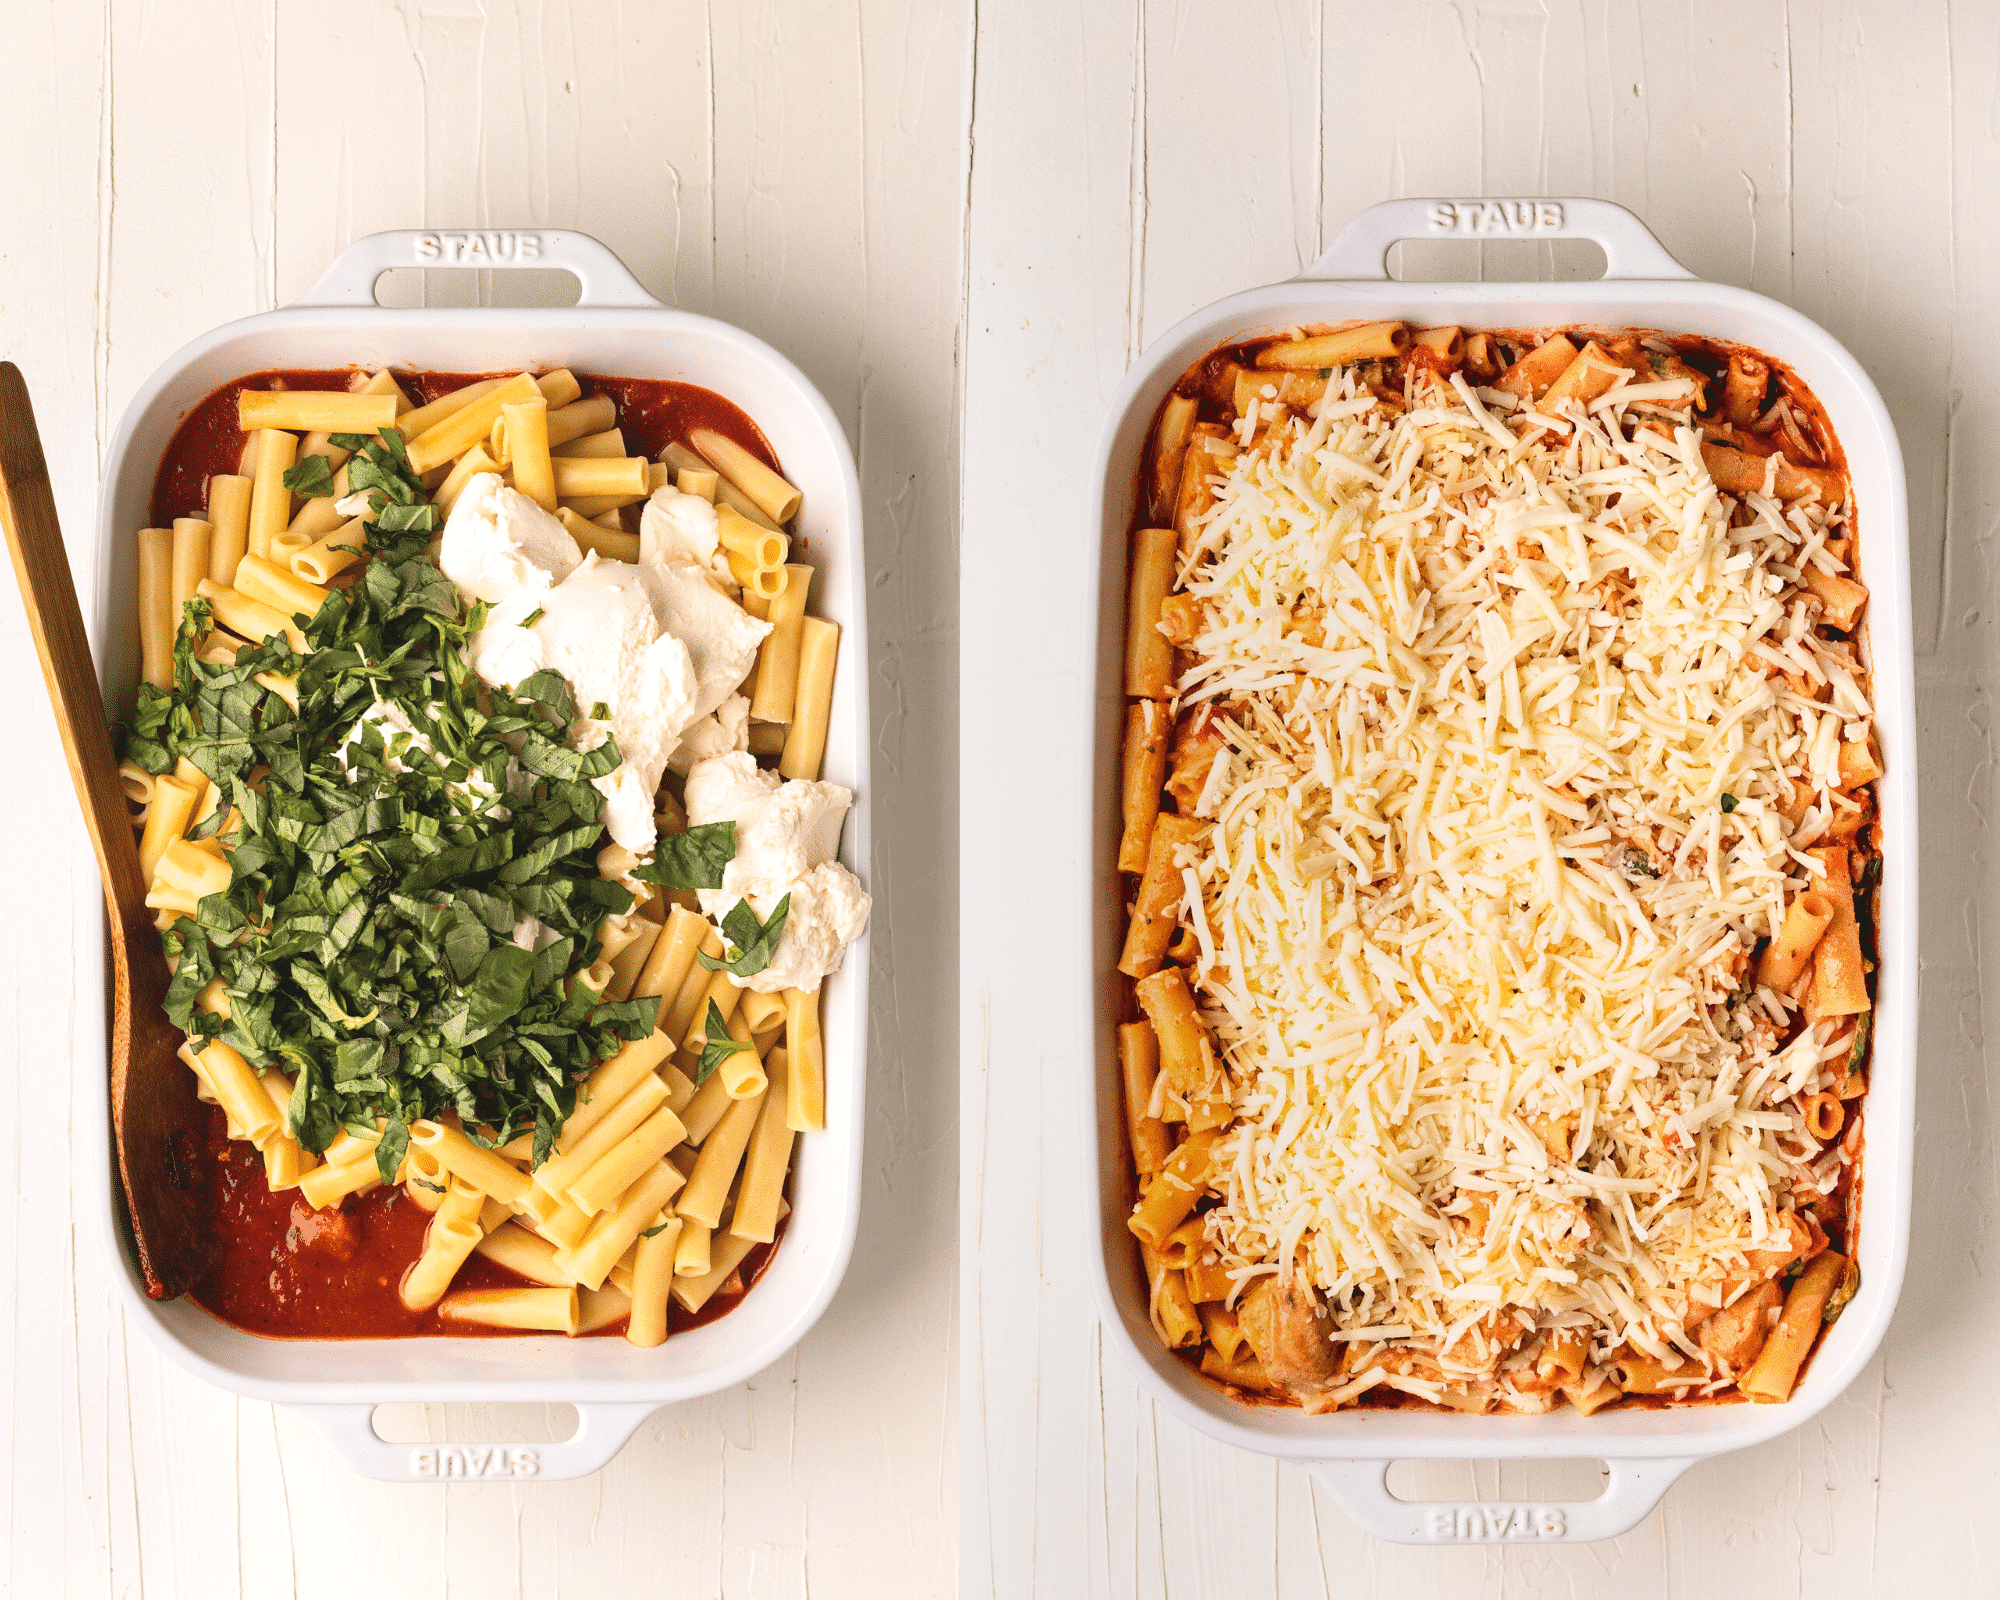
- Pour the cooked ziti noodles on top, followed by the ricotta and basil. Mix all of this together.
- Top with mozzarella cheese and the Parmesan. Cover with foil. Bake for 20 minutes with the foil on, and then remove the foil and broil for 3-4 minutes or until the cheese get slightly browned and bubbly.
- Garnish with more basil and serve with any remaining red sauce you have on hand if desired. Enjoy!!
FAQ
How long can chicken baked ziti last in the fridge?
Properly stored, cooked baked ziti will last for 3 to 5 days in the refrigerator! Perfect for meal prep.
Can I freeze baked ziti?
Yes! To freeze, let the baked ziti cool completely, then cover with an airtight lid. If no lid is available, cover with plastic wrap and then a double layer of tin foil. Freeze for up to 3 months. How to bake from frozen: Take casserole out of freezer and remove lid or any plastic wrap. Cover with foil and let it sit on the counter while the oven is preheating. Bake in 350 degree oven for 1 hour, remove foil and continue baking for an additional 10 to 15 minutes, or until center is bubbly. Enjoy!
Do you bake ziti covered or uncovered?
For this ziti recipe, you will bake covered and then remove foil at the end to broil.
Other pasta recipes you will love:
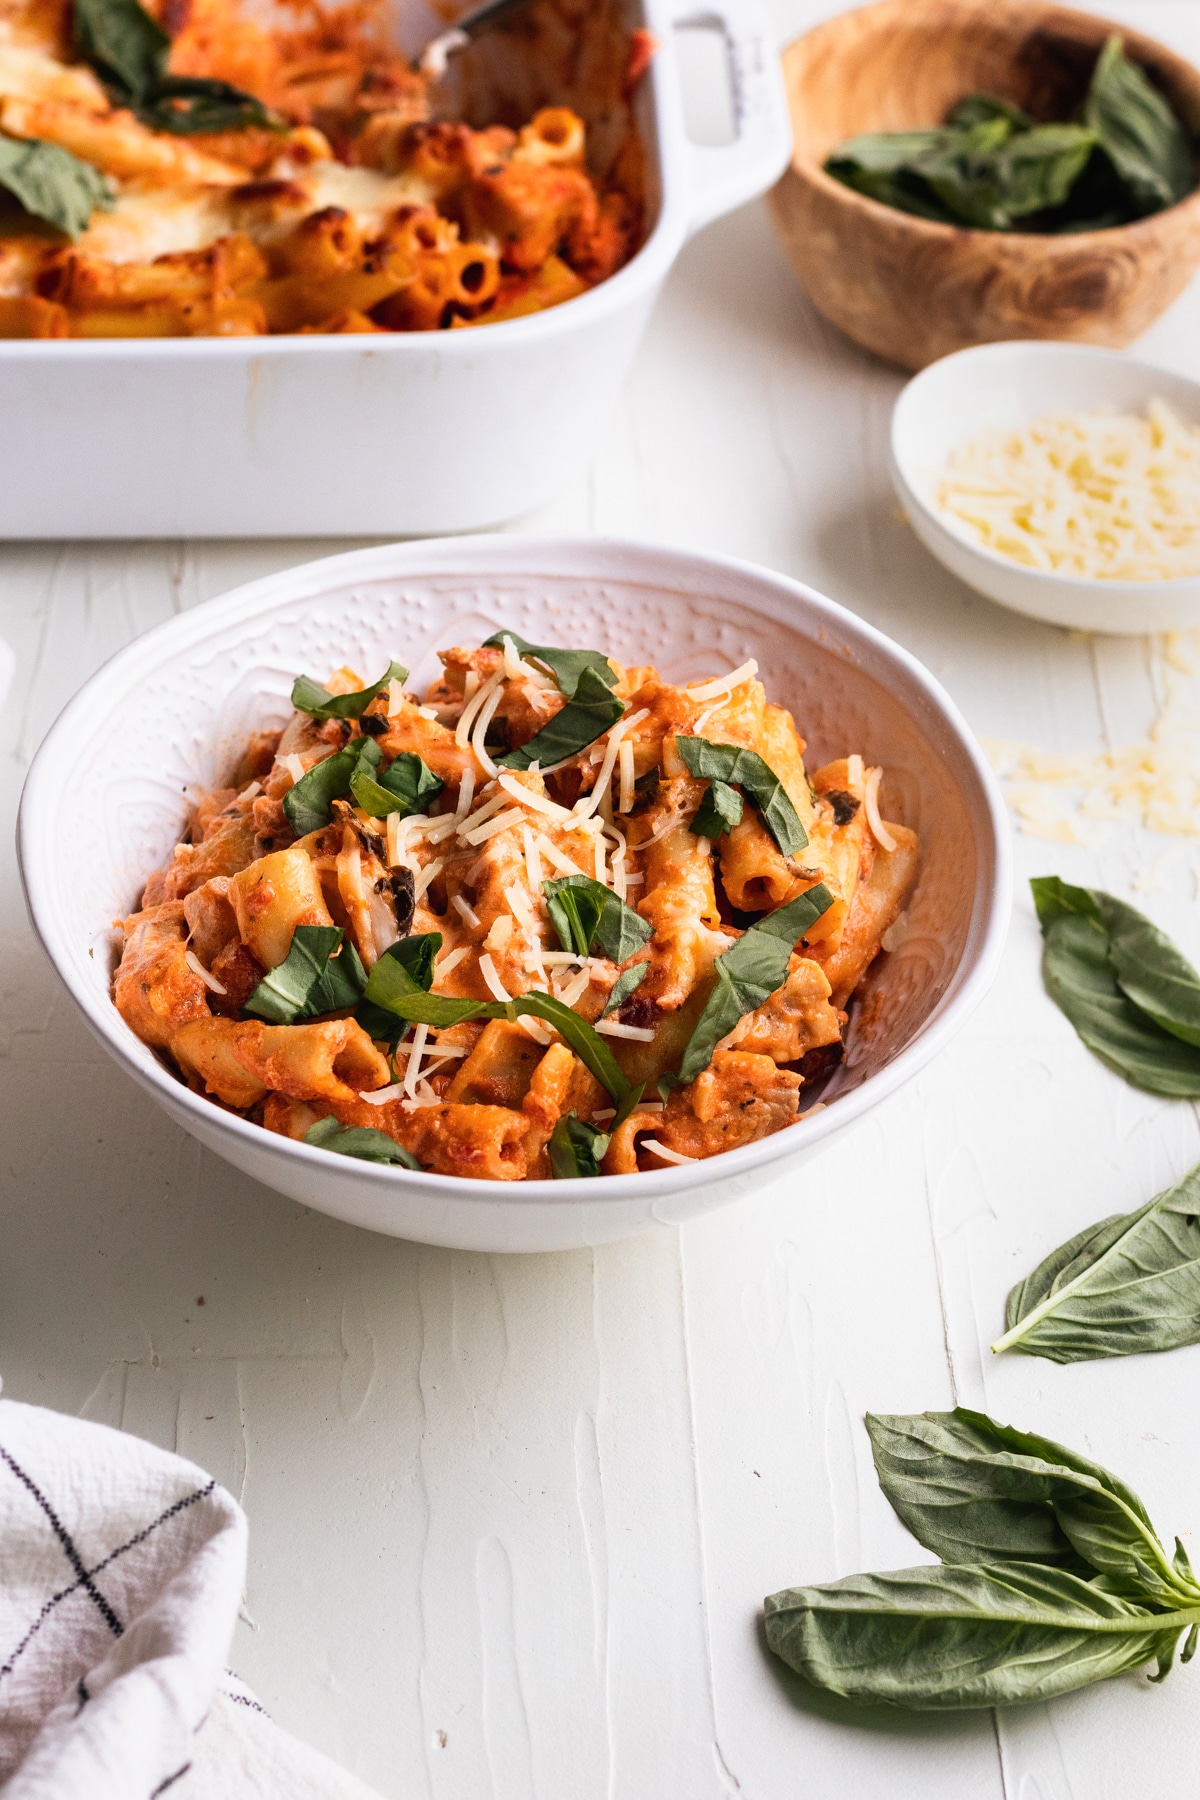
This recipe serves at least 8. I hope you love it!
the goods
 Buy Now →
  Buy Now →
 Before You Begin! If you make this, please leave a review and rating letting us know how you liked this recipe! This helps our business thrive & continue providing free recipes.
Chicken Baked Ziti
Ingredients
- 1 lb. ziti pasta, cooked (reserve 1/2 cup pasta water)
- 2 lb. boneless, skinless chicken breasts, cubed
- 2 Tbsp. olive oil
- 1 tsp. Italian seasoning
- 1 tsp. salt
- 1/2 tsp. pepper
- 1/2 tsp. red pepper chili flakes (optional)
- 32 oz. marinara sauce
- 1 1/2 cup ricotta cheese
- 3 cups mozzarella cheese, shredded
- 1 cup Parmesan
- 1 bunch basil, chiffonade
Last step! If you make this, please leave a review and rating letting us know how you liked this recipe! This helps our business thrive & continue providing free recipes.
Instructions
- Preheat oven to 400°F. Bring a large pot of water to boil on the stove to cook the ziti noodles according to package directions. Be sure to reserve 1/2 cup of the pasta water.1 lb. ziti pasta, cooked (reserve 1/2 cup pasta water)
- Meanwhile, in a nonstick skillet over medium heat, heat the olive oil. Add in the cubed chicken and seasonings and cook until the chicken is cooked all the way through. If there is any excess liquid in the pan, drain and discard it.2 lb. boneless, skinless chicken breasts, cubed, 2 Tbsp. olive oil, 1 tsp. Italian seasoning, 1 tsp. salt, 1/2 tsp. pepper, 1/2 tsp. red pepper chili flakes (optional)
- Add in the marinara sauce and reserved pasta water and bring to a simmer. Then, add the chicken and sauce mixture to an oven safe glass baking dish. (4.8 quart/10×15 recommended, needs to be fairly large to fit everything!)32 oz. marinara sauce
- Pour the cooked ziti noodles on top, followed by the ricotta and basil. Mix all of this together.1 1/2 cup ricotta cheese, 1 bunch basil, chiffonade
- Top with mozzarella cheese and the Parmesan. Cover with foil. (Pro tip: spray foil with non stick spray so the cheese doesn't stick to the foil). Bake for 20 minutes with the foil on, and then remove the foil and broil for 3-4 minutes or until the cheese get slightly browned and bubbly. Garnish with more basil and serve with more red sauce if desired. Enjoy!!3 cups mozzarella cheese, shredded, 1 cup Parmesan
Notes
- Serve with a salad or your favorite vegetable dish.
- Can use Italian Sausage in place of chicken if you prefer.
- Make this dish in advance: After you top with cheese and cover with foil you can place in the fridge until you’re ready to bake it. Note, bake time will be a little longer than 20 minutes since dish is now cold. Bake until cheese is melted and bubbly, remove foil and broil 3-4 minutes.
Nutrition Information
Nutritional information is provided as a courtesy and is automatically calculated. It should only be construed as an estimate rather than a guarantee. Ingredients can vary and Kroll’s Korner can’t make any guarantees to the accuracy of this information.

Hi! How would you go about adding fresh spinach into this recipe? What would be the steps for that? Thank you! 🙂
Hi! I would probably saute it first before cooking the chicken and then fold it in with the chicken and sauce mixture prior to baking 🙂 let me know what you think!
perfect. Only question: Instructions say, “Mix all of this together.” I read it to mean everything in the recipe including the sauce that went in at the beginning. True? I did it that way. Delicious. Thanks. I used left over turkey meat. Worked just fine.
Hi Donna! So glad you loved this one 🥰 Yes, you are reading that step correct! You put the chicken (or in your case the leftover turkey meat) mixed with the sauce into the casserole dish, then add in the noodles, ricotta, and basil and mix all of that (sauce, meat, noodles, ricotta, basil) together before you finish it off with mozzarella and parmesan on top (don’t mix those ones in – leave them as a topping). Glad you enjoyed it!! ❤️
Absolutely loved this recipe, the whole family enjoyed it and have asked if I can make it again. 100/10
Awwww! So happy!! Thank you!! 🙂
Amazing!! Flavor is on point and a little extra cheese never hurts 😁
Hahaha! I hear you on the extra cheese! 😍 So glad you loved this one, Jessie! 🫶🏻
I made this over the weekend and my family loved it! It was super easy to put together. Highly recommend this recipe
Amazing!! I’m so glad:) thank you very much!!
Perfect portion for our family!
Recipe is really tasty and easy to make.
Surprisingly simple to make for it to be so good!
yay! thanks so much 🙂
Have made this recipe twice this month. My family loves it!!! It is easy to prepare and doesn’t use hard to find ingredients. I highly recommend this recipe.
I’m so glad! Thank you!
So easy to follow! I separated the recipe into a 3Q dish and a 6 cup dish. I think it cooked perfectly.
I also added 16 oz. of frozen chopped spinach (drained). I think this made the dish better and more of a balanced meal :).
I would totally make this again! Thanks!
Love that you added spinach, yum! Thank you! 🙂