Instant Pot Yogurt
This post may contain affiliate links. Please read our disclosure policy.
I’ve been making Instant Pot Yogurt for several years, and it’s become one of my favorite foods to meal prep for the week.
The yogurt pairs really well with my 5 ingredient energy bars and chewy granola bars or you can use it to make smoothies or add it to savory recipes like my egg salad or broccoli salad.
I love that the recipe makes a big batch, and it’s free from added sugars and preservatives, making it a healthier option for my kids and myself!
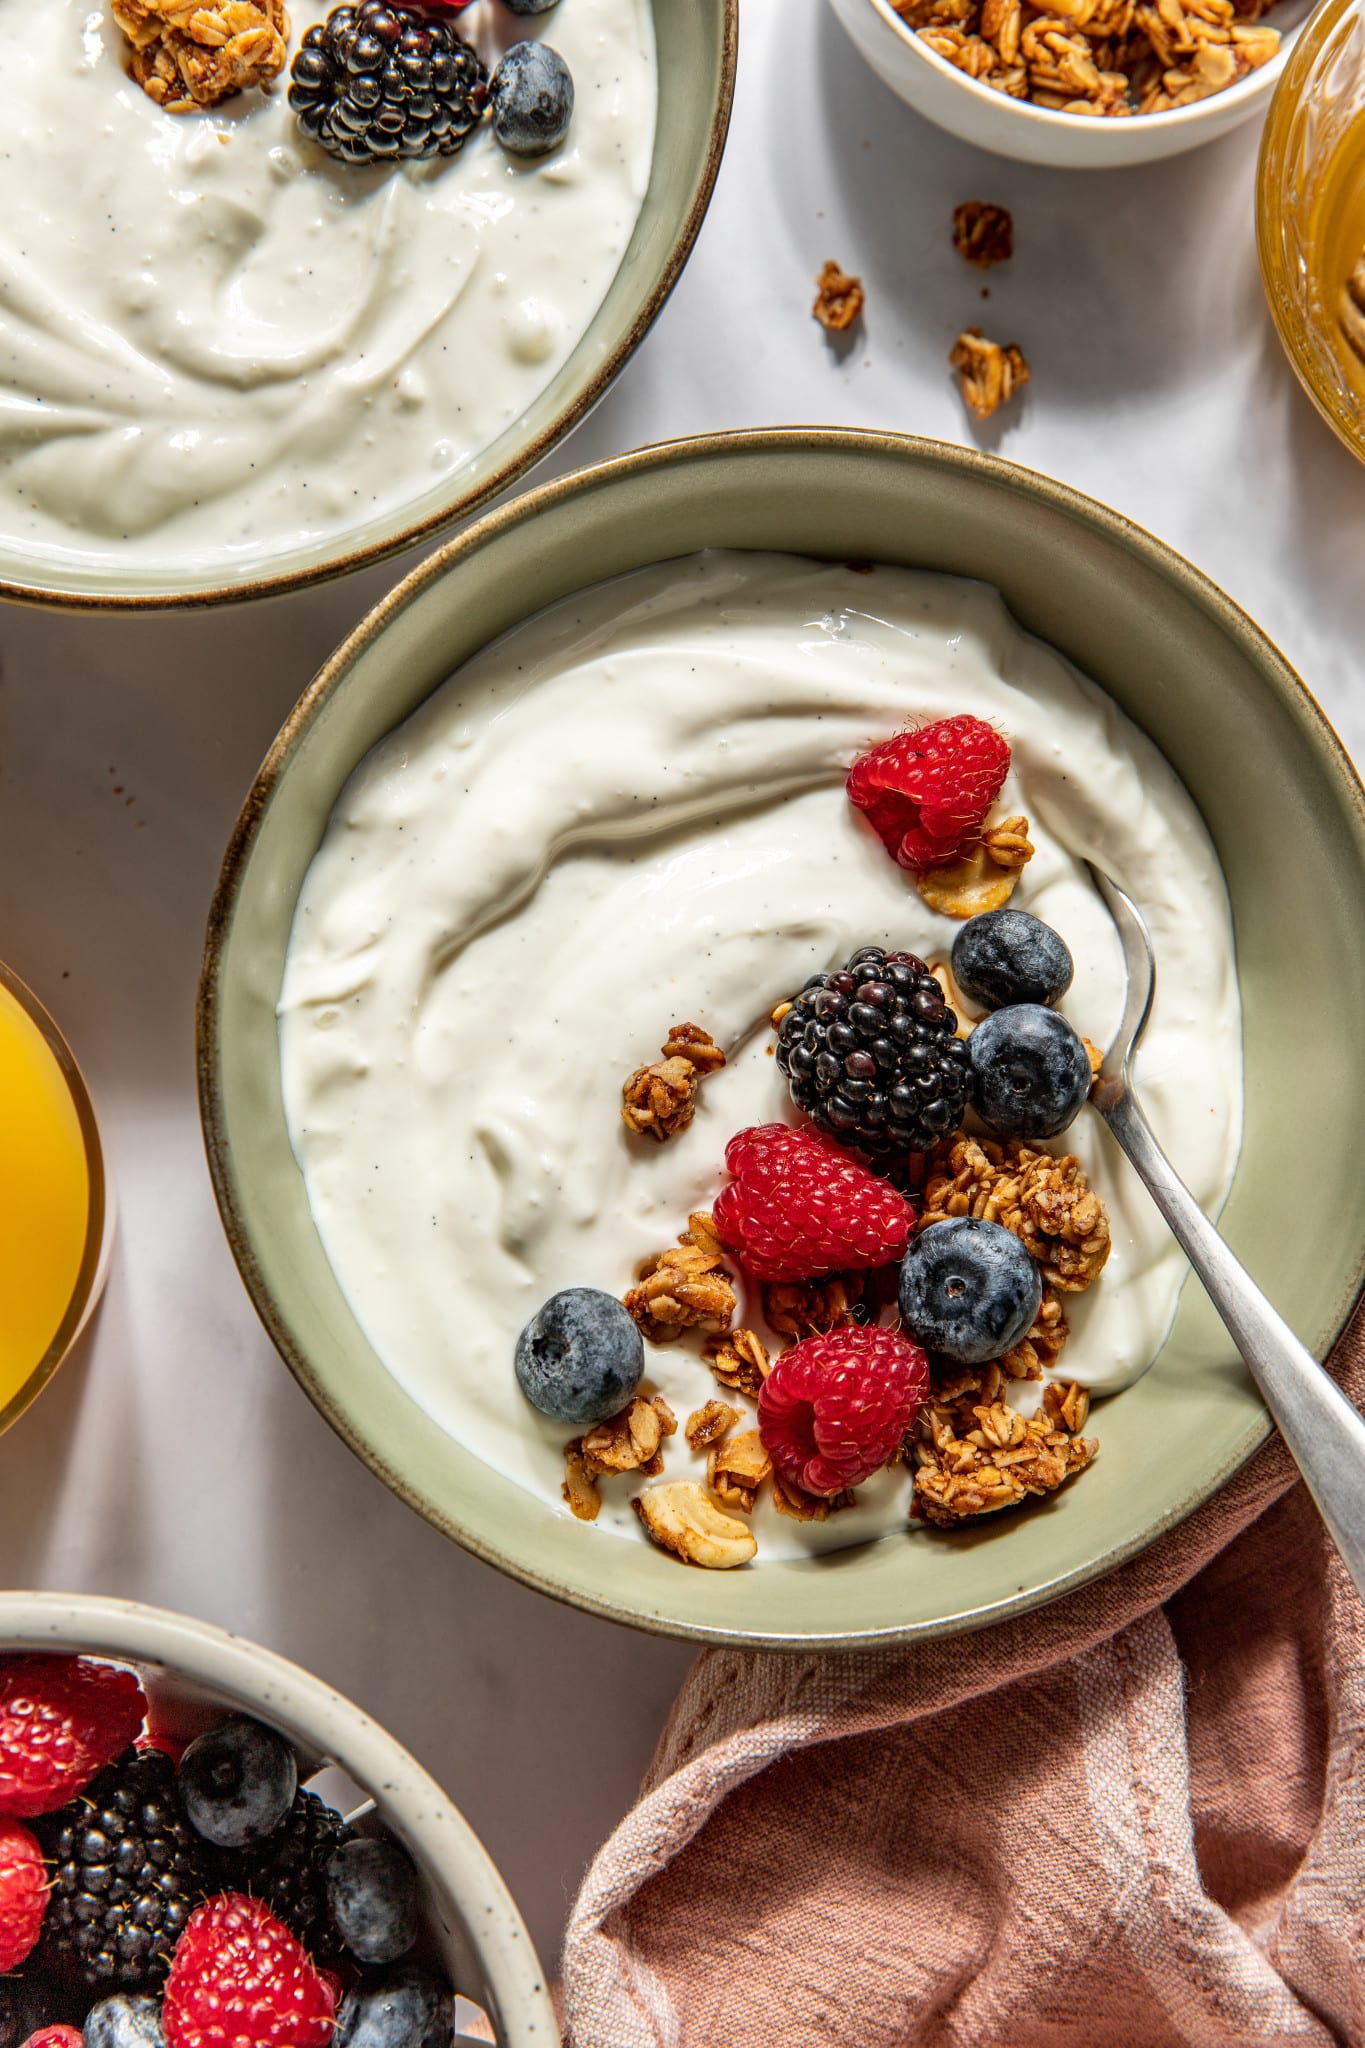
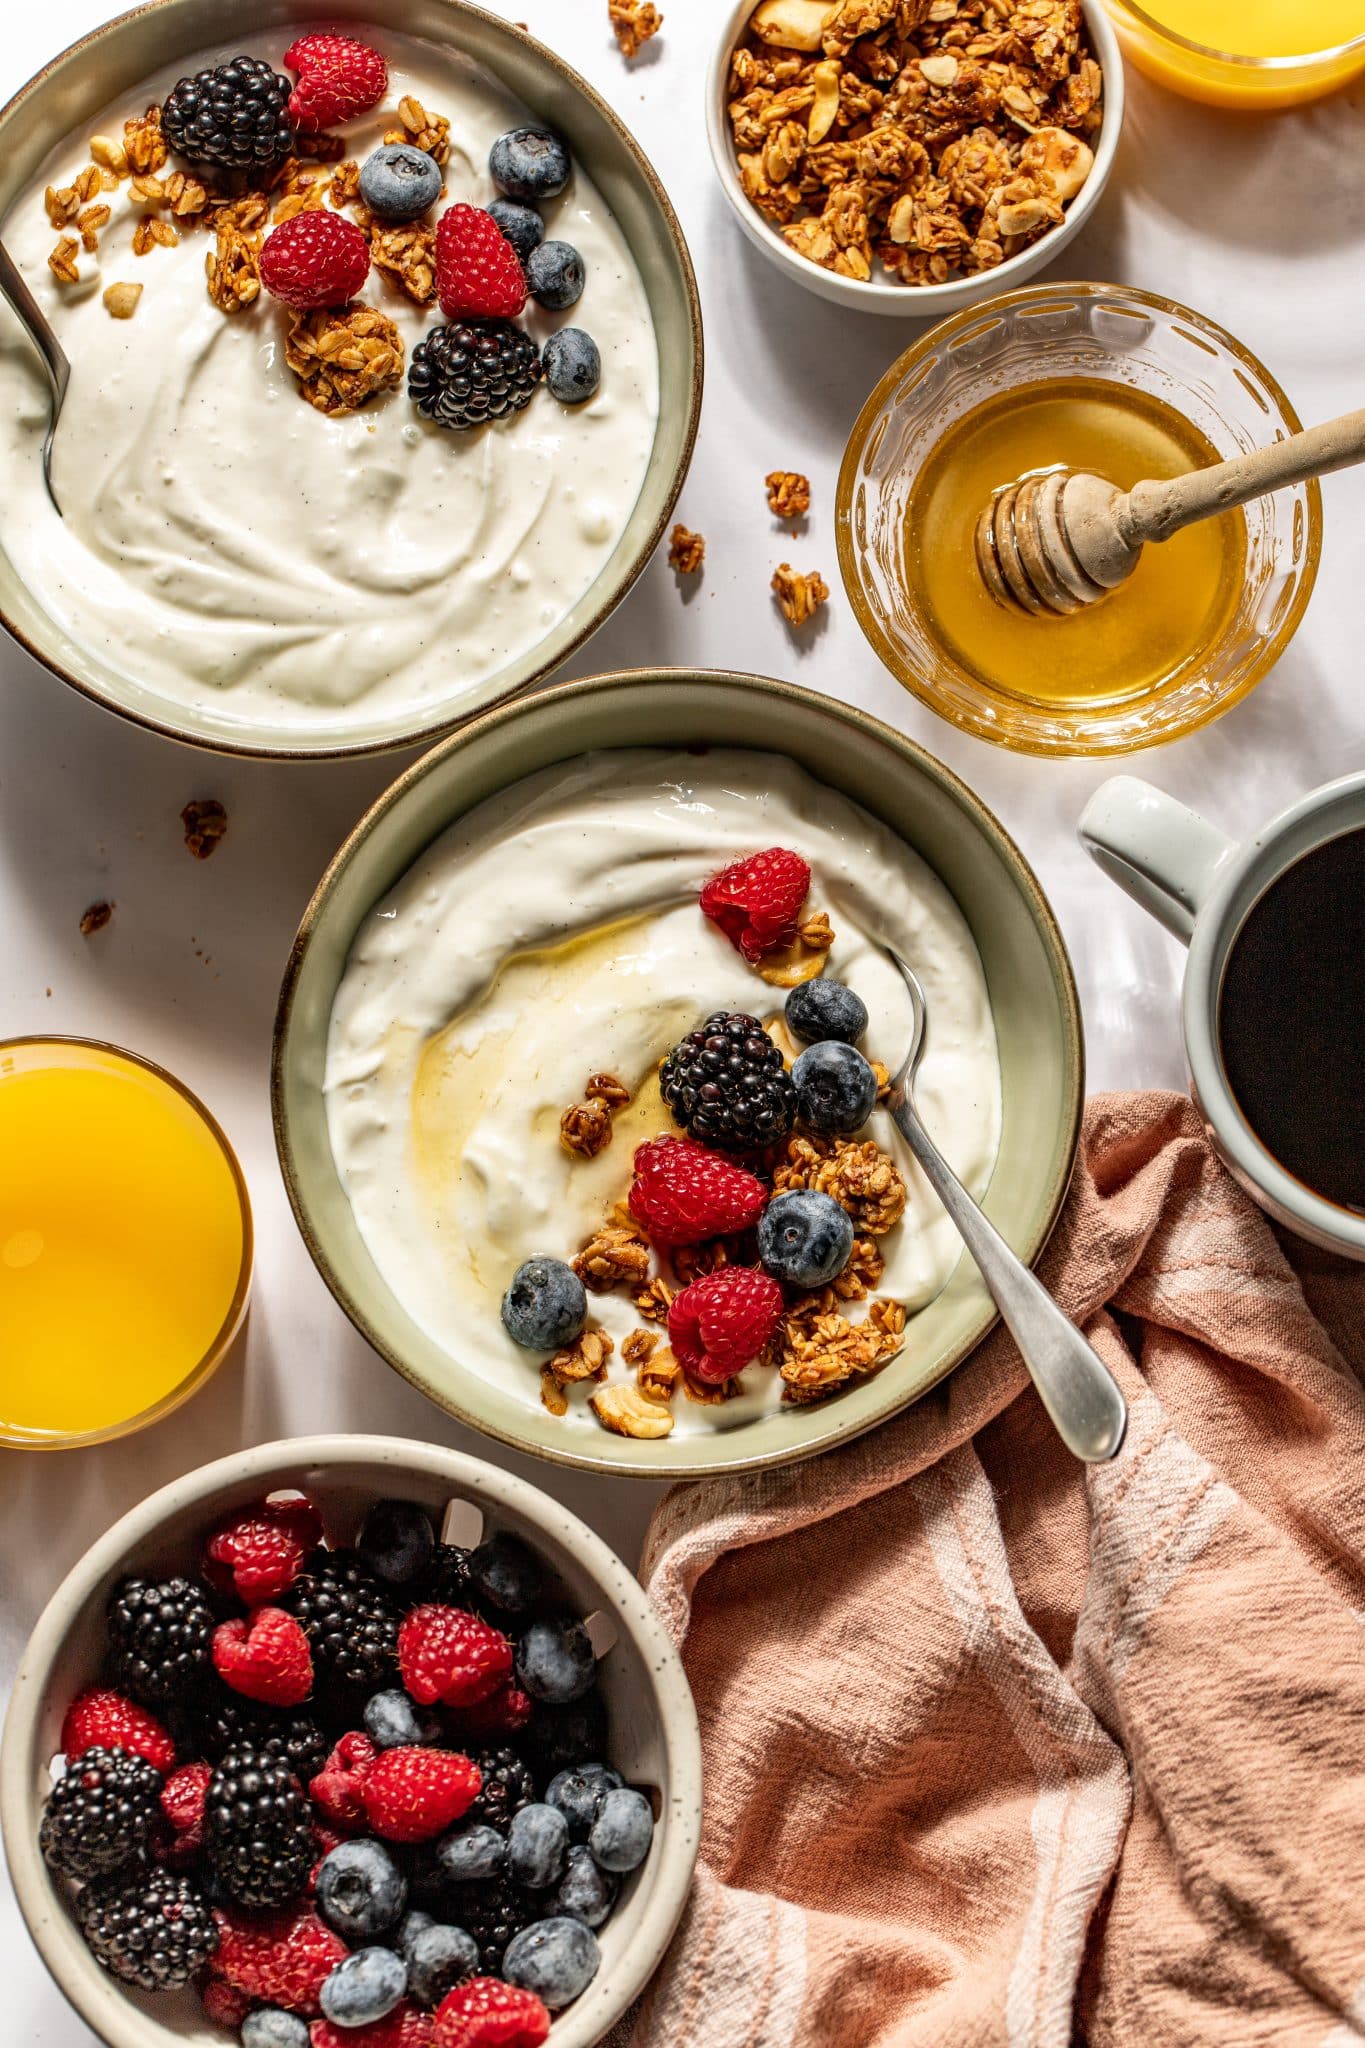
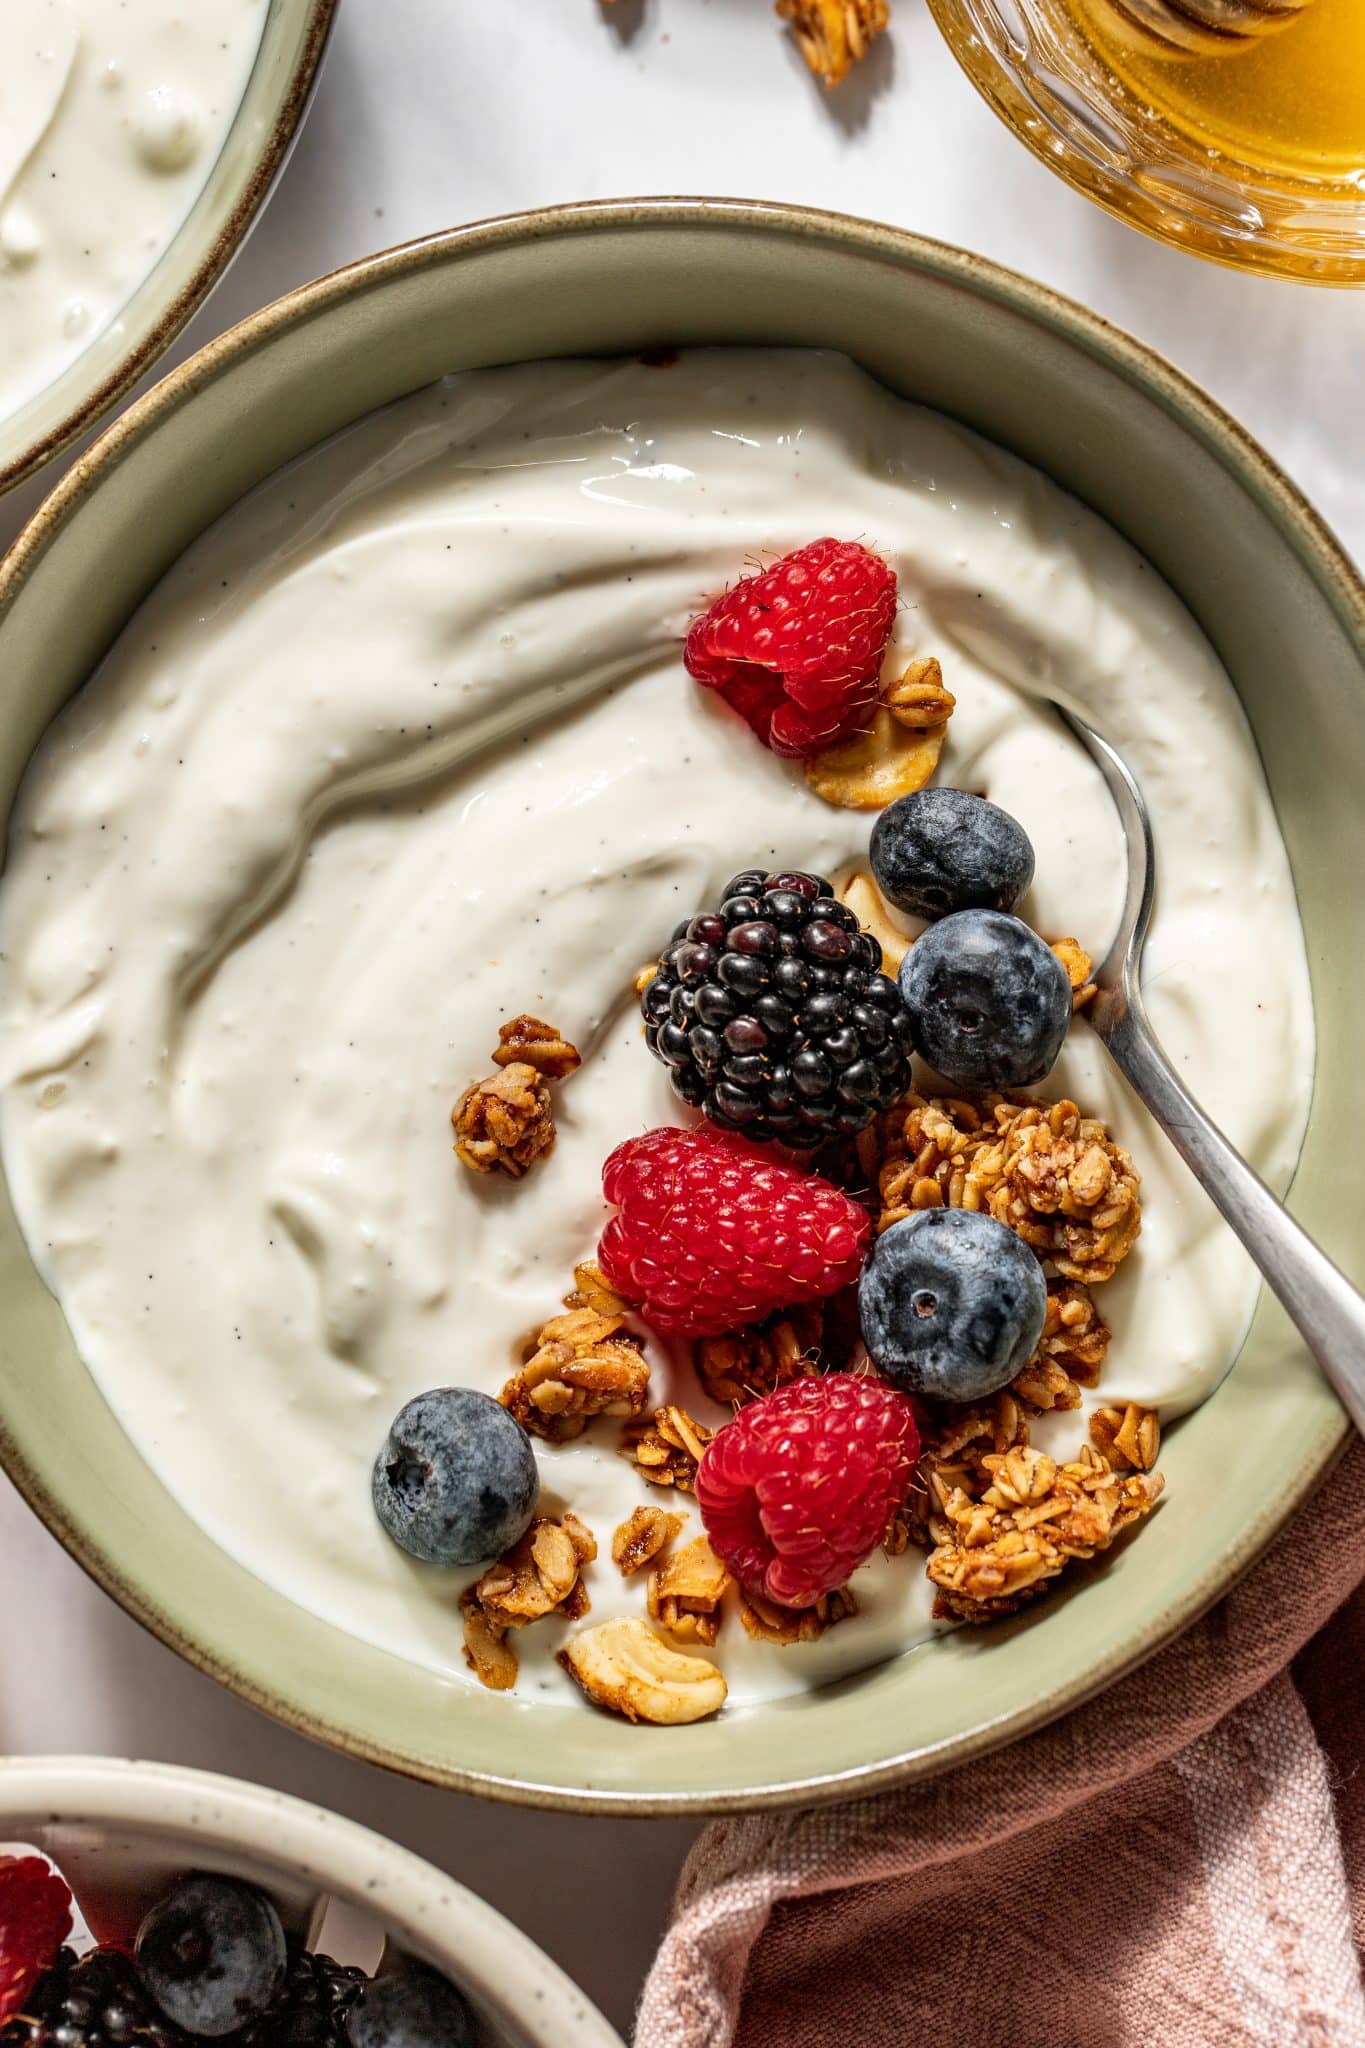
If plain yogurt isn’t your thing, you can totally add sweetened condensed milk (I have the option in the recipe card for you below), or you can top your yogurt bowl with honey or your favorite granola.
Making yogurt at home might sound intimidating, but the Instant Pot does most (if not all) of the work for you, and you really only need two simple ingredients to bring this recipe to life!


I find so much joy in transforming just milk and a little yogurt into something soo delicious! Making my own yogurt at home has been so rewarding and there is something almost magical about taking these simple ingredients and turning it into a thick, creamy, and probiotic-rich yogurt. It feels like a tiny kitchen science experiment that works every time! I just know you’ll love it too and hope this post make you a confident Instant Pot Yogurt maker!
If you’re anything like me (a control freak), you’ll love the control you have over this recipe! The thing about store-bought yogurt is that it can be too sweet, too thin, or packed with artificial ingredients. When you make it yourself, you can control everything:
- Want it thicker? Strain it for Greek yogurt. I always opt for this step because I love a thicker style yogurt.
- Prefer extra tangy? Let it ferment longer. During the incubation step, use the +/- button to adjust the time up to 12 hours. Anything longer than 12 hours will start to get a sour taste.
- Love a mild, creamy taste? Shorten the incubation time. (I’ve written the recipe to incubate for 8 hours).
Ingredient Notes
(For the full recipe, scroll down to the recipe card below)
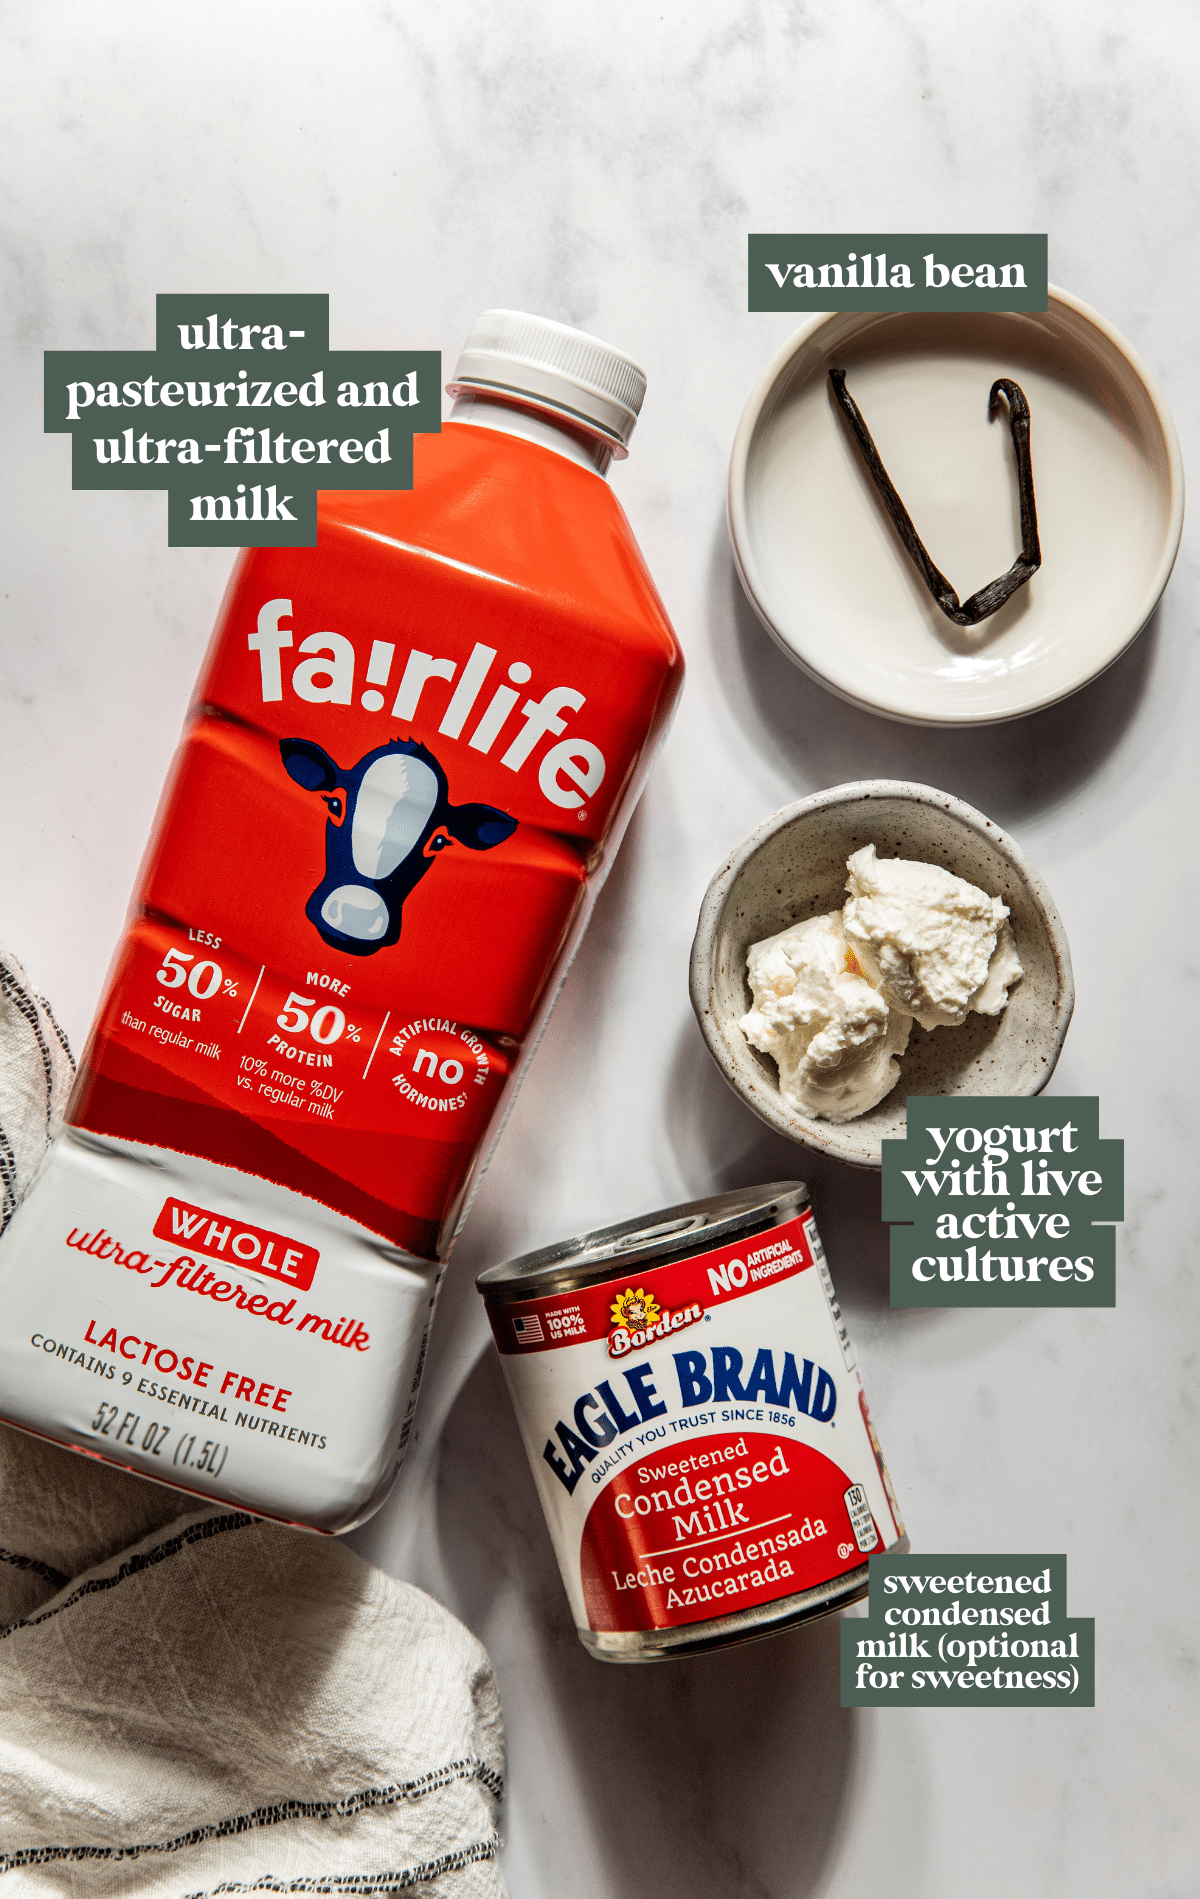
- Milk: If using the cold start/no-boil method, you must use ultra-filtered, ultra-pasteurized milk. This method will not work with regular milk. See the success tips section below for more information on this. I recommend using whole milk for the thickest and creamy yogurt for both methods.
- Yogurt: It’s crucial to choose a plain yogurt that has live active cultures. These cultures are what help turn our milk into yogurt! The yogurt is the starter necessary to make your homemade yogurt. Some common ones you’ll see sometimes are: ome common ones are L. Bulgaricus, S. Thermophilus, L. Acidophilus, Bifidus, L. Casei.
How to make Instant Pot yogurt
(For the full recipe, scroll down to the recipe card below)
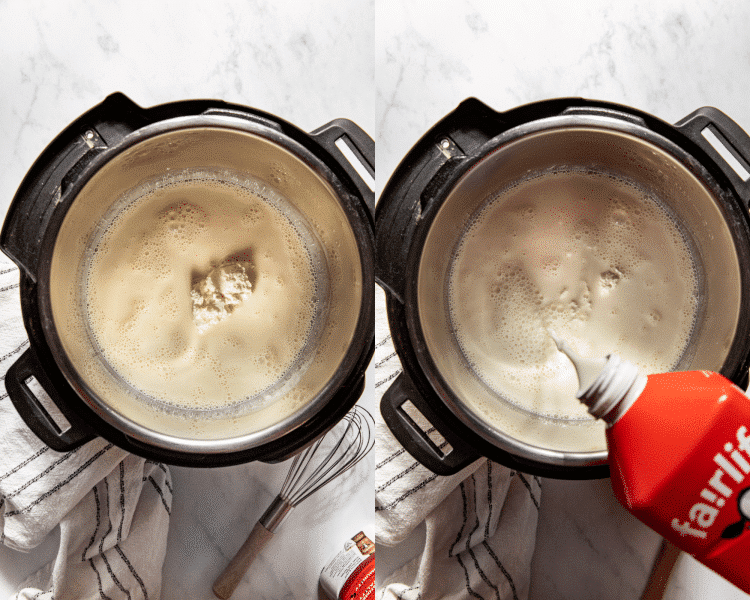
Whisk together yogurt starter & milk
Whisk 1 cup of the milk with the yogurt starter and whisk well. Pour in the remaining milk and whisk well again.
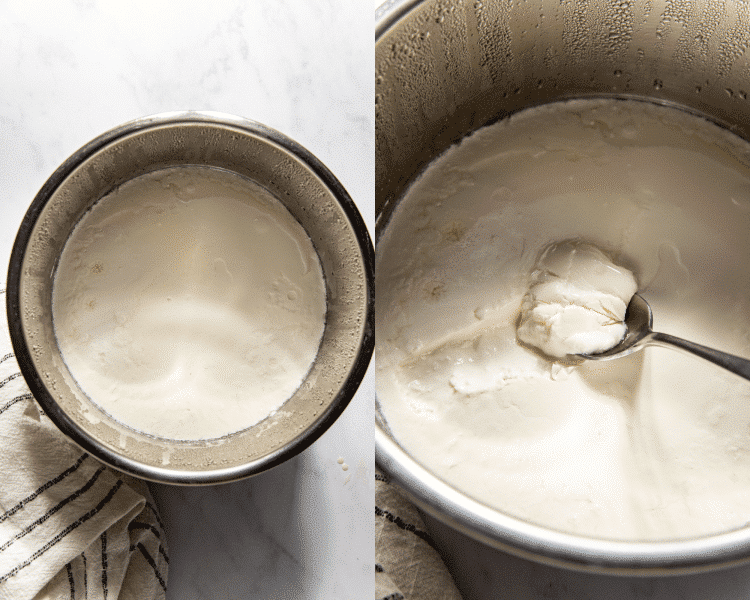
Yogurt incubation time!
Press the yogurt button. The time should read 8:00. Be sure the pressure is set to normal, and not low. Note: during this incubation period the timer will count UP. You can incubate the yogurt longer for a thicker and tangier yogurt, up to 12 hours. Use the +/- button to adjust the time. Once it’s done, chill in the fridge to stop the incubation process and allow the yogurt to fully set up.
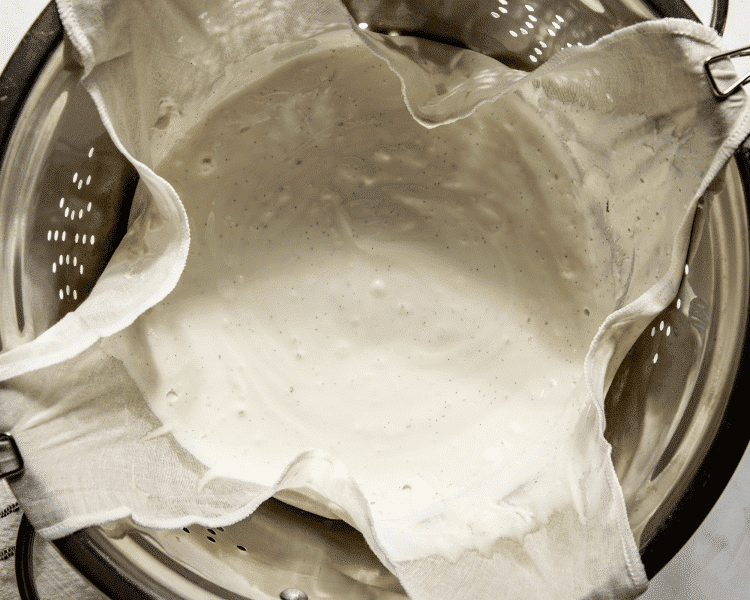
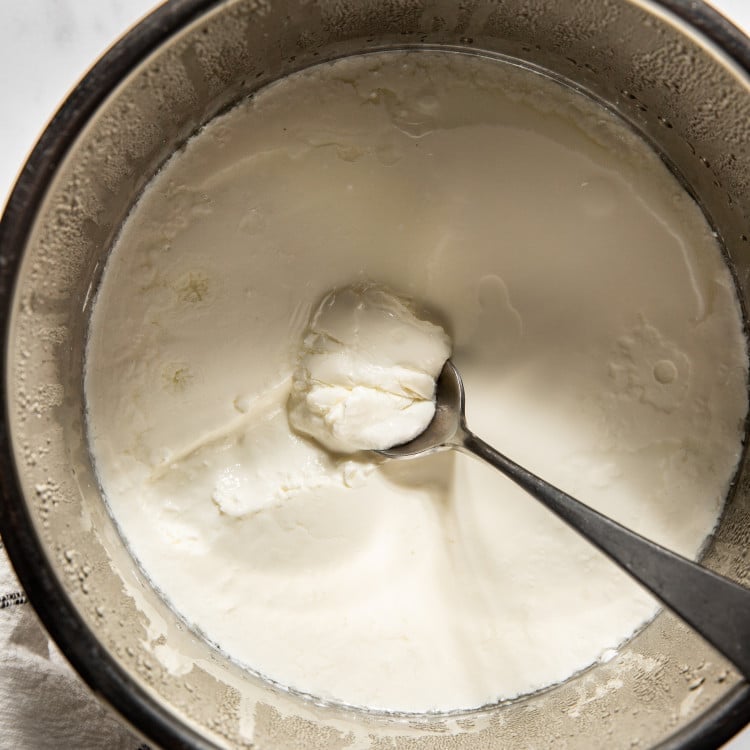
Strain
Use a yogurt strainer if you have one, or I like to place a colander over a large bowl, place some paper towels or cheesecloth in the colander and pour the yogurt on top. Strain for at least 1 hour in the fridge or up to overnight in the fridge.
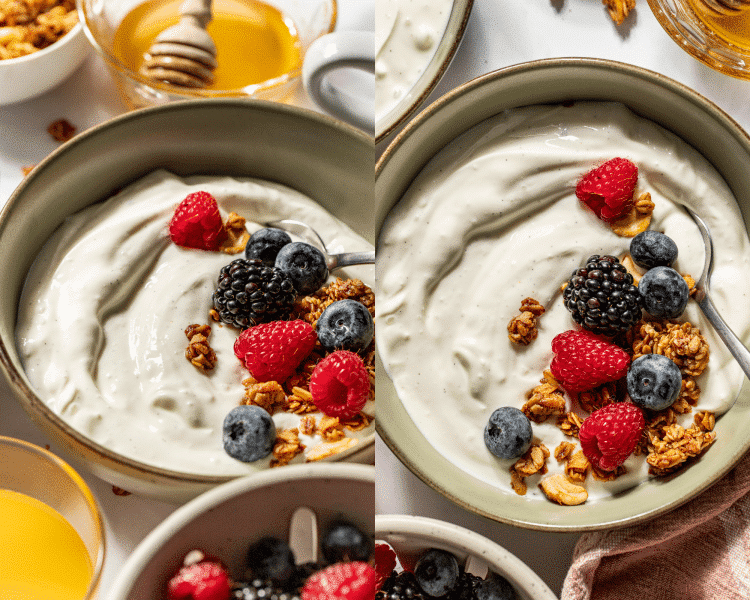
Enjoy!
Your patience has paid off, time to enjoy with your favorite yogurt toppings!
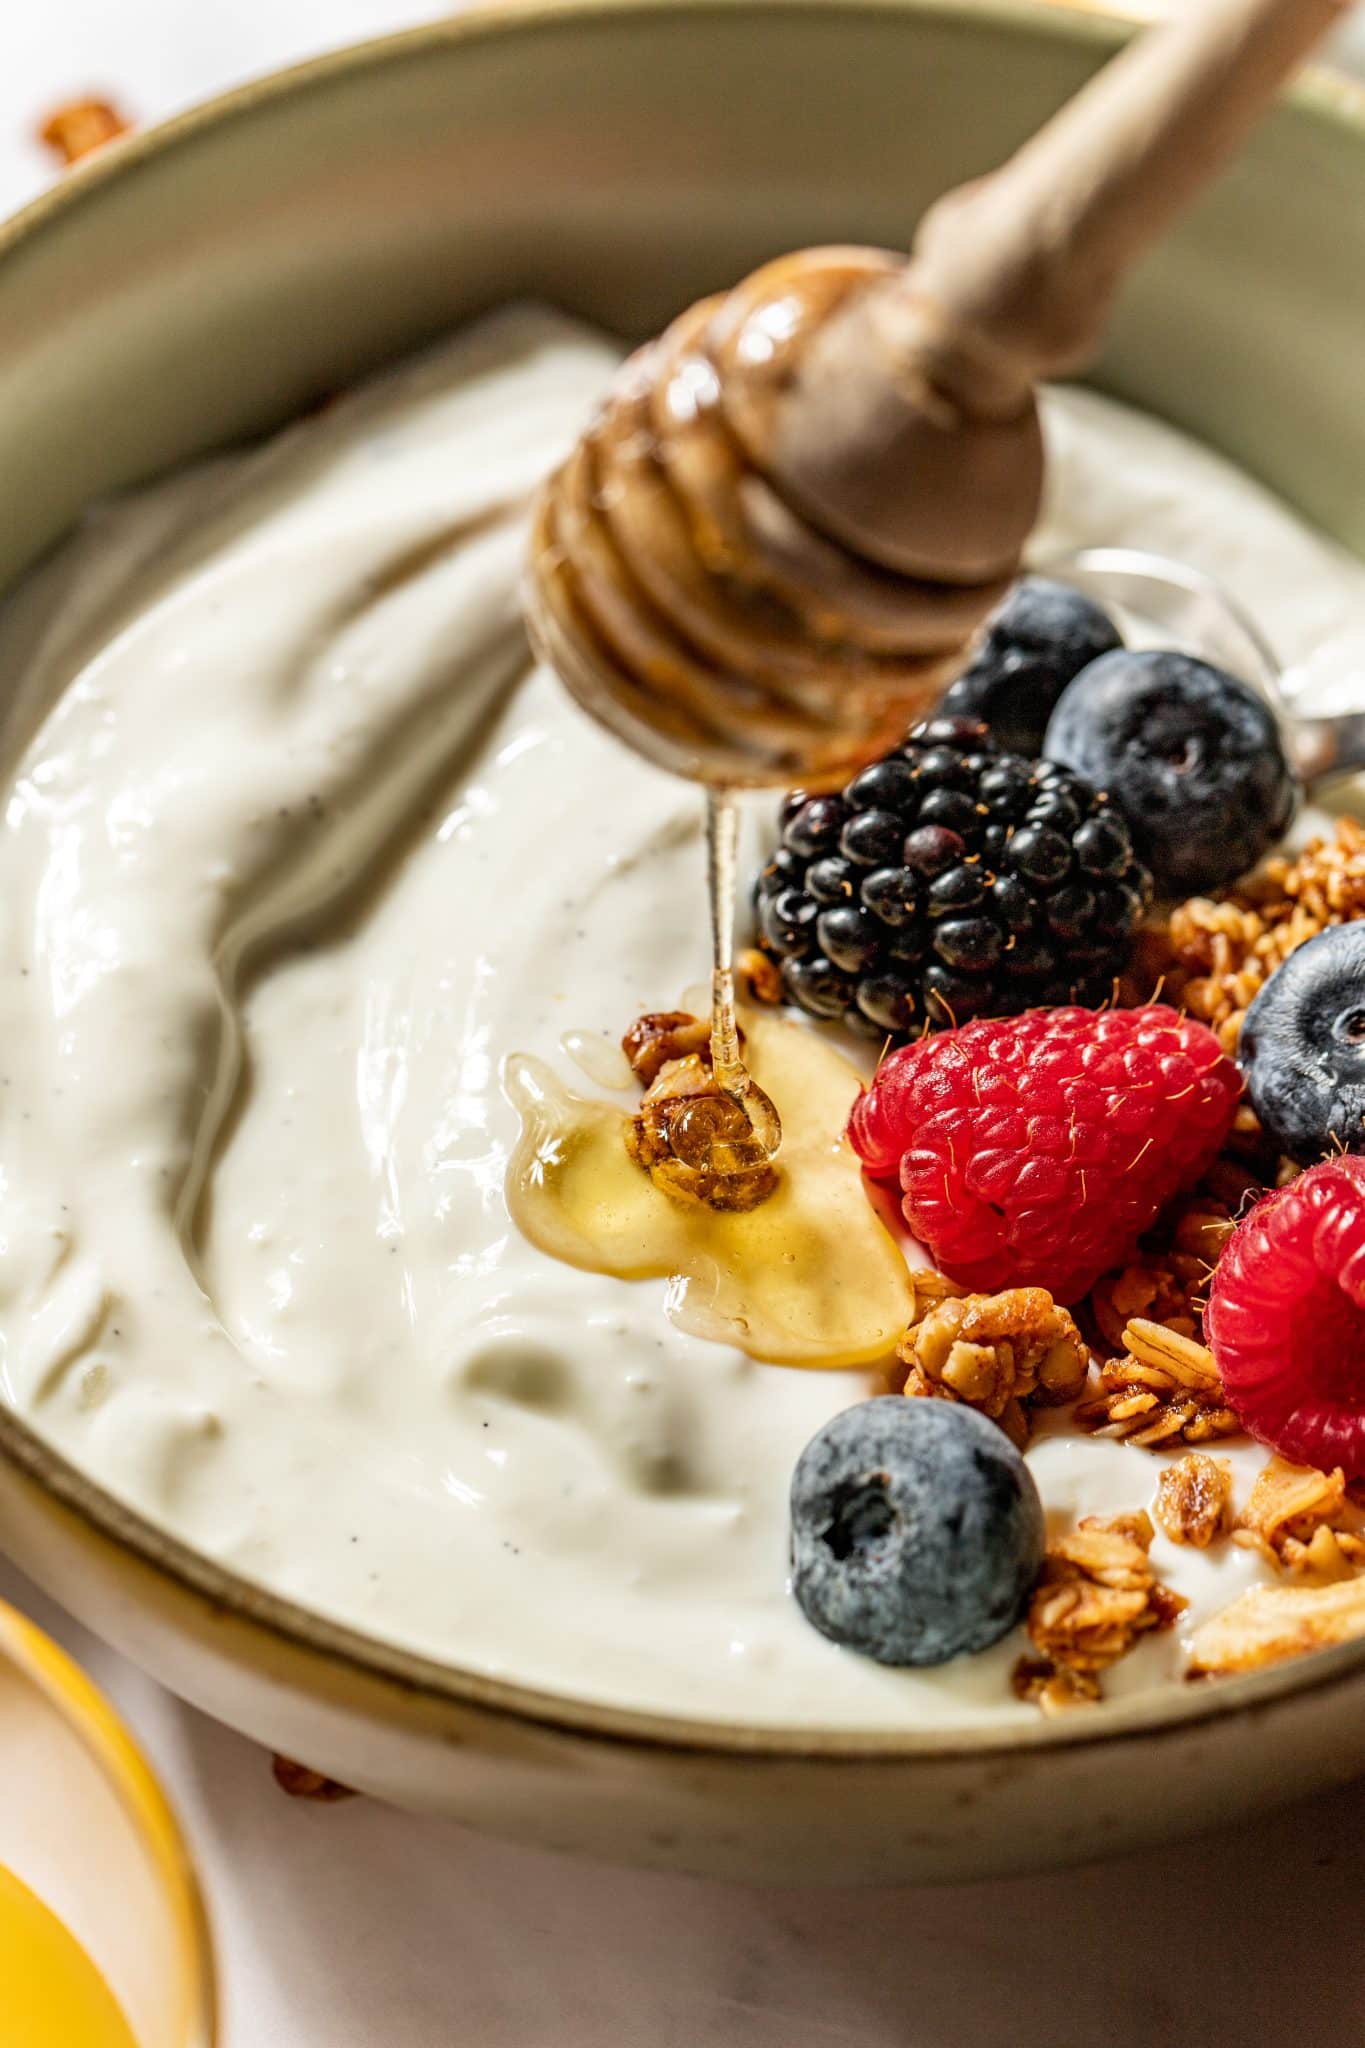
My favorite yogurt toppings
- Honey or pure maple syrup
- Cinnamon
- Dark Chocolate Quinoa Granola or Pumpkin Spice Protein Granola
- Fresh fruit
- Dried fruit
- Toasted nuts
- Toasted coconut flakes
- Berry Balsamic Chia Seed Jam
- Nut butters
FAQ
Why is my yogurt runny and not setting?
This would be for multiple reasons.
❌The milk didn’t reach 180°F before cooling.
❌ The milk was too hot when you added the starter (should be around 110°F).
❌ The starter yogurt didn’t have live active cultures.
❌ The incubation time was too short.
To help resolve this, you can strain it to thicken. If it’s completely liquid, try again with fresh starter yogurt.
Can I make a flavored yogurt while it’s incubating?
It’s best to incubate plain yogurt first and add flavors after fermentation. If using the sweetened condensed method, that’s fine. But if you want to add honey or jam to it, be sure to wait until after the yogurt is set up and finished.
Why is my homemade yogurt so sour?
This depends on the incubation period. Longer incubation = tangier yogurt. If it’s too sour, try fermenting for a shorter period next time. 8-10 hours seems to be my favorite sweet-spot!
Success Tips
- Cold start (no boil) recipe: Fairlife milk is ultra-pasteurized and ultra-filtered, which means it has more protein and less sugar. This milk will produce a thicker yogurt than just ONLY ultra pasteurized milk. Ultra-pasteurized and ultra-filtered milk is great for a cold start (no boil) method because when you buy this milk, it’s already been heated up. to 280°F to kill the bacteria and extend the shelf life of the milk.
- Boil method: In this method, you can use regular pasteurized milk because you’ll be heating the milk up in the first step to kill those microorganisms.
- This recipe was tested in a 6QT Instant Pot, but since making yogurt doesn’t require the Instant Pot to come to pressure, you can make this in the 3QT as well.
- Don’t mix or disturb the yogurt after the 8-hour mark. It needs to be refrigerated for at least 4-6 hours, and then you can stir, so just be careful to avoid jostling until it’s fully set.
- Depending on what you last made in your Instant Pot, you may want to give it a deep clean so the yogurt doesn’t taste like whatever was made last! You don’t want your yogurt tasting like Corn Chowder! To clean your Instant Pot, you’ll need white vinegar. Fill the Instant Pot with 2 cups of white vinegar, seal the lid and press the “steam” setting for 2 minutes. Remove the sealing ring from the lid and let it air dry all the way.
- Change the silicone rings. I use one for making sweet recipes, one specifically for my yogurt, and one for savory recipes!
More Instant Pot recipes:
- Instant Pot Steel-Cut Oats
- Instant Pot Mac and Cheese
- Instant Pot Marry Me Chicken Pasta
- Instant Pot Chicken Burrito Bowls
- Instant Pot Corn and Potato Chowder
- Instant Pot Teriyaki Chicken Rice Bowls
shop this post
 Buy Now →
  Buy Now →
 Before You Begin! If you make this, please leave a review and rating letting us know how you liked this recipe! This helps our business thrive & continue providing free recipes.
Instant Pot Yogurt
Ingredients
Cold start (no boil method)
- 52 oz. whole milk (ultra-pasteurized and ultra-filtered, I always use Fairlife. You must use this milk for this method. )
- 14 oz. sweetened condensed milk (canned) (optional )
- 2 Tbsp. plain full fat yogurt (with live active cultures) I use Fage 5%, be sure to use a newly opened container of yogurt for best results.
- 1 vanilla bean ((optional, split and cut in half with the beans scraped out))
Boil method
- 1/2 gallon pasteurized whole milk
- 2 Tbsp. plain full fat yogurt (with live active cultures) I use Fage 5%, be sure to use a newly opened container of yogurt for best results.
Last step! If you make this, please leave a review and rating letting us know how you liked this recipe! This helps our business thrive & continue providing free recipes.
Instructions
Cold start (no boil method)
- Sweeten: If using the sweetened condensed milk: whisk 1 cup of the milk with the sweetened condensed milk in the instant pot insert and whisk until combined. Pour in the remaining milk and yogurt and whisk again until smooth.14 oz. sweetened condensed milk (canned)

- Yogurt starter: If not using the sweetened condensed milk: whisk 1 cup of the milk with the yogurt an whisk well. Pour in the remaining milk and whisk well again.2 Tbsp. plain full fat yogurt (with live active cultures) I use Fage 5%, be sure to use a newly opened container of yogurt for best results. , 52 oz. whole milk
- Cover: Cover the Instant pot with a glass lid or a plate (you can use the instant pot lid too, doesn’t need to seal. I just usually use a glass lid so I can see the yogurt)
- Incubation: Press the yogurt button. The time should read 8:00. Be sure the pressure is set to normal, and not low. Note: during this incubation period the timer will count UP.
- Pro tip: you can incubate the yogurt longer for a thicker and tangier yogurt, up to 12 hours. Use the +/- button to adjust the time.
- Chill: This step is necessary so the yogurt can thicken further and set up. Once the incubation period is done (When it’s done, the instant pot will beep) remove the inner pot from the instant pot. DO NOT STIR. Allow to cool to room temperature for at least 30 minutes, then cover with plastic wrap and refrigerate for at least 4-6 hours or overnight. If you place in the fridge straight away, the rapid temperature change may thin out the yogurt.
- It may seem lumpy after it chills, but give it a good whisk to thin out. At this point you can add in vanilla bean or any flavorings you prefer, or just leave as is.1 vanilla bean
- Thicker yogurt: for more of a Greek yogurt style yogurt, strain the yogurt. The longer you strain, the thicker it will become. You can use a yogurt strainer if you have one. If not, I like to place a colander over a large bowl, place some paper towels in the colander and pour the yogurt on top of the paper towels. Strain for at least 1 hour in the fridge or up to overnight in the fridge. (The longer the thicker!)
- ENJOY!

Boil method (still, so easy!)
- Boil the milk in the instant pot: pour the milk in the instant pot insert and place in the instant pot housing. Lock the lid in place (the valve can be turned to sealing or venting), and press the yogurt button until “boil” or “high” appears on the screen. You may need to press the start button after this, depending on your model. This function will heat the milk to 180°-200°F to kill off any microorganisims. When it’s done, the instant pot will beep. I always like to make sure it’s reached the proper temp using a kitchen thermometer. If it is not 180°F, press the Cancel button to reset, then select sauté and heat until the milk temperature reaches 180°F1/2 gallon pasteurized whole milk
- Cool the milk: once it’s done, remove the insert from the instant pot and place in a large bowl of ice-cold water to cool the milk to 110°F-115°F. Stir the milk occasionally; this process should take 5-10 minutes. Carefully lift off the film of coagulated milk on the surface and discard it. (You can let it cool at room temperature without the ice water but this process takes much longer, about 1-2 hours).
- Yogurt starter: Place the 2 tbsp. Yogurt in a small bowl and ladle in about ½ cup of the milk. Whisk until smooth and then pour this into the rest of the milk.2 Tbsp. plain full fat yogurt (with live active cultures) I use Fage 5%, be sure to use a newly opened container of yogurt for best results.
- Incubation: place the insert back in the instant pot, cover the Instant pot with a glass lid or a plate (you can use the instant pot lid too, the steam vent can be open or closed. I just usually use a glass lid so I can see the yogurt) Press the yogurt button. Adjust the time to 8:00 or up to 12:00 hours. You can incubate the yogurt longer for a thicker and tangier yogurt. You can use the +/- button to adjust the incubation time. (For some models you may need to adjust the setting from “high” to “medium”).
- Chill: This step is necessary so the yogurt can thicken further and set up. Once the incubation period is done (When it’s done, the instant pot will beep) remove the inner pot from the instant pot. DO NOT STIR. Allow to cool to room temperature for at least 30 minutes, then cover with plastic wrap and refrigerate for at least 4-6 hours or overnight. If you place in the fridge straight away, the rapid temperature change may thin out the yogurt.
- It may seem lumpy after it chills, but give it a good whisk to thin out. At this point you can add in vanilla bean or any flavorings you prefer, or just leave as is.
- Thicker yogurt: for more of a Greek yogurt style yogurt, strain the yogurt (I alway do this). The longer you strain, the thicker it will become. You can use a yogurt strainer if you have one. If not, I like to place a colander over a large bowl, place some paper towels in the colander and pour the yogurt on top of the paper towels. Strain for at least 1 hour or up to overnight in the fridge. You can check it occassionall to see if it has reached a consistency you like.
- For both methods: store in sterile containers and enjoy within 10-14 days.
Notes
- Note: Add in your favorite sweetener and mix-ins to boost the flavor! If you don’t want to use sweetened condensed milk, that’s fine. You don’t NEED it to make yogurt. It only adds flavor. The only 2 ingredients necessary are the milk, and yogurt starter!
Nutrition Information
Nutritional information is provided as a courtesy and is automatically calculated. It should only be construed as an estimate rather than a guarantee. Ingredients can vary and Kroll’s Korner can’t make any guarantees to the accuracy of this information.
This recipe was published originally in January 2020 and was updated with new photos Feb. 2025. 📸 Photos by Megan McKeehan of The Broke Girl Table

I’m wondering if I can put the whole vanilla bean, sliced open with exposed beans, into the milk during the first boil process. I feel like that will really flavor the finished product better. Any thoughts on that?
I haven’t tried it before, maybe??!
I give this recipe a 5 out of 5 stars! I made it last night before I went to bed. I have a instant pot pro, and my yogurt function doesn’t have normal, just low, high or boil. After looking up the manual I decided to use the low setting for 9 hours. I woke up this morning and finished the recipe as stated and it is delicious! I’ve tried making yogurt before and it has never turned out. My husband was skeptical at first but when he tried it he said “wow it taste just like store bought!” I told all my friends about it and will be them some to try! I will definitely be making it again, and adding homemade granola to it as well!
I am so happy it turned out well for you!! Thank you!! 🙂
One of my friends made this for our quilt retreat and I was dubious until I tried it. I could have eaten the whole batch myself! I’m going to try making it in a few weeks for our next retreat. I am wondering if the people who have trouble with it not thickening may be using an actual half gallon of milk ( which is 64 oz.) rather than the 52 ounce Fairlife. That extra 12 ounces of milk could certainly cause a thinner yogurt. Just a thought. Again, this is the most delicious yogurt I’ve ever eaten. Thanks for sharing this recipe!
First off, a quilt retreat sounds so fun! Secondly, I am glad you enjoyed it 🙂 Good point about the ounces of milk, I will clarify that for other readers. Thank you again!
Hi, is the ultra filtered, ultra pasteurized whole milk supposed to be lactose free? I’ve looked it up on every grocery store app I have and they are all lactose free! I’m so confused.
I use the fairlife brand usually for this recipe 🙂 I have learned not to use regular, pasteurized milk for this recipe. These milks may contain bacteria that will grow along with the yogurt cultures if the milk is not heated prior to making the yogurt. Also, milks that are higher fat and protein will yield a thicker yogurt and low fat milks may need additional straining to get a thicker consistency.
I added my freshly picked blueberries to the yogurt. I admit I also used pure vanilla extract still great.
beautiful!! it looks great. thank you!
I made the yogurt with the fairlife milk and no condensed milk. It thickened and was a great consistency, but it tastes like sour cream. We normally eat greek yogurt, but my family wont’ eat this…I don’t want to waste it. Any suggestions to fix and what can I do next time to make it better?
Hi Lynda! The condensed milk certainly makes this taste sweeter. Maybe adding a little honey can help after it’s made?
Where are the rest of the nutrition info? Carbs?
I would like to try this.
Hi! All ingredient info can be found in the recipe card 🙂 let me know if it’s not popping up for you! Xo
Oh MY, it looks great! Can’t wait to cook em this Sunday!
can’t wait to hear what you think! 🙂
So delicious and super easy to make. Thanks for the tutorial, Tawnie!
I followed directions for yogurt. It came out runny. What can I do to make it thicker? What would I strain it with?
Hmm I am so sorry! What kind of Instant Pot do you have? Did you use 1/2 gallon whole milk that’s ultra-pasteurized and ultra-filtered?