How To Make Chocolate Ganache
This post may contain affiliate links. Please read our disclosure policy.
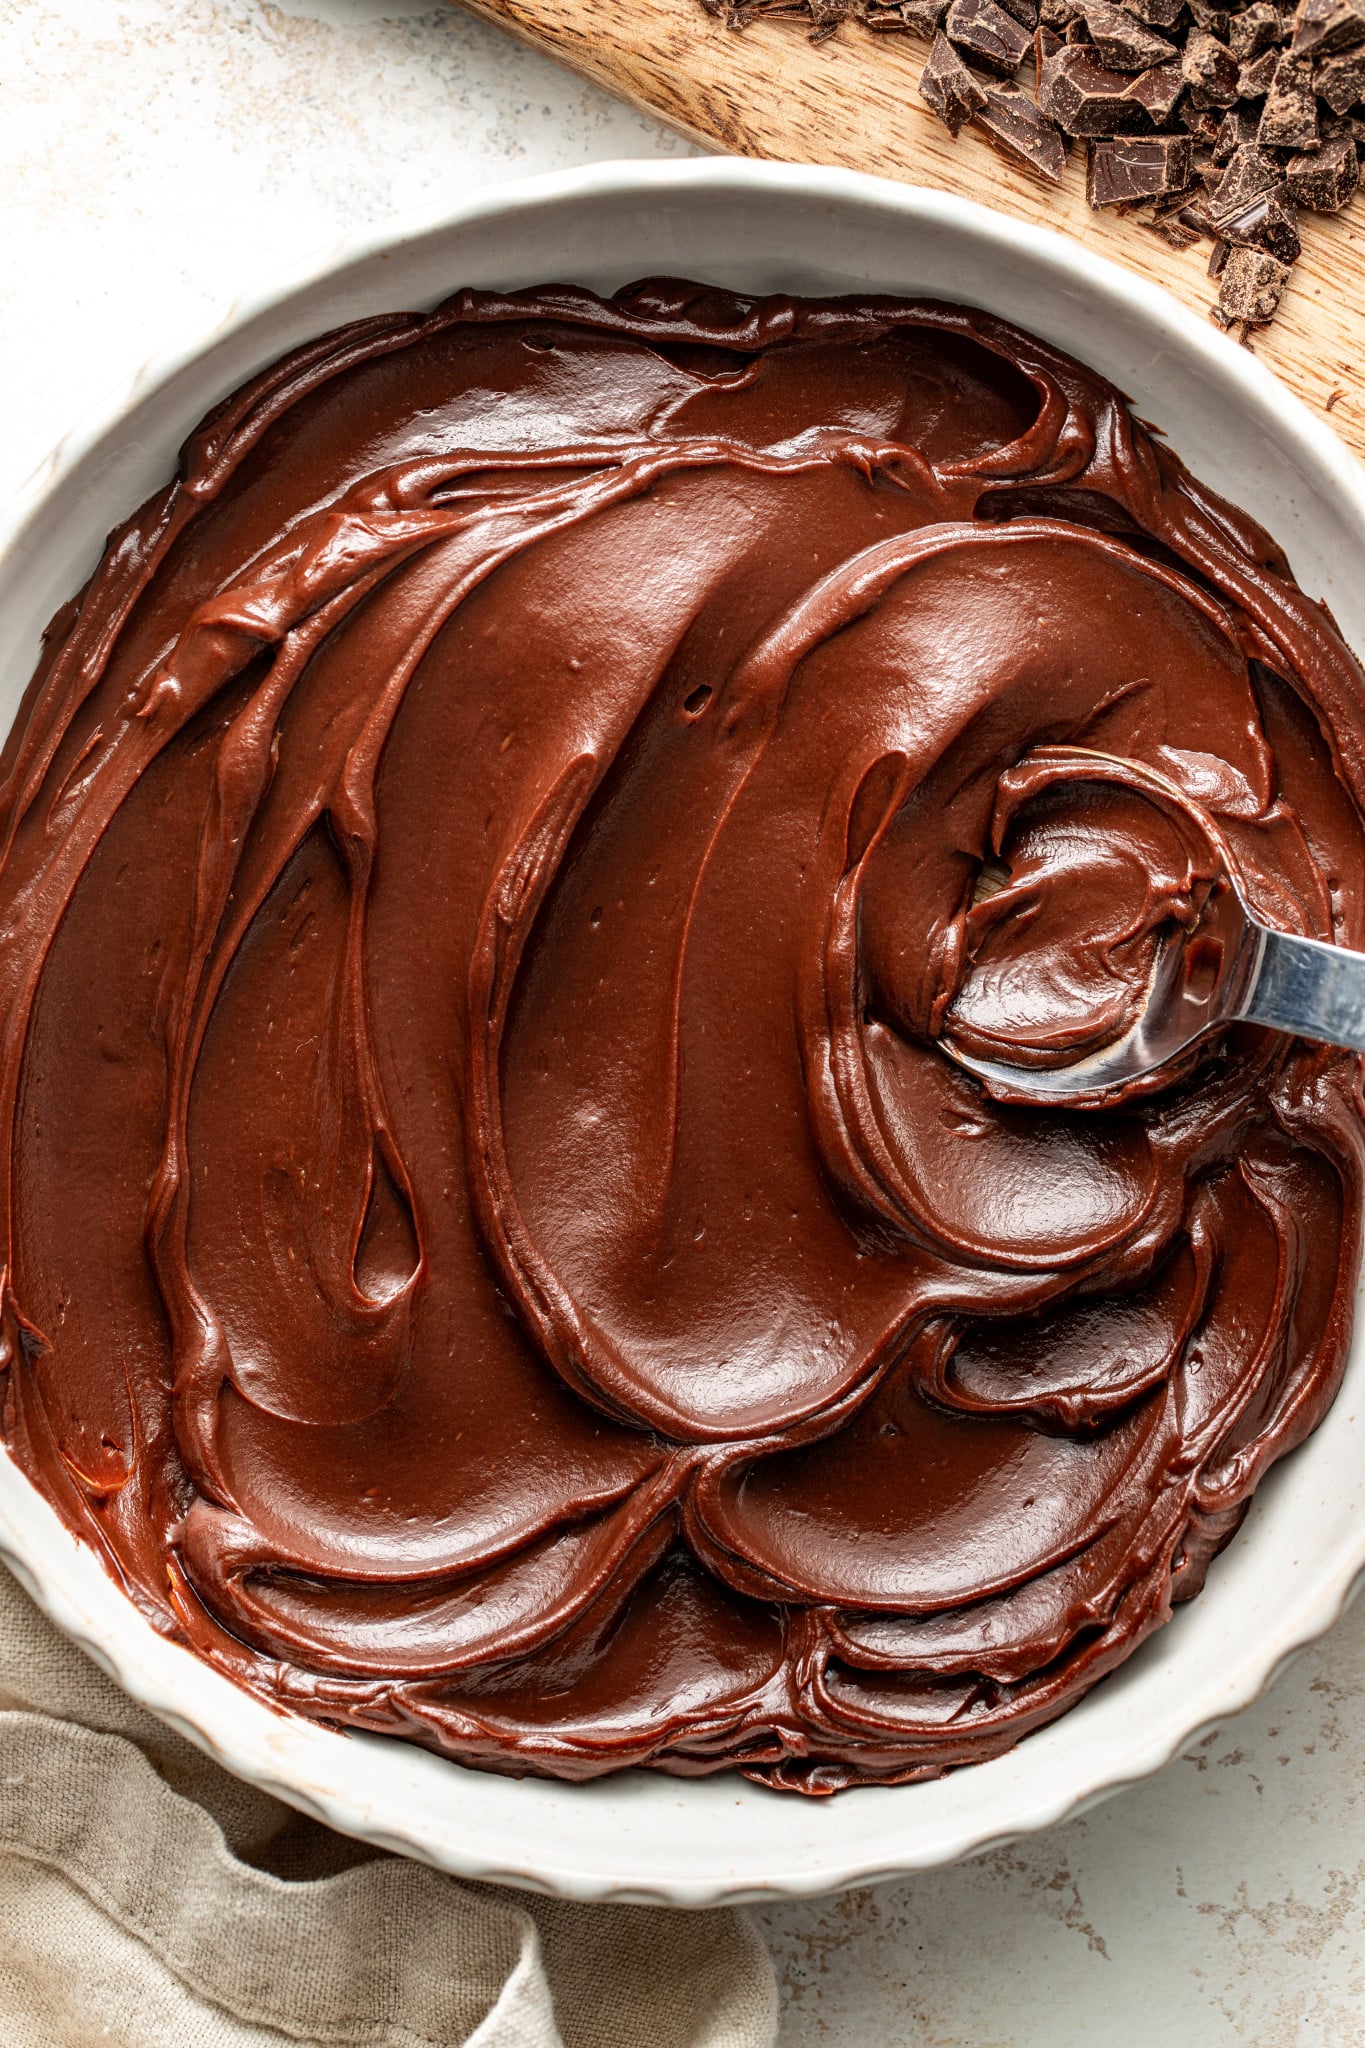
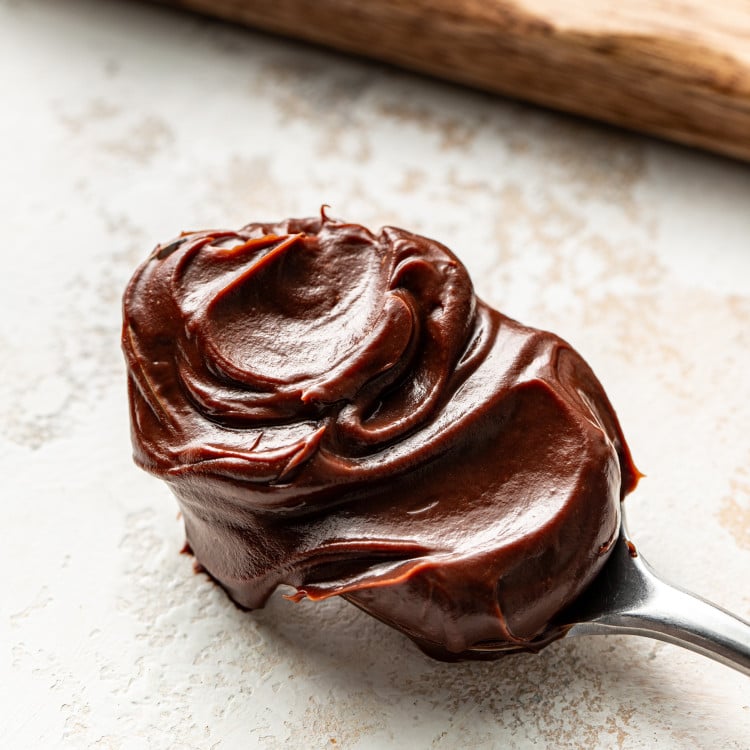
There’s something about a rich, glossy chocolate ganache that instantly makes any dessert feel bakery-level. The best part? It’s surprisingly simple to make with just three ingredients and a couple of easy steps. Whether you’re pouring it over a cake, topping your cheesecake, dipping fruit, or spooning it over cookies, learning how to make a silky, perfect ganache is one of those staple kitchen skills you’ll use again and again.
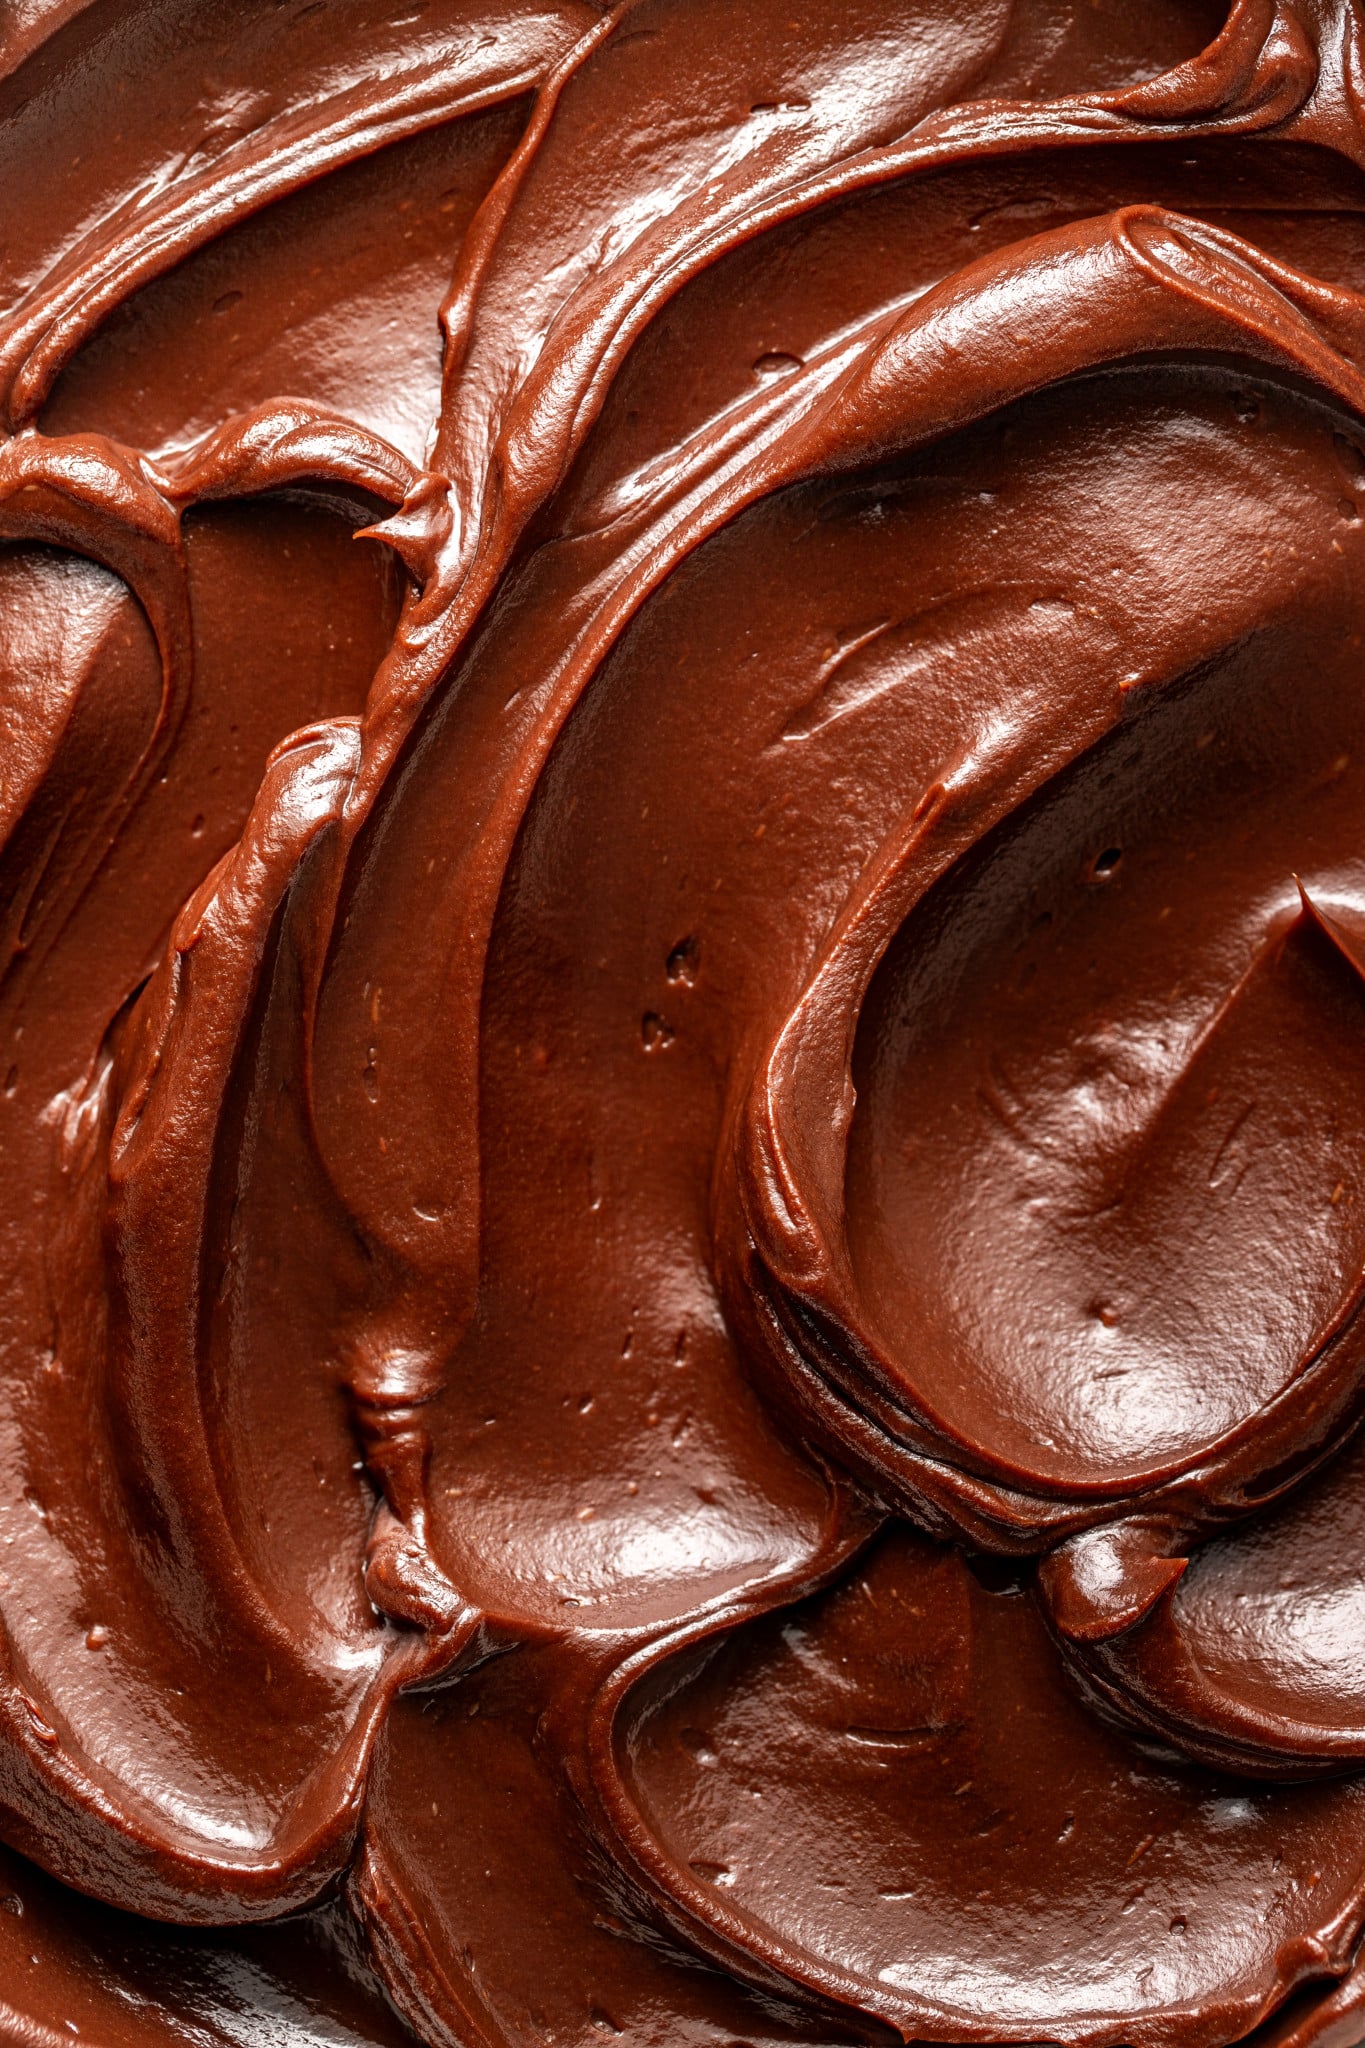
This chocolate ganache recipe comes together in minutes and creates the smoothest, most luxurious texture every single time. Once you see how easy it is, you’ll want to keep this recipe on repeat for everything from special occasion desserts to everyday sweet cravings.
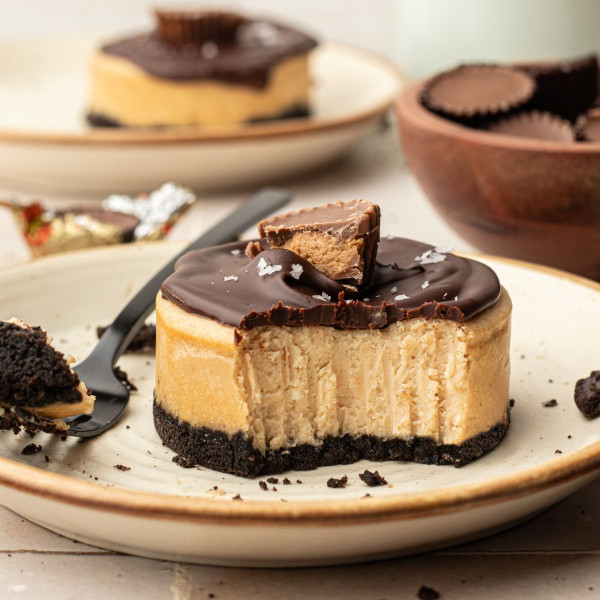
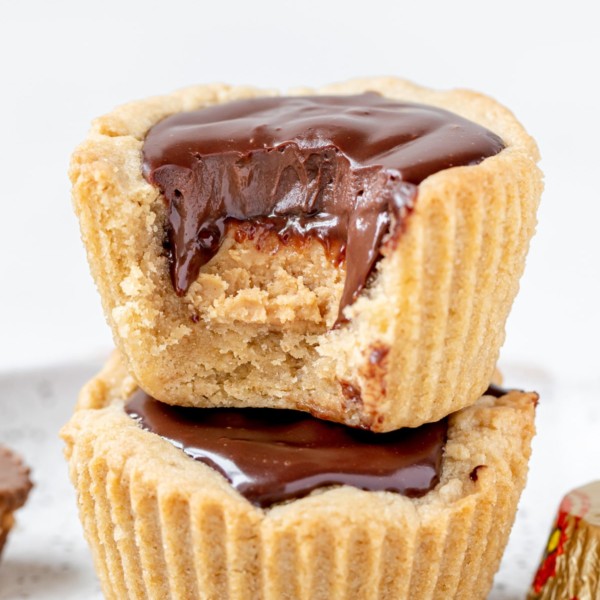
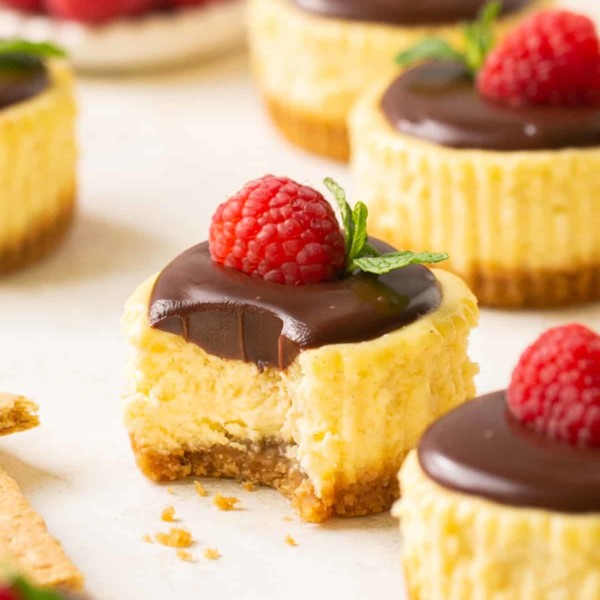
And if you’re wondering how to use this chocolate ganache, be sure to try my Bacardi Rum Cake, Peanut Butter Cup Cookies, Mini Cheesecake Bites, or Peanut Butter Oreo Cheesecake Bites.
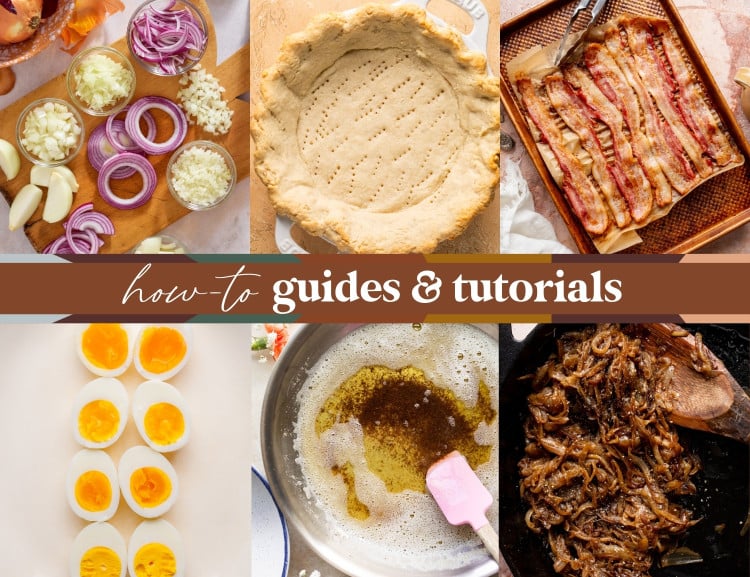
How-To Guides & Tutorials
Master essential kitchen skills with these helpful how-to guides featuring step-by-step posts for everyday cooking basics like boiling eggs, cutting onions, caramelizing onions, and more. Perfect for beginner cooks or anyone looking to build confidence in the kitchen.
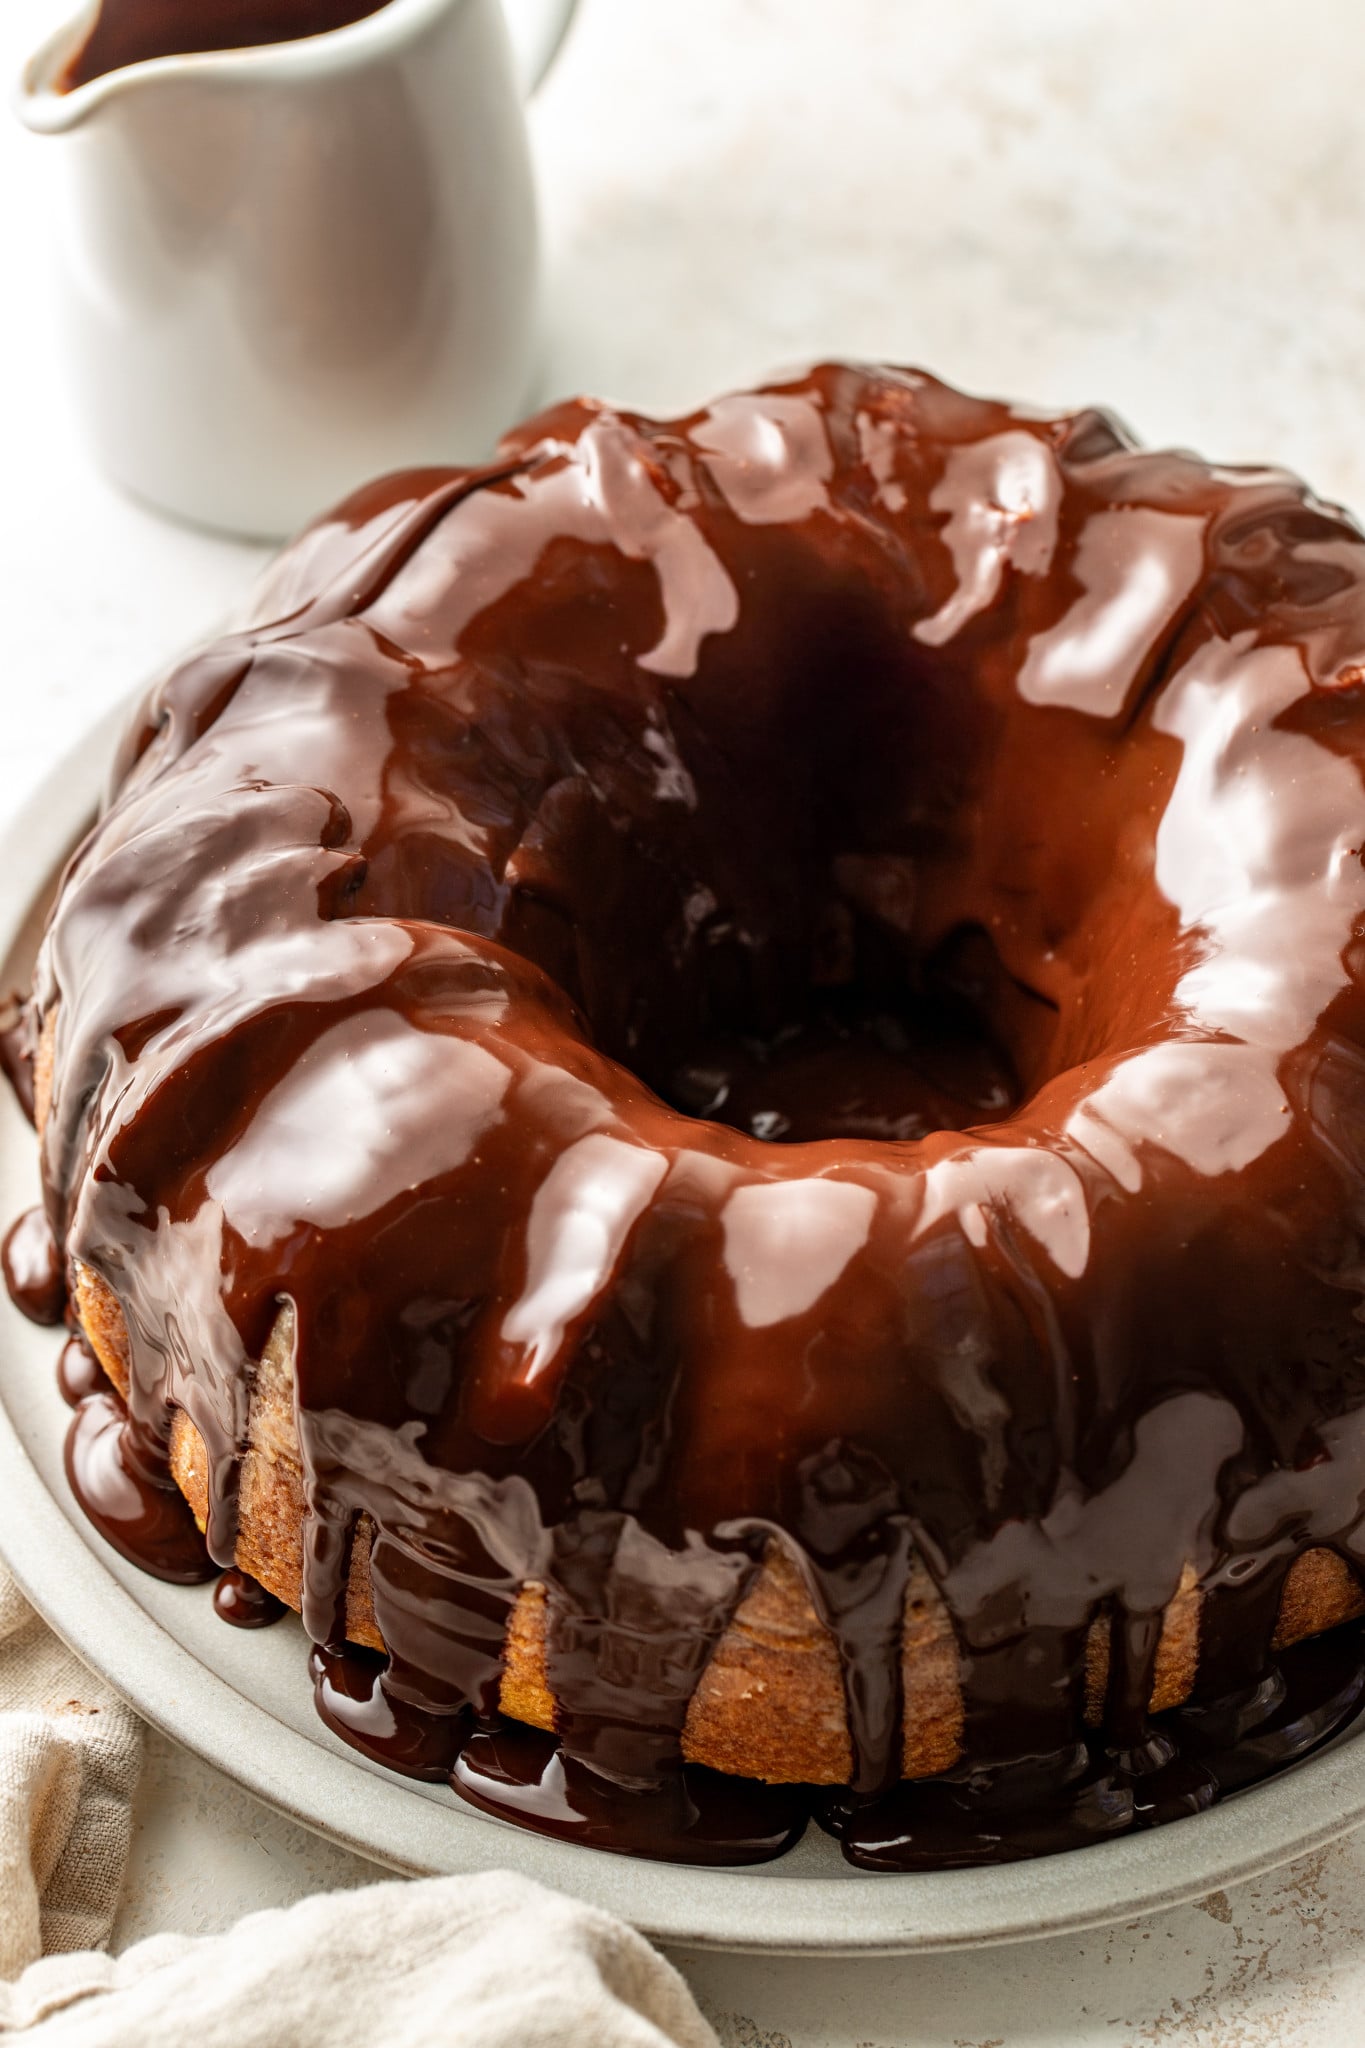

 Table Talk with Tawnie

One of my biggest goals with my how-to posts for you is to take the stress and guesswork out of the task. If you’ve ever been intimidated by ganache, don’t be, I gotchu! The biggest thing is just getting your ratios right and letting the hot cream do the work. No complicated techniques here! I’m breaking it down for you so simply so you’ll NEVER mess it up. In my recipe, you’ll notice I add butter in at the end, which a lot of people miss out on. It’s key to giving ganache that extra silky shine and luxurious feel. It’s a small touch that sets your ganache apart, and I mean…when is butter ever a bad idea?! 😉
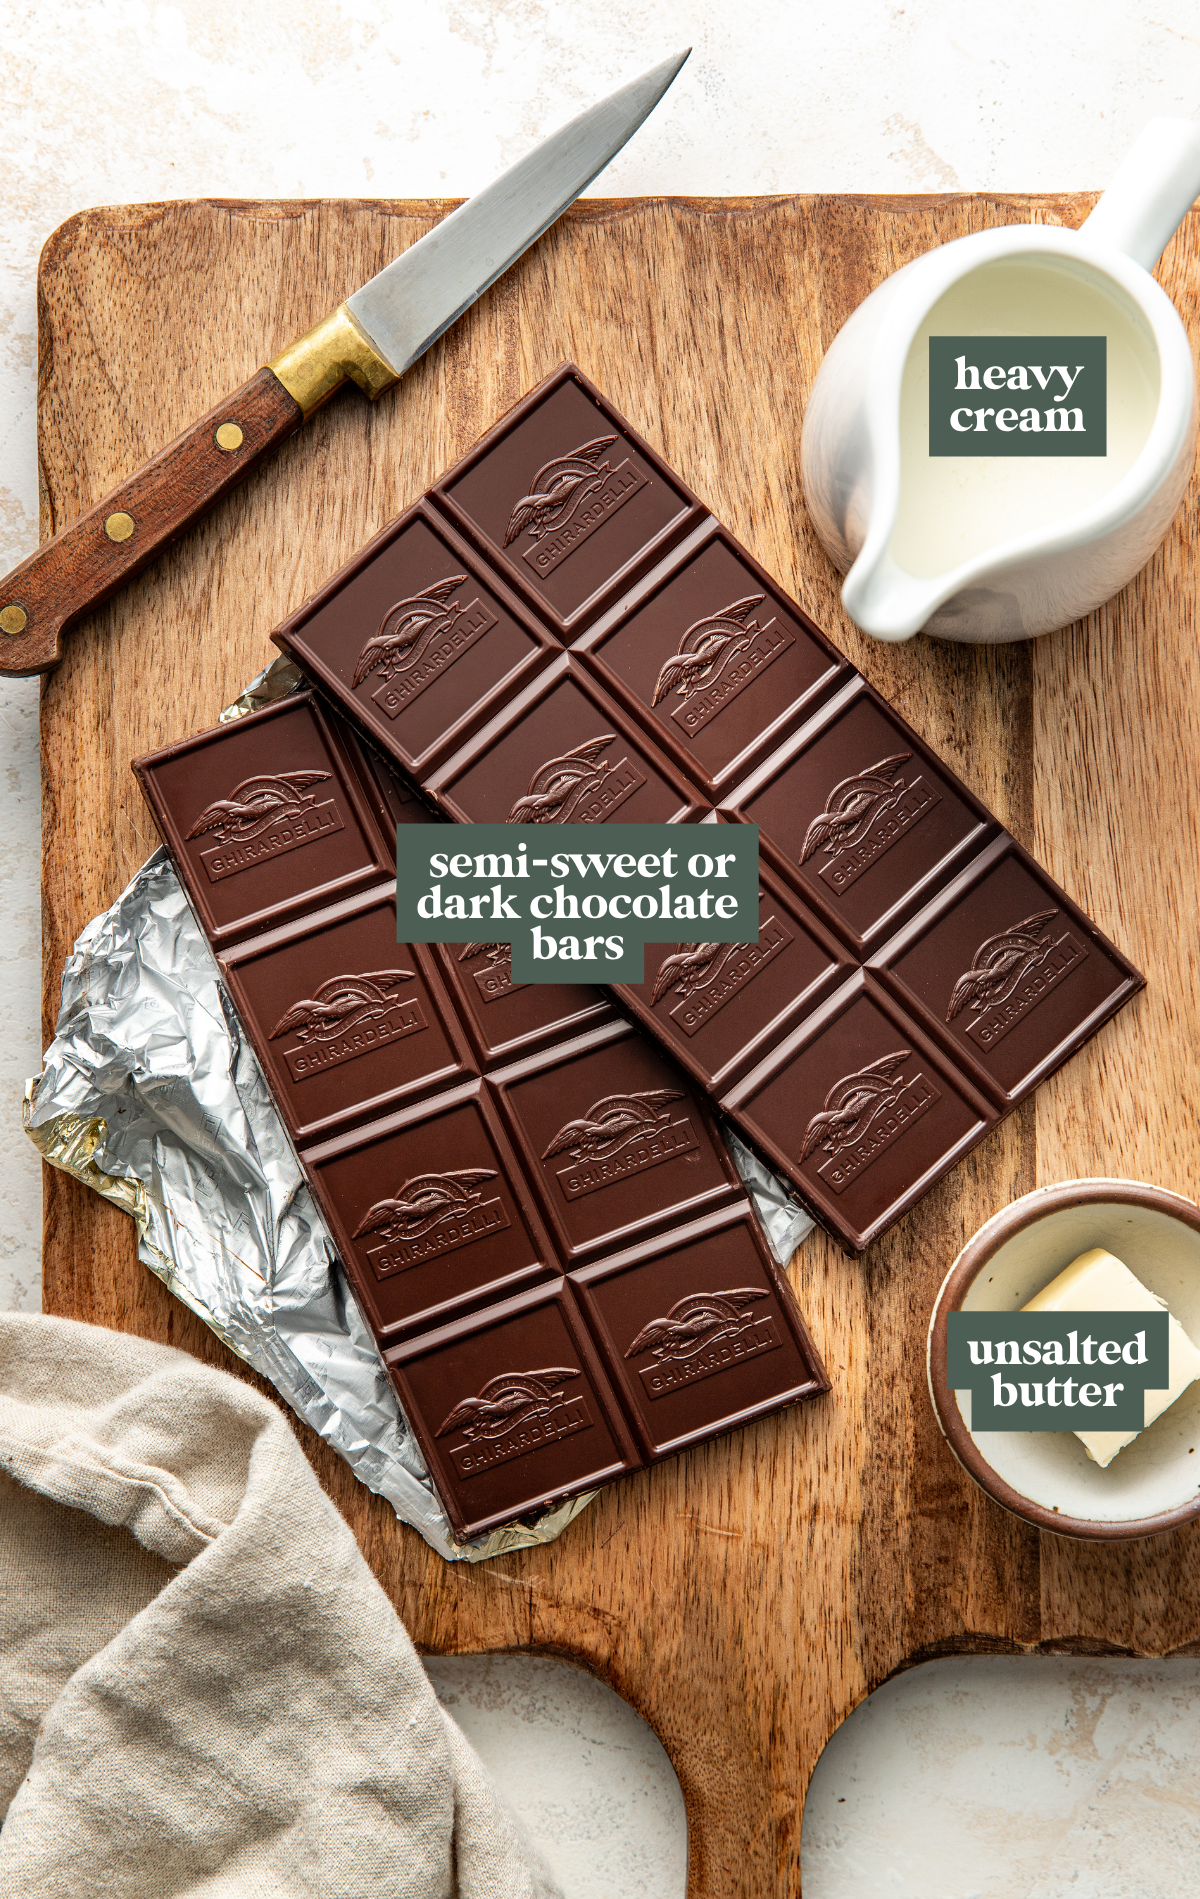
- High-quality semi-sweet or dark chocolate bars: Using high-quality chocolate makes all the difference in ganache since it’s the star ingredient. Chop the chocolate finely so it melts smoothly and creates a rich, glossy texture. Chocolate bars work better than chocolate chips because they melt more evenly. I like to use a dark chocolate Ghirardelli bar or this semi-sweet bar.
- Heavy cream: Full-fat heavy cream is best for a rich and luxurious texture. Make sure to heat the cream until it’s just barely simmering with small bubbles around the edges. Be careful not to boil.
- Unsalted butter: This is my secret to a great ganache! Butter adds extra shine, richness, and a velvety finish to the ganache. Let it come to room temperature so it melts easily into the warm chocolate mixture.
Step-by-Step Directions
(For the full recipe, scroll down to the recipe card below)
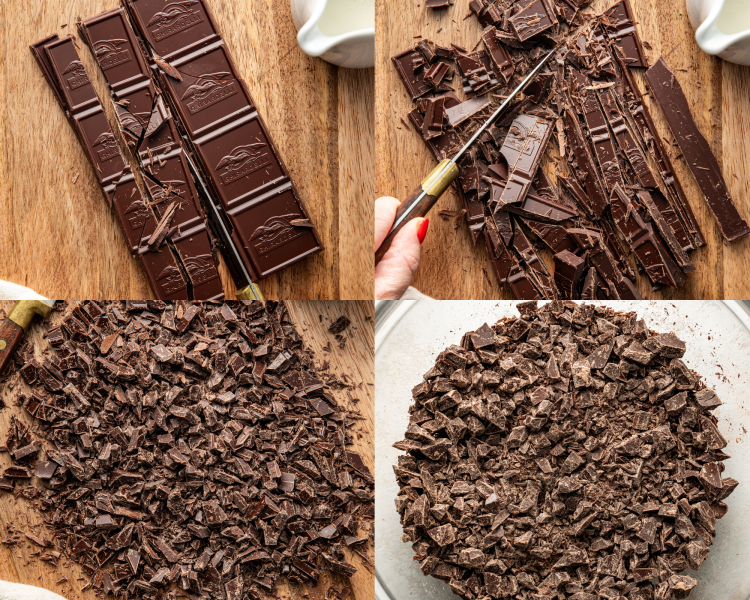
Chop the chocolate
Finely chop the chocolate into small pieces, then place it in a heatproof bowl.
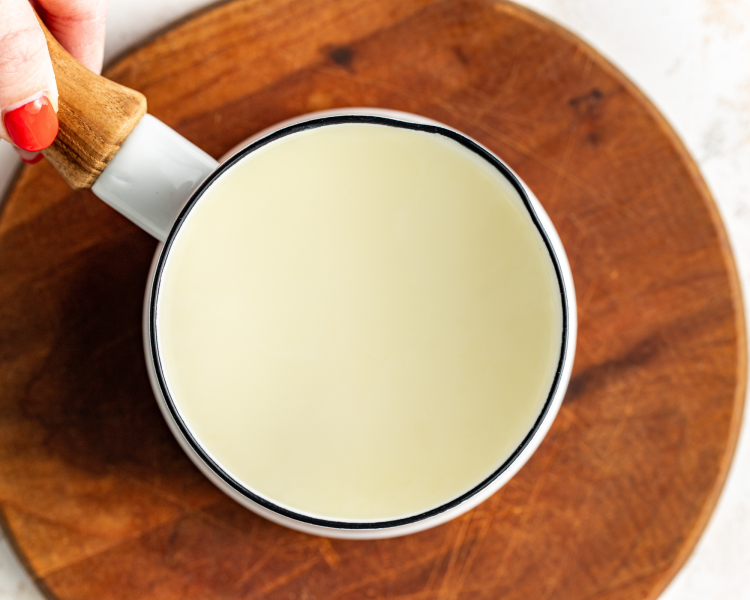
Heat cream
Heat the heavy cream in a small saucepan until barely simmering with small bubbles around the edges but ‼️do not boil‼️
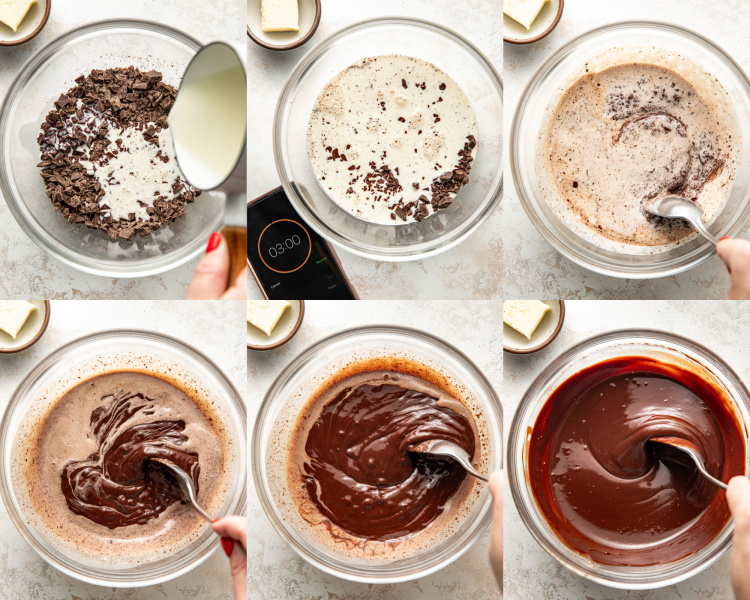
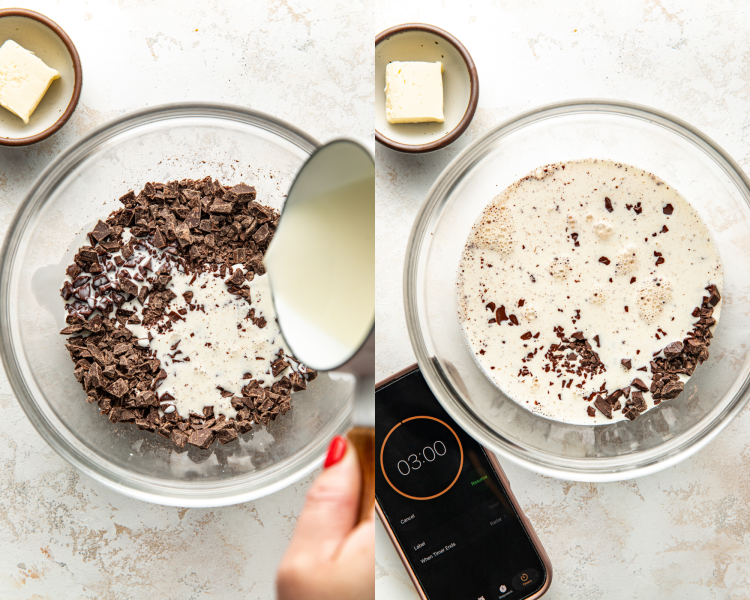
Pour over chocolate
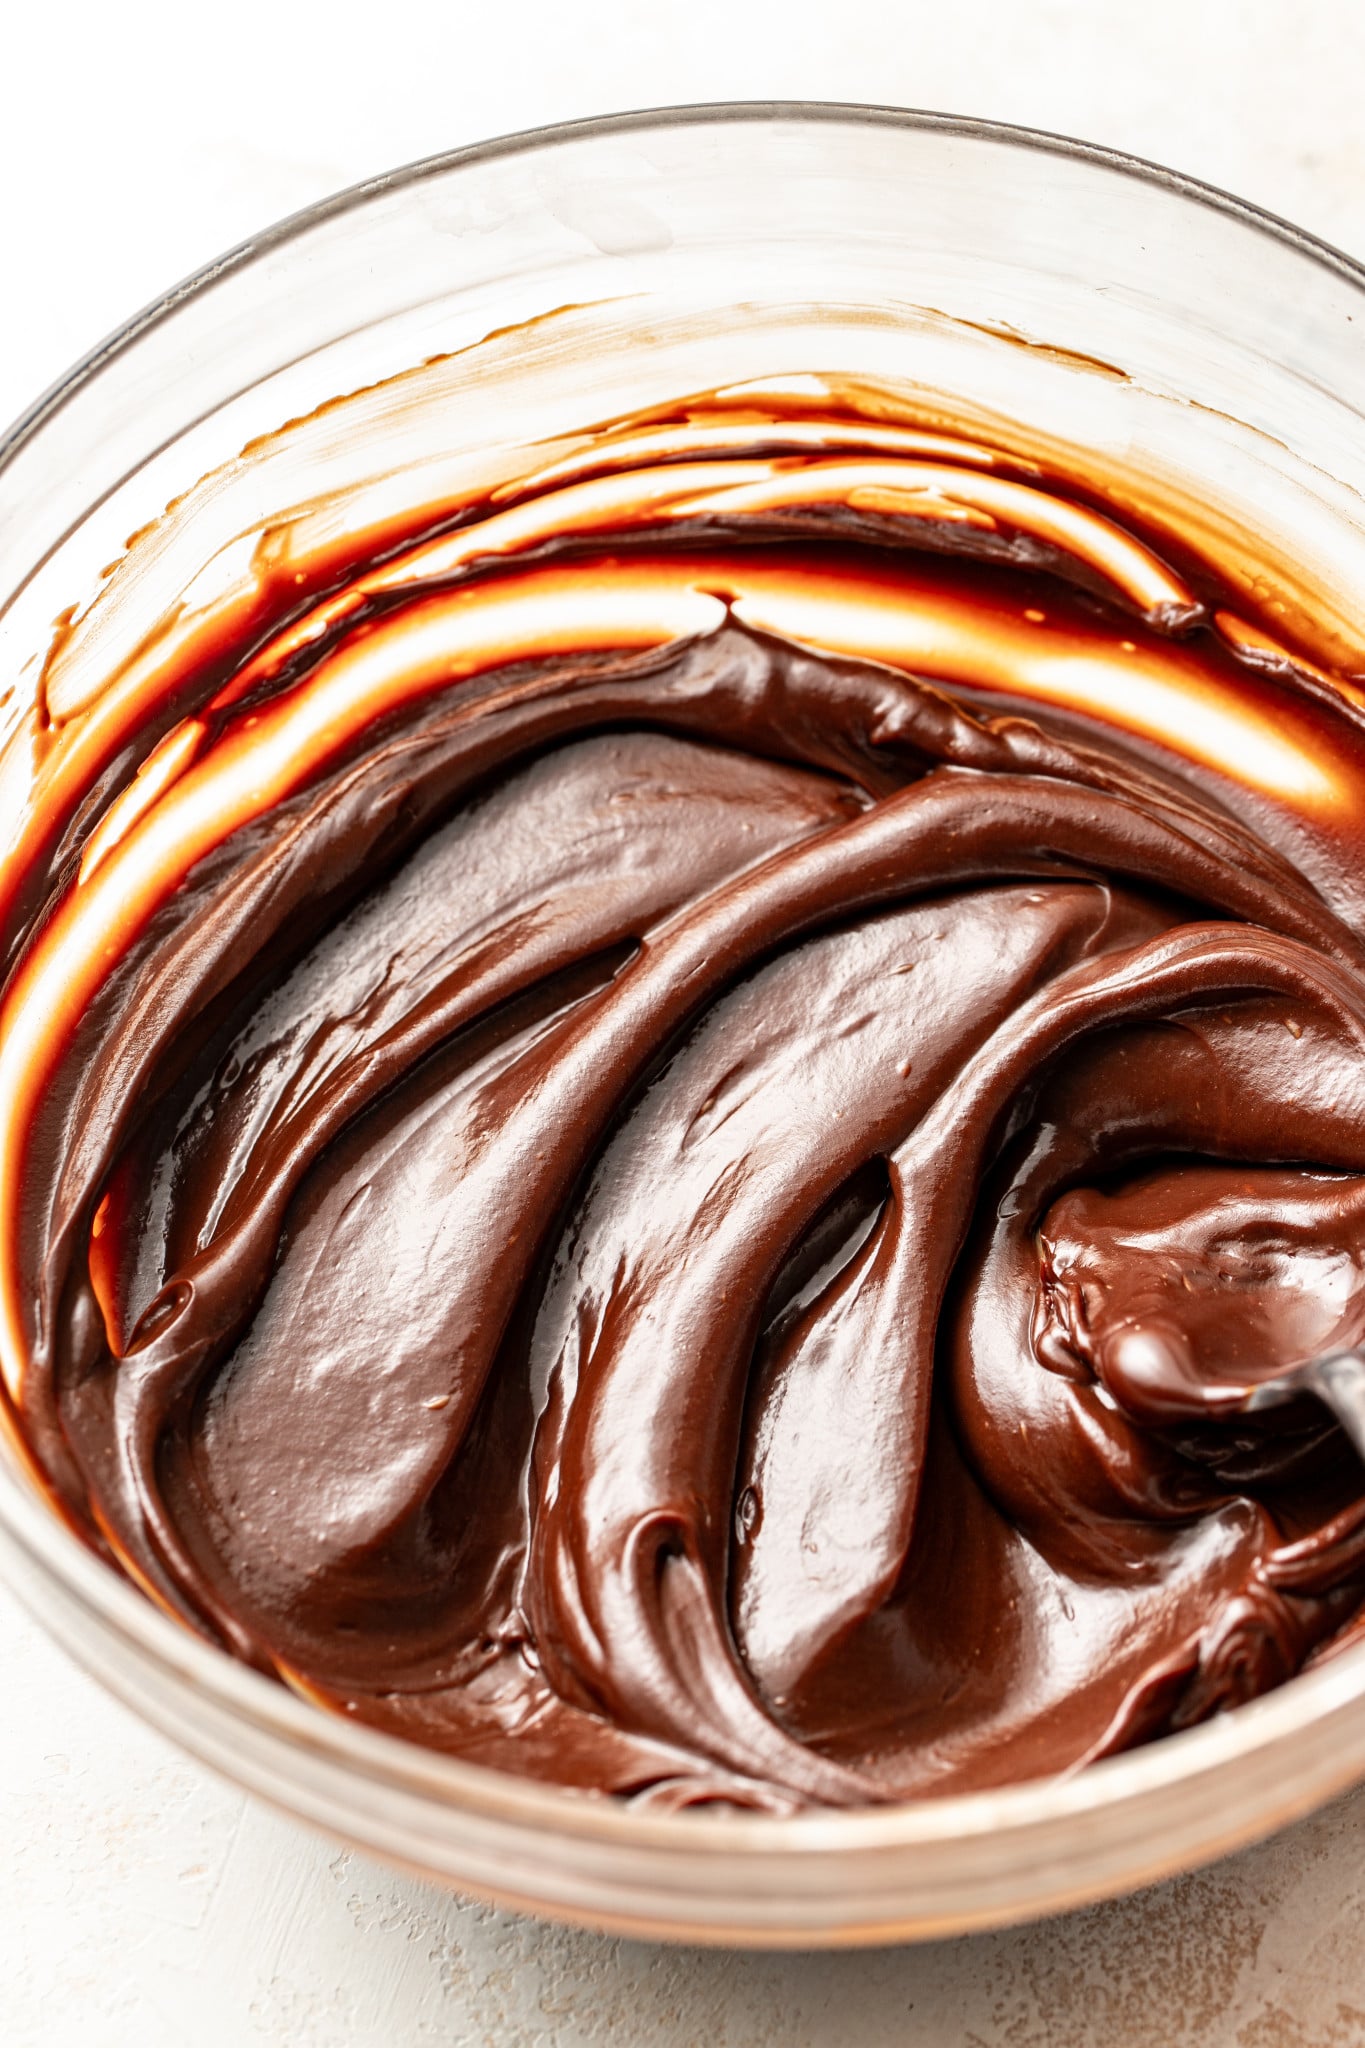
Pour the warm cream over the chocolate and let it sit for 3 minutes without stirring. Then stir slowly until smooth and glossy.
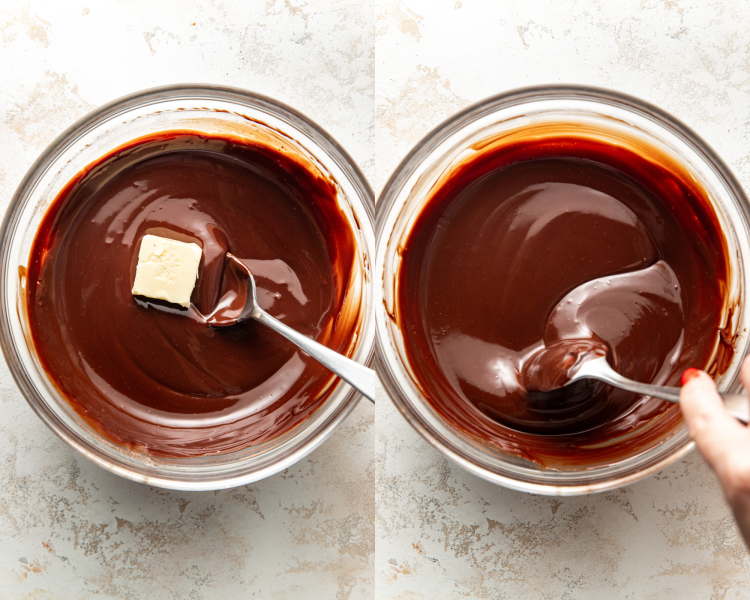
Add butter
Stir in the butter until fully incorporated and silky.
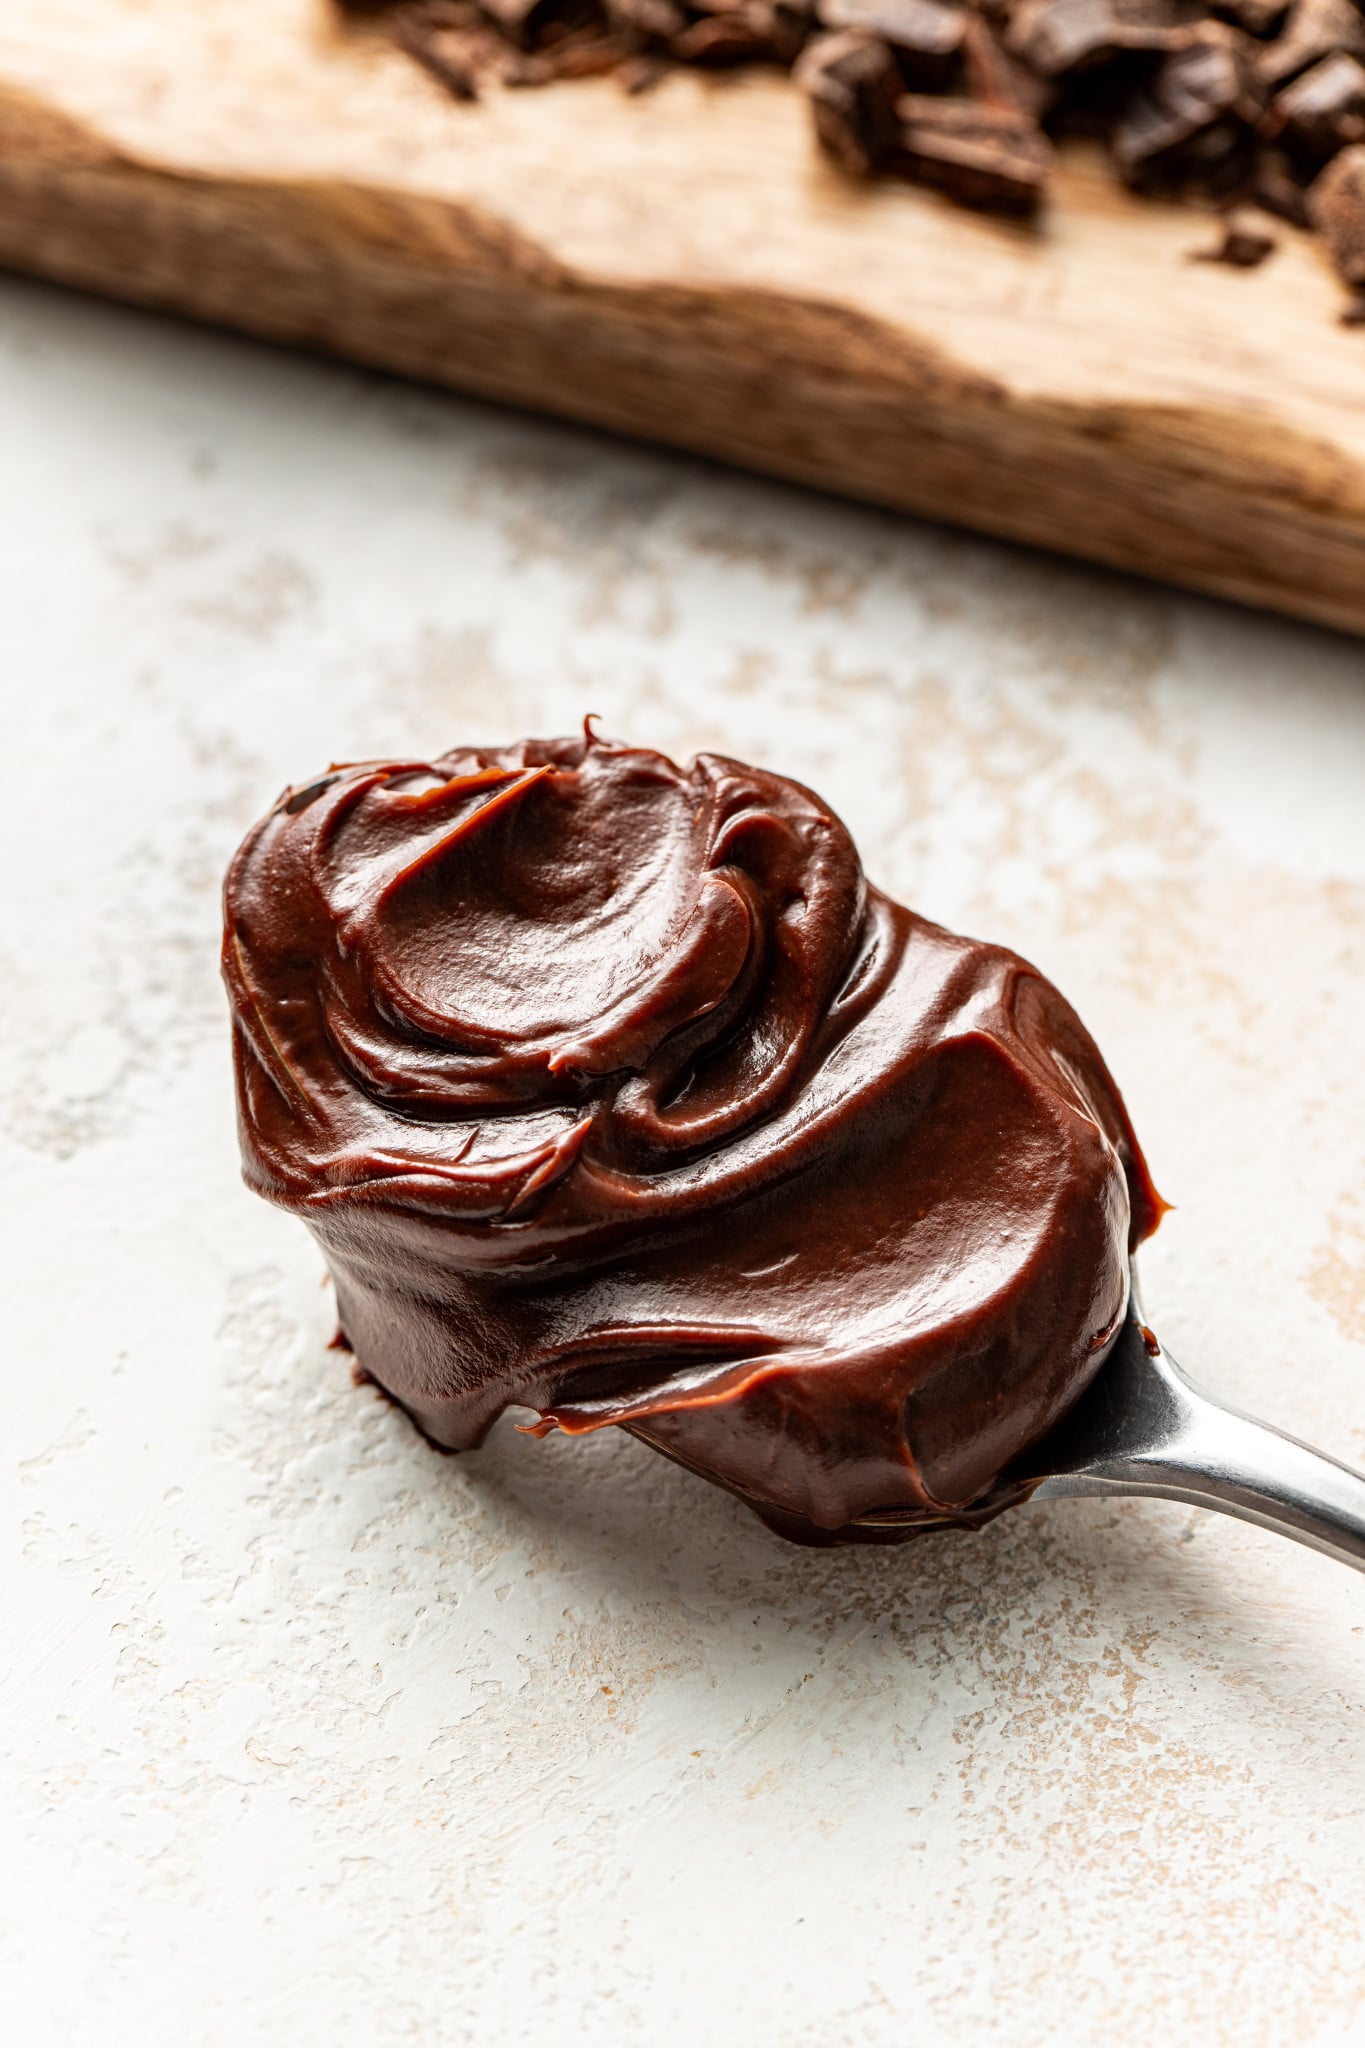
Enjoy!!
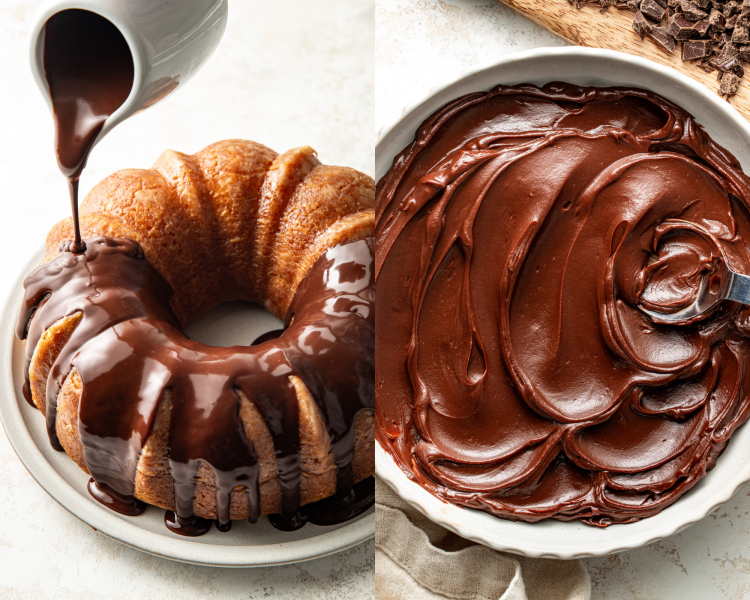
Use ganache immediately as a pourable glaze, let cool 10-15 minutes for a thicker, spreadable consistency or chill for a firmer texture.
Expert Tips
- Chop finely: Finely chop the chocolate before adding the warm cream so it melts quickly and evenly. If your chocolate isn’t melting it’s most likely due to the chocolate not being chopped small enough.
- Don’t boil the cream: Heat the heavy cream until it is simmering, but do not let it boil. Overheated cream can affect the texture of the ganache by seizing the chocolate and creating a grainy texture. Also, even the tiniest amount of water can make it seize so be sure the spoon you’re using is dry so the ganache doesn’t clump together.
- Wait to stir: Let the warm cream sit over the chocolate for 3 minutes before stirring. This helps create the smoothest consistency.
- Don’t over-stir: Stir gently from the center outward to avoid adding too much air into the ganache.
- High-quality chocolate: Trust me on this! Using high-quality chocolate bars instead of chocolate chips will yield the silkiest texture, as chocolate chips often contain stabilizers that can affect melting.
- If it separates: If your ganache separates or looks oily, whisk in a tablespoon of warm cream until it becomes smooth again.
Storage / Freezing
- Store: Store leftover chocolate ganache in an airtight container in the refrigerator for up to 1 week. As it chills, it will become firm and fudge-like.
- Reheat: To use again, let it sit at room temperature until softened or gently warm it in short intervals in the microwave, stirring between each, until smooth and spreadable.
- Freeze: You can also freeze ganache in an airtight container for up to 2 months. Thaw overnight in the refrigerator before reheating.
Ways To Use Your Ganache!
FAQs
Can I use chocolate chips instead of chocolate bars?
Chocolate bars work best because they melt more smoothly. Chocolate chips contain stabilizers that can make the ganache slightly thicker or less silky, so I recommend sticking with a high-quality chocolate bar for the best results.
Why did my ganache separate?
Ganache can separate if the cream is too hot or if it is overstirred. If this happens, whisk in a small splash of warm heavy cream until the mixture becomes smooth again.
How do I make ganache thicker or thinner?
For a thinner ganache, use it immediately after making. For a thicker ganache, let it cool 10-15 minutes before using.
Can I make this chocolate ganache ahead of time?
Absolutely. Ganache stores well in the refrigerator for up to 1 week, making it great for prepping desserts ahead of time.
What can I use chocolate ganache for?
Chocolate ganache is perfect for cakes, cupcakes, brownies, truffles, cheesecakes, cookies, dipping fruit, or drizzling over desserts.
shop this post
 Buy Now →
  Buy Now →
  Buy Now →
Before You Begin! If you make this, please leave a review and rating letting us know how you liked this recipe! This helps our business thrive & continue providing free recipes.
How To Make Chocolate Ganache
Ingredients
- 6 oz high-quality semi-sweet or dark chocolate bars (finely chopped)
- 6 oz heavy cream (3/4 cup)
- 1 Tbsp. unsalted butter (room temperature)
Last step! If you make this, please leave a review and rating letting us know how you liked this recipe! This helps our business thrive & continue providing free recipes.
Instructions
- Chop the chocolate: Using a large kitchen knife, finely chop the chocolate until you have very small, even-sized pieces. Then place the finely chopped chocolate in a clean, dry, heatproof bowl. I recommend using a glass bowl, do not use a plastic bowl.6 oz high-quality semi-sweet or dark chocolate bars

- Heat cream: Heat the heavy cream in a small saucepan until barely simmering with small bubbles around the edges (do not boil).6 oz heavy cream
- Pour over chocolate: Pour the warmed cream over the chocolate, making sure it’s fully covered. Let it sit for 3 minutes without stirring. Start Timer
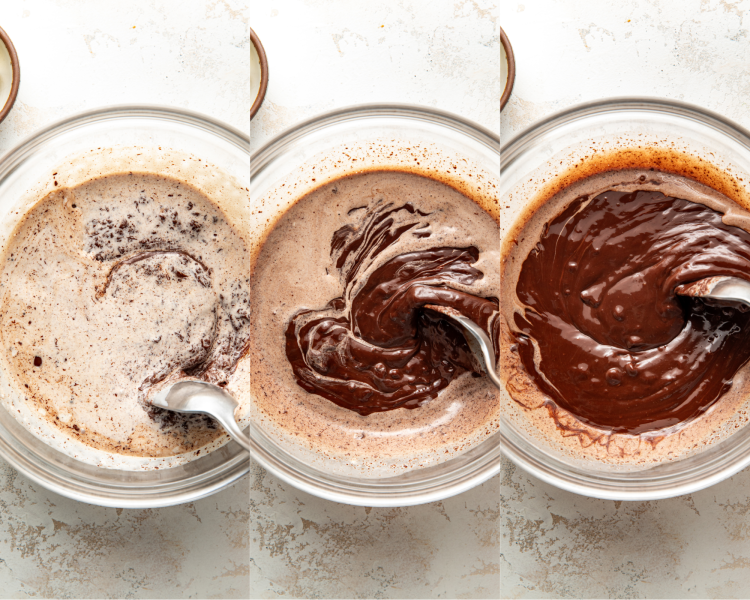
- Stir: Stir slowly until smooth and glossy. It might not look right at first but just keep stirring and it will come together. 🙂
- Add butter: Stir in the butter until fully incorporated and silky.1 Tbsp. unsalted butter
- Adjust consistency based on use: Use immediately for a pourable glaze, let cool 10-15 minutes Start Timer for a thicker, spreadable consistency, or chill for a firmer texture (Like on top of cheesecakes!)
Notes
Nutrition Information
Nutritional information is provided as a courtesy and is automatically calculated. It should only be construed as an estimate rather than a guarantee. Ingredients can vary and Kroll’s Korner can’t make any guarantees to the accuracy of this information.
📸 Photos by Megan McKeehan of The Broke Girl Table

If you let it cool, can you whip in your stand mixer?
Hi! Yes great question. You’ll want to let the ganache cool until thickened (almost like a peanut butter texture), transfer it over to your stand mixer (paddle or whisk both work)..you can also add a little splash of vanilla and salt if you prefer, and beat it on medium speed for ~3-4 minutes. It should be light and fluffy and it’s really great for piping on cakes, cupcake frosting, layered between cake..yum!