How To Steam Hard Boiled Eggs
This post may contain affiliate links. Please read our disclosure policy.
If you’ve ever struggled with peeling hard boiled eggs or ended up with rubbery whites and chalky yolks, steaming is about to be your new favorite method. It’s simple, reliable, and produces easier-to-peel eggs, since steaming helps the shells release more easily.
Whether you’re meal prepping for the week, making deviled eggs, or just need a quick protein-packed snack, this foolproof method delivers consistent results with minimal effort. Once you try steaming your hard boiled eggs, you may never go back to boiling again.
If you’re looking for a very traditional method, check out my How to Make Perfect Hard-Boiled Eggs (Stove Top). Or for some of my favorite, hands-off methods, try my Air Fryer Hard Boiled Eggs, or cooking them in the Instant Pot with this 5-5-5 method!
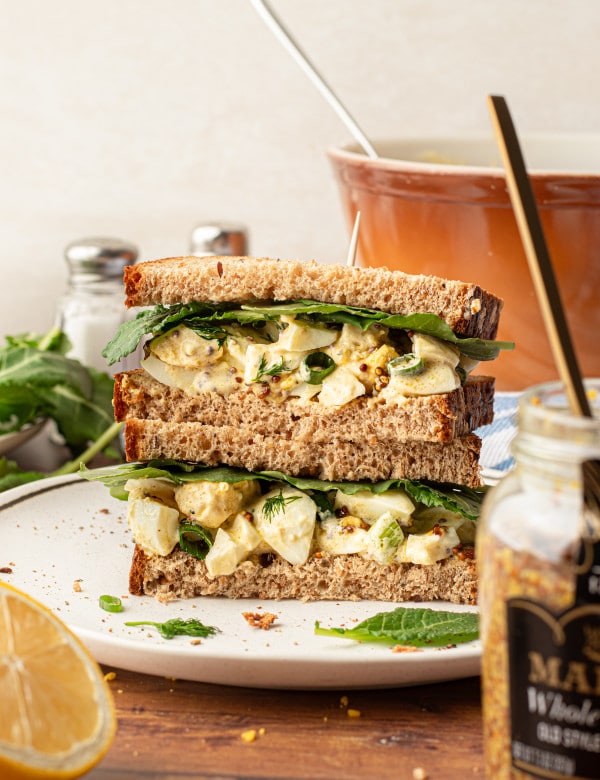
If you’ve mastered cooking hard boiled eggs, check out a few of my favorite recipes to use them in like my Chicken Cobb Salad, High-Protein Egg Salad Sandwich, and Healthy Potato Salad.
What’s the difference between steamed and boiled hard boiled eggs?
Although both are cooked in large pots of boiling water, here are a few key differences between steamed hard boiled eggs and traditional stovetop boiled eggs:
Steamed Hard Boiled Eggs (using a steamer basket):
Steaming cooks the eggs with hot vapor instead of fully submerging them in water. This gentle, even heat helps prevent overcooking, so you’re more likely to get tender whites and creamy yolks. One of the biggest perks is how easy they are to peel (the steam helps separate the egg from the shell membrane), which means fewer frustrating, stuck-on shells. It’s also a bit more forgiving, so you’ll get consistent results even if your timing isn’t perfect.
Traditional Boiled Eggs (stovetop in water):
Boiling cooks eggs by immersing them in rapidly heating water. While it works well, it can be a little trickier to control. If the water boils too aggressively or the eggs sit too long, the whites can turn rubbery, and the yolks can become dry or develop that green-gray ring.
Key Differences To Note:
- Peeling: Steamed eggs are typically much easier to peel
- Texture: Steamed eggs tend to be more tender and evenly cooked
- Consistency: Steaming is more foolproof and less sensitive to timing
- Cooking method: Steam vs. full water immersion
If easy peeling and reliable results are your top priorities, you will definitely want to try this steaming method!

 Table Talk with Tawnie

When I was on my quest to find out how to make the most perfect hard boiled eggs, I stumbled across this method and was actually blown away at how perfect the results are. This method is foolproof and EASY TO PEEL! Be sure to check out all my other methods on how to make hard boiled (and jammy!) eggs so you can start making eggs without the frustration 🙂
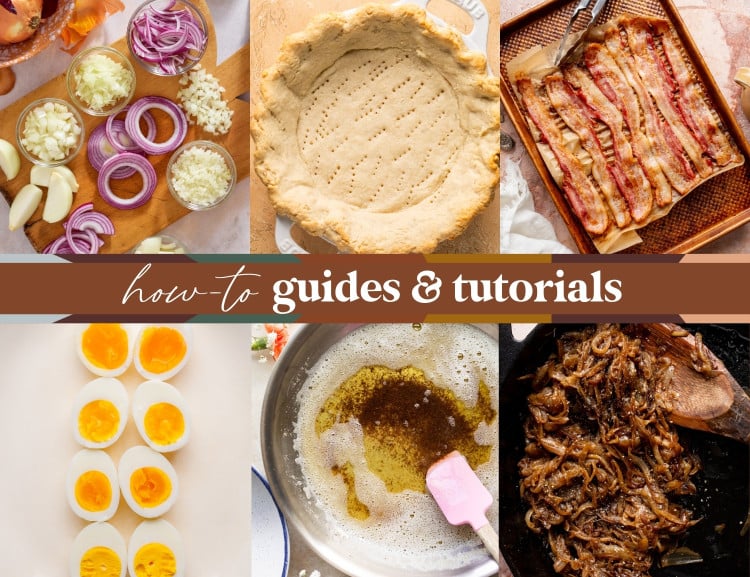
How-To Guides & Tutorials
Master essential kitchen skills with these helpful how-to guides featuring step-by-step posts for everyday cooking basics like boiling eggs, cutting onions, caramelizing onions, and more. Perfect for beginner cooks or anyone looking to build confidence in the kitchen.
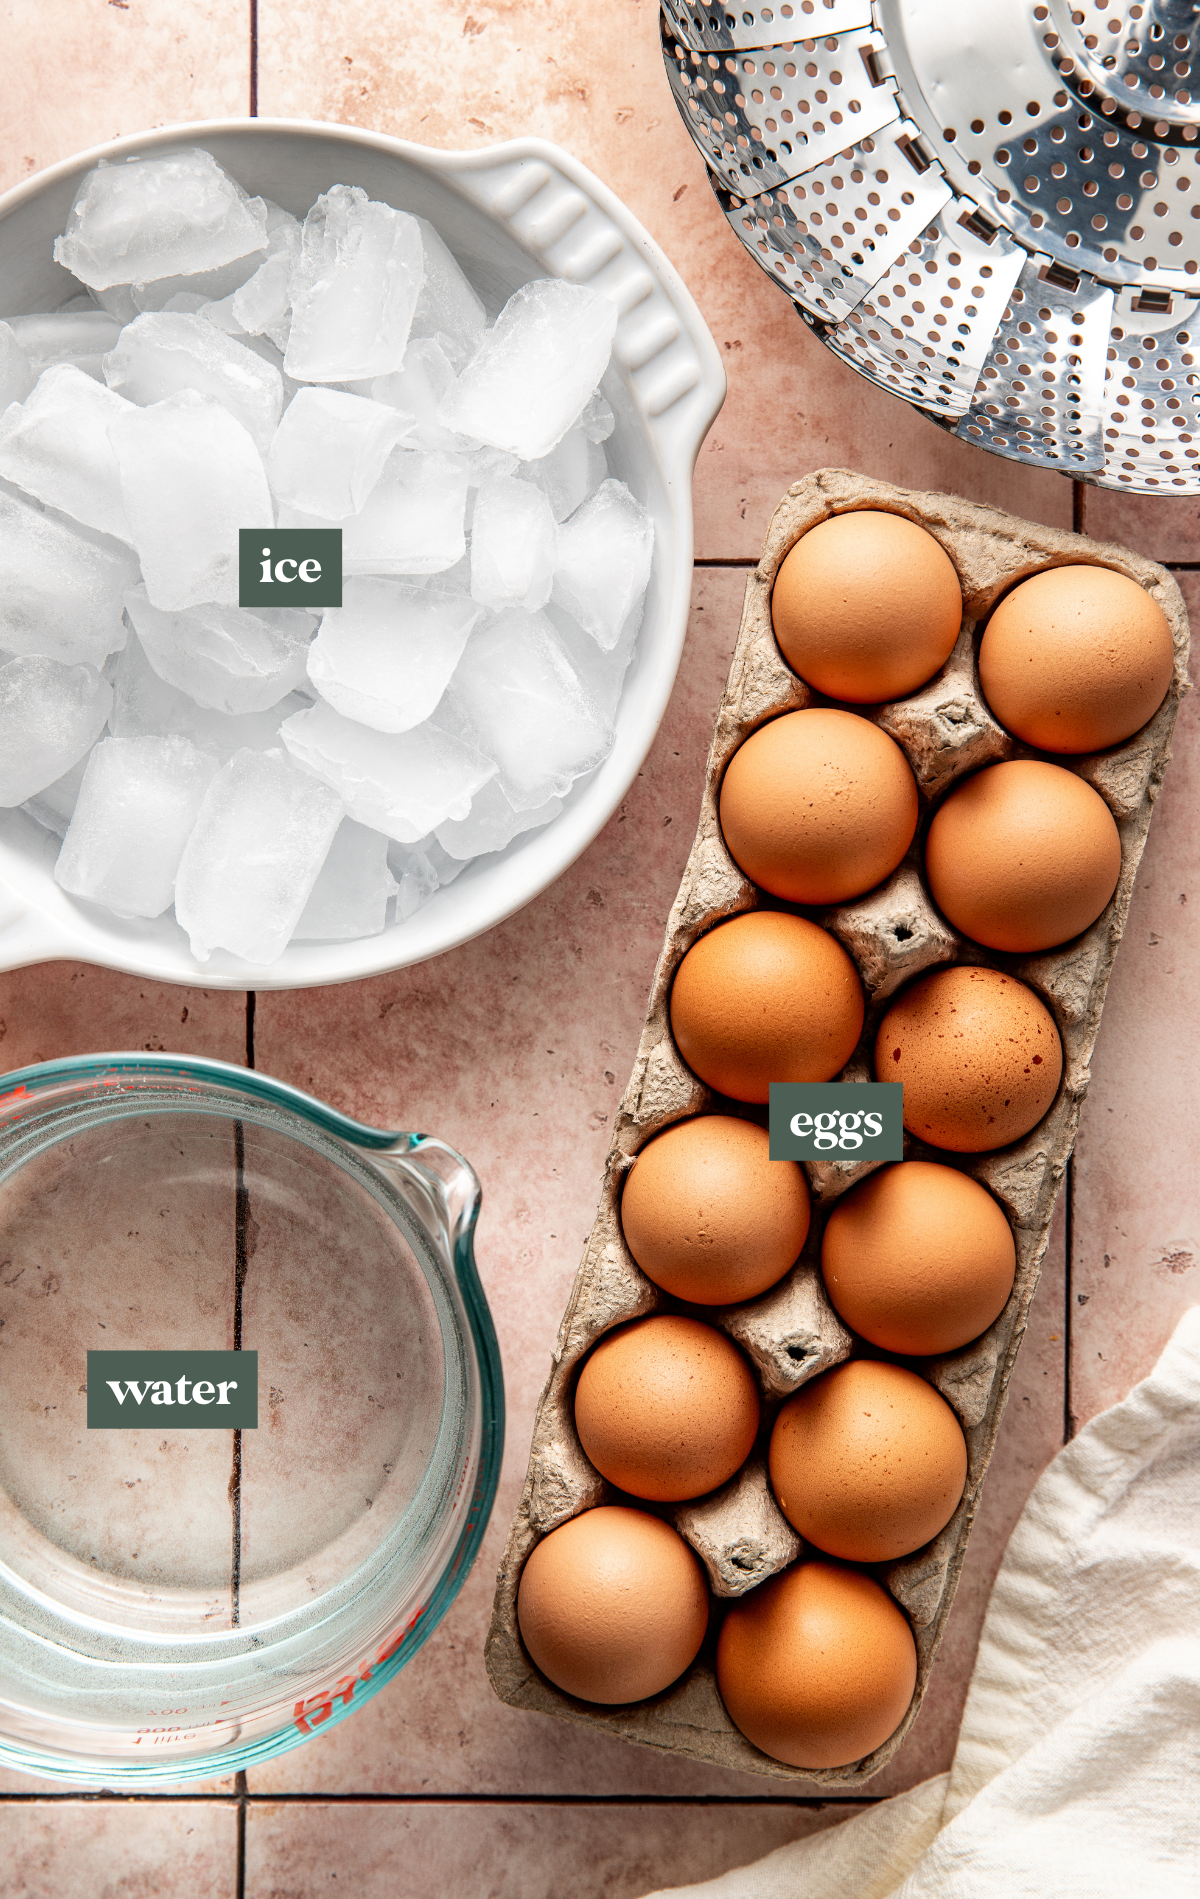
- Large Eggs: I use large eggs for consistent timing and reliable results. I recommend using fridge-cold eggs for this steaming method. I also found that slightly older eggs (about a week old) tend to peel a bit easier than very fresh eggs.
- Water: You’ll need enough water to fully submerge the eggs. Roughly 3 quarts in a large pot works well for 6-12 eggs. No need to add vinegar or baking soda to the water. If you follow these cooking and chilling instructions, the eggs will peel beautifully without anything extra added to the water.
- Ice: The ice bath is crucial for easy-to-peel hard-boiled eggs. This immediately stops the cooking process and helps make the eggs easier to peel. The longer the eggs chill, the better they release from the shell. I found that just 15-minutes in the ice bath resulted in the easiest peel, but you can of course, let them chill longer!
Step by Step Directions
(For the full recipe, scroll down to the recipe card below)
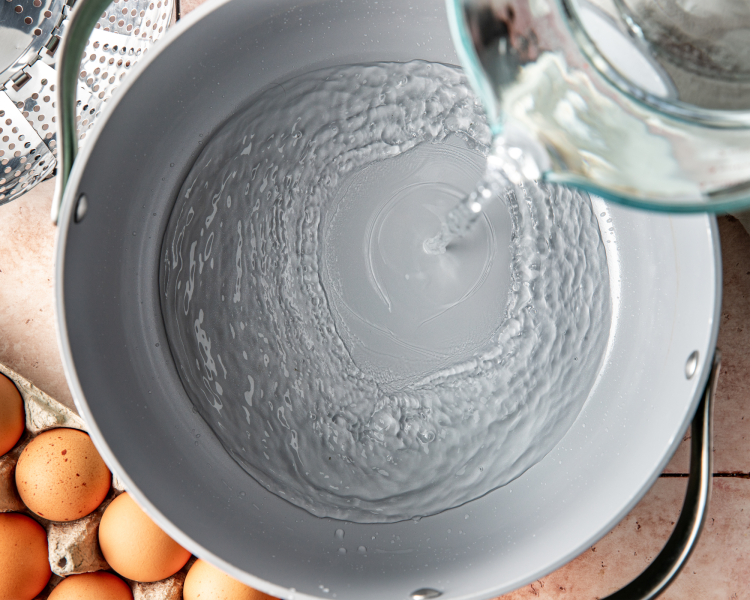
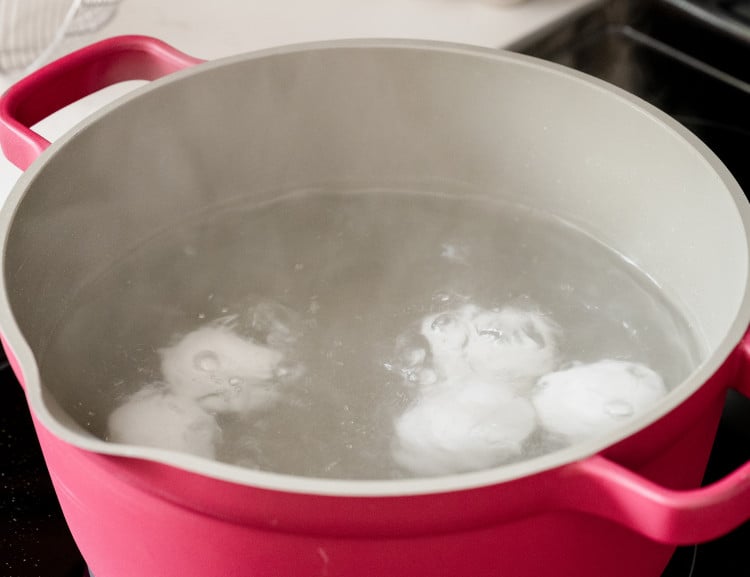
Boil water
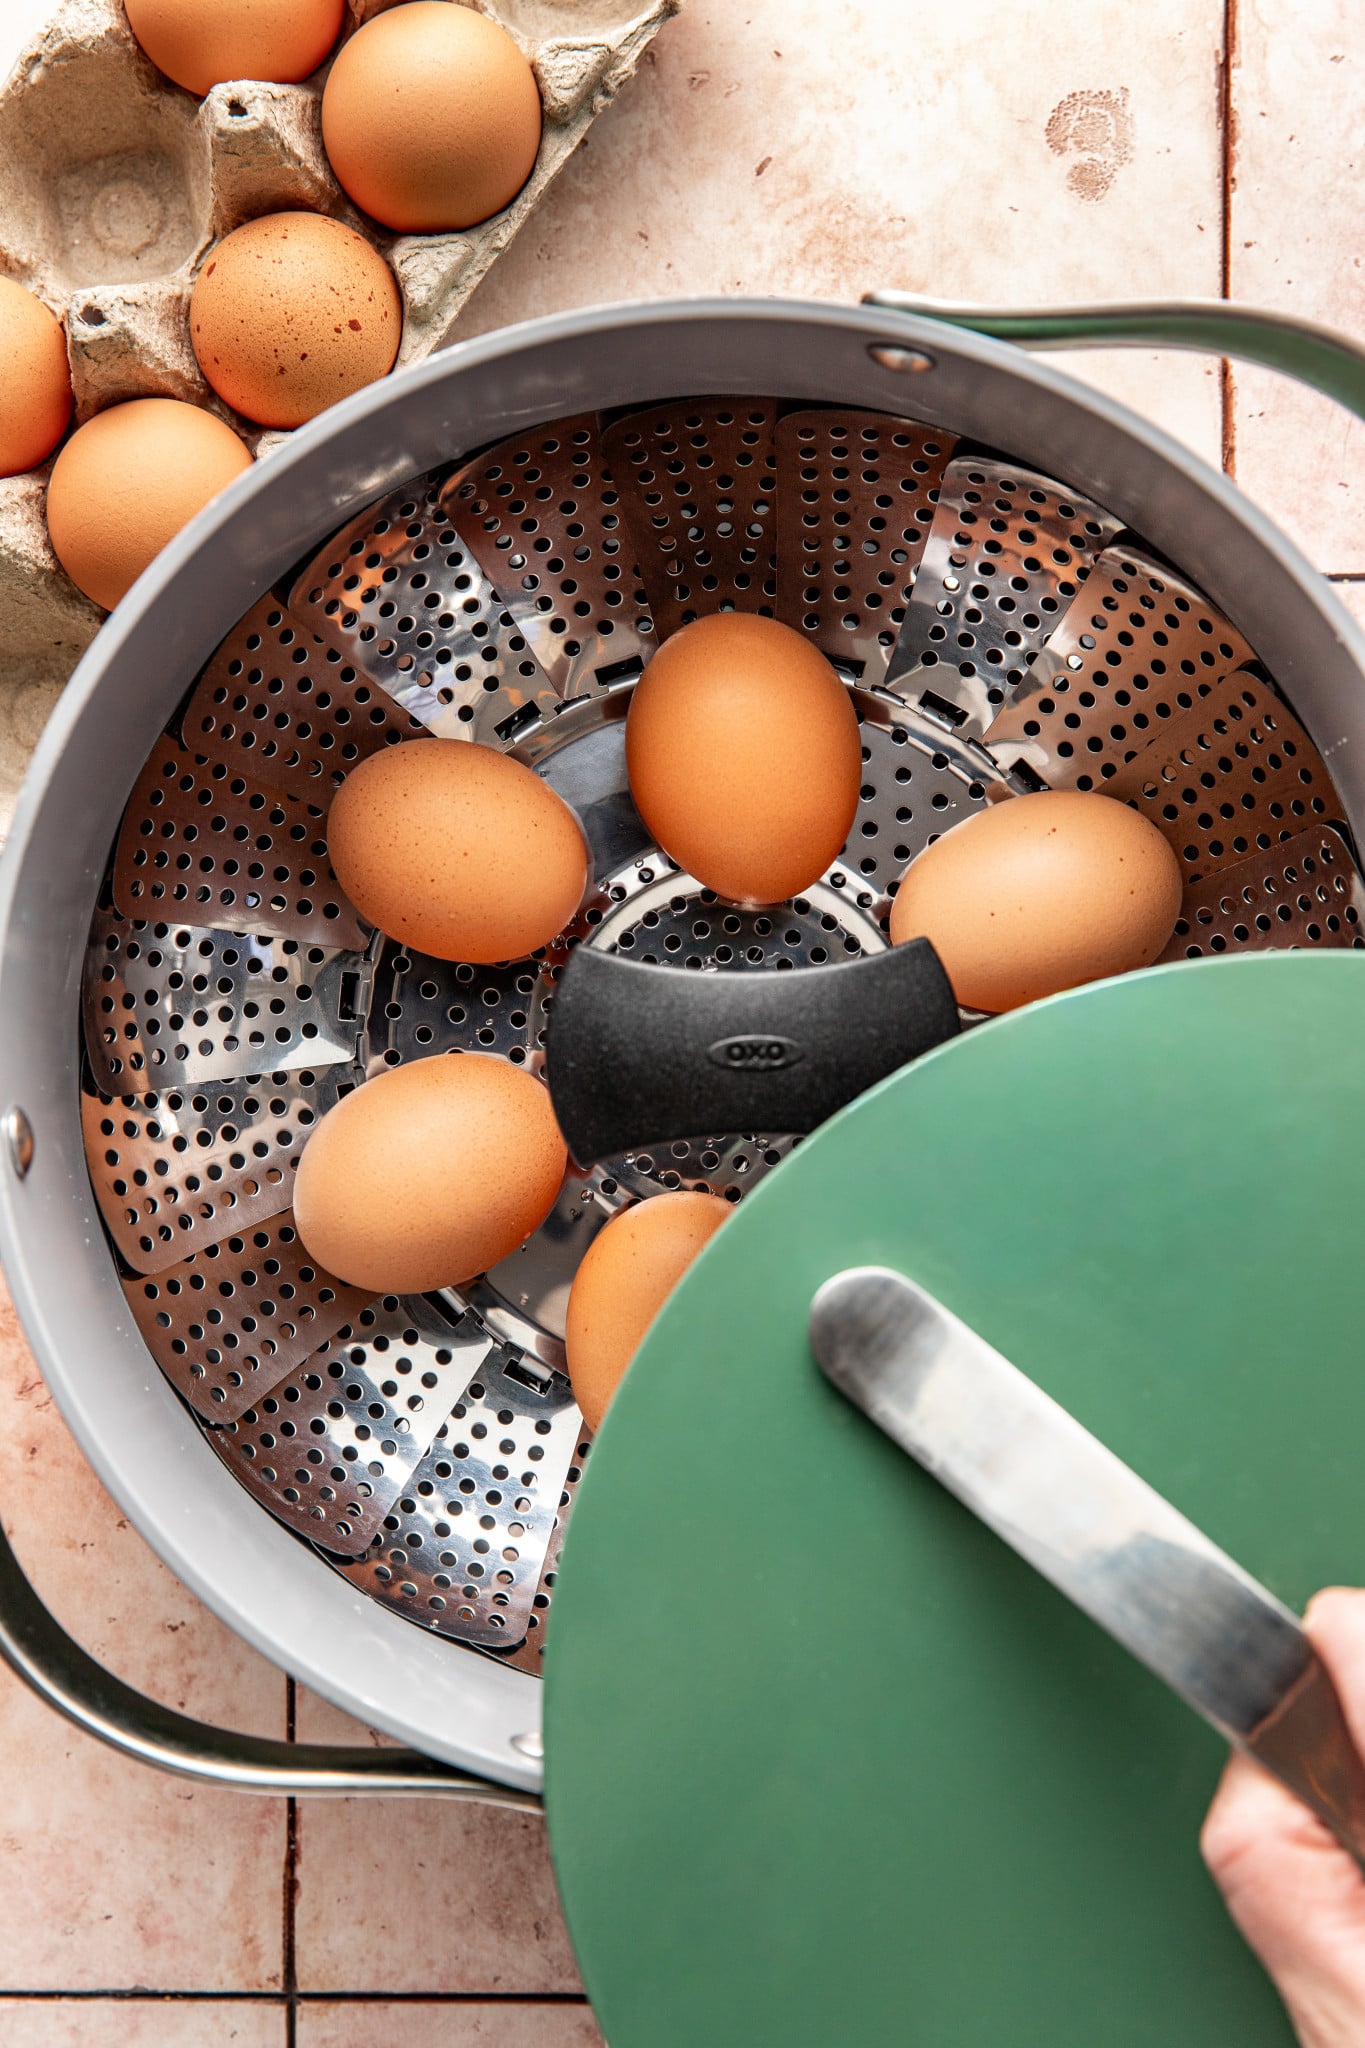
Pour about 1 inch of water into a large pot, then place the steamer basket inside the pot. Bring to a full boil.
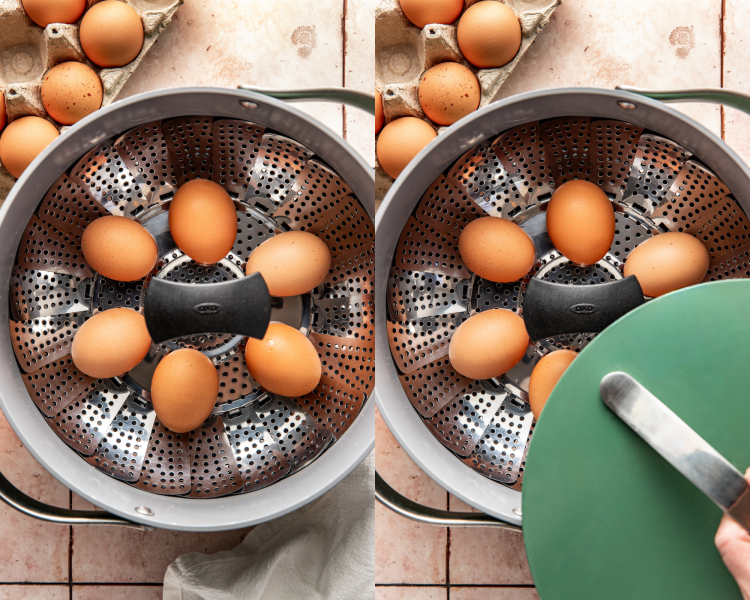
Add eggs
Remove the pot briefly from the burner and carefully place eggs into the steamer basket in a single layer. Return the pot and keep the heat at medium-high.
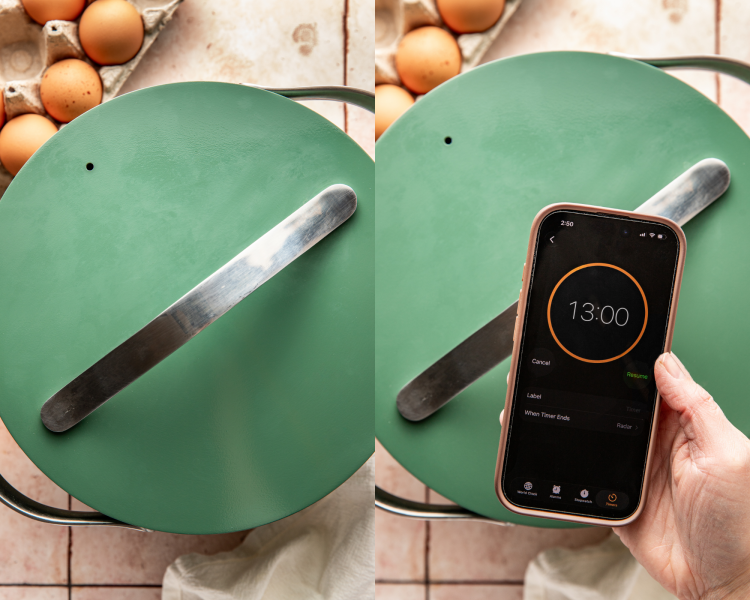
Cover and steam
Cover the pot with a tight-fitting lid and begin timing:
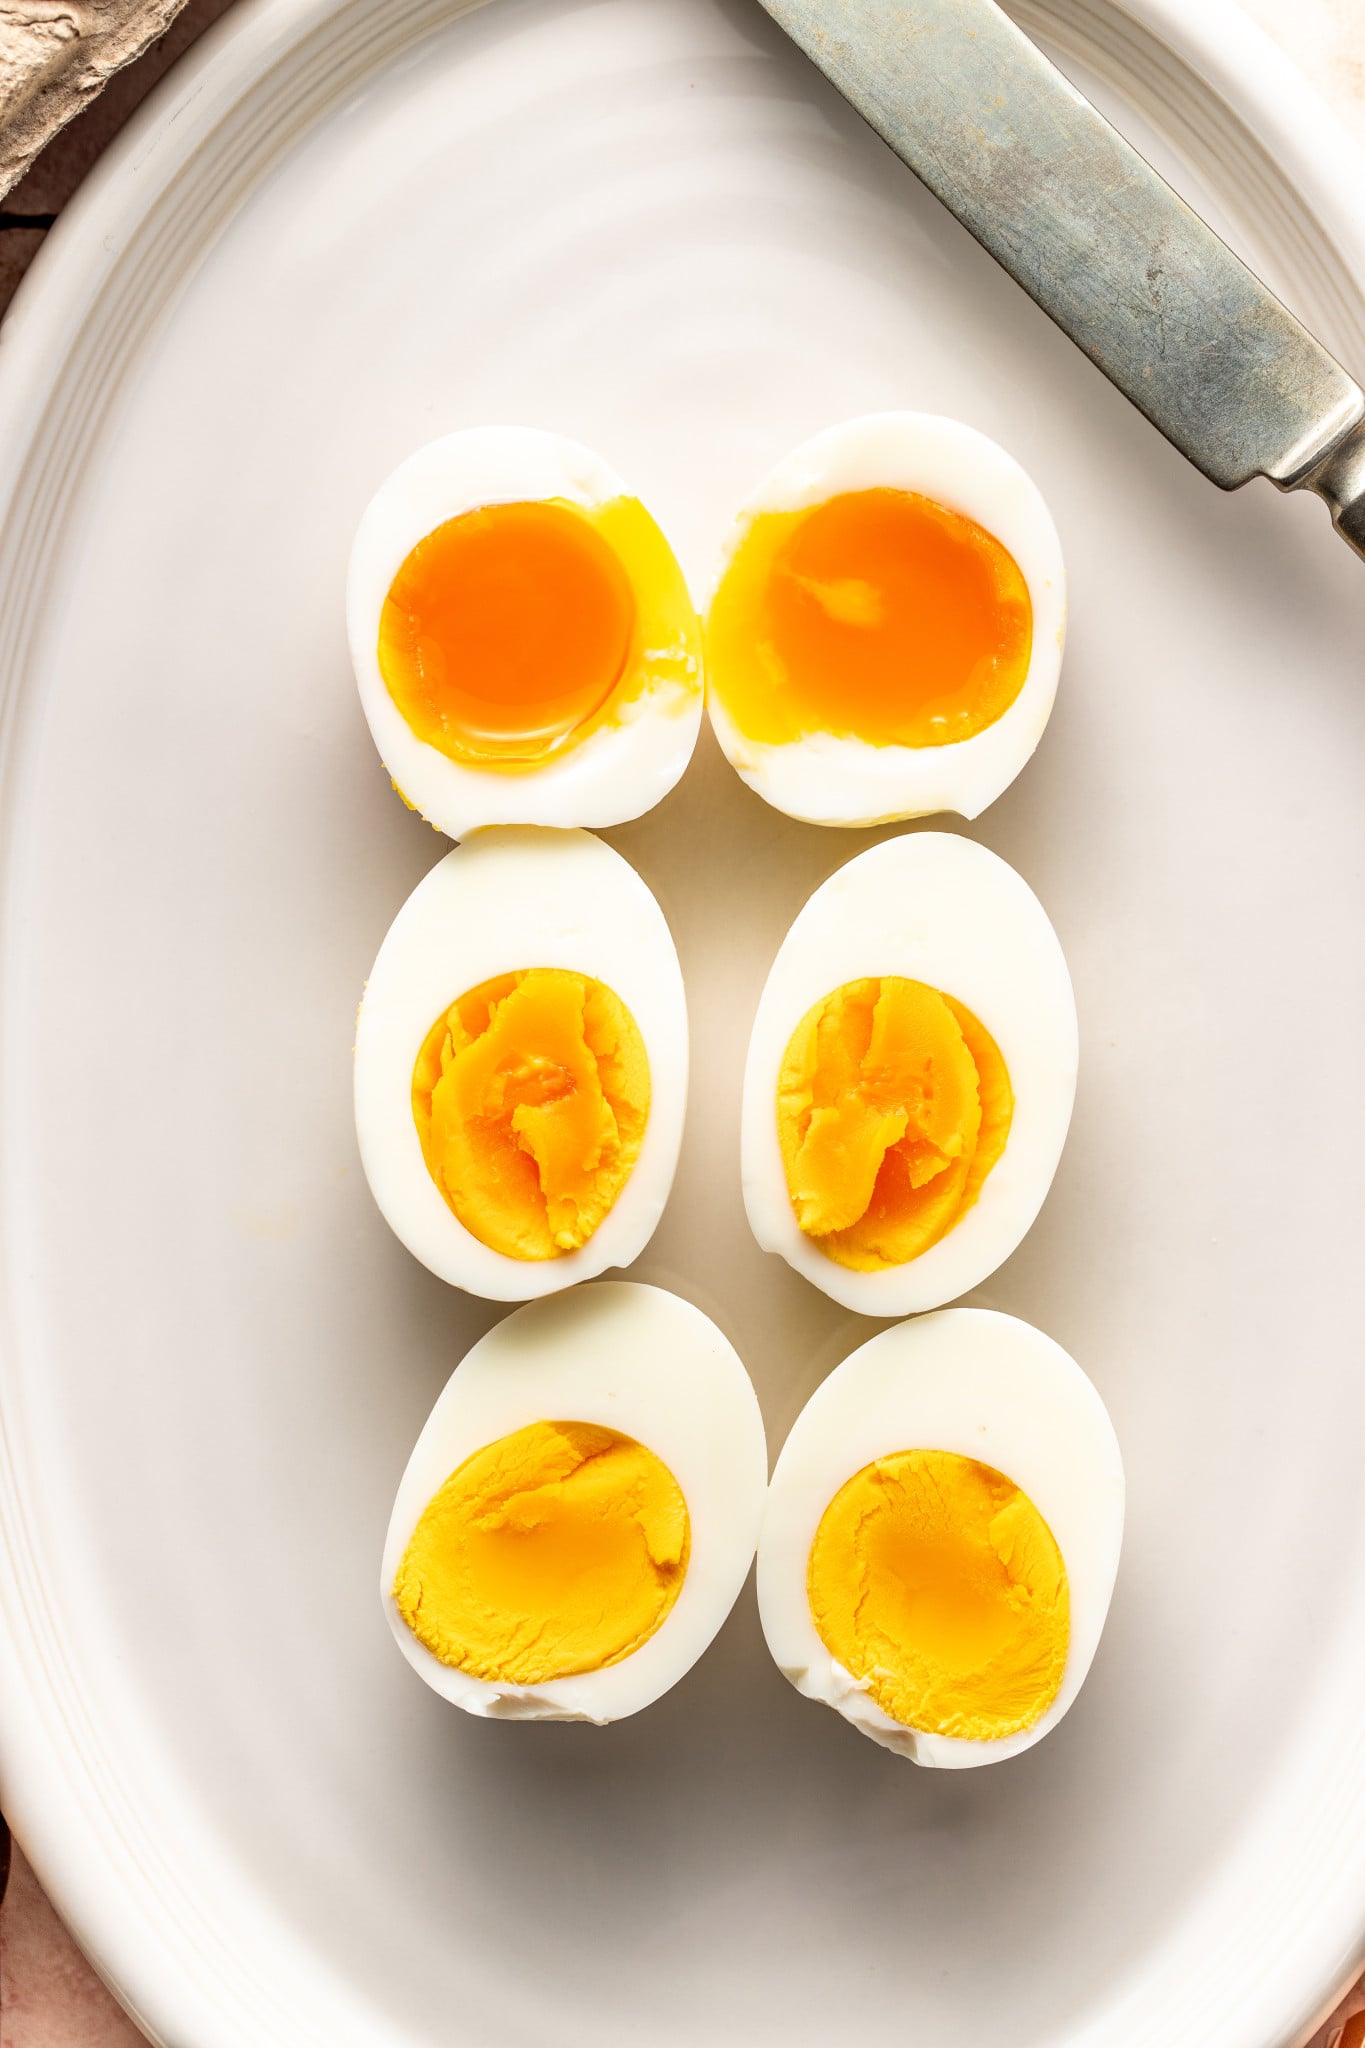
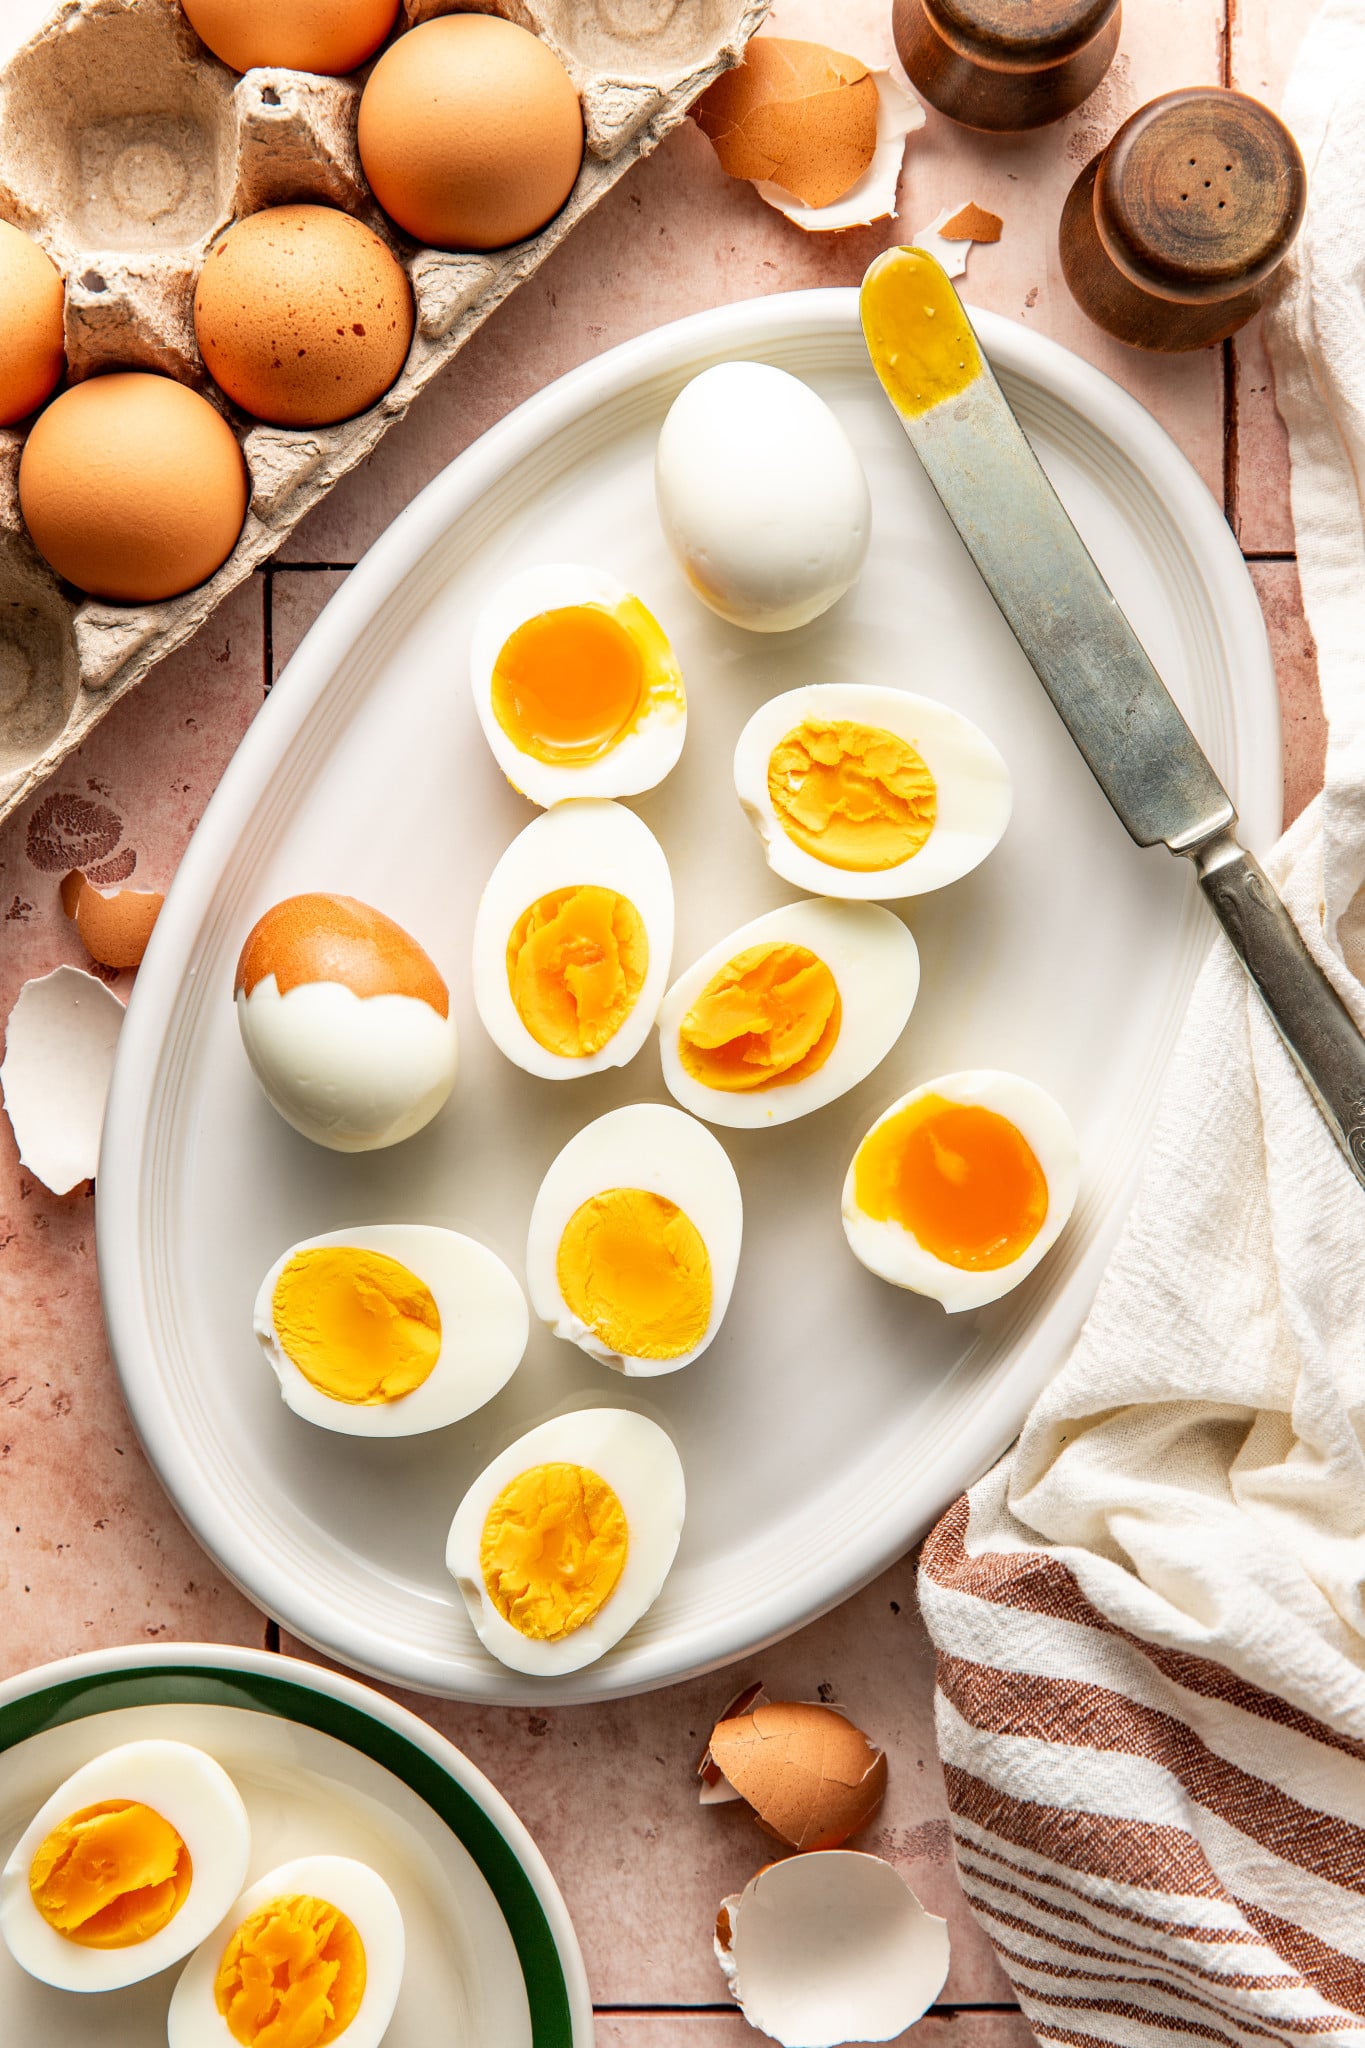
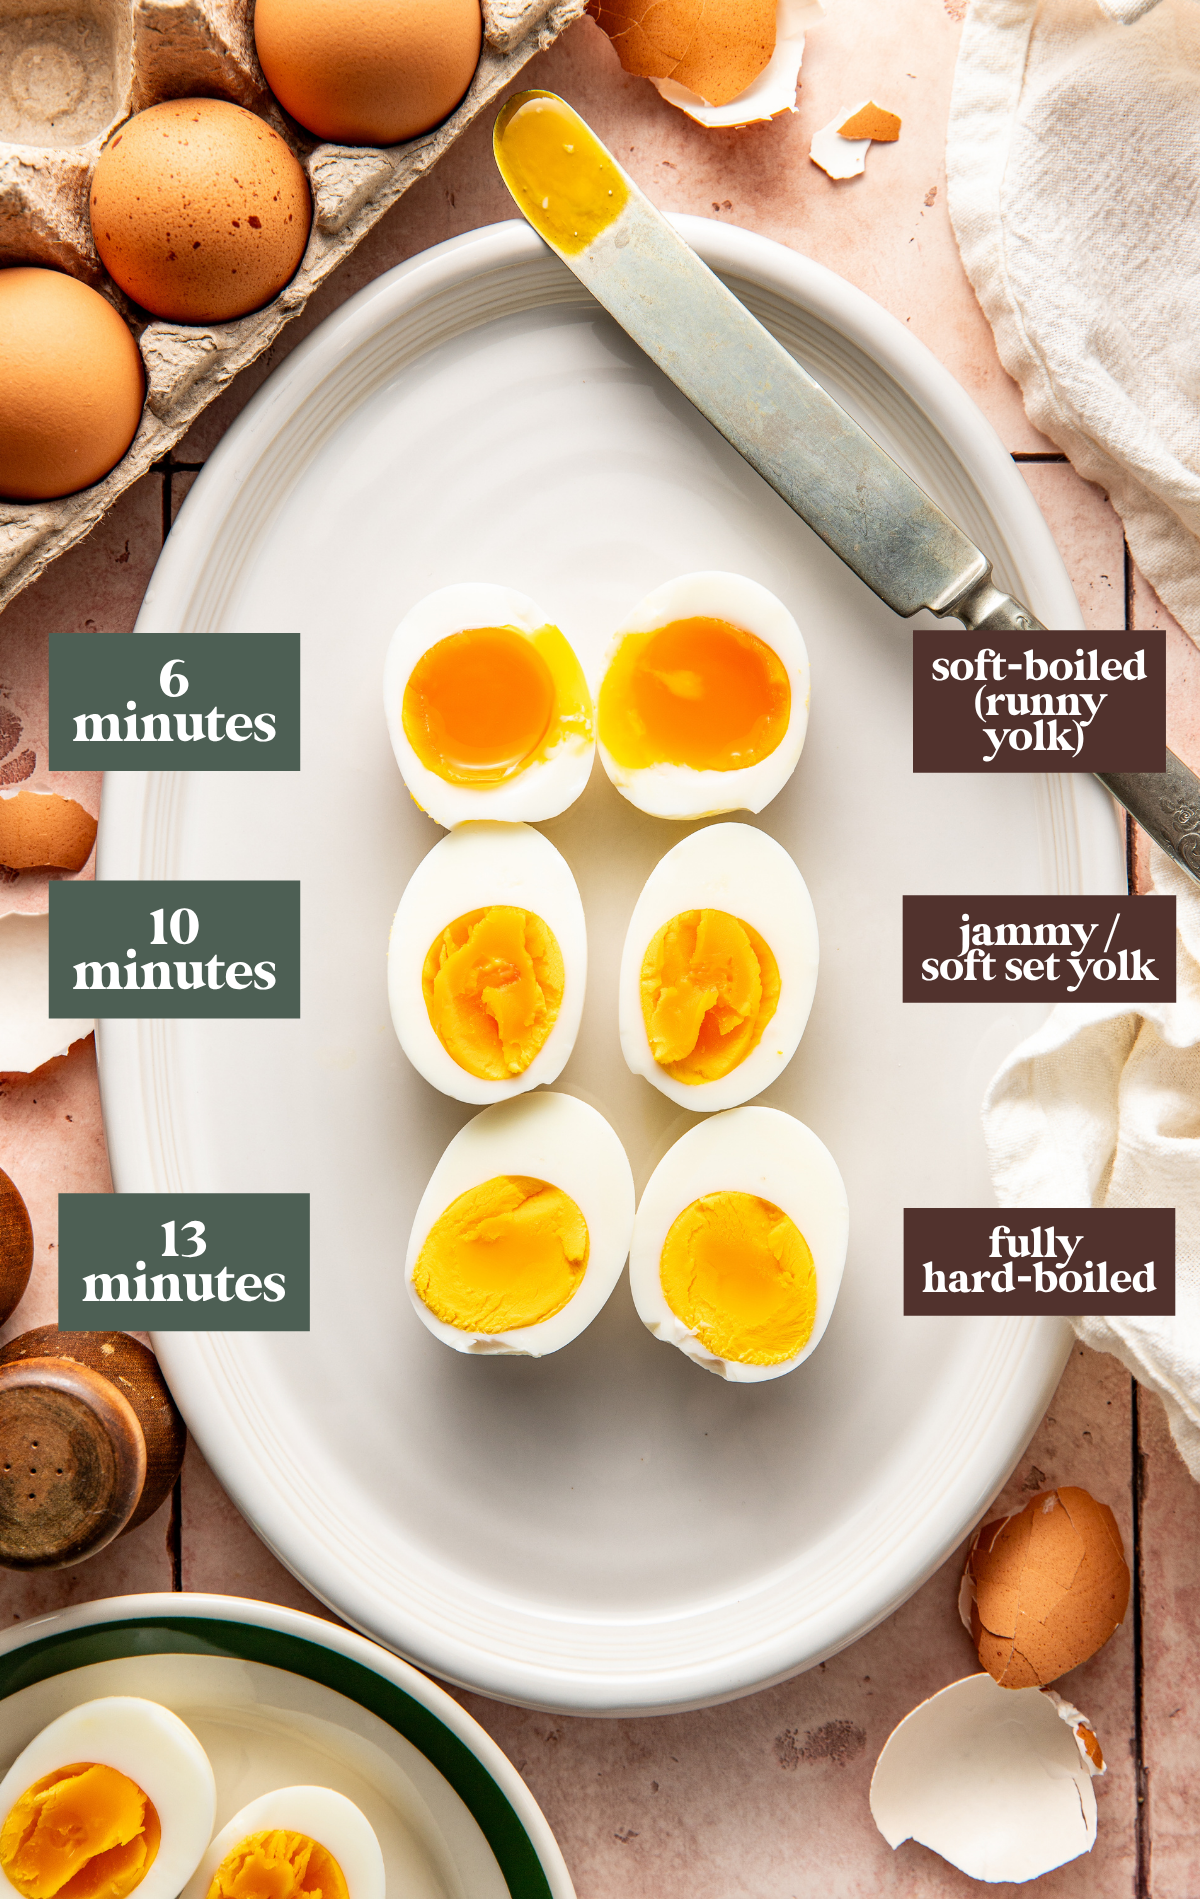
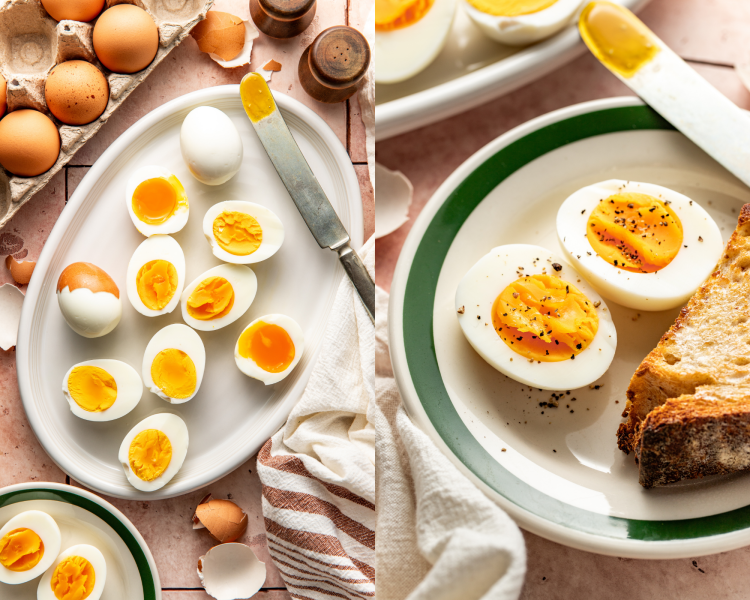
6 minutes → Soft-boiled (runny yolk)
10 minutes → Jammy / soft set yolk
13 minutes → Fully hard-boiled
Tip: If cooking a larger batch, you may need a slightly larger pot and possibly 1-2 additional minutes. If cooking a full 12 eggs, it can take closer to 14-17 minutes for a fully cooled hard-boiled egg.
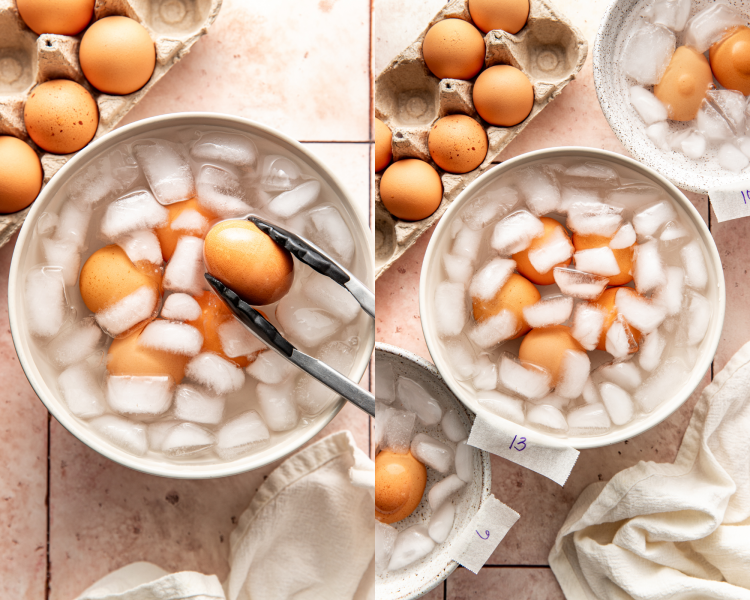
Ice bath
Immediately transfer eggs to an ice water bath and chill for at least 15 minutes.
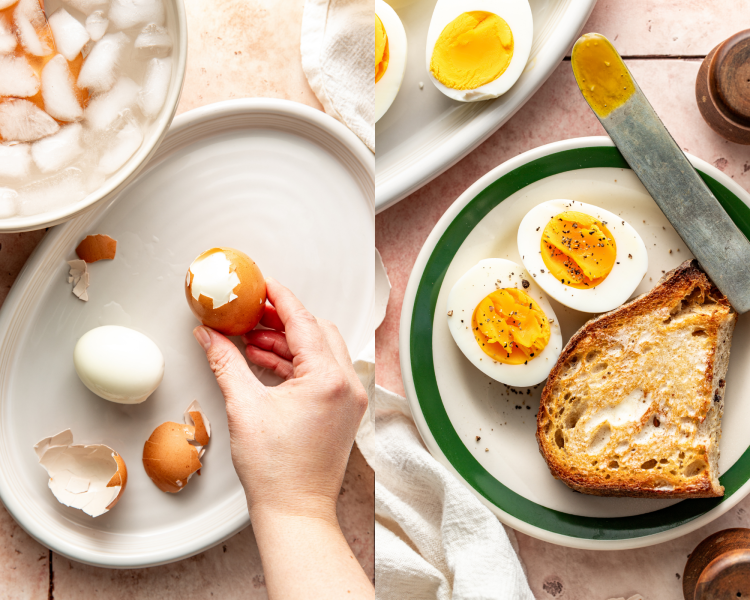
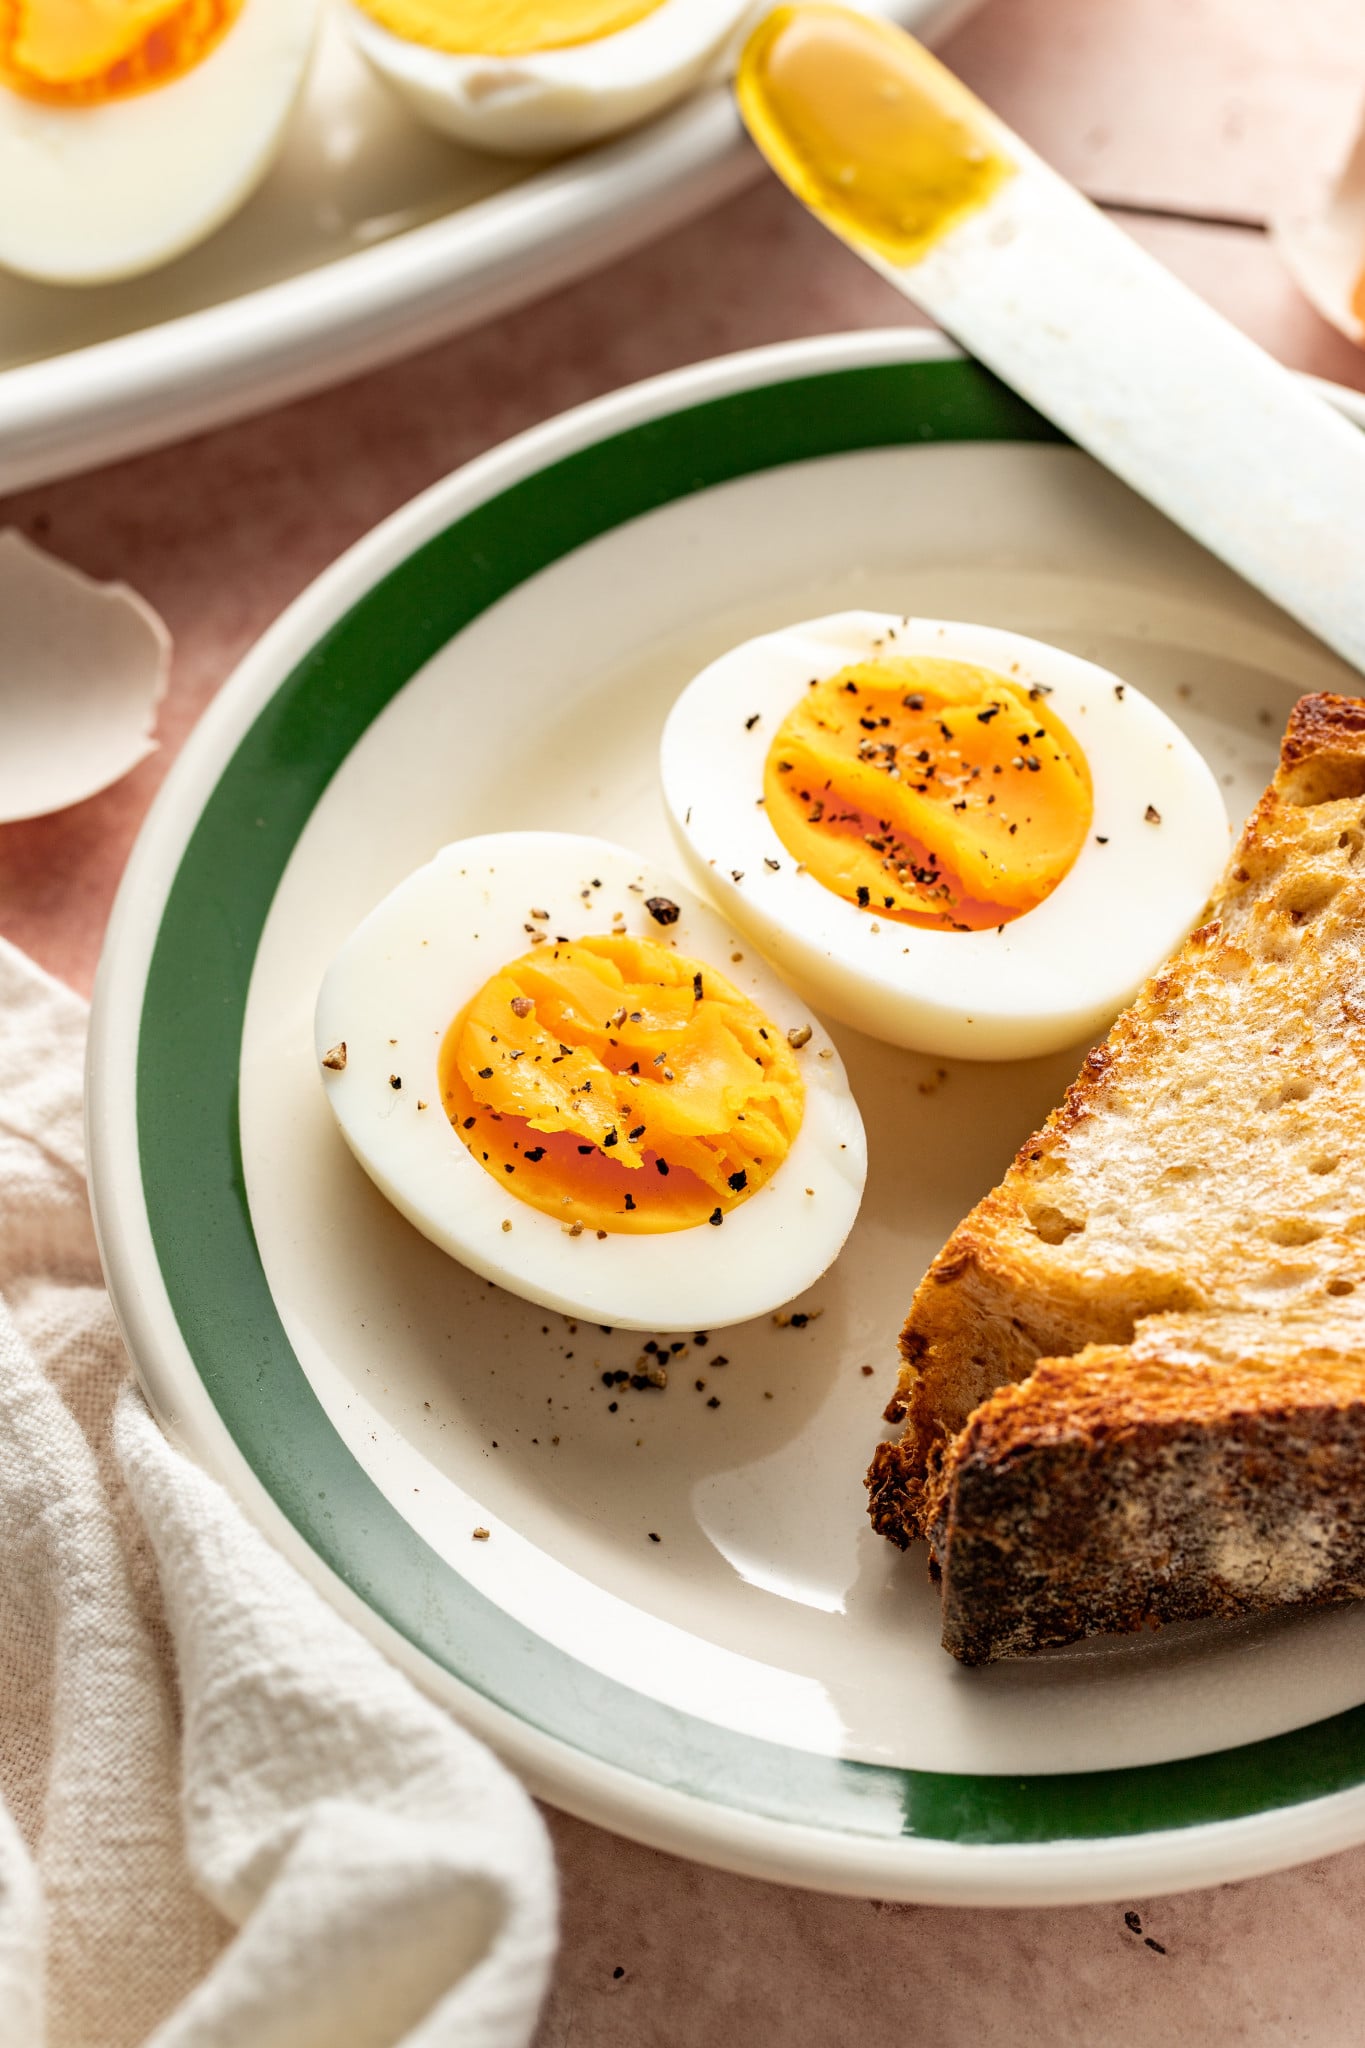
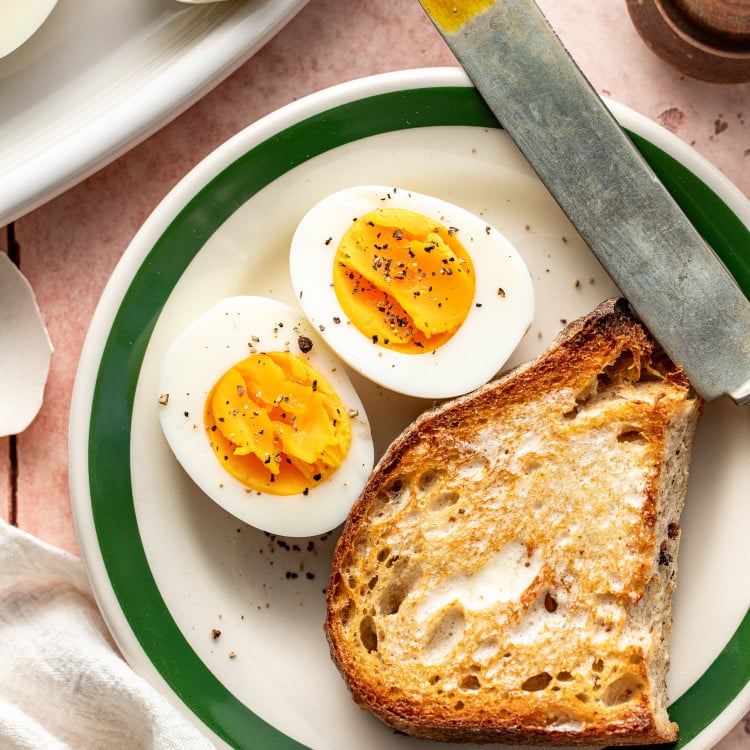
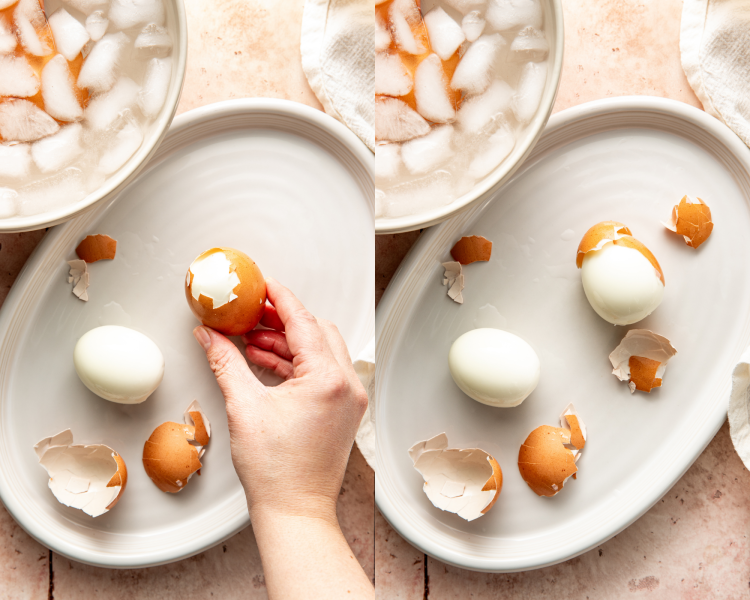
Peel & enjoy!
Gently tap and peel the eggs. Serve with a side of toast or make into a yummy egg salad and ENJOY!!
Expert Tips
- Fridge cold eggs: Use eggs straight from the fridge. No need to let them come to room temperature.
- Use slightly older eggs: Eggs that are 5–10 days old tend to peel more easily than very fresh eggs.
- Cook in a single layer: Make sure not to overcrowd the eggs in the steamer. Steam circulates best when the eggs are placed in a single layer.
- Cooking a larger batch: If cooking a larger batch, you may need a slightly larger pot and possibly 1-2 additional minutes. If cooking a full 12 eggs, it can take closer to 14-17 minutes for a fully cooled hard-boiled egg.
- Set a timer: Even one extra minute can change the texture of the yolk, especially for jammy or soft-boiled eggs. Use a timer for consistent results.
- Avoid overcooking: Overcooked eggs can develop a gray ring around the yolk and a rubbery texture. Proper timing and quick chilling can help prevent this.
- Longer chilling = easier peeling: Transfer eggs immediately to an ice bath to stop the cooking process. Chill at least 15 minutes for best results.
- Peel from the wide end: Crack the shell at the base of the egg where the air pocket is located. This helps the shell release more cleanly.
- Peel under running water: A thin stream of cool water helps separate the shell from the membrane, making peeling smoother and less frustrating.
- Trial and error: As much as I wish I could guarantee success based on my exact instructions, many things can influence the steaming time, including altitude and the size of the particular eggs you are using. You might need to trial and error and see what exact timing works best for you, your eggs, and your environment.
Storage / Freezing
- Store with shell on for longest freshness: Hard-boiled eggs keep best in their shells. Store them in an airtight container in the refrigerator for up to 7 days.
- If peeled, store properly: Peeled eggs should be stored in an airtight container with a damp paper towel to prevent them from drying out. Use within about 3 days.
- 2-hour mark: After cooking, make sure to refrigerate your hard-boiled eggs within two hours. You also shouldn’t leave refrigerated cooked eggs out at room temperature for more than two hours.
- Keep away from strong odors: Eggs can easily absorb smells from other foods. Store them sealed and away from other strongly scented ingredients like onions.
- Label with the date: If you batch cook eggs for the week, jot the date on the container so you know when they were made.
- No freezing: While I love freezing leftovers or intentionally meal-prepping meals to go in the freezer, hard-boiled eggs are NOT a good candidate for the freezer. The whites become rubbery and watery after thawing. You’re better off making them when you need them, or just a few days before.
Check out these other great methods for hard-boiled eggs
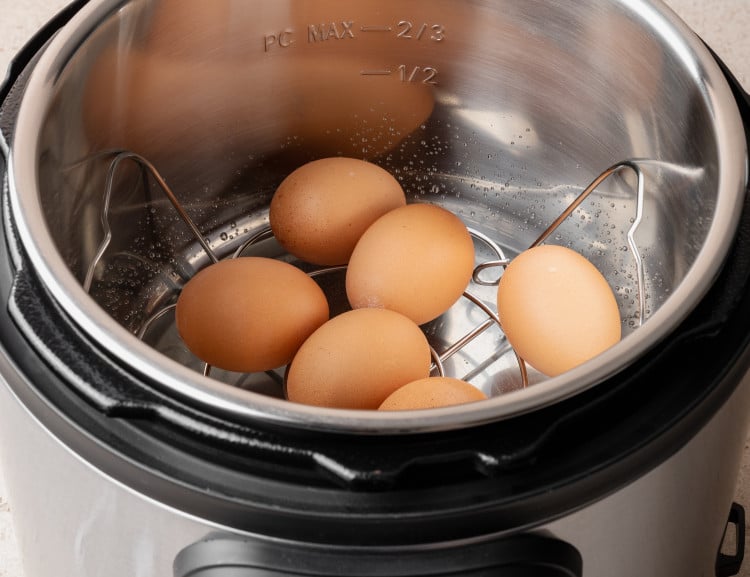
Instant Pot
One of my absolute favorite ways to make “hard boiled” eggs is in the Instant Pot! I’ve been doing this for many years and this 5-5-5 method is truly magical.
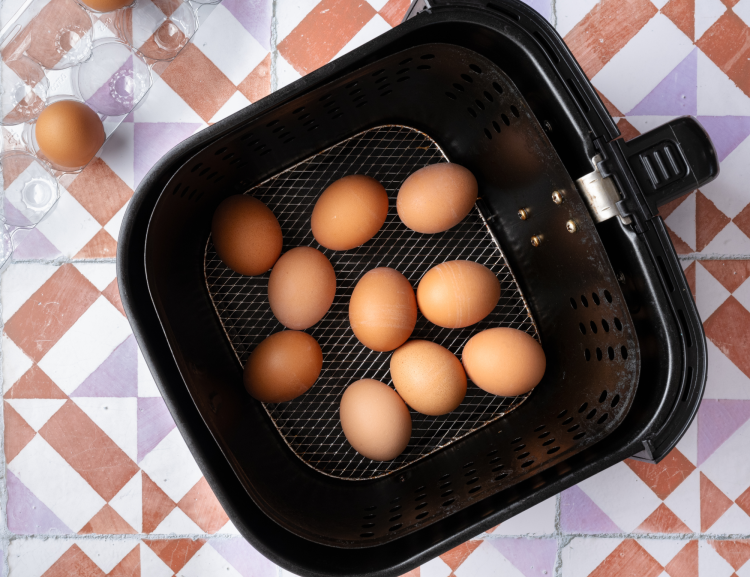
Air Fryer
Make perfect hard-boiled eggs in the air fryer (no boiling water required)! This easy, hands-off method creates perfectly cooked eggs every time and is great for meal prep.
Stove Top Method
Want perfect hard-boiled eggs every single time? I tested multiple stove top methods (so you don’t have to!) and found 2 easy techniques that deliver consistent, delicious results and eggs that peel effortlessly.
shop this post
 Buy Now →
  Buy Now →
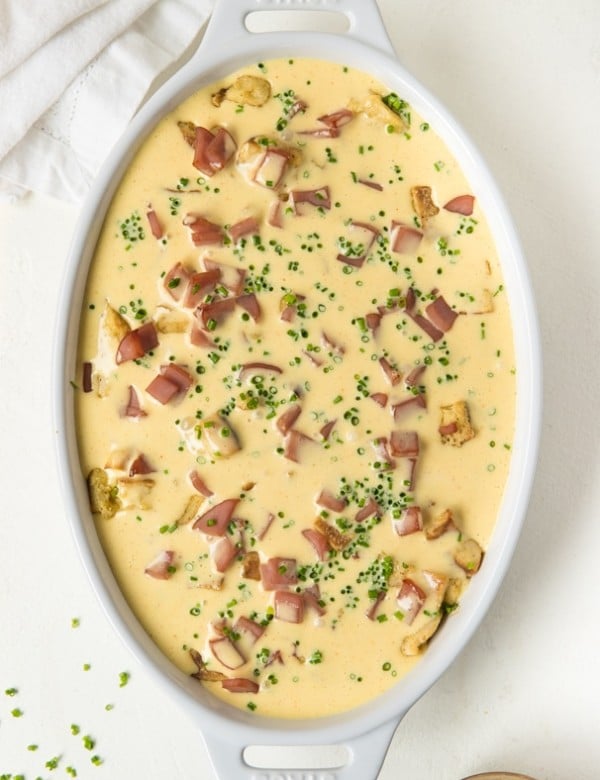
Before You Begin! If you make this, please leave a review and rating letting us know how you liked this recipe! This helps our business thrive & continue providing free recipes.
How To Steam Hard Boiled Eggs
Ingredients
- 6-12 eggs
- Water
- Ice
Last step! If you make this, please leave a review and rating letting us know how you liked this recipe! This helps our business thrive & continue providing free recipes.
Instructions
- Add water: Pour about 1 inch of water into a large pot; it should reach the bottom of the steamer basket. It’s okay if the water lightly touches the basket. Place the steamer basket inside the pot.

- Bring to a boil: Bring the water to a full boil over medium-high heat.
- Add the eggs: Remove the pot briefly from the heat. Carefully place eggs into the steamer basket in a single layer. Return the pot to the burner and keep the heat at medium-high.6-12 eggs
- Cover and steam: Cover the pot with a tight-fitting lid and begin timing: 6 minutes → Soft-boiled (runny yolk) Start Timer10 minutes → Jammy / soft set yolk Start Timer13 minutes → Fully hard-boiled Start TimerIf cooking a larger batch, you may need a slightly larger pot and possibly 1-2 additional minutes. If cooking a full 12 eggs, it can take closer to 14-17 minutes for a fully cooled hard-boiled egg.
- Ice bath: Immediately transfer eggs to an ice water bath and chill for at least 15 minutes. This stops the cooking process and helps with easy peeling. Start TimerIce, Water
- Peel: Gently tap the wide end (bottom) of the egg to crack the shell. Peel under a thin stream of cold running water if desired.
- Enjoy: Serve and enjoy!
Equipment
Notes
- 6 minutes → Soft-boiled (runny yolk)
- 10 minutes → Jammy / soft set yolk
- 13 minutes → Fully hard-boiled
Nutrition Information
Nutritional information is provided as a courtesy and is automatically calculated. It should only be construed as an estimate rather than a guarantee. Ingredients can vary and Kroll’s Korner can’t make any guarantees to the accuracy of this information.
📸 Photos by Megan McKeehan of The Broke Girl Table
