Peanut Butter Rice Krispie Treats
This post may contain affiliate links. Please read our disclosure policy.
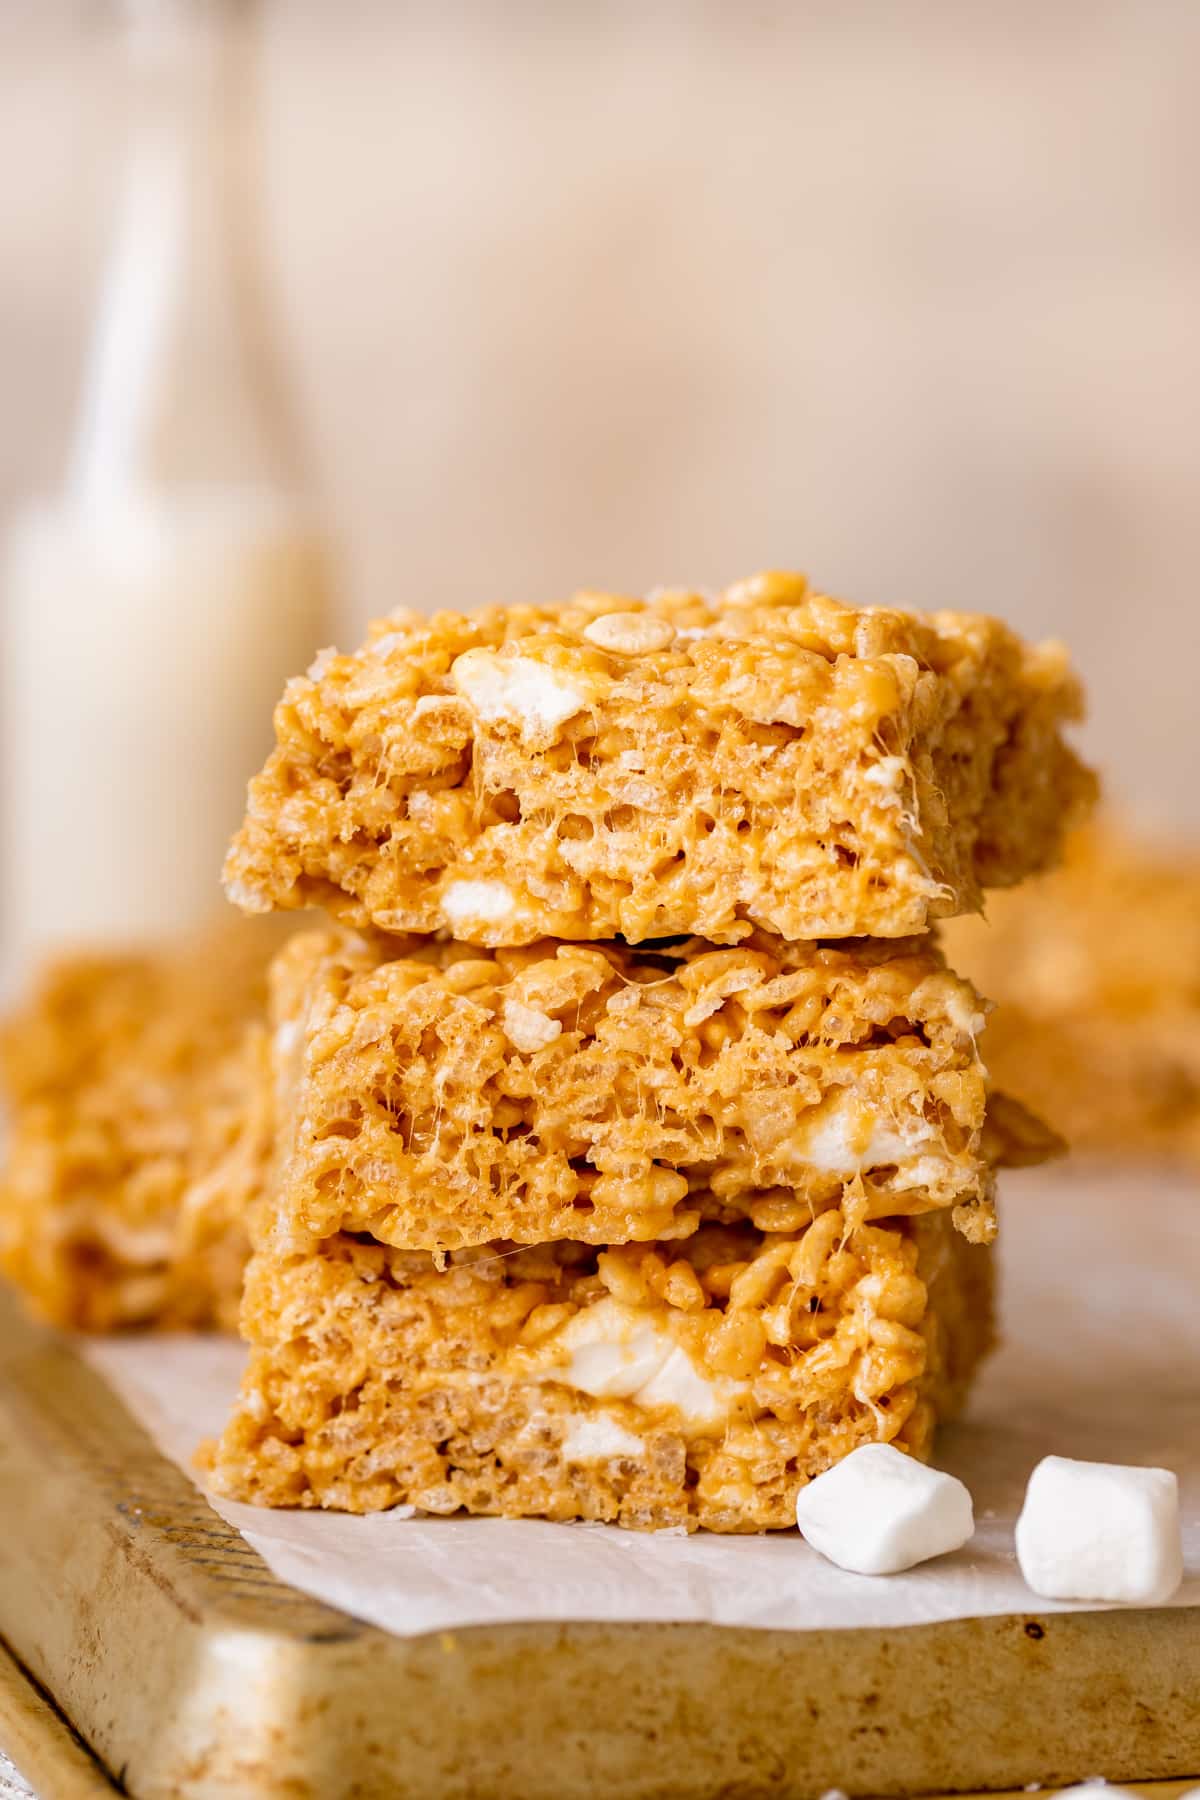
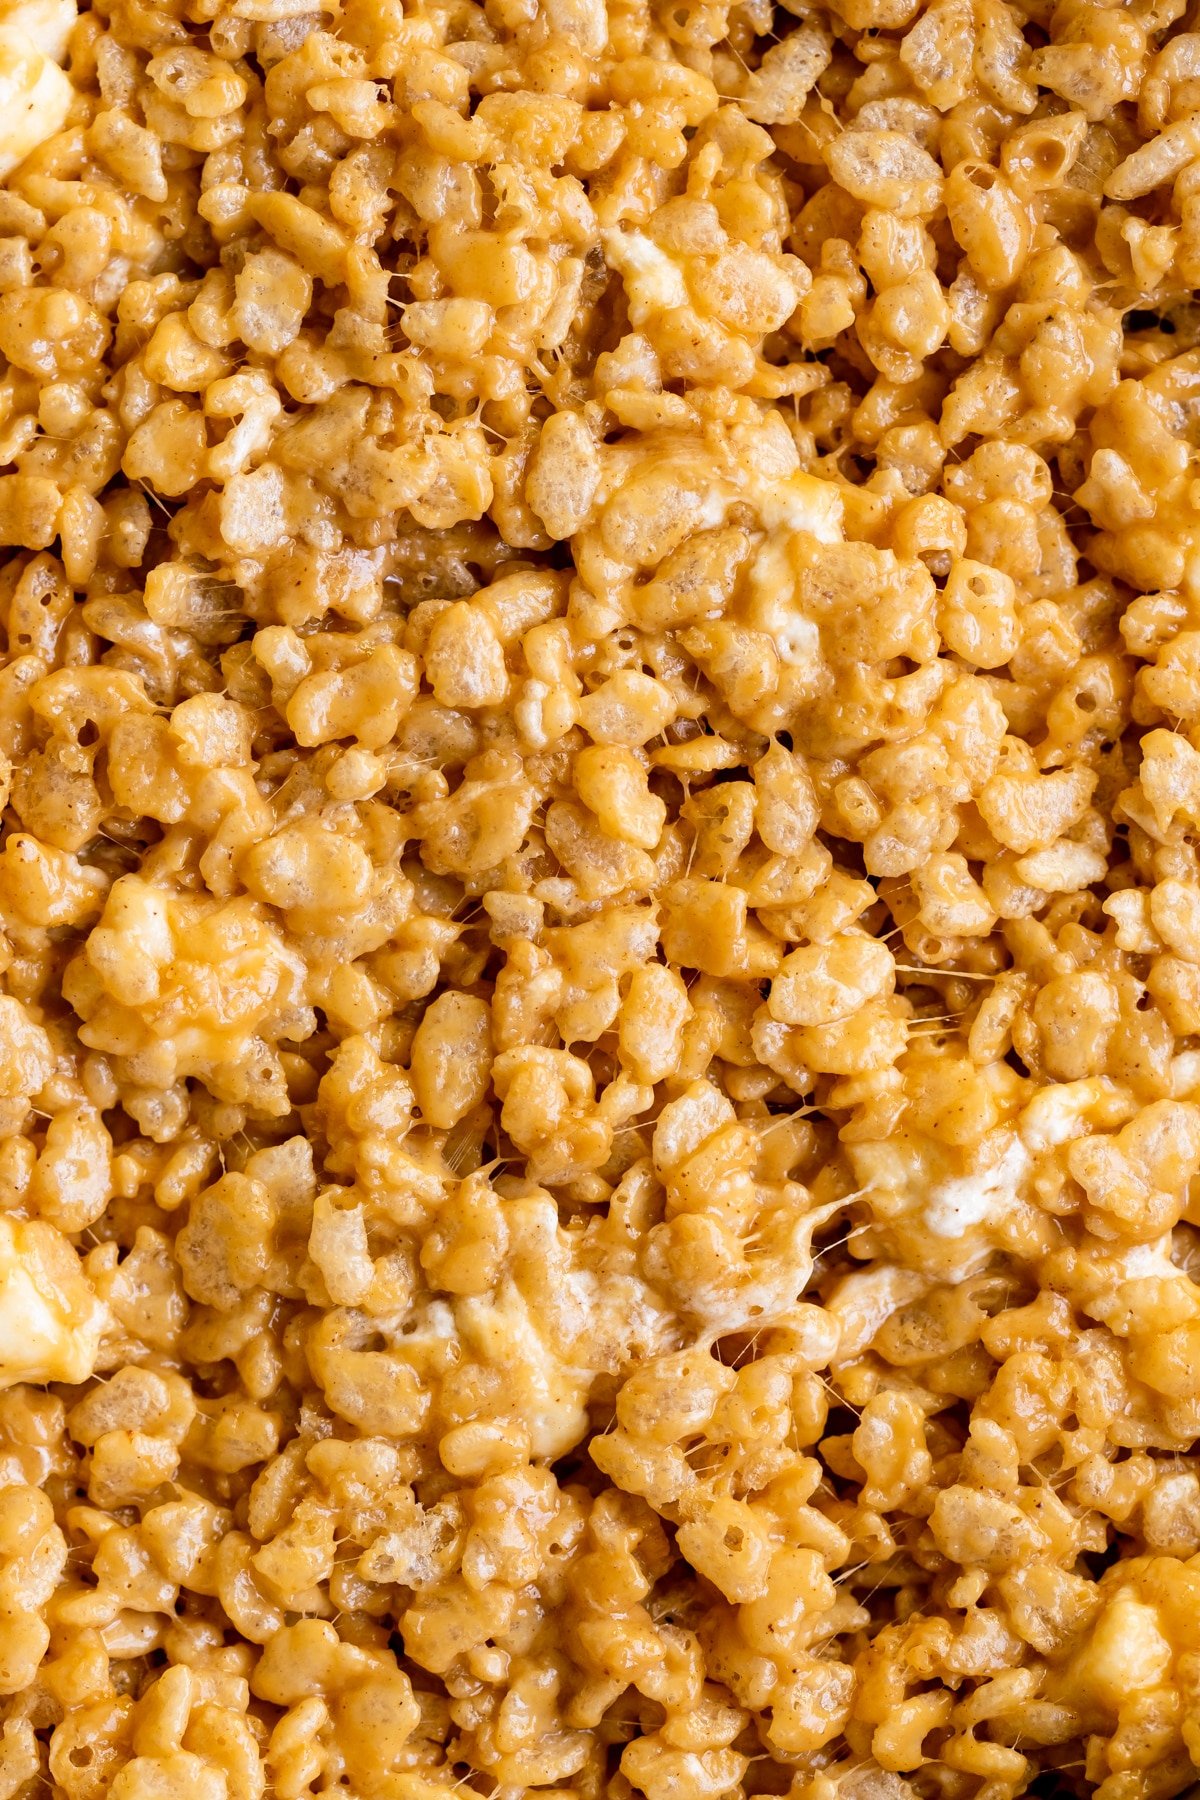
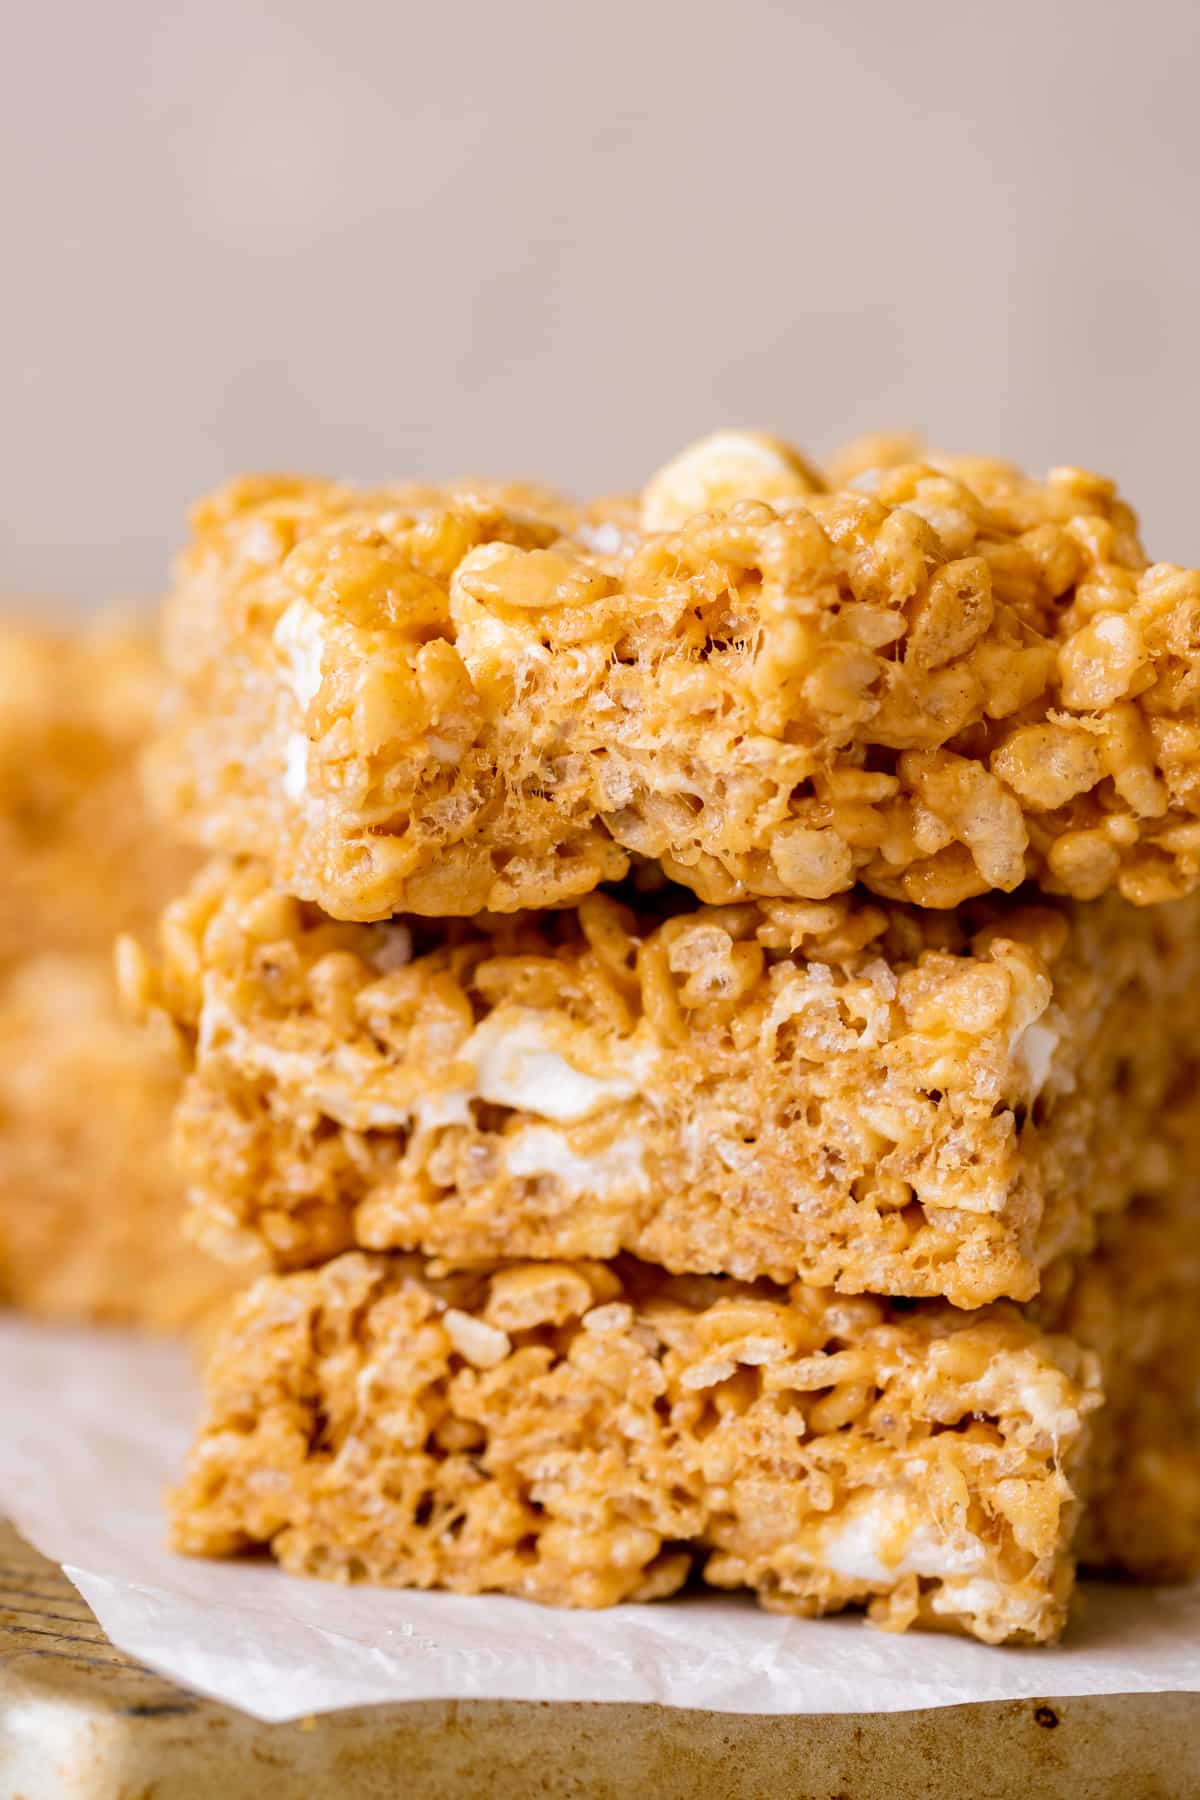
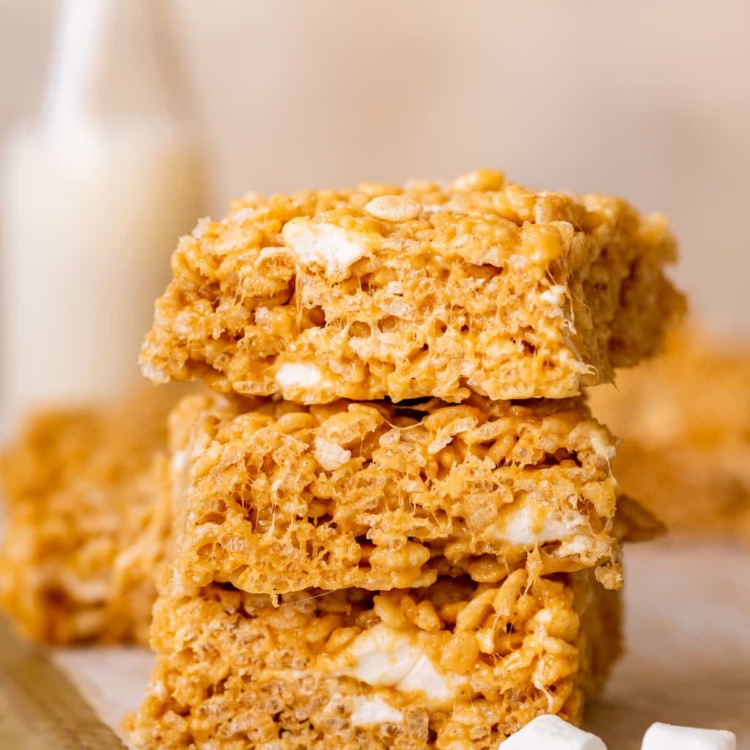
I’m taking your favorite, classic rice krispie treat and elevating them with creamy peanut butter and brown butter to create these unbelievably tasty, thick, and chewy peanut butter rice krispie treats!
And if you love these, you’ll love my Sheet Pan Rice Krispies too! They are perfect for parties and easy to transport.
The snap, crackle and pop noises that Rice Krispies make in milk is a great childhood memory that comes rushing back when eating my Peanut Butter Rice Krispie Treats.
No, you won’t hear snap, crackly & pop when biting into these treats, but you will taste the sweet, salty and nutty flavors of my delicious, ooey-gooey-chewy Peanut Butter Rice Krispie Treats.
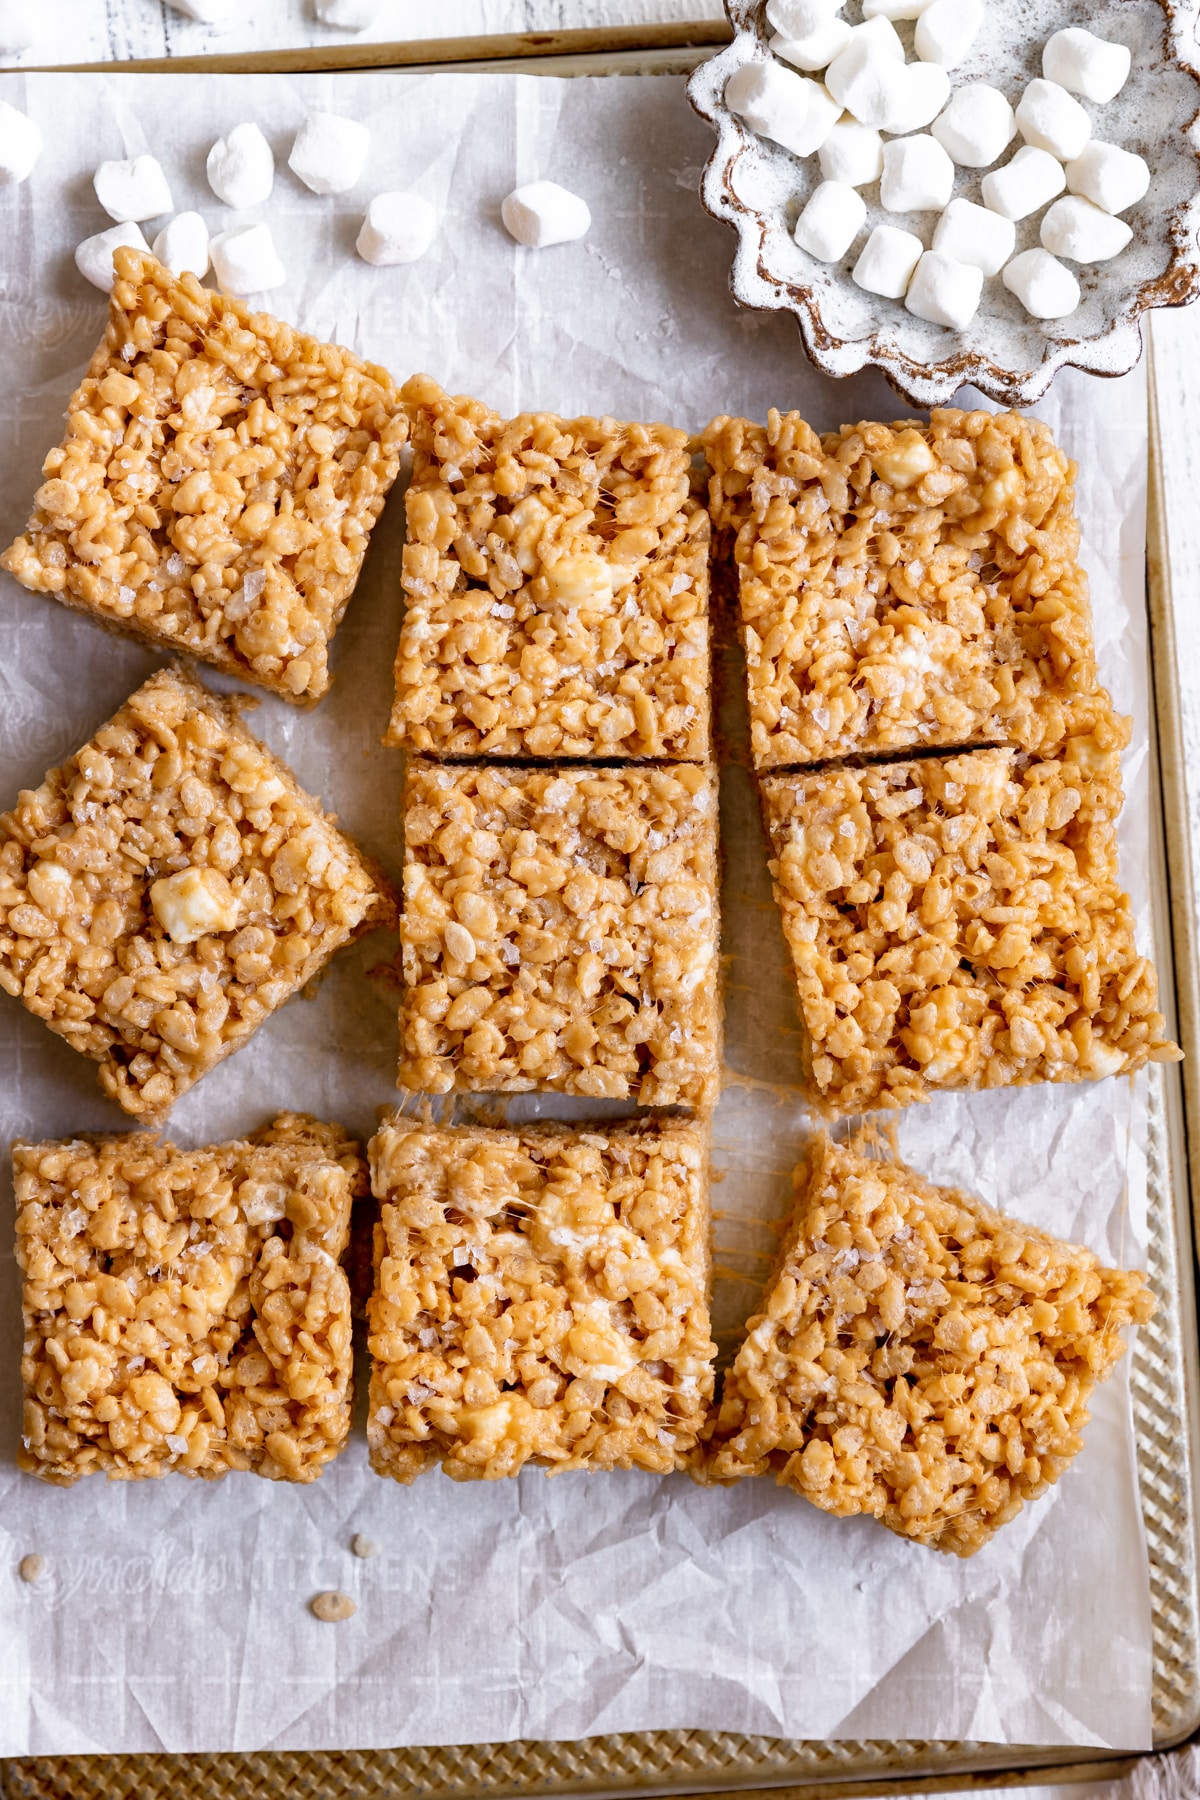
I guess you might say that this is somewhat of a copycat recipe, since Kellogg’s started making the Rice Krispie Treats 60 years ago, but by adding in the toasty-nuttiness of the brown butter and peanut butter I’ve turned these classic treats into your next indulgence.
If you can’t get enough peanut butter sweets, make sure to check out my Peanut Butter Muffins, Chocolate Dipped Chewy Peanut Butter Cookies, and Peanut Butter Blondies for more inspiration!
Why You Will Love These Peanut Butter Rice Krispie Treats
- This is the perfect NO-BAKE treat.
- They have the perfect ratio of marshmallow to rice krispie and plenty of peanut butter flavor.
- If you are short on time, but need a quick dessert, these Peanut Better Rice Krispie Treats can be your saving grace!
- Only requires pantry staple ingredients.
- Brown butter makes all the difference in these tasty, toasty, peanut buttery treats.
- Who doesn’t love a good rice krispie?!
Ingredient Notes
You only need 6 ingredients to bring together this dessert! Be sure to scroll down to the recipe card for the measurements.
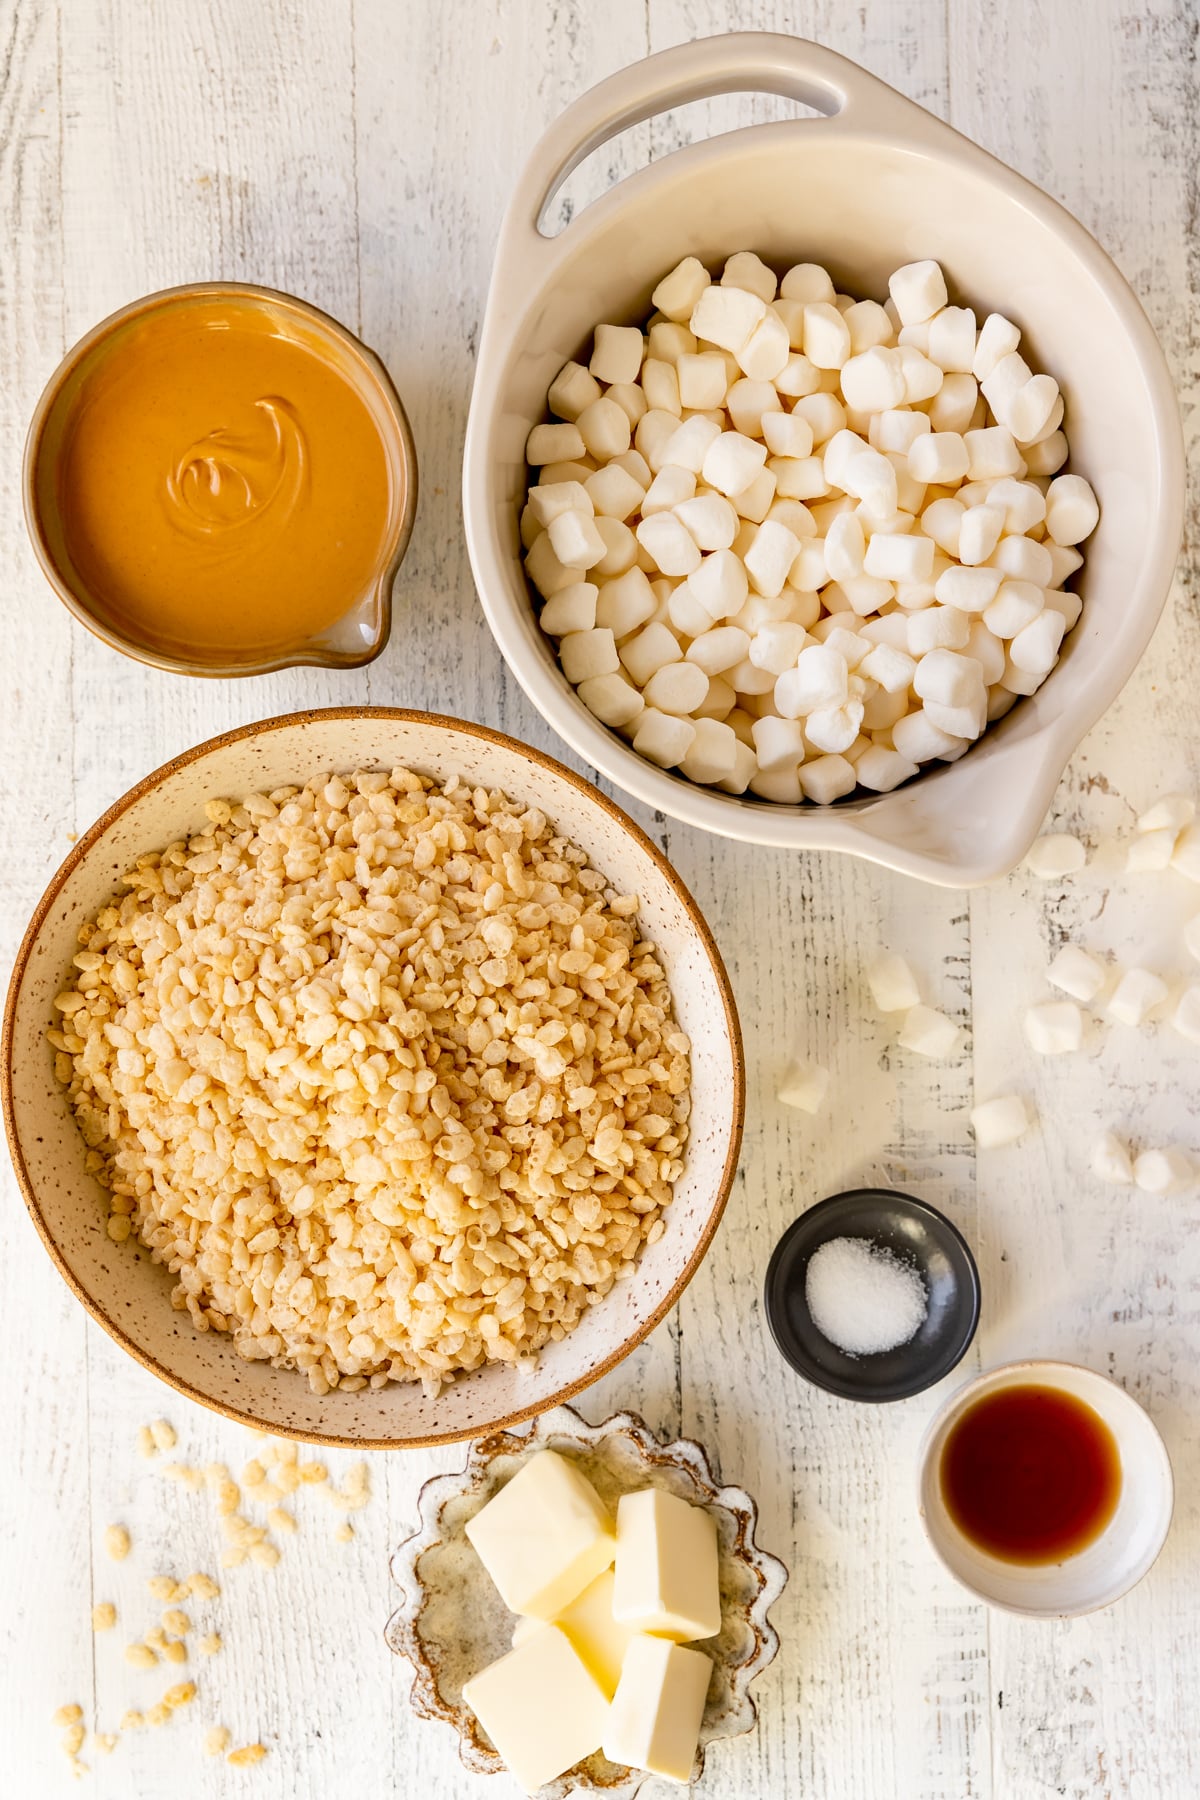
- Butter: Unsalted butter, and we’re browning it. The nutty brown butter aroma and flavor is what really sets these apart!
- Mini marshmallows: I love using the mini marshmallows because they melt really well and evenly. Be sure to use fresh marshmallows and not a bag that’s been open for a little.
- Peanut butter: Creamy peanut butter works really well here. I’ve also tested this recipe with Biscoff Cookie Butter and it’s incredible.
- Vanilla extract: A little rice krispie secret ingredient that helps tie in all the flavors together.
- Salt: Just a little salt helps to enhance the overall flavors and compliments these no bake squares.
- Rice Krispies cereal: of course!
Step by Step Directions
Be sure to scroll down to the recipe card for the full recipe instructions.
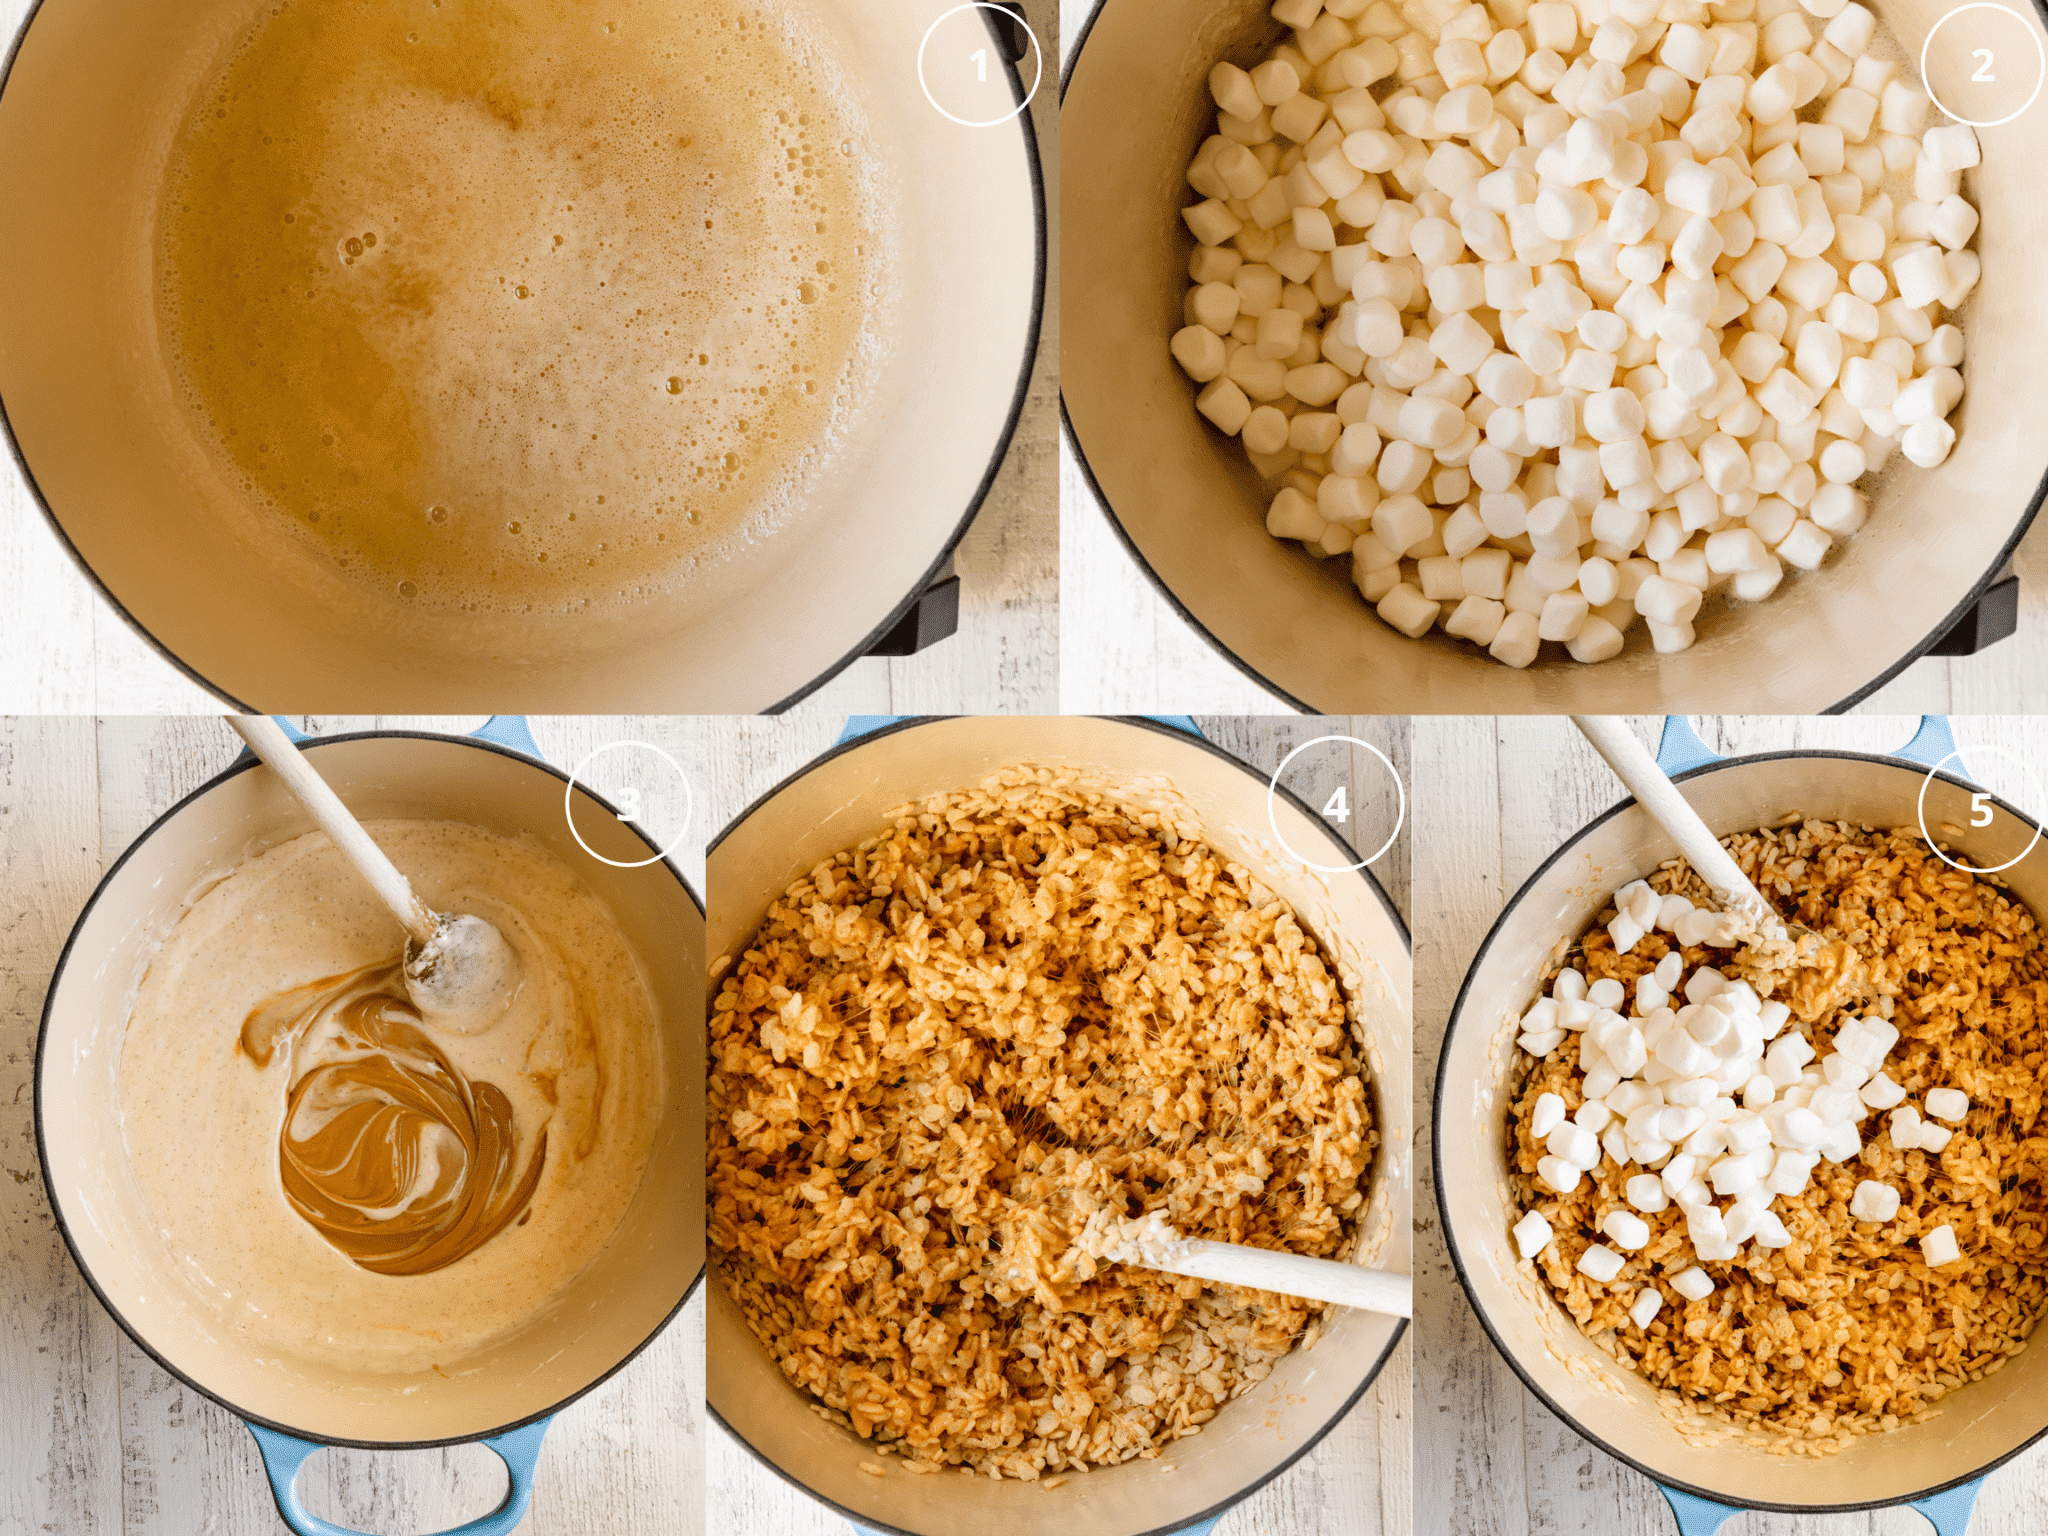
- Brown the butter in a dutch oven (more instructions on how to do this below and in the recipe card)
- Add 6 cups marshmallows and stir until melted with a wooden spoon.
- Remove from heat then stir in vanilla and salt. Then stir in peanut butter.
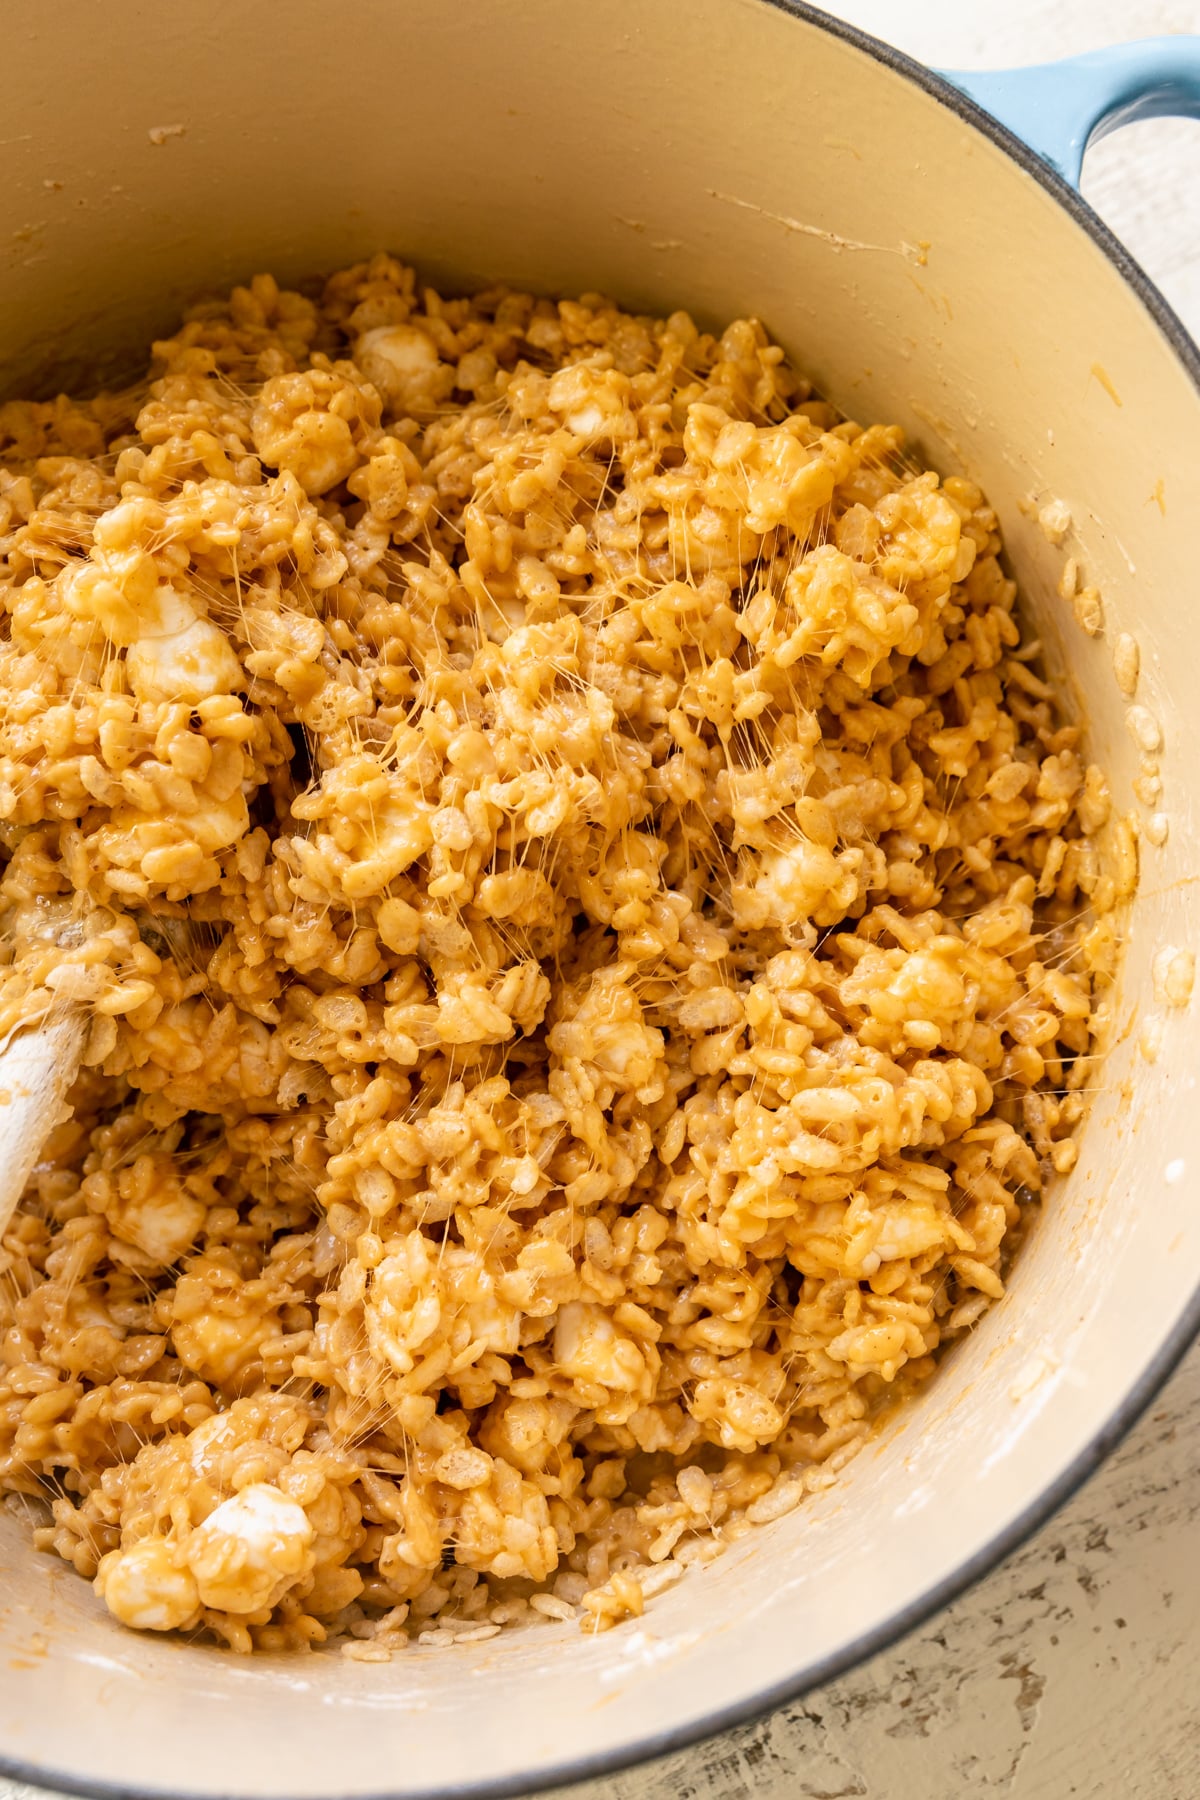
- Stir in cereal with wooden spoon or rubber spatula. It will be sticky!
- Then add in the final 2 cups marshmallows and stir just until mixed, you want to leave pockets of marshmallow so don’t over mix.
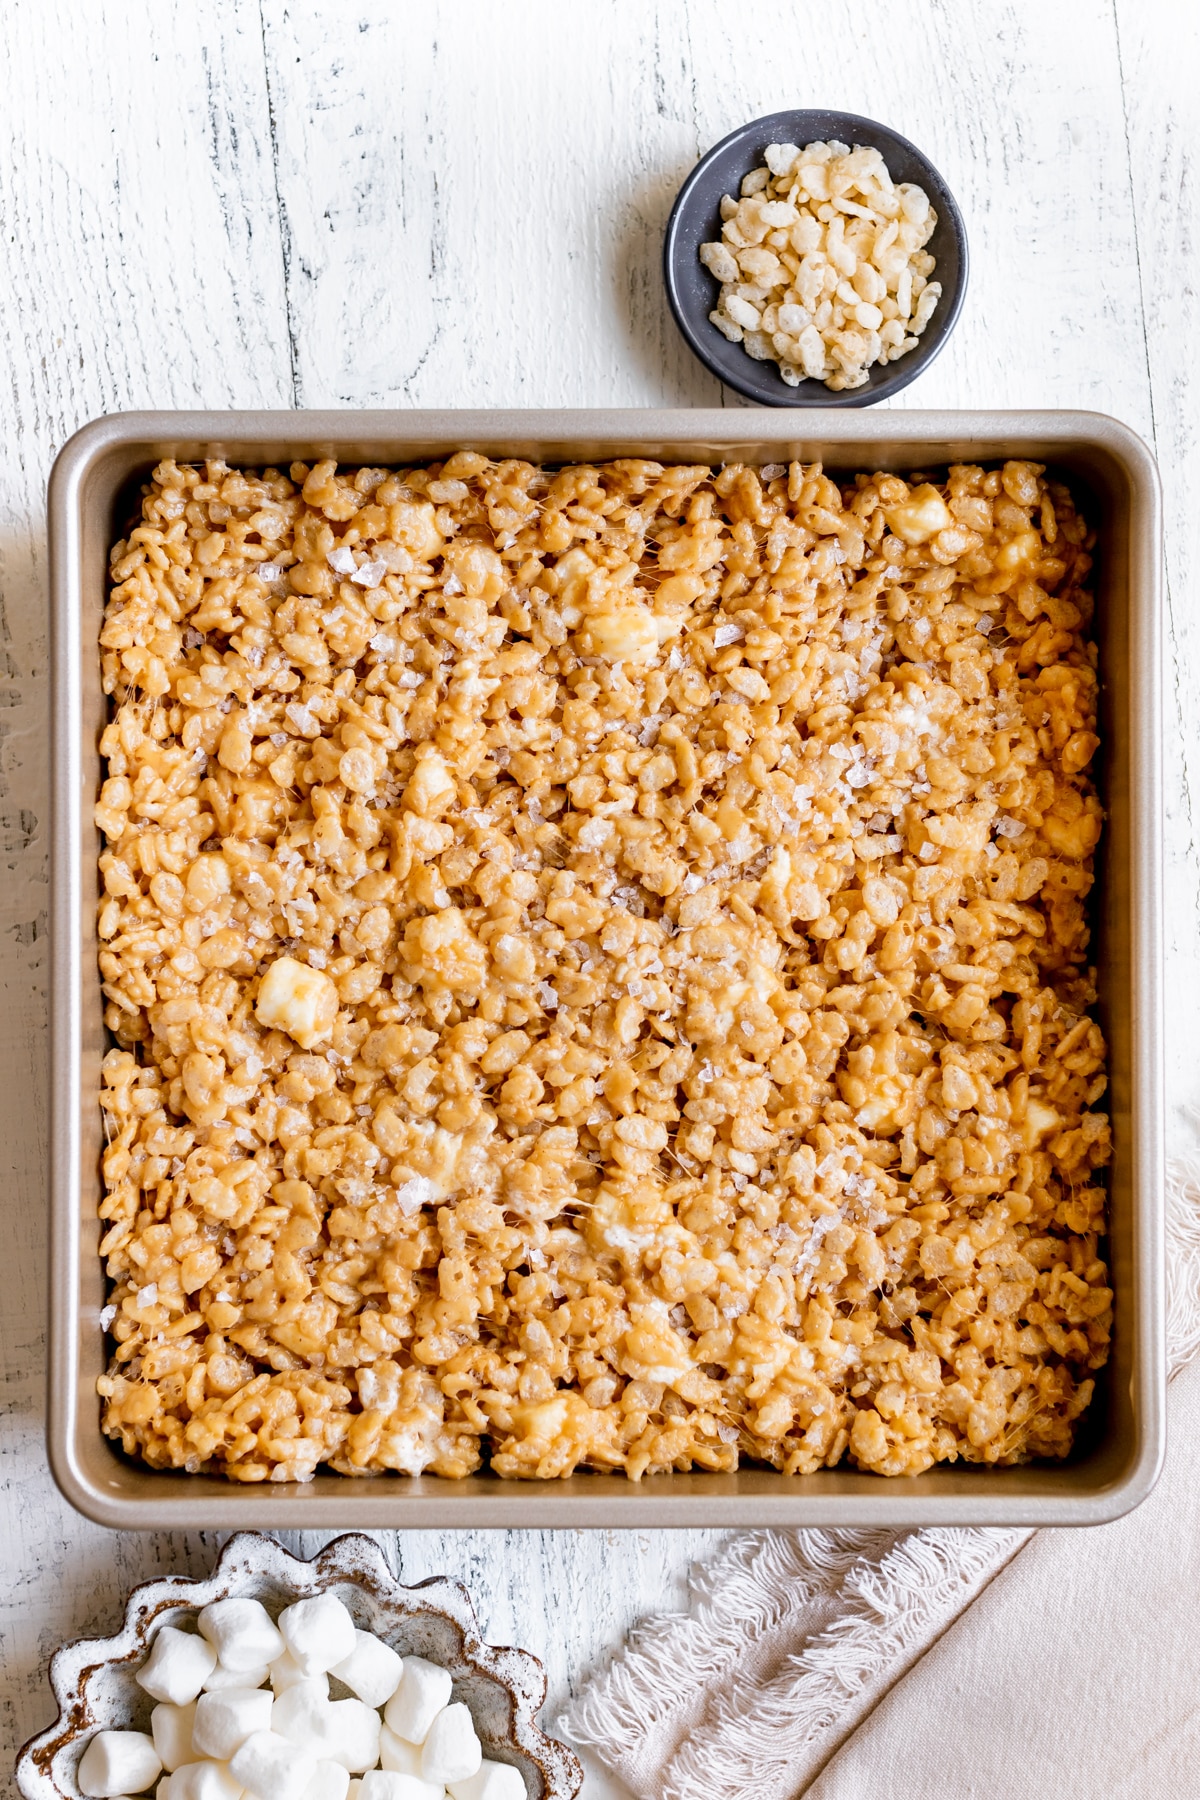
- Grease a 9×9 pan lightly with non-stick baking spray.
- Turn out rice krispie mixture into the pan and spread mixture to fit the pan.
- Let cool at room temperature for 30-60 minutes.
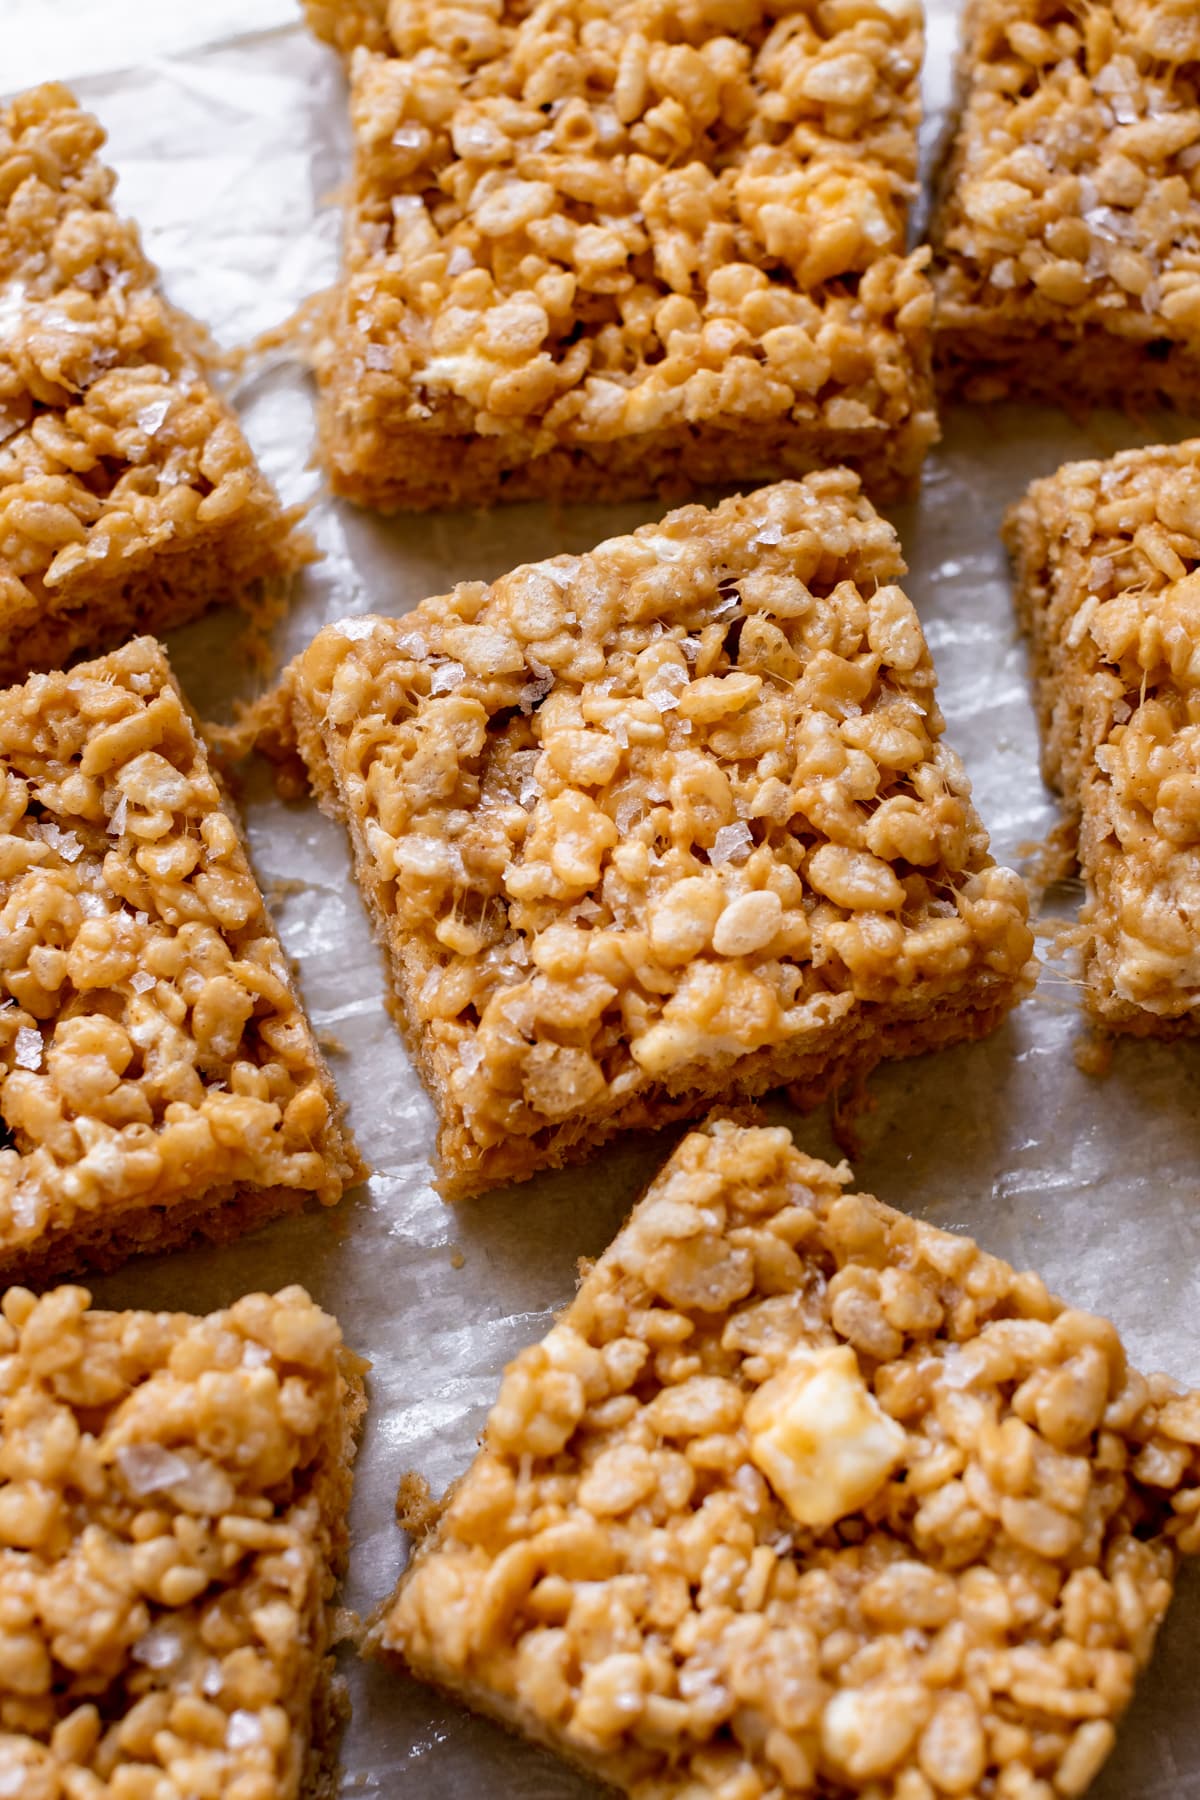
- Garnish with flaky sea salt or better yet melted chocolate. Cut into bars and enjoy!
Tips and Variations
- Dress up these Peanut Butter Rice Krispie Treats for every holiday with M&M’s: Halloween, Christmas and Easter M&M’s are some of my favorites! Freeze the M&Ms before folding in so they don’t melt or get too messy.
- Gently press the rice krispy mixture instead of compacting it in tightly. You can smooth the tops with a leftover butter wrapper, or spray a rubber spatula with baking spray and gently press down into an even layer.
- Line your pan with parchment paper or wax paper so you can easily lift out of the pan.
- Top these with chopped Chocolate Peanut Butter Cups for extra peanut and chocolate flavors.
- Take your time and stir frequently when you are making the brown butter. It shouldn’t take more than 10 minutes.
- If you’d rather not use peanut butter, you can use sunflower butter, cookie butter or soy nut butter as a nut-free alternative. If you just need to avoid peanuts, you could also use almond butter, or cashew butter.
- Chill these treats in the fridge for about 30 minutes to make them easier to cut.
How to Make Brown Butter
It may sound intimidating, but it’s really easy, only takes a few minutes and is the backbone of these cookies. The nutty flavor compliments the butterscotch beautifully and I love it’s culinary use in baking so much! Let’s do it:
- For this recipe we’re using a Dutch oven with a light colored bottom. This is best to easily monitor the butter’s color and gauge when the butter has browned.
- Place the unsalted butter in the cold, Dutch oven. Cut it into about 2 Tbsp. pieces so it melts evenly. Unsalted is truly best because salted butter foams more.
- Melt the butter over medium heat, or medium-low if you have a strong stove top. Swirl the pan occasionally to help the butter melt evenly. As the butter melts, it separates into butter fat and milk solids. The milk solids will naturally sink to the bottom of the pan and begin to brown as they heat up.
- You’ll notice the butter begin to foam. This is good! The foam will begin to subside.
- Use a heat resistant spatula to continually gently stir the butter. You’ll begin to see tiny specks at the bottom of the pan, constantly stir and scrape so these don’t stick. (These are the milk solids that give brown butter its yummy flavor.)
- As soon as the butter turns chestnut brown and omits a nutty aroma, add the marshmallows and stir until melted and then remove from heat.
Other No-Bake Desserts To Try
FAQ
Can I use large marshmallows if I don’t have mini marshmallows?
Yes, you can. You will need 8 large marshmallows for each cup of mini marshmallows.
What if I don’t have marshmallows?
You can substitute marshmallow fluff or marshmallow cream. These are the easiest substitutes.
Can I freeze these Peanut Butter Rice Krispie Treats?
Yes you can! Store them placed in layers with wax paper in an airtight container for up to 6 weeks.
Do I need to store Rice Krispie Treats in the refrigerator?
It is not necessary. Just wrap them individually and store them in an airtight container for up to 3 days.
shop this post
 Buy Now →
  Buy Now →
 Before You Begin! If you make this, please leave a review and rating letting us know how you liked this recipe! This helps our business thrive & continue providing free recipes.
Peanut Butter Rice Krispie Treats
Ingredients
- 1/2 cup unsalted butter
- 8 cups mini marshmallows, divided
- 3/4 cup creamy peanut butter (or cookie butter!)
- 2 tsp. vanilla extract
- 1/2 tsp. salt
- 6 cups Rice Krispie Cereal
Last step! If you make this, please leave a review and rating letting us know how you liked this recipe! This helps our business thrive & continue providing free recipes.
Instructions
- Lightly grease a 9×9 pan with baking spray, or line with parchment paper. Set aside.
- Brown the butter: In a large light-bottomed Dutch oven over medium heat, melt the butter. The butter will begin to foam, and then the foam will begin to subside and you’ll start to see tiny specks at the bottom of the pan, stir with a heat resistant spatula or wooden spoon and constantly stir and scrape so milk solids that are browning don’t stick. (These are what give brown butter it’s yummy flavor.)1/2 cup unsalted butter
- As soon as the butter turns chestnut brown and omits a nutty aroma, add in 6 cups marshmallows. Stir with a wooden spoon until melted then remove from heat and turn off the burner.8 cups mini marshmallows, divided
- Stir in the vanilla and salt. Then stir in the peanut butter.2 tsp. vanilla extract, 1/2 tsp. salt, 3/4 cup creamy peanut butter (or cookie butter!)
- Stir in the rice crispy cereal with a wooden spoon or rubber spatula. It will be sticky! Just keep stirring.6 cups Rice Krispie Cereal
- Add in the final 2 cups mini marshmallows and stir just until mixed. You want to leave tiny pockets of marshmallow.
- Transfer the rice krispie mixture into the prepared pan. Gently press down using the back of the butter wrapper or a greased spatula. Be sure to lightly press instead of tightly compacting for best results.
- Garnish with flaky sea salt (or better yet, melted dark chocolate!)
- Let the treats cool at room temperature for 30-60 minutes. Be sure to cover them if leaving out for longer than an hour.
- Lift the bars out of the pan and place on a cutting board. Cut into bars and enjoy!
Notes
- Store in an air tight container at room temperature for up to 3 days.
- Melt the peanut butter in the microwave for a few seconds to get it nice and drippy if it seems stiff.
Nutritional information is provided as a courtesy and is automatically calculated. It should only be construed as an estimate rather than a guarantee. Ingredients can vary and Kroll’s Korner can’t make any guarantees to the accuracy of this information.

These were delicious! Finally my love of peanut butter mixed with Rice Krispie squares, which I’ve been making for years. Highly recommend!
Super yummy and quick and easy to make! I’m not a fan of traditional rice krispy treats so I love this version with peanut butter!
They look amazing!! Thank you sooo much! mmmm now I need to make a batch 🙂