Sheet Pan Rice Krispie Treats
This post may contain affiliate links. Please read our disclosure policy.
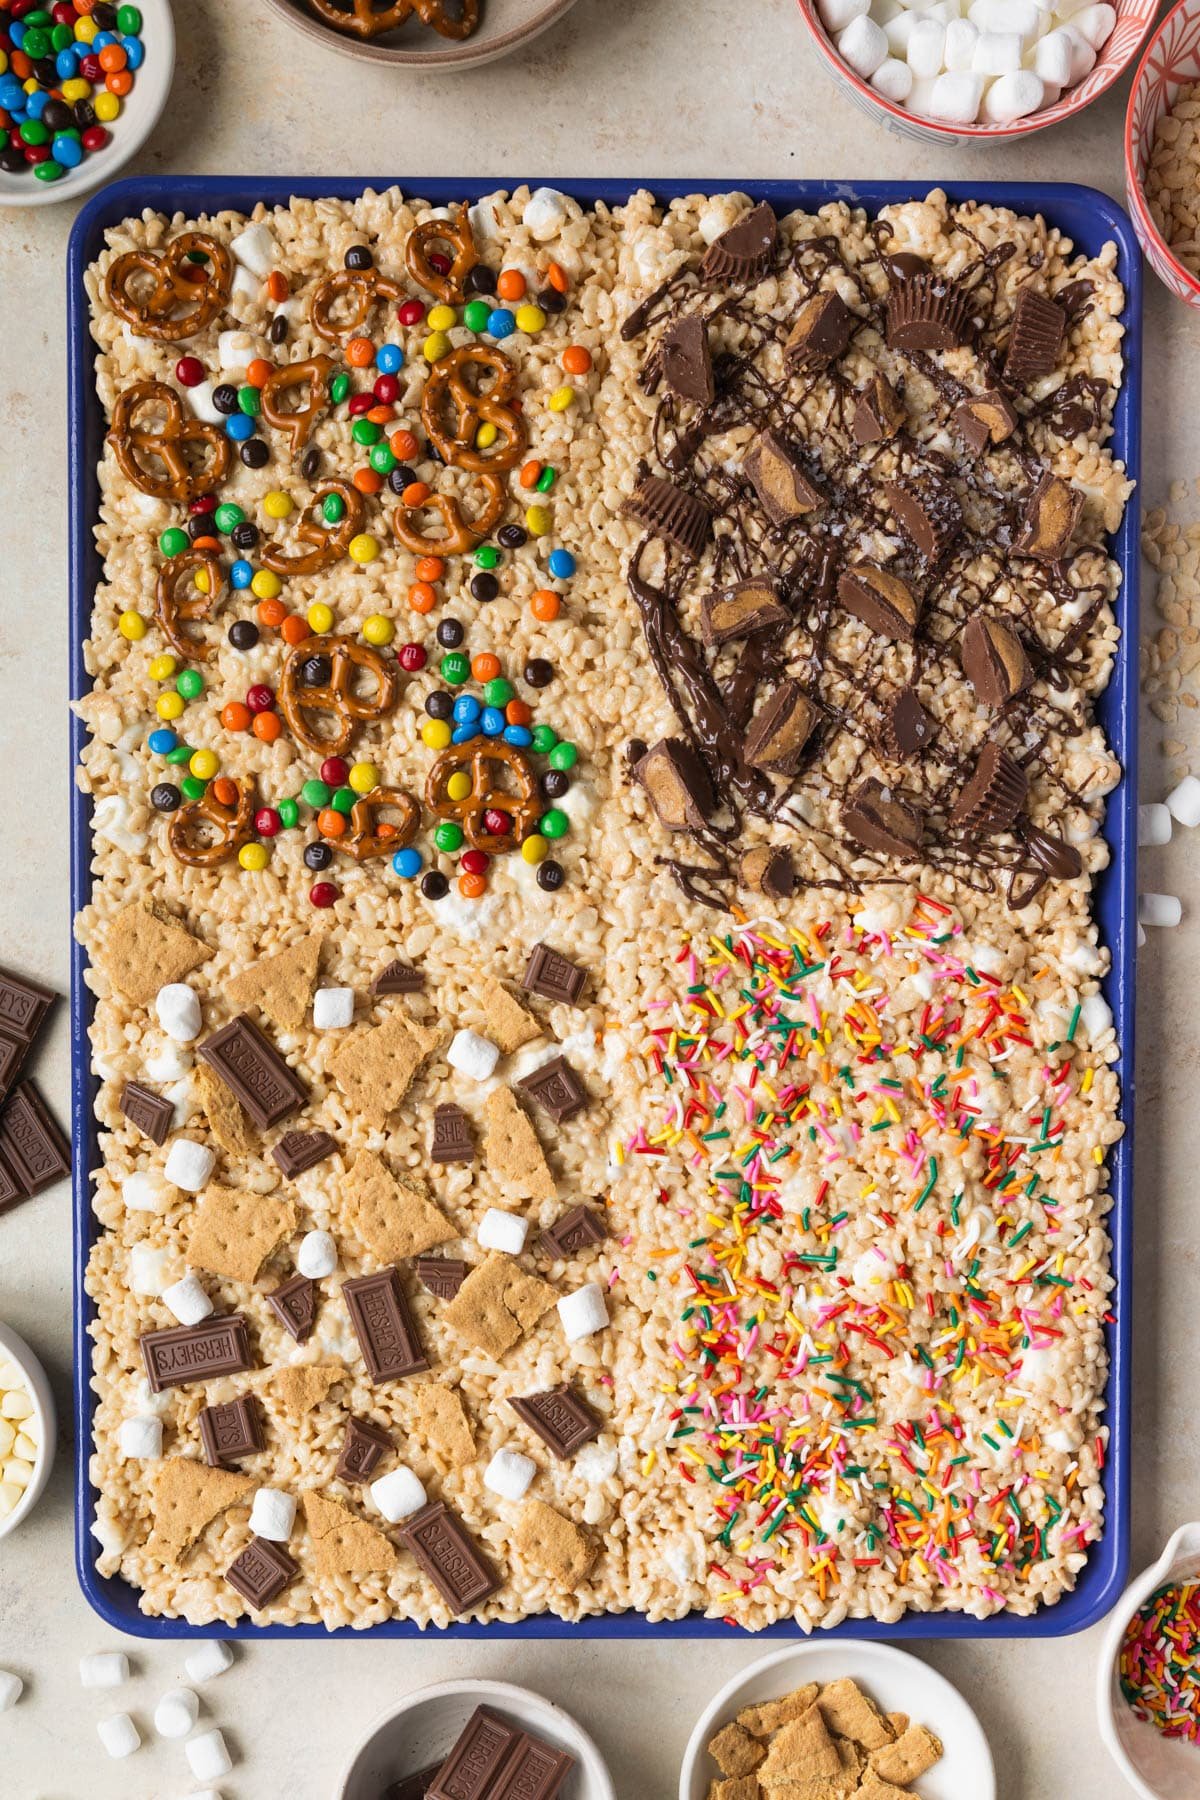
Mark my words when I tell you these sheet pan rice krispie treats are the best rice krispie treats I have ever made! 😍
I am in my sheet pan dessert era and loving it. From sheet pan cookies to sheet pan cakes and now to these sheet pan rice krispie treats, there is something for everyone to enjoy!
These rice krispies are next level delicious. What really sets these apart, aside from them being SO FUN, is the brown butter and sweetened condensed milk.
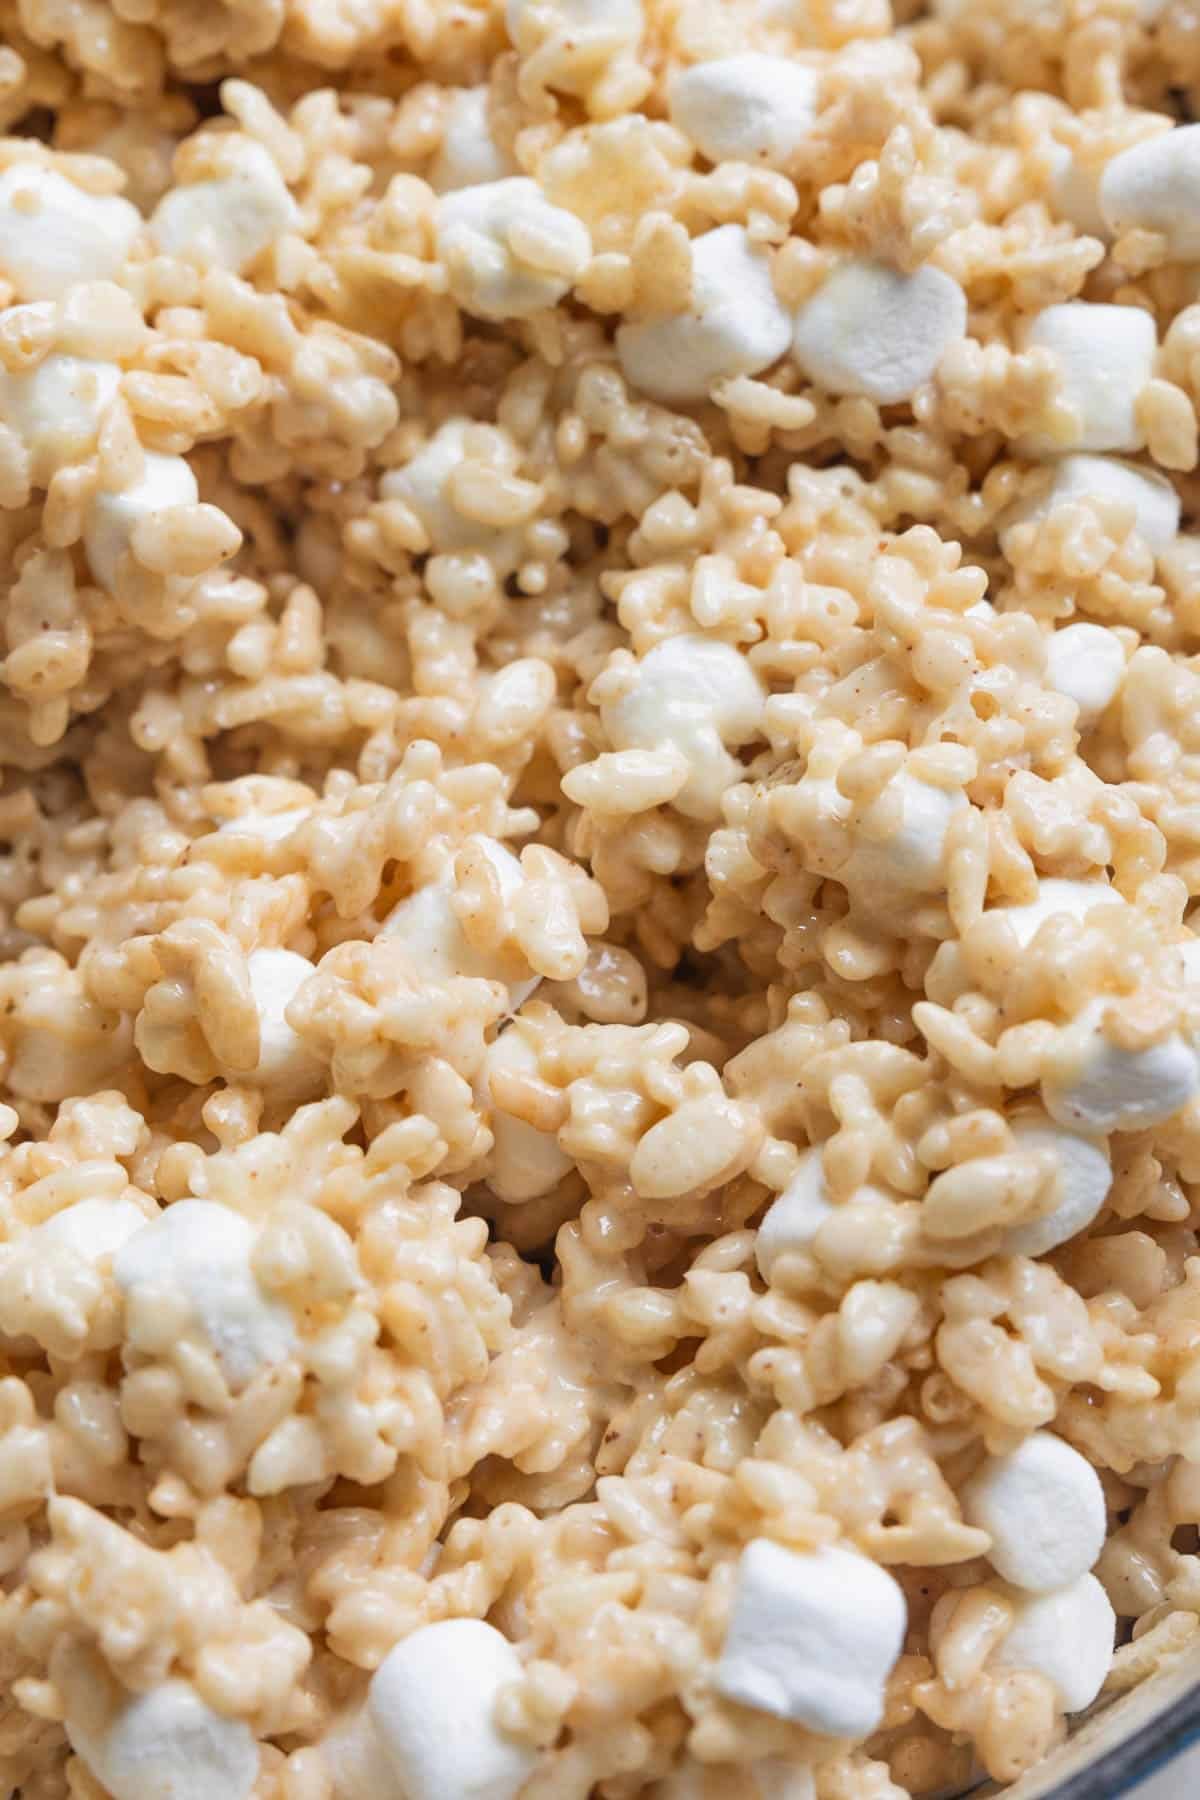
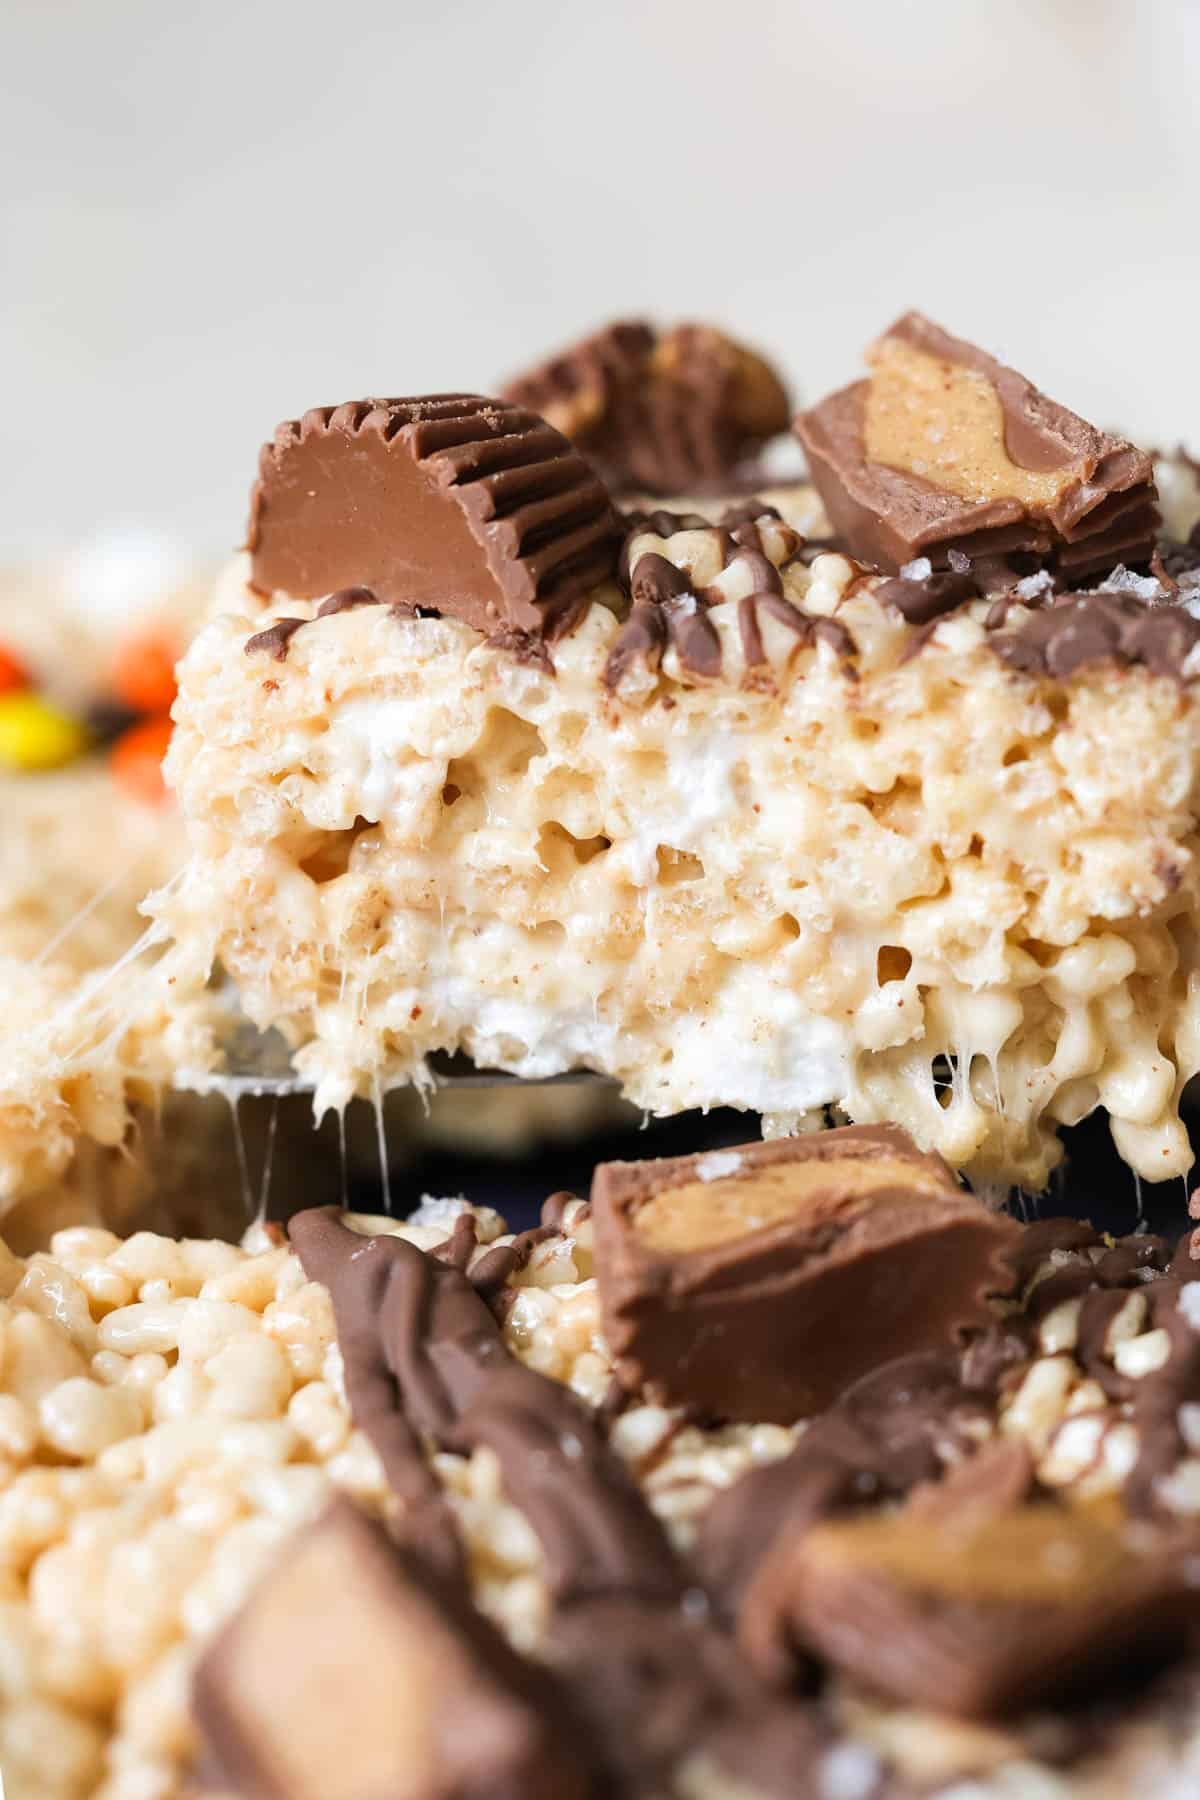
Something magical happens when you add brown butter into rice krispies. Each little grain gets coated in the lusciousness of the brown butter and marshmallows. From the crispness of the cereal, the marshmallow’s silkiness, and the brown butter’s nutty complexity, these truly are the best rice krispie treats.
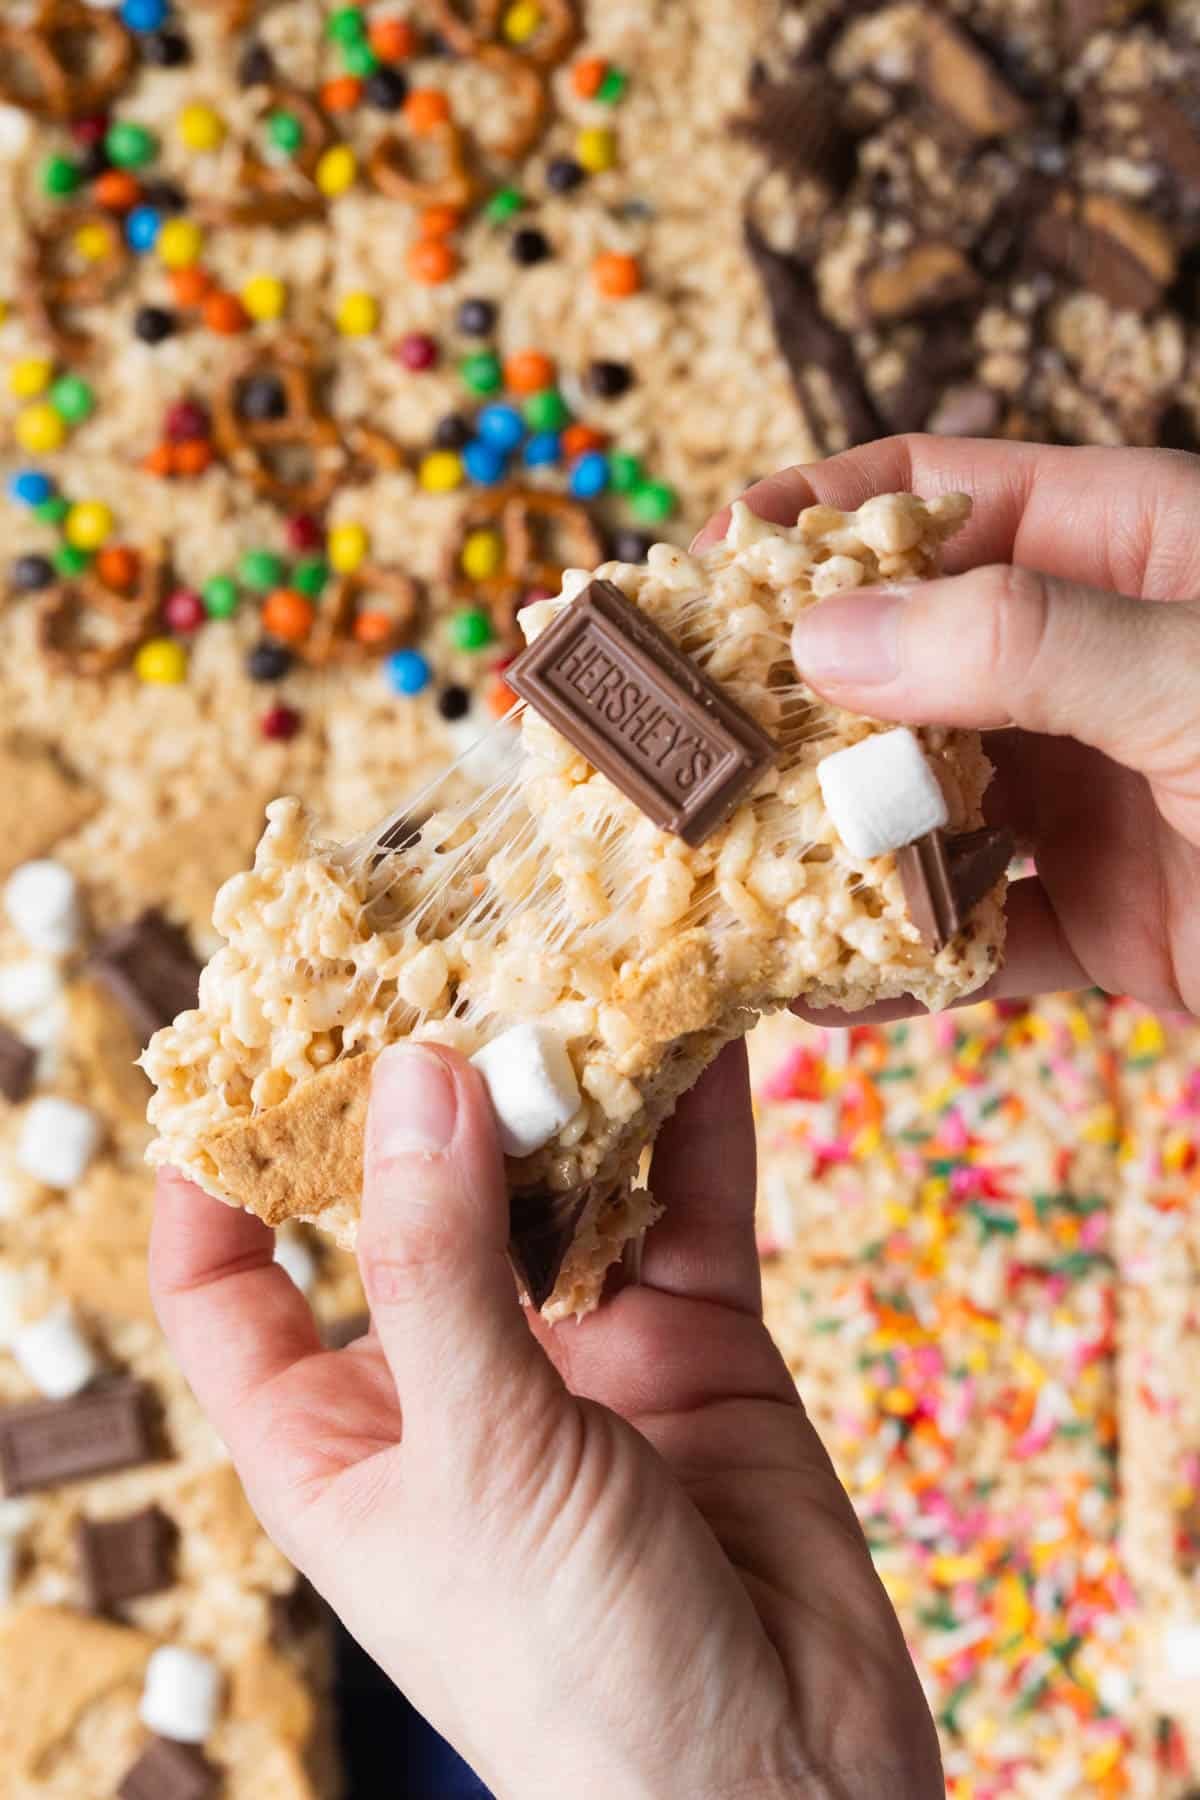
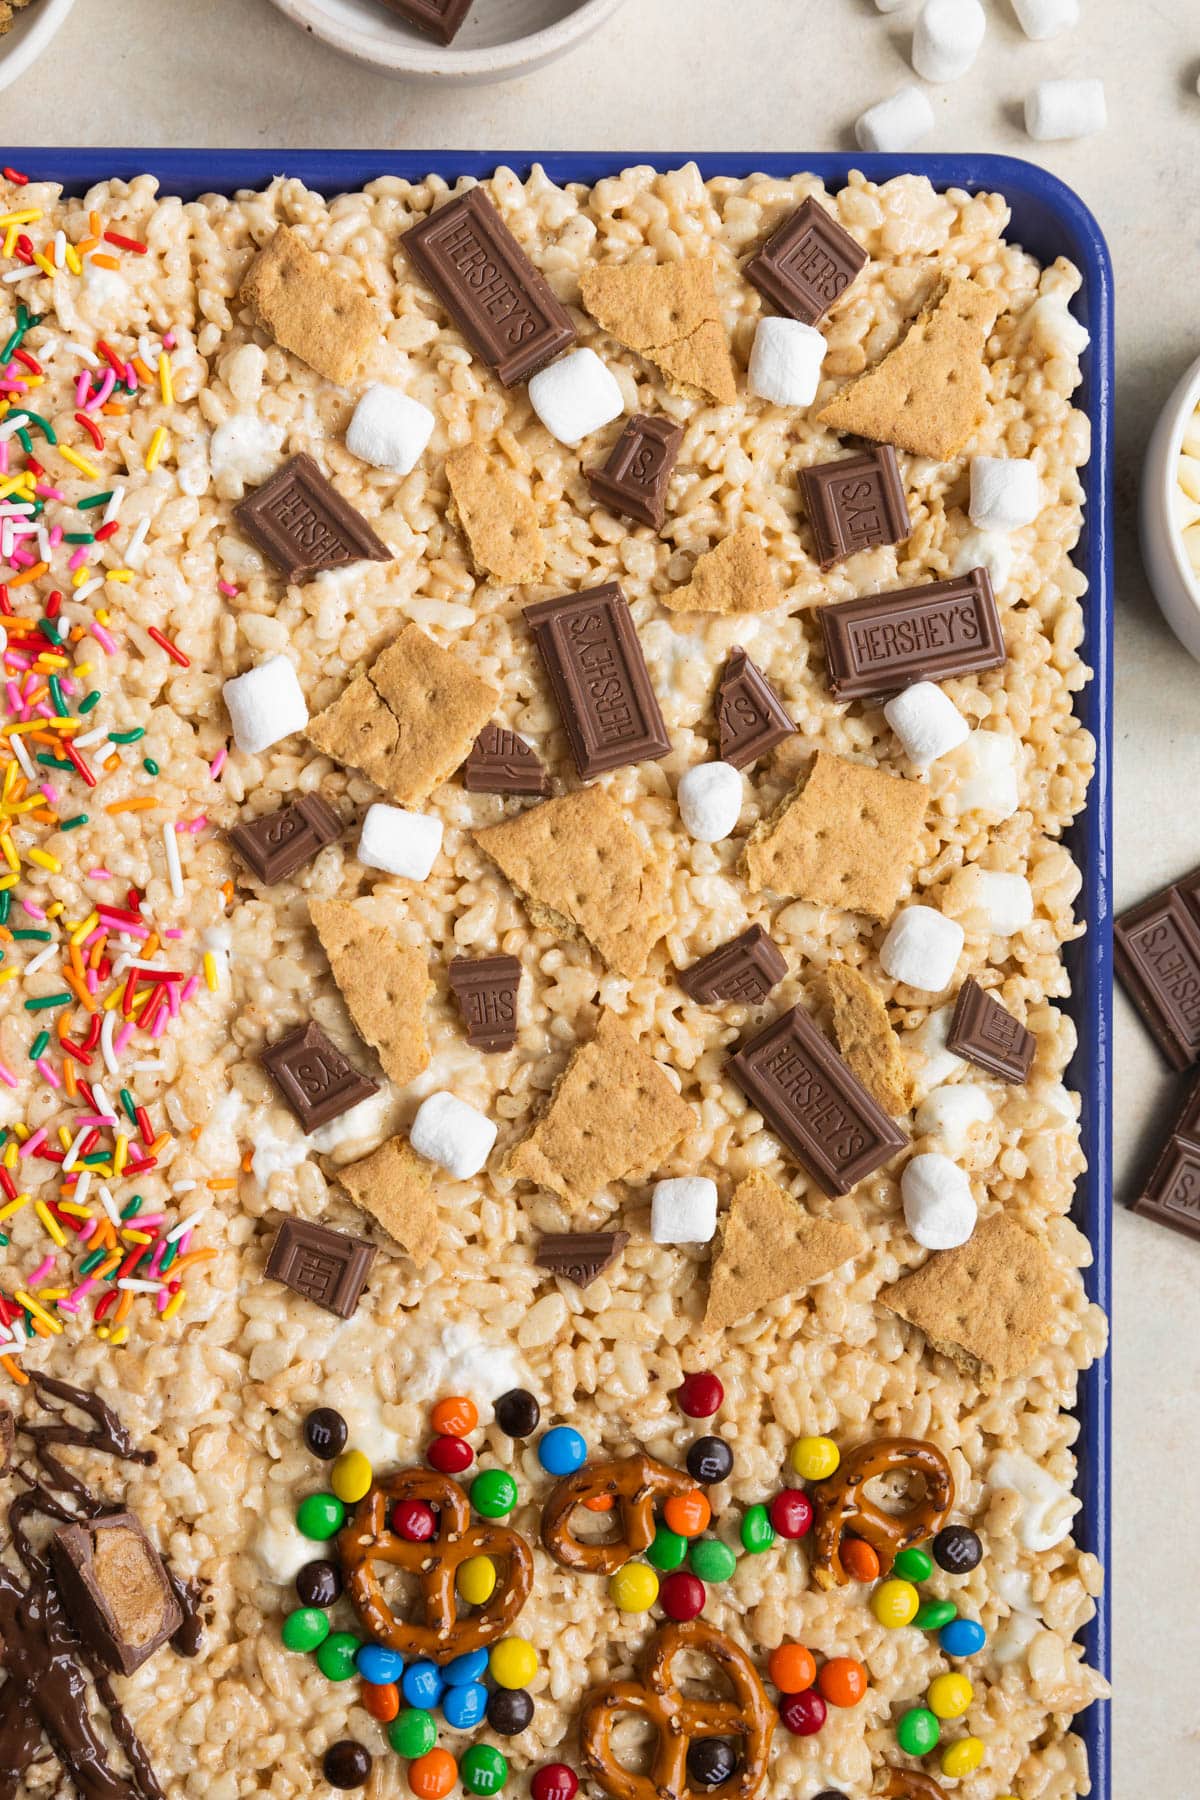
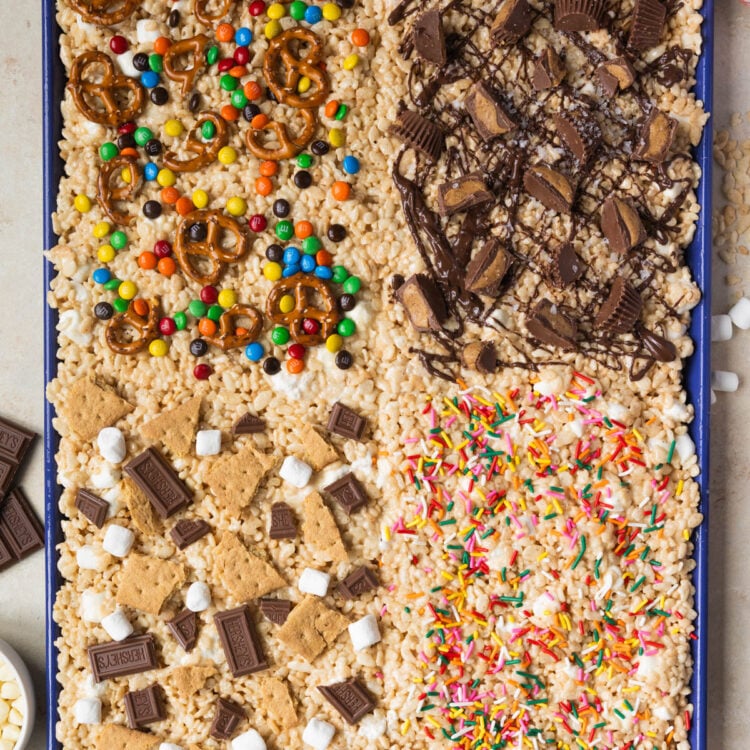
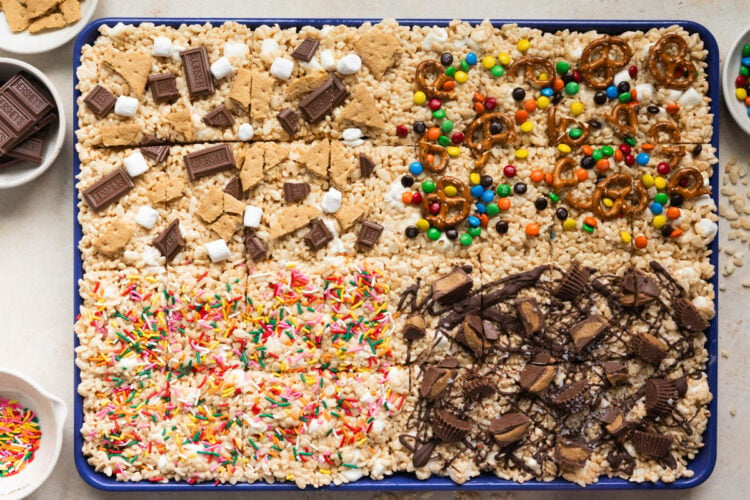
This recipe is so versatile so you can split it up and create any flavor you want! The options are endless! For my recipe, I am showing these 4 options:
- M&Ms and pretzels (hello sweet and savory!)
- Reeses peanut butter cups, chocolate drizzle, and flaky sea salt
- Rainbow sprinkles
- Smores style
These are just 4 variations I think are fun but check out my list below for more ideas. I can’t wait to see and hear what other variations you like and come up with! 😌
Variations
- Oreos! Crushed-up Oreos: golden or traditional!
- Circus animal cookies
- Make them festive with Christmas red and green sprinkles or M&Ms.
- Add different nuts on top, like salted pistachios or peanuts & chocolate!
- Drizzle Nutella or Biscoff cookie butter.
- Caramel and flaky sea salt.
Why this recipe works
- Of course, the addition of sweetened condensed milk adds sweetness, but it also helps to add moisture. No more dry or crumbly Rice Krispie treats! These stay soft and gooey for days!
- Brown butter adds a rich and nutty flavor to classic Rice Krispies treats, elevating them to a new level of deliciousness. It seriously makes them so much better!
- With this recipe, there is a Rice Krispie for everyone! Now, you can make four different rice krispies at once, all on one sheet pan, and please everybody! It’s truly a win/win situation.
- This recipe is so convenient for a large crowd! Instead of making multiple batches if you need a lot of Rice Krispies, this recipe saves time and effort, making it easier to whip up a large batch in one go.
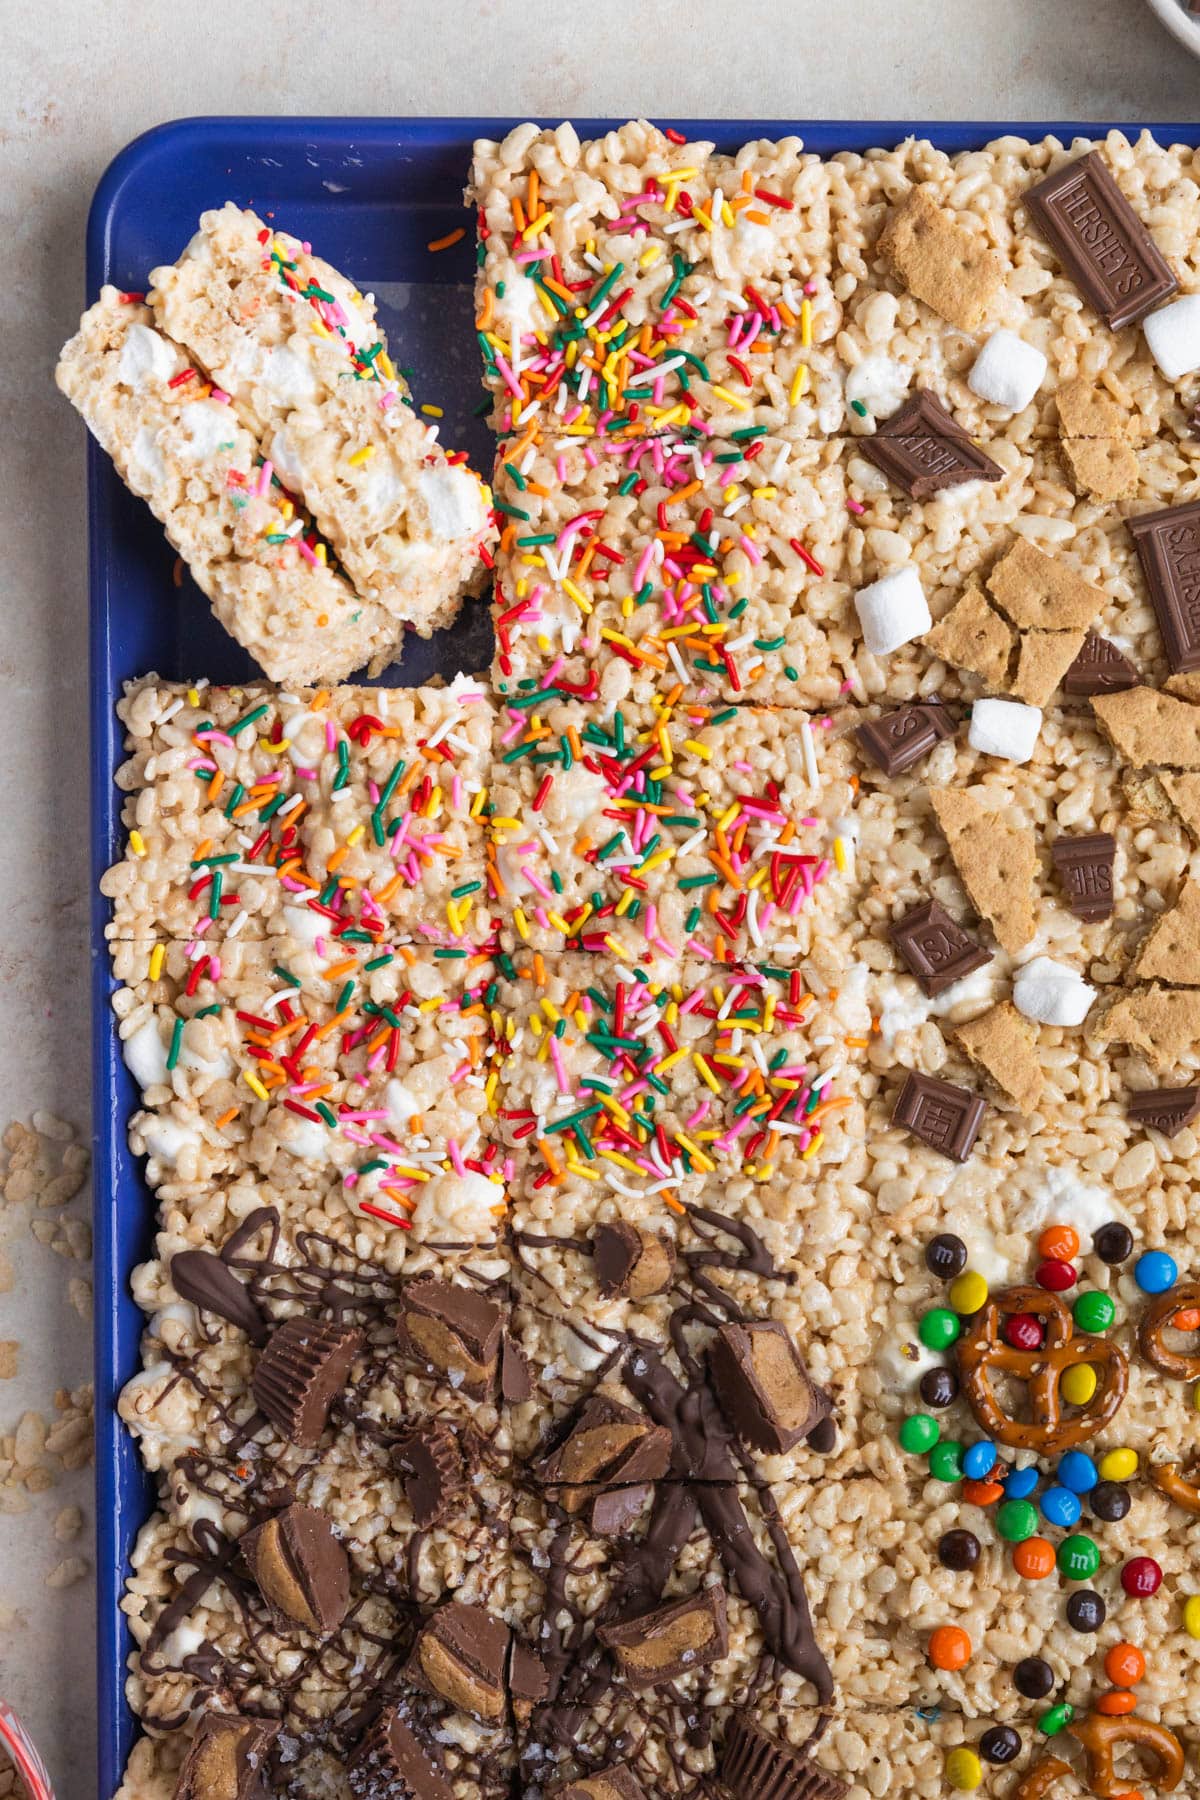
- They are easy to serve, transport, and share with friends, family, or guests. They are simple to portion out and enjoy.
What size sheet pan do I need?
- This recipe uses a standard half-sheet pan, 18×13.
- I have not tested this recipe using other-sized pans.
Check Out My Favorite OXO Sheet Pan!
High quality sheet pan, easy to clean, consistent pan for baking, and does not warp! Can’t recommend it enough.
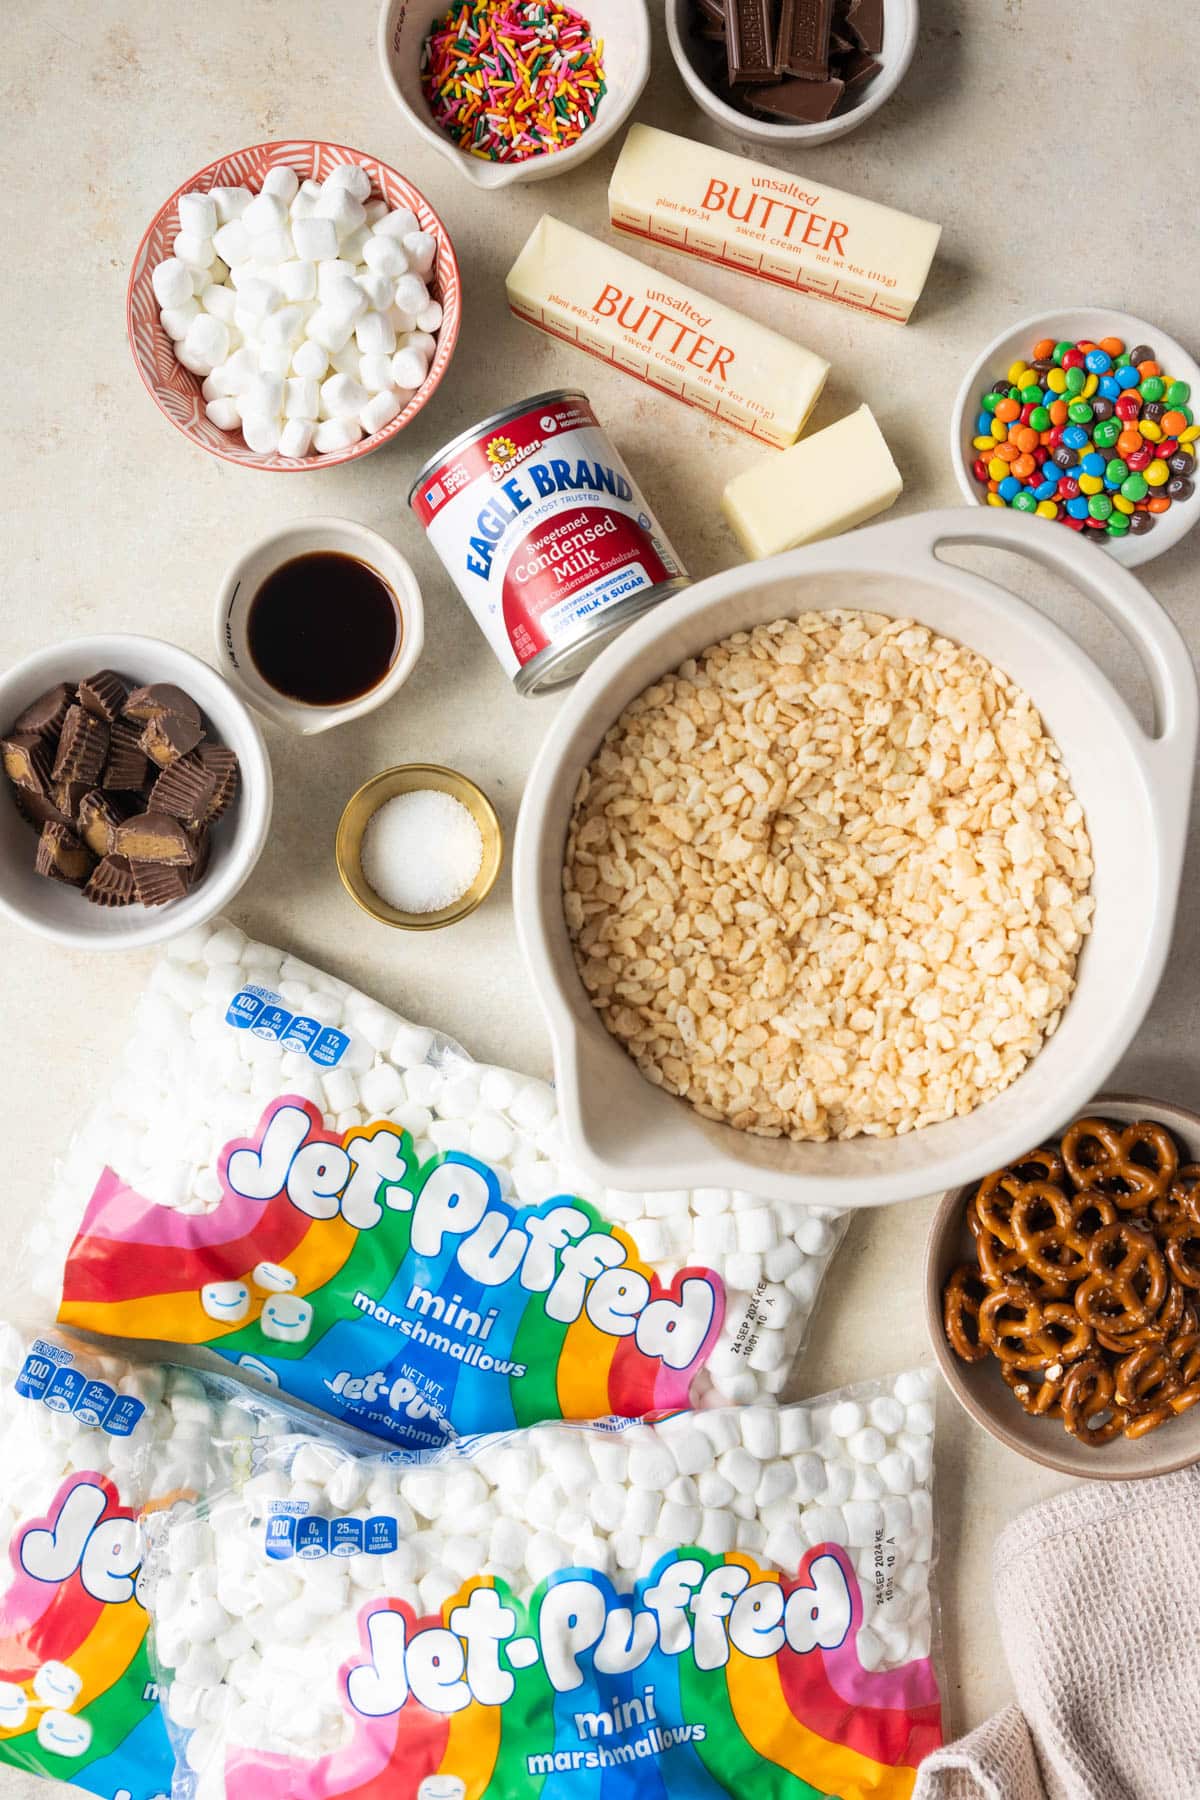
Ingredients
For the ingredient measurements and entire recipe, be sure to scroll down to the bottom of the blog post where the recipe card is located.
- Butter: use unsalted butter. You can brown salted butter but all of the salt gets concentrated in the milk solids. Also, since this recipe has salt added in, using unsalted is best.
- Mini marshmallows: I like to use mini marshmallows because they melt quicker and more evenly. We’re also stirring in some of the mini marshmallows so the little mini pockets of marshmallow create the perfect bite.
- Sweetened Condensed Milk: I know, a weird ingredient! Trust me on this one. It improves the overall texture and keeps these treats soft and super tasty!
- Vanilla and Salt: to help add more flavor.
- Rice Krispies: Of course! You’ll need 15 cups to make an entire sheet pan of Rice Krispies, so buy a large family-size box.
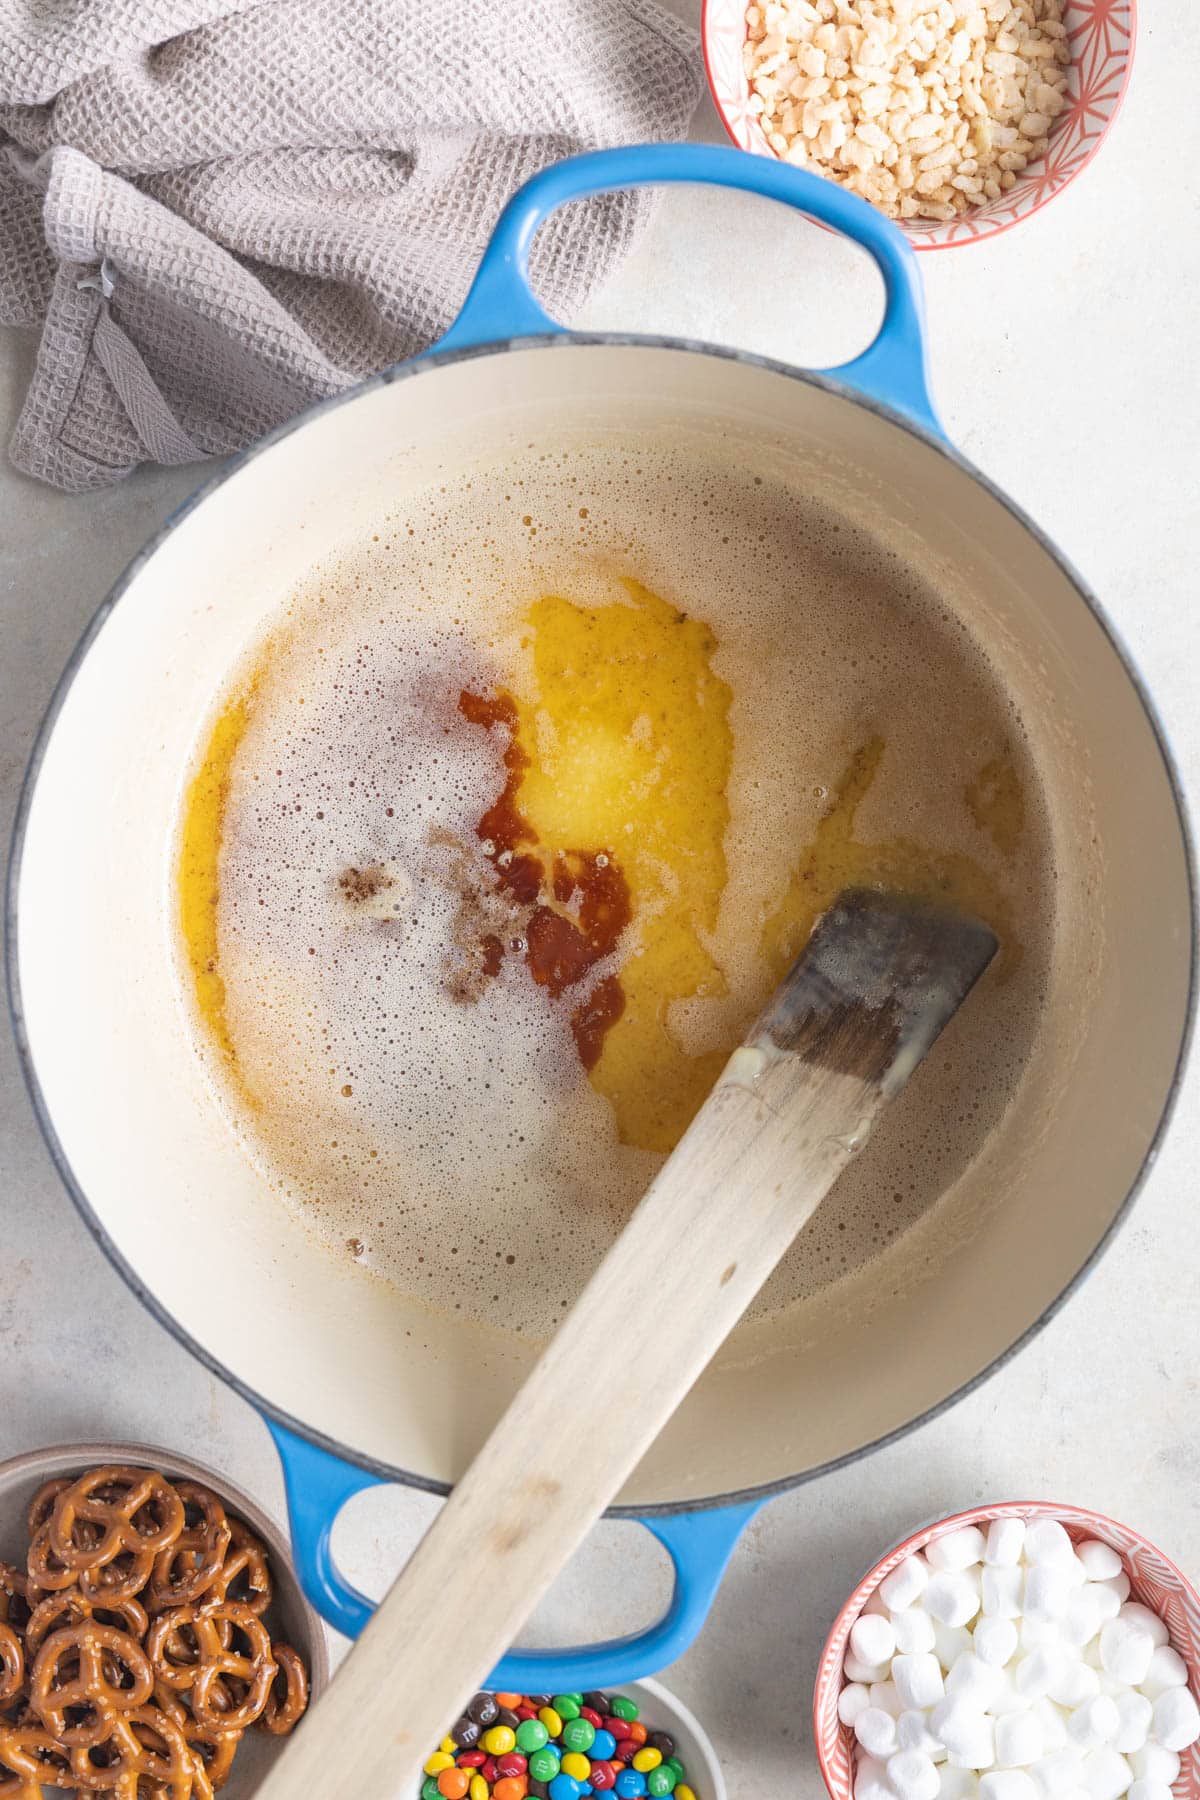
How to Make Brown Butter
It may sound intimidating, but it’s really easy, only takes a few minutes, and is the backbone of these cookies. The nutty flavor compliments the butterscotch beautifully, and I love its culinary use in baking so much! Let’s do it:
- For this recipe, we’re using a Dutch oven with a light-colored bottom. This is best for easily monitoring the butter’s color and gauging when it has been browned.
- Place the unsalted butter in the cold, Dutch oven. You can cut it into pieces so it melts evenly. Unsalted is truly best because salted butter foams more.
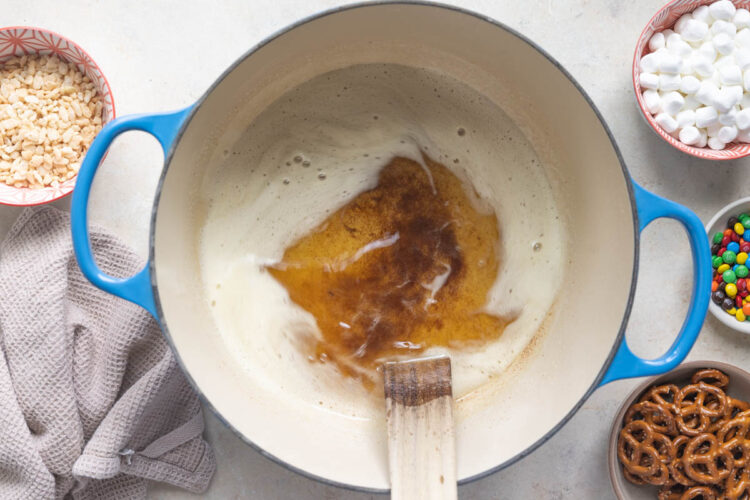
- Melt the butter over medium heat, or medium-low if you have a strong stove top. Swirl the pan occasionally to help the butter melt evenly. As the butter melts, it separates into butter fat and milk solids. The milk solids will naturally sink to the bottom of the pan and begin to brown as they heat up.
- You’ll notice the butter begin to foam. This is good! The foam will begin to subside.
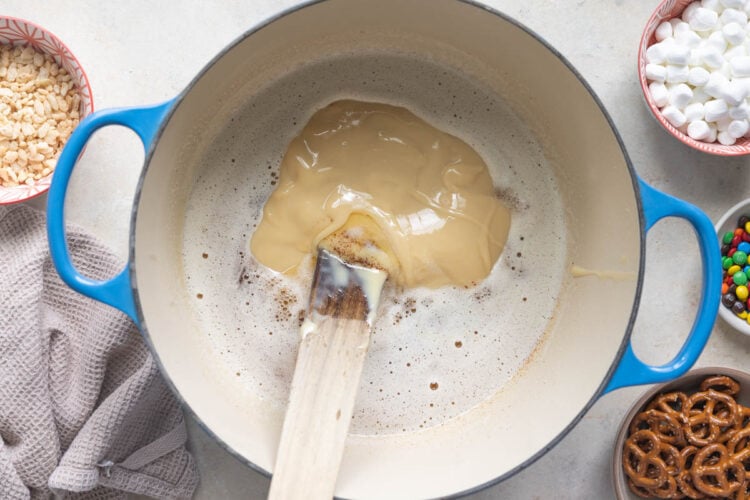
- Use a heat-resistant spatula to stir the butter gently. You’ll begin to see tiny specks at the bottom of the pan. Constantly stir and scrape so these don’t stick. (These milk solids give brown butter its yummy flavor.)
- As soon as the butter turns chestnut brown and omits a nutty aroma, add the condensed milk and follow the rest of the recipe.
Step by Step Directions
For the full recipe instructions, scroll down to the bottom of the blog post to the recipe card.
- Brown the butter.
- Stir in the sweetened condensed milk, then the salt and vanilla.
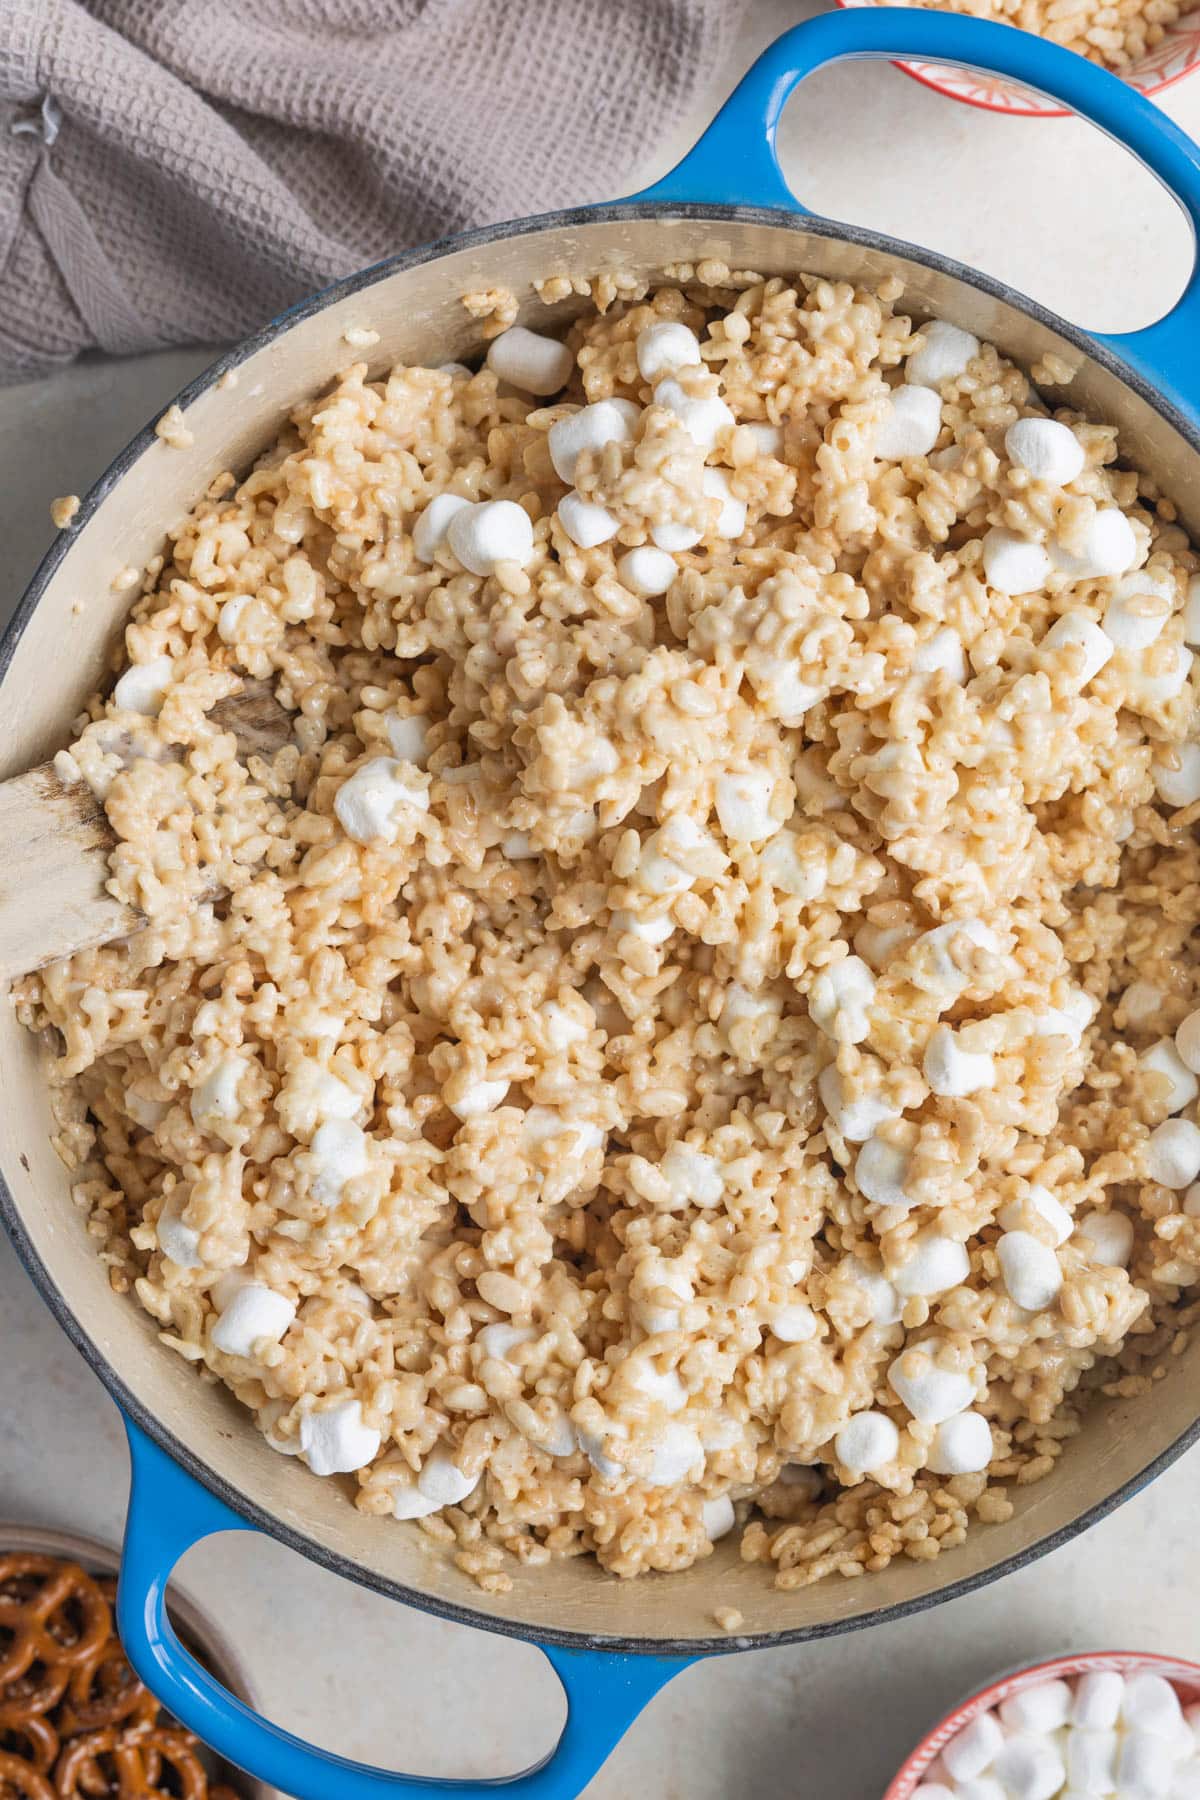
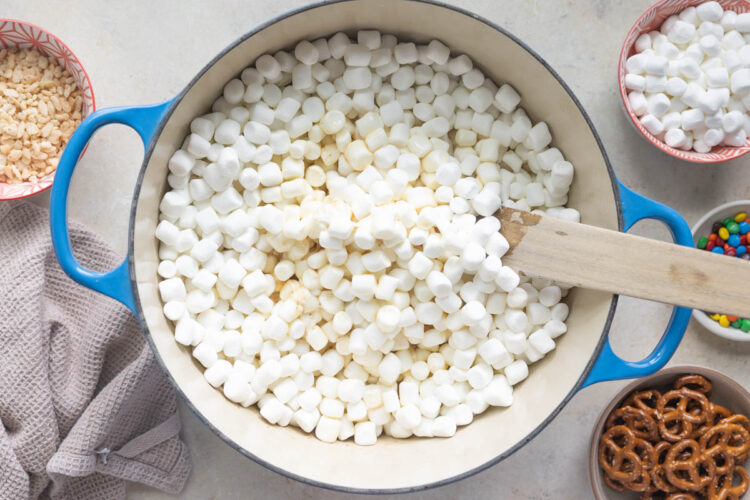
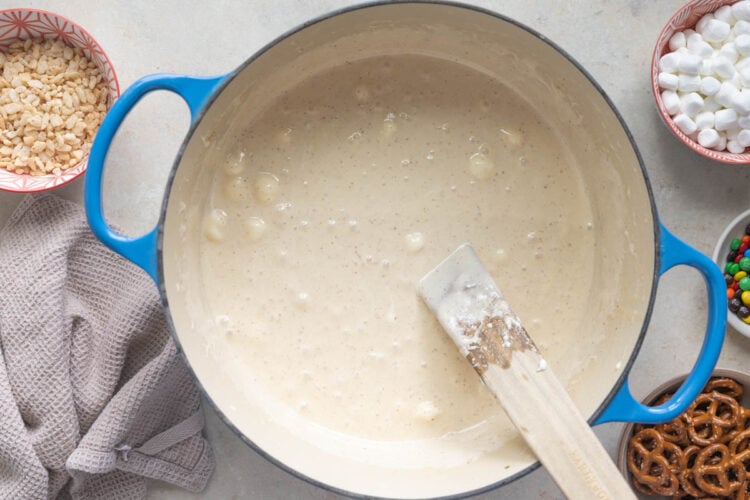
- Add in 10 cups of the marshmallows and stir until melty.
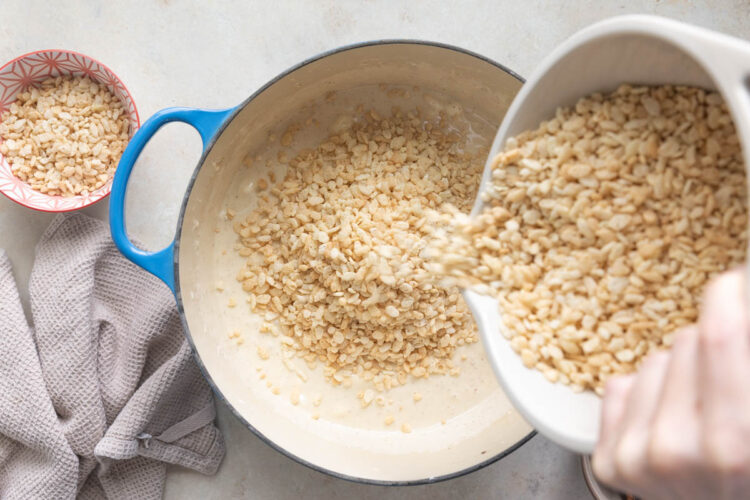
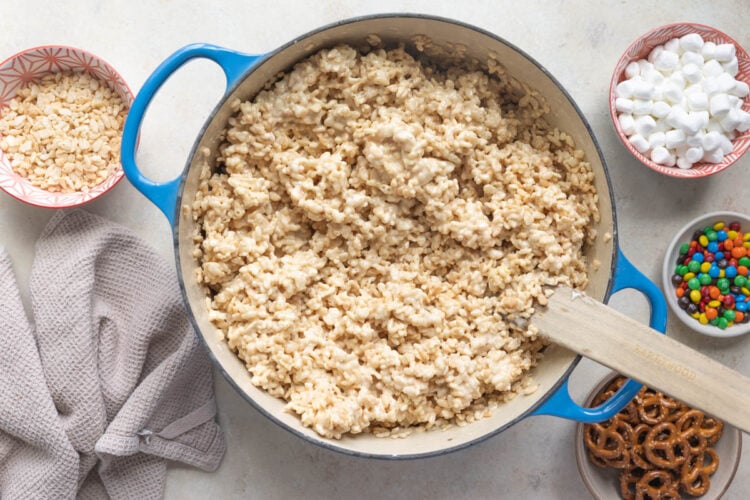
- Add in the Rice Krispies; you can do this in increments so it’s easier to stir.
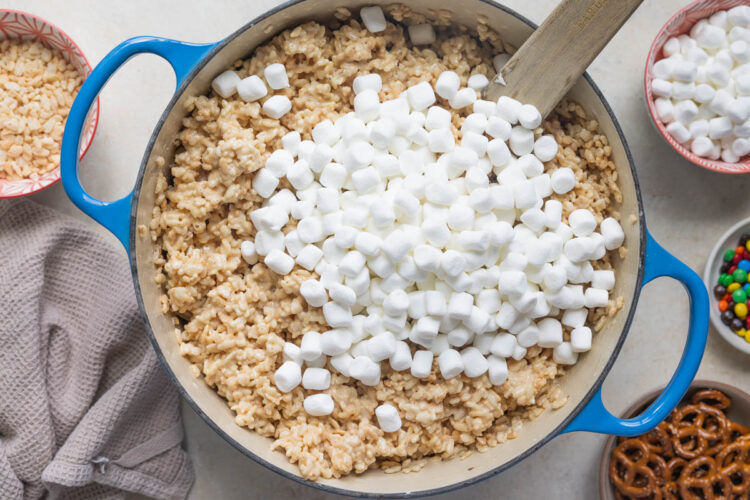
- Add the remaining marshmallows and stir gently.
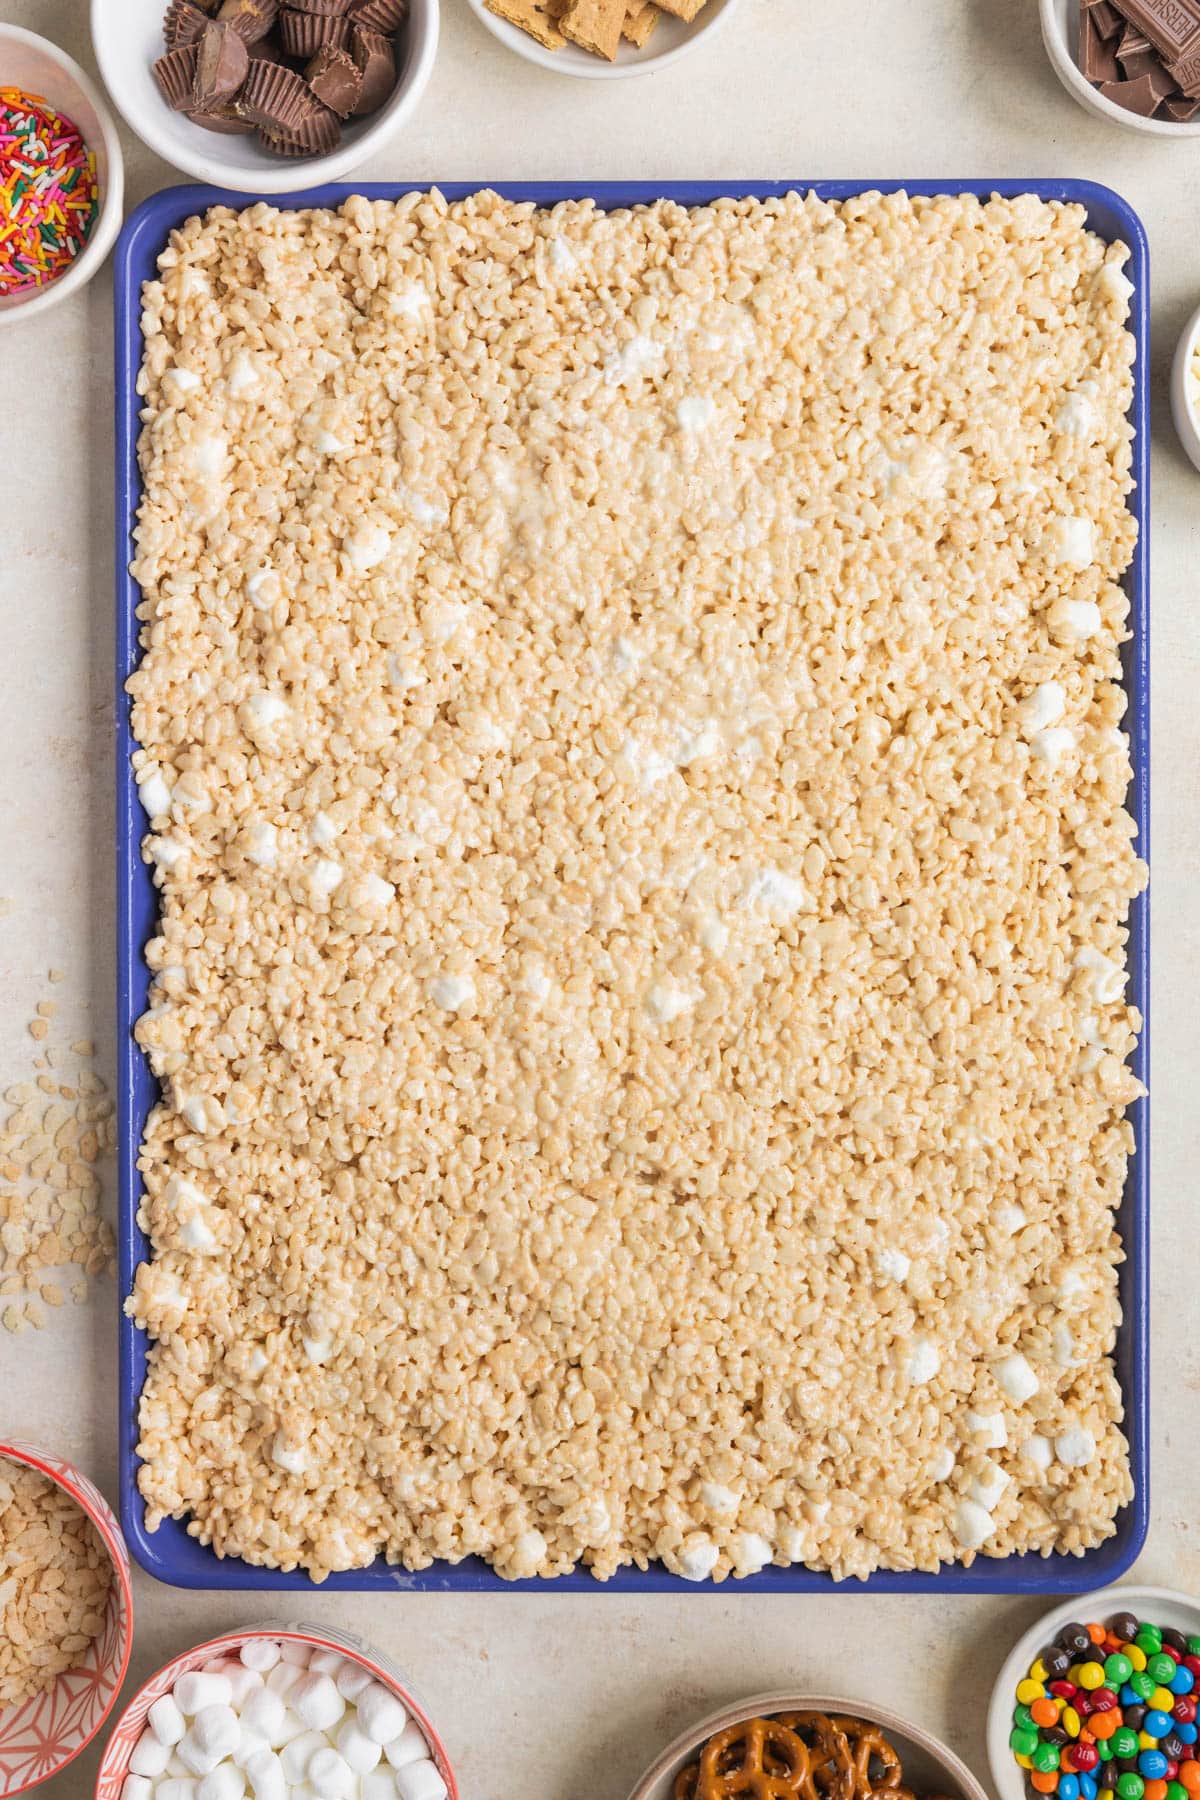
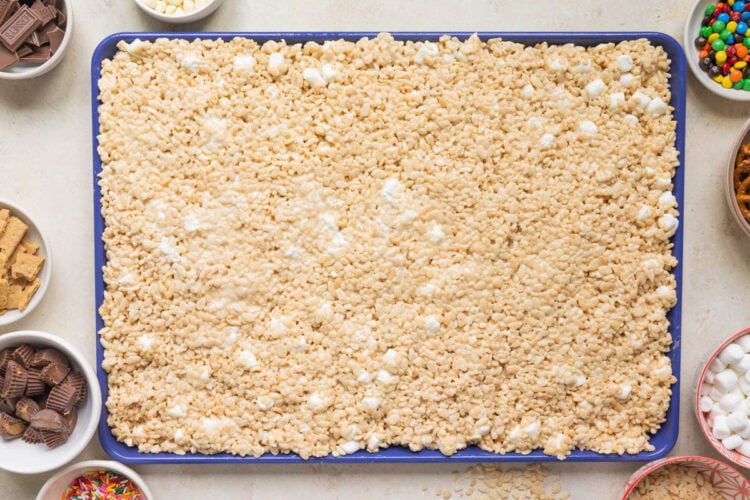
- Press onto the prepared sheet pan. Add favorite toppings. Allow to set up, then enjoy!
Expert Tips
- Gently press the rice krispy mixture instead of compacting it in tightly. You can smooth the tops with a leftover butter wrapper, or spray a rubber spatula with baking spray and gently press down into an even layer.
- Line the sheet pan with parchment paper or wax paper so you can easily cut the rice krispies in the pan without ruining the bottom of the sheet pan.
- Add any of your favorite rice krispie toppings!
- Take your time and stir frequently when you are making the brown butter. It shouldn’t take more than 10 minutes.
- You can chill in the fridge for about 30 minutes to make them easier to cut.
More desserts to love
Storage
- At room temperature: They can last for up to 2-3 days and still maintain their freshness and texture.
- In the refrigerator: They can last for about 1 week, although they may become slightly firmer.
- In the freezer: Rice Krispies treats can be frozen for up to 6 weeks. Wrap them tightly in plastic wrap or aluminum foil before placing them in an airtight container or freezer bag. Thaw them in the refrigerator overnight before serving.
Before You Begin! If you make this, please leave a review and rating letting us know how you liked this recipe! This helps our business thrive & continue providing free recipes.
Sheet Pan Rice Krispies
Ingredients
- 1 1/2 cups unsalted butter
- 1, 14 oz. can sweetened condensed milk
- 2 Tbsp. vanilla extract
- 1 1/2 tsp. kosher salt (use less salt if using table salt or a fine sea salt.)
- 3, 10 oz. bags mini marshmallows, divided
- 15 cups Rice Krispie Cereal
- toppings: candy, chocolate, sprinkles, etc.
Last step! If you make this, please leave a review and rating letting us know how you liked this recipe! This helps our business thrive & continue providing free recipes.
Instructions
- Line a sheet pan with parchment and lightly grease the parchment with non stick spray, set aside.
- Brown the butter: In a large light-bottomed Dutch oven over medium heat, melt the butter. The butter will begin to foam, and then the foam will begin to subside and you’ll start to see tiny specks at the bottom of the pan, stir with a heat resistant spatula or wooden spoon and constantly stir and scrape so milk solids that are browning don’t stick. (These are what give brown butter it’s yummy flavor.)1 1/2 cups unsalted butter

- Add the condensed milk, vanilla, and salt. stir for 1 minute or until combined over medium-low heat.1, 14 oz. can sweetened condensed milk, 2 Tbsp. vanilla extract, 1 1/2 tsp. kosher salt

- Add 10 cups of the marshmallows (about 2 1/2 bags).3, 10 oz. bags mini marshmallows, divided

- Stir until melty and then remove from the heat.

- Pour in the rice krispie cereal, working in increments if needed since it's quite a lot of cereal. (My Dutch oven is a 7 1/4 qt so it's pretty large. You may need to transfer this to a large bowl to get everything incorporated nicley).15 cups Rice Krispie Cereal

- Stir until incorporated.

- Gently stir in the remaining 2 cups mini marshmallows. Stir gently and don't over mix because we want those pockets of marshmallow throughout.

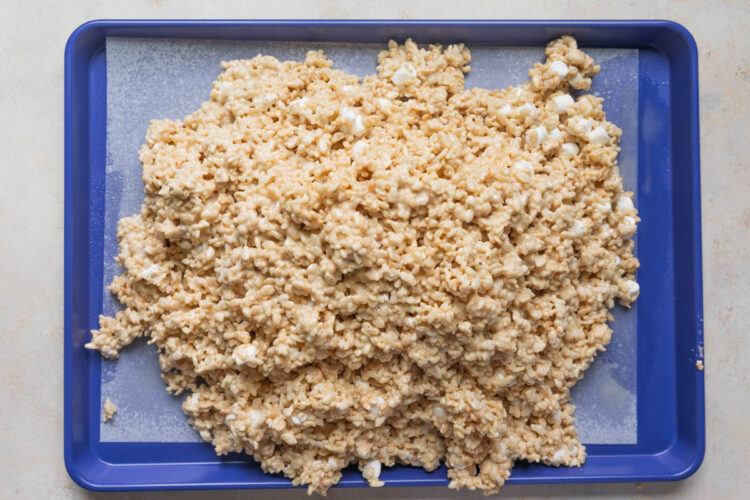
- Transfer the mixture onto the prepared sheet pan.

- Gently press down using the back of the butter wrapper or a greased spatula. Be sure to lightly press instead of tightly compacting for best results, making sure it's in an even layer.

- Add your favorite toppings, pressing them down gently so they stick. Allow to set up for 30-60 minutes before cutting. You can also pop in the fridge to get clean cuts. Be sure to cover them if leaving them out for longer than an hour. Enjoy!toppings: candy, chocolate, sprinkles, etc.

Notes
- Store in an air tight container at room temperature for up to 3 days.
- Other ideas for toppings:
- Oreos! Crushed-up Oreos: golden or traditional!
- Circus animal cookies
- Make them festive with Christmas red and green sprinkles or M&Ms.
- Add different nuts on top, like salted pistachios or peanuts & chocolate!
- Drizzle Nutella or Biscoff cookie butter.
- Caramel and flaky sea salt.
Nutrition Information
Nutritional information is provided as a courtesy and is automatically calculated. It should only be construed as an estimate rather than a guarantee. Ingredients can vary and Kroll’s Korner can’t make any guarantees to the accuracy of this information.

These are seriously so delicious!! And super easy to make! I have only made Rice Krispies one other time, so I was thankful for the detailed instructions and how simple, but delicious. Everything I make of hers has been amazing!