Homemade Thin Mints
This post may contain affiliate links. Please read our disclosure policy.
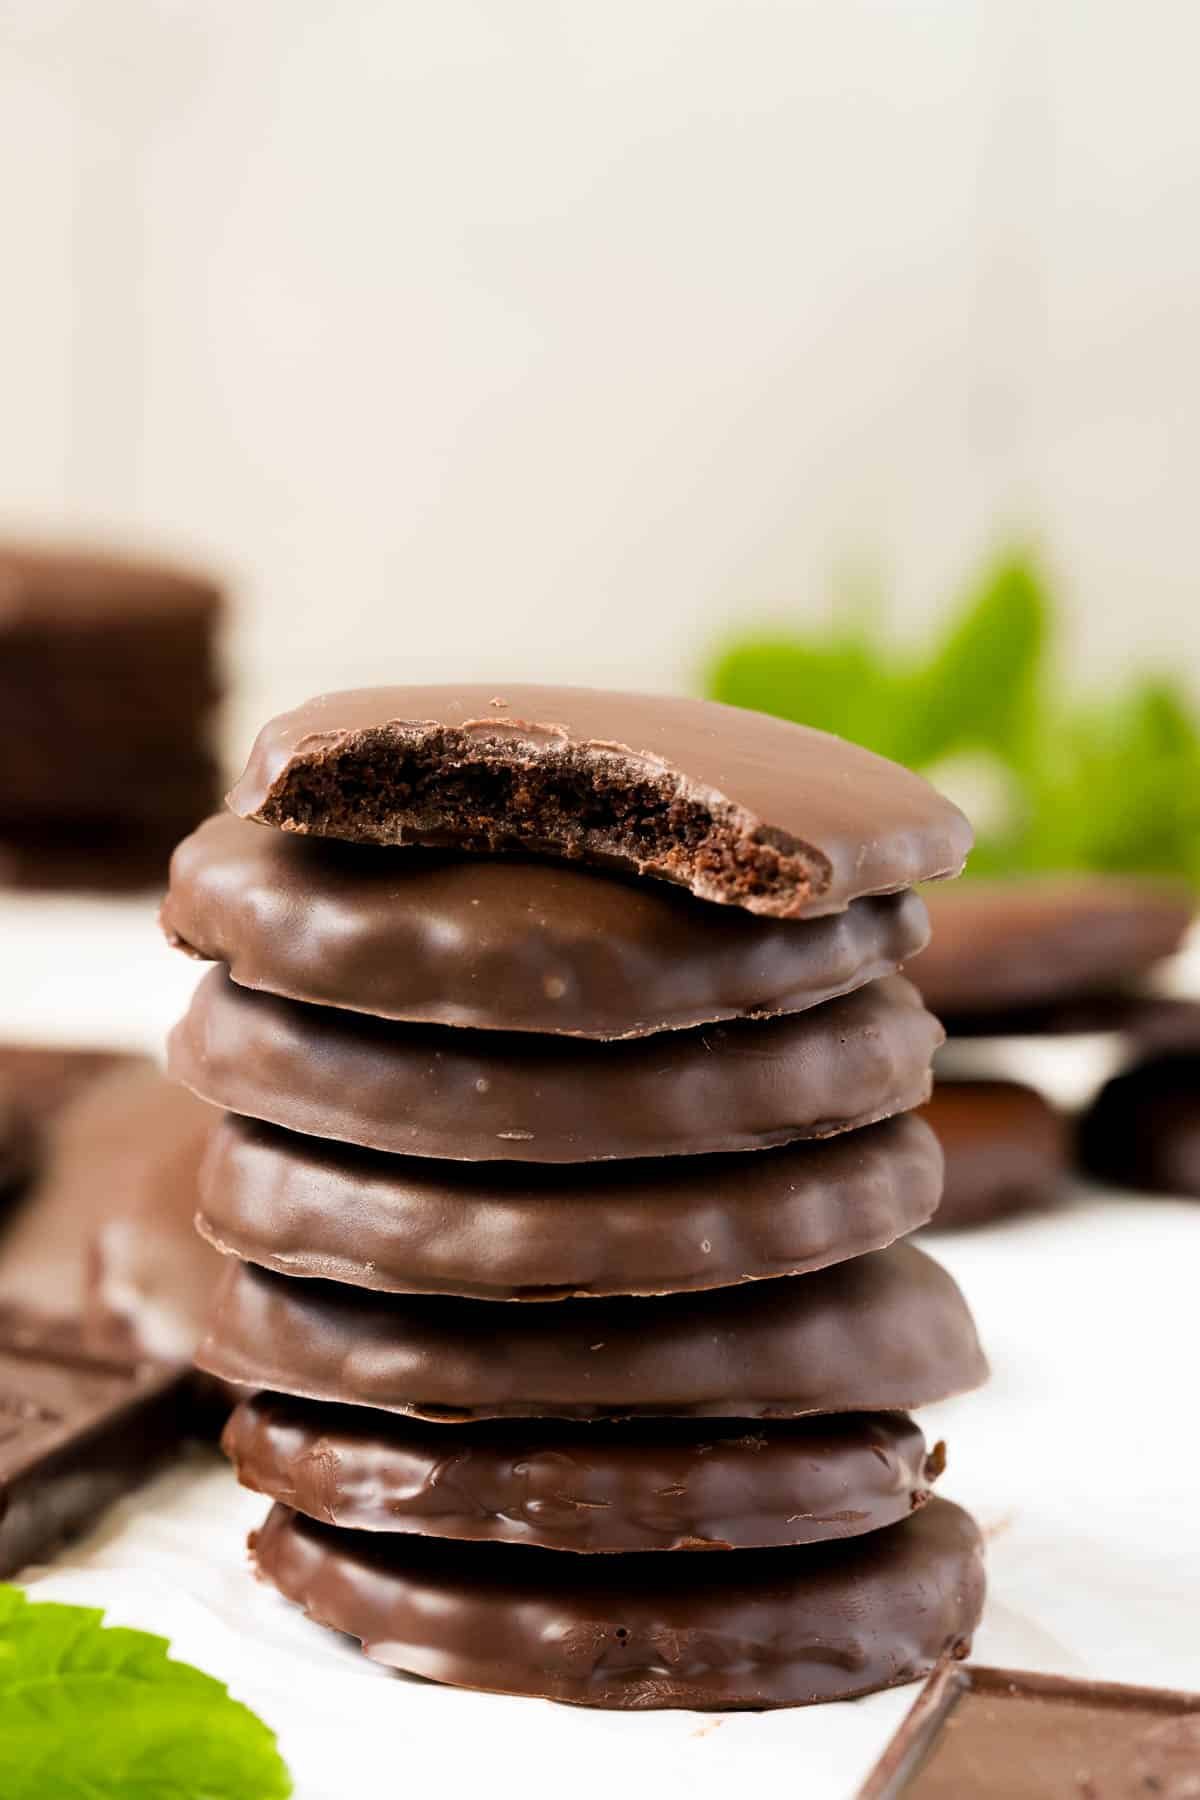
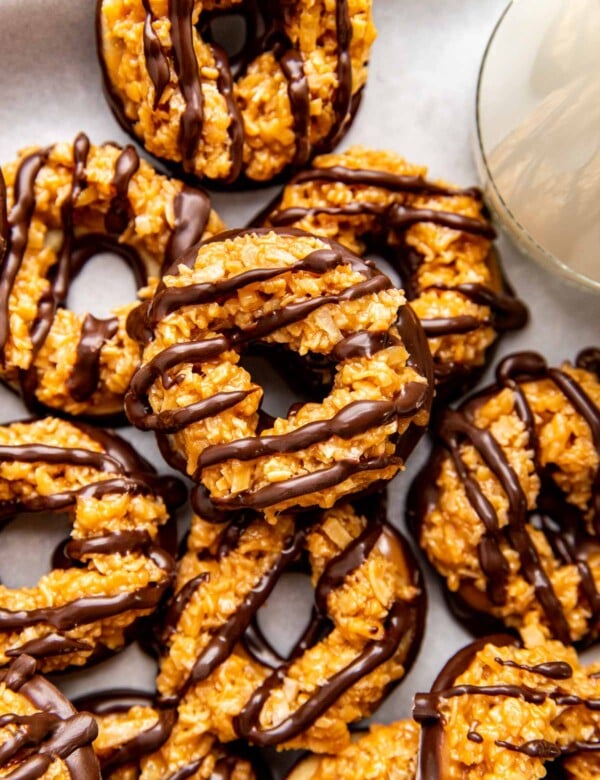
My homemade thin mints are reminiscent of the classic Girl Scout Thin Mints we all know and love. But with my recipe, you can now enjoy them year-round and not wait for Girl Scout Cookie season! You should try out my Copycat Girl Scout Tagalongs (Peanut Butter Patties) and my Copycat Girl Scout Samaos, too!
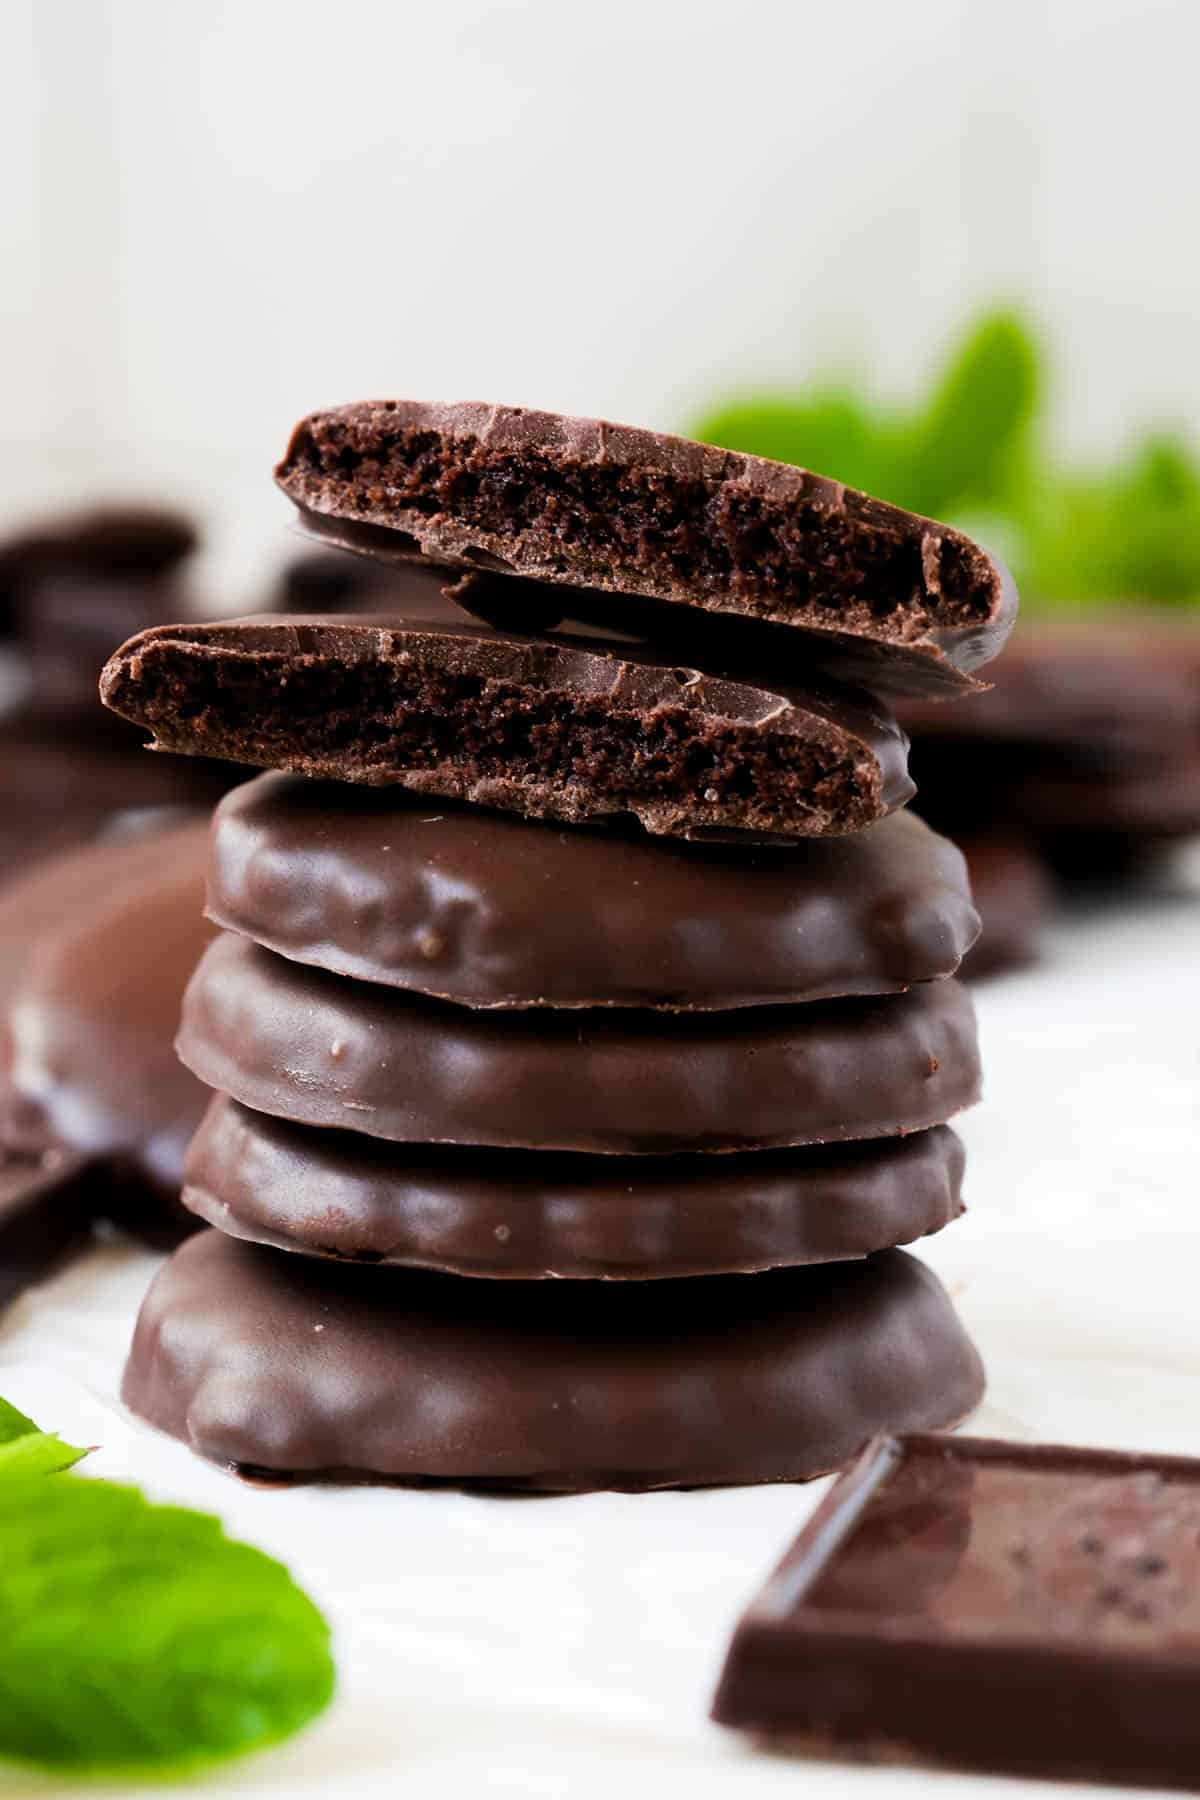
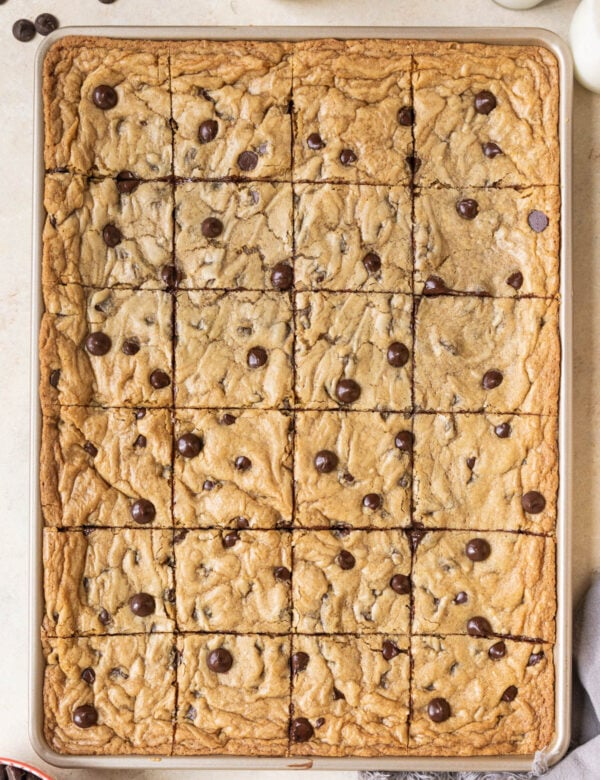
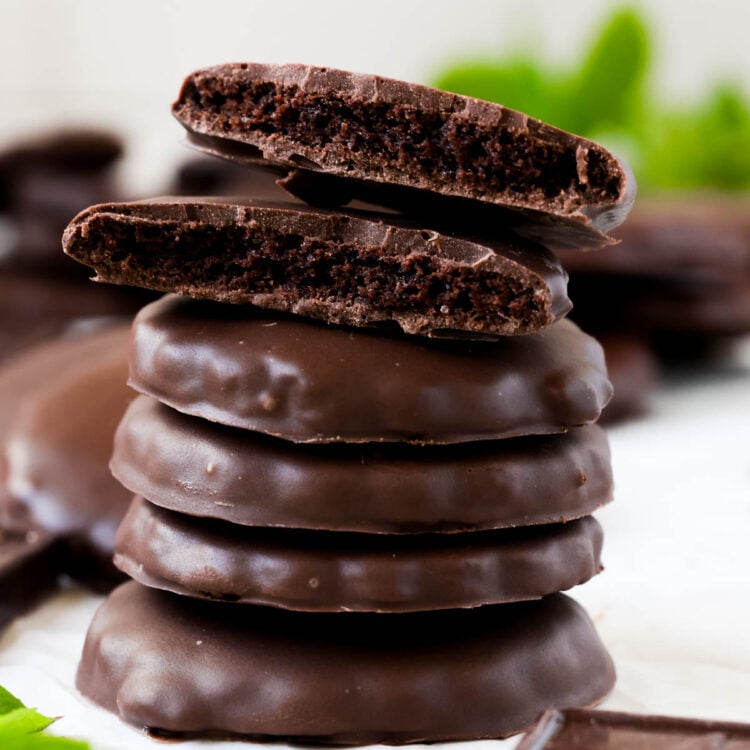
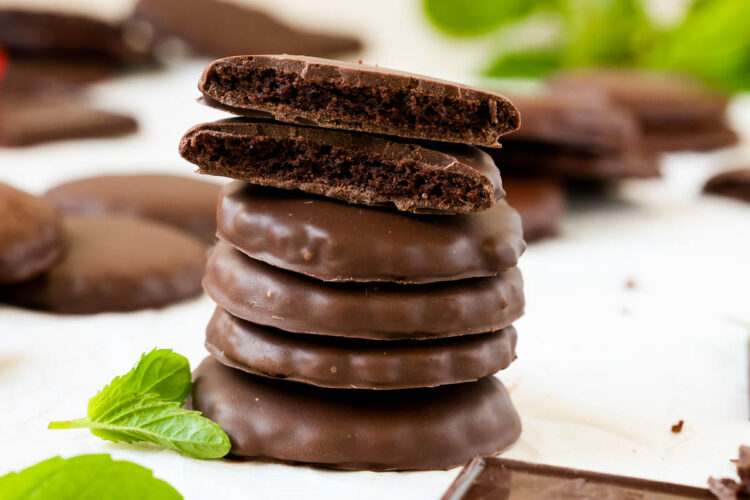
The cookie base is crisp and slightly crumbly and the peppermint flavor provides a cool and refreshing contrast to the richness of the chocolate. The dark chocolate coating enrobes each cookie, giving them a smooth, velvety, and glossy finish.
The notes of cocoa and mint fill the kitchen as they bake and the aroma is just totally irresistible! Similar to my Chocolate Andes Mint Cookies, you just can’t wait to take a bite!
I love storing these cookies in the freezer, and popping one or two out when the craving strikes. The satisfaction of making them at home adds an extra layer of enjoyment, making each bite even more special. Adults and kids alike will love these iconic cookies!

Why this recipe works
- Thin Mints are undoubtedly the most popular Girl Scout Cookie, and my copycat recipe is just as good, or BETTER!
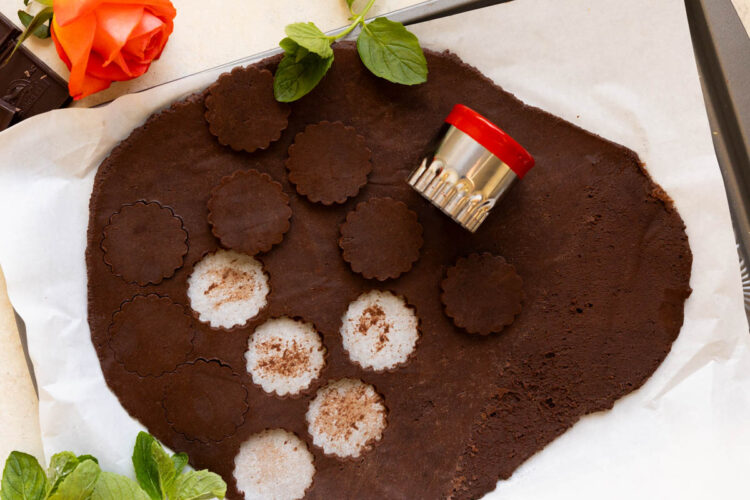
- Rolling out the dough prior to the chill time helps the dough firm up quicker and makes it easier when it comes time to cut out the cookies.
- The chill time helps prevent the cookies from spreading and holds their shape.
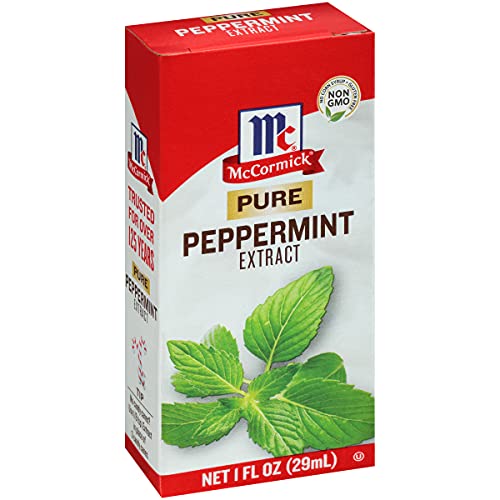
- The peppermint extract is key (not mint extract) to get the classic thin mint flavor.

Sure, it’s convenient to use a round cutter OR a wavy/scalloped cookie cutter but what if you don’t have one lying around? Here is what you can use instead:
- A drinking glass with a thin rim, preferably a small 2 inch glass for these cookies.
- An empty tin can (like from a small tomato paste can) or small soda can.
- Cut slices from a log for a slice and bake option: I tested this version out with these cookies and it works well, the cookies just don’t look as perfect as using a cookie cutter, but flavor is the same! 🥳
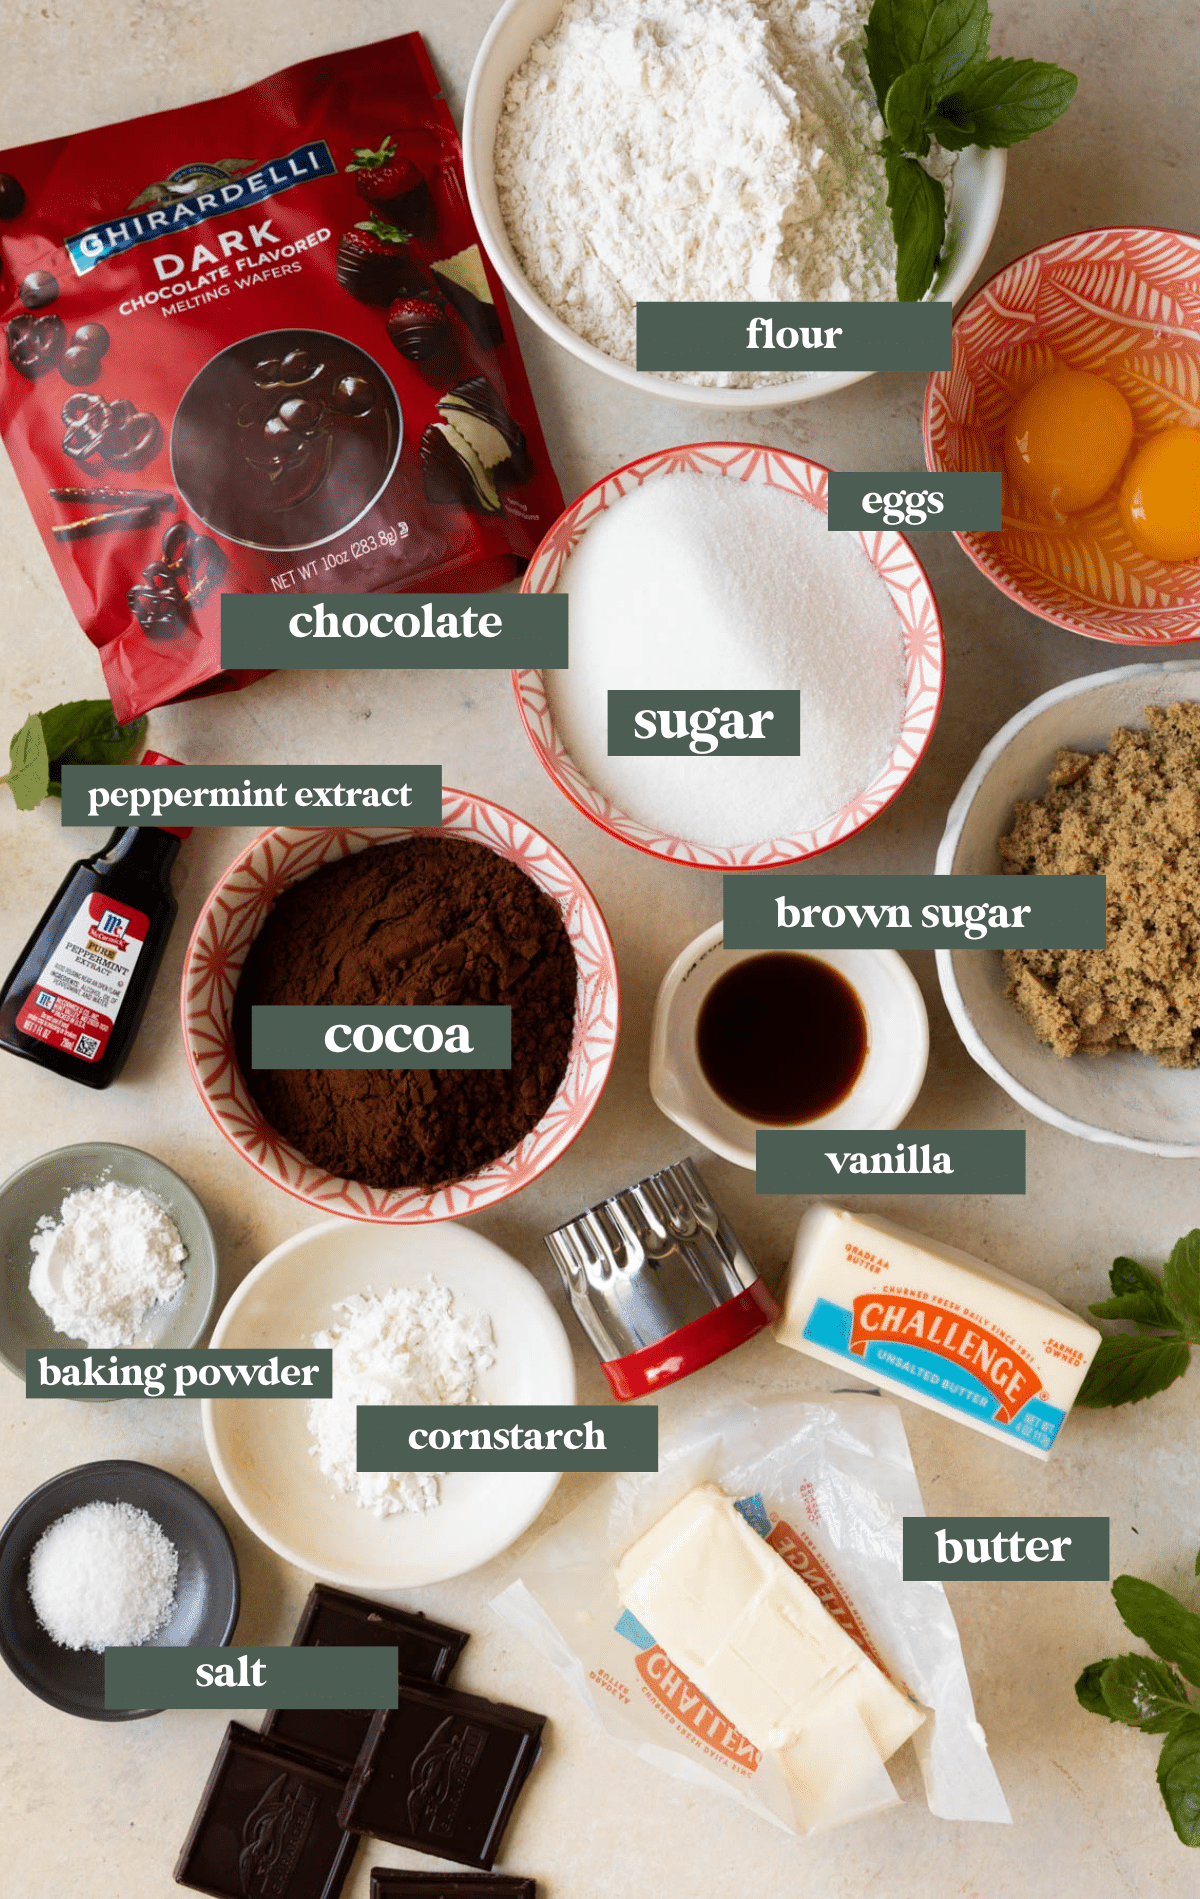
Ingredients
For the ingredient measurements and entire recipe, be sure to scroll down to the bottom of the blog post where the recipe card is located.
- Flour: the base ingredient for the cookie dough. It provides structure and helps bind the ingredients together. I have not tested this recipe with any other flour besides all purpose.
- Dutch processed cocoa: I choose this cocoa because I have found it provides a smoother texture and more intense chocolate flavor in the thin mints.
- Cornstarch: I wanted to add a bit of cornstarch in my recipe to help reduce the spread of the cookies and give them a tad bit more thickness.
- Peppermint Extract: Be sure to use peppermint extract, and not mint extract. Peppermint extract provides the refreshing mint flavor that is characteristic of Thin Mint Cookies and you’ll also add some to the chocolate coating.
- Other ingredients needed: salt, baking powder, eggs, butter, vanilla, and sugar.
Step by Step Directions
For the full recipe instructions, scroll down to the bottom of the blog post to the recipe card.
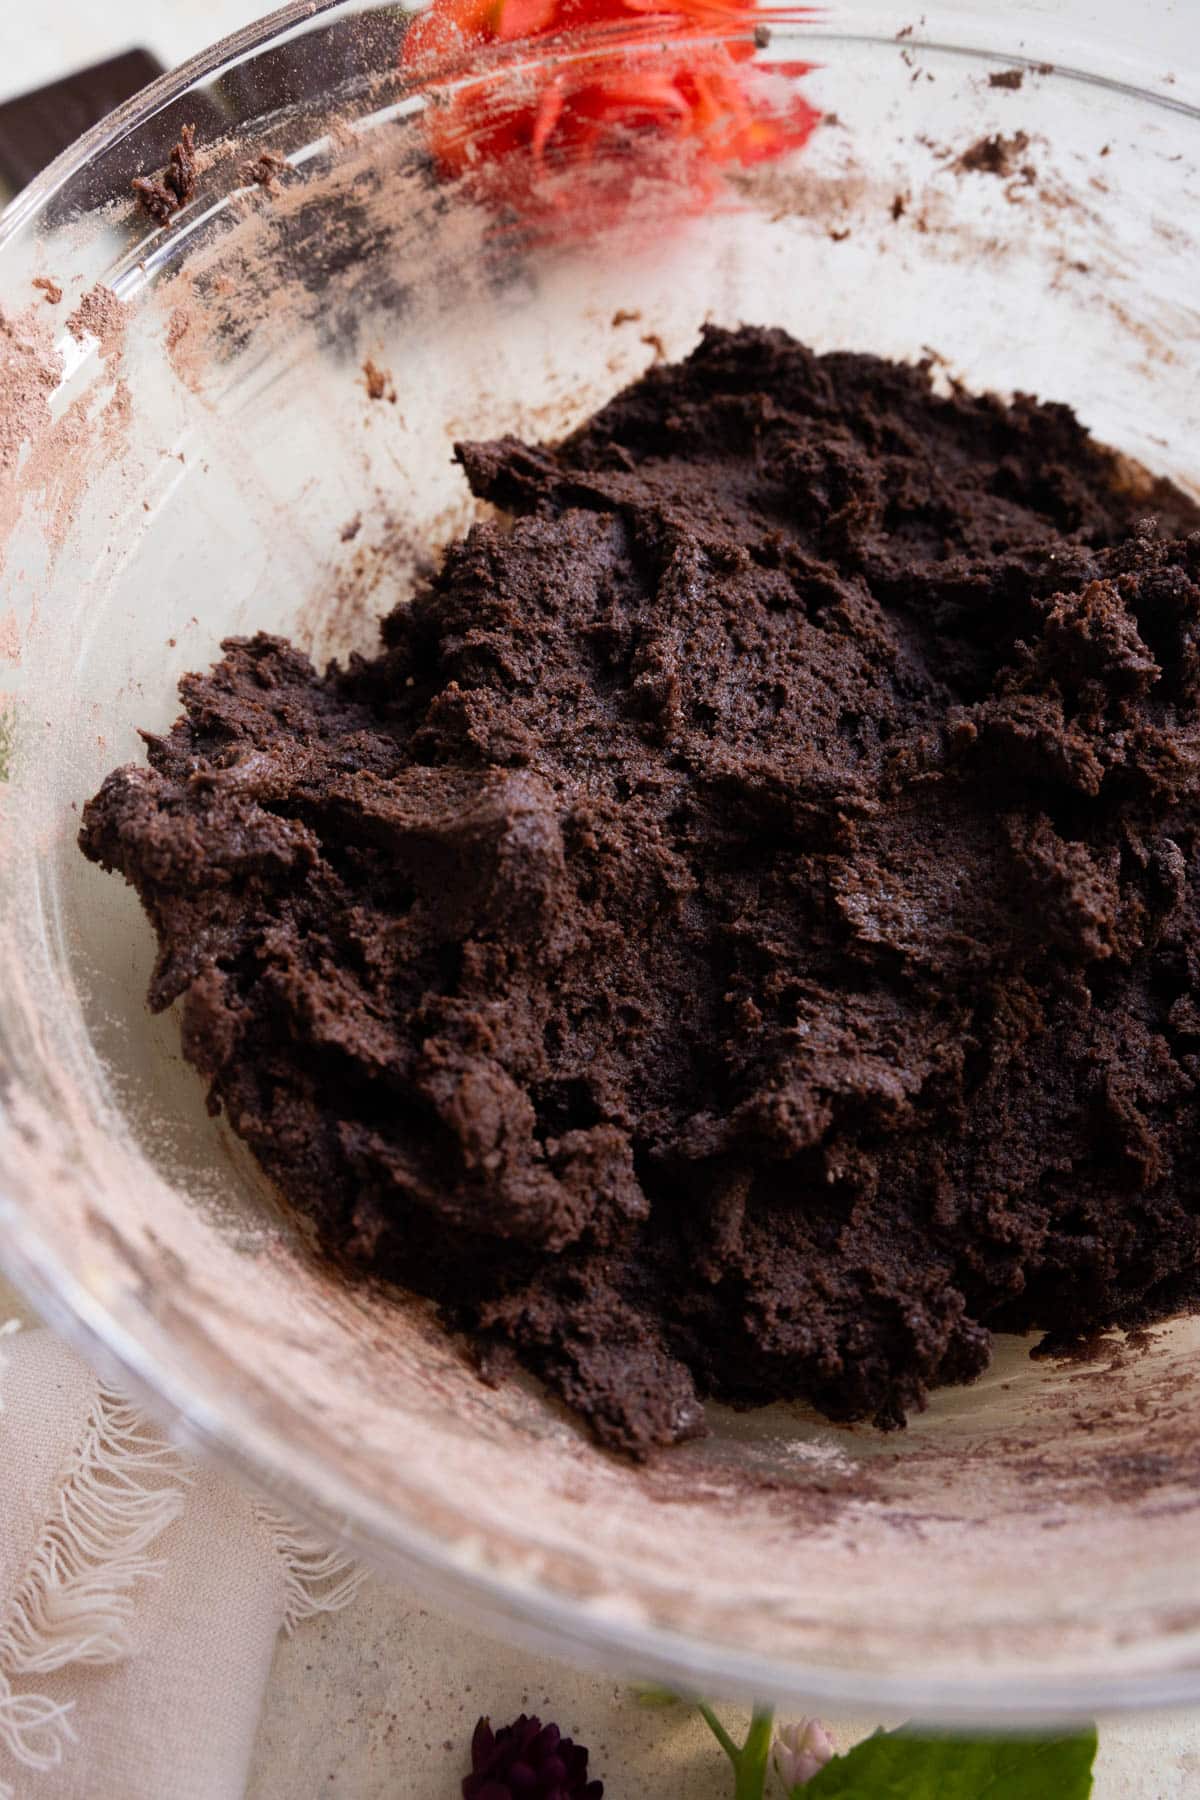
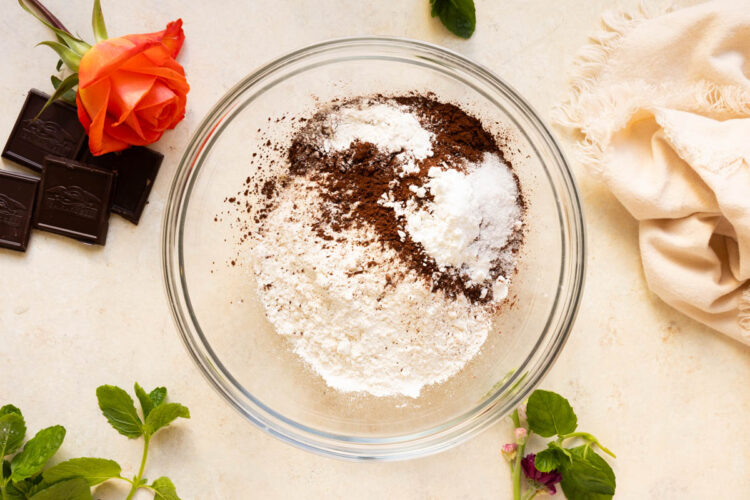
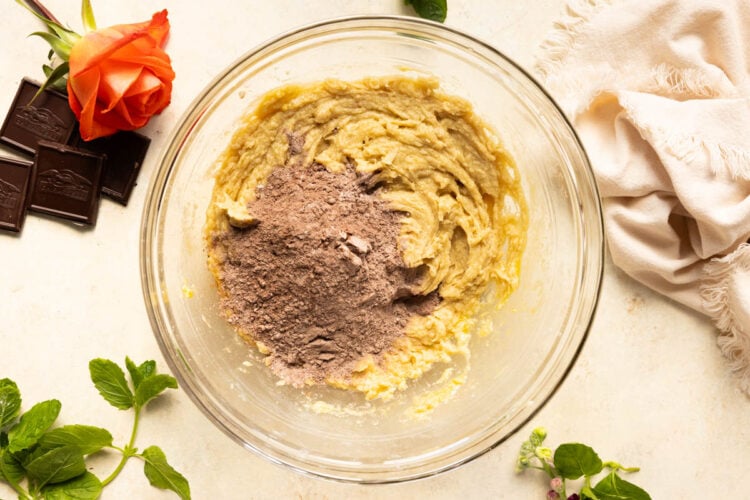
- Whisk together the dry ingredients.
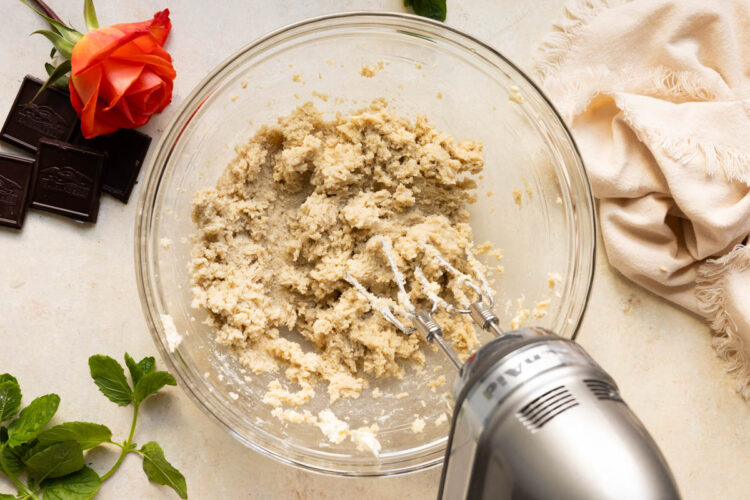
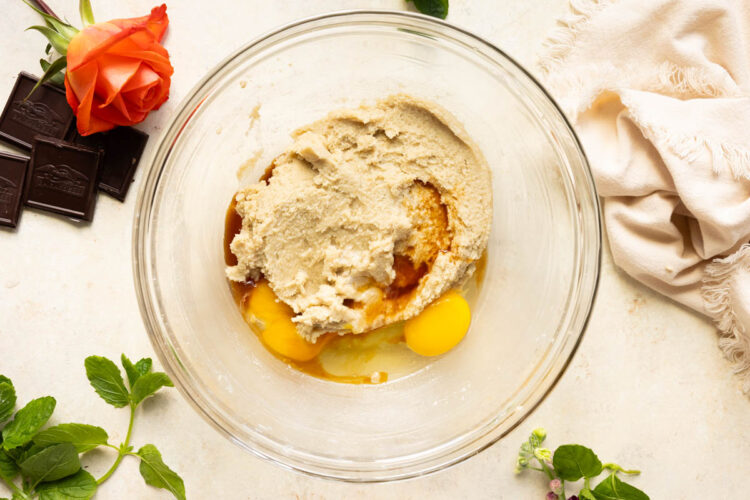
- Beat butter and sugars.
- Add eggs and extracts.
- Add the dry ingredients gradually.
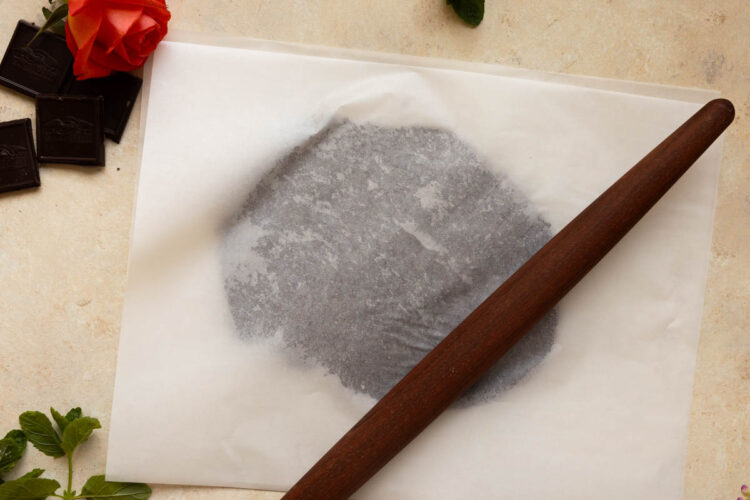
- Divide the dough in half and roll out into 1/4 inch thickness between 2 sheets of parchment.
- Refrigerate or freeze.
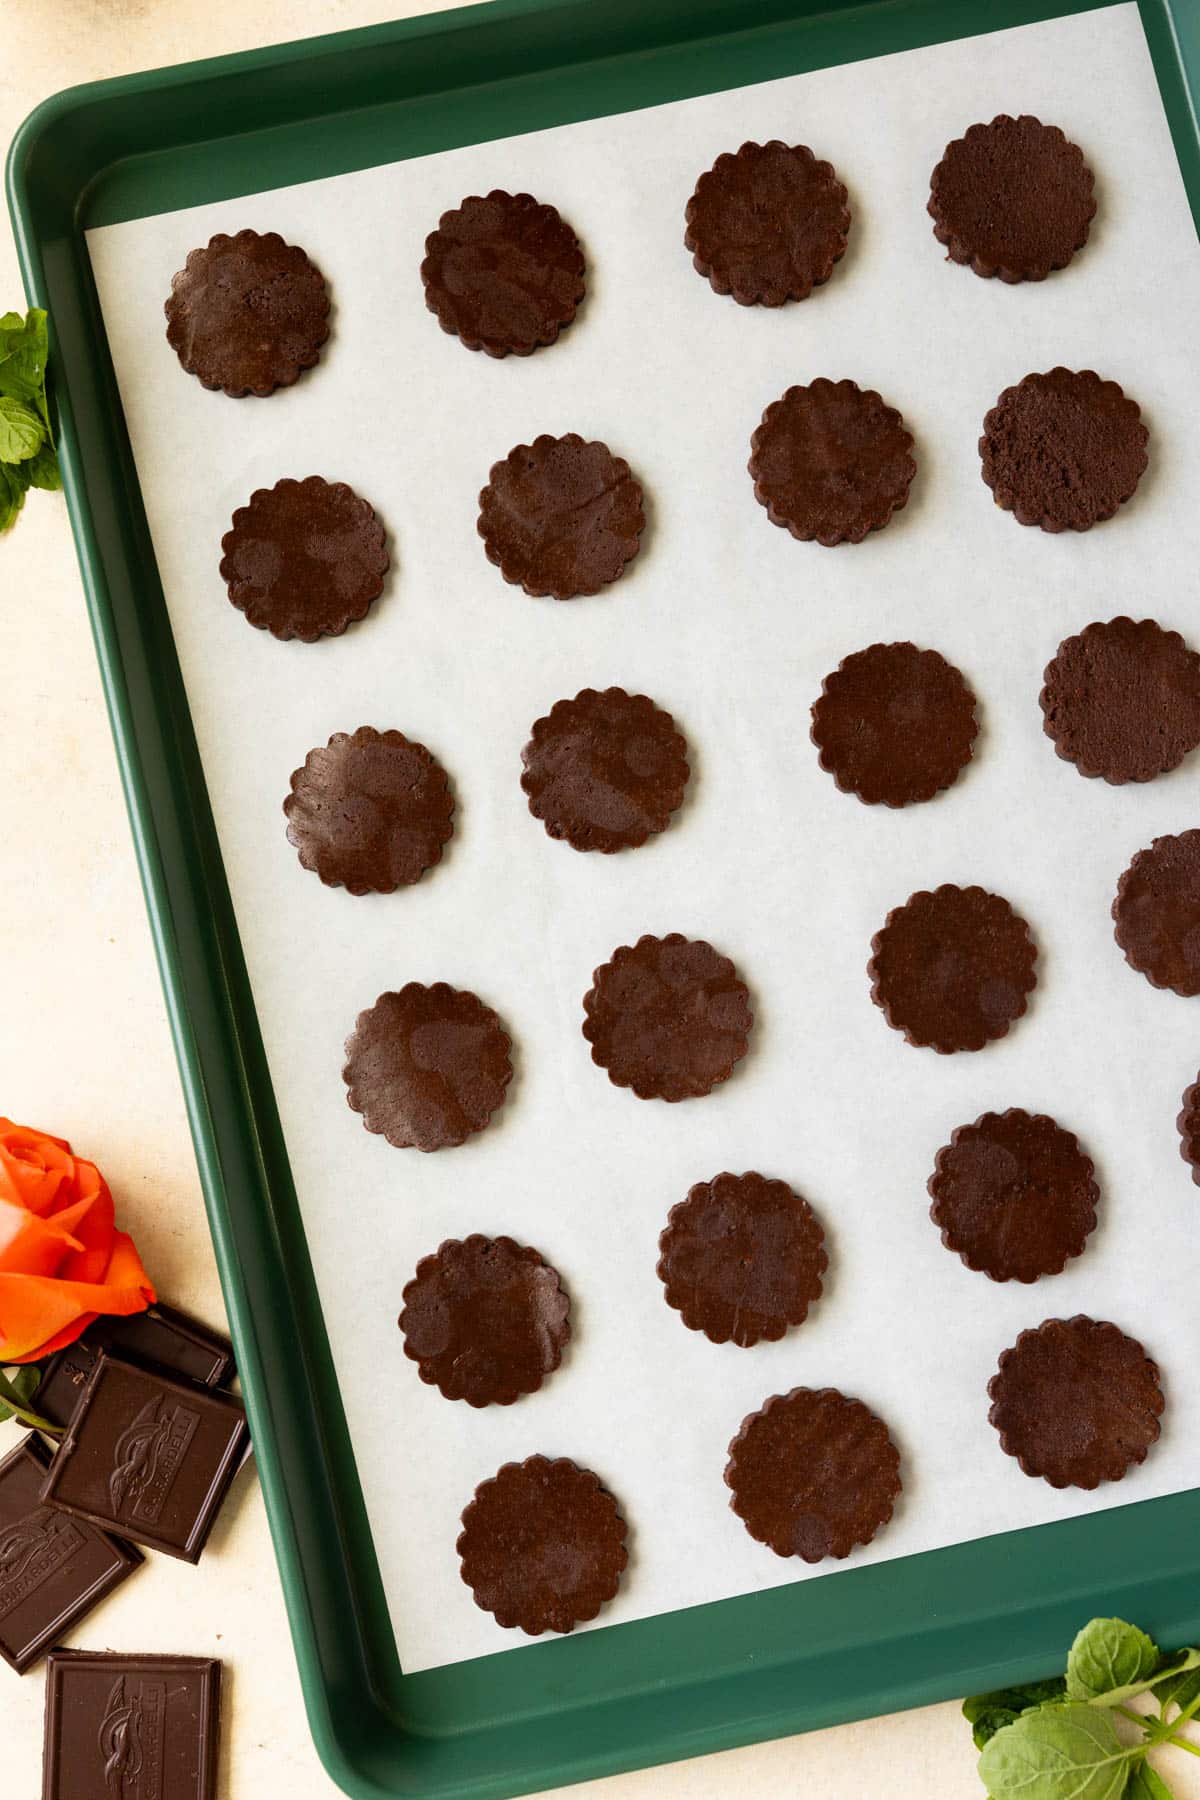
- Cut out cookies and bake.
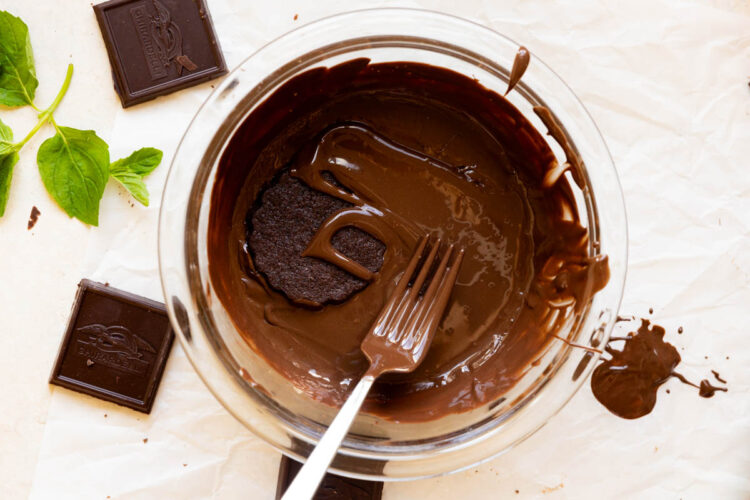
- Once cooled, dunk in chocolate mixture!
Expert Tips
- Chill the Dough: The chilled dough is easier to handle and less likely to spread excessively during baking, resulting in cookies with a better shape.
- Use a Round Cutter OR a wavy/scalloped cookie cutter: whatever you choose, choose a cookie butter with a diameter of about 2 inches to cut out the cookies. This size is similar to the classic Thin Mint Cookies.
- Peppermint Extract: like I mentioned above, be sure to use peppermint extract, as opposed to mint extract. Mint extract has a spearmint flavor to it, and the peppermint suits these cookies much better.
- Make ahead: since these cookies do require chill time, you might be thinking you want to make the dough in advance!
- The rolled out dough can be kept in the refrigerator for up to 2-3 days.
- Freeze the cookie dough prior to rolling for up to 3 months. When frozen, thaw in the fridge overnight, bring to room temperature so you can roll it out, if dough is too soft pop it back in the freezer for 10-15 minutes, then continue to cut and bake.
shop this post
 Buy Now →
  Buy Now →
 Storage
- Store baked cookies up to 7 days in the fridge or 2-3 months in the freezer.
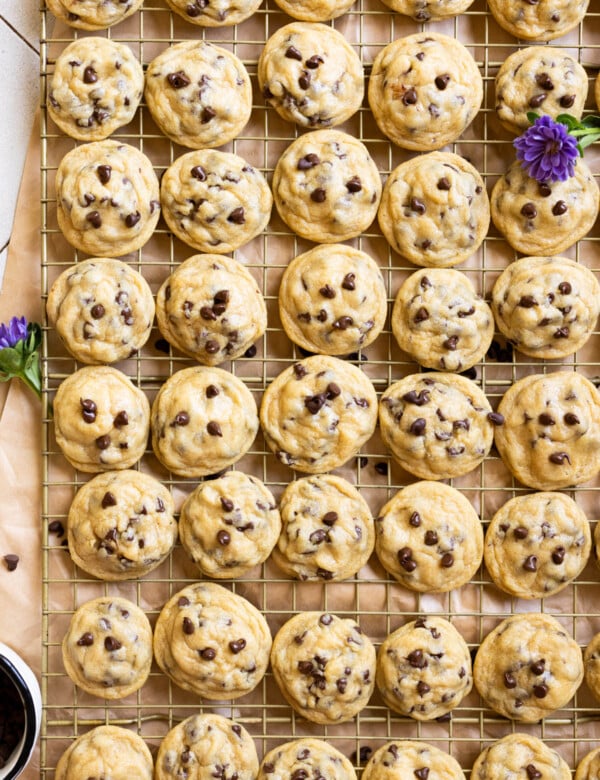
More Recipes You’ll Love

Before You Begin! If you make this, please leave a review and rating letting us know how you liked this recipe! This helps our business thrive & continue providing free recipes.
Homemade Thin Mints
Ingredients
- 2 cups all purpose flour, spooned and leveled
- 2/3 cup dutch process unsweetened cocoa
- 2 tsp. cornstarch
- 1 tsp. baking powder
- 3/4 tsp. kosher salt
- 1 cup unsalted butter, softened
- 1 cup granulated sugar
- 1/2 cup dark brown sugar, packed
- 1 large egg, room temperature
- 1 large egg yolk, room temperature
- 1 tsp. vanilla
- 3/4 – 1 tsp. peppermint extract (not mint extract) (use less or more depending on how peppermint-y you want your cookies)
Chocolate coating
- 20 oz. dark chocolate melting wafers (you can also use high quality semi sweet chocolate but I like how the wafers set up.)
- 1 tsp. oil (canola or vegetable)
- 1/2-1 tsp. peppermint extract (use less or more depending on how peppermint-y you want your cookies)
Last step! If you make this, please leave a review and rating letting us know how you liked this recipe! This helps our business thrive & continue providing free recipes.
Instructions
- *Note: you will need to chill the rolled out cookie dough for at least 3 hours in the fridge or 1 hour in the freezer. Make sure to clear a space in the fridge or freezer so once it's time to get chillin, the open space will be ready!
- Whisk the flour, cocoa, cornstarch, baking powder, and salt in a mixing bowl. Set aside.2 cups all purpose flour, spooned and leveled, 2/3 cup dutch process unsweetened cocoa, 2 tsp. cornstarch, 1 tsp. baking powder, 3/4 tsp. kosher salt

- Beat together the butter and sugars using a hand mixer or stand mixer fitted with the paddle attachment for 2-3 minutes until smooth.1 cup unsalted butter, softened, 1 cup granulated sugar, 1/2 cup dark brown sugar, packed
- Add the egg, egg yolk, vanilla, and peppermint extract.1 large egg, room temperature, 1 large egg yolk, room temperature , 1 tsp. vanilla, 3/4 – 1 tsp. peppermint extract (not mint extract)
- Mix again until smooth and combined, scraping down sides of bowl as needed. Gradually add in the dry ingredients.
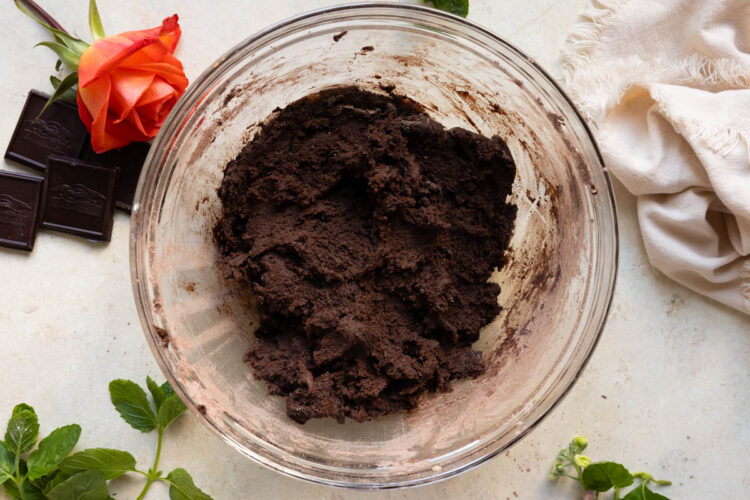
- Mix on a medium-low speed until incorporated and dough comes together.
- Divide the dough in half. Working with one half at a time, place half of dough down on a piece of parchment paper. Place another piece of parchment paper over the top. Roll into 1/4" thickness. Repeat this with the other half of dough. Dough might be just a little sticky but it's easy to work with.
- Leave the dough between the parchment paper and place on a baking sheet. You can stack both pieces of rolled out dough since they're protected by the parchment. Refrigerate for at least 3 hours or freezer for 1 hour. You can chill for up to 48 hours prior to baking, just be sure it's covered.
- Preheat the oven to 350°F. Line 2 baking sheets with parchment paper or silicone baking mats.
- Remove the top layer of parchment paper. Cut out the cookies using a 2-inch circular or scalloped cookie cutter.
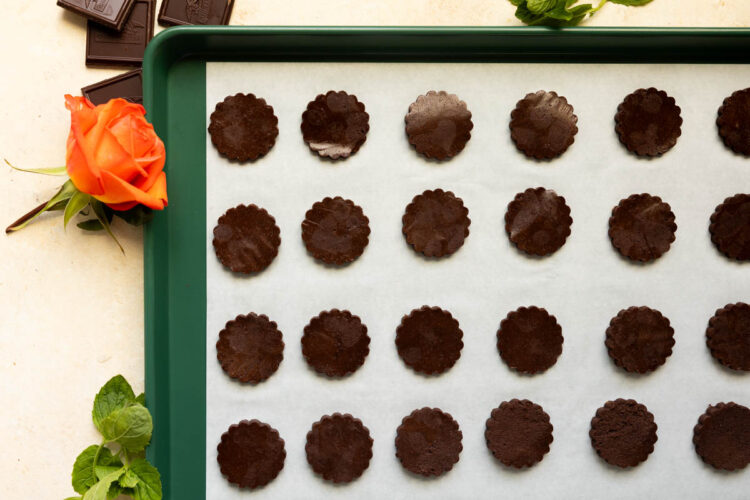
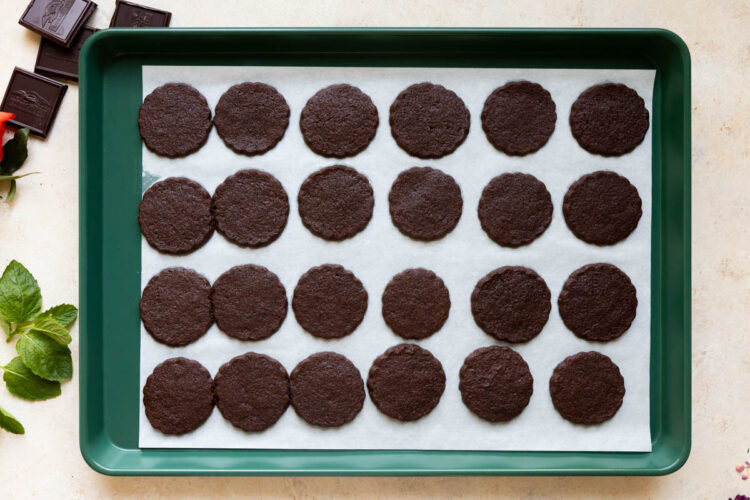
- Place cookies on prepared baking sheet about 1 1/2 inches apart. Gather and re roll the scraps, chill dough if you feel it has gotten warm, and continue to cut out the cookies and bake with remaining dough.
- Bake for 8-10 minutes. Cool on the baking sheet for 5-10 minutes then transfer to wire rack to cool completely. (Note: These cookies may have slightly soft texture at first, but get that nice crisp crunch as they cool and even better if you freeze them!)
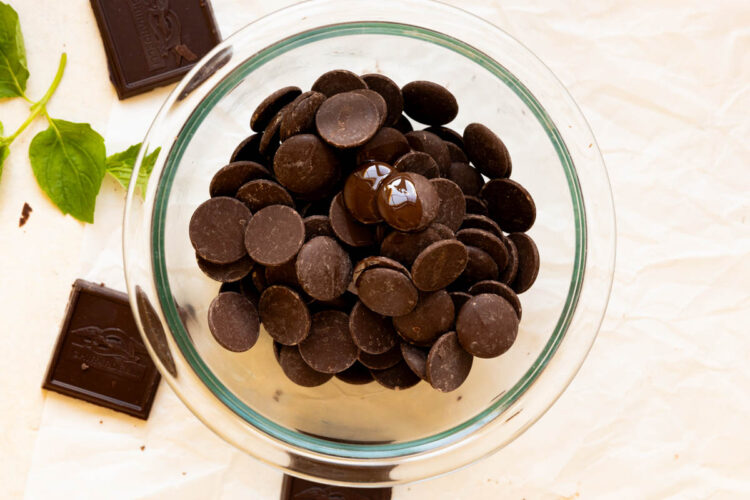
- Add the melting wafers and oil to a microwave safe bowl.20 oz. dark chocolate melting wafers , 1 tsp. oil (canola or vegetable)
- Melt in 30 second intervals, stirring in between, until melted and smooth. Then add the peppermint extract and stir to combine.1/2-1 tsp. peppermint extract
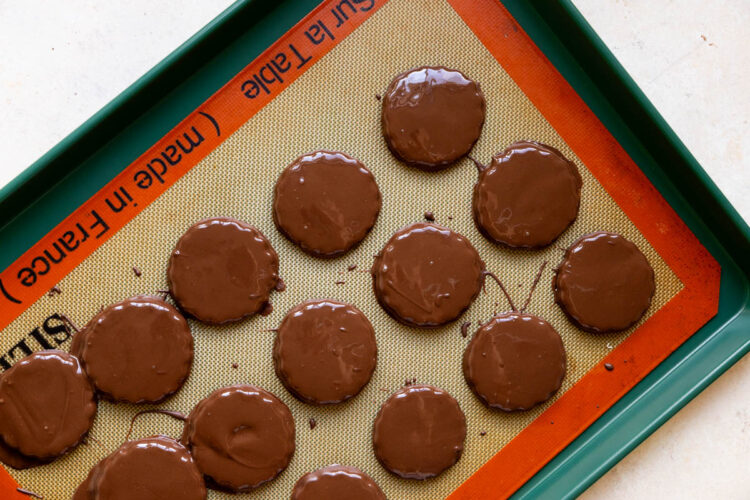
- Using a fork, dunk cooled cookies into the chocolate being sure to coat the cookie completely. Gently tap off and excess chocolate and place the cookies back on a parchment lined baking sheet.
- Allow the chocolate to set. To store, I like to place them in the freezer because I think they're best cold! 😍 Enjoy!
Notes
- Storage: store baked cookies up to 7 days in the fridge or 2-3 months in the freezer.
- Make ahead: the rolled out dough can be kept in the refrigerator for up to 2-3 days.
- Freeze the cookie dough prior to rolling for up to 3 months. When frozen, thaw in the fridge overnight, bring to room temperature so you can roll it out, if dough is too soft pop it back in the freezer for 10-15 minutes, then continue to cut and bake.
Nutrition Information
Nutritional information is provided as a courtesy and is automatically calculated. It should only be construed as an estimate rather than a guarantee. Ingredients can vary and Kroll’s Korner can’t make any guarantees to the accuracy of this information.

Delicious! And a lot easier than I expected. Only issue was the chocolate dip didn’t quite cover all the cookies, so I’m going to get some more melting wafers tomorrow. Will definitely make again.
Thank you! So sorry the 20 oz. wafers weren’t enough, I am surprised! I don’t remember running into that issue during my testing. I’ll have to make again and adjust the ounces needed to cover all the cookies.
I can’t stop try this recipe. I know they need to be thin & crisp. Have you ever tried adding ammonium bicarbonate or smelling salts ..into this recipe? I use it for a specculose & saltine recipe for the crisp it is gives. Just curious thank you 😊
Hi! No, I havent. If you try it out lmk how it goes:)
LOVED
amazing!!! thank you! 🙂
I made these today as a “new” Christmas cookie for the family. EVERYONE loves Girl Scouts Thin Mints and I have to say….you nailed it!!! The rolling between parchment paper, refrigerating for 3 hours (I did overnight), the amounts you used…everything was perfect!!! My husband wanted more peppermint flavor, so I’ll add more in the next batch but these were AMAZING!!! I’m so glad I tried them and followed the recipe exactly…as that worked perfectly!!!! tysm
Donna! Thank you sooo so much! Now I am craving these again! So happy you enjoyed these!
Donna ,
Can these be Vegan (done with flax eggs)?
Hello, I’m very excited to make these but I do have a question since I’m a beginner. When you say one cup of butter, is it two softened sticks ? I was a little confused because in your tik tok video it looked like one stick but in half.
Hi! thanks so much 🙂 so 1 cup of butter is 2 standard sticks. 1 stick of butter = 1/2 cup. It should also say on the paper the butter is wrapped in if you need to double check 🙂 I hope you love these!
I loved this recipe and have made it twice! Fantastic! Had an abundance of great chocolate just needed some reason to dip and this was it! My huge extended family went nuts and you’re right even better frozen! Thank you for sharing this! I made one adjustment – I rolled the dough into two equal logs and froze for 45 minutes. Then cut and baked. It was a huge time saver for me so thought I’d share with you!!
So glad you loved these, Felice! And thanks for sharing that tip!
Will replacing the Dutch-Processed cocoa powder with regular cocoa powder significantly impact the recipe?
They will turn out great with regular unsweetened cocoa powder! I choose the Dutch just because I have found it provides a smoother texture and more intense chocolate flavor in the thin mints. 🙂
People love these cookies! But due to my own debacles 😉😂 it will be a while before I make them again. Miss measured the brown sugar, so had to make a double batch🤦🏼♀️. The cocoa and flour flew back at me when adding. Poof! I refrigerated before rolling out🙄 Then there is the dipping! How many times can a cookie fall back into the chocolate while trying to let the excess drip off. 🤣🤣🤣 other than my own comic troubles, these are fabulous cookies! Thank you for the recipe.
Oh goodness! The joys of baking! Thank you for making, but also so sorry it was hectic! Hope they tasted yummy 🙂
Excellent recipe and I recommend it! Tastes just like GS Thin Mints. Easy to make. I followed instructions as written. However the dough is quite sticky. Even after refrigerating the dough as the recipe states, it’s still pretty sticky for me. When baked, they will puff up a bit. A tip I learned along the way as I didn’t make all the cookies, I refrideraged the dough into a large disc for a day. I let it thaw out a bit before rolling. I rolled the dough right on my counter but sprinkled a little cocoa powder down first as well as the rolling pin. Helped tremendously and also helped hold the shape (probably a longer refrigeration time helped with the shape). These cookies are really, really good without the chocolate coating too!
Thank you so much! I am sorry to hear it was too sticky for you. The chill time really helps. They look perfect in the photo! 🙂
The original GS thin mints have tiny holes poked in them. I’m about to try this recipe and i’m thinking I might do that, similar to my homemade “marias” cookies the keep them from getting air bubbles?
Hi. I thought Thin Mints is more creme de menthe but you don’t mention it. Opposed to peppermint or spearmint. Do you think it would alter taste too much or be too strong?
Hello! Are you asking if you should add that liqueur to them? I haven’t tried it! So sorry.