Sheet Pan Brownies
This post may contain affiliate links. Please read our disclosure policy.
I really try not to use “the best” on my recipes too frequently but these Sheet Pan Brownies truly are THE BEST!
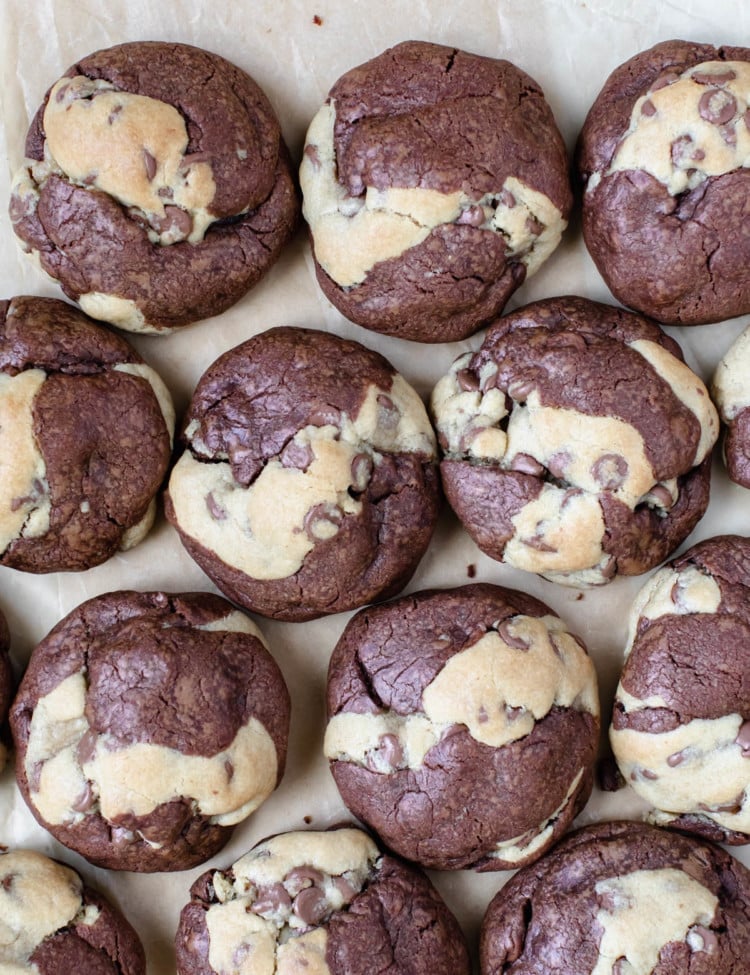
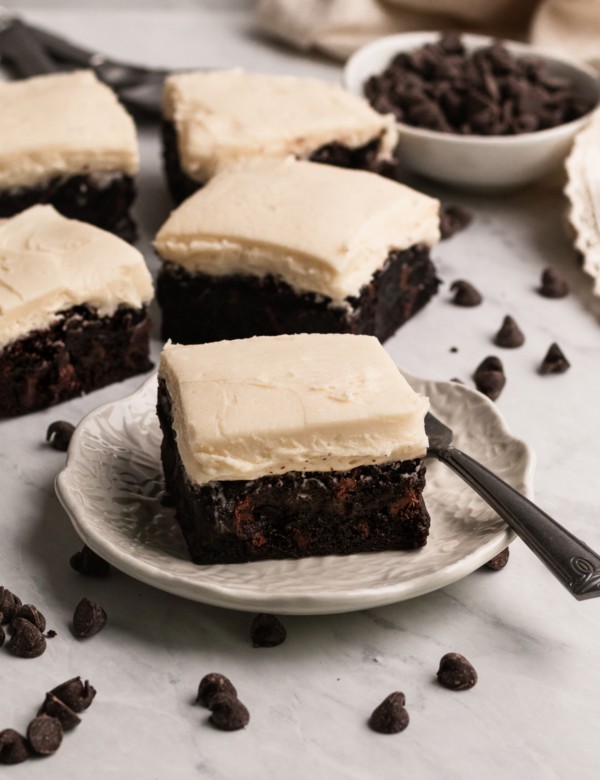
This recipe makes enough brownies for a large crowd, so if you’re looking for a smaller scaled recipe, you might like my Small Batch Brownies, Brownies with Frosting, or something different like my Brownie Stuffed Chocolate Chip Cookies. And if you’re looking for more sheet pan dessert recipes, you need to make my viral Sheet Pan Cookies, 4-in-1 Sheet Pan Cookies, Funfetti Sheet Cake, or my Puff Pastry Apple Tart.
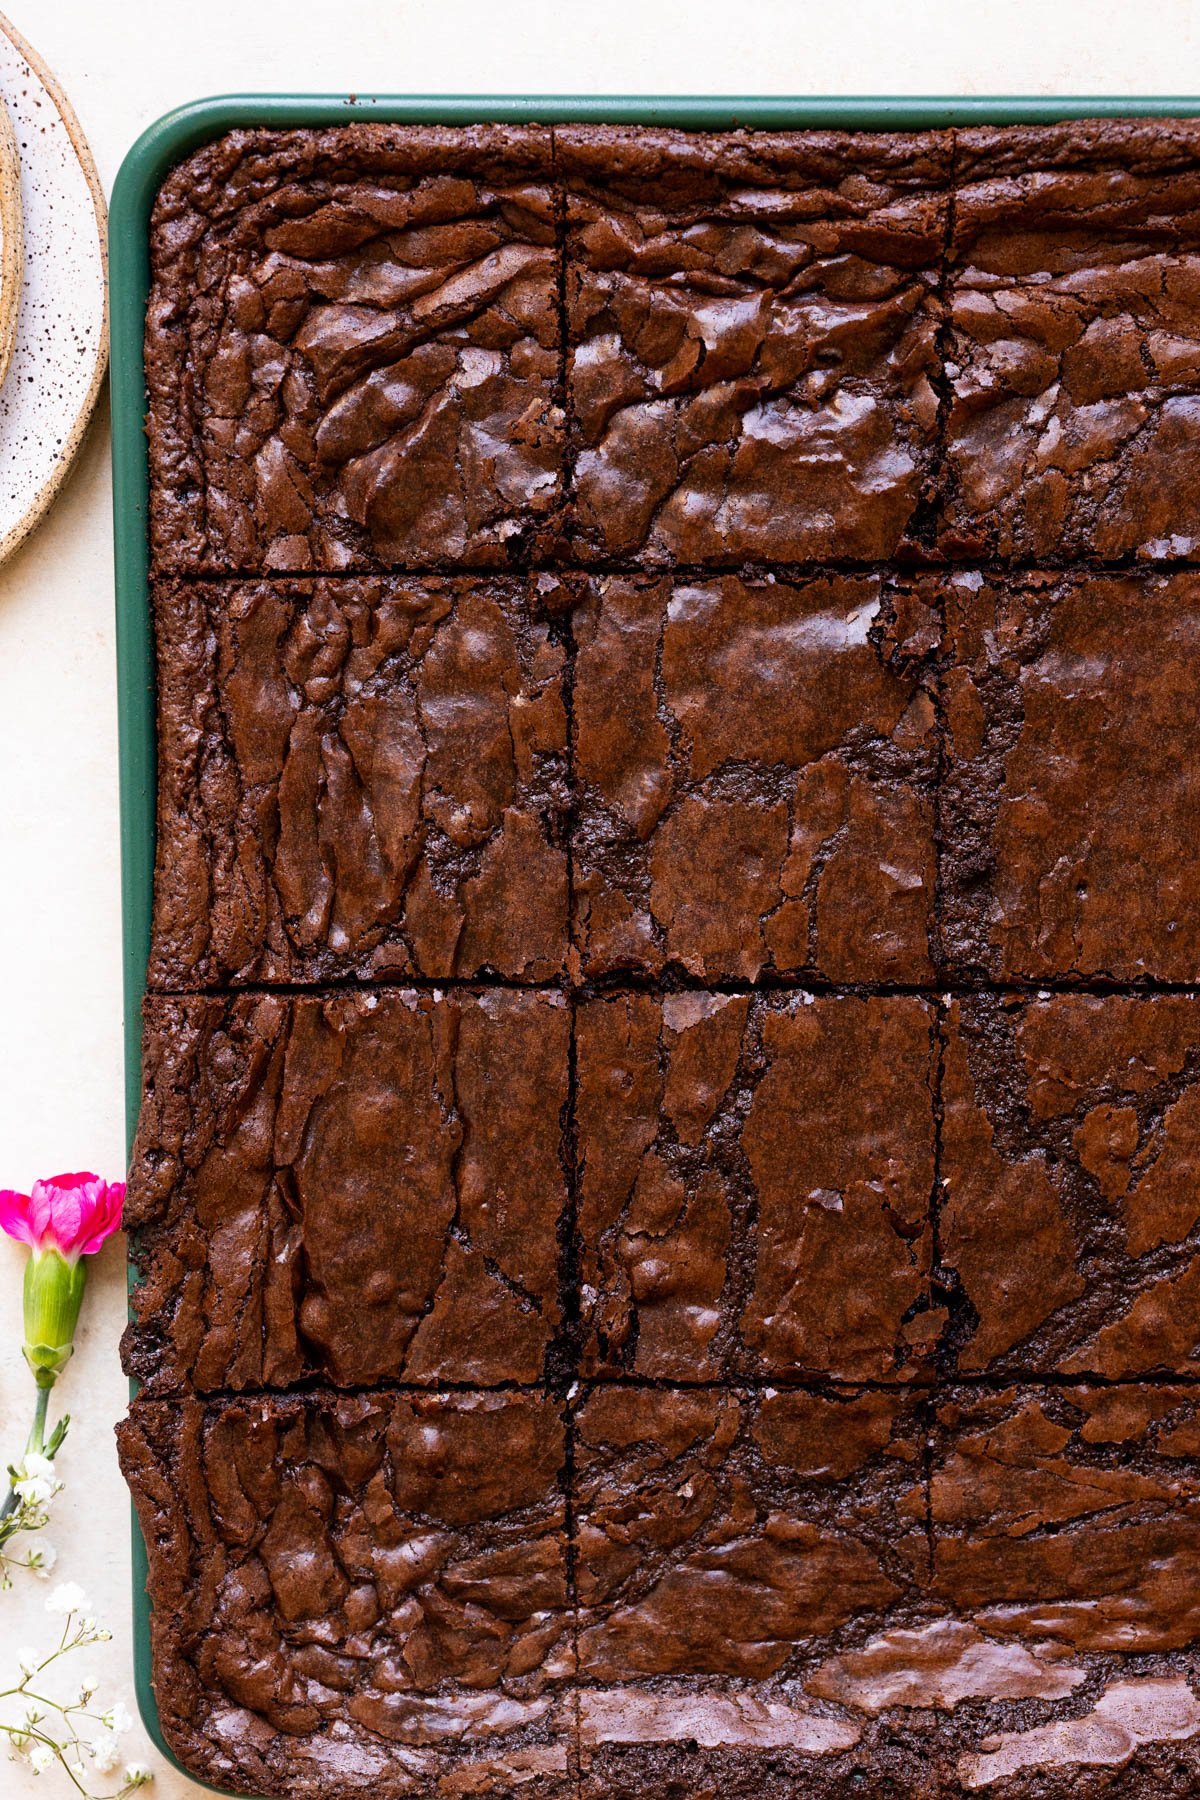
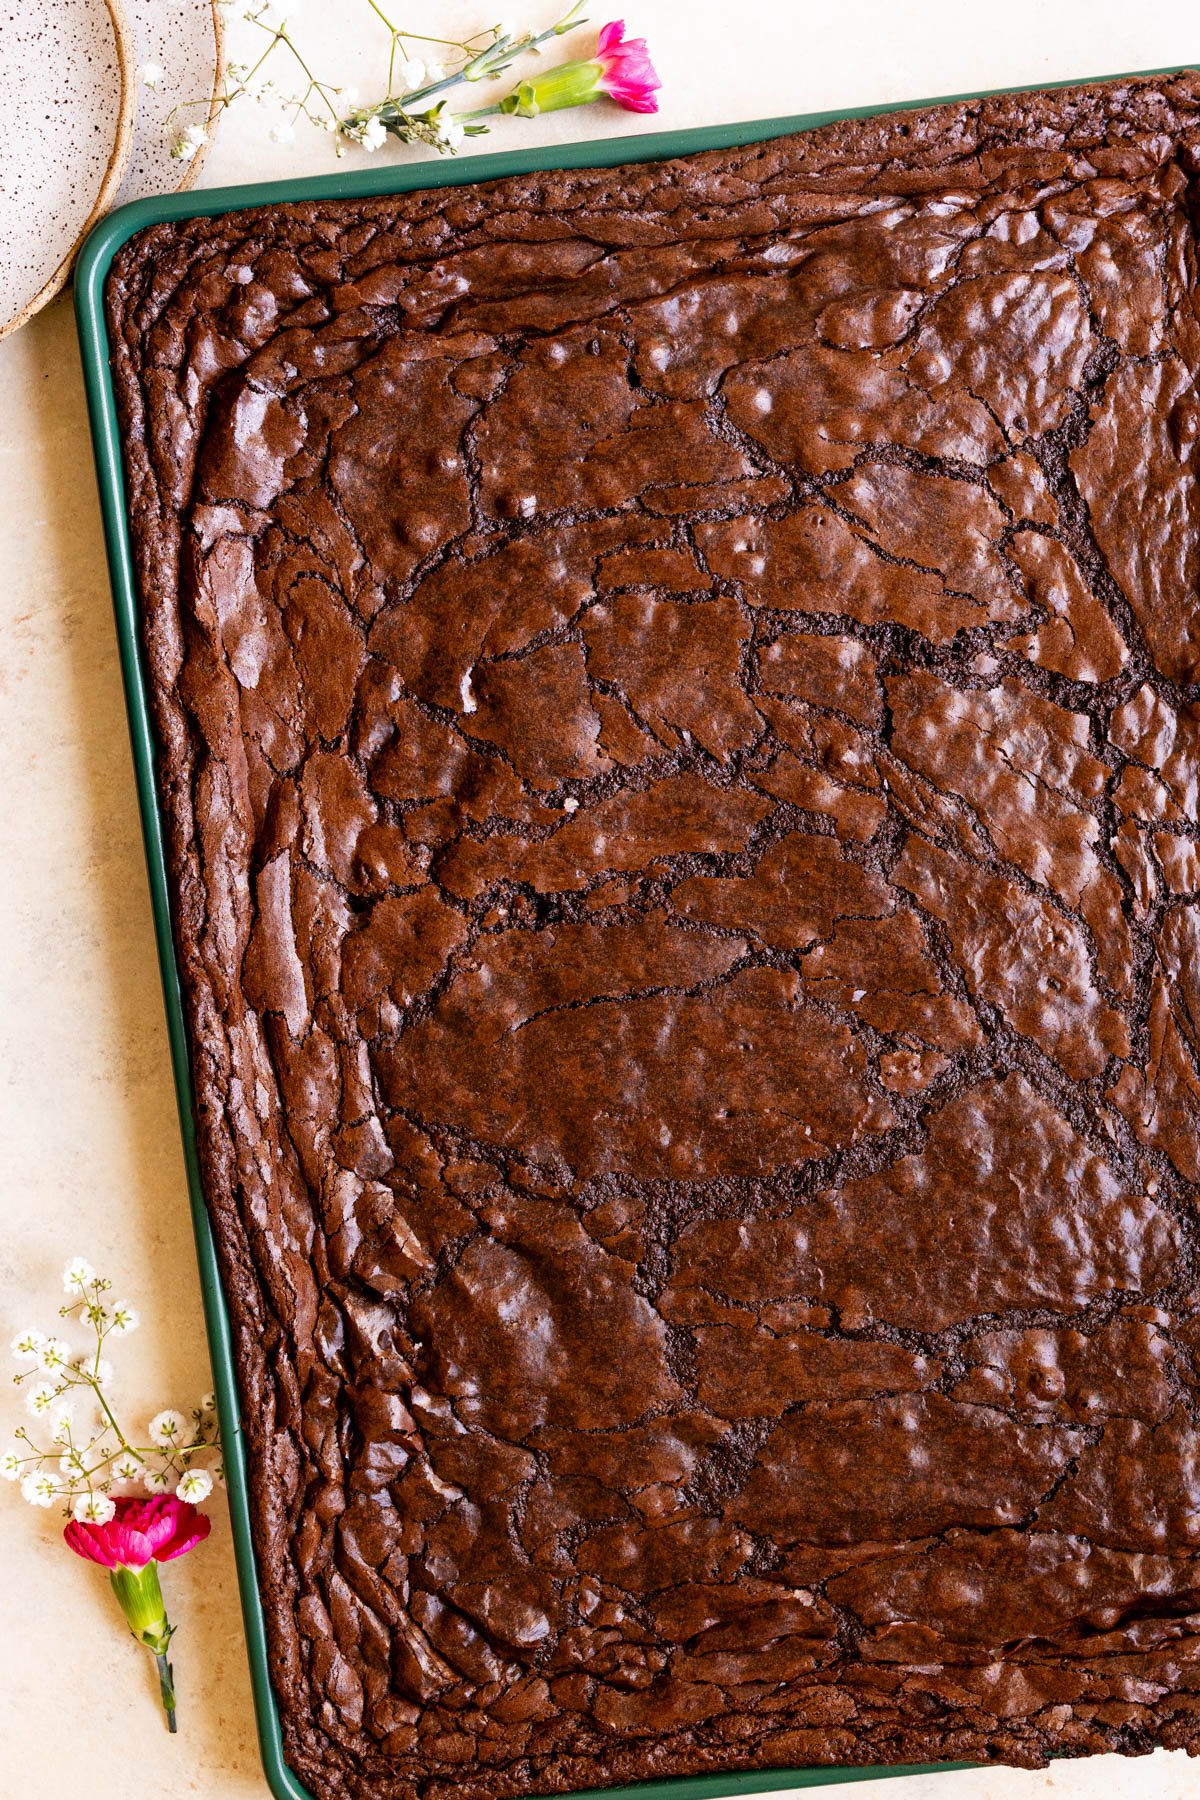
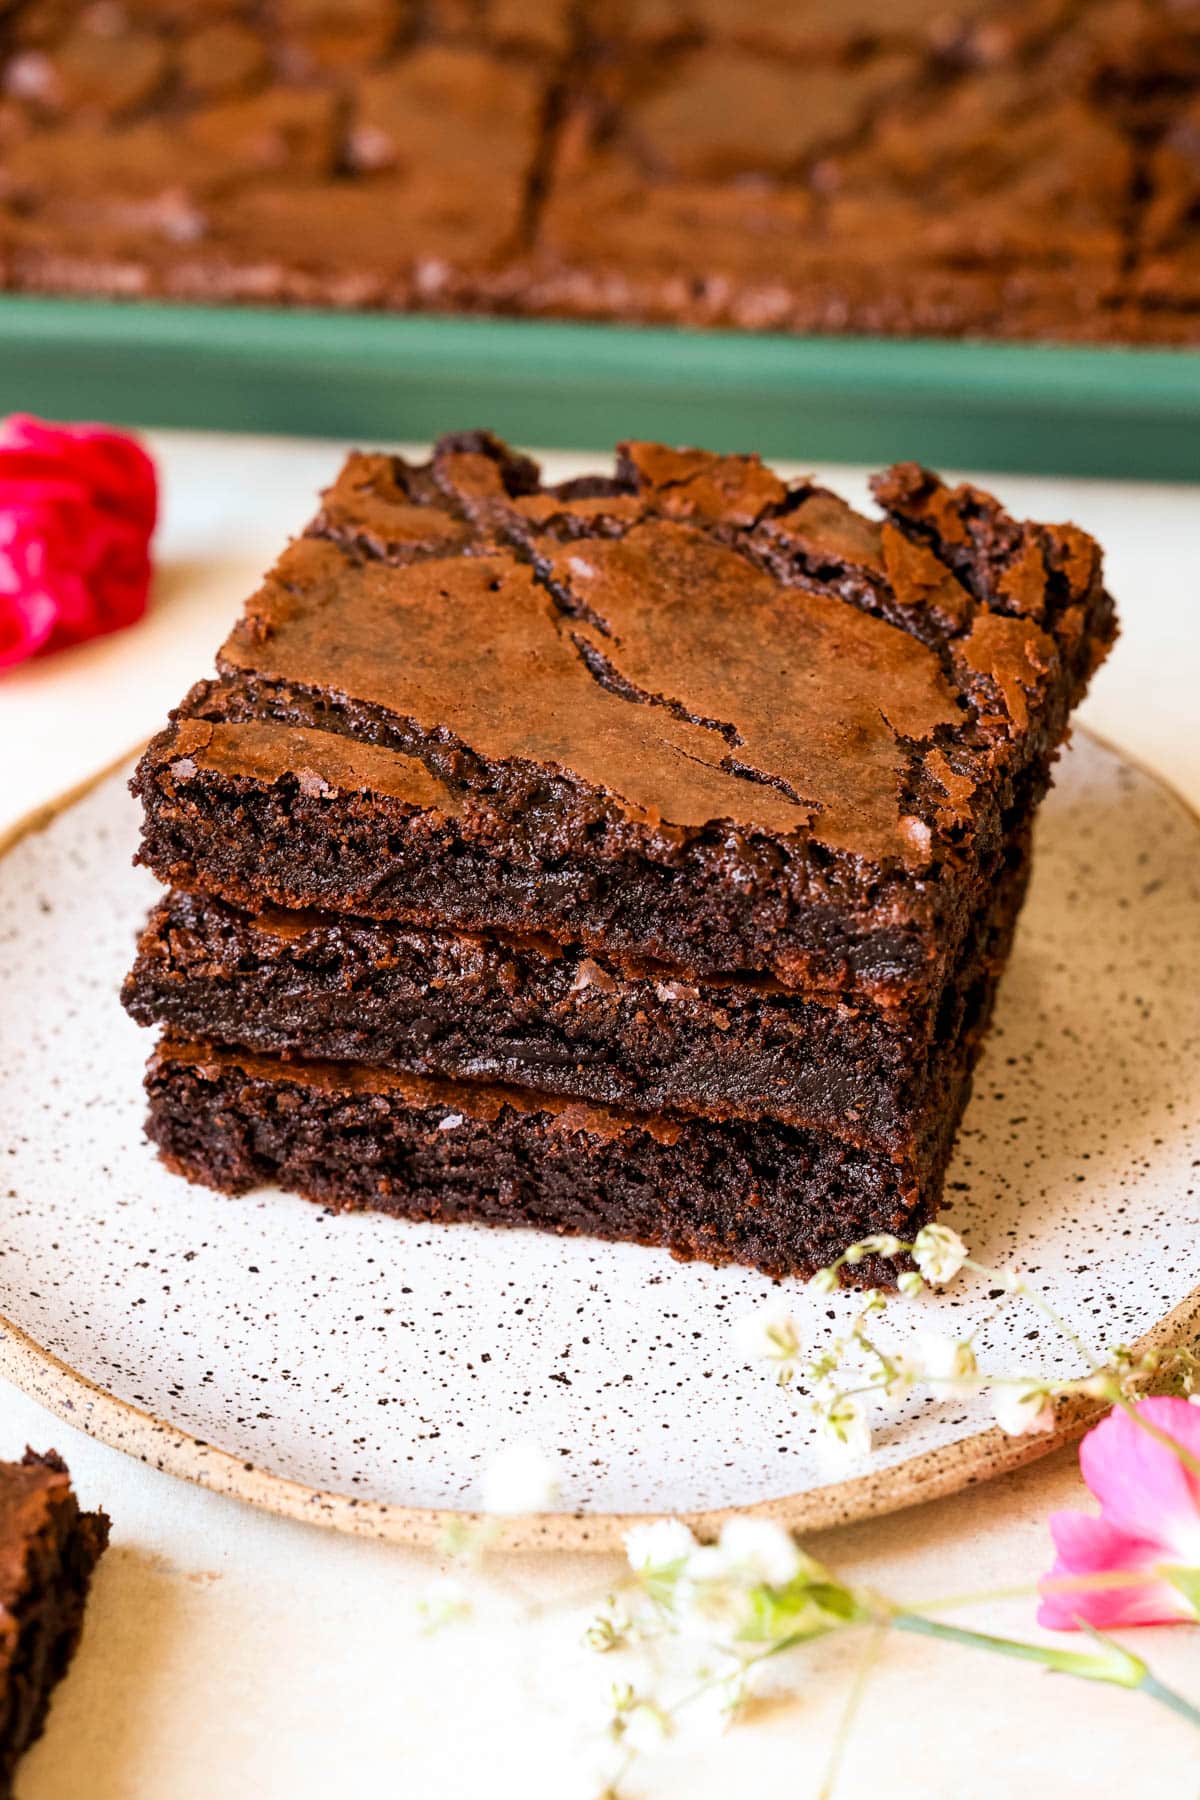
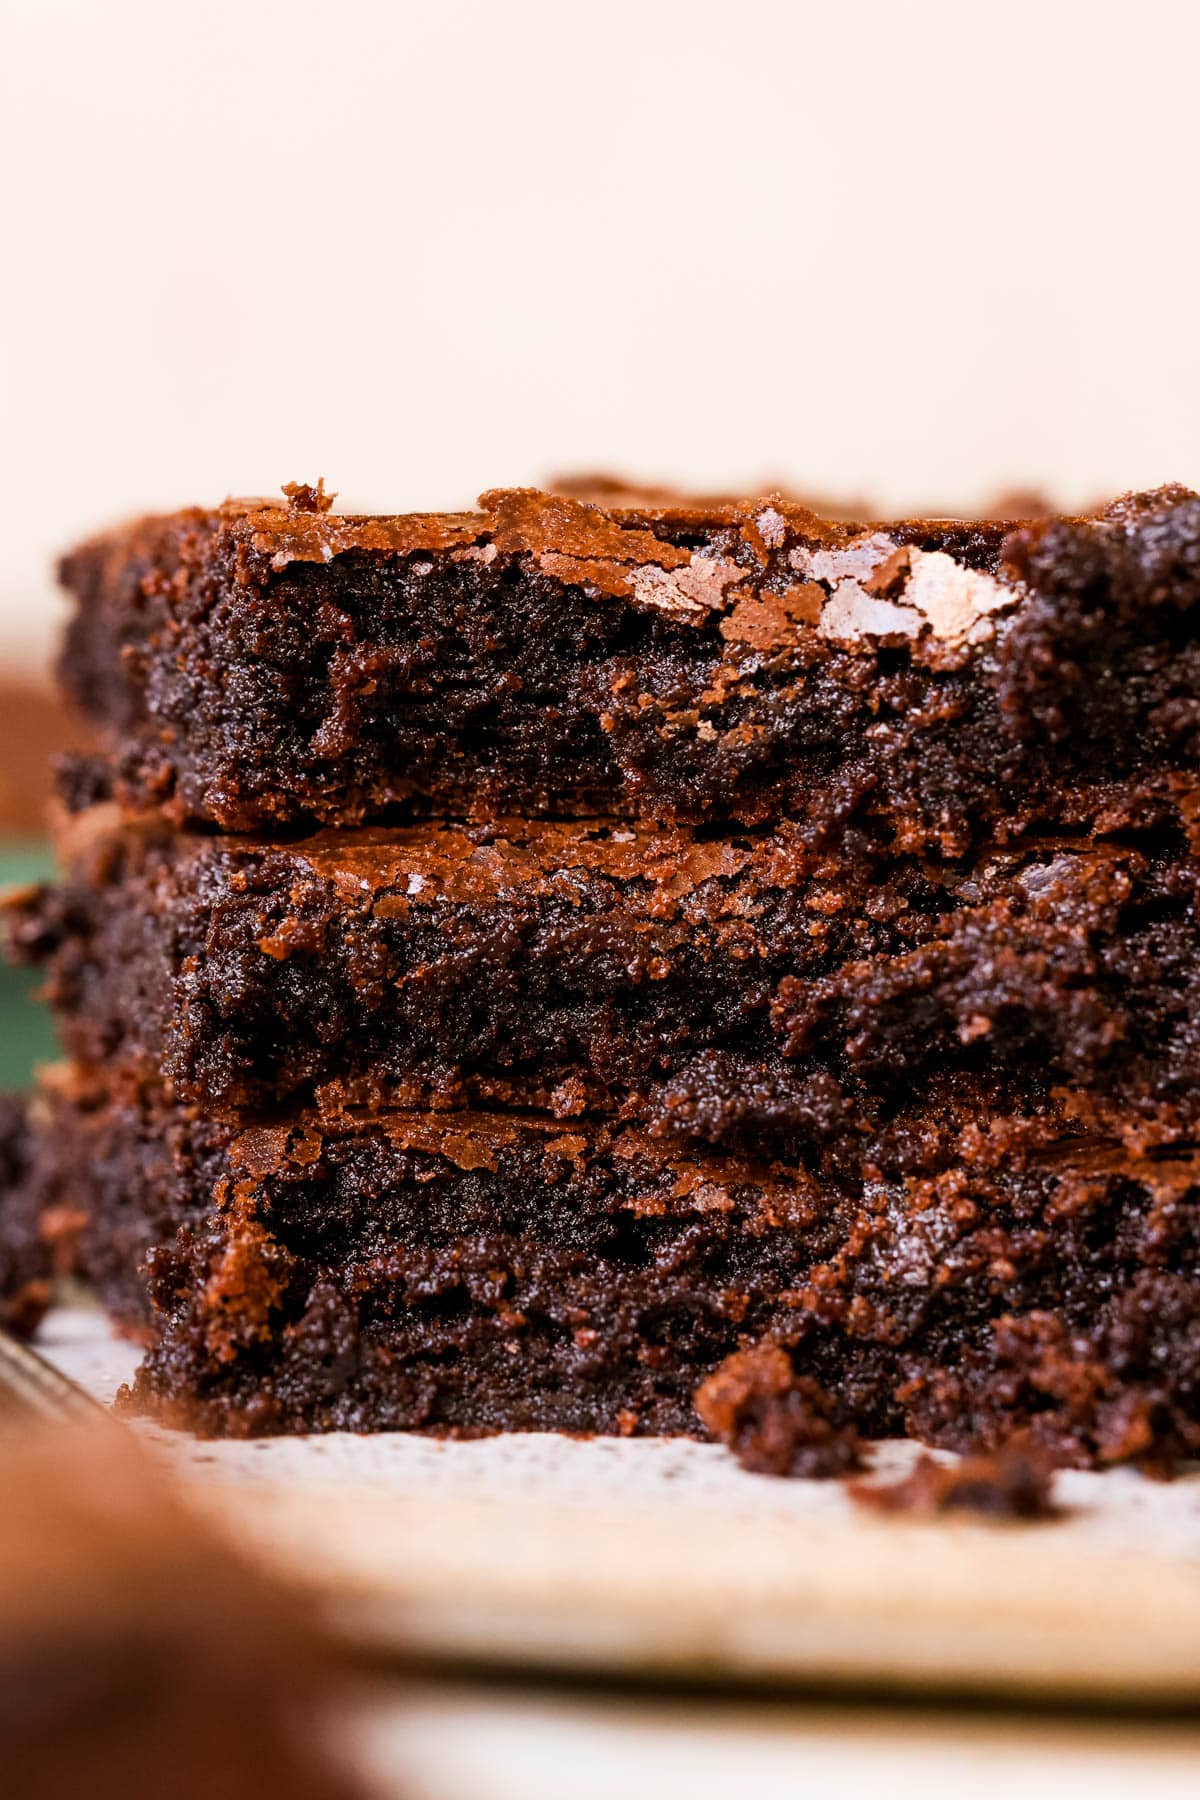
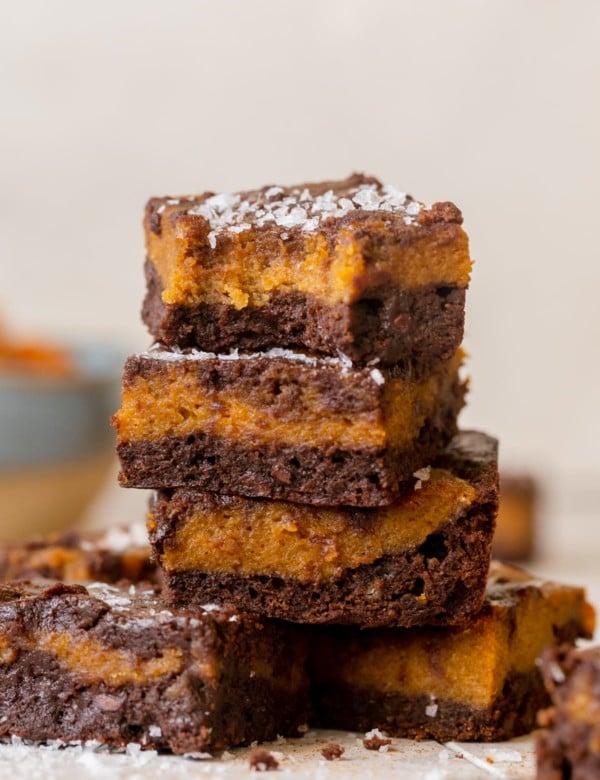
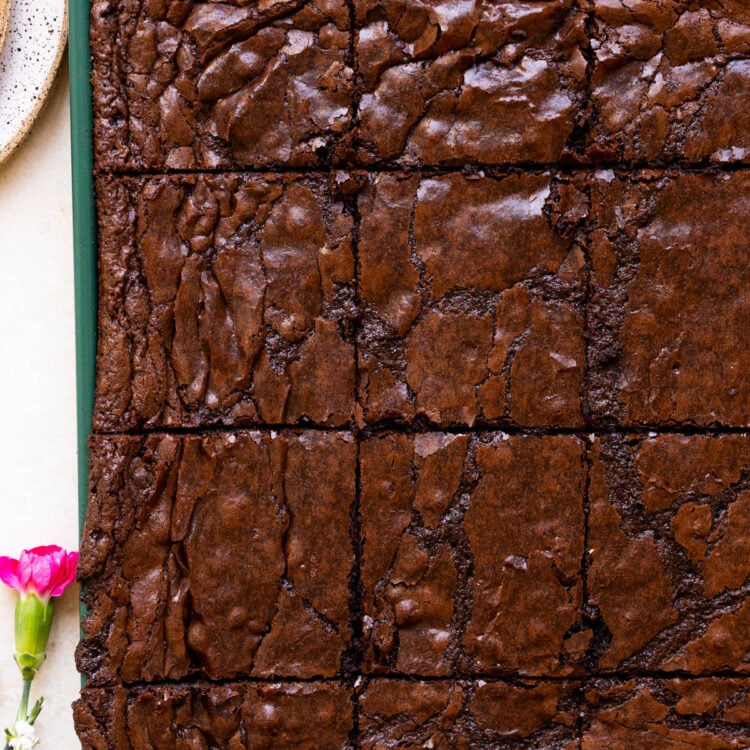
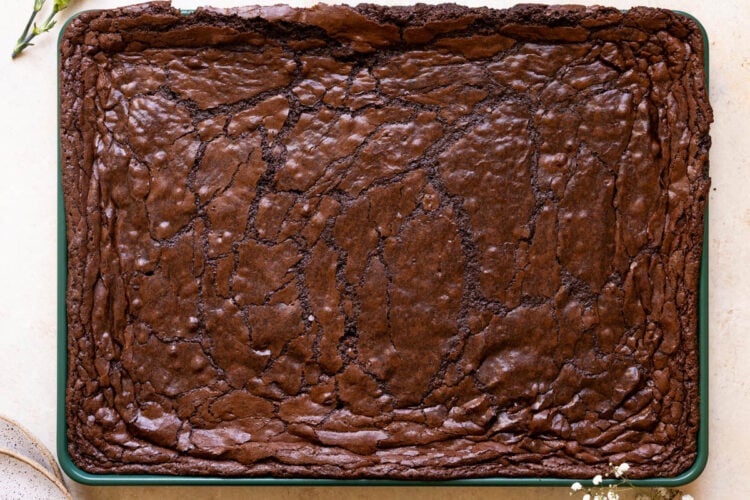
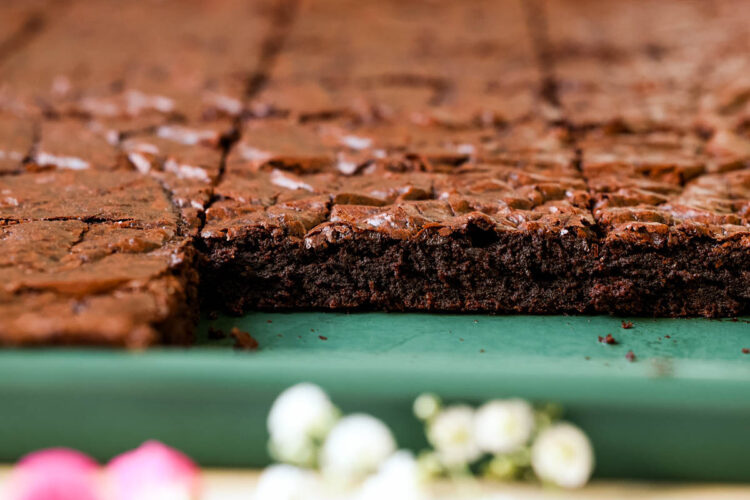
I tested and tested this recipe to get the ratios just right. These brownies have an inviting crackled surface with chewy, soft, and fudgy middles. The edges of the brownies, kissed by the heat of the oven, offer a satisfying crunch, kind of like brownie brittle. It’s so tempting to just stand over the sheet pan and pull of little bites!
What really sets these brownies apart is their convenience. With just one pan and a few simple baking essentials, you can effortlessly whip up a batch of these in no time without compromising taste or quality.
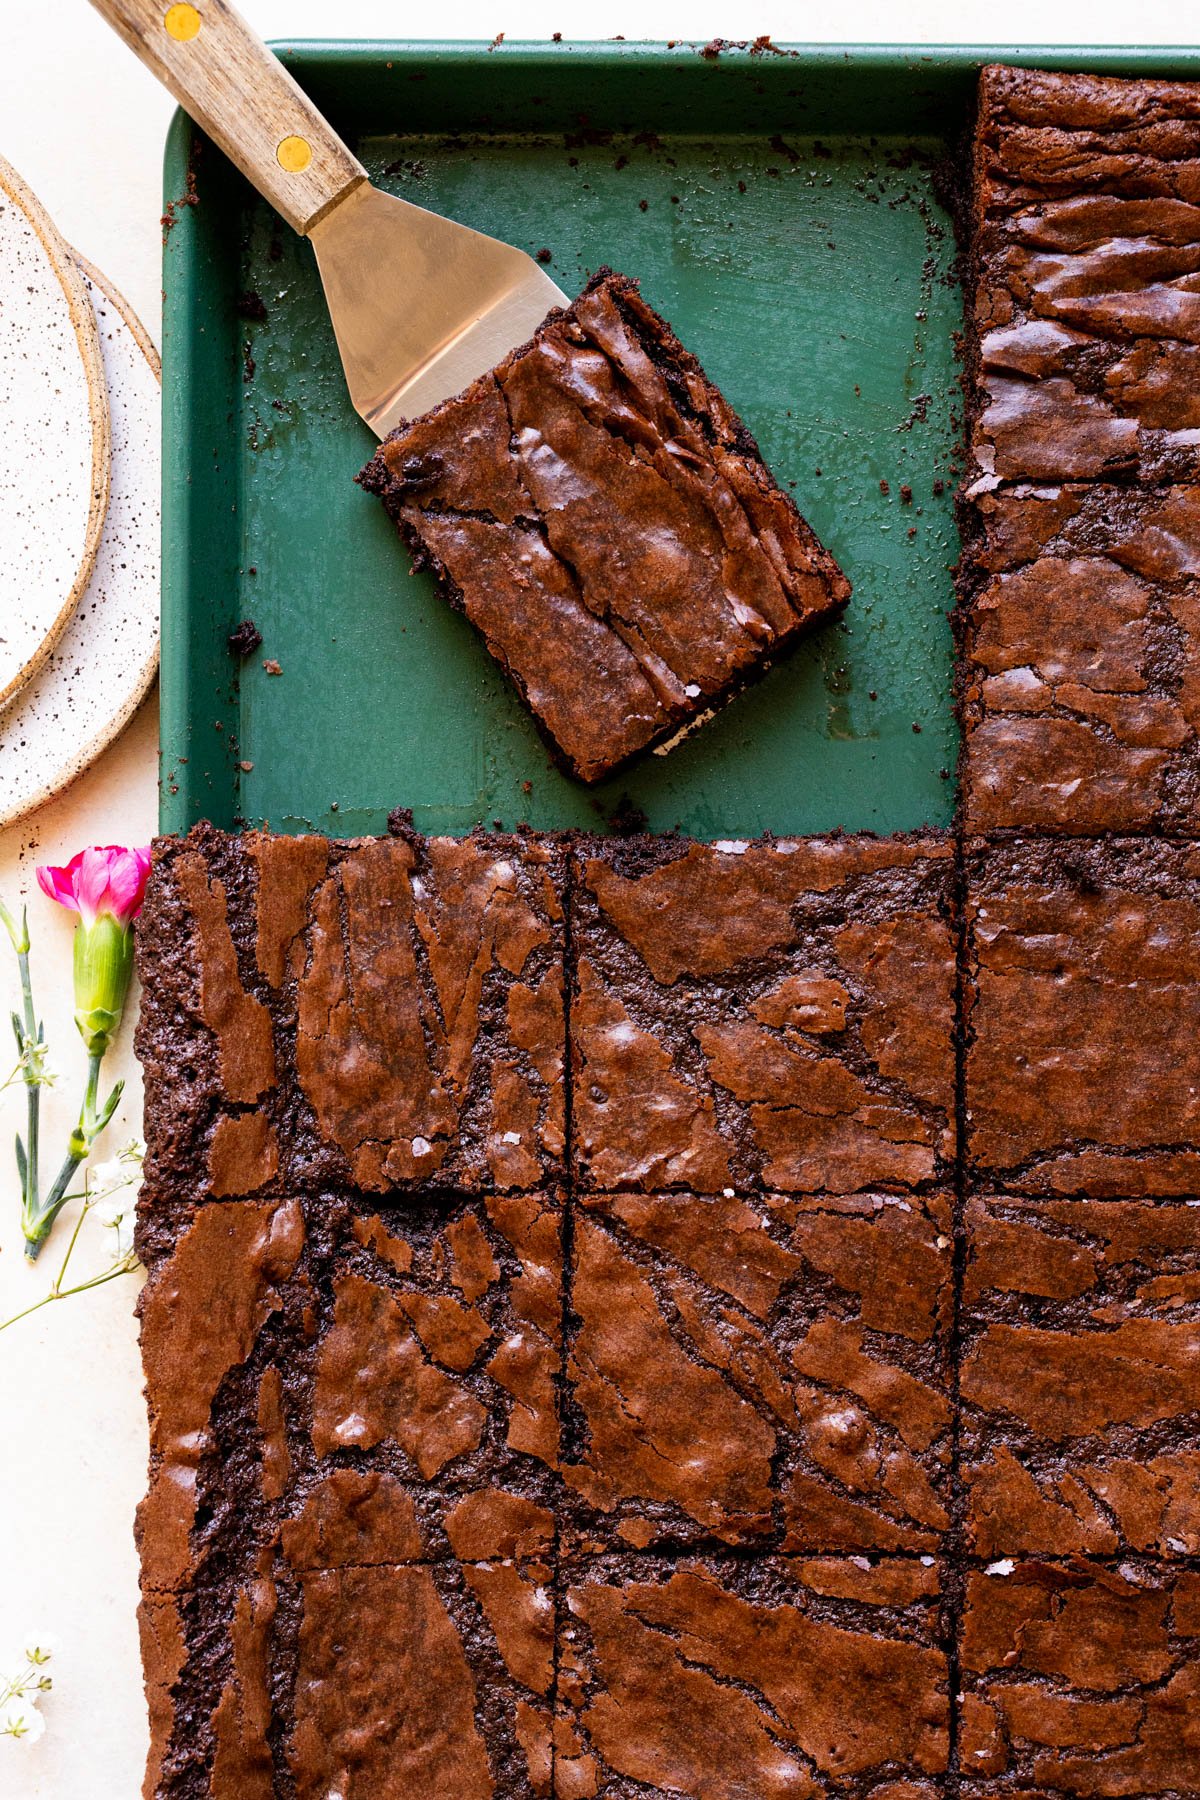
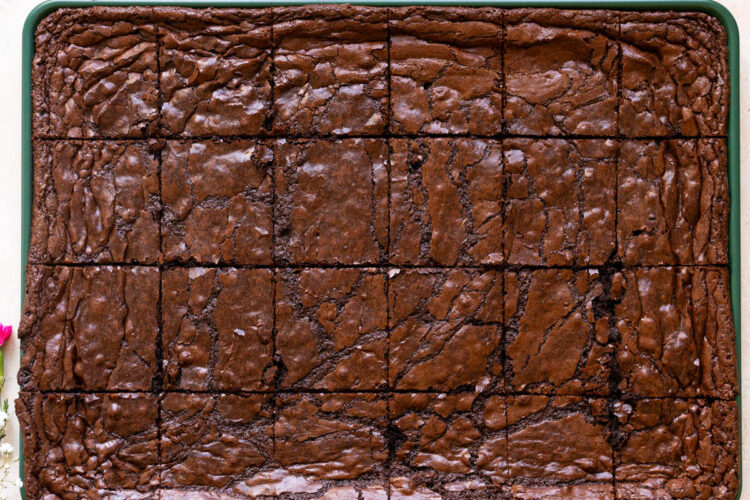
You can get 24, 3×3 inch brownies out of this recipe, or even more if you cut them smaller. Cutting them into 2×2 inch brownies could be perfect for smaller kids or if you’re wanting small bite sized brownies as part of a dessert table.
I just can’t get over their perfectly crinkled tops and how fudgy and yummy they are! A decadent treat for many to enjoy.
Why this recipe works
- Espresso powder: this enhances the flavor of the chocolate; it won’t make the brownies taste like coffee, it just deepens the chocolate flavors!
- Beating the eggs and sugar: thoroughly beating the eggs and sugar together until they get into their “ribbon stage” is what we’re after for help get the crinkly brownie tops. When you lift the whisk after whipping and the pale yellow eggs fall back into the bowl in what looks like thick ribbons that hold their shape for a few seconds, you’ve whipped them long enough. Anywhere from 6-8 minutes to get them light and fluffy.
- Generous Servings: making brownies on a sheet pan allows you to make more servings compared to traditional brownie pans. This recipe is ideal for feeding a crowd or satisfying a larger group of people, whether it’s for a party, bake sale, or family gathering.
Espresso Powder
If you’re looking to intensify the chocolate flavor in your brownies, adding in a little espresso powder is the answer! It does not add any coffee flavor to the brownies; it magically enhances the natural chocolate flavors making them more intense and robust! It’s a brownie bakers secret. 😉
Ingredients
For the ingredient measurements and entire recipe, be sure to scroll down to the bottom of the blog post where the recipe card is located.
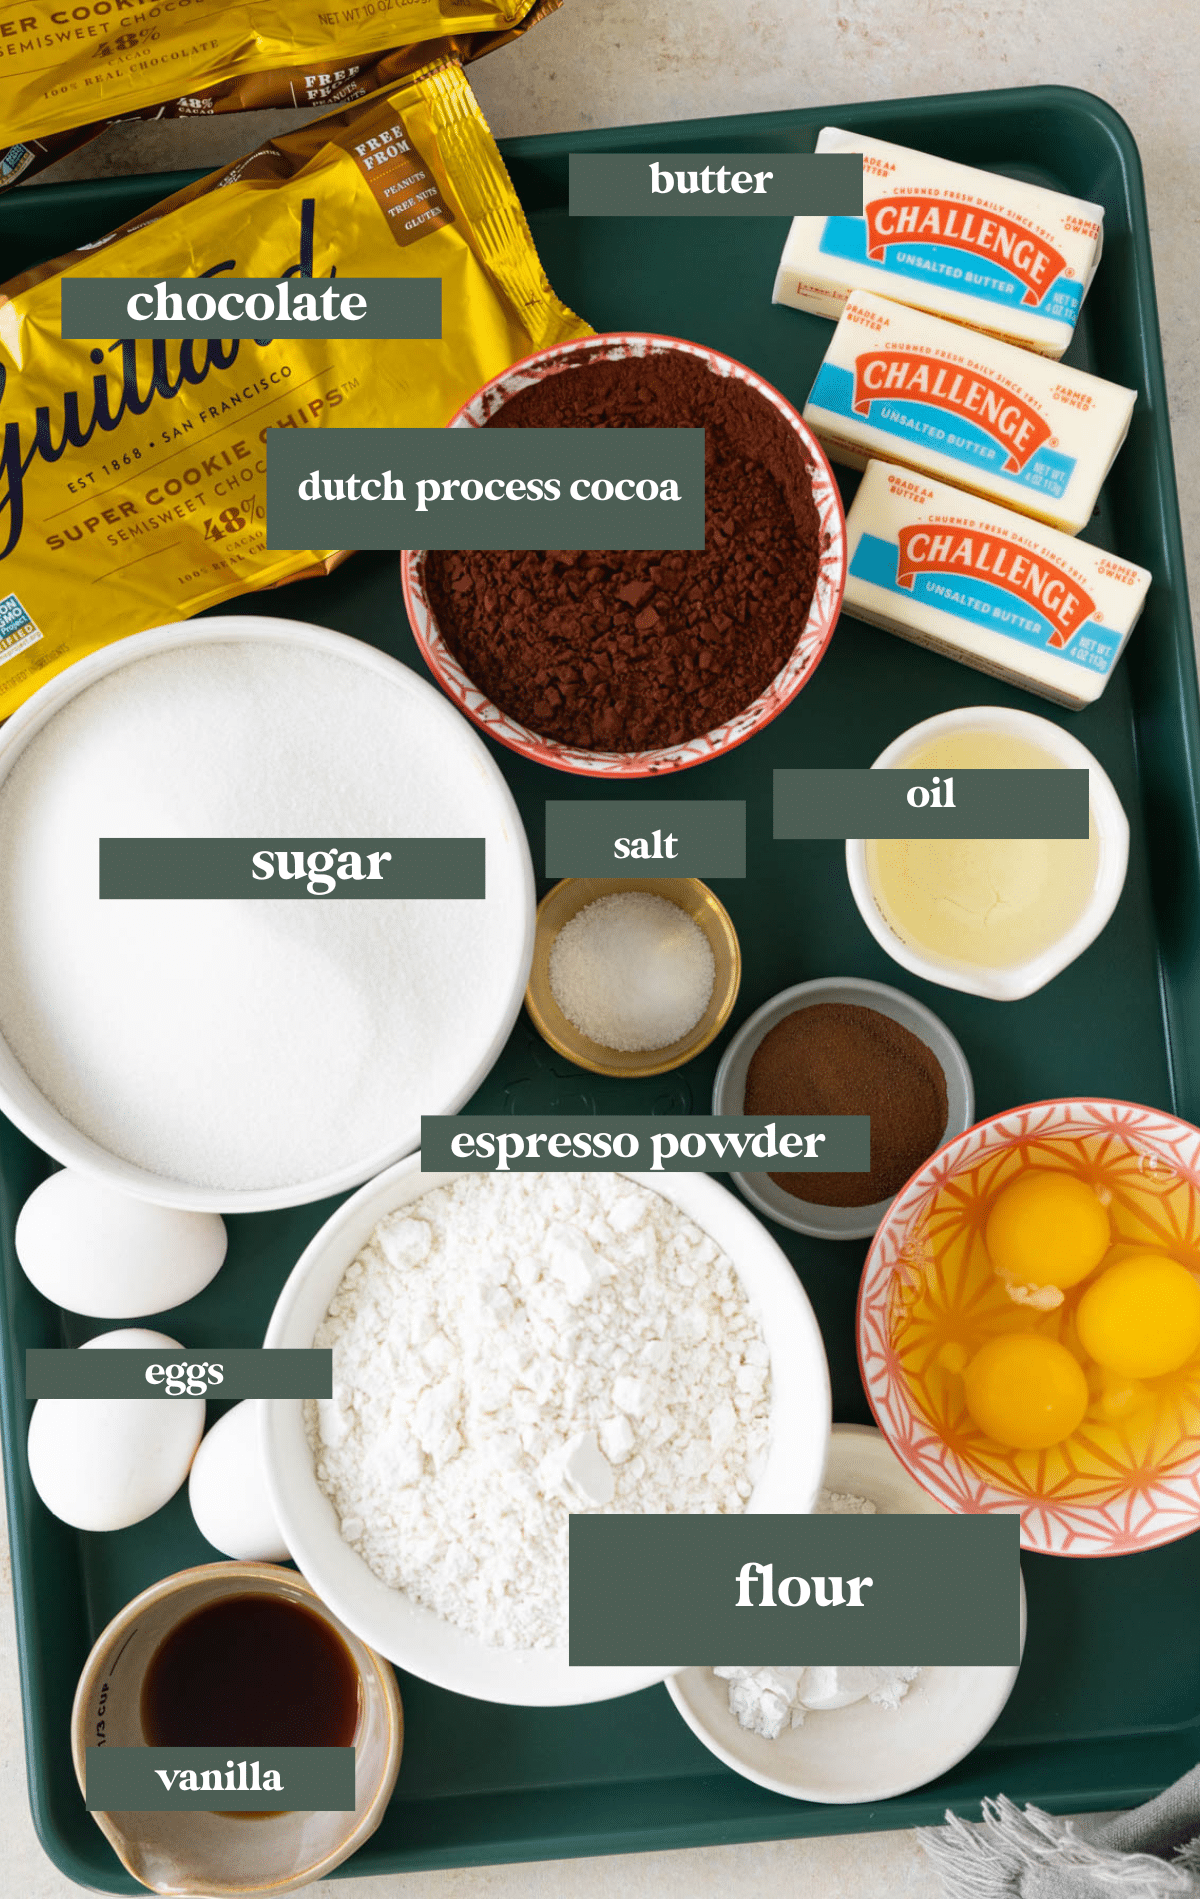
- Butter & oil: In my testing I found I liked using a blend of both fats. A little bit of a neutral oil for tenderness and the butter for flavor.
- Chocolate chips: I recipe tested this with semi sweet chocolate chips, but milk or dark chocolate will work fine as well. You can also fold more chocolate chips into the brownie batter if preferred.
- Eggs: I found beating cold eggs (as opposed to room temperature eggs) with the sugar yielded a more fudgy brownie with a dense and tighter crumb.
- Sugar: Some recipes uses a mix of granulated and brown sugar, but I chose to use only granulated sugar for this recipe. It helps get that crispy, shiny crust on the surface of the brownies and keeps the brownies perfectly moist and tender.
- Vanilla: Like with most baked goods, vanilla extract adds depth, balance, and a touch of sophistication!
- Espresso powder: if you don’t have it, it’s OK. You can leave it out. But like I mentioned above, the espresso powder will enhance the flavor of the chocolate.
- Dutch process cocoa powder: I recommend this cocoa powder for it’s dark, rich color and it helps create a brownie with a velvety smooth crumb.
- Salt: don’t skip out on the salt, it balances the sugar and chocolate. I bake with Diamond Crystal kosher salt.
- Flour: all-purpose flour is what I recommend using. I have not tested this with any other flours.
Step by Step Directions
For the full recipe instructions, scroll down to the bottom of the blog post to the recipe card.
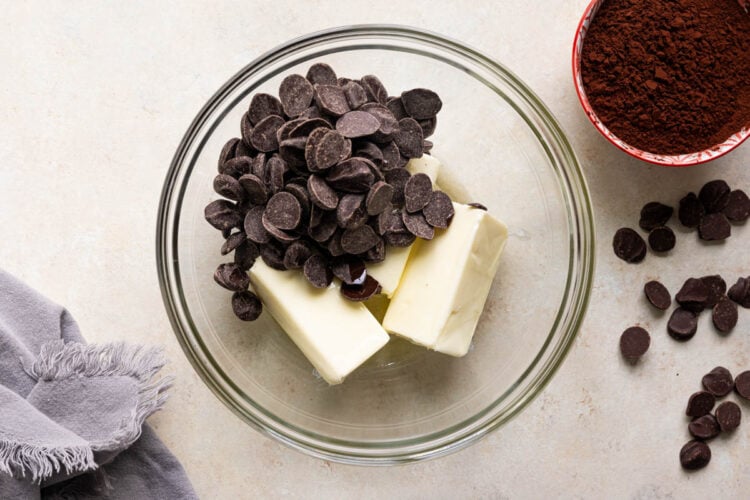
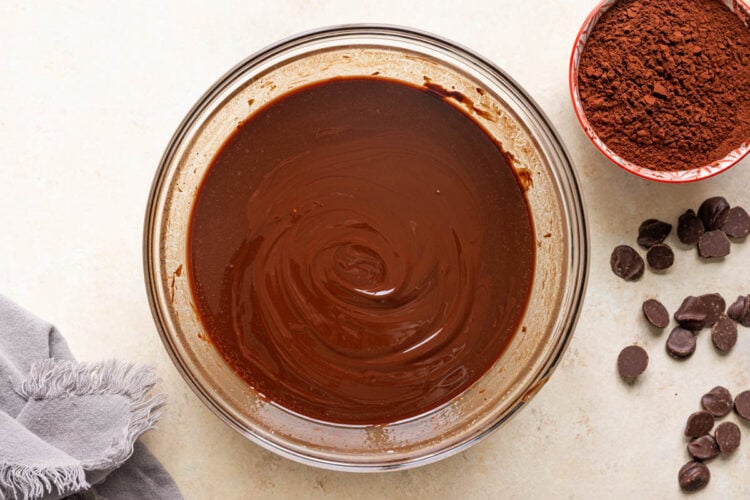
- Melt the butter, oil and chocolate in a microwave safe bowl, in increments, until smooth.
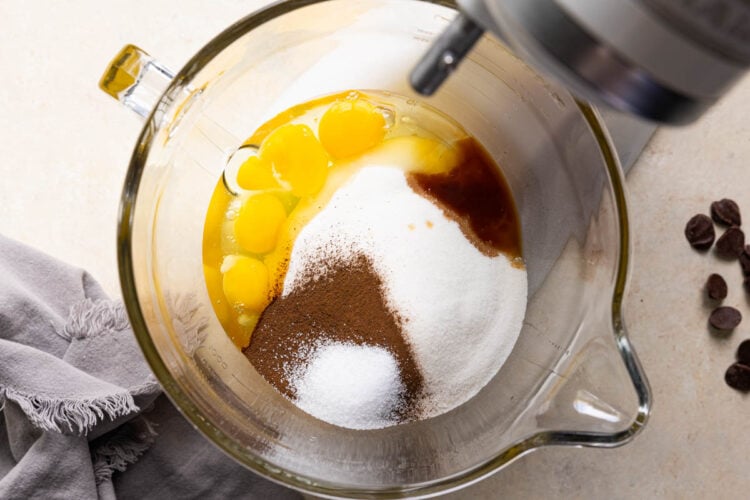
- Beat the eggs, sugar, espresso powder, salt, and vanilla for 6-8 minutes.
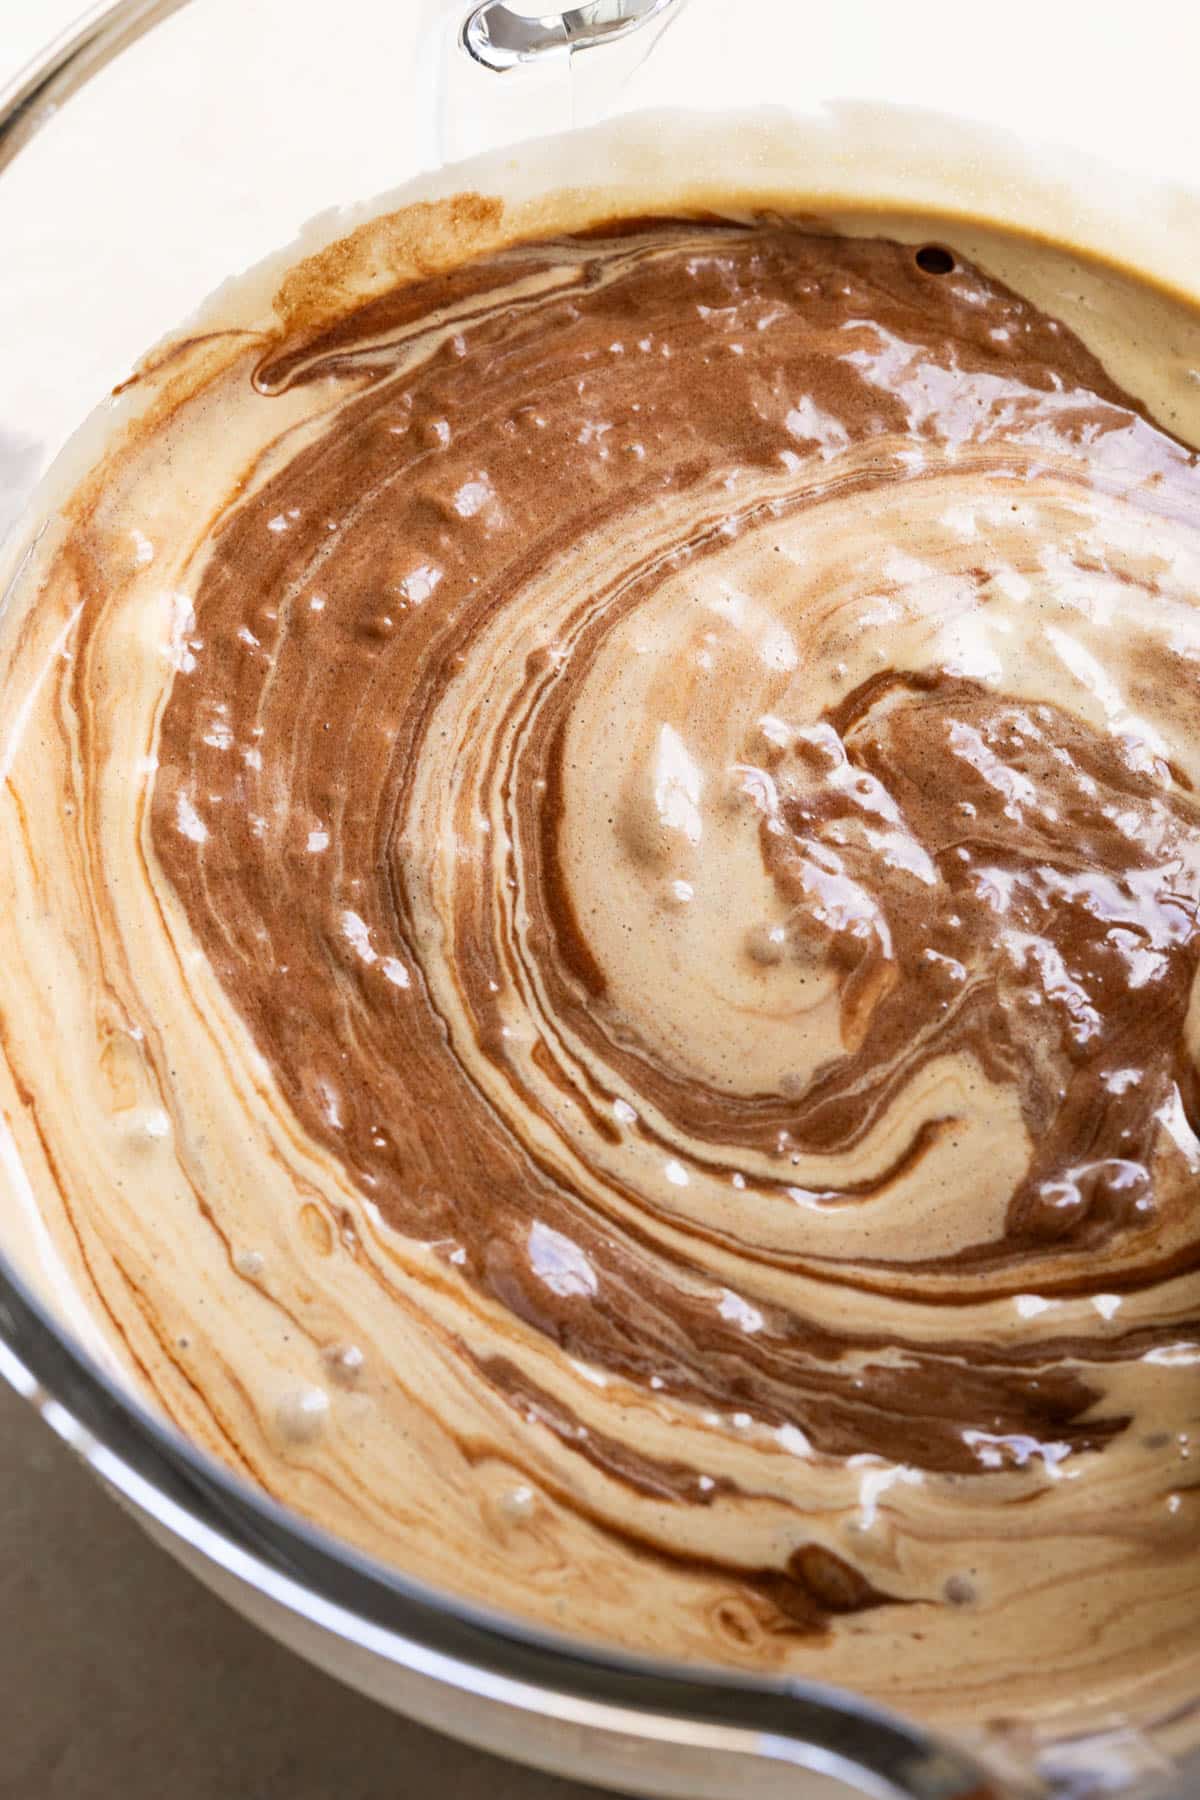
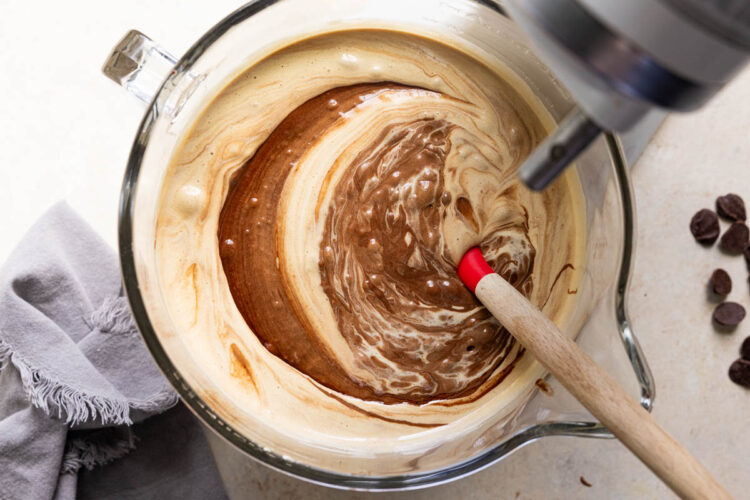
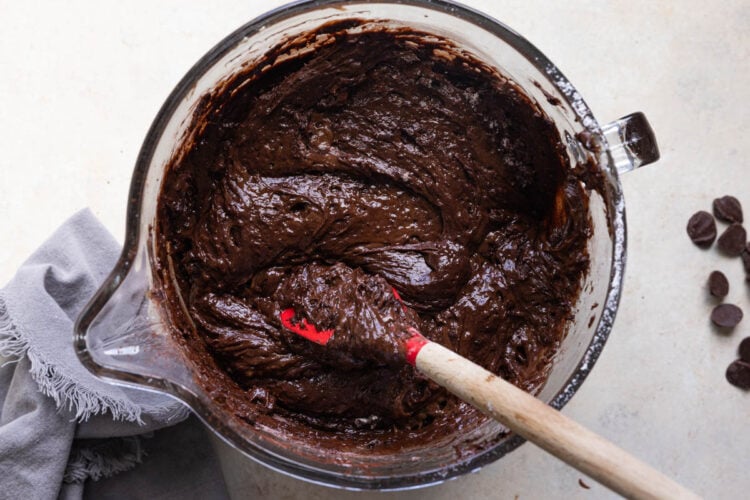
- Stir in the chocolate butter mixture.
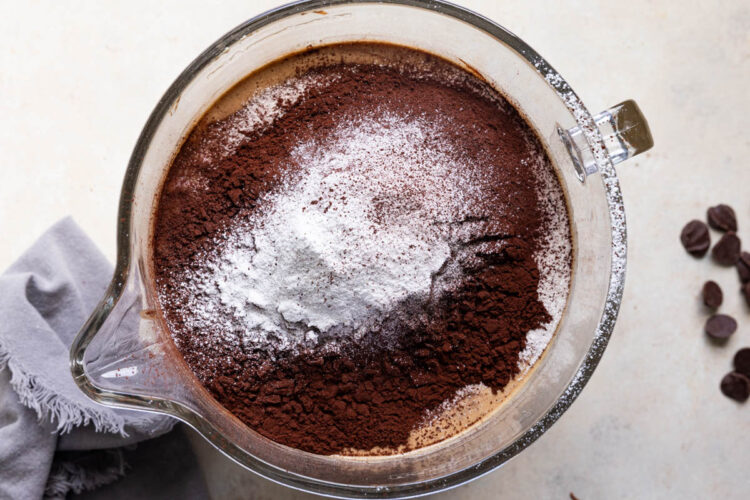
- Fold in sifted flour and cocoa.
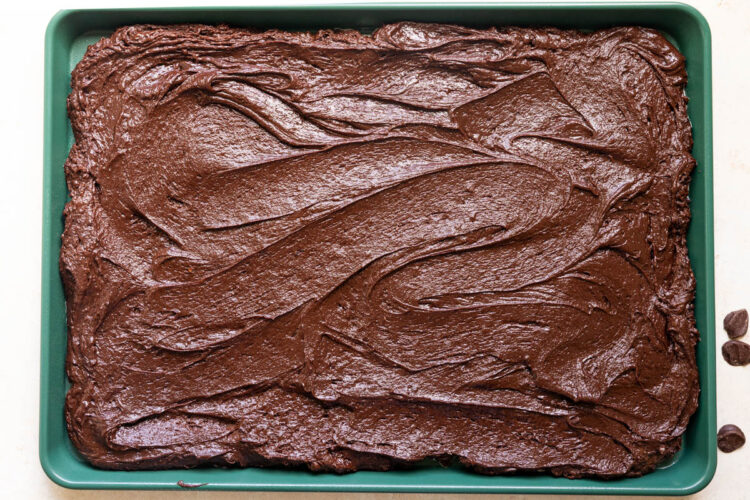
- Spread onto prepared sheet pan and bake.
Expert Tips
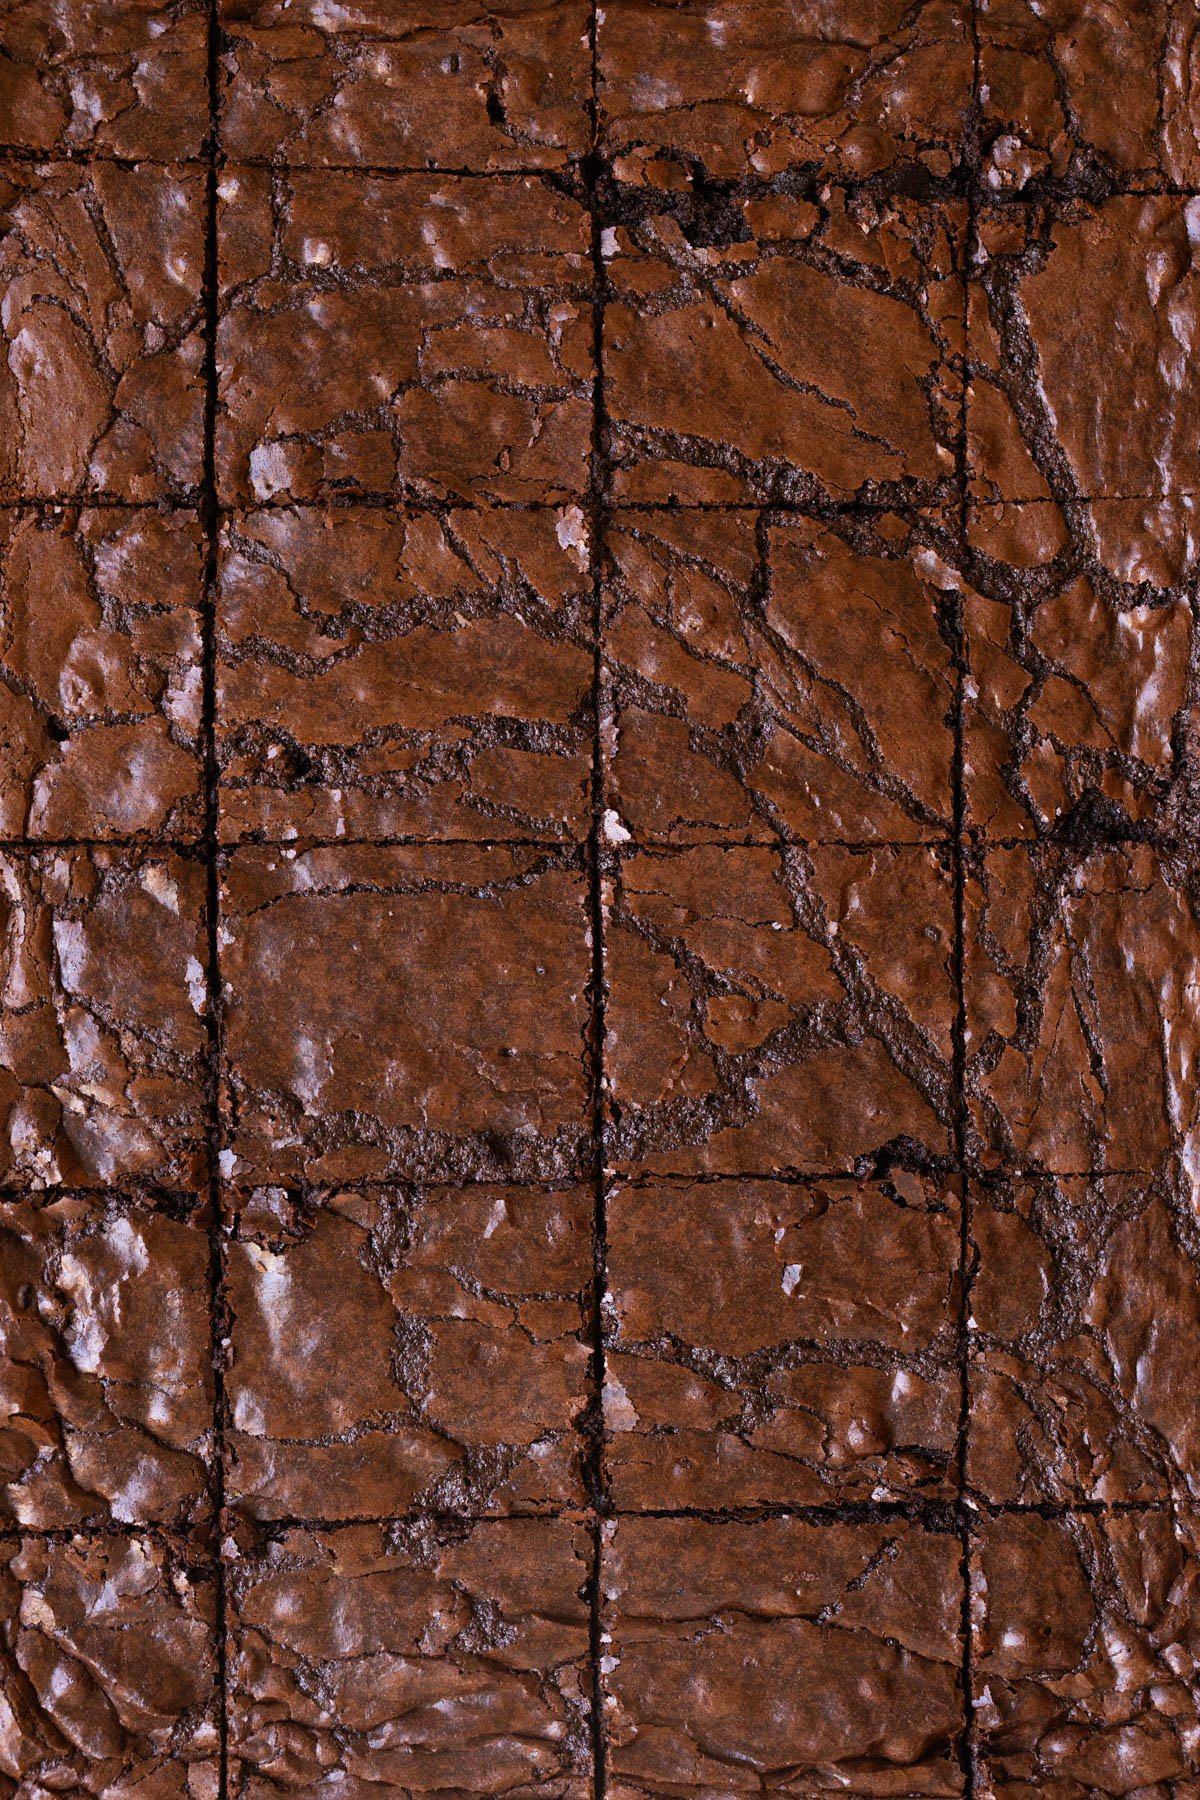
- Beat the eggs and sugar long enough: To get those crackly tops you need to beat the eggs longer than you think, I always beat for 6-8 minutes. The air incorporated by this process will help form a meringue-like surface that cracks during baking.
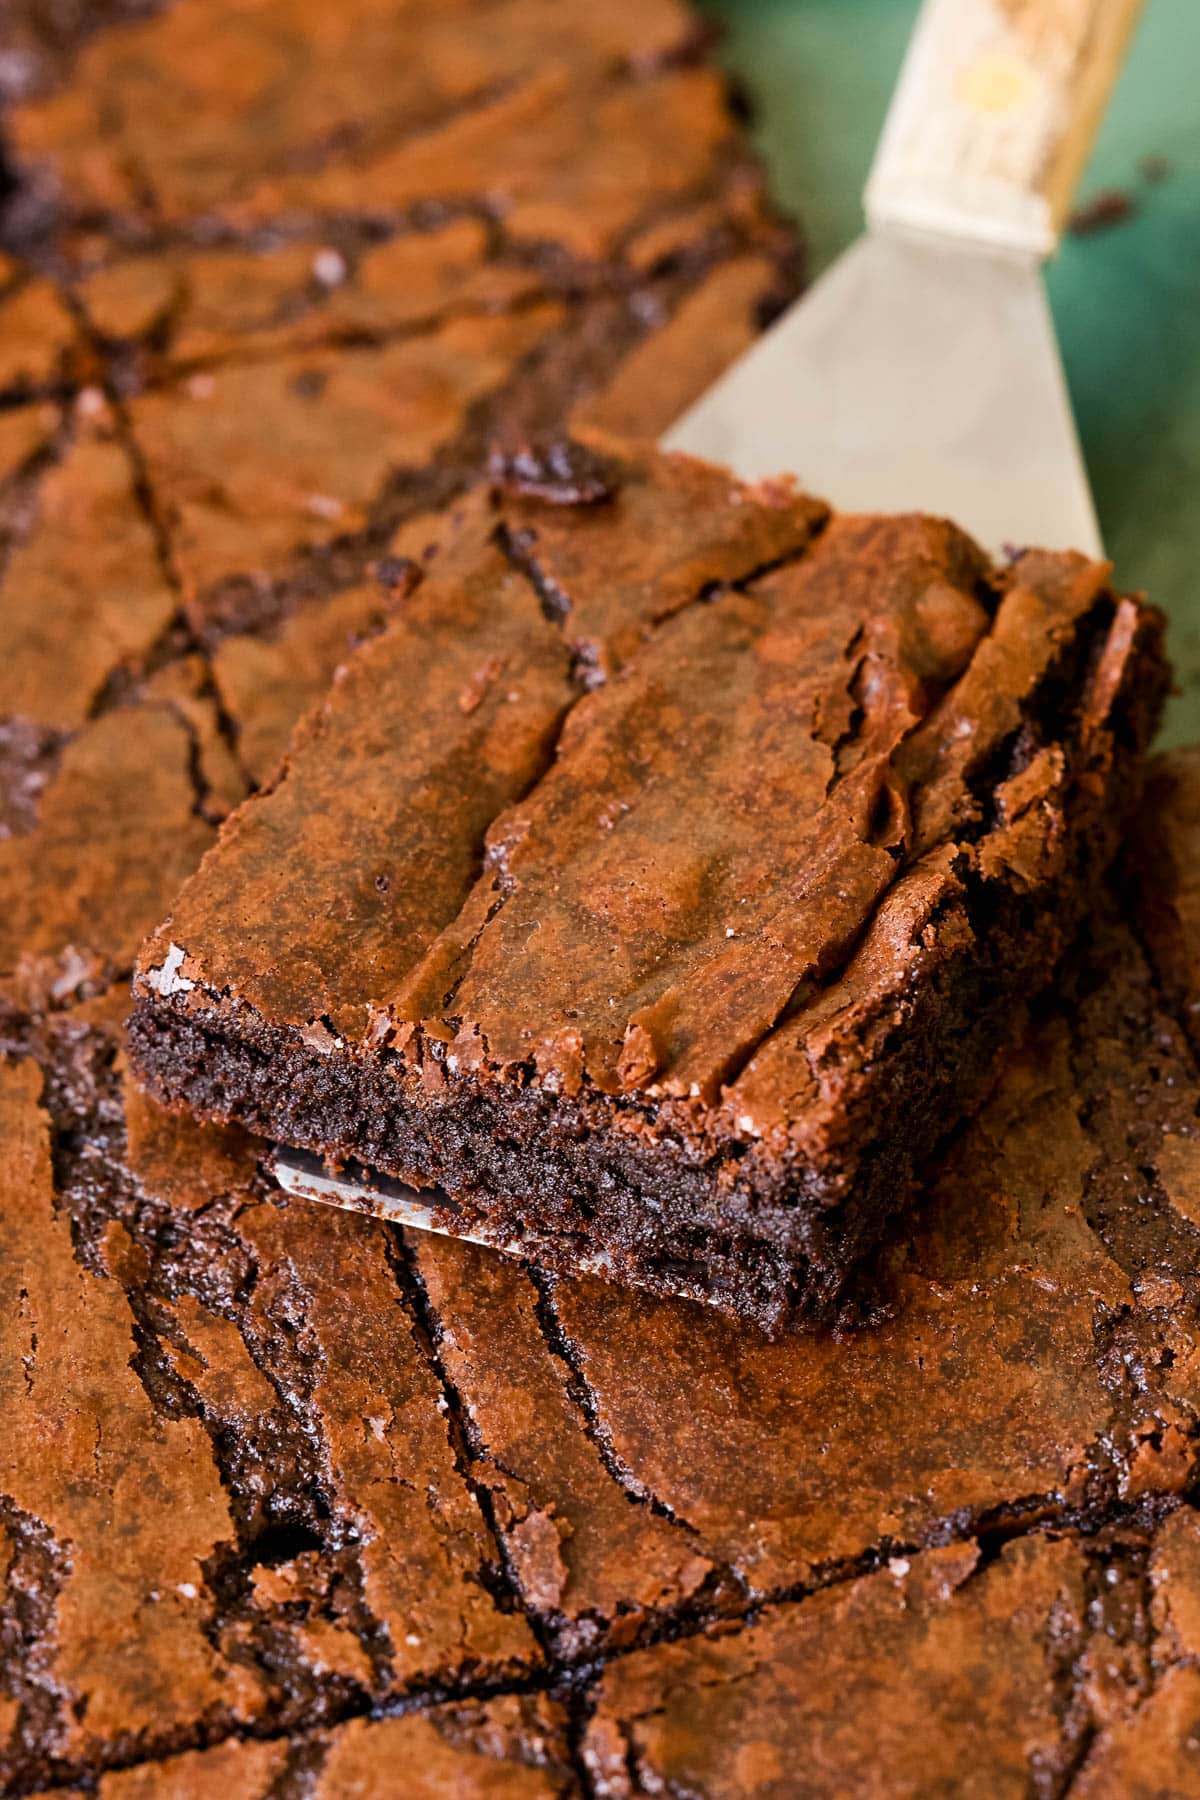
- Get clean cuts: To get the clean cuts on brownies you can: 1. Chill the brownies first. Cutting warm brownies is a mess! 2. Use a plastic knife since it is non stick, or dip a sharp knife in warm water and clean in between cuts.
- Test for Doneness: Brownies are done when a toothpick inserted into the center comes out with a few moist crumbs clinging to it, but not wet batter. Be careful not to over bake, as this can lead to dry brownies.

Storage
- Store brownies at room temperature for up to 2-3 days, properly stored in an air tight container or baggie.
- They will last in the fridge for up to 4 days and in the freezer for 2-3 months, just note the texture may change.
shop this post
 Buy Now →
OXO Non-Stick Half Sheet 13 x 18 Inch
Buy Now →Before You Begin! If you make this, please leave a review and rating letting us know how you liked this recipe! This helps our business thrive & continue providing free recipes.
Sheet Pan Brownies
Ingredients
- 1 1/2 cups unsalted butter
- 20 oz. semi sweet chocolate chips (milk or dark are fine too)
- 1/4 cup oil (canola or vegetable)
- 6 large cold eggs
- 2 1/2 cups granulated sugar
- 1 1/2 Tbsp. vanilla extract
- 1 Tbsp. espresso powder
- 1 1/2 tsp. salt
- 1 3/4 cup all purpose flour, spooned and leveled
- 1 cup dutch process cocoa powder
- additional chocolate chips to fold into the batter (optional)
Last step! If you make this, please leave a review and rating letting us know how you liked this recipe! This helps our business thrive & continue providing free recipes.
Instructions
- Preheat the oven to 350°F. Spray a standard half sheet pan with nonstick spray (13×18) and set aside.
- Add the butter, chocolate chips, and oil to a microwave safe bowl.1 1/2 cups unsalted butter, 20 oz. semi sweet chocolate chips, 1/4 cup oil (canola or vegetable)

- Microwave for 1 minute, then stir. Continue heating in 30-second increments, stirring between, until the mixture is melted and smooth but not scorched. Remove from the microwave allow to cool slightly.
- In a stand mixer, add the cold eggs, sugar, vanilla, espresso powder, and salt. Beat on medium high for 6-8 minutes.6 large cold eggs, 2 1/2 cups granulated sugar, 1 1/2 Tbsp. vanilla extract, 1 Tbsp. espresso powder, 1 1/2 tsp. salt
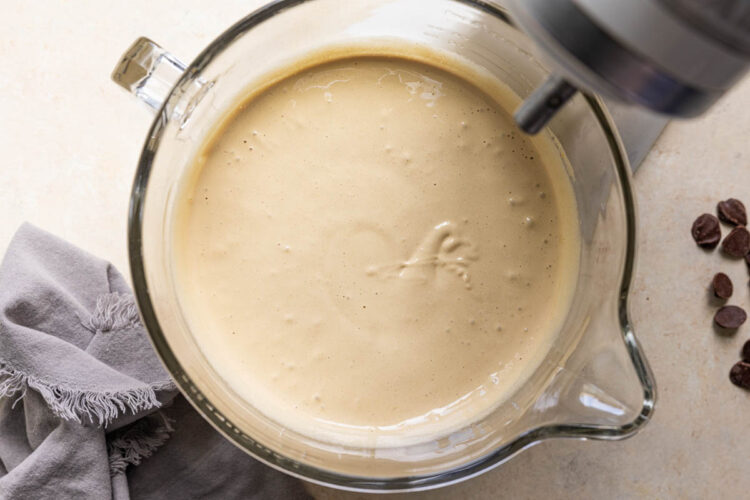
- It should look thick, pale in color and ribbony.
- Add the chocolate butter mixture and fold to combine.
- Sift in the flour and cocoa powder.1 3/4 cup all purpose flour, spooned and leveled , 1 cup dutch process cocoa powder
- Fold gently just until combined. (Feel free to fold in more chocolate chips into the batter at this point if you prefer, this also helps get even more crinkly brownie tops!)additional chocolate chips to fold into the batter (optional)
- Pour the batter onto the prepared sheet pan and smooth out the tops with a rubber spatula.
- Bake for about 25 minutes or until a toothpick inserted comes out with moist crumbs. Careful not to over bake because there will be carry over cooking as it cools on sheet pan.
- Let cool completely to room temperature before slicing. Serve at room temperature or chilled for an even fudgier texture.
- To get perfect slices, use a plastic knife, or a sharp chef's knife dunked or ran under hot water (wipe water off before slicing), and cleaning the knife in between cuts.
Notes
- Store brownies at room temperature for up to 2-3 days, properly stored in an air tight container or baggie.
- They will last in the fridge for up to 4 days and in the freezer for 2-3 months, just note the texture may change.
Nutrition Information
Nutritional information is provided as a courtesy and is automatically calculated. It should only be construed as an estimate rather than a guarantee. Ingredients can vary and Kroll’s Korner can’t make any guarantees to the accuracy of this information.

AMAZING! I was able to substitute for GF flour without it affecting the texture (too much) because of how little flour they use. My family loves them and make them regularly because of how simple the recipe is. Thank you!
Soo glad it worked well with the gf flour!! Thank you so much Heather! 🙂
WOW!! Best brownies I have ever made!
omg wow thank youuuu!! 🙂
I just made this recipe a few hours ago adding caramel covered cornflakes on top.. Freaking amazing!
That sounds incredible, thank you!! 🙂
Apryl, how did you do the caramel cornflakes?
Hi! Do you think you could double this recipe? Thank you:)
Hi! I haven’t because I’ve never needed that many brownies, but I am sure you could!
I used this as a base recipe for two different kinds of brownies and they came out PERFECT. In one, I crushed Oreos into the recipe and topped with mini Oreos. The second, I swirled I melted cookie butter and topped with Biscoff cookies. I’m going to try white chocolate red velvet ones next. Thank you for this recipe!
Amazing! So glad it worked out well, thank you! 🙂
These are amazing, and I love that these are for a sheet pan. We made these for my daughter’s business day, she sold out, and they were perfect. Just don’t over mix otherwise it won’t have the crinkly top as much, but they will still taste amazing. She mad the recipe completely by herself with me standing back and watching at 10 years old. I did help her with putting it in and out of the oven though because it can be a little big and unsteady for someone smaller.
Oh my gosh I’m so impressed your daughter made these all on her own!! I can’t wait until my girls are a bit older to start trying some of my recipes 🥰 So glad these brownies were a hit for her business day! ❤️
Best brownie recipe HANDS DOWN. I’ve had so many people ask me for the recipe and rave about how good these were. I recommend adding in some dice dark chocolate caramel squares throughout the batter.
I’m sooo happy to hear you loved these, Grace! Love the idea to add caramel squares! 🫶🏻
For me they were a bit intense in flavor. I’m wondering if you could use a bit less expresso powder?
You can omit the espresso powder or decrease the amount yes 🙂
Hi! So thankful to have found a sheet pan recipe. Get lots of compliments when making for a crowd. Save this recipe! You won’t regret it. Happy baking! Thanks Tawnie!
awww so glad they’re a hit, thank you Samantha! 🙂
Hi
do-i-use-three-eggs-or-six?
6