Chocolate Chipless Cookies
This post may contain affiliate links. Please read our disclosure policy.
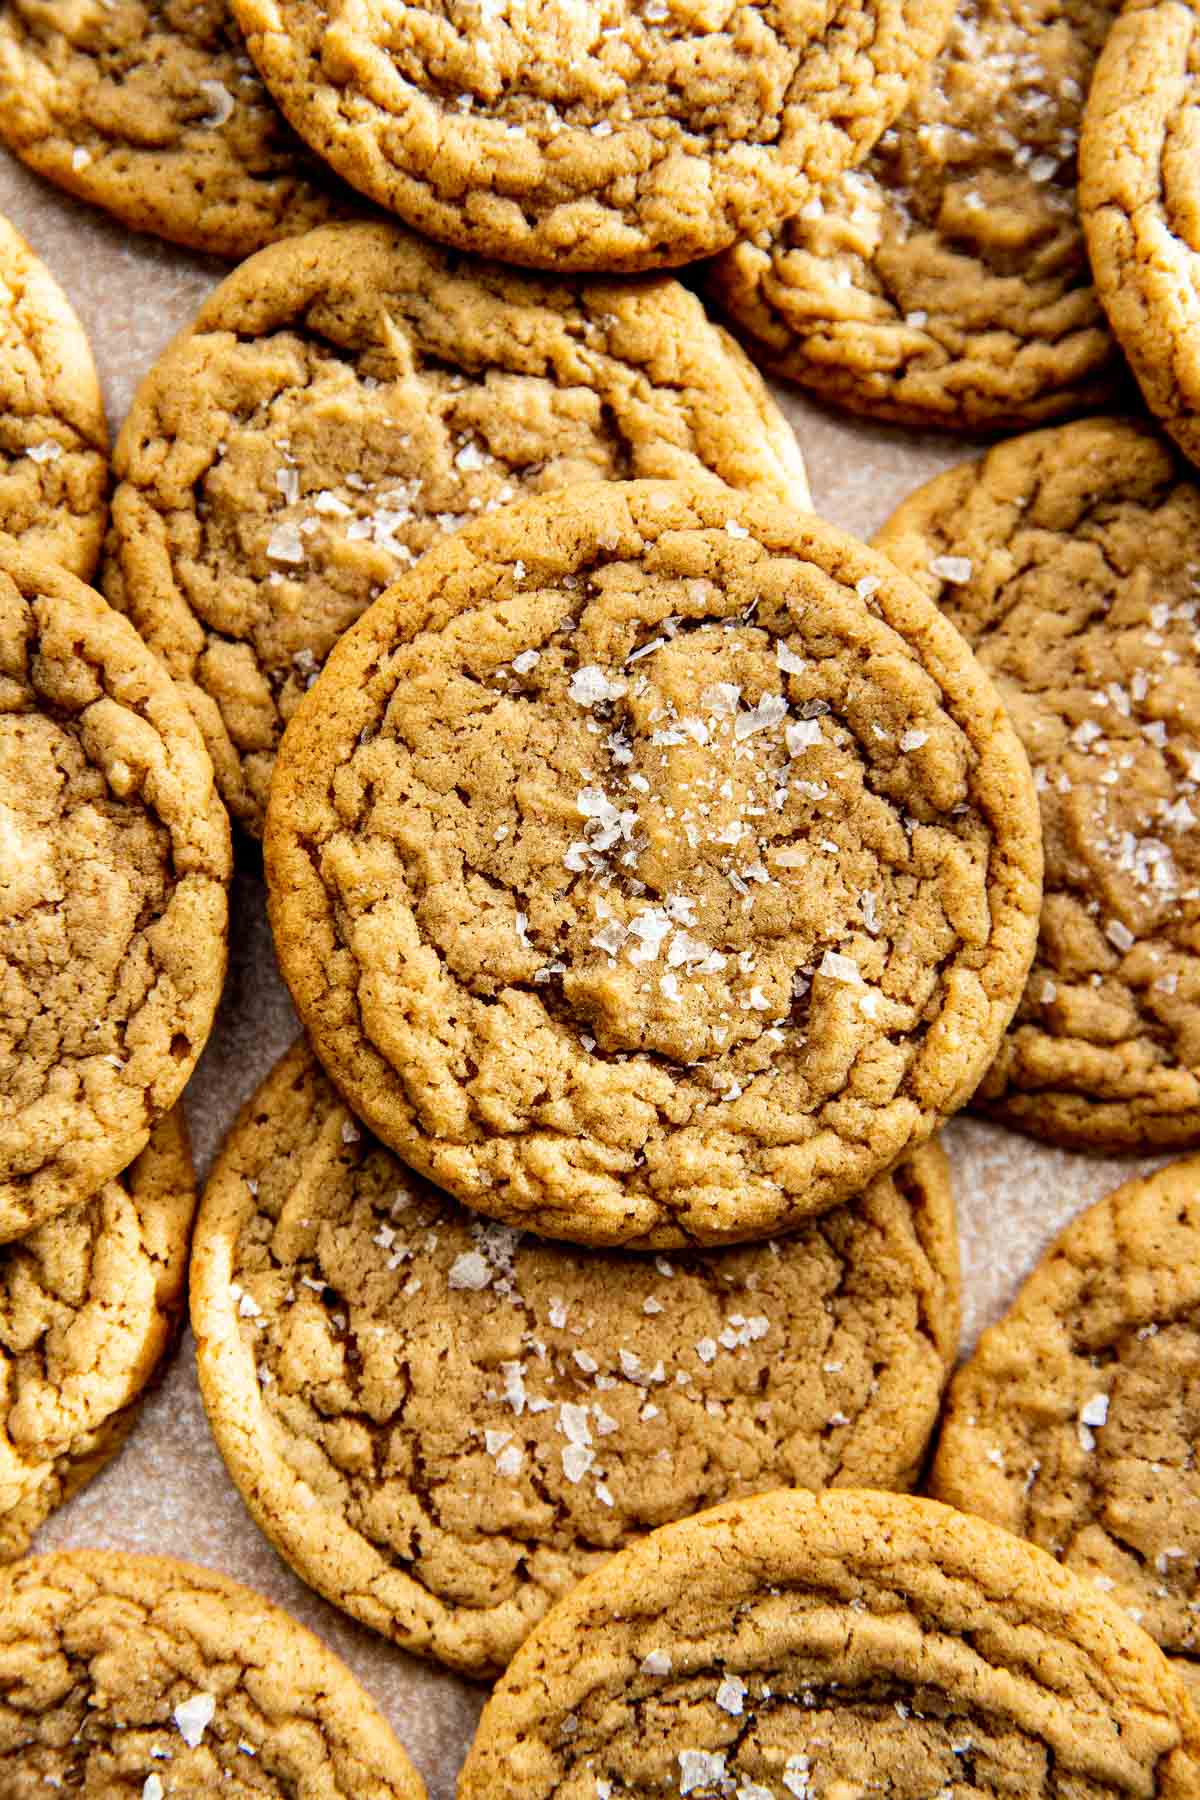
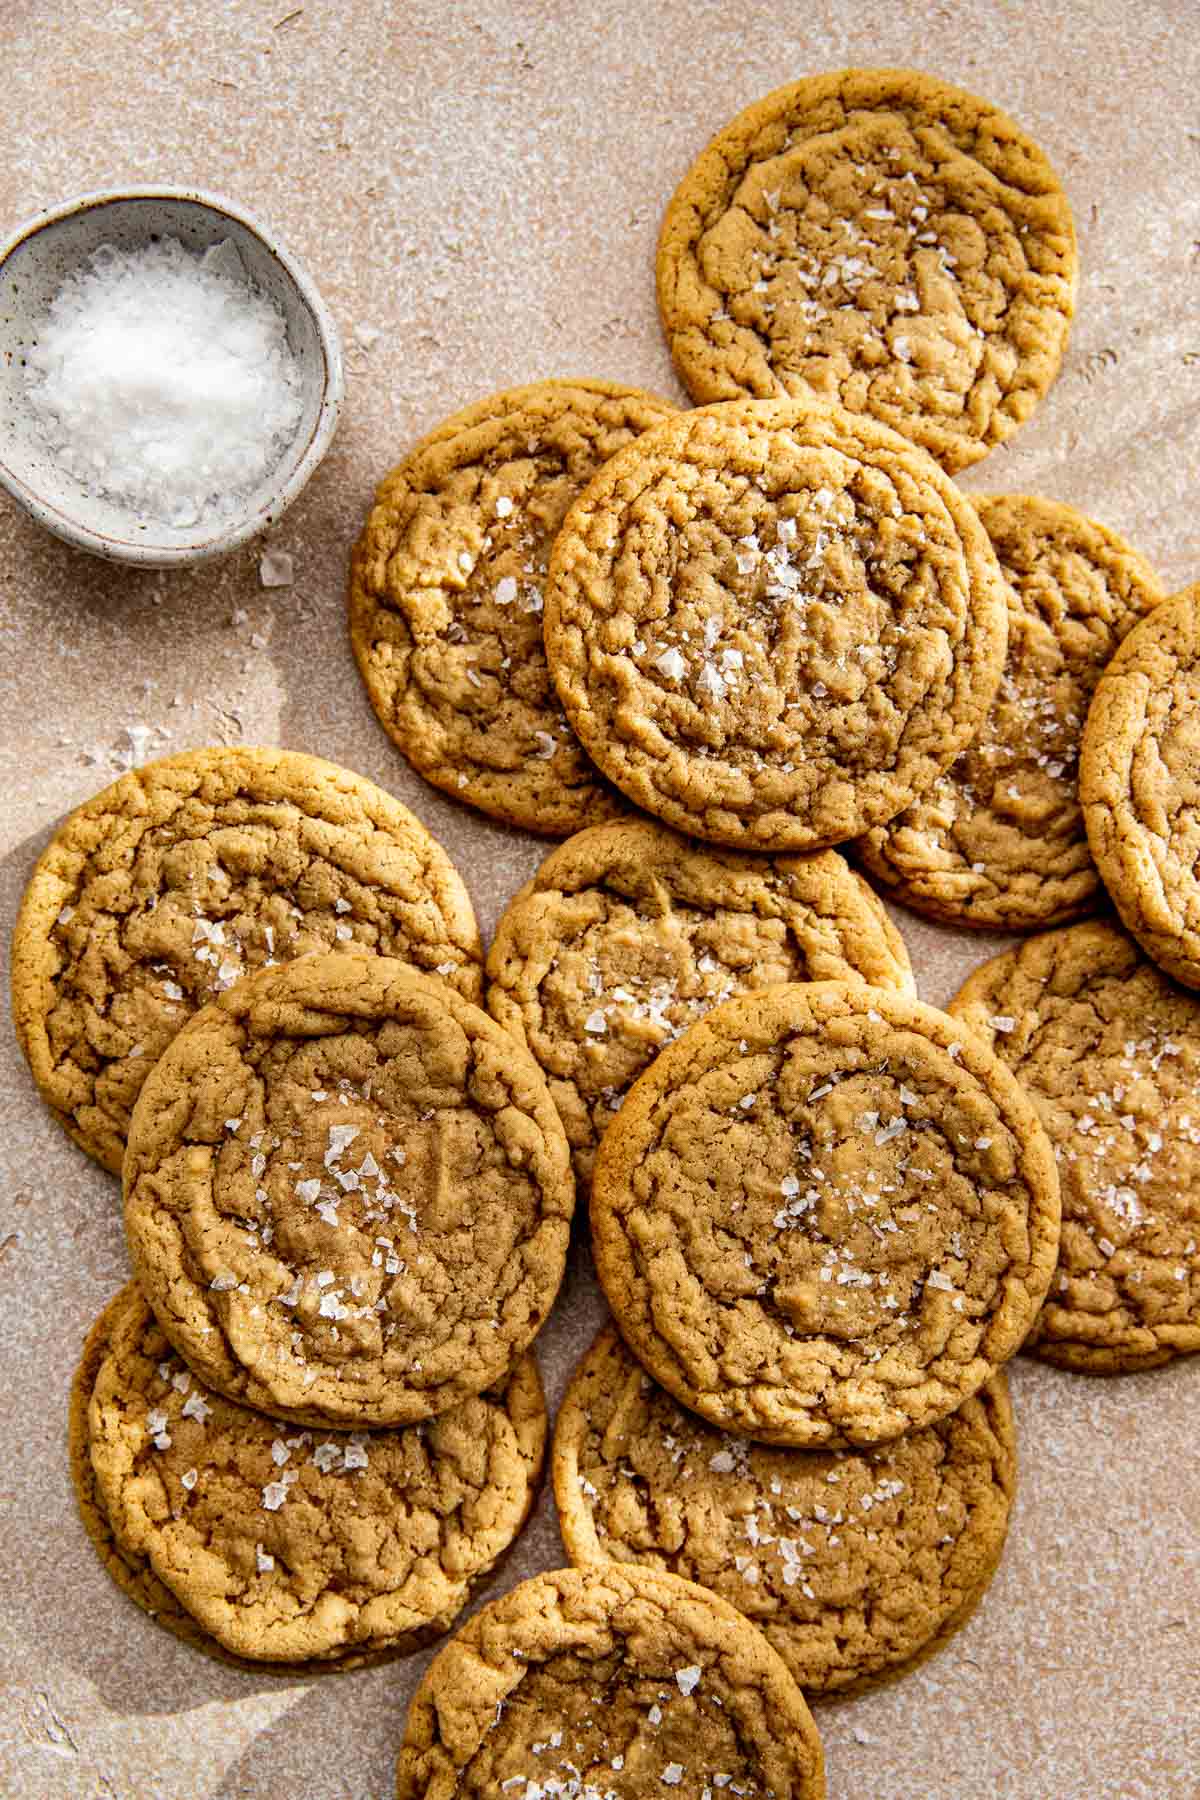
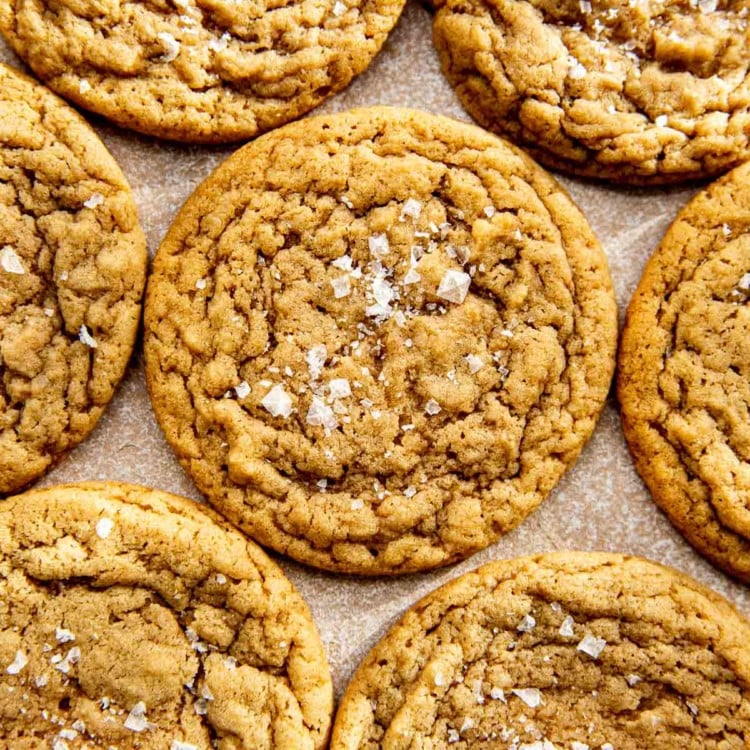
These soft, chewy, and buttery Chocolate Chipless Cookies answer your undeniable cookie cravings.
I’ve often heard people say they love only the cookie part of the chocolate chip cookie and they pick out the chocolate chips just so they can enjoy the dough portion! Come to find out, this is my toddlers preferred method of enjoying cookies too. ? I thought it would be fun to create a cookie recipe for the chocolate chip less cookie lovers out there!
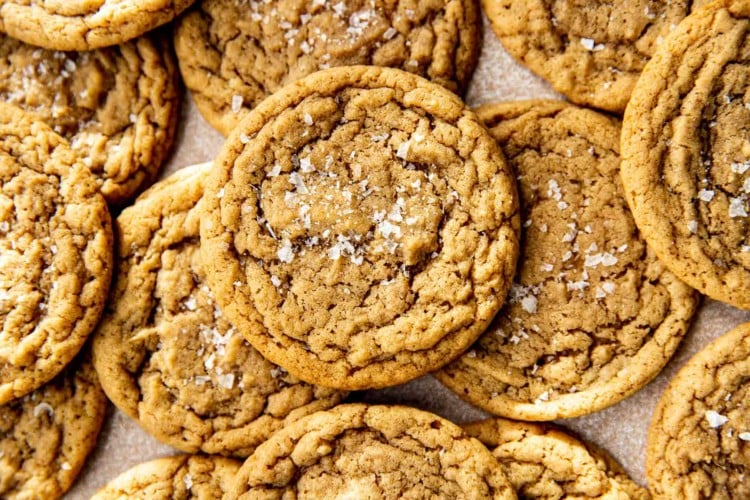
As soon as you smell these freshly baked treats you will be drawn to the light brown, crisp edges that give way to a deliciously sweet, thin, and richly satisfying chocolate chipless cookie.
Don’t get me wrong, I love chocolate and I want to put chocolate chips in everything! Like in my classic Kroll’s Kookies (with over 900 five star reviews!), this Edible Chocolate Chip Cookie Dough, and these Chocolate Chip Cookie Cheesecake Bars. But trust me when I say these cookies definitely stand on their own without the chips.
You might think a chipless cookie might have less flavor but that is so not the case with this cookie recipe! They are still full of flavor thanks to the vanilla extract and brown sugar, and the melted butter makes the center of these cookies rich and fudgy. Plus, the crunchy sea salt flakes on top are an absolute must!
This thin and chewy chocolate chip less cookie solves your problems if you’re always picking out those chocolate chips and you will be making them time and time again!
Why this recipe works
- No chill time required! (But you can, if you want!)
- No stand mixer necessary, just a a few mixing bowls, measuring cups and whisk!
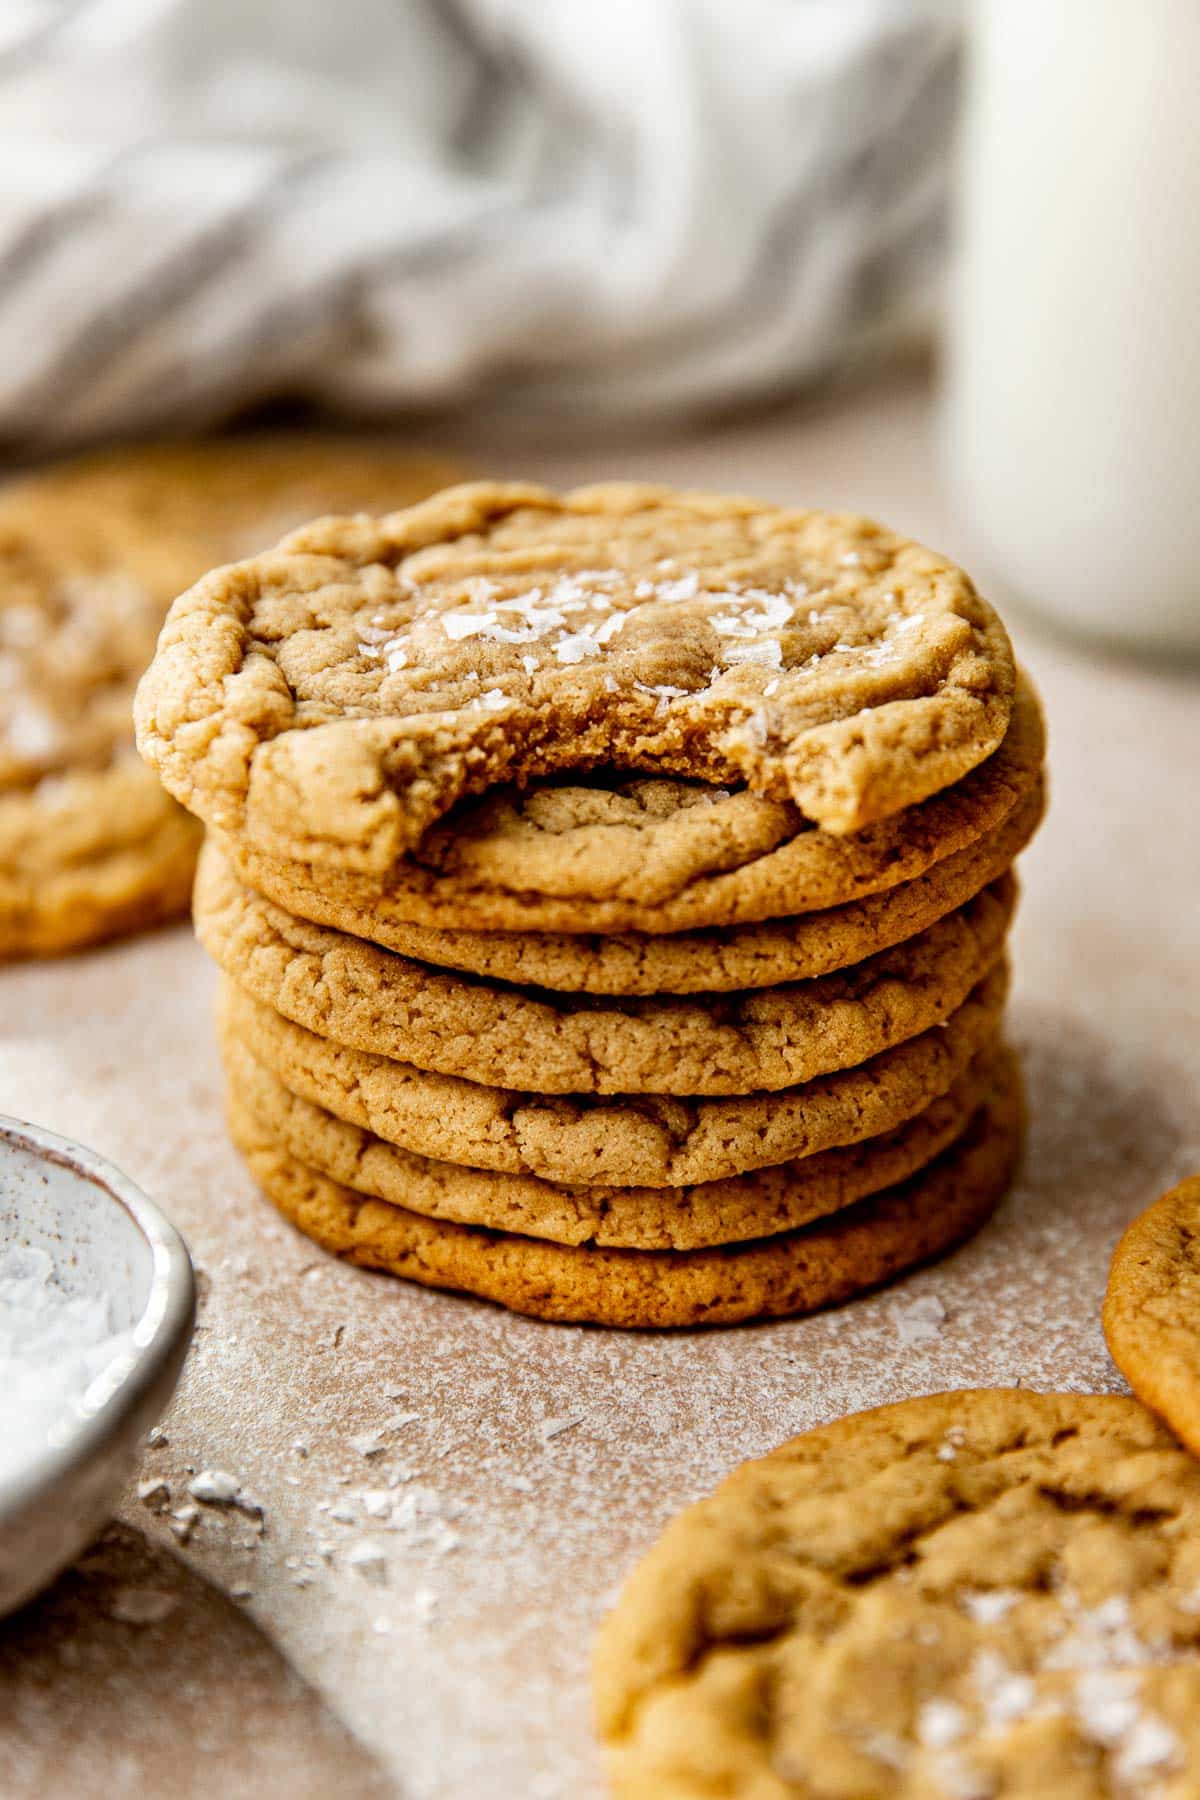
- They turn out perfectly soft and chewy every time
- They stay soft for days and are freezer friendly
- They’re ultra delicious and you won’t even miss the chocolate chips! (but you can totally add them in to this recipe too, if you want!)
What I tested that didn’t work:
I recipe tested multiple variations of this recipe. Here is what I found:
- The oven set to 325°F created the best cookie. 350°F was too high, and the edges browned too quickly.
- I chilled the cookie dough for 1 hour, 4 hours, 8 hours and another batch at 24 hours. All cookies turned out relatively they same. I did not notice the chill time impact the flavor significantly, usually it helps develop and concentrate the flavors and while you can certainly chill the dough if you’d like, it found it not needed for this particular cookie especially if you’re short on time. But, you can if you’d like. Typically chilling or resting the dough intensifies the deep toffee flavors and improves the texture of the baked cookie.
- I tried using 2 egg yolks (and no white) to create a really moist and chewy cookie, but I found the combination of using 1 whole egg + 1 yolk created the best texture.
- I tested this recipe with melted butter and browned butter. I found the browned butter added a delicious nuttiness to the cookies, but made the cookies dry, since browning butter removes the water content in the butter. If browning butter, you would need to add some liquid back into the cookie to make up for that. So I ended up simply using melted (and slightly cooled) butter and the cookies turned out just how I wanted!
Yes, of course! This can easily be made into a chocolate chip cookie recipe. I tested this recipe adding ~1 cup milk chocolate chips and everyone loved them. I baked them for 12 minutes at 325°F, 15 minutes rest time on the cookie sheet, topped with flaky sea salt, and voila; a delicious thin and chewy chocolate chip cookie! Feel free to use whatever chocolate or mix-ins you like.
Ingredients you’ll need
For the ingredient measurements and entire recipe, be sure to scroll down to the bottom of the blog post where the recipe card is located.
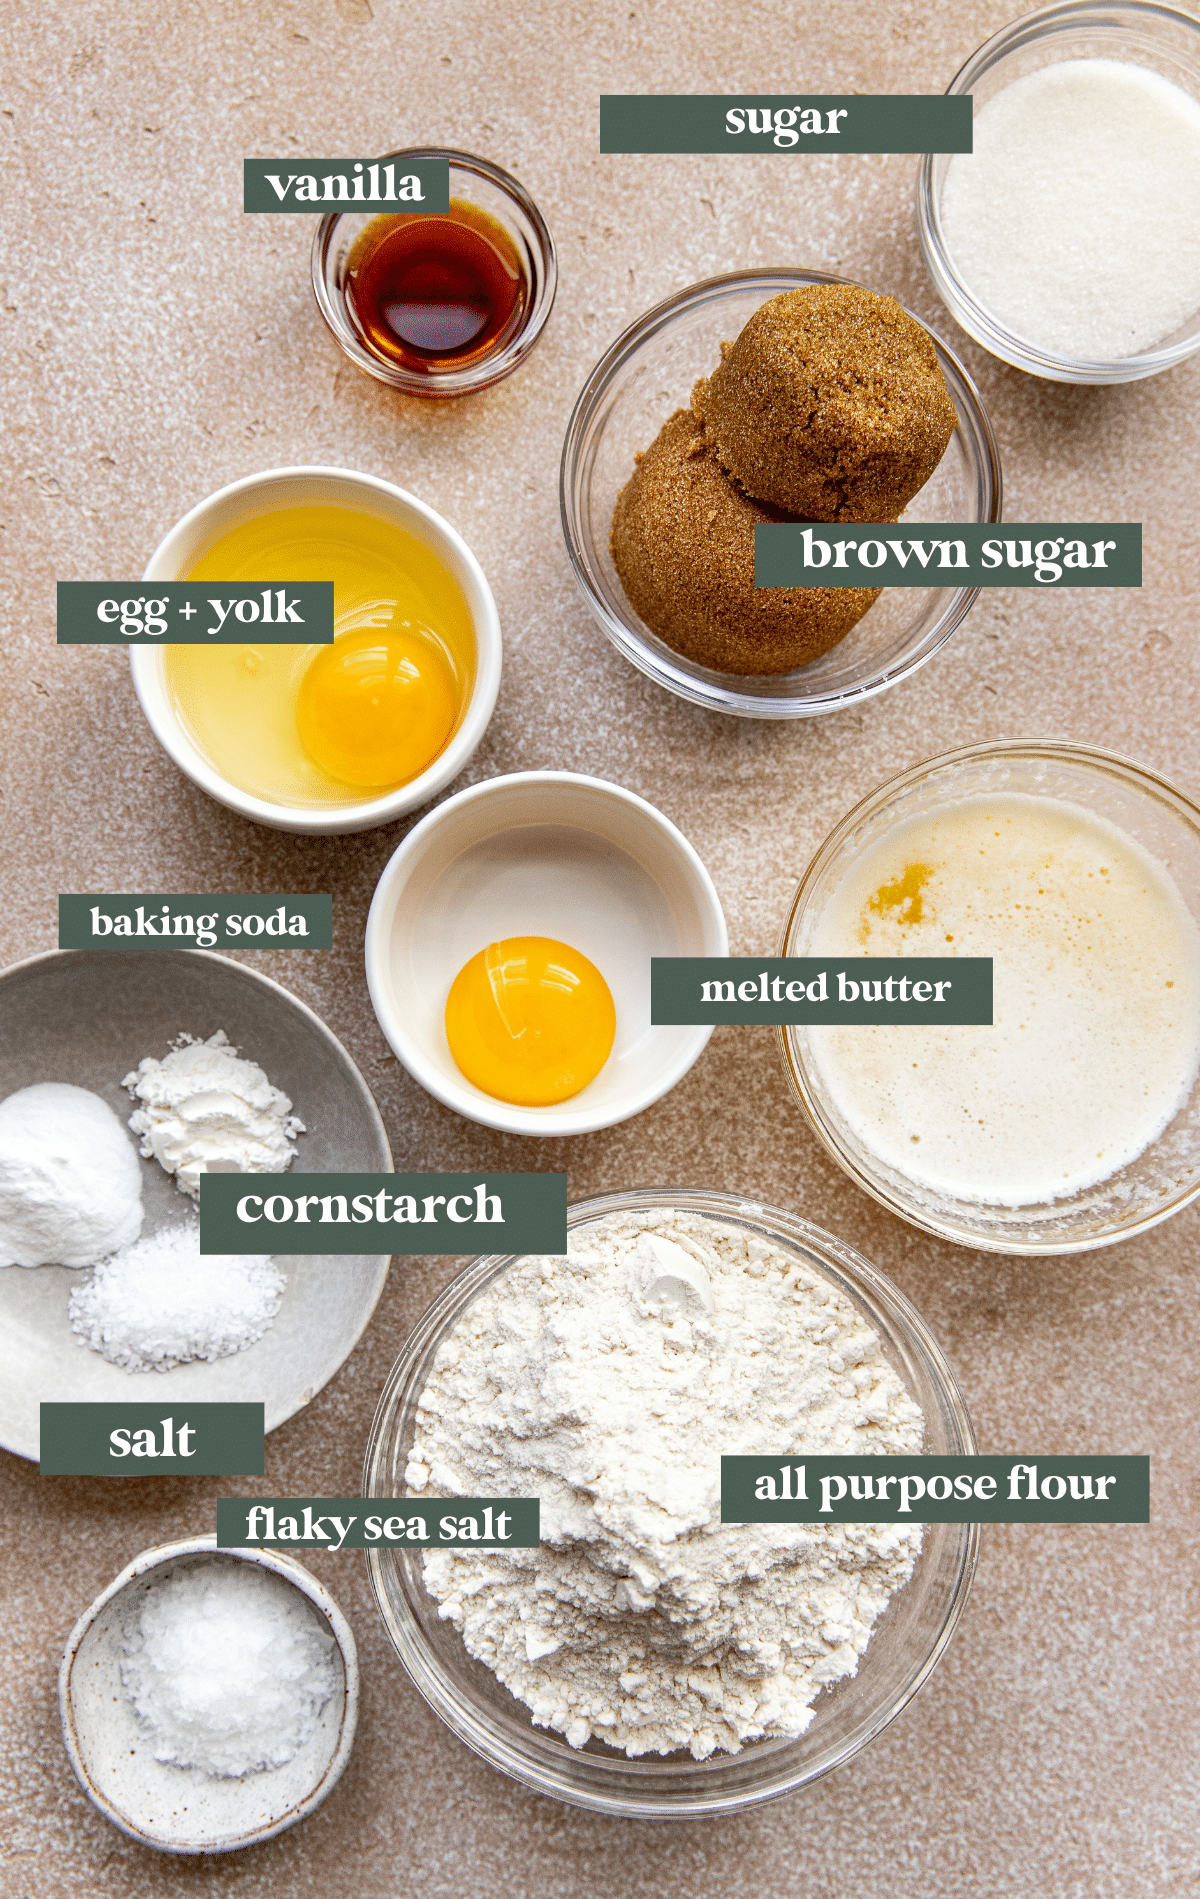
- Butter: I used unsalted butter and melted it. If you want to use salted butter, just add a little less kosher salt to the recipe.
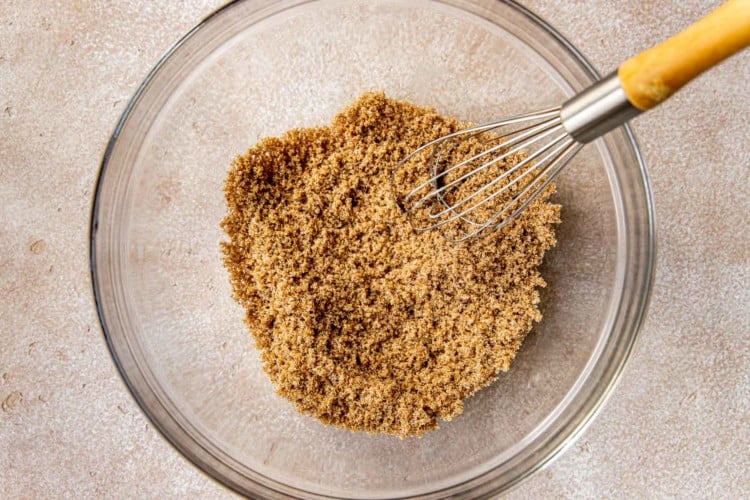
- Sugars: dark brown sugar and granulated sugar get mixed into the melted butter into a paste forms. No need to cream the ingredients with a stand mixer, just a bowl and a whisk! Be sure to break up any clumps of the brown sugar. This recipe also will work with light brown sugar, but I prefer the dark brown in this recipe.
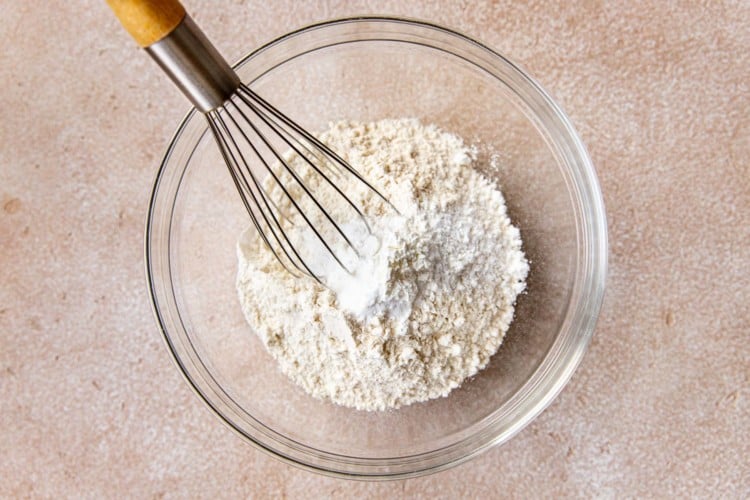
- Dry ingredients: flour, baking soda, cornstarch and salt. If you have made my cookie recipes before, you know I love adding in cornstarch. The cornstarch is a thickener so it helps prevent the cookies from baking too flat, and it also helps to create a super soft buttery cookie.
- Eggs: be sure to bring them to room temperature. Adding in the extra egg yolk really help give the cookies that nice chew we’re looking for!
- Vanilla extract: yes, an entire tablespoon! The additional vanilla, as opposed to just using maybe one teaspoon, gives the cookies lots of flavor.
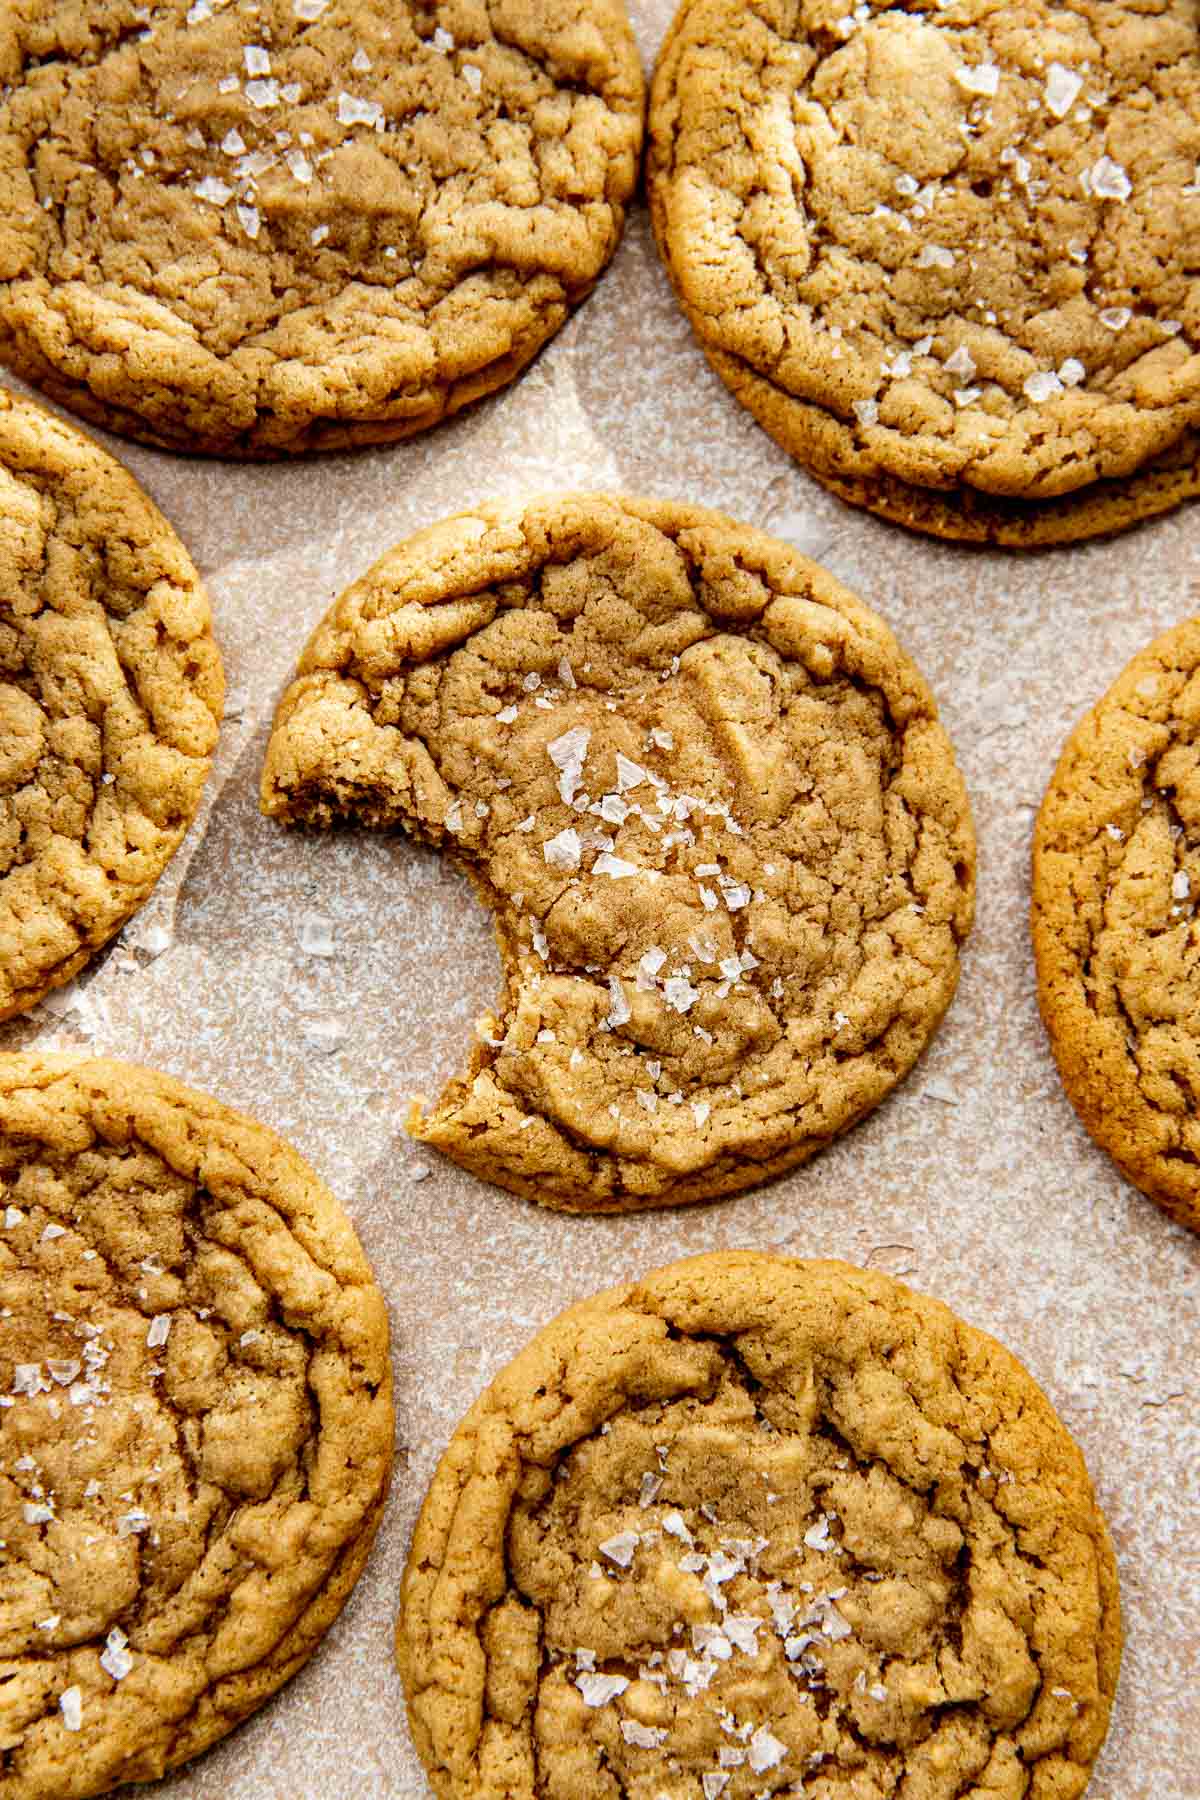
- Flaky sea salt: I love Maldon. It’s the perfect finishing touch and really not optional in my opinion! It balances out the sweet flavors and compliments this cookie really well.
Step by Step Directions
For the full recipe instructions, scroll down to the bottom of the blog post to the recipe card.
- Melt the butter and let cool slightly.
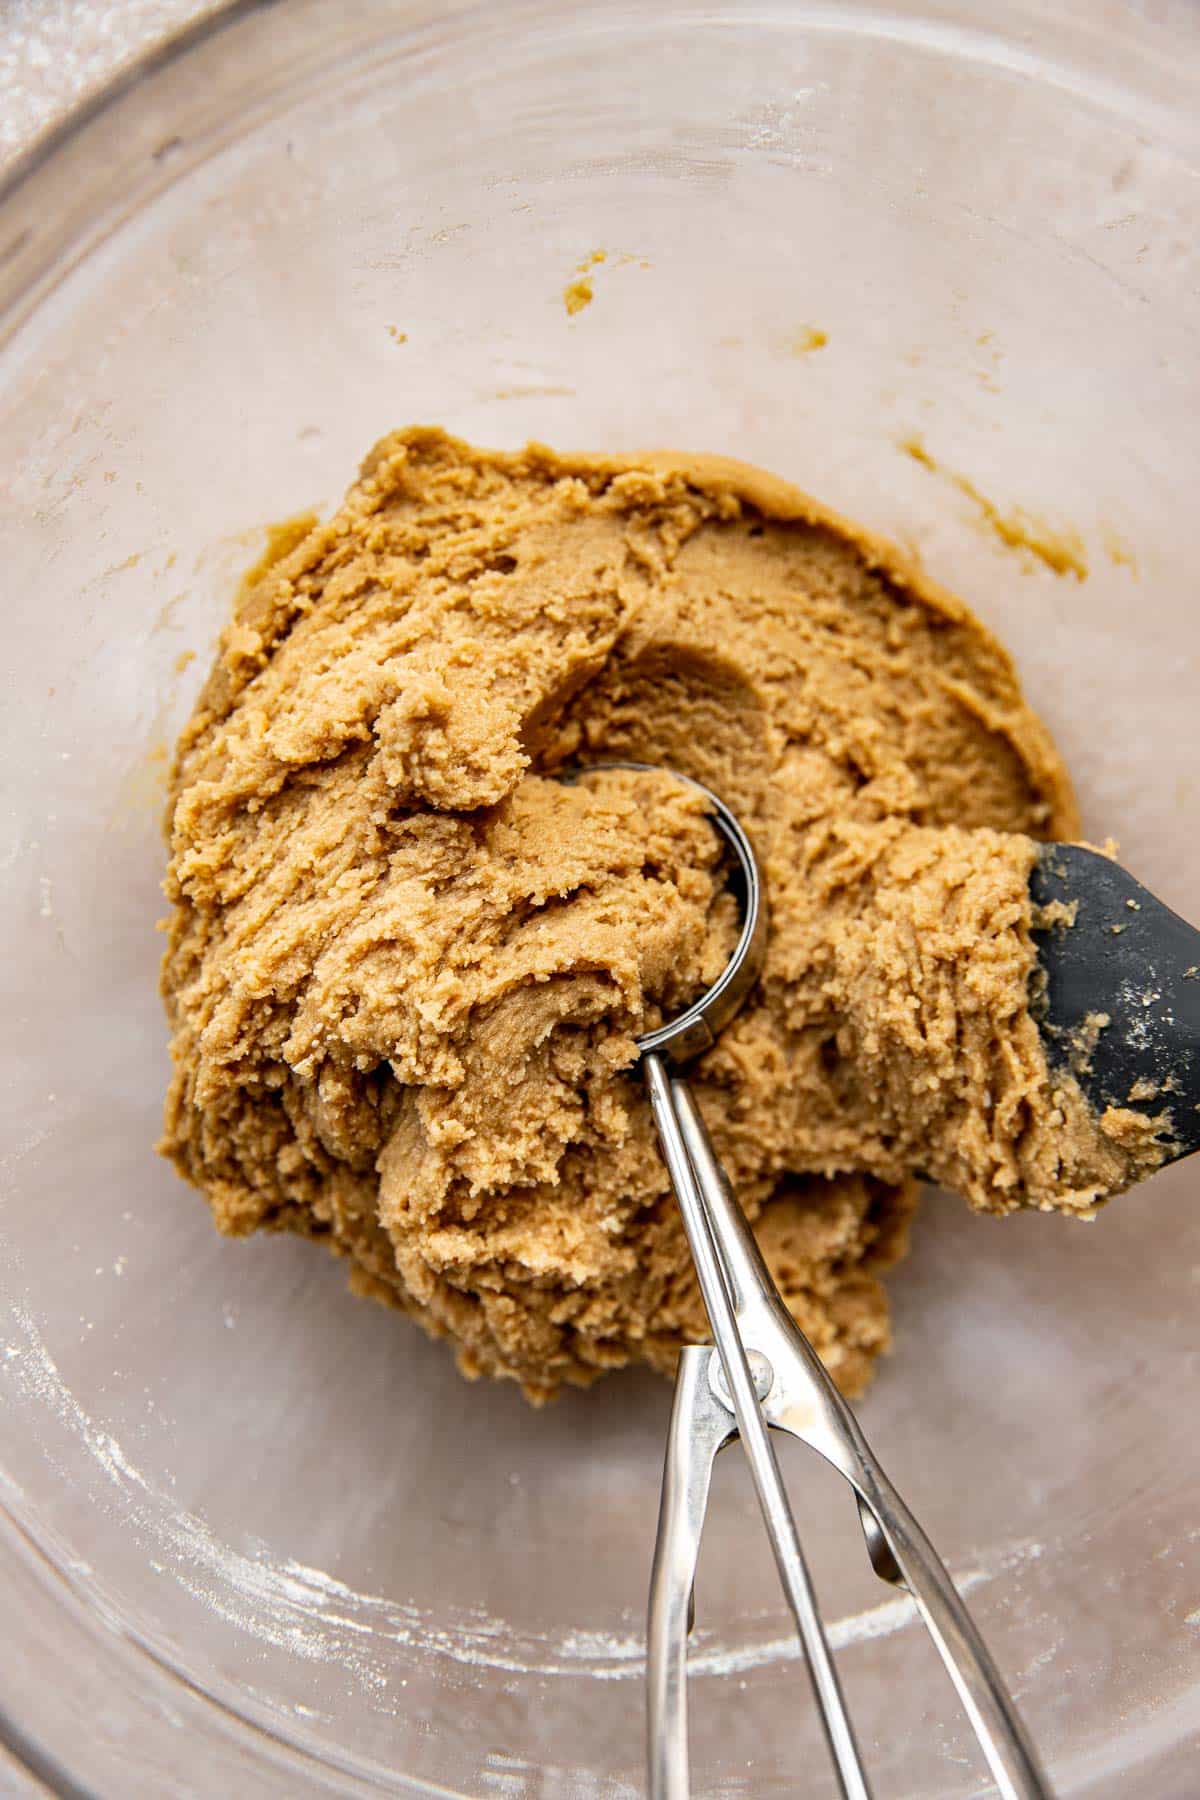
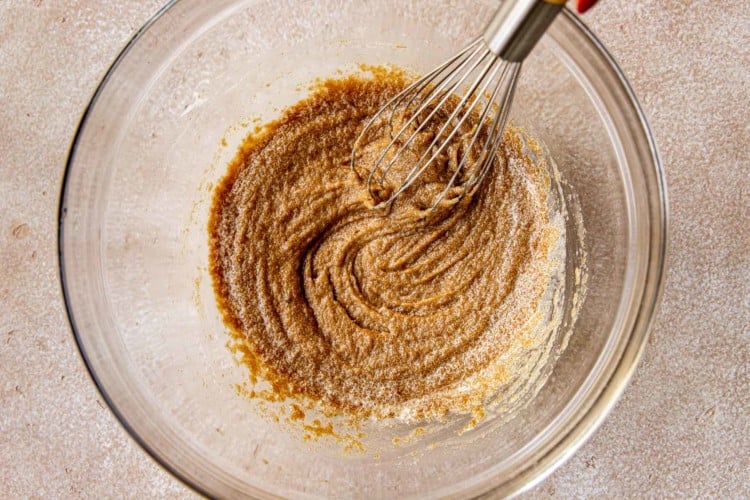
- Mix together sugars, then whisk in butter until a paste forms.
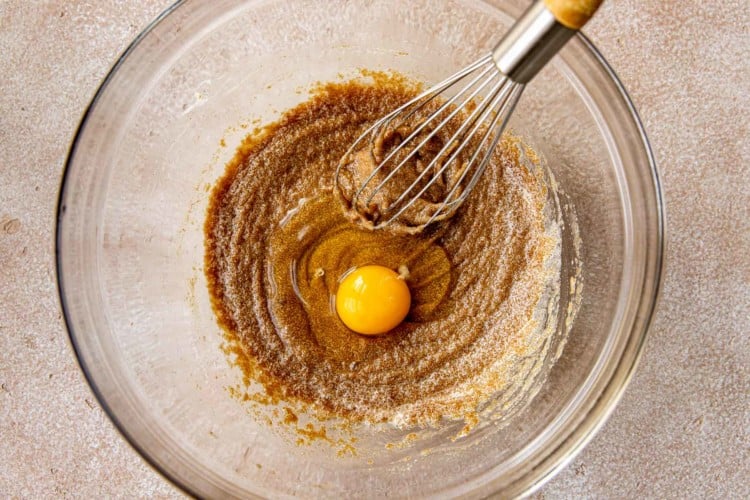
- Add in egg, whisk. Followed by the yolk and vanilla.
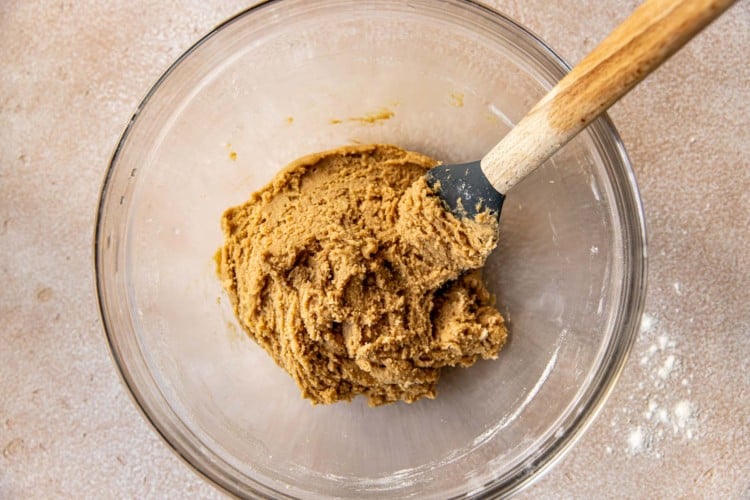
- Fold in dry ingredients with a rubber spatula.
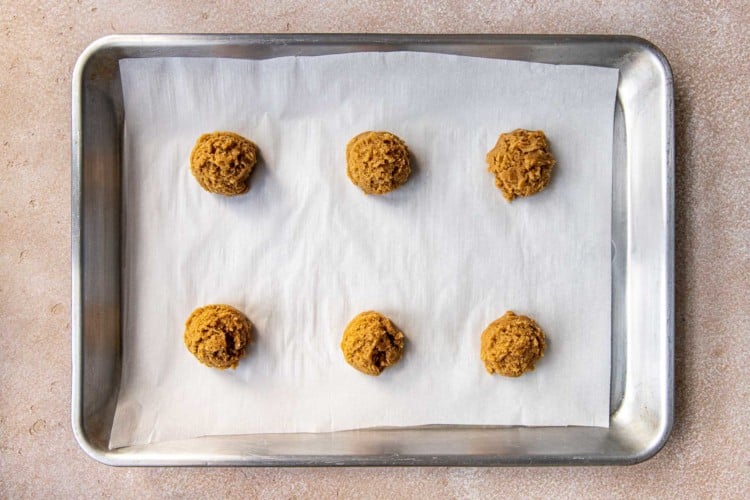
- Scoop with a cookie scoop & bake!
Expert Tips
- Spoon and level flour properly: Spoon the flour into your measuring cup and be sure it’s leveled. Do not scoop the flour out of the container/bag with your measuring cup because you could end up with 50% more than you need. Spoon and level by using a spoon to scoop the flour into the measuring cup and use the back of a knife to level off the top of it.
- Allow the melted butter to cool before whisking in the sugars. Using melted butter will help create a rich and fudgy center in these cookies, as opposed to using softened butter.
- These cookies are soft and puffy when they first come out of the oven! Be sure to allow them to rest on the cookie sheet, then transfer to a wire rack so they can set up completely.
- While the cookies are still warm, place a circular cookie cutter or a circular drinking glass around one of the cookies (it should be larger than the cookie so you don’t cut off any edges) and give the cookies a spin. Swirling the cookie should help to smooth out any uneven edges and make the cookies perfectly circular.
- Do not over bake. These cookies look very soft and slightly under baked when you take them out of the oven. But they will settle and create a fudgy soft center in the middle as they cool, thanks to the melted butter and sugars and perfect ratio of dry ingredients.
- Do not crowd the baking sheet. I like to bake 6 cookies at a time. Overcrowding the cookies can lead to the cookies baking into each other and creating wonky shaped cookies. We want the heat to circulate evenly around the cookies so if you find your cookies are spreading too much, bake less cookies on your sheet at one time.
Variations and substitutions
- Fan of chocolate? Add chocolate chips or even some chocolate chunks! ~1-1 1/2 cups is plenty.
- I haven’t personally tested this recipe with a gluten free flour, but a 1:1 gf free flour mix such as Bob’s Red Mill usually works well.
- I love these cookies with kosher salt, but you can use a fine sea salt as well. I would use 3/4 tsp.
- If you have a convection oven, decrease the oven temperature by 25 degrees.
Storage and freezing
- Store these chipless chocolate chip cookies in an airtight container at room temperature for up to 5 days, or in the freezer for up to 3 months.
- To freeze the chocolate chip less cookie dough, scoop the dough into 2 Tbsp. balls and freeze in a single layer in an airtight container for up to 3 months. You can bake the frozen cookie dough from frozen, just add an extra minute or so to your bake time. Ovens vary.
- Make Ahead: You can make the cookie dough and chill it in the refrigerator for up to 2–3 days. Allow to come to room temperature then continue to bake as directed.


Before You Begin! If you make this, please leave a review and rating letting us know how you liked this recipe! This helps our business thrive & continue providing free recipes.
Ingredients
- 1 3/4 cups all purpose flour
- 1 tsp. baking soda
- 1 tsp. cornstarch
- 1 tsp. kosher salt or 1/2 tsp. fine salt
- 3/4 cup dark brown sugar, packed (light brown will be OK too)
- 1/4 cup granulated white sugar
- 1/2 cup unsalted butter, melted and cooled for ~10 minutes
- 1 large egg, room temperature
- 1 large egg yolk, room temperature
- 1 Tbsp. pure vanilla extract
- flaky sea salt (such as Maldon) for finishing
Last step! If you make this, please leave a review and rating letting us know how you liked this recipe! This helps our business thrive & continue providing free recipes.
Instructions
- Preheat the oven to 325°F and line 2 baking sheets with parchment paper or silicone baking mats.
- Whisk the flour, baking soda, cornstarch and salt together. Set flour mixture aside.1 3/4 cups all purpose flour, 1 tsp. baking soda, 1 tsp. cornstarch, 1 tsp. kosher salt or 1/2 tsp. fine salt

- Combine the brown sugar and white sugar together, breaking up any lumps of brown sugar with your fingertips.3/4 cup dark brown sugar, packed (light brown will be OK too), 1/4 cup granulated white sugar
- Whisk the cooled melted butter into the sugars for ~ 1-2 minutes, it should look like a paste.1/2 cup unsalted butter, melted and cooled for ~10 minutes
- Add in one egg, whisk until smooth. Then add the egg yolk and vanilla and whisk again until smooth, ~ 1 minute.1 large egg, room temperature, 1 large egg yolk, room temperature, 1 Tbsp. pure vanilla extract
- Fold in dry ingredients just until incorporated, do not over mix.
- Scoop using a 2 Tbsp. scoop (these cookies spread a bit so dont overcrowd the cookie sheet, I bake 6 cookies per cookie sheet) you should get ~14-16 cookies. To get the cookies to look like the photos, scoop and place right on the cookie sheet, don’t roll in a ball between the palms of your hands and keep them 2 tbsp in size .❤️
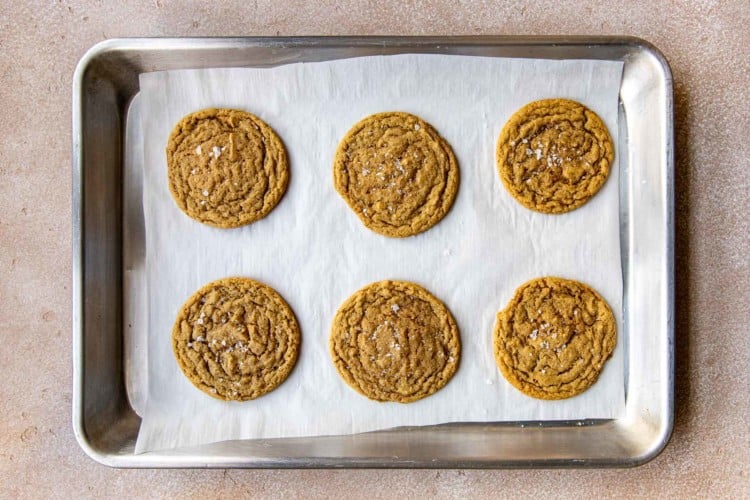
- Bake for ~11-13 minutes. The cookies will look puffed and slightly underbaked in the middle and the edges will be golden brown. They cook more on the sheet once removed from the oven. While the cookies are still warm, I like to place a circular cookie cutter or a circular drinking glass around the cookies (it should be larger than the cookie so you don’t cut off any edges) and give the cookies a spin to give them a perfect circular shape.
- Cool on the cookie sheet 10-15 minutes, remove to cooling rack to cool completely. They will flatten as they cool and get perfectly soft as they cool. Add flaky sea salt on top and ENJOY!flaky sea salt (such as Maldon) for finishing
Notes
-
- Store these chipless chocolate chip cookies in an airtight container at room temperature for up to 5 days, or in the freezer for up to 3 months.
-
- To freeze the chocolate chip less cookie dough, scoop the dough into 2 Tbsp. balls and freeze in a single layer in an airtight container for up to 3 months. You can bake the frozen cookie dough from frozen, just add an extra minute or so to your bake time. Ovens vary.
-
- Make Ahead: You can make the cookie dough and chill it in the refrigerator for up to 2–3 days. Allow to come to room temperature then continue to bake as directed.
- Fan of chocolate? Add chocolate chips or even some chocolate chunks! ~1-1 1/2 cups is plenty.
Nutrition Information
Nutritional information is provided as a courtesy and is automatically calculated. It should only be construed as an estimate rather than a guarantee. Ingredients can vary and Kroll’s Korner can’t make any guarantees to the accuracy of this information.
Photography: photos taken in this post are by Megan from The Broke Girl Table.

Good morning. My grandson and I are making these cookies today and are adding icecream to the chem for ice cream sandwich cookies. My only question is, and please bare in mind I am new to baking, sort of, and I don’t know what it means to give the cookies a spin while still warm for perfect circles? I understand putting a larger glass over cookie, how do I spin it? Yes I am blonde. Haha. I will upload photos later. Thanks for this recipe, neither of us care for chocolate chips in the cookies.
Hi Lynn! First off, I looove that you’re making these with your grandson! So so fun! As far as your question about spinning the cookies… I’m so excited to teach you this trick (it’s one of my faves). You take a glass or circular cookie cutter that is larger than the cookie and put it over the cookie, then just take your hand and lightly scoot the cookie around so it touches the inside rim of the glass or cookie cutter. It’s important to do this right when the cookies come out of the oven so they’re still super warm.
This video shows what I mean: https://www.instagram.com/reel/DRxn2ECkna5/?igsh=NTc4MTIwNjQ2YQ==
And here’s a link to some rings that I use all the time for this: https://amzn.to/4a4mxVs
Let me know how it goes! I’m so excited to hear 🥰
These were absolutely amazing! Perfect and I made them exactly as the recipe called except I doubled it. My new favorite cookie!
yayy I am so glad!! Thank you!
Hi! What can I substitute for cornstarch and how much?
Hi! You can try cake flour but I only tested the recipe as written. So sorry!
Hey there! I made these cookies and when I took them out they had the texture of a muffin, I don’t know if they are supposed to look like that. I baked them for 12 minutes and I followed all the instructions and ingredients.
Hello! Oh no, I am sorry! Sounds look too much flour if they were cakey like that. :/
Either too much flour or overmixing the flour too much!!! All of my homemade cookies used to turn out that way and I learned I was always over mixing my flour! These came out pefect!
Those look perfect, Khalisha!! 🥰
I did half brown sugar and half white sugar and 1 cup of flour. That gave me the spread and flat cookies I was looking for. When I followed exact recipe mine was muffin like too.
AMAZING!!! I tried these as a quick bake but I will be making them again. Not flavorless like other chocolate chipless recipes, crunchy outside and chewy inside, didn’t burn or melt and paired great with milk. 10/10 recommend!
I’m so glad!! Thank you Victoria! 🙂
These were delicious! I have never been much of a baker… could never seem to get it right. BUT this is the first cookie recipe that I haven’t failed at! I baked my first batch for 11 minutes, then the second batch for 13 minutes (both at 325) but the middle of the cookie was still runny… But the sides were perfect and the top of the cookie… I don’t want to risk burning the cookies! Not sure if I should bake them longer next time though.
Hi Diana! The middles shouldn’t be runny, but a tad underdone is OK because they’ll set up on the baking sheet and become a super yummy chewy cookie. All ovens and baking times are so tricky though, maybe you can try 350 for 10-13 min and see how it goes 🙂 thank you for making them!
Hi it’s me again lol. I was wondering if I can use this recipe to make a cookie skillet? I want to make a skillet sugar cookie but many cookie skillet recipes are chocolate chips which I don’t want
Hi! I’m also not sure. I haven’t tested. You might like these recipes (without chocolate) https://krollskorner.com/recipes/desserts/cast-iron-skillet-cookie/ https://krollskorner.com/recipes/desserts/bars-brownies/chocolate-chip-blondies/ https://krollskorner.com/recipes/desserts/cookies/brown-butter-snickerdoodle-cookie-skillet/
Hello! I was wondering if I can stack 2 cookie dough before baking so they can come out like thick cookies? Or would that not work? I really want to make a levain cookie but without mix-ins or a stand mixer haha
Hi! I haven’t tried. I am not sure it would work well because this recipe is supposed to be for a thin cookie. My levain copycat https://krollskorner.com/recipes/desserts/krolls-kookies/ is an option. You can try making with melted butter and chilling the dough before baking.
so delicious! when i imagine a chocolate chip cookie this is what i imagine. the chewy texture is perfect and the salt on top pulls it all together. I added semi sweet chocolate chips to make a true chocolate chip cookie and they are heavenly.
Thank you!! 🙂 so glad you enjoyed them!
alright its my first time baking from scratch and uh.. i made the batter correctly with my parents help obviously, preheated the oven, but i put it in the oven and its.. still soft? but i put them in for 10 extra minutes theyre STILL soft… theyre in for more time right now but im not sure if im really doing it correctly lol
Hi there! Hmm, I’m not sure! They are a soft & chewy cookie. So they won’t be crunchy or anything like that. An extra 10 minutes seems like a very long time. I’m wondering if everything was measured properly? I’m so sorry!