Pizza Sliders (Pepperoni and Sausage)
This post may contain affiliate links. Please read our disclosure policy.

My Pizza Sliders combine all the flavors of a crave-worthy pizza and pack them into a convenient, bite-sized slider.
Whether you make them for game day, parties, an easy dinner solution, or potlucks, they will surely be a hit with everyone.
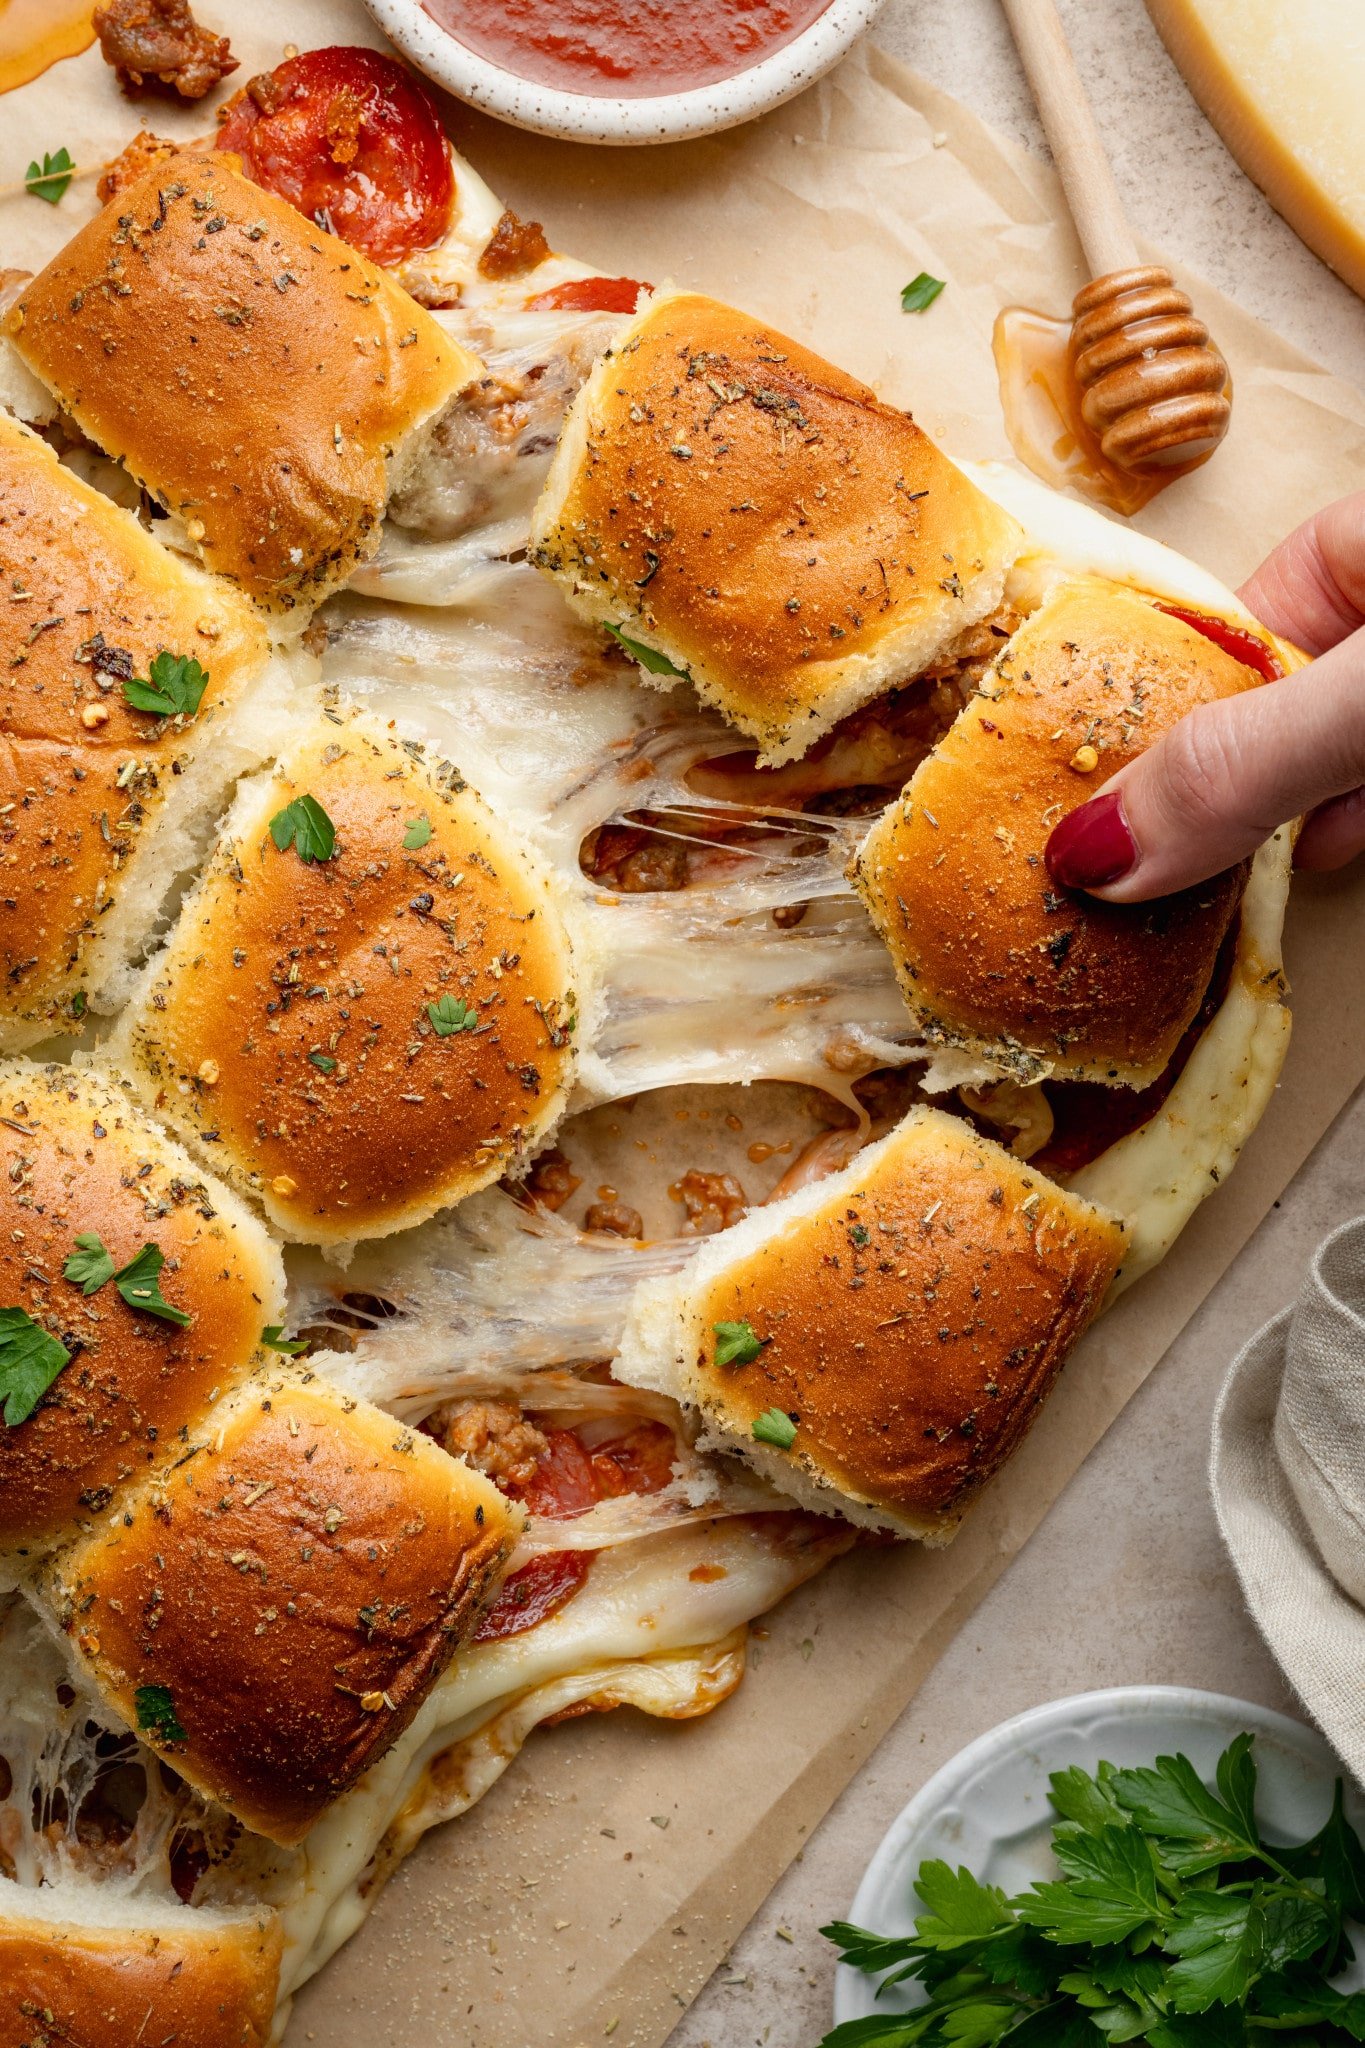
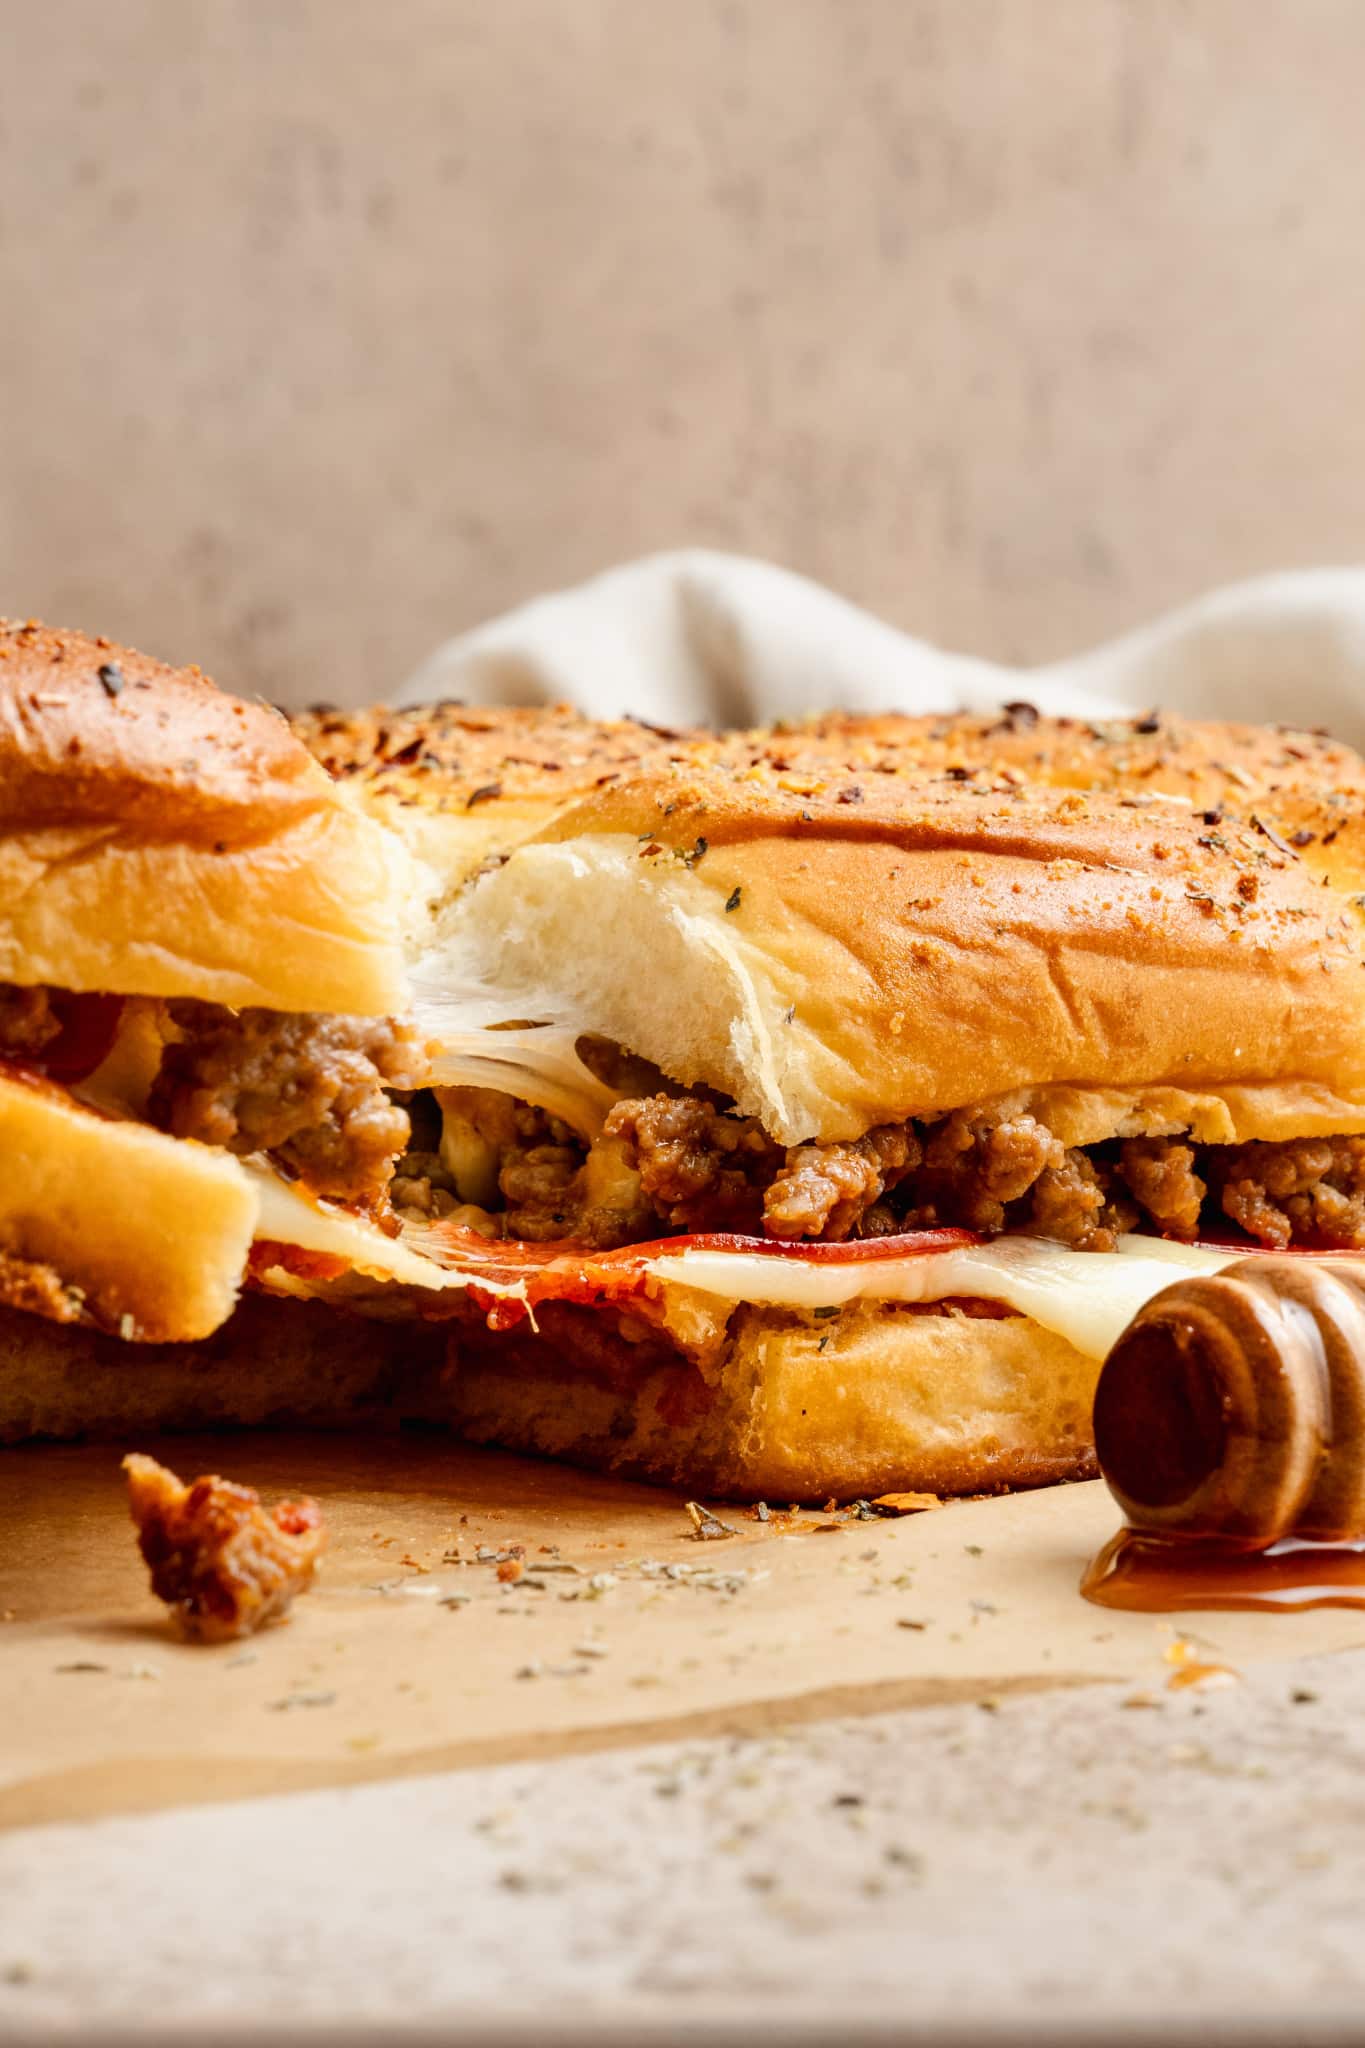
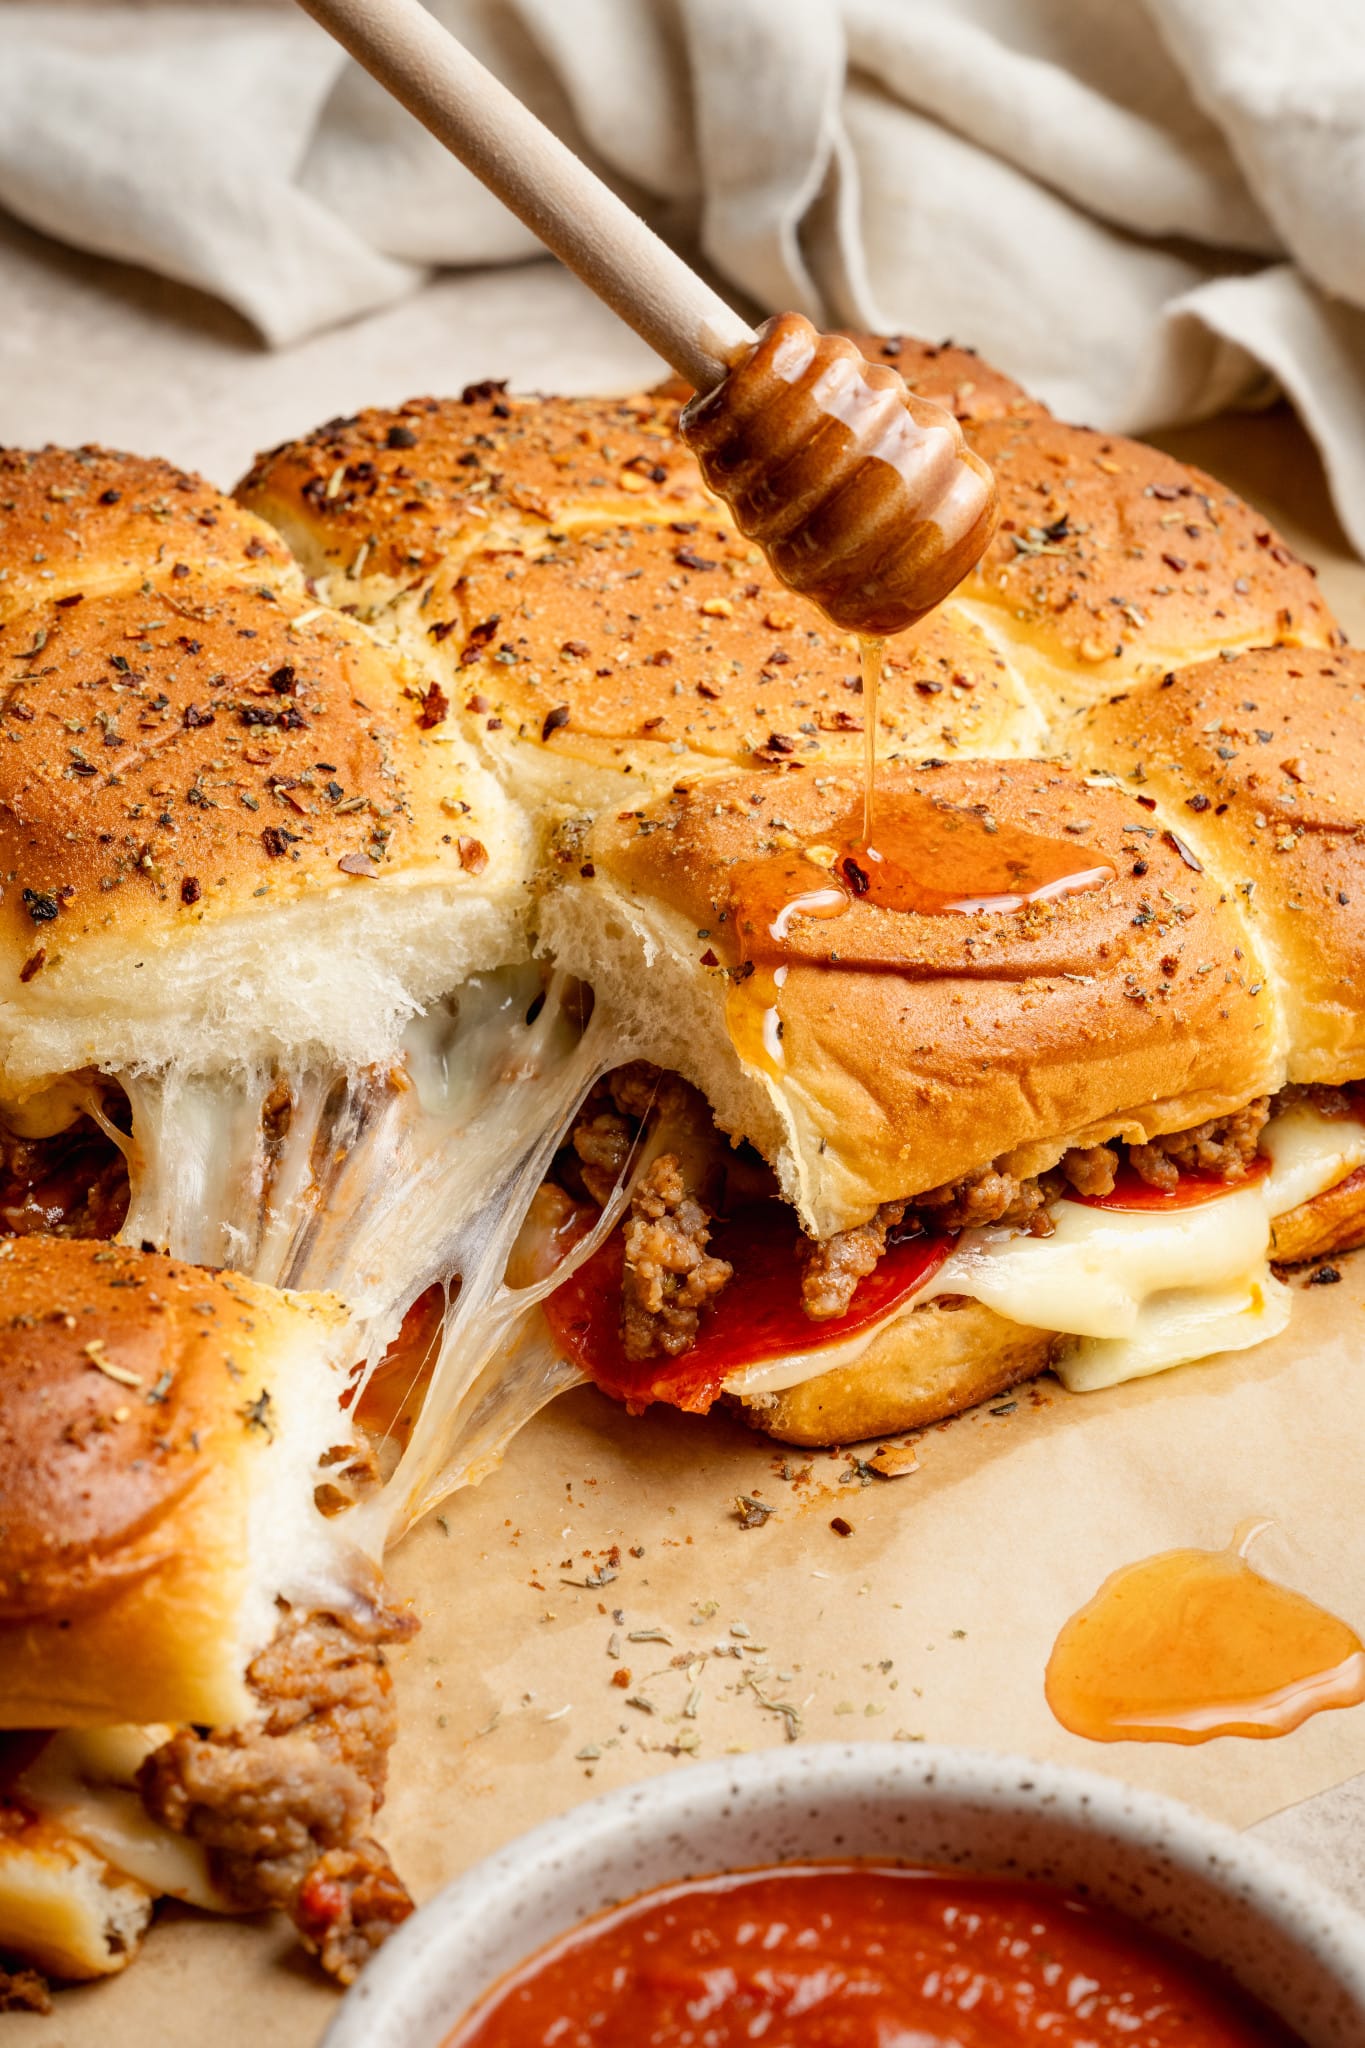
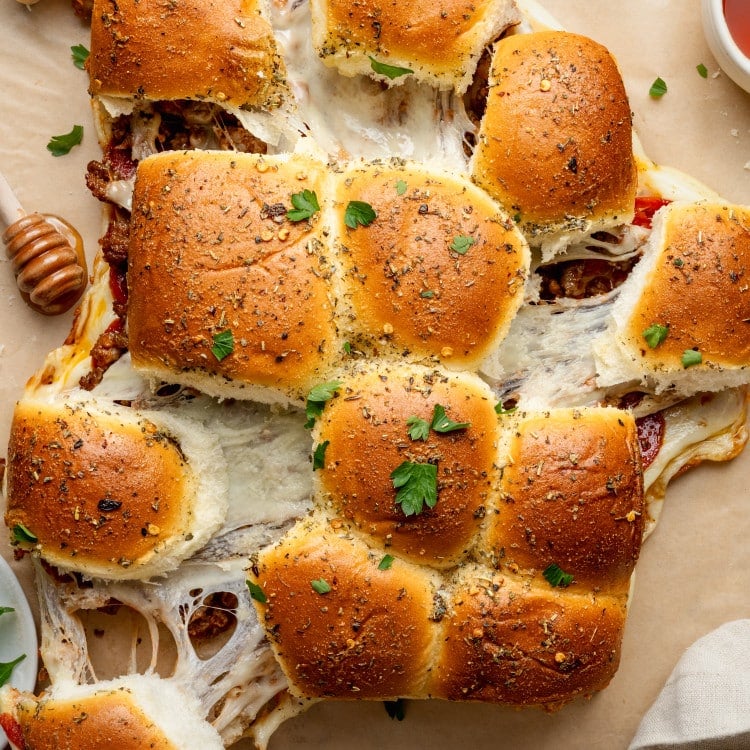
These irresistible pizza sliders are stacked with ground Italian sausage, pepperoni, gooey mozzarella and provolone cheese, and pizza sauce, all sandwiched between golden, buttery, soft slider buns.
I know these will satisfy your pizza cravings and will be a recipe you come back to time and time again!

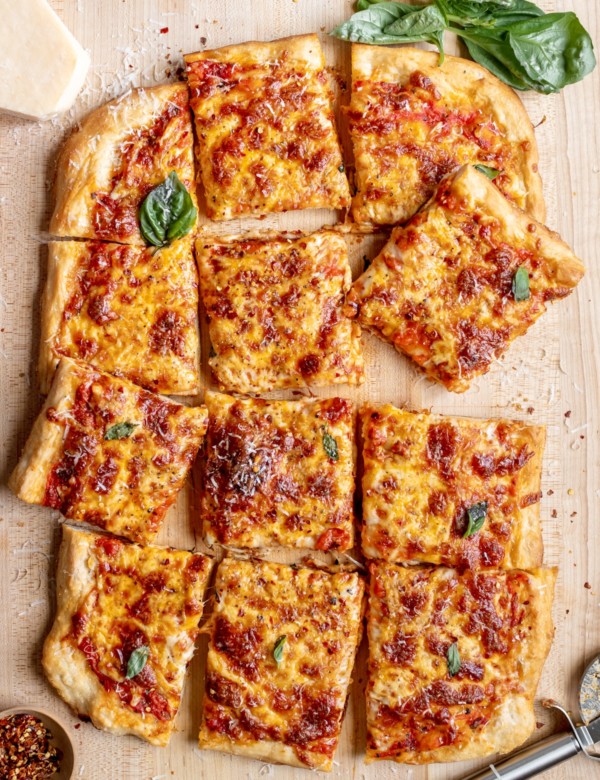
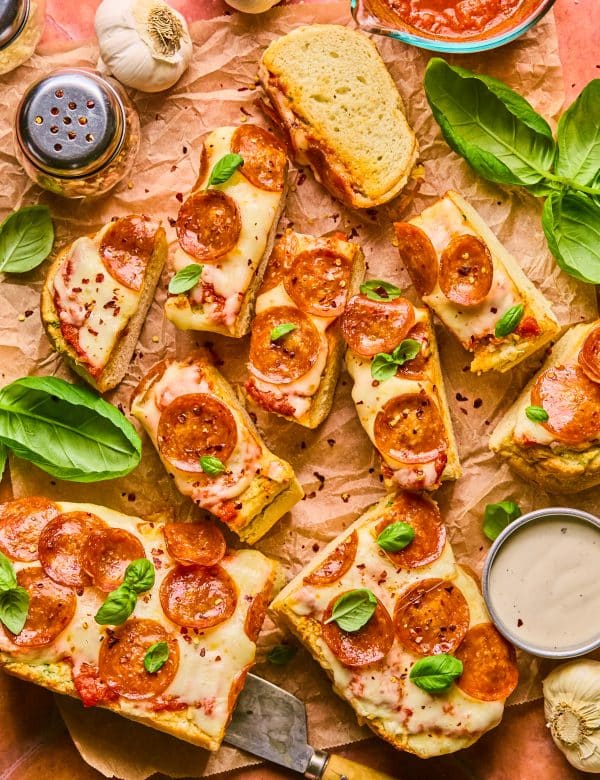
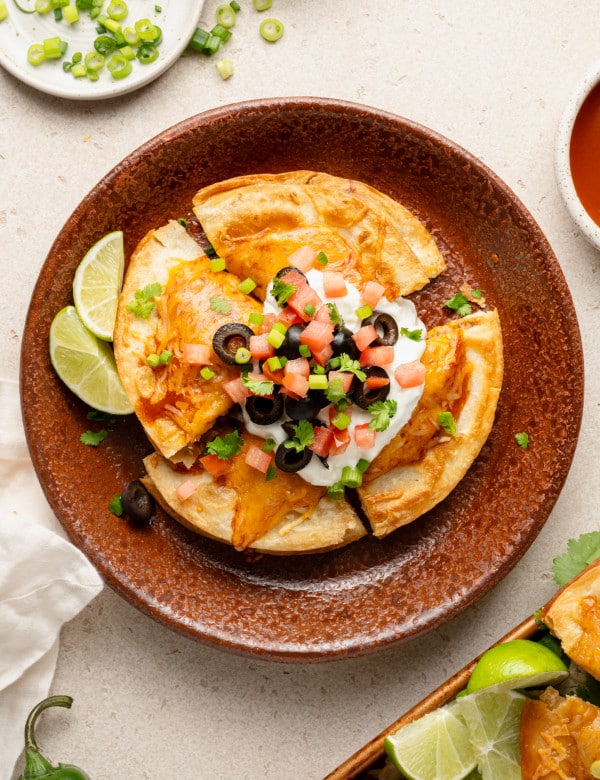
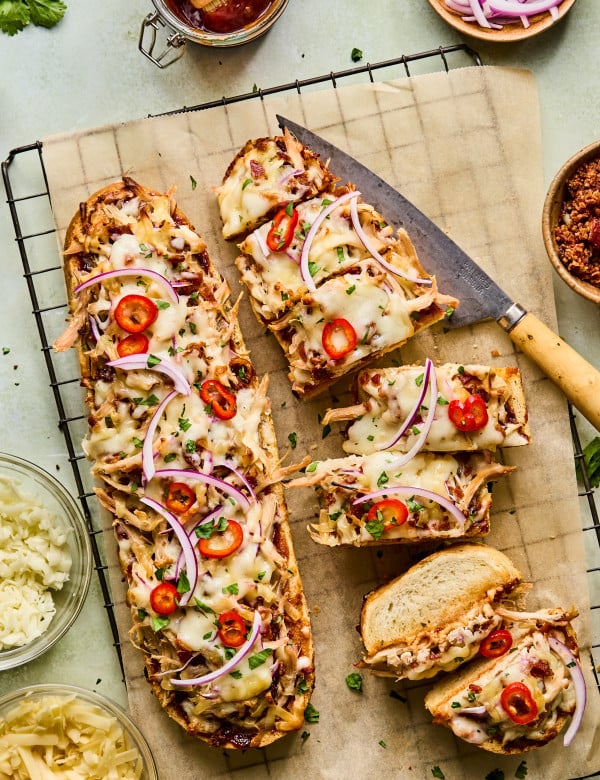
Looking for more delicious appetizers like these Pepperoni and Sausage Pizza Sliders? Check out my Sheet Pan Nachos, Mini Brie Bites, Cheesy Pull Apart Garlic Bread, and Baked Bean and Cheese Taquitos for more of my faves!

 Table Talk with Tawnie

If you’re looking for a fun, crowd-pleasing appetizer, or an easy weeknight dinner these Pepperoni and Sausage Pizza Sliders are it! They’re the perfect bite-sized, pull-apart treat that everyone will love. (I mean, honestly, who doesn’t love pizza?!) 🍕 You can easily make them your own with different cheeses, meats, or even a few veggie add-ins. The best part? They’re ready in under 30 minutes from start to finish and require minimal clean-up. Perfect for busy weeknights, game days, or anytime you’re craving something cheesy, saucy, and totally satisfying!
Ingredient Notes
(For the full recipe, scroll down to the recipe card below)
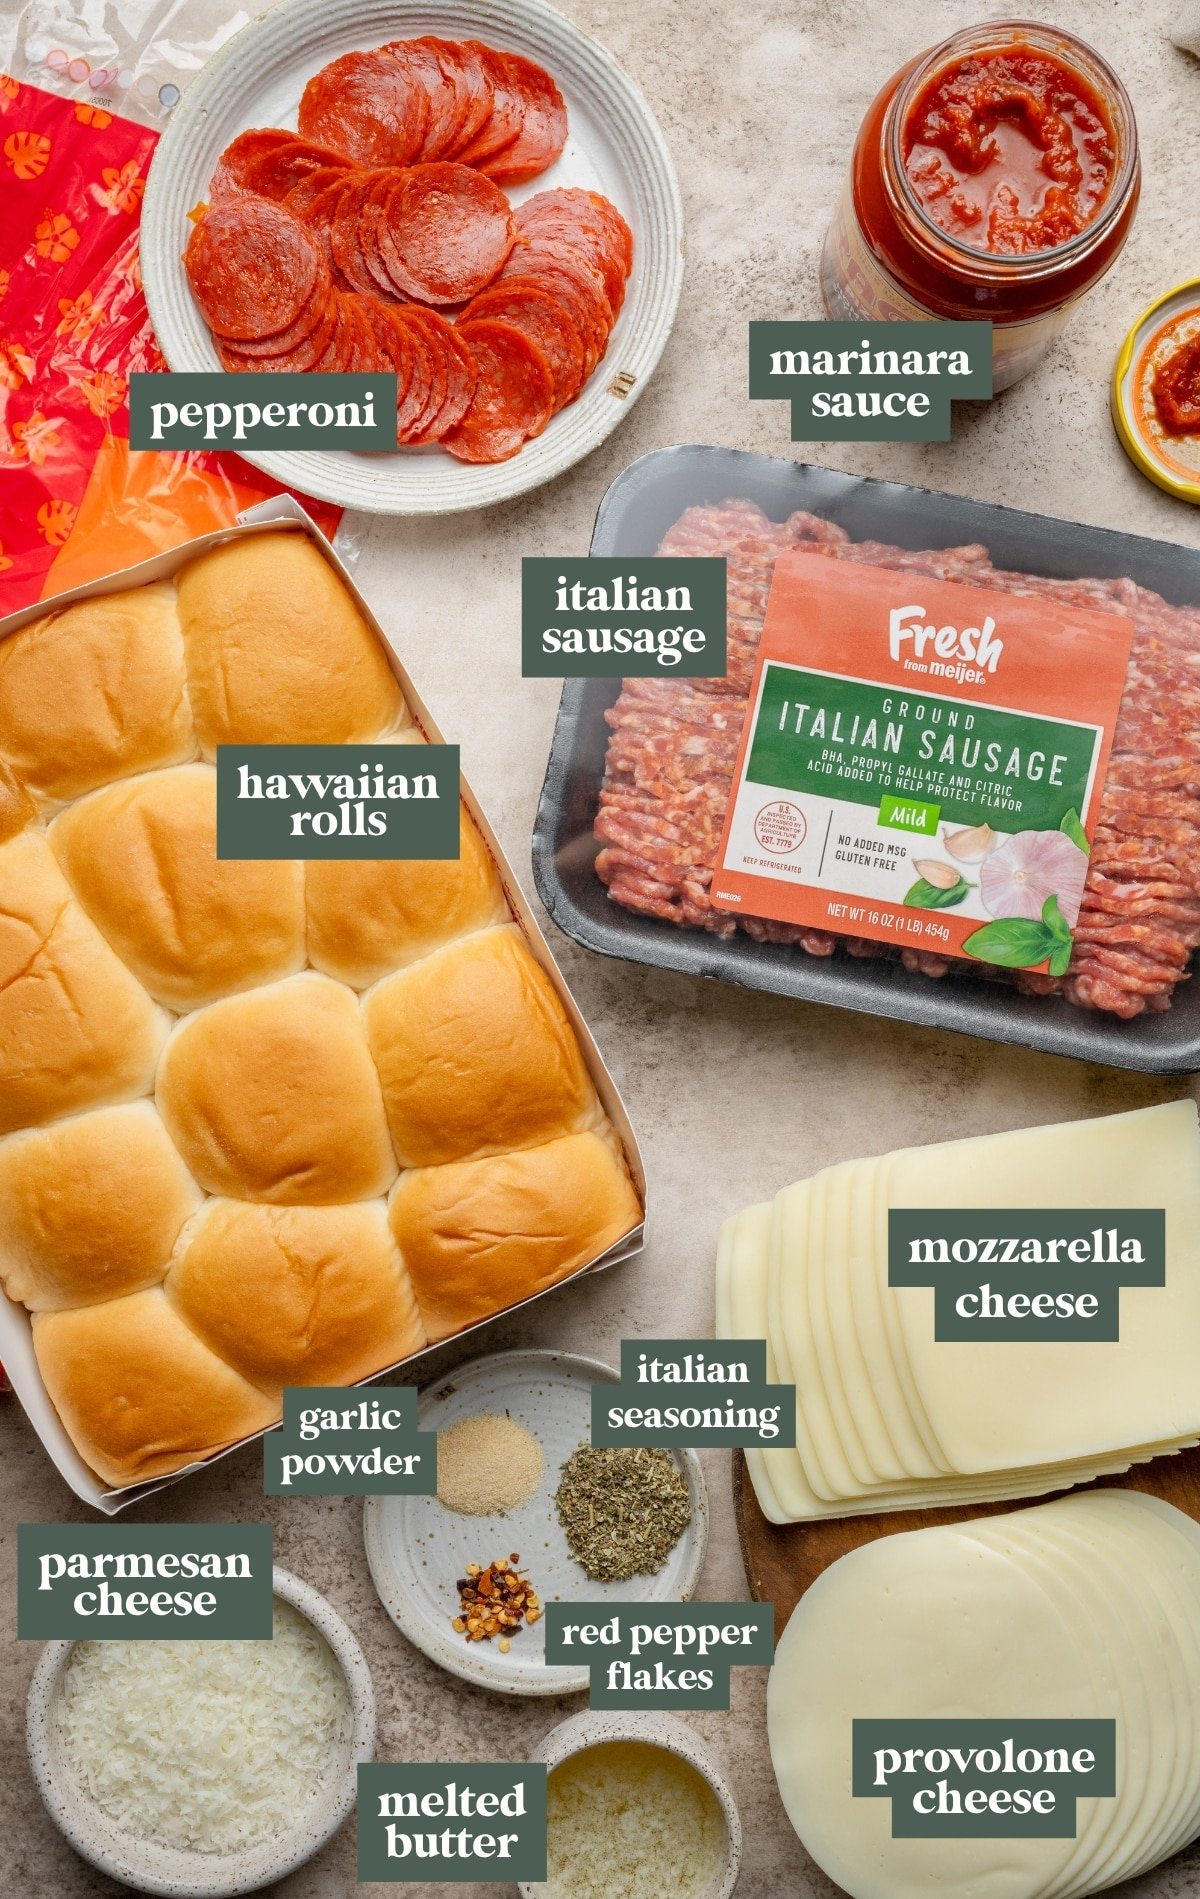
- Hawaiian Rolls: These sweet and fluffy rolls provide the perfect slider base. I usually use King’s Hawaiian, but any 12-count dinner roll works well.
- Cheese: I’ve found using the sliced cheese works well, but you can certainly shred your own cheese. I would place 1 cup on bottom, 1 cup on top layer. This helps “lock in” the sausage!
- Pizza sauce: feel free to use your favorite jarred marinara, jarred pizza sauce, or homemade is of course a great option too. I love the Rao’s pizza sauce, it comes in about a 12 oz. jar and it’s perfect for this recipe!
- Sausage: Choose a mild or hot ground Italian sausage. I like to make these sliders hearty and use the whole pound, but feel free to use less if you prefer.
- Pepperoni: use your favorite pepperoni. Mini or regular size!
- Butter & seasonings: melted butter, Italian seasoning, and garlic powder/garlic salt gets brushed/poured onto the rolls before you bake them.
- Garnishes: fresh parsley, marinara sauce, hot honey (I love Mike’s hot honey!)
Step by Step Directions
(For the full recipe, scroll down to the recipe card below)
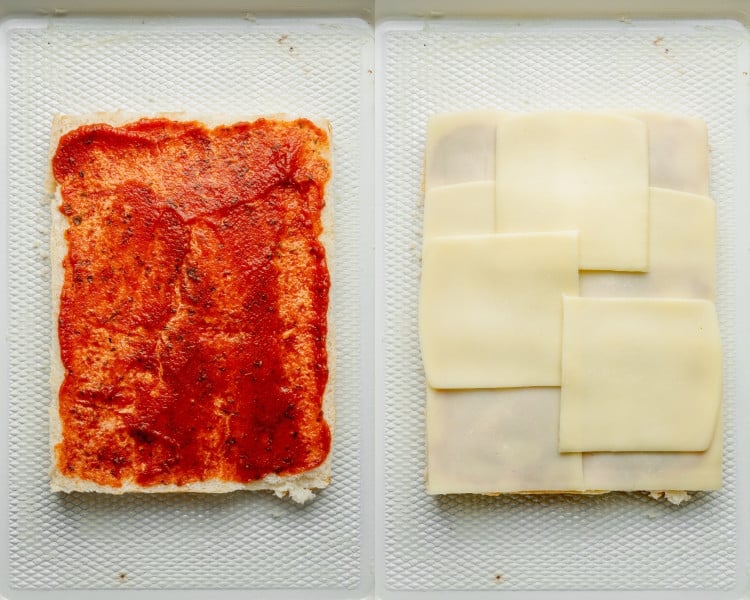
Sauce & cheese!
Add a layer of sauce on the rolls first. Followed by cheese. Use ~6-9 slices or 1 cup shredded.
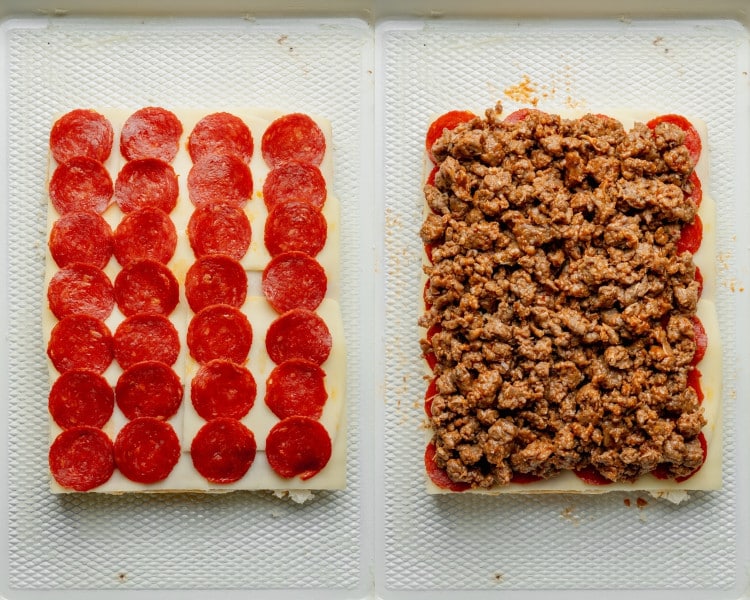
The meats
Add the pepperoni and sausage. Bacon is really yummy in these too for a meat lovers pizza vibe!
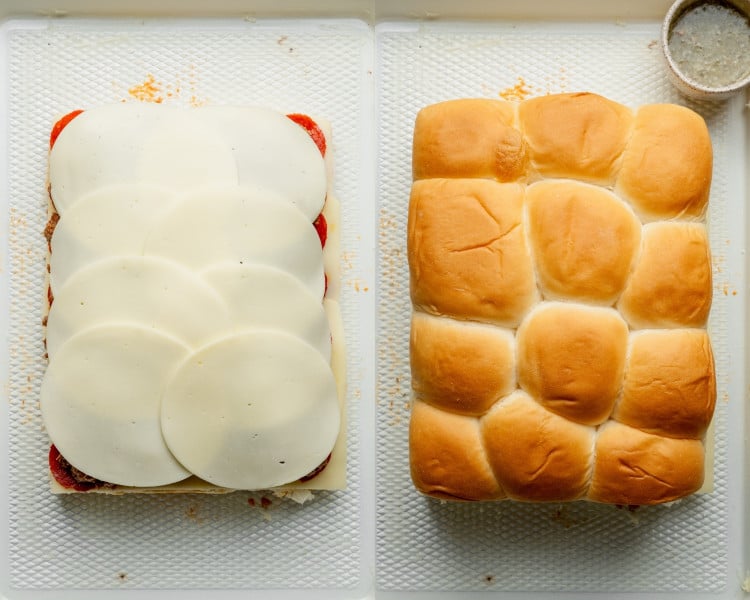
Another layer of cheese, then top rolls
Easy, right?
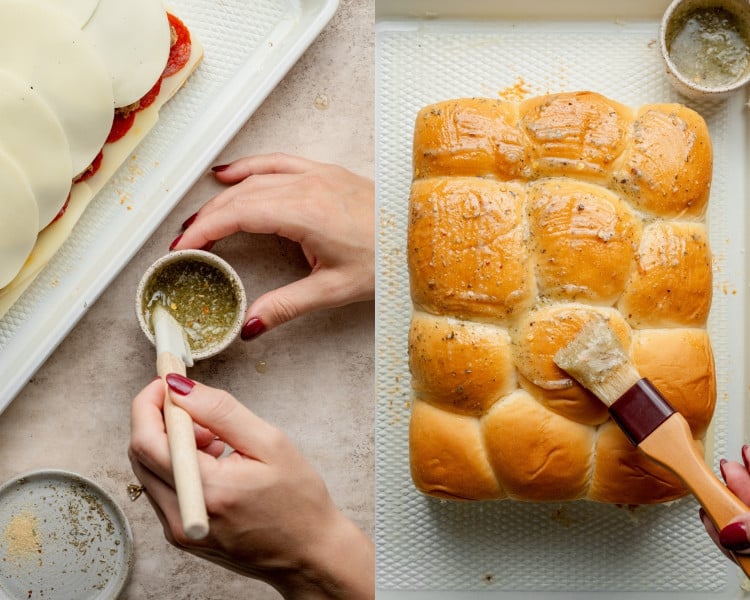
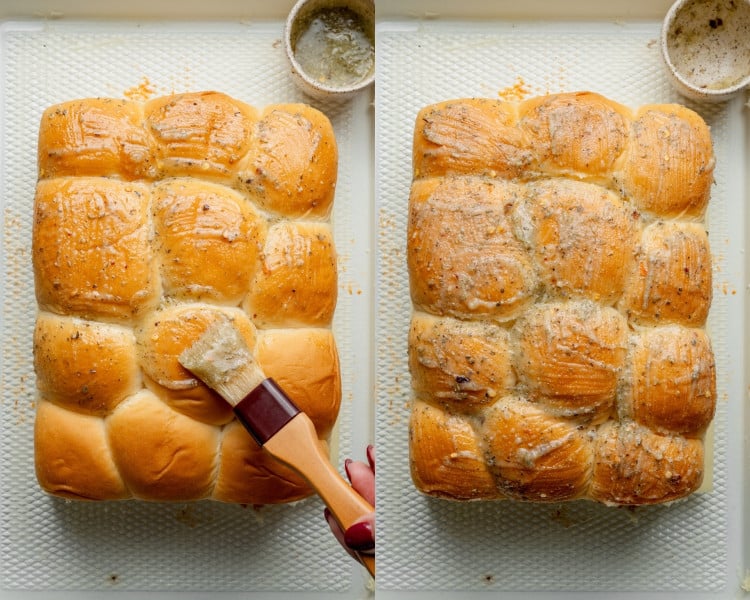
Melted butter goodness
Pour this melted butter mixture all over the tops, cover with foil, & bake!
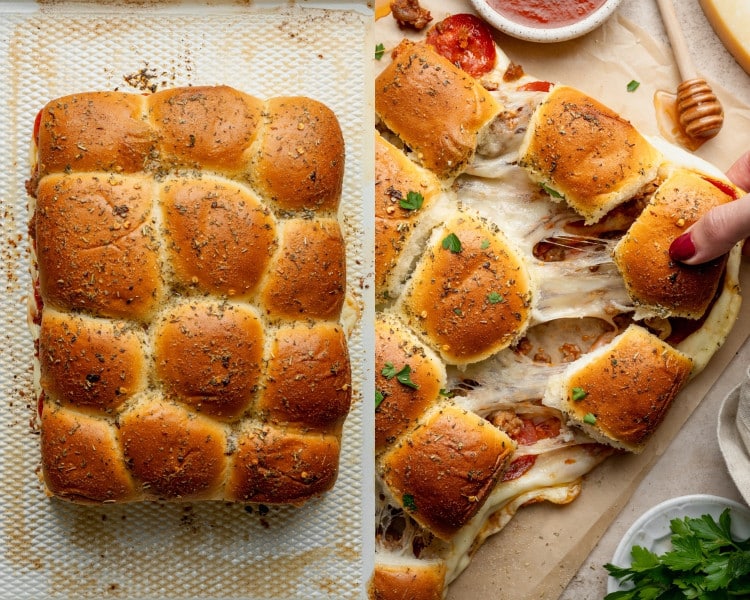
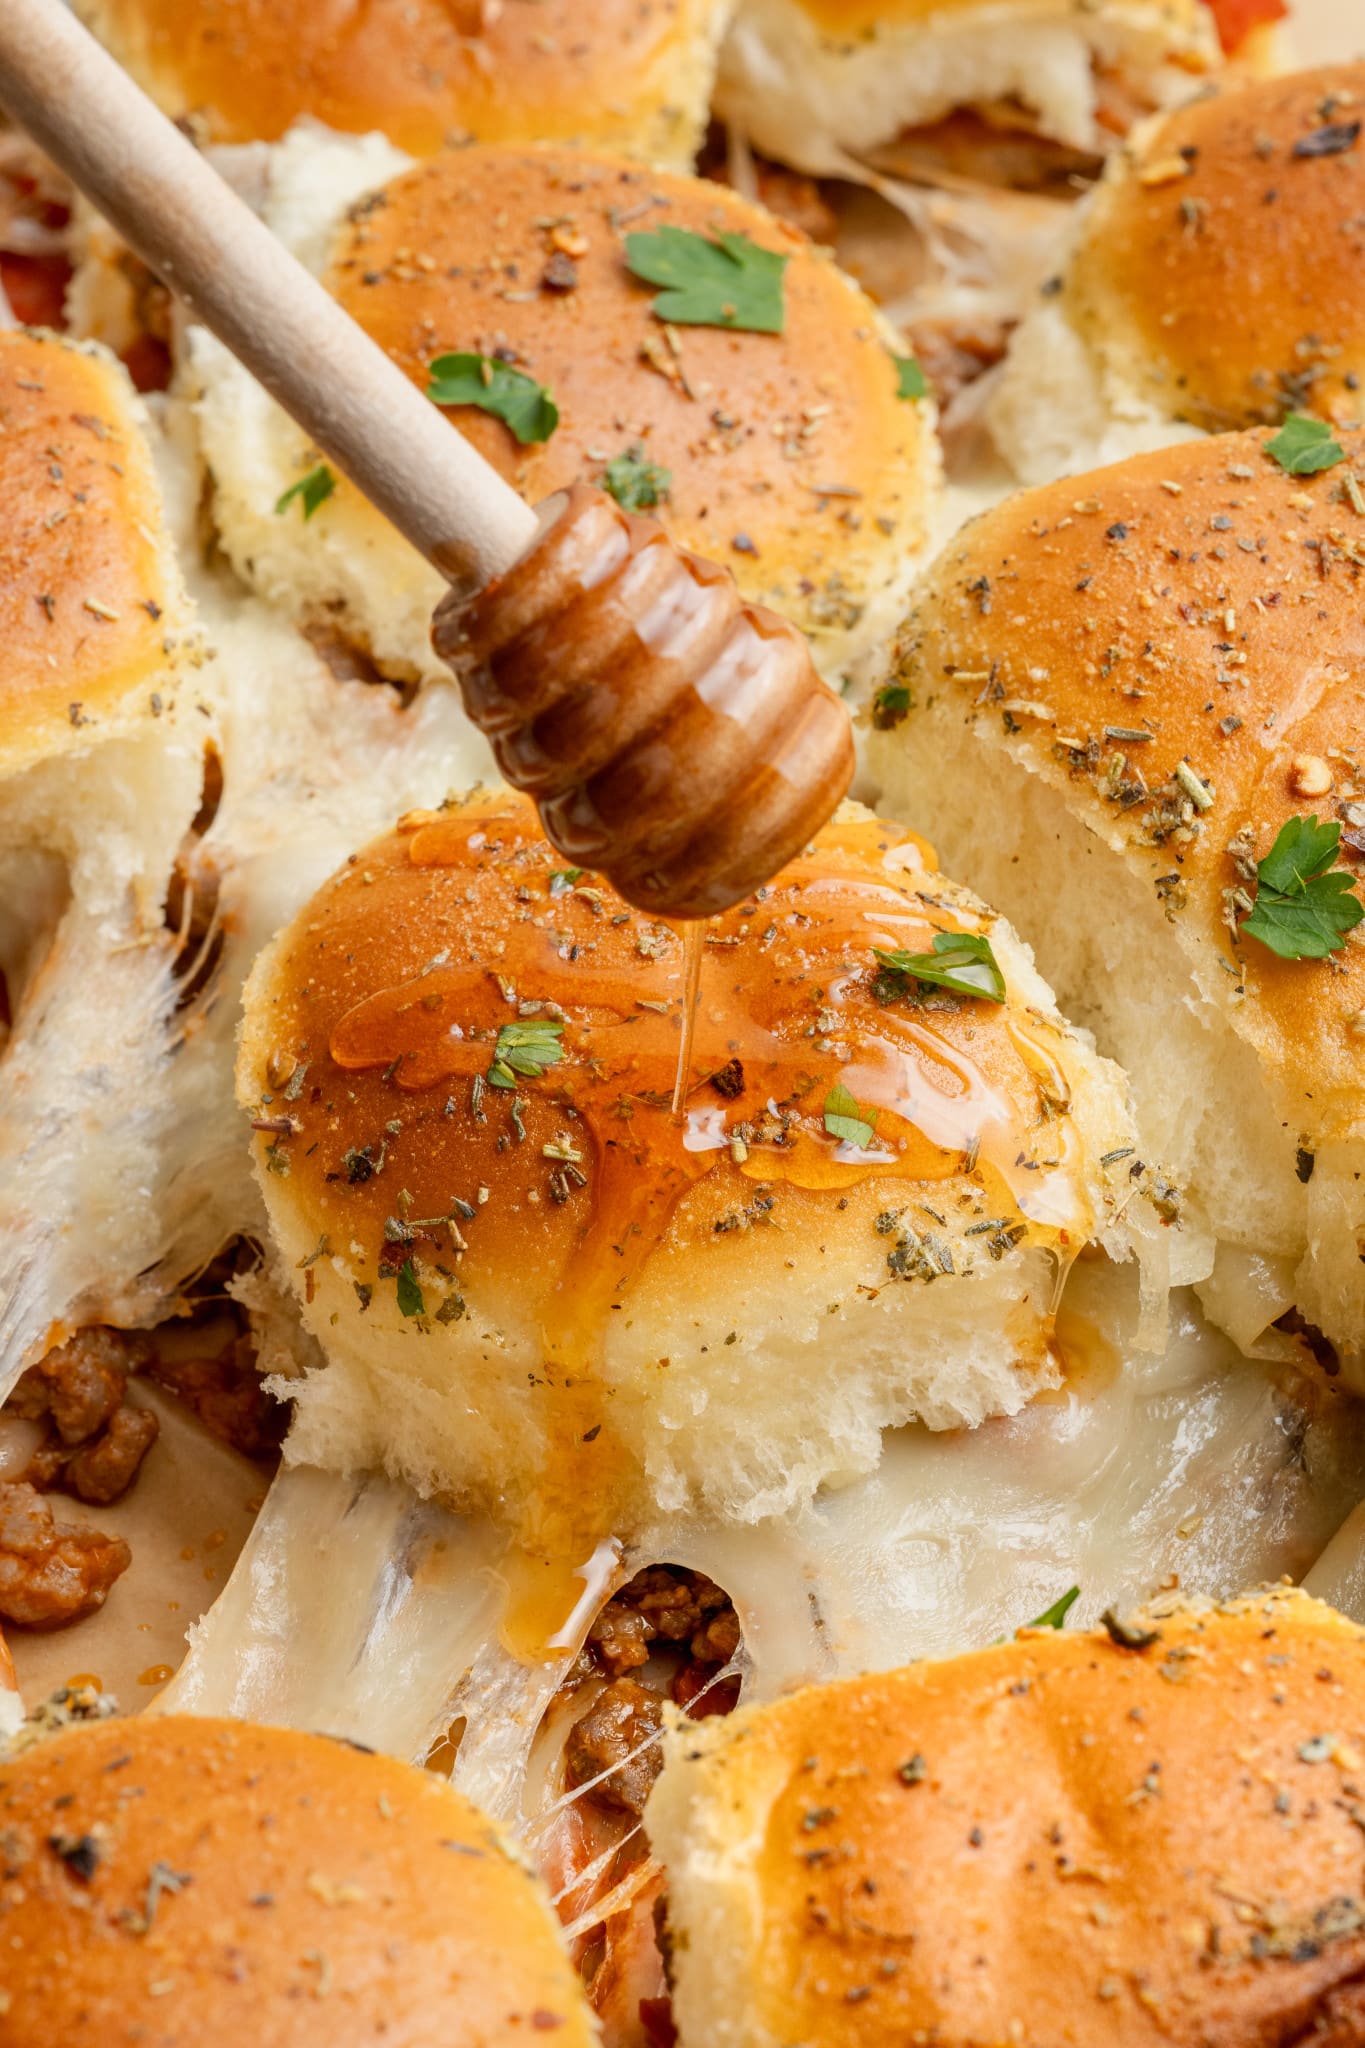
Dive in!
Garnish with fresh parsley, hot honey, or dunk in warmed marinara. Enjoy!
Expert Tips & Variations
- Veggies: If you want to add in veggies like bell peppers, onions, or mushrooms, sauté them beforehand to release their moisture.
- Make Ahead: You can assemble the sliders a few hours before baking. Simply cover and refrigerate them until you’re ready to bake. This is so helpful on those busy party days! Note: since the rolls are cold and going into the oven to bake, the bake time might be slightly longer.
- Cheese: If you aren’t using sliced cheese and plan to use shredded, be sure to shred your own cheese to enhance the melt and texture compared to pre-shredded options.
- Layer Ingredients Evenly: When assembling the sliders, distribute the ingredients evenly. Each bite should have a balanced mix of gooey cheese, sausage, and pepperoni.
- Serve Fresh: these Pizza Sliders are best enjoyed fresh and hot. Try to assemble and serve them as close to your guests’ arrival as possible to maintain their quality.

Storage
- Fridge: As mentioned, these sliders are best served fresh and hot on the day of. However, if you do have leftovers, they will keep in the fridge for 3-4 days. Keep in mind that the longer they sit, the soggier they become.
- Freezer: Once cooled, wrap each slider individually in plastic wrap and then place in a resealable freezer bag or airtight container. Frozen pizza sliders can last for up to 2 months. Be sure to label them with the date so you can keep track of their storage time. Reheat in the air fryer or toaster oven until warm.

Before You Begin! If you make this, please leave a review and rating letting us know how you liked this recipe! This helps our business thrive & continue providing free recipes.
Pepperoni and Sausage Pizza Sliders
Ingredients
- 1 lb. mild, ground Italian sausage
- 1 oz. Parmesan cheese
- 12 count package King's Hawaiian Rolls
- 12 oz. jar pizza sauce
- 6-9 slices mozzarella cheese* (or shredded from a block)
- 28 slices pepperoni (You can chop the pepperoni if desired)
- 6-9 slices provolone cheese (not smoked flavor. Can use shredded if preffered)
For the butter mixture
- 1/4 cup unsalted butter (melted)
- 1/2 tsp. Italian seasoning
- 1/4 tsp. garlic powder (or garlic salt if you like salty!)
- pinch chili flakes (optional)
Garnish
- fresh parsley, hot honey, marinara sauce
Last step! If you make this, please leave a review and rating letting us know how you liked this recipe! This helps our business thrive & continue providing free recipes.
Instructions
- Prepare the oven & pan: Preheat the oven to 350°F. Grease a 9×13-inch baking pan or a baking sheet with nonstick spray or spread with a little softened butter, the butter helps make the bottom of the rolls nice and crisp (and not soggy!) Set aside.
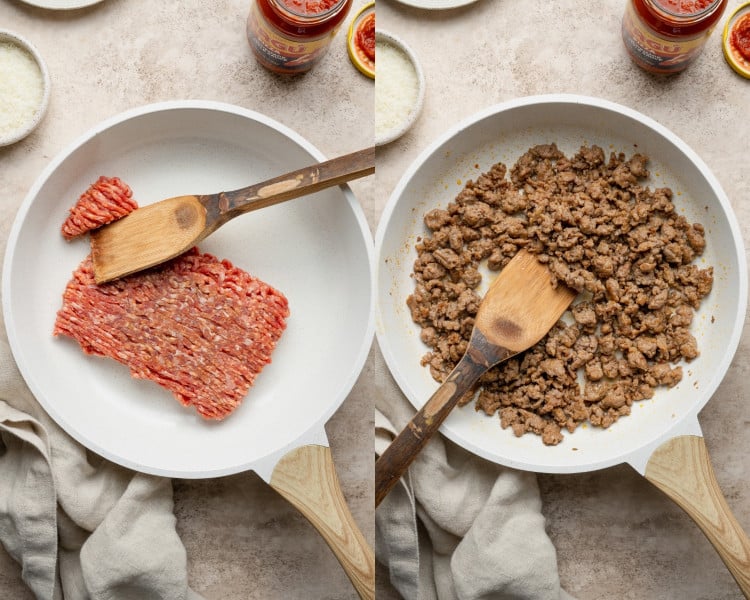
- Cook the sausage: Cook in a skillet over medium heat, breaking up the sausage as it cooks. This will take ~5-7 minutes. Once cooked, drain on paper towels to get rid of excess grease. You could probably break the meat up smaller than I've shown in my photos 😆1 lb. mild, ground Italian sausage

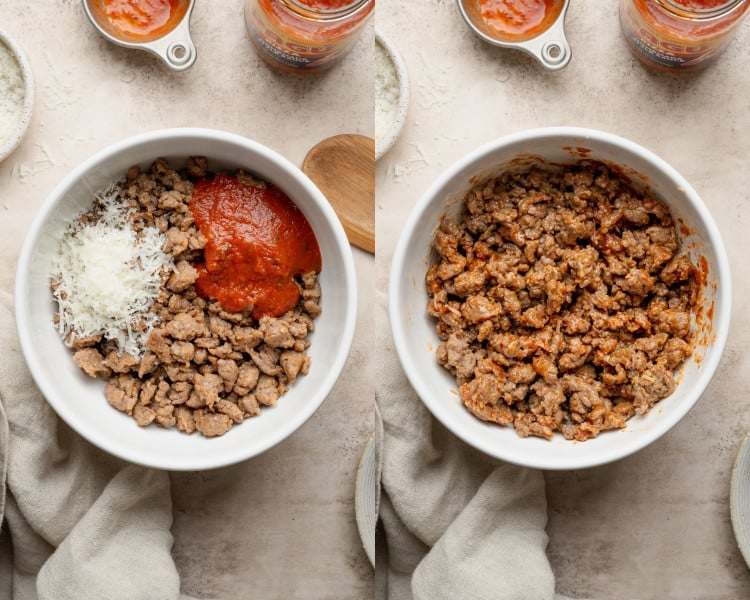
- Mix: Add the sausage to a bowl and stir in ¼ cup of the pizza sauce and about 1 oz. grated parmesan cheese. Making the sausage a little saucy makes it a little easier to layer/stick onto the sliders. Set aside.1 oz. Parmesan cheese
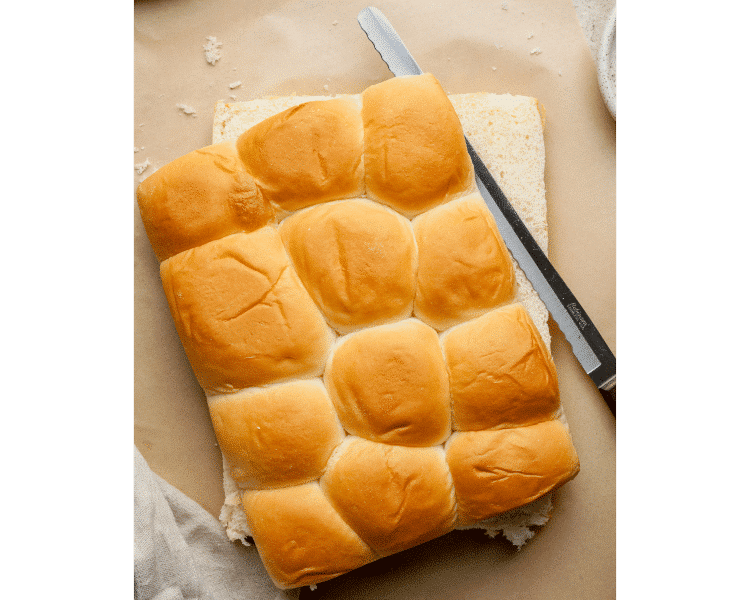
- Cut the rolls: Without separating the rolls, cut them in half horizontally with a serrated knife. Place the bottom half of the rolls in the prepared dish or baking sheet.12 count package King's Hawaiian Rolls
- Start layering: Layer the remaining ingredients in this order: a layer of pizza sauce (no more than 1/2 cup because too much sauce will make them soggy) and mozzarella cheese.12 oz. jar pizza sauce, 6-9 slices mozzarella cheese*
- Continue to layer: Pepperoni and then sausage.28 slices pepperoni
- Finish layering: Provolone cheese and the top rolls. Try to place everything in an even layer, and don't let the cheese hang off the sides of the rolls too much or the cheese might ooze out when melted.6-9 slices provolone cheese
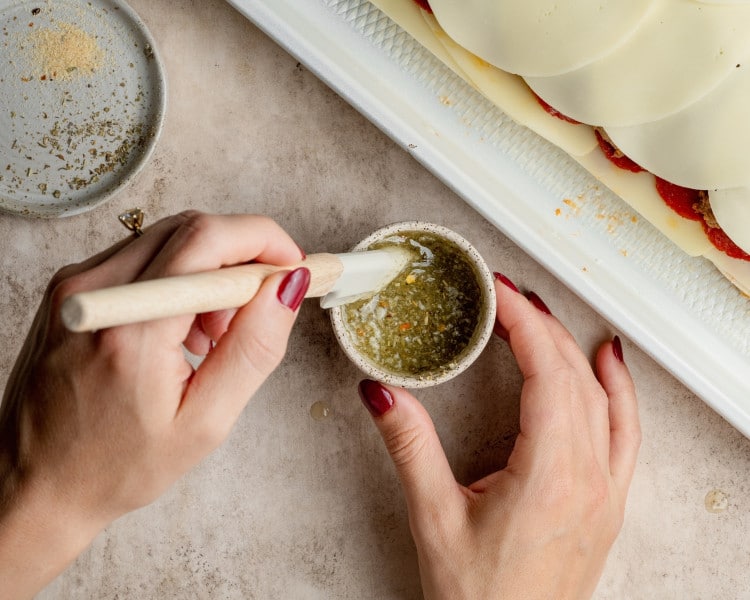
- Prep the butter: Combine the melted butter and seasonings.1/4 cup unsalted butter, 1/2 tsp. Italian seasoning , 1/4 tsp. garlic powder, pinch chili flakes
- Top the rolls: Brush/pour the butter mixture on top of the rolls.
- Bake: Cover with foil and bake at 350°F for 20 minutes Start Timer; uncover and bake a few minutes longer until the tops are golden and pizza sliders look melty. Garnish with fresh parsley. Serve straight away with warmed marinara and hot honey for drizzling. Dig in! Grab a napkin because they can get messy 😏fresh parsley, hot honey, marinara sauce
Notes
- Mozzarella: Feel free to use shredded mozzarella if you prefer!
- Storage: These sliders are best served fresh and hot on the day of. However, if you do have leftovers, they will keep in the fridge for 3-4 days. Keep in mind that the longer they sit, the soggier they become.
Nutrition Information
Nutritional information is provided as a courtesy and is automatically calculated. It should only be construed as an estimate rather than a guarantee. Ingredients can vary and Kroll’s Korner can’t make any guarantees to the accuracy of this information.
This recipe was originally posted in August 2024. It was updated with new photos in November 2025.
📸 Photography by Creating Kaitlin

This was a hit with my family, will definitely make it again!
I am so glad, thank you so much!!