How To Cook Bacon In The Oven
This post may contain affiliate links. Please read our disclosure policy.
If you’ve never cooked bacon in the oven before, you’re about to discover one of the easiest kitchen tricks ever. This has been my go-to method for years, and if you follow me on Instagram, you’ve probably heard me talk about it in posts and stories. It’s honestly the only way I cook bacon now, whenever I’m making breakfast or brunch.
The best part? There’s no preheating required, which makes the whole process even simpler. Just place the bacon in the oven, let it slowly heat up, and it cooks up perfectly crispy with almost zero effort. No splattering on the stovetop or no standing over a pan!
Once you try this method, it’s hard to go back. Whether you’re cooking a quick weekday breakfast or making a big batch for brunch, this oven bacon is easy, reliable, and way less messy.
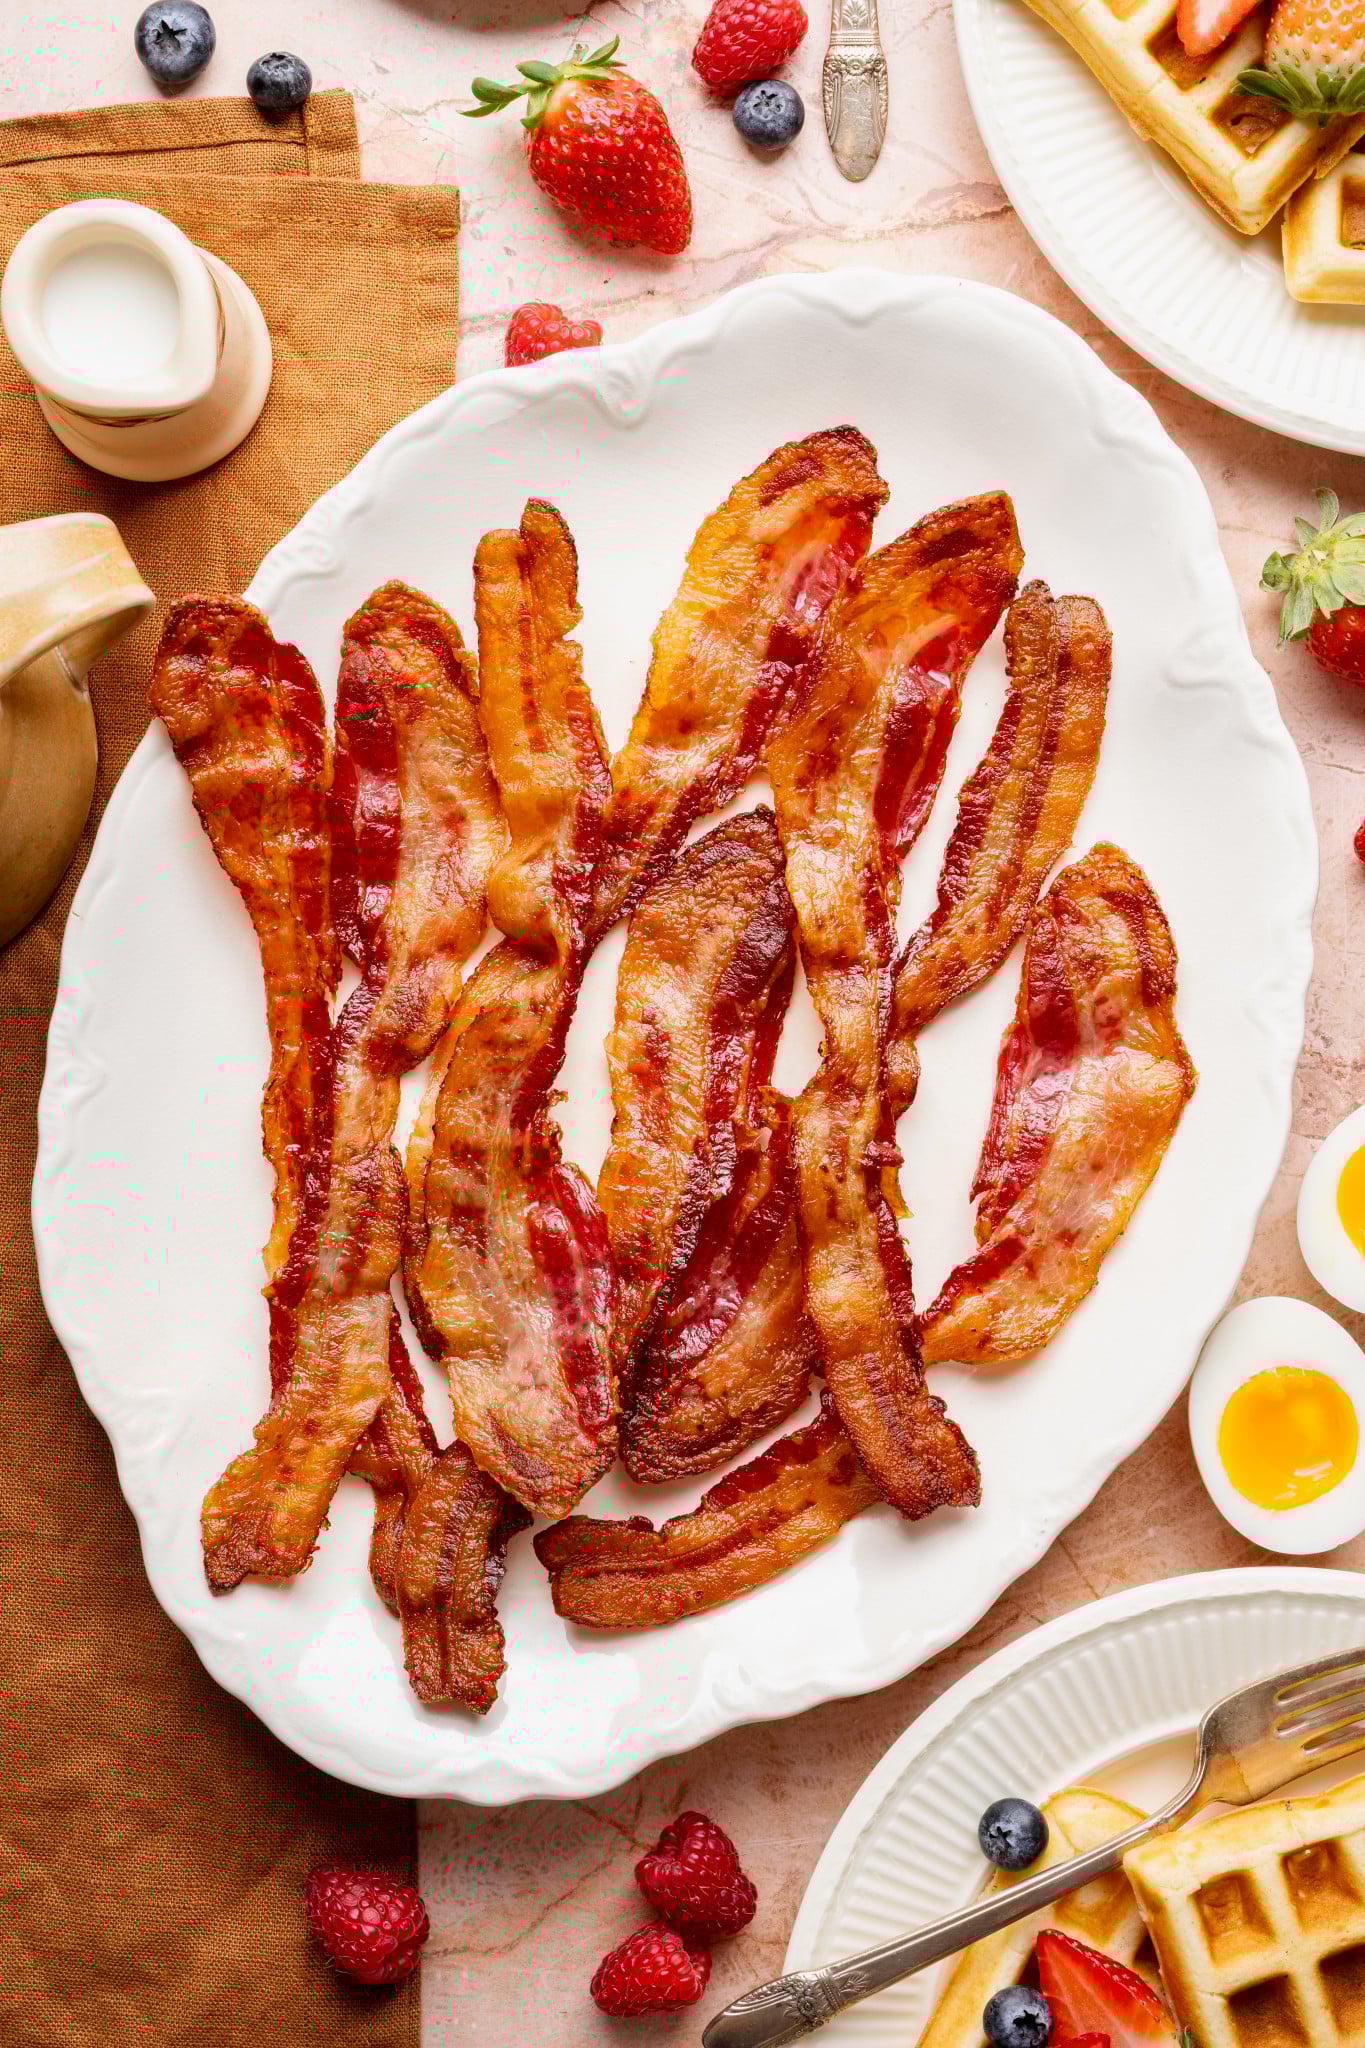
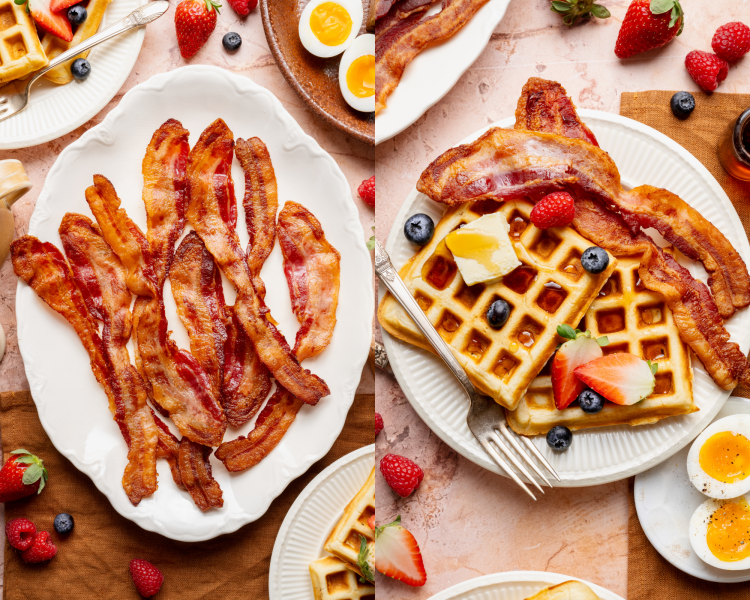
If you’re looking for ideas on what to serve with this bacon, try my Homemade Buttermilk Pancakes, Classic Buttermilk Waffles, Creamy Soft Scrambled Eggs, or Sheet Pan Cinnamon Rolls.

Why Start in a Cold Oven?
Starting bacon in a cold oven might sound unusual, but it’s actually one of the best ways to cook it. As the oven gradually heats, the bacon cooks more evenly and turns out perfectly crisp with very little effort.
Here are a few of the reasons this is my go-to method:
- Renders fat gradually: As the oven slowly comes up to temperature, the bacon fat melts at a steady pace instead of too quickly. This helps the bacon cook more evenly and develop a great texture.
- Reduces curling: The gradual heat helps the bacon stay flatter as it cooks, so you’re less likely to end up with tightly curled pieces.
- Promotes even crisping: Because the bacon heats up slowly, the entire strip cooks at a similar rate, giving you crisp edges and perfectly cooked centers.
- No grease splatter: Cooking bacon in the oven keeps the grease contained on the sheet pan instead of popping and splattering all over your stovetop. I like to line my sheet pan with parchment paper or aluminum foil to make clean up super easy!
- Totally hands-off: Just place the bacon on a pan, put it in the oven, and let it cook. No flipping, hovering, or babysitting required. 🥓
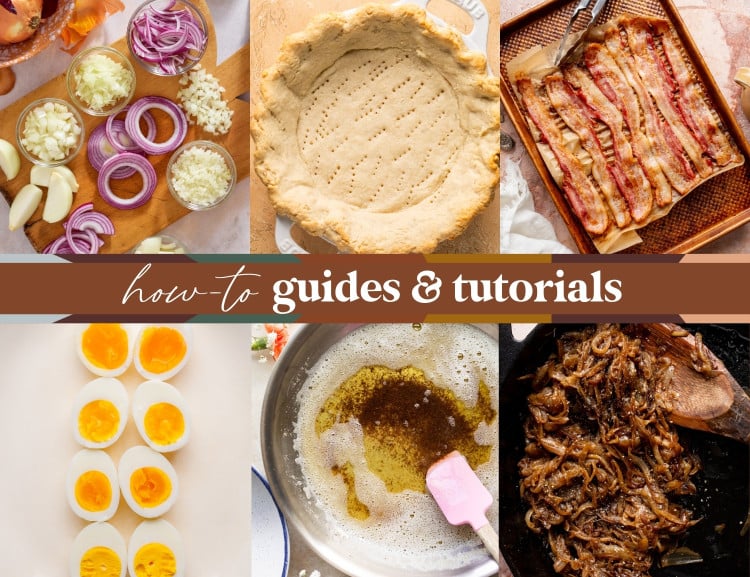
How-To Guides & Tutorials
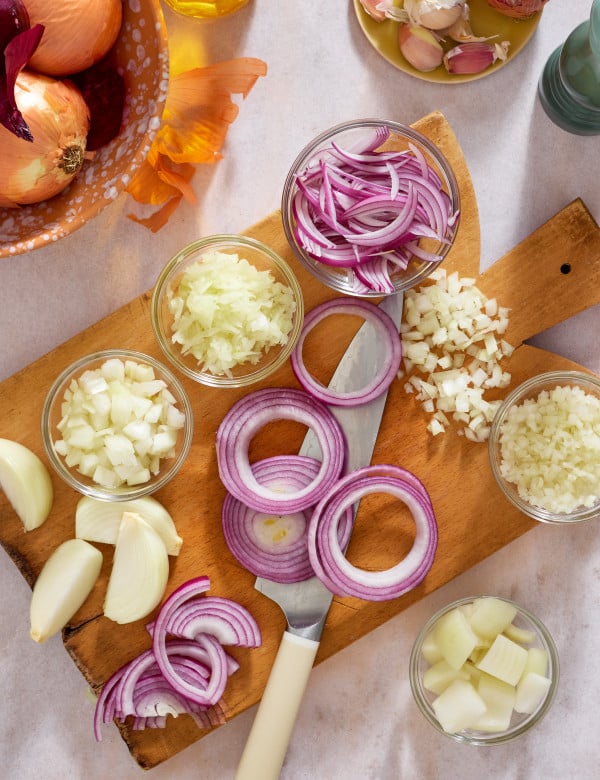
Master essential kitchen skills with these helpful how-to guides featuring step-by-step posts for everyday cooking basics like boiling eggs, cutting onions, caramelizing onions, and more. Perfect for beginner cooks or anyone looking to build confidence in the kitchen.

 Table Talk with Tawnie

For the last several years I’ve preached this “method” or “theroy” for baking bacon and I’m happy to finally have this post written on my little Korner of the internet! The cold start oven method is not only great for rendering the bacon slowly, but also it’s just so nice to pop the bacon in the oven and not have to wait for it to preheat. Just one less thing to do, you know?! No splatter, easy clean up, and crispy perfect bacon every time. You’ll never want to make your bacon on the stove top again! 🙂
- Bacon: I typically use thick-cut bacon, but this method works with both thick-cut and regular bacon. Just be sure to keep an eye on it, as different cuts will cook differently.
Step by Step Directions
(For the full recipe, scroll down to the recipe card below)
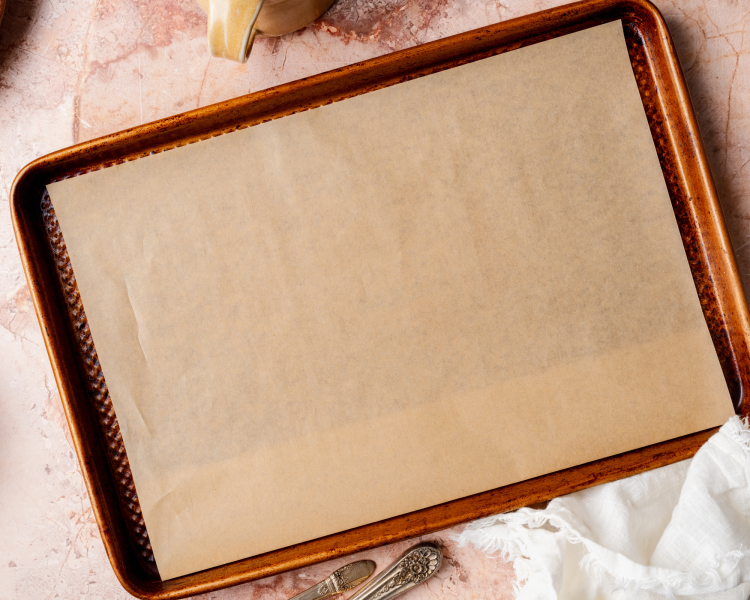
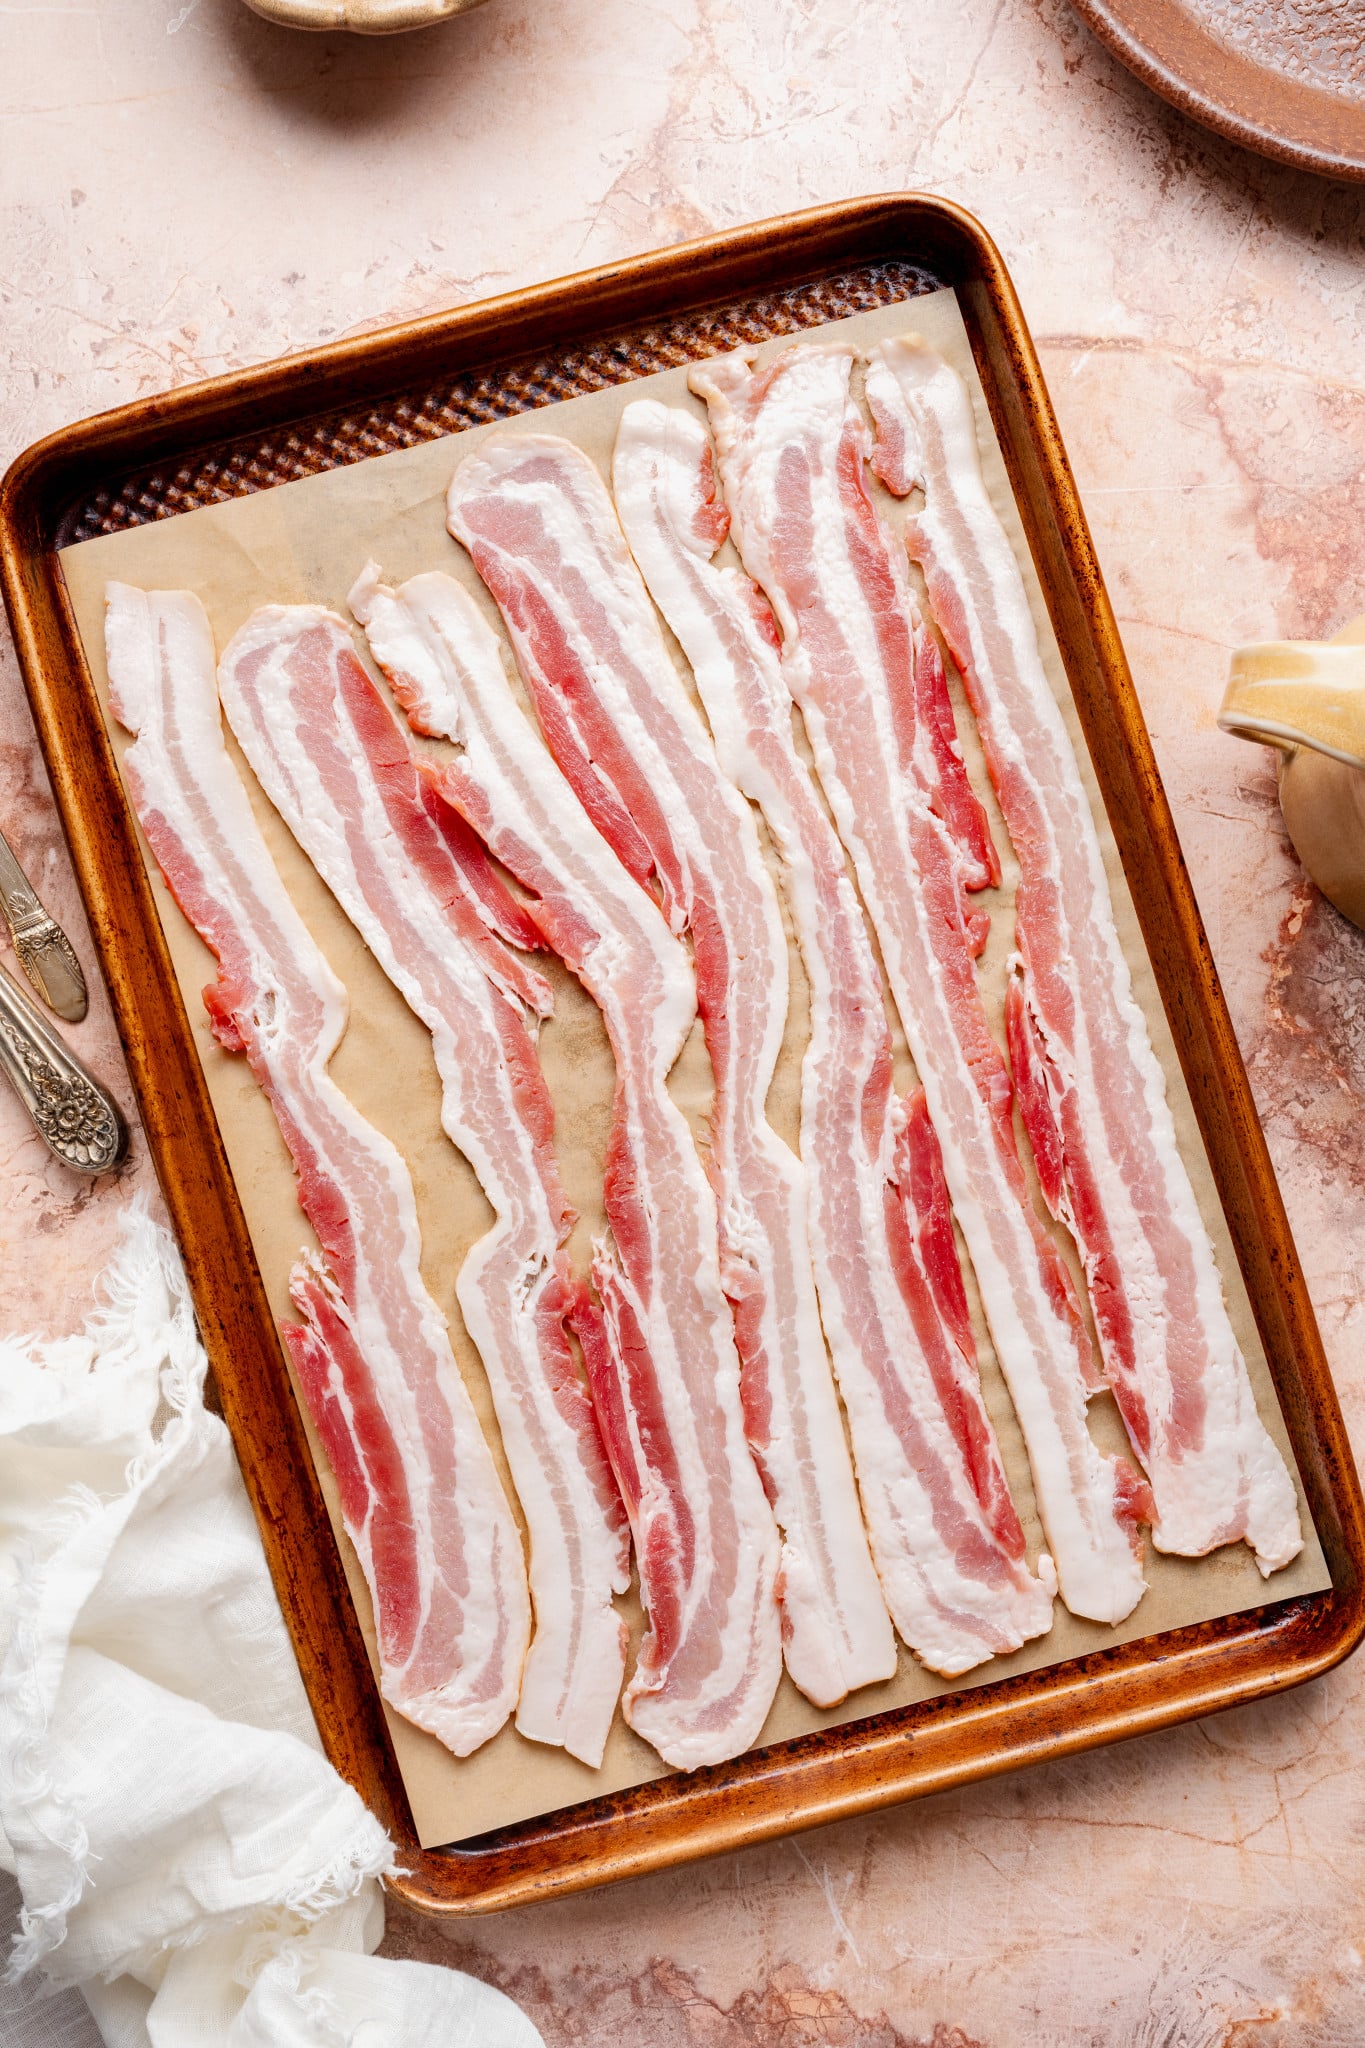
Line a sheet pan
Line a rimmed baking sheet with parchment paper or foil.
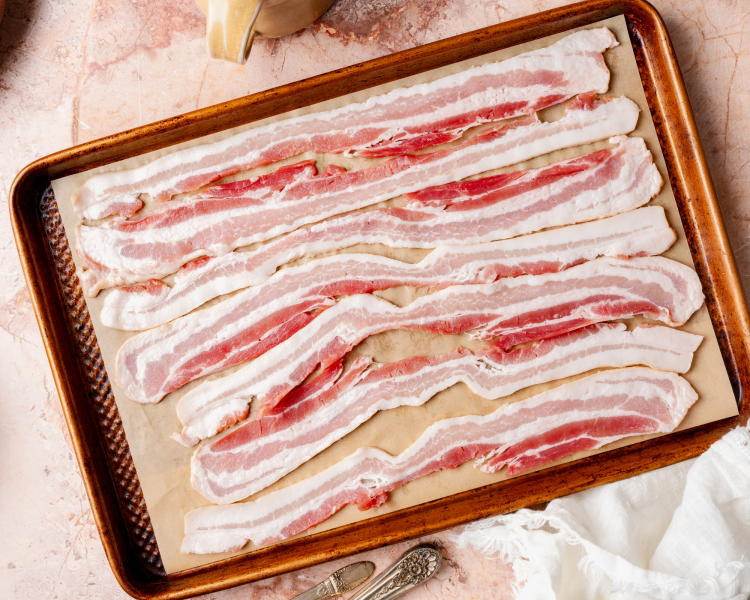
Add bacon slices
Arrange the bacon slices in a single layer.
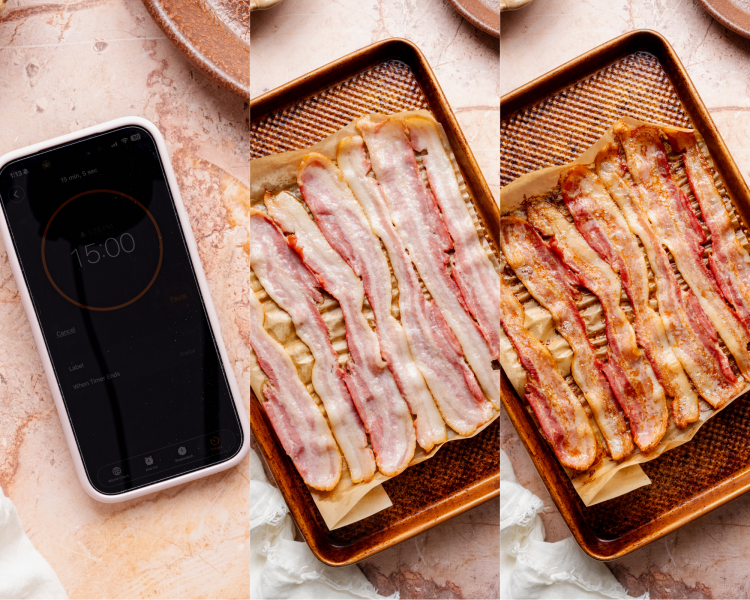
Cook bacon
Put the bacon in a cold oven, that’s right, no preheating! Then turn the oven to 425°F and set a timer for 15 minutes. After 15 minutes, check on the bacon (it will most likely need more time to get crispy, and your oven may not even reach 425°F yet!). Add another 5-10 minutes and check until your desired level of crispiness is reached.
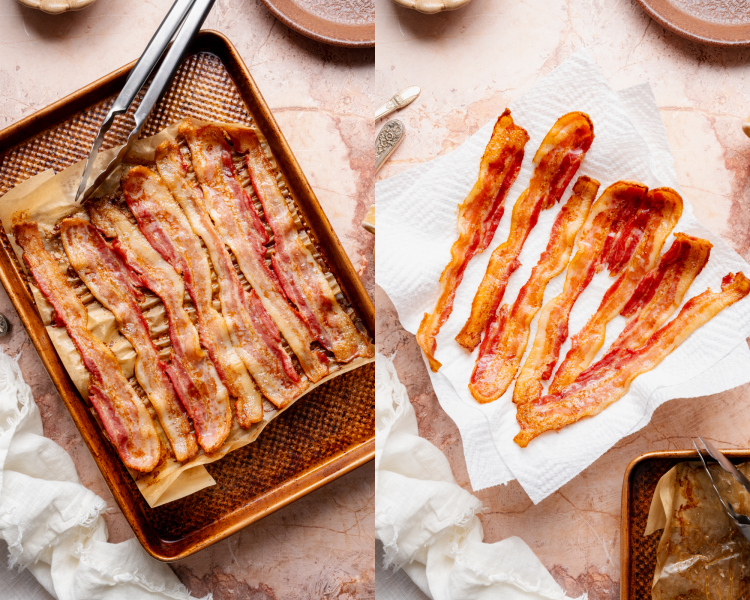
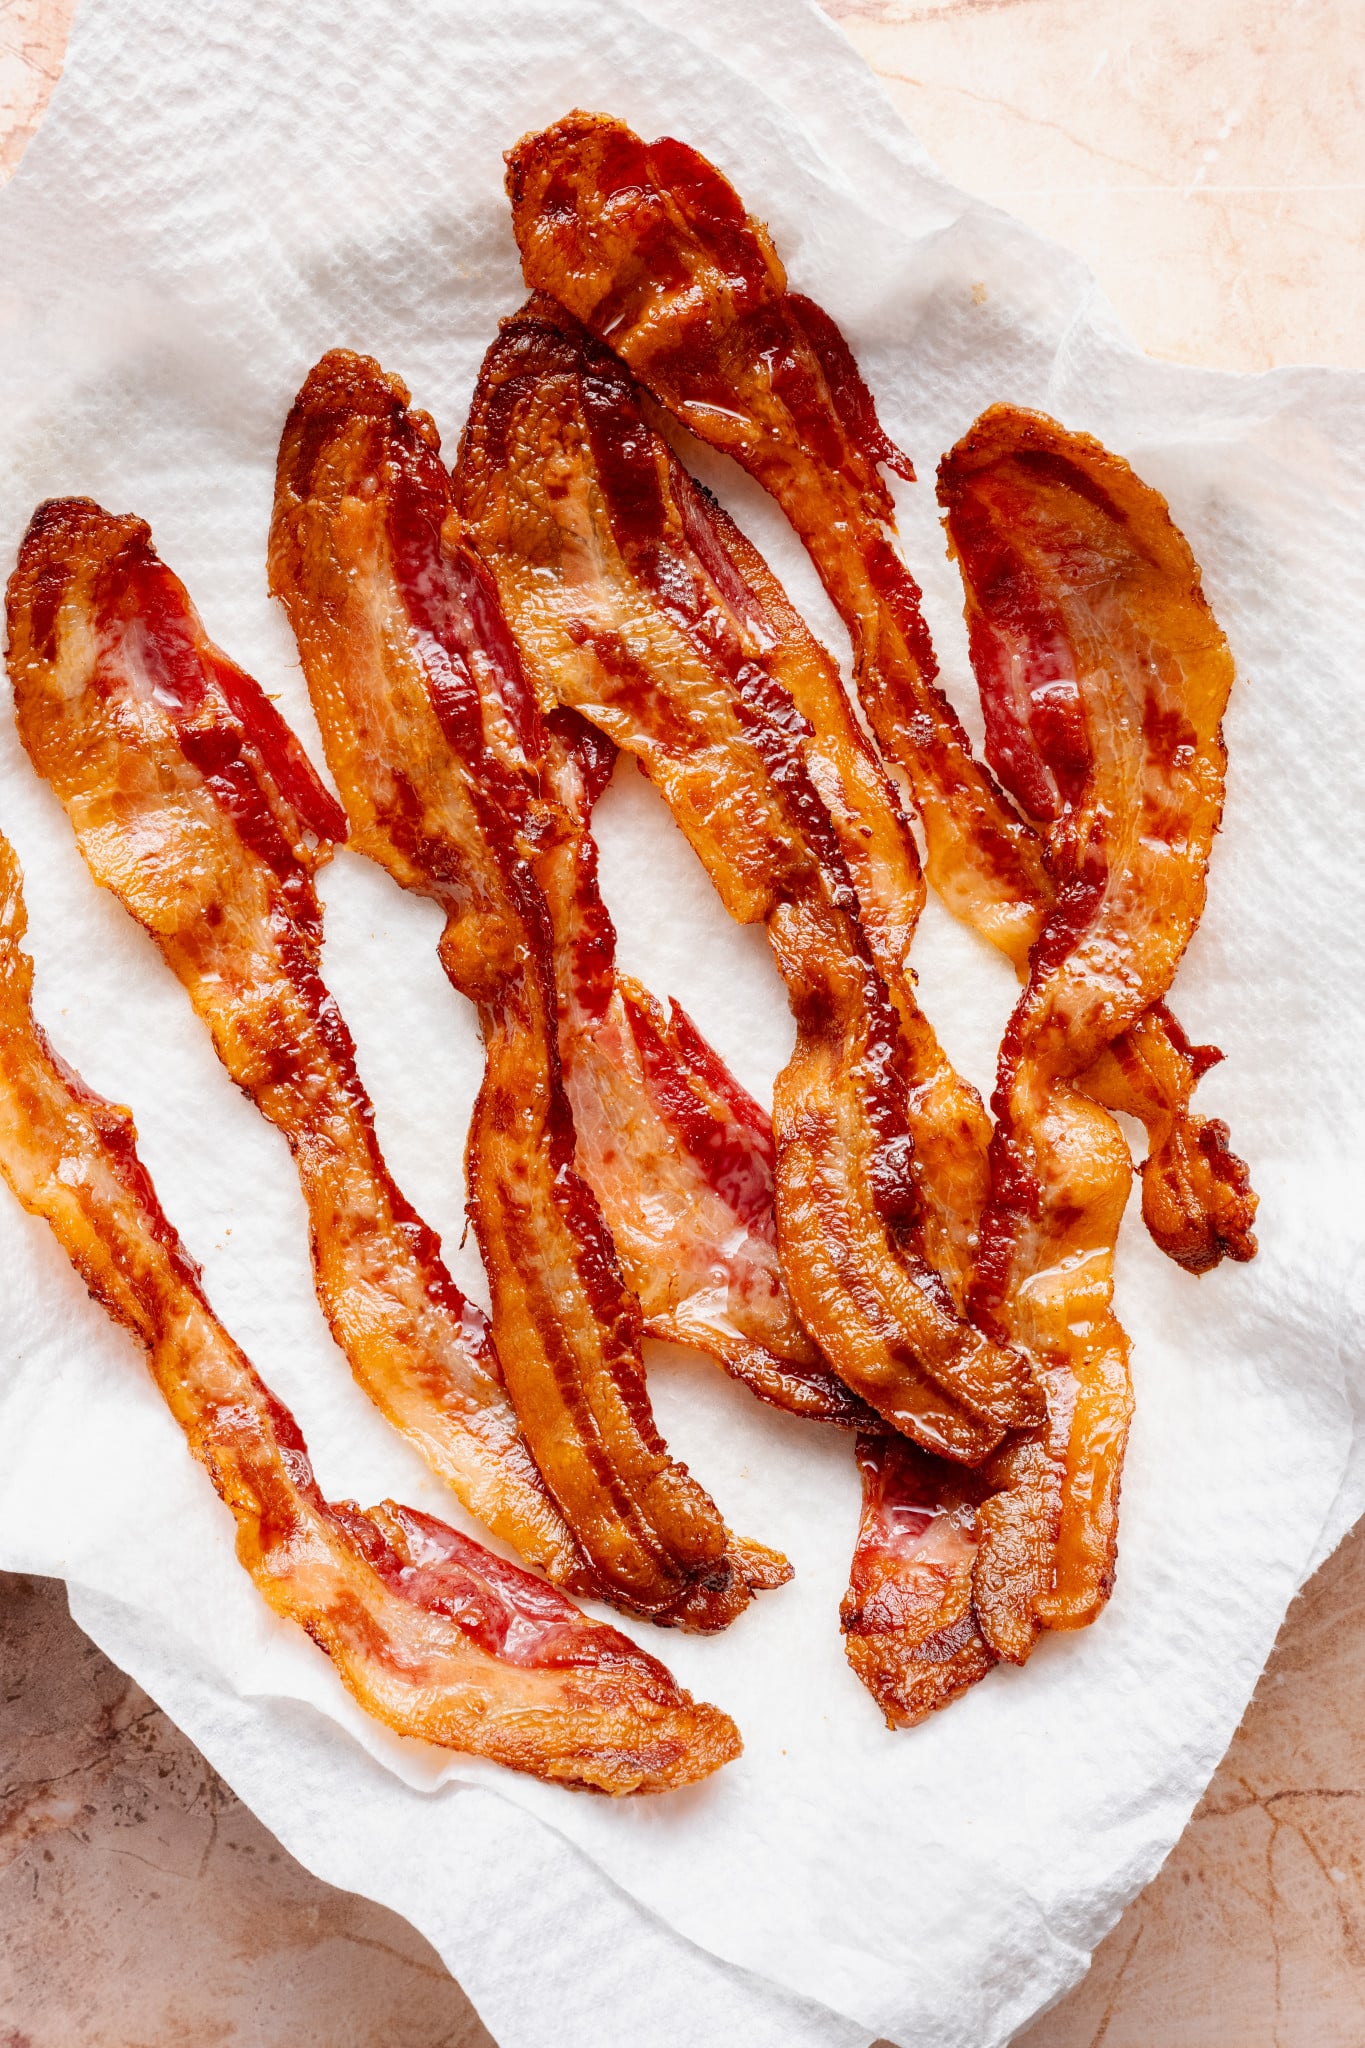
Remove bacon from sheet pan
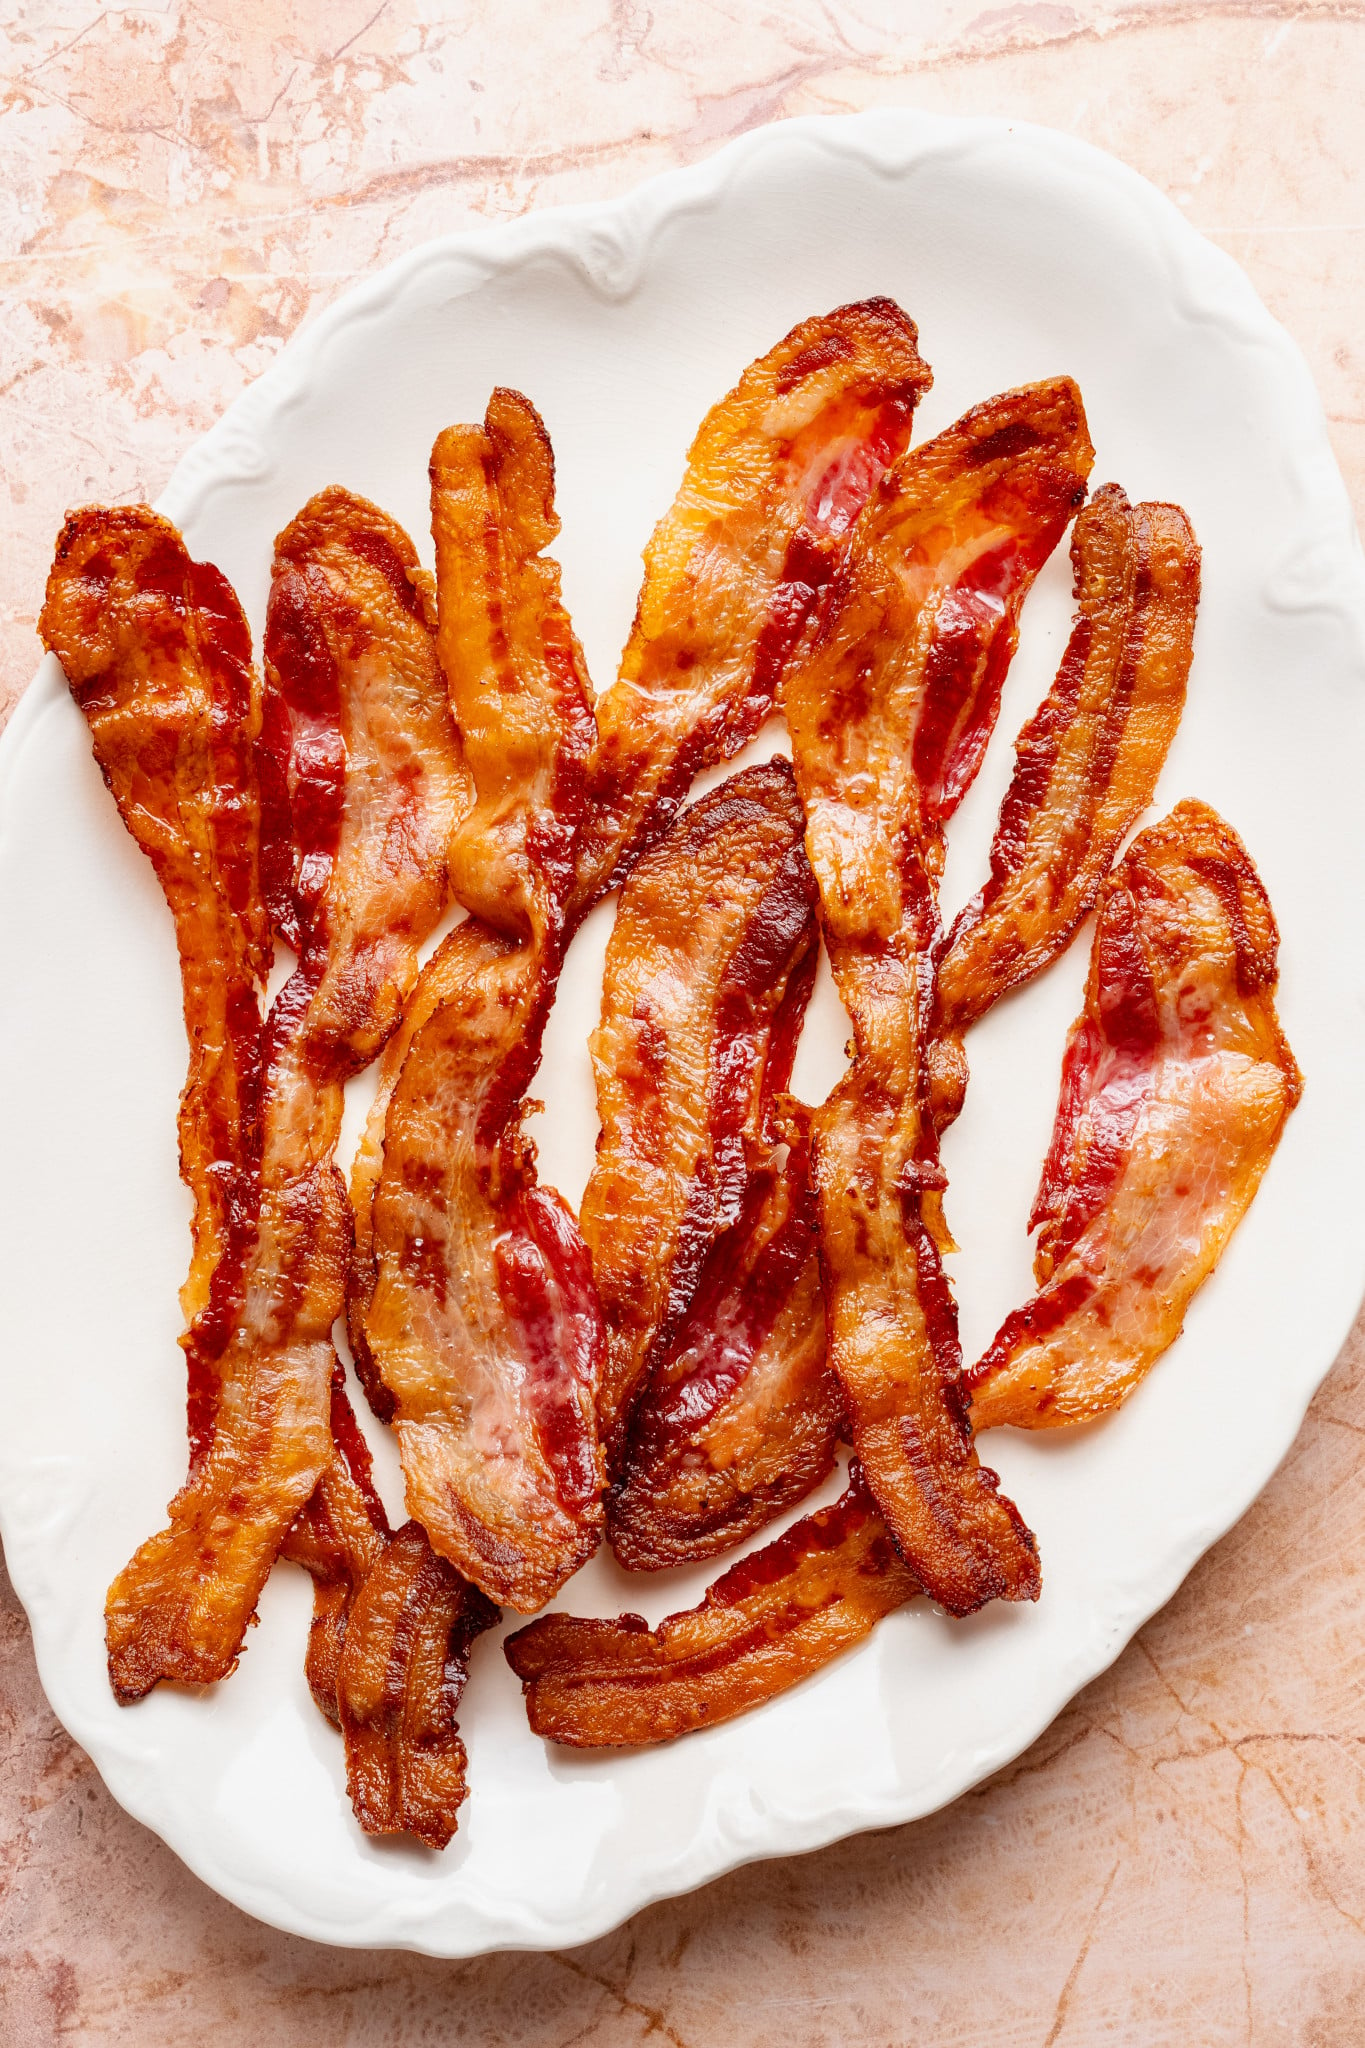
Once the bacon has reached your desired level of crispiness, use tongs to move the bacon slices to a paper towel-lined plate. They’ll usually crisp up a little more as it cools!
Expert Tips
- Don’t overlap the bacon: When placing the bacon on the baking sheet, make sure the slices don’t overlap. They can touch, but I usually don’t overlap them. If needed, you can use two smaller sheet pans.
- Keep an eye on the bacon: All ovens cook differently, so be sure to keep an eye on it. The cook time for the bacon will also depend on the cut of bacon you’re using, so if you’re using regular cut bacon, be sure to keep an eye on it a little sooner than if you’re using thick-cut bacon.
- Soak up excess grease: Moving the cooked bacon slices to a paper-towel-lined plate helps to soak up the extra grease and also helps the bacon to crisp up a little more as it cooks.
Serving Suggestions
- 🥞🧇Pancakes or waffles: Try this bacon with my Homemade Buttermilk Pancakes or Classic Buttermilk Waffles!
- 🍳Eggs: Love a savory breakfast? Enjoy this bacon with my Sheet Pan Eggs (perfect for meal prep) or my favorite Soft and Creamy Scrambled Eggs.
- 🤎Cinnamon rolls or scones: There’s nothing better than a little salty bacon with a sweet breakfast treat! Serve this bacon with my Overnight Cinnamon Rolls (or Sheet Pan Cinnamon Rolls or Small Batch Cinnamon Rolls) or my favorite Maple Pecan Scones or Chocolate Chip Scones!
- 🥪Meal prep breakfast sandwiches: Add this crispy bacon to my favorite Meal Prep Breakfast Sandwiches!
- 🍔Burgers or sandwiches: When you think bacon, you mostly think breakfast. But I also love adding a couple of crispy pieces of bacon to my favorite Homemade Burgers (or these really yummy Cheeseburger Tacos).

Storage / Freezing
- Store: Let the cooked bacon cool completely, then store it in an airtight container or zip-top bag in the refrigerator for up to 4–5 days. Place a paper towel in the container to help absorb excess grease and keep the bacon from getting soggy.
- Freezer: Lay the slices in a single layer on a baking sheet to freeze, then transfer them to a freezer-safe bag or container. Freeze for up to 2–3 months.
- Reheating: Reheat bacon in the microwave for 15–30 seconds, in a skillet over medium heat, or in a 350°F oven for a few minutes until warmed through and crisp again. Frozen bacon can be reheated straight from the freezer.
FAQs
What type of bacon works best for this recipe?
You can use regular or thick-cut bacon for this recipe! My personal preference is thick-cut, but either works. Just be sure to keep an eye on it as each cut will cook differently.
Do I need to flip the bacon?
No, with this method, there is no need to flip the bacon or rotate the pan. Just stick the pan in and leave it until the bacon is done! Easy-peasy!
Why start in a cold oven?
There are several reasons that starting the bacon in a cold oven actually works best! Gradually increasing the heat allows the fat to render gradually, reducing curing and promoting even crisping. It also eliminates grease splatter and just gives you an overall easier, totally hands-off way to cook bacon!
shop this post
 Buy Now →
  Buy Now →
Before You Begin! If you make this, please leave a review and rating letting us know how you liked this recipe! This helps our business thrive & continue providing free recipes.

How To Cook Bacon In The Oven
Ingredients
- 8-12 slices bacon
Last step! If you make this, please leave a review and rating letting us know how you liked this recipe! This helps our business thrive & continue providing free recipes.
Instructions
- Line a baking sheet: Line a rimmed baking sheet with parchment paper or foil.

- Arrange bacon: Arrange the bacon slices in a single layer. They can touch but I usually don’t overlap them.8-12 slices bacon
- Place in a cold oven: Put the bacon in a cold oven, that’s right, no preheating!
- Turn oven on: Now you can turn the oven to 425°F.
- Bake: Set a timer for 15 minutes. Start Timer Check on it after 15 minutes, it will most likely need more time to get crispy (and your oven may not even reach 425°F yet!) Add another 5-10 minutes and check until your desired level of crispiness is reached. Start Timer It all depends on bacon thickness and your oven. No need to flip the bacon or rotate the pan
- Voila: Use tongs to move the bacon slices to a paper towel lined plate. They’ll usually crisp up a little more as it cools!
- Enjoy: Yum, enjoy that crisp perfect bacon and easy to clean sheet pan!
Notes
- Store: Let the cooked bacon cool completely, then store it in an airtight container or zip-top bag in the refrigerator for up to 4–5 days. Place a paper towel in the container to help absorb excess grease and keep the bacon from getting soggy.
- Freezer: Lay the slices in a single layer on a baking sheet to freeze, then transfer them to a freezer-safe bag or container. Freeze for up to 2–3 months.
- Reheating: Reheat bacon in the microwave for 15–30 seconds, in a skillet over medium heat, or in a 350°F oven for a few minutes until warmed through and crisp again. Frozen bacon can be reheated straight from the freezer.
Nutrition Information
Nutritional information is provided as a courtesy and is automatically calculated. It should only be construed as an estimate rather than a guarantee. Ingredients can vary and Kroll’s Korner can’t make any guarantees to the accuracy of this information.
📸 Photography by Creating Kaitlin

This worked great! I love that I don’t need to have my oven on very long because of the no preheat. The bacon cooked evenly and did not curl up. I cooked mine for 18 minutes for a medium crispy bacon
Amazing! Thank you! 🙂 so glad it worked well.
Easy and no splattering on your stove or on you! Like how the bacon isn’t all curled up. I make a little more so have bacon bits for other dishes.
So glad it worked well! 🙂 thank you!
I have always wanted to try this, but a friend said when she made bacon in the oven, it splattered all over and made a mess in her oven. That is why I never have, easier for me clean the top of the stove then the oven. Do you find this happening?
Nope, not for me! Just make sure you line the pan with foil or parchment paper:)