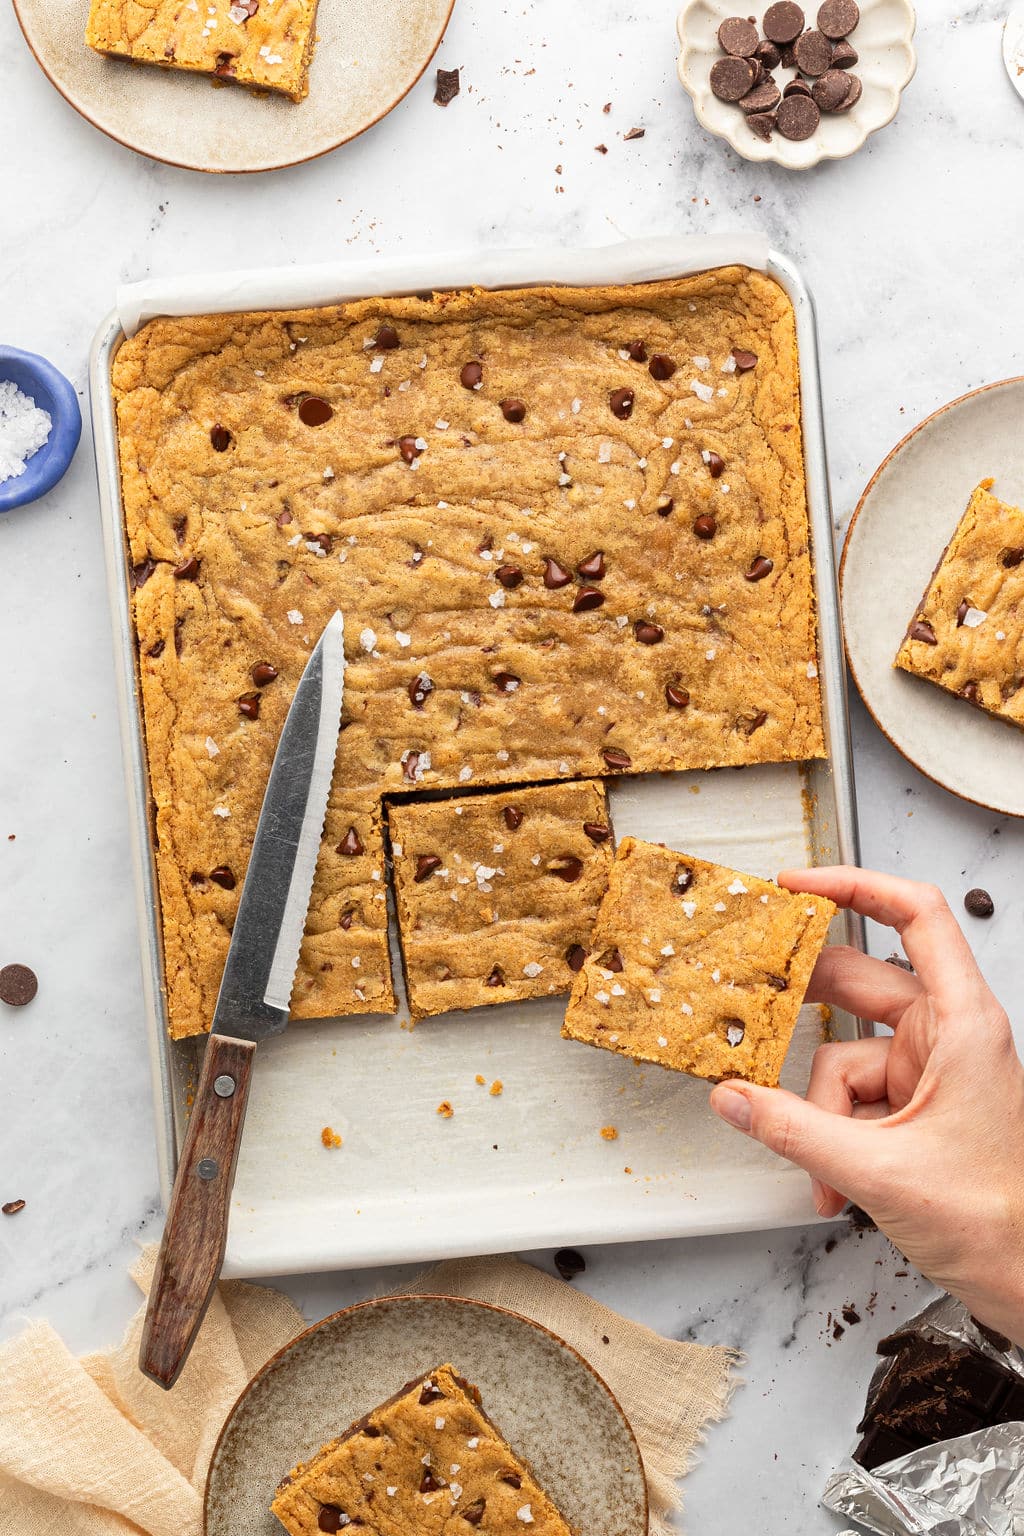
Brown Butter Chocolate Chip Blondies
This post may contain affiliate links. Please read our disclosure policy.
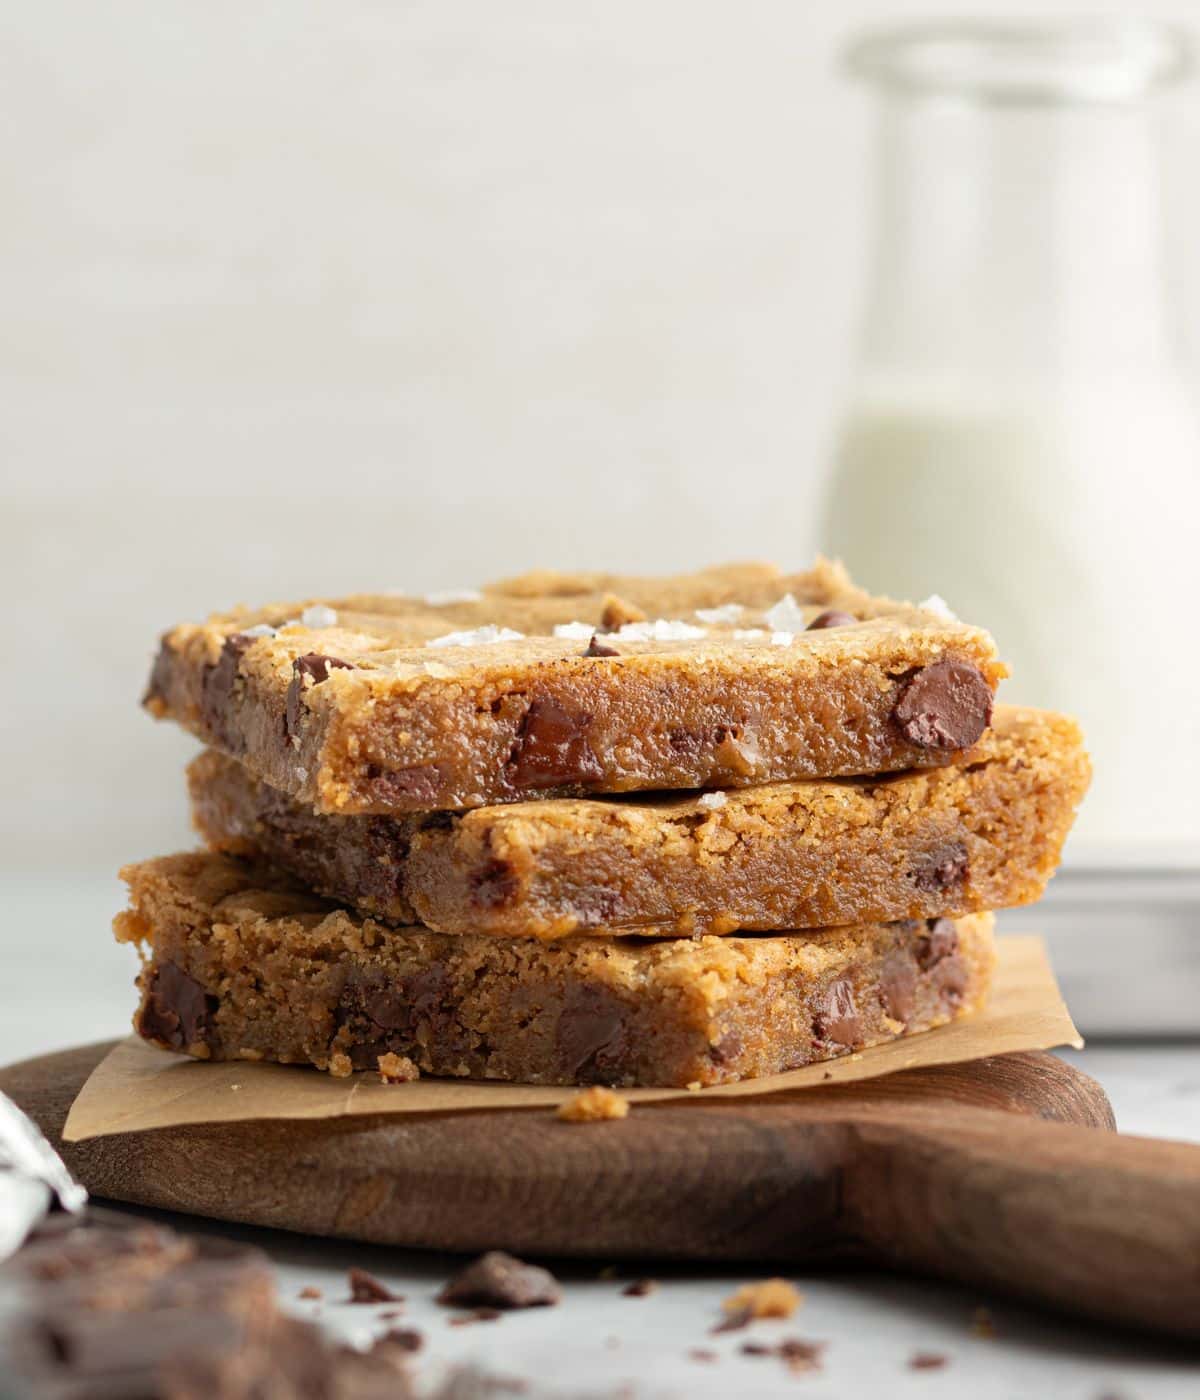
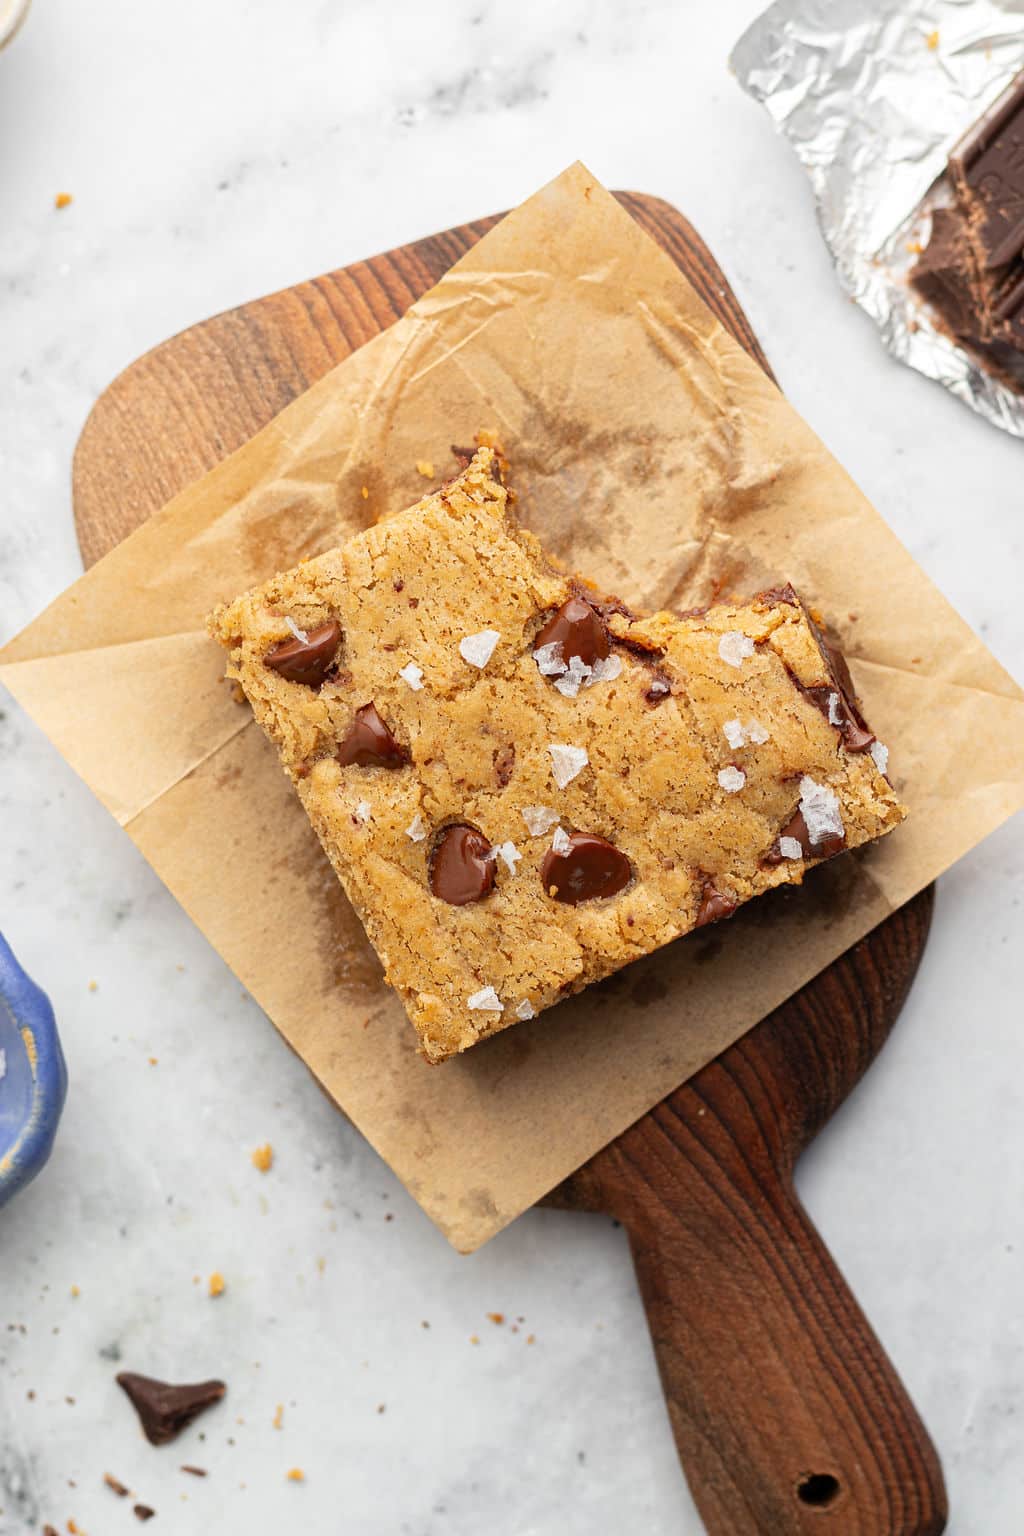
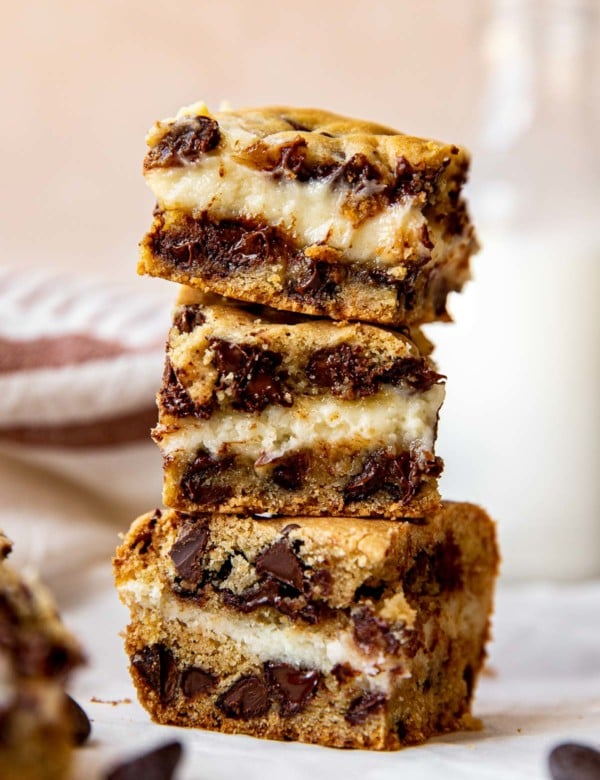
If you invite me to any party, potluck or get together, I am for sure bringing these chocolate chip blondies!
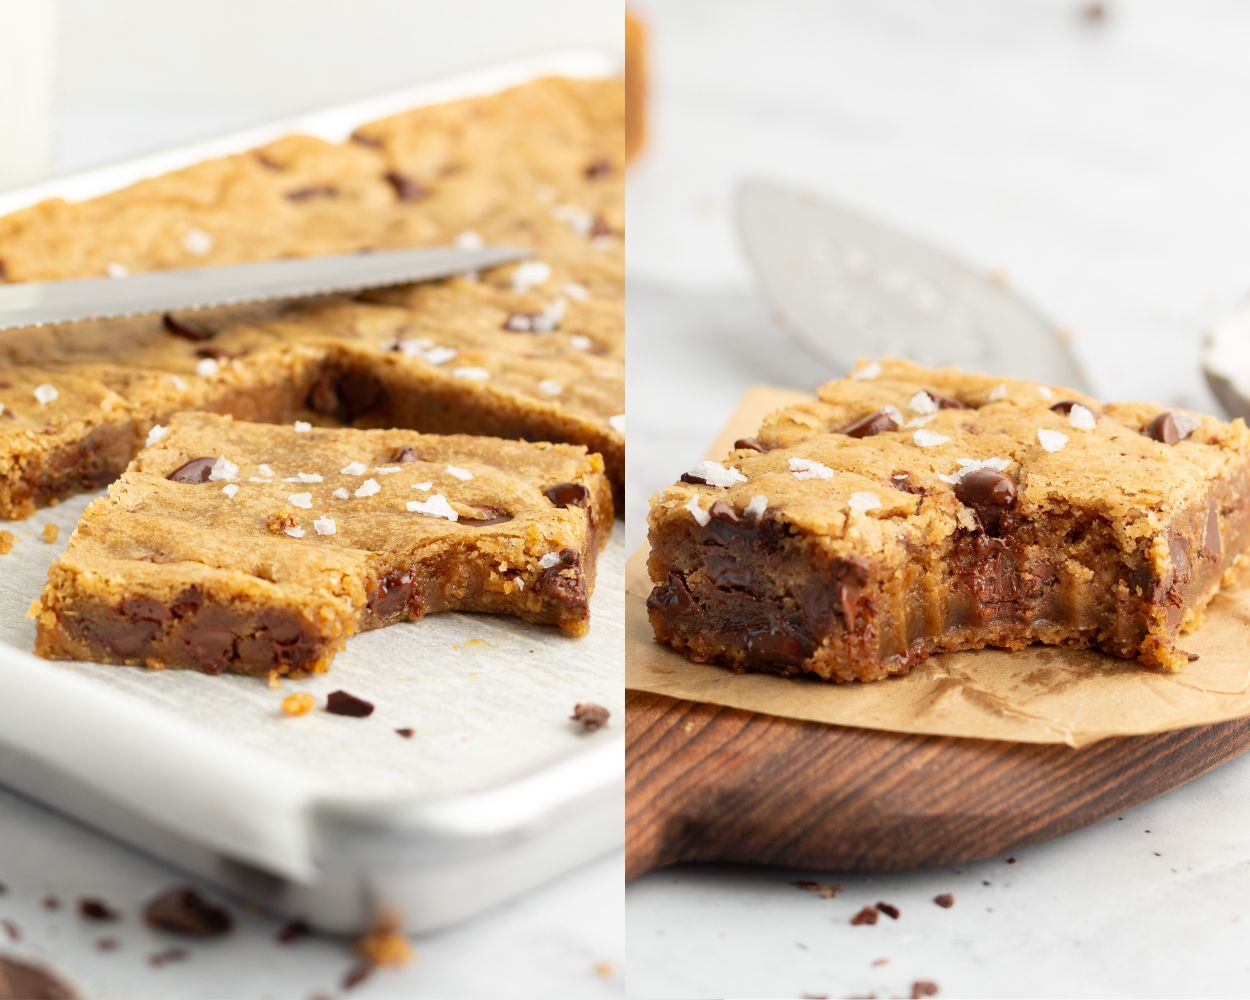
They have the most delicious crunchy tops, chewy centers, and the toasted flavor of the brown butter is a total game changer.
I’m kind of in love with brown butter. I love it in cookies and in frostings and I’d probably drink it if that were an acceptable thing to do…?
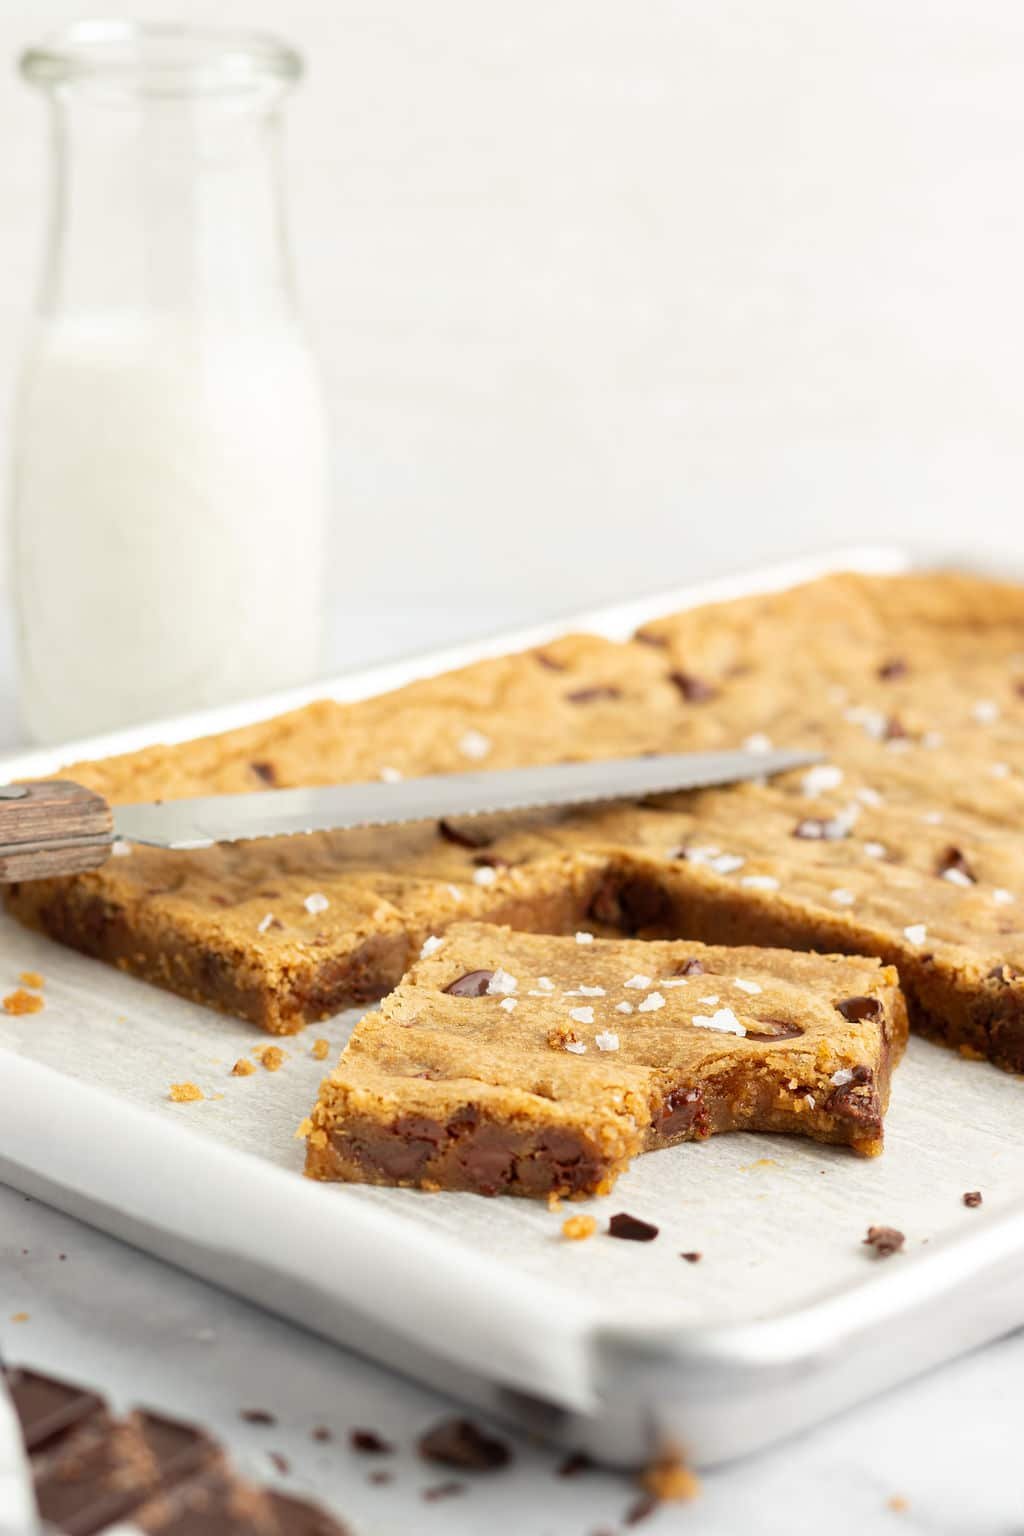

 Table Talk with Tawnie

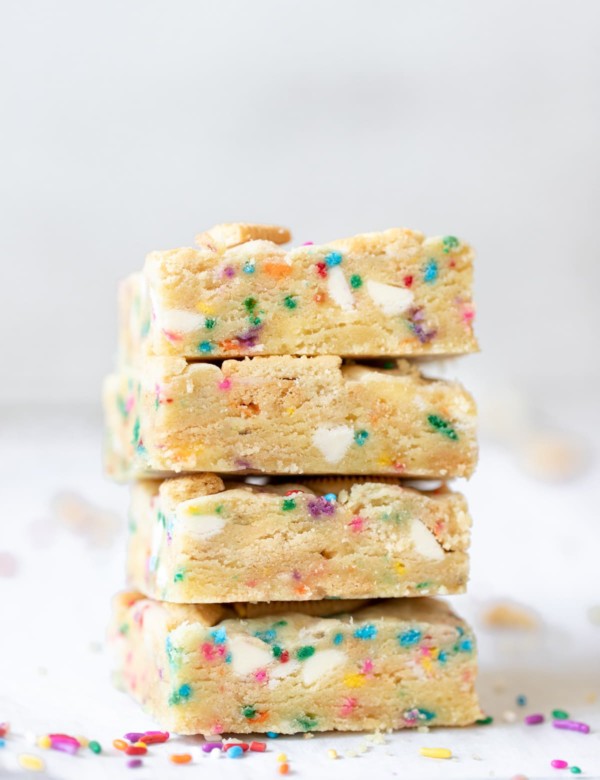
Traditional blondies already have a caramel-y flavor thanks to the brown sugar but I’ve found adding the brown butter gives it a rich, nutty flavor and simply elevates the entire dessert. These Brown Butter Chocolate Chip Blondies are essentially a blank canvas. Feel free to fold in walnuts or pecans, dried apricots or white chocolate chips into the batter before turning over into the pan. Use whatever you have or feel like adding in – you really can’t go wrong! Thin and chewy, buttery and soft in the middle and the best crinkly tops and edges – I know you’re going to love them!
If you’re a super fan of brown butter like I am, you’ll probably also like my Brown Butter Chocolate Chunk Cookies, these fun Chocolate Dipped Brown Butter Cookies, and my Brown Butter Caramel Snickerdoodles. If you’re searching for more easy bar dessert recipes, be sure to check out my Peanut Butter Blondies, my Biscoff Scotcheroos, and my Millionaire Shortbread Bars!
Ingredient Notes
(For the full recipe, scroll down to the recipe card below)
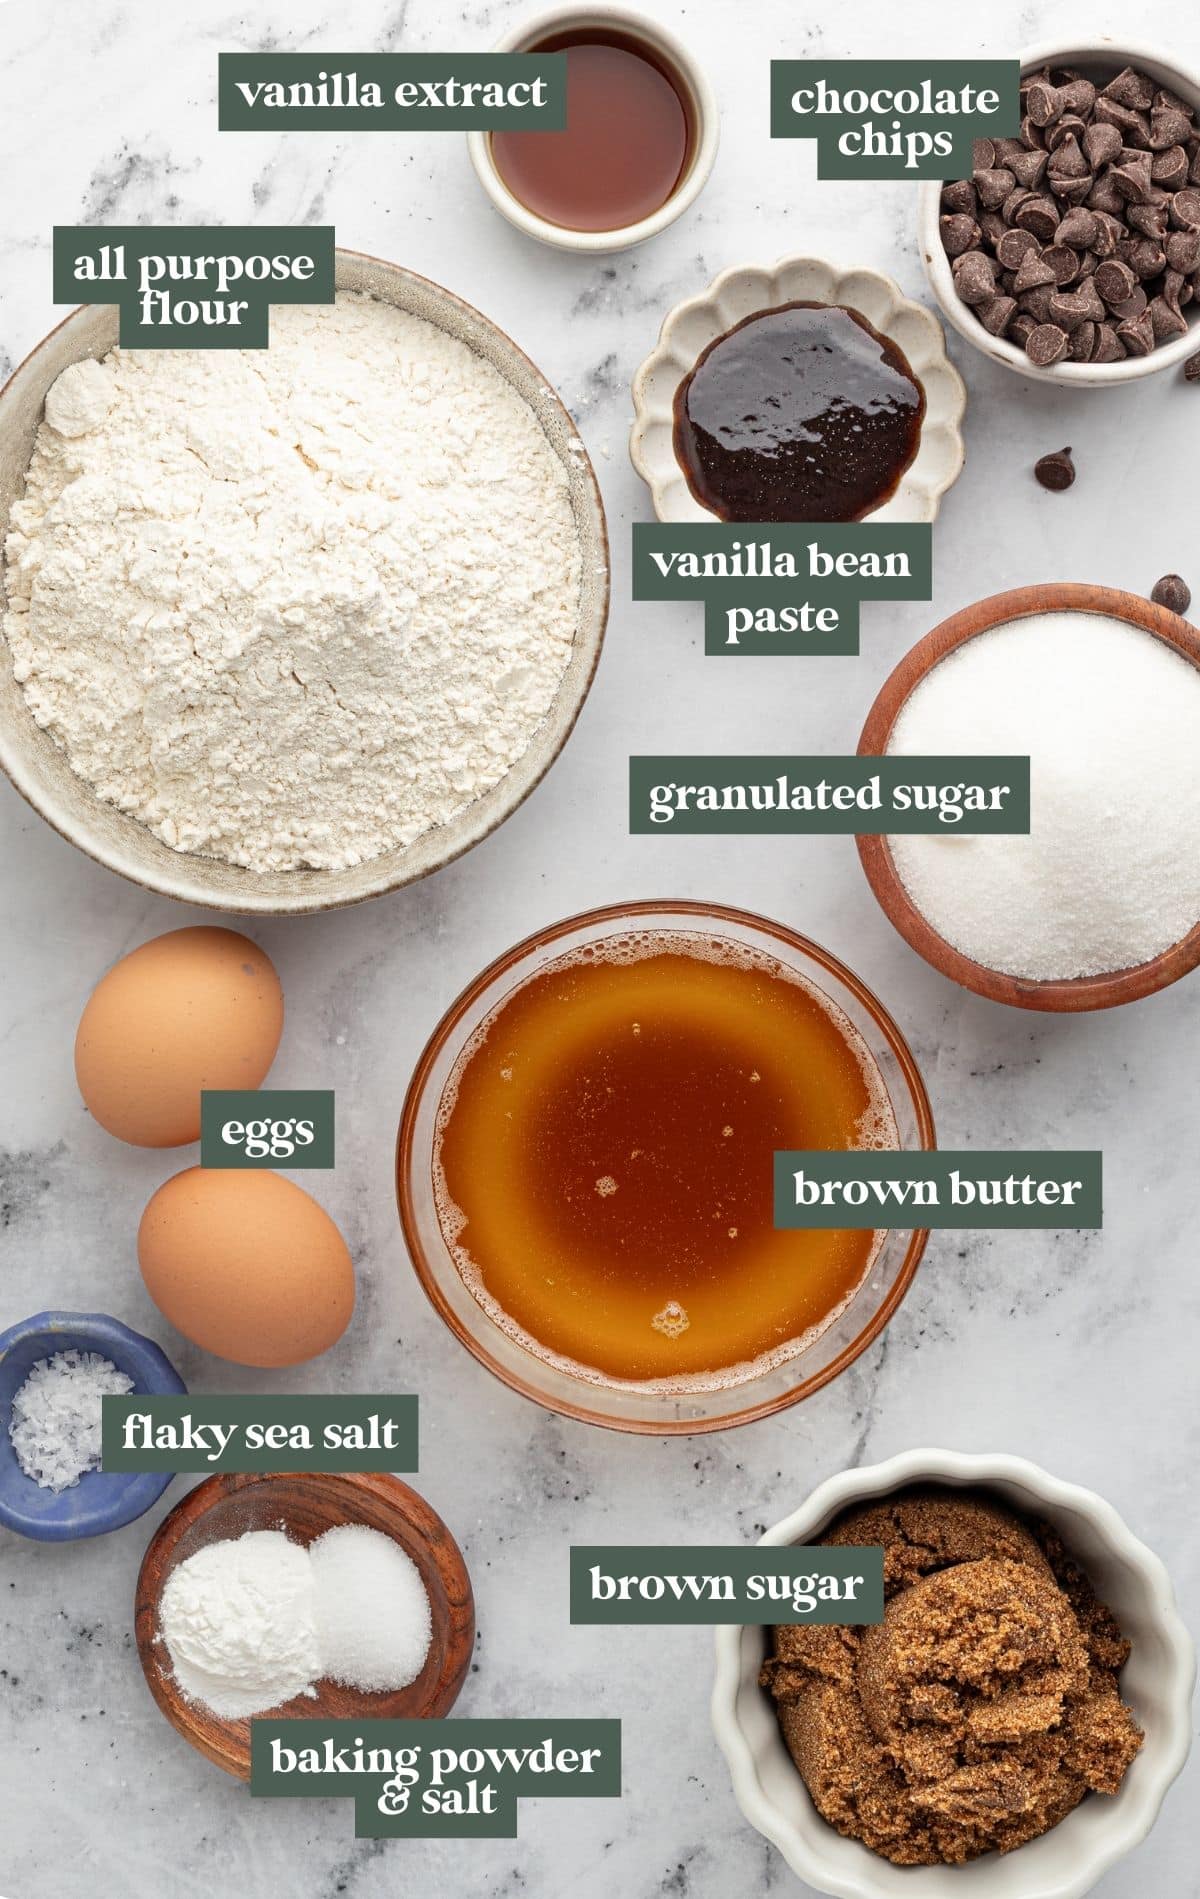
- Flour: All-Purpose Flour is perfect for this recipe! I haven’t tried any alternative flours but I am sure a gluten free 1-1 replacement flour would work well.
- Brown butter: Don’t overthink it. Brown butter is simply taking a stick of regular butter and then melting and toasting it on the stove until the milk solids turn brown. The end result is magical, nutty, heavenly brown butter. Once you start baking with brown butter you won’t be able to stop! Plus, melted butter as opposed to softened butter gives these chocolate chip blondies a soft and chewy texture. Check out my post on How to Brown Butter for my tips!
- Brown Sugar: I recommend using all dark brown sugar because it adds more of a rich, sweet taste and helps add moisture and chewiness to the blondies
- Eggs: Adds structure, fudginess and the combination of the sugars and eggs gives the bars their beautiful crackly tops!
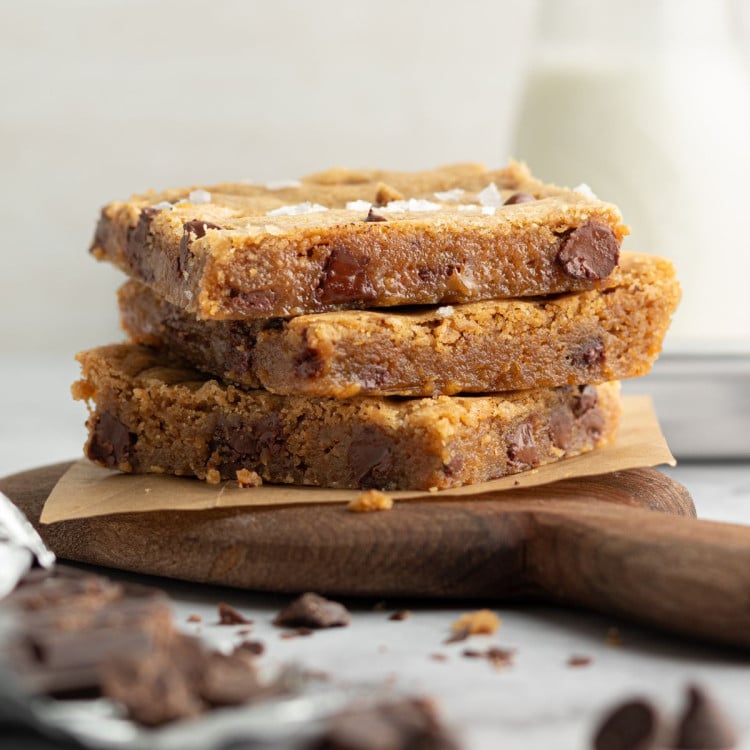
- Flaky sea salt: While optional, I love topping these Chocolate Chip Blondies with flaky sea salt that balances the sweetness of the blondies, creating a nice balance of sweet and salty in every bite.
- Other ingredients: granulated sugar, semisweet chocolate chips, vanilla bean paste, vanilla extract, baking powder and salt
Step by Step Directions
Be sure to scroll down to the recipe card for the full recipe instructions.
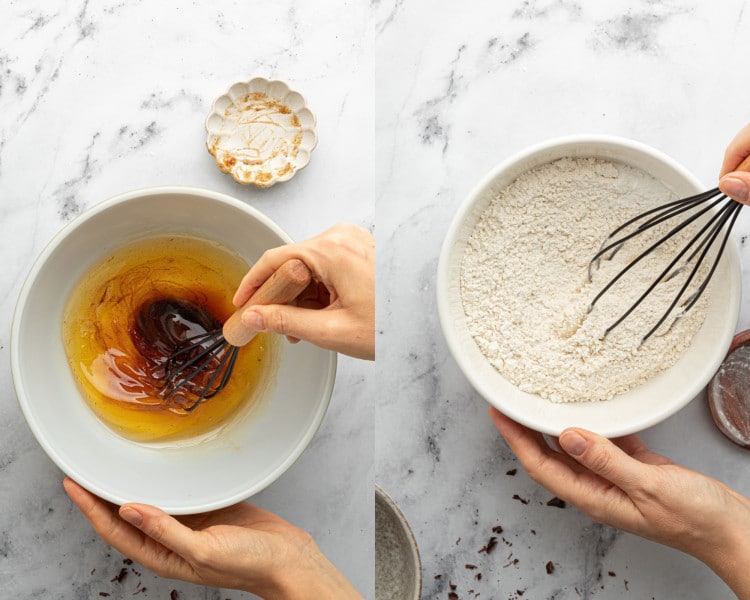
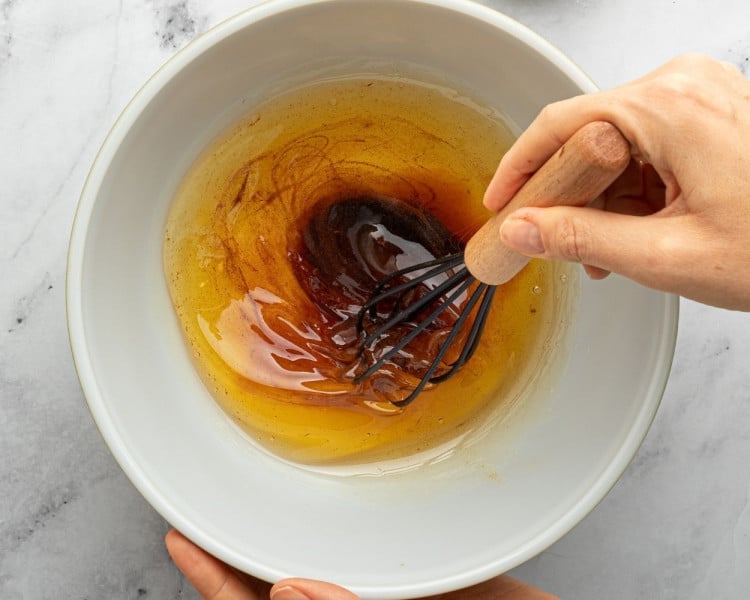
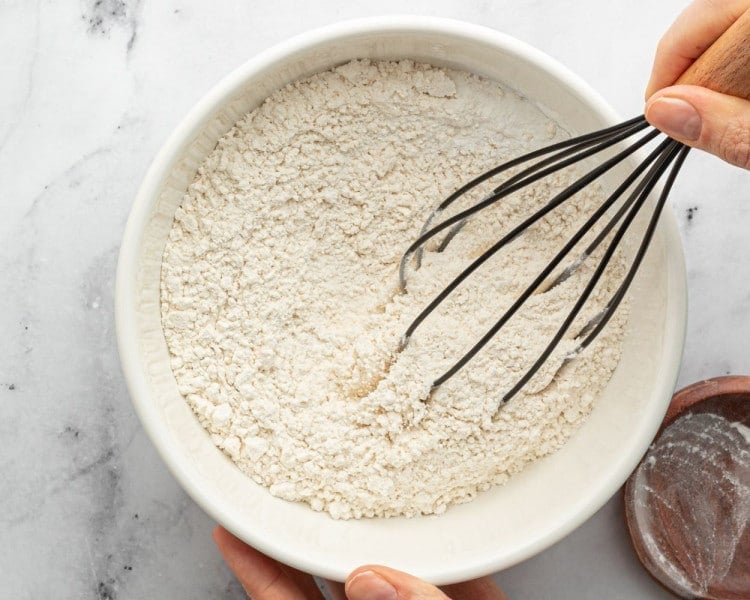
Brown butter & whisk dry ingredients
Brown the butter and let it cool for ~10-15 minutes. Whisk in the vanilla bean paste and set aside. In another bowl, whisk together the dry ingredients.
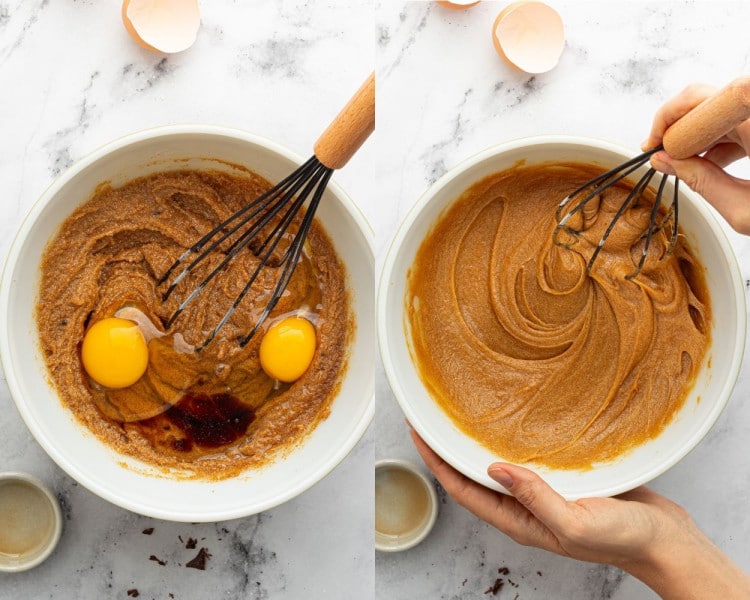
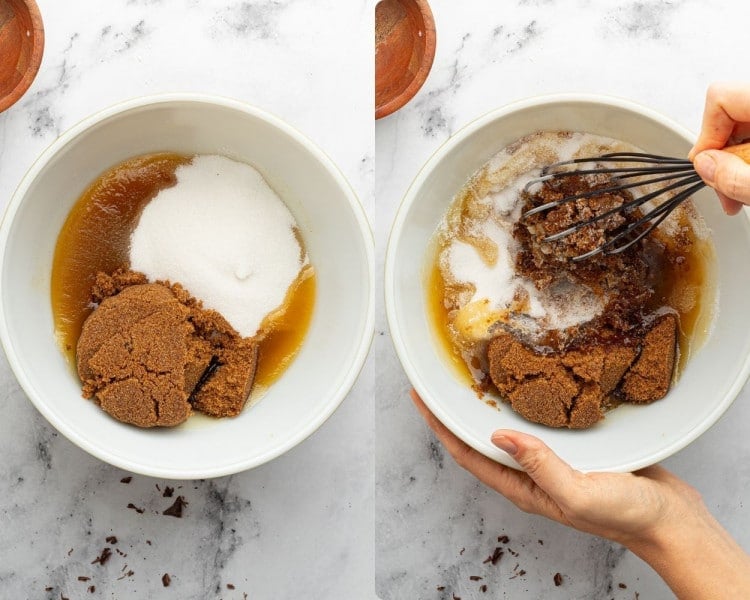
Mix wet ingredients
Add both sugars to the slightly cooled brown butter and whisk until incorporated, making sure all the large brown sugar clumps are broken up. Then, whisk in the eggs and vanilla extract until smooth.
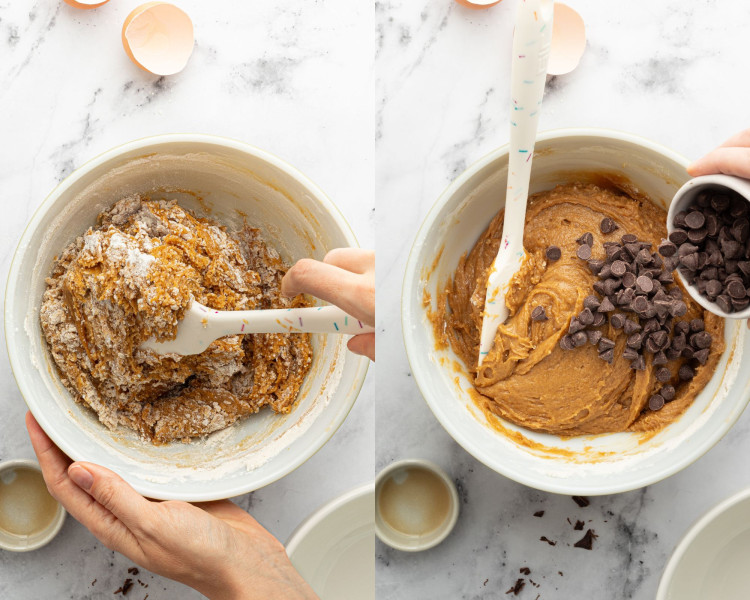
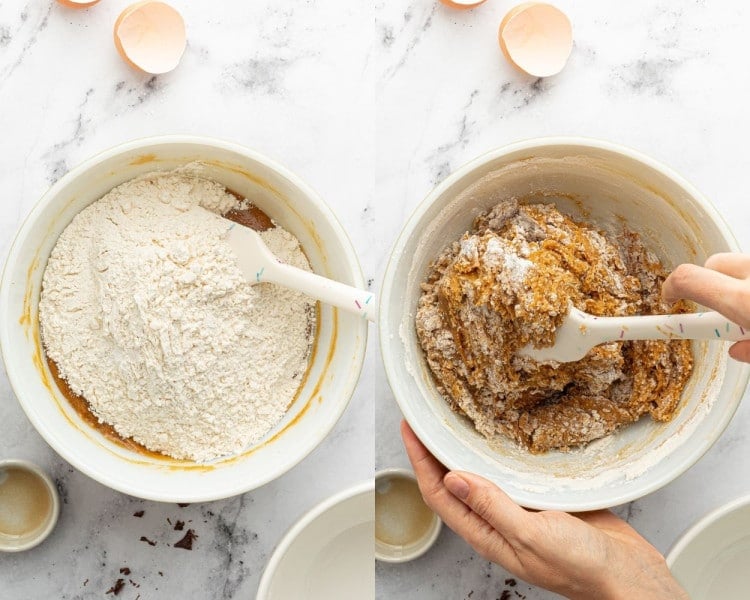
Fold in dry ingredients & chocolate chips
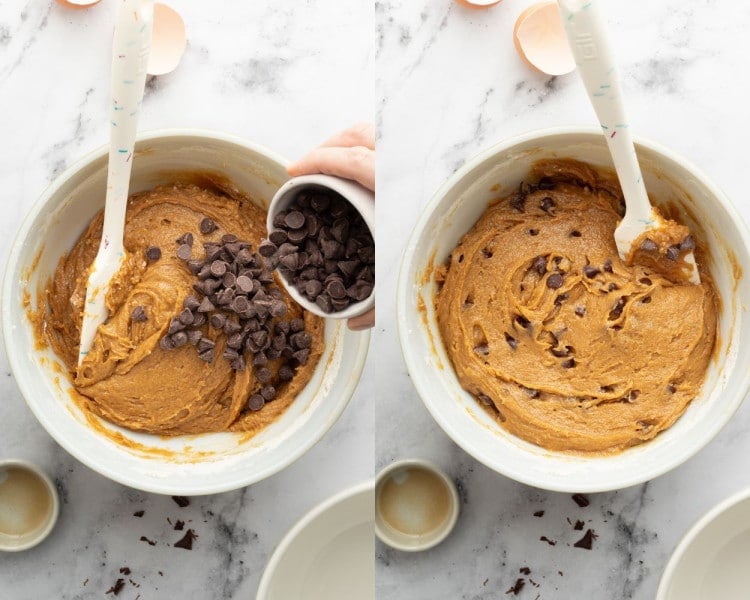
Use a spatula to fold the dry ingredients into the wet until most of the flour is incorporated, then fold in the chocolate chips.
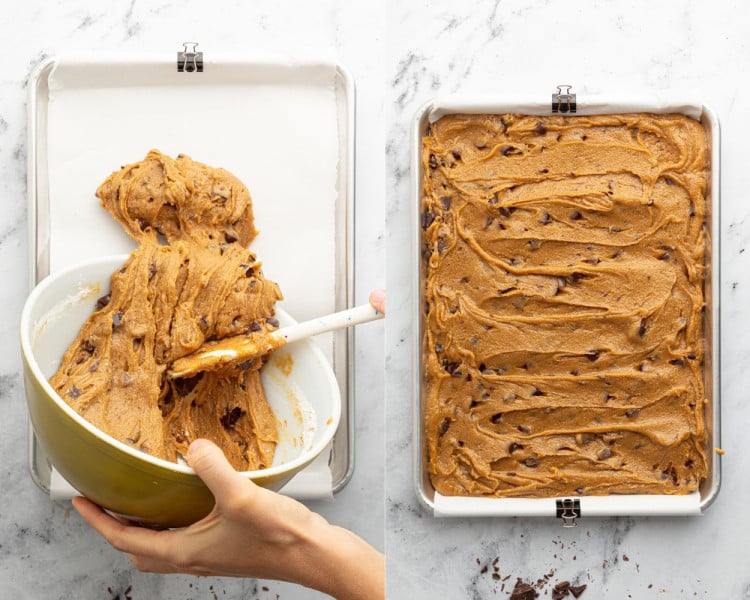
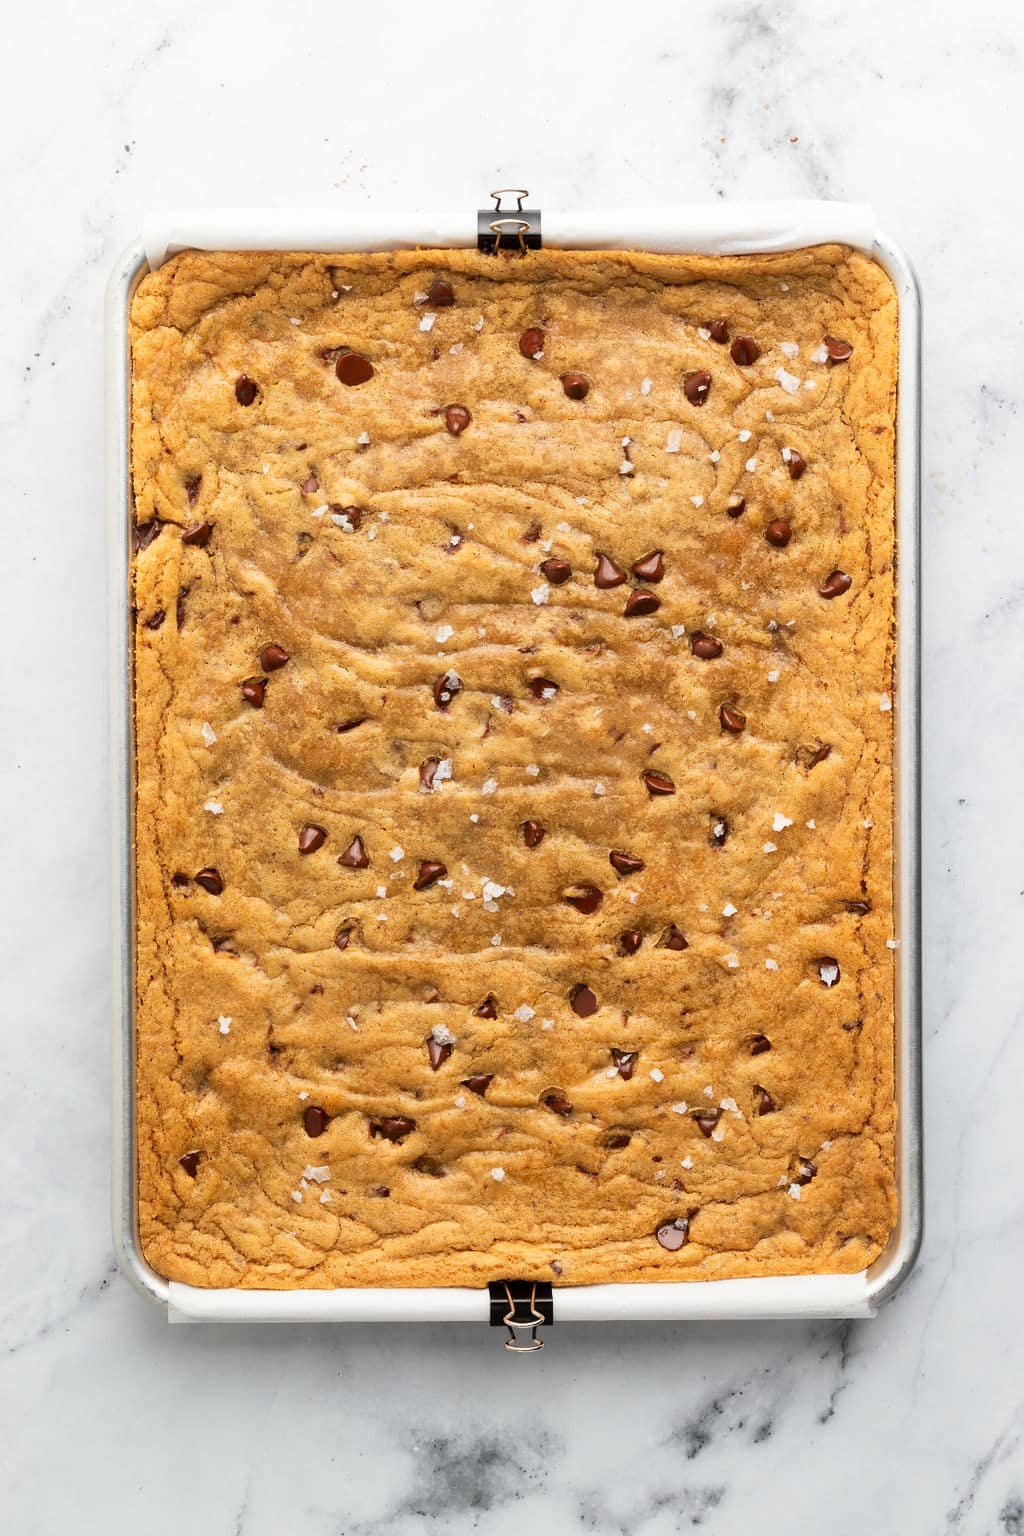
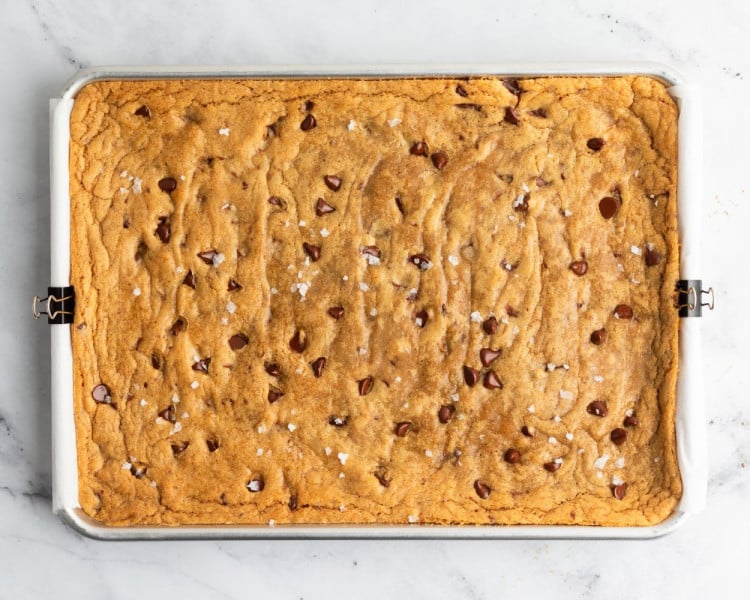
Spread into pan & bake
Pour batter into prepared quarter sheet pan and bake at 350°F for ~17-20 minutes (do not over bake!). The blondies will seem underbaked, but they’ll continue to cook in the pan once removed from the oven. (See section below for instructions on baking in a smaller pan.)
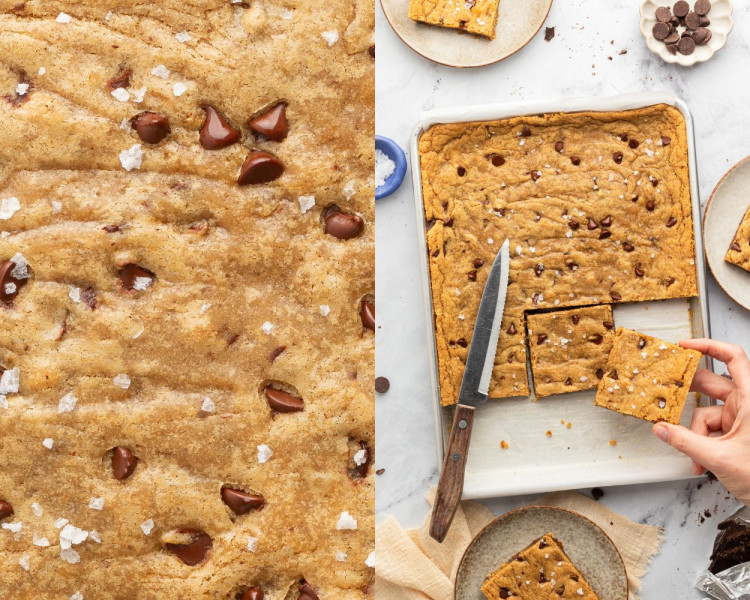
Cool, slice, enjoy!
Allow them to cool for ~15-30 minutes, garnish with flaky sea salt, then slice into the blondies. ENJOY!
Expert Tips
- Making the brown butter is an extra step but it’s worth it and I wouldn’t recommend skipping! 🙂
- Be sure to line the pan with a parchment paper sling so it’s easy to remove the bars when you’re ready to cut.
- Choose a high quality vanilla extract. You can also play around with adding in a little almond extract too!
- Store blondies in an airtight container at room temperature for up to 3 days, in the fridge for up to a week or freezer for up to 3 months.
Variations
- Fold in walnuts, pecans, hazelnuts, dried fruit, white chocolate chips, etc.
- I love baking my blondies for ~17-20 minutes for a chewy, gooey blondie. If you like a more cakey blondie, bake a few additional minutes. (Don’t forget that they will continue to bake as they cool in the pan.)
- If you want thicker blondies, use an 8×8 or 9×9 inch pan and bake for ~23-25 minutes. (See this section to compare the difference in blondie thickness.)

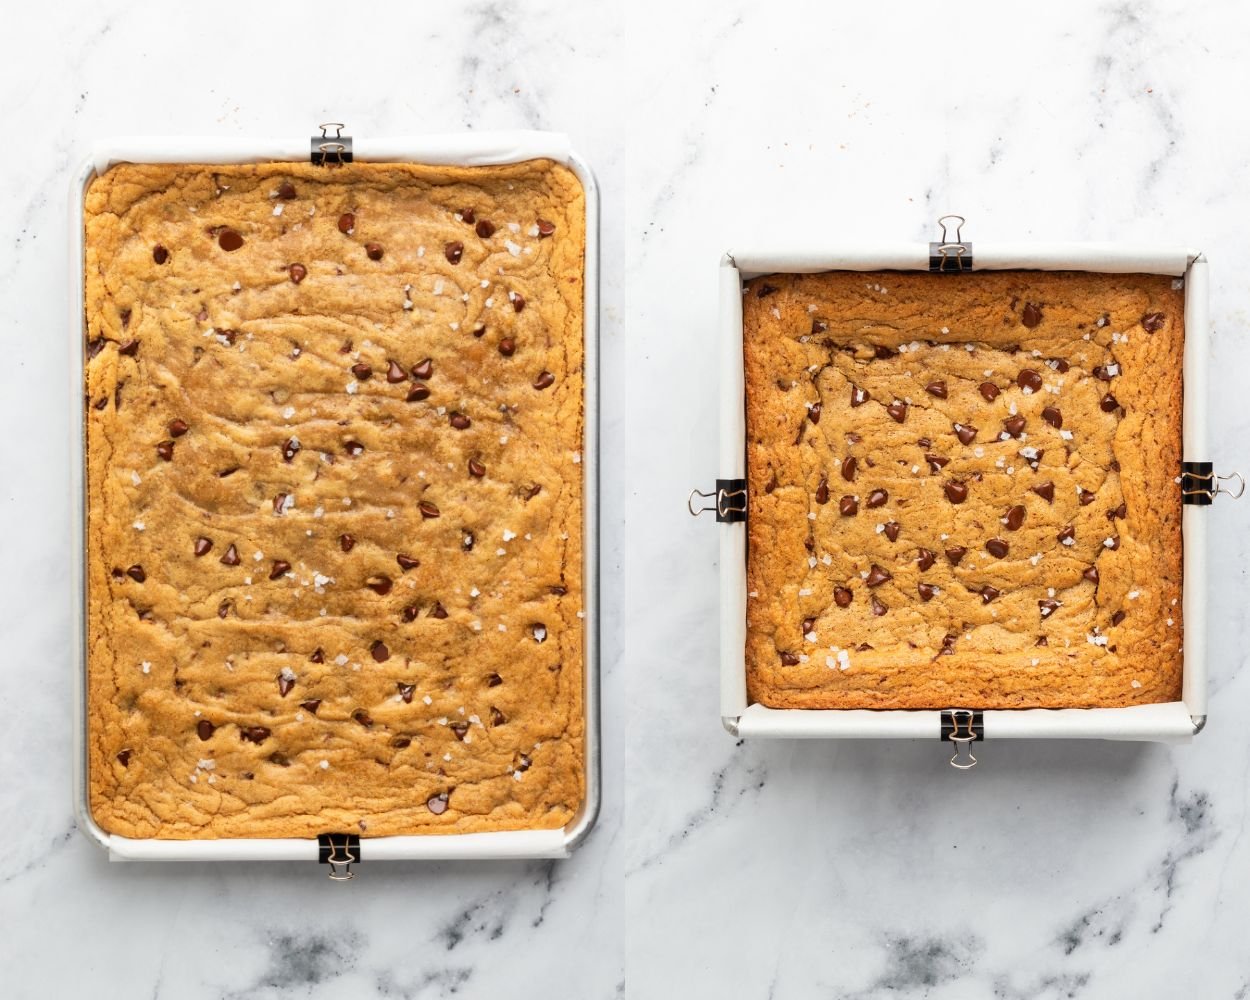
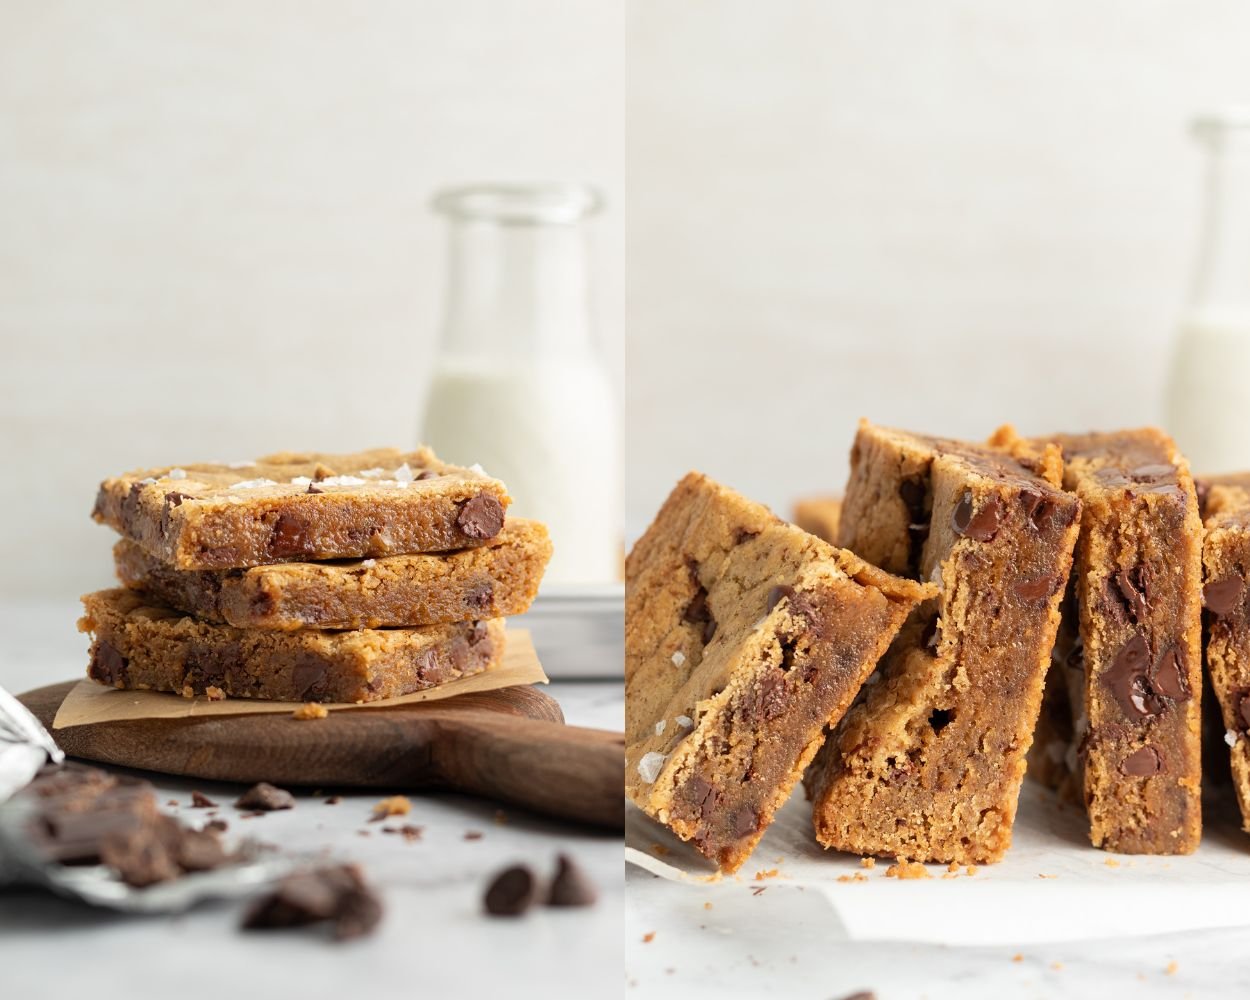
How to Make Thicker Blondies
This recipe is written to bake the Brown Butter Chocolate Chip Blondies in a quarter sheet pan which produces thin and chewy blondies. If you prefer a thicker blondie, follow the same instructions for making the batter, then pour into a parchment paper lined 8×8 or 9×9-inch pan. Bake at 350°F for 23-25 minutes (maybe a touch longer) then let them cool before slicing because they’ll be gooey!
Below are some comparisons of the blondie thickness following the recipe in a quarter sheet pan (left) versus baking in an 8×8 pan (right).
How to Make Brown Butter
It may sound intimidating, but it’s really easy, only takes a few minutes and is the backbone of these cookies. The nutty flavor compliments the caramel beautifully and I love it’s culinary use in baking so much! Let’s do it:
- Use a stainless steel skillet. This is best to easily monitor the butter’s color and gauge when the butter has browned.
- Place the unsalted butter in the cold, stainless steel skillet. Unsalted is truly best because salted butter foams more.
- Melt the butter over medium heat. Swirl the pan occasionally to help the butter melt evenly. As the butter melts, it separates into butter fat and milk solids. The milk solids will naturally sink to the bottom of the pan and begin to brown as they heat up.
- You’ll notice the butter begin to foam. This is good! The foam will begin to subside.
- Use a heat resistant spatula to continually gently stir the butter. You’ll begin to see tiny specks at the bottom of the pan, constantly stir and scrape so these don’t stick. (These are the milk solids that give brown butter its yummy flavor.)
- As soon as the butter turns chestnut brown and omits a nutty aroma, remove the pan from the heat and scrape the brown butter and all of the yummy brown bits into a heat proof bowl. It’s important to remove to a bowl immediately so the residual heat from the pan doesn’t burn the butter.
- Depending on your heat setting, this process should only take less than 10 minutes.
For more information, tips, and tricks on browning butter, make sure to check out my How To Brown Butter post!
FAQ
Can I simply use melted butter instead of brown butter?
Yes, you can. BUT I think they are so much better with the brown butter!
Do I have to use dark brown sugar?
You can use light brown sugar if that’s all you have on hand! I just prefer the extra flavor and extra moisture the dark brown sugar adds. But light brown sugar will still get the job done!
Can I make these with gluten free flour?
While I haven’t personally tested it, I do believe a 1:1 swap with gluten free flour (I like Bob’s Red Mill) should work for these blondies!
Can I make these in a 9×9 or 8×8 pan?
Yes! You’ll want to bake the blondies for longer. I recommend starting with 23-25 minutes. Make sure to let them cool before removing from the pan and cutting, because they will definitely be gooey! See this section above for a comparison of using the smaller pan.
Can I double the recipe for a thicker blondie?
I haven’t doubled the recipe myself yet, but once again I think it would work out. Adjust baking time as needed.

shop this post
 Buy Now →
 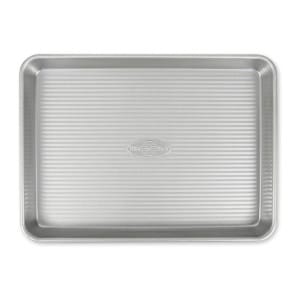 Buy Now →
 Before You Begin! If you make this, please leave a review and rating letting us know how you liked this recipe! This helps our business thrive & continue providing free recipes.
Brown Butter Chocolate Chip Blondies
Ingredients
- 1 cup unsalted butter (browned and cooled for ~10 mins )
- 1 Tbsp. vanilla bean paste (optional)
- 3/4 cup dark brown sugar (packed)
- 3/4 cup granulated sugar
- 2 large eggs (room temperature)
- 2 tsp. vanilla extract
- 1 3/4 cups all purpose-flour (spooned & leveled)
- 1 1/2 tsp. baking powder
- 1 tsp. salt
- 1 cup semisweet chocolate chips (plus more for garnish)
- flaky sea salt (for garnish)
Last step! If you make this, please leave a review and rating letting us know how you liked this recipe! This helps our business thrive & continue providing free recipes.
Instructions
- Prep and preheat: line a quarter sheet pan (I use this one) with parchment paper and preheat the oven to 350°F. (If you prefer thicker blondies, I recommend using an 8×8 or 9×9 inch pan. See this section of the blog post for a comparison.)
- Brown the butter: For a detailed tutorial, see this post on how to brown butter. Pour the butter in a large mixing bowl and allow the butter to cool slightly, ~10-15 minutes. Whisk in the vanilla bean paste, if using.1 cup unsalted butter, 1 Tbsp. vanilla bean paste

- Dry ingredients: whisk together the dry ingredients in a medium-sized mixing bowl and set aside.1 3/4 cups all purpose-flour, 1 1/2 tsp. baking powder, 1 tsp. salt
- Whisk in the sugars: Add both sugars to the slightly cooled brown butter and whisk until incorporated. It will look sandy, just make sure all large brown sugar clumps are broken up.3/4 cup dark brown sugar, 3/4 cup granulated sugar
- Add eggs and vanilla: whisk in the eggs and vanilla extract until smooth.2 large eggs, 2 tsp. vanilla extract
- Fold in dry ingredients: use a rubber spatula to fold in the dry ingredients until most of the flour is incorporated.
- Add chocolate chips: fold in the chocolate chips. YUM.
- Spread in pan: Spread batter into prepared pan into an even layer. Sprinkle chocolate chips on top.
- Bake: bake for ~17-20 minutes (do not over bake). It’s going to seem like they are underbaked, but they’ll continue to cook in the pan once removed from the oven.
- Cool then slice: cool for ~15-30 minutes, garnish with flaky sea salt, then slice into the blondies. ENJOY!
Notes
- Fold in walnuts, pecans, hazelnuts, dried fruit, white chocolate chips, etc. as desired.
- Choose a high quality vanilla extract. You can also play around with adding in a little almond extract too!
- Be sure to line the pan with a parchment paper sling so it’s easy to remove the bars when you’re ready to cut.
- If you prefer thicker blondies, use an 8×8 or 9×9 pan and bake for 23-25 minutes. Make sure to still line the pan with a parchment paper sling.
- Store blondies in an airtight container at room temperature for up to 3 days, in the fridge for up to a week or freezer for up to 3 months.
Nutrition Information
Nutritional information is provided as a courtesy and is automatically calculated. It should only be construed as an estimate rather than a guarantee. Ingredients can vary and Kroll’s Korner can’t make any guarantees to the accuracy of this information.
This recipe was originally posted in March 2022. It was updated with new photos and additional tips and tricks in April 2025.
📸 Photography by Marie Dubé

Literally on my monthly bake rotation! These are so gooey and the batter is so easy to work with, such a simple yet amazing recipe. I added some salted caramel chips on the top and it was even more amazing!
Than you so much 🙂 happy you liked them!! Love the caramel chips sounds so good!
So so so good! Something different than chocolate chip cookies but still satisfy a sweet tooth. Yum!
Thank you so much Laura! 🙂
Made these cookie bars for a welcome back treat for teachers. They all loved them and can’t wait for me to make more.
Amazing! Thank you so much:)
The metric conversion for the flour and the brown sugar are off, unfortunately! I ended up with a mess of buttery sugar. Everything recipe I’ve made of yours have all been wonderful and delicious, but this was a fail for me!
Oh no, I am so sorry. The system I use is an automation, so sometimes it’s not always reliable. i will update this post immediately. I am so sorry once again!
Update: I had to make these again, and did it w/ customary measurements instead…Omigosh, are these ever delicious!! Browned butter definitely kicks these up notches!
I am so glad they worked out this time!! thank you soo much 🙂
These are amazing!!!! Such a simple step to brown the butter and it makes them so flavorful!! The whole fam devoured them and I still have a bunch left over to take to work. Also, shout out for putting the measurements of ingredients underneath the steps of the recipe that contain them!!!! I didn’t have to go back and forth to check my measurements, such a saving grace.
Absolutely delicious! I received so many compliments. I folded in the chocolate chips instead of leaving them on top and also added chopped walnuts. LOVE everything with brown butter!!!!
I love the cookies and decided I needed try something new. These did not disappoint! I followed the recipe and baked it at 23 minutes. I was worried that they were under cooked but after letting them cool for 20 minutes they were perfect!
Love your recipes!
I meant to take a picture, but forgot as it smells so good I couldn’t wait to eat it!! OMG I was NOT disappointed! Absolutely delicious! We are it with a cilantro lime rice and broccoli! YUMMMM!