Really Good Chocolate Chip Cookies
This post may contain affiliate links. Please read our disclosure policy.
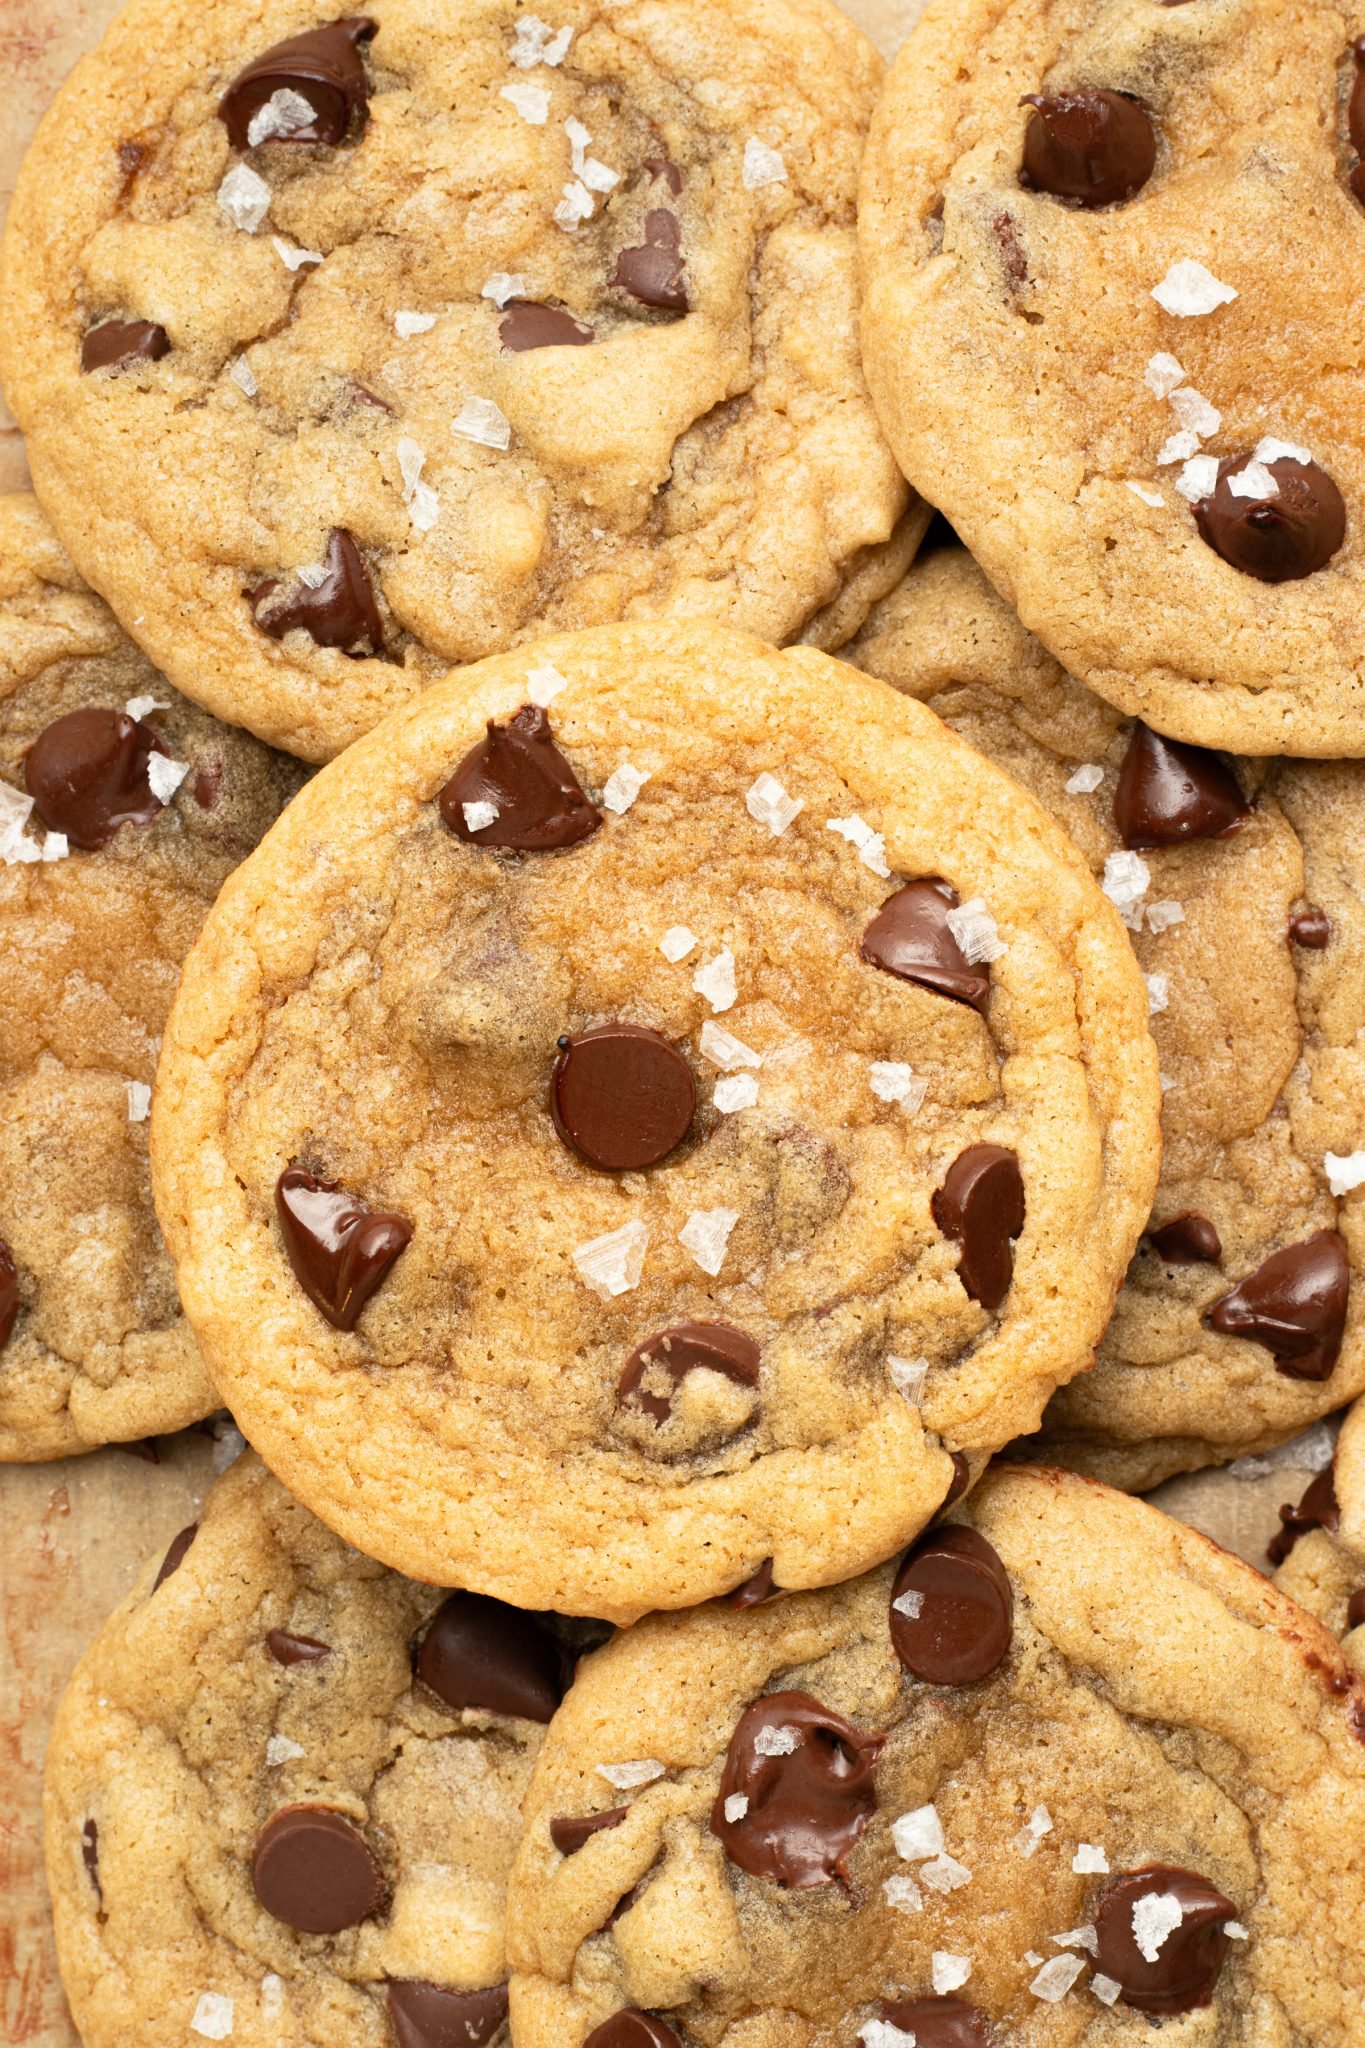
There is just something so good about Soft and chewy Chocolate Chip Cookies! They’re nostalgic and comforting, and my recipe has the best soft centers with slightly crisp edges, the perfect balance of sweetness, and an irresistible melt-in-your-mouth texture.
I share many chocolate chip cookie recipes, like my famous giant bakery-style Kroll’s Kookies, Brown Butter Chocolate Chunk (or chip) Cookies, Mini Chocolate Chip Cookies, Sheet Pan Chocolate Chip Cookies, and these Chocolate Chip Cookie Ice Cream Sandwiches.
But this is my first time sharing a really good chocolate chip cookie recipe. If thin, soft, chewy chocolate chips cookies are your vibe, you’ve found the perfect recipe. I of course had to add these classic cookies to my 2024 Holiday Cookie Series and think Santa (and you!) will love them!
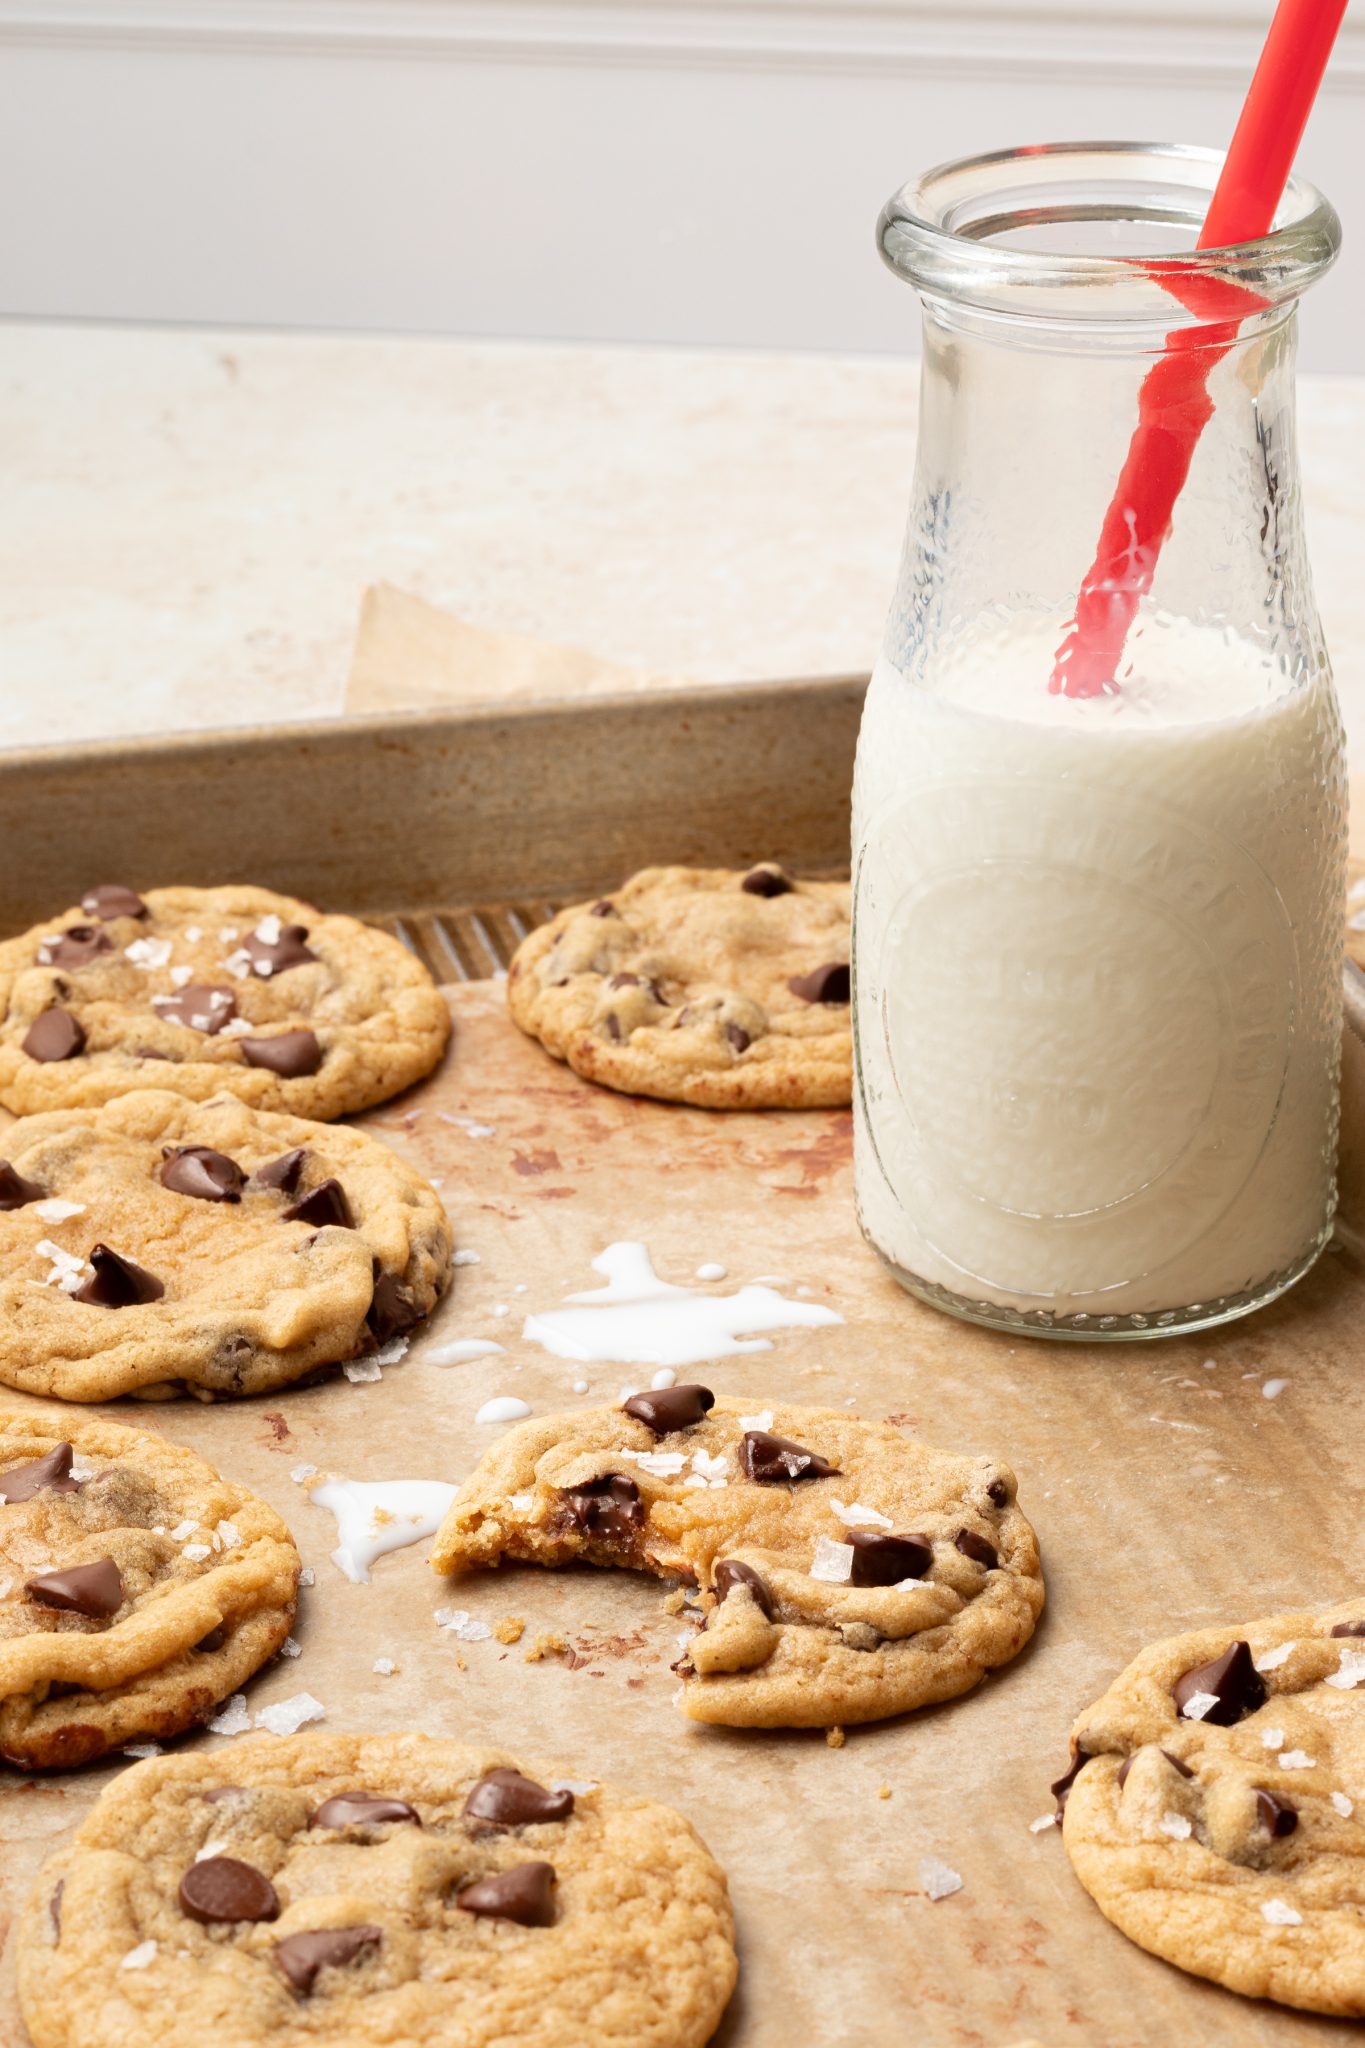
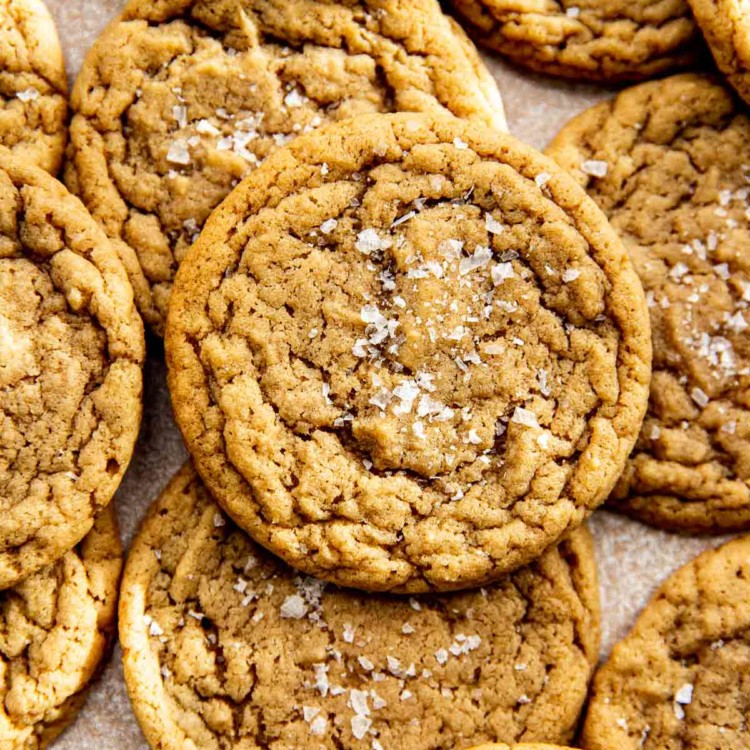
Chipless?
If you like a chocolate chipless cookie, you need to try this recipe! I actually used the base of the chipless cookies to make this really good chocolate chip cookie recipe. It’s just SO GOOD. With or without the chocolate!
Why this recipe works
- No stand mixer is required!
- No chill time. (But you can freeze the dough and bake later, if you want!)
- One bowl recipe!
- Cookies turn out perfect every.single.time.
- Fool-proof!
- They stay soft for days and are freezer-friendly!
Ingredient Notes
(For the full recipe, scroll down to the recipe card below)
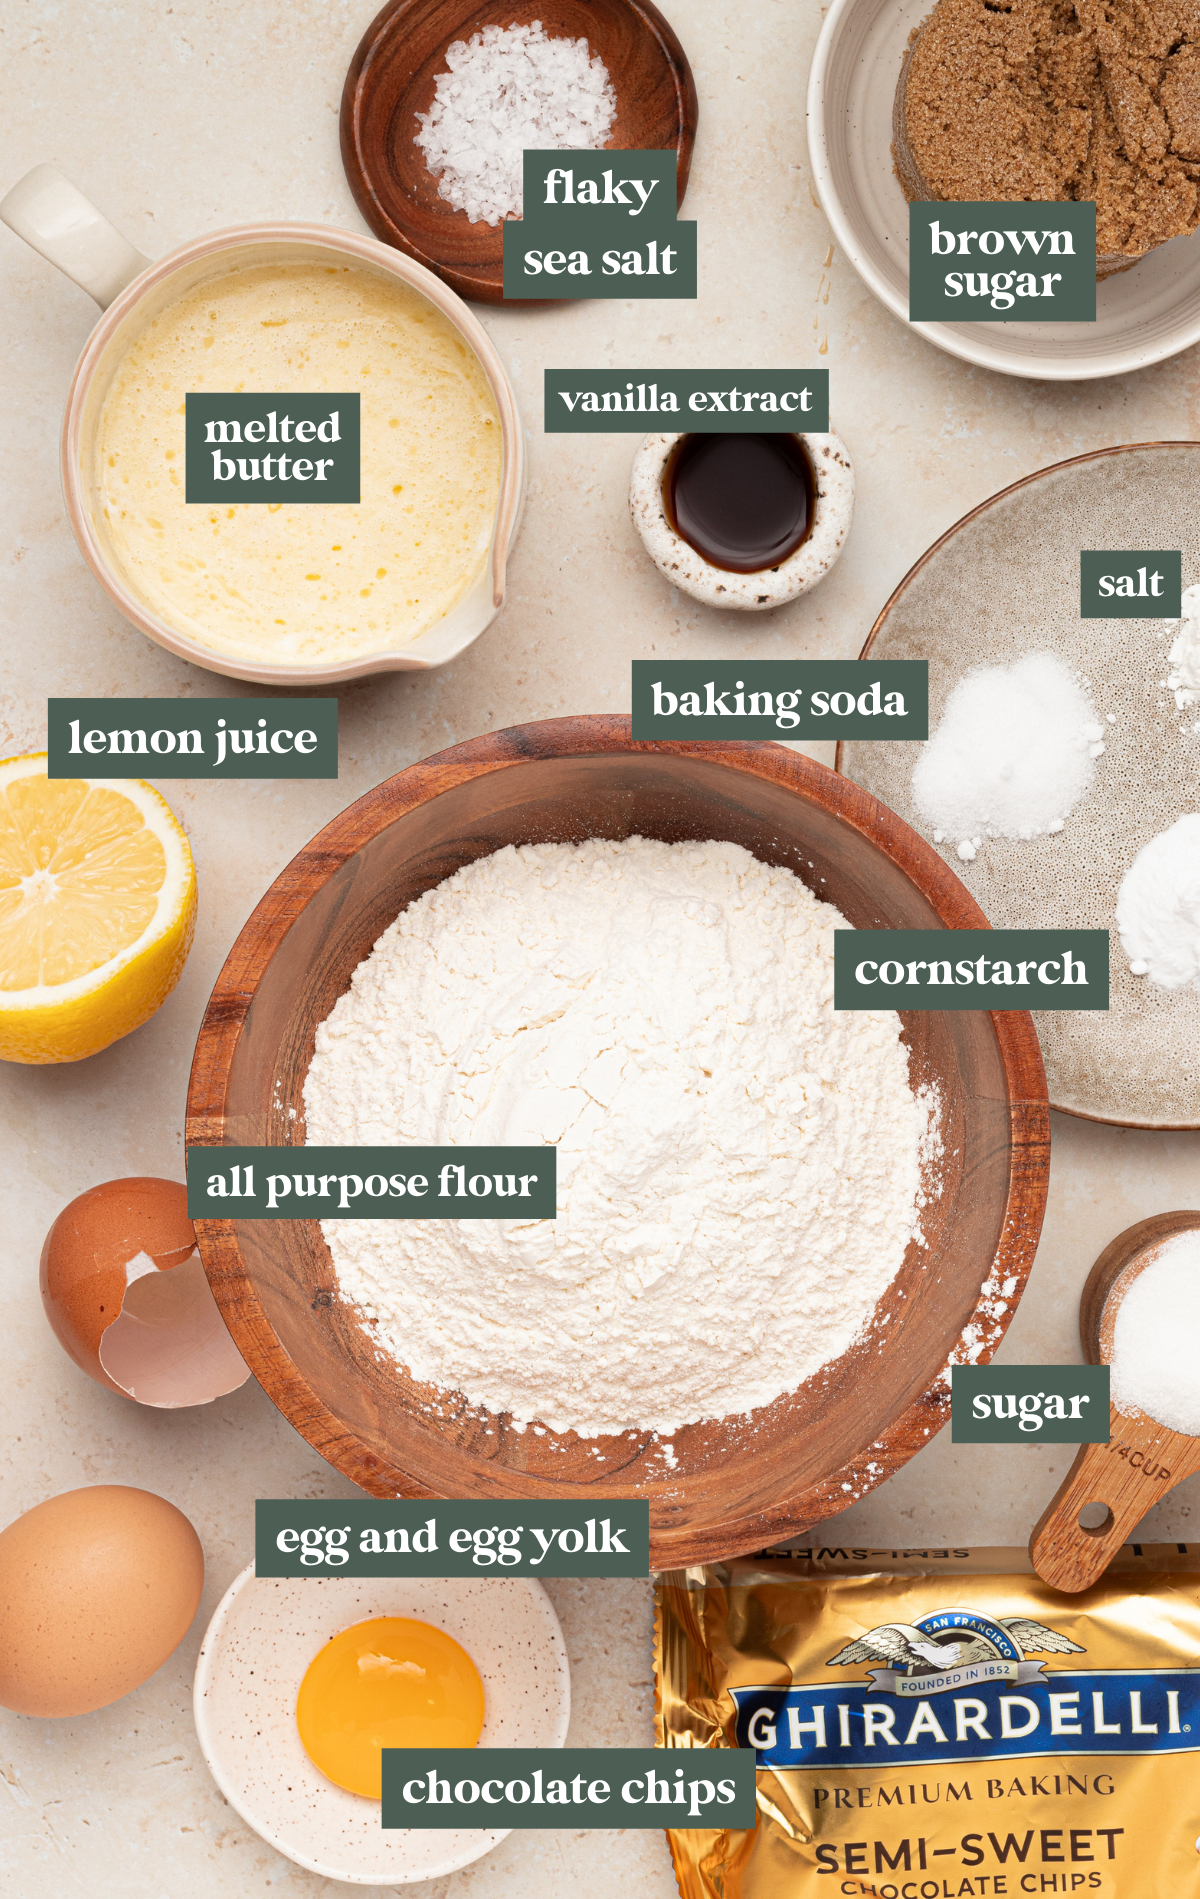
- The secret ingredient: lemon juice! Trust the process on this one. It won’t make the cookies taste lemony. It simply helps create an even chewier cookie.
- Butter: I used unsalted butter and melted it. If you want to use salted butter, just add a little less kosher salt to the recipe.
- Sugars: dark brown sugar and granulated sugar get mixed into the melted butter into a paste forms. No need to cream the ingredients with a stand mixer, just a bowl and a whisk! Be sure to break up any clumps of the brown sugar. This recipe also will work with light brown sugar, but I prefer the dark brown in this recipe.
- Dry ingredients: flour, baking soda, cornstarch and salt. If you have made my cookie recipes before, you know I love adding in cornstarch. The cornstarch is a thickener so it helps prevent the cookies from baking too flat, and it also helps to create a super soft buttery cookie.
- Eggs: Be sure to bring them to room temperature. Adding the extra egg yolk really helps give the cookies that nice chew we’re looking for!
- Vanilla extract: yes, an entire tablespoon! The additional vanilla, instead of just using maybe one teaspoon, gives the cookies lots of flavor.
- Flaky sea salt: I love Maldon. It’s the perfect finishing touch and really not optional in my opinion! It balances out the sweet flavors and compliments this cookie really well.
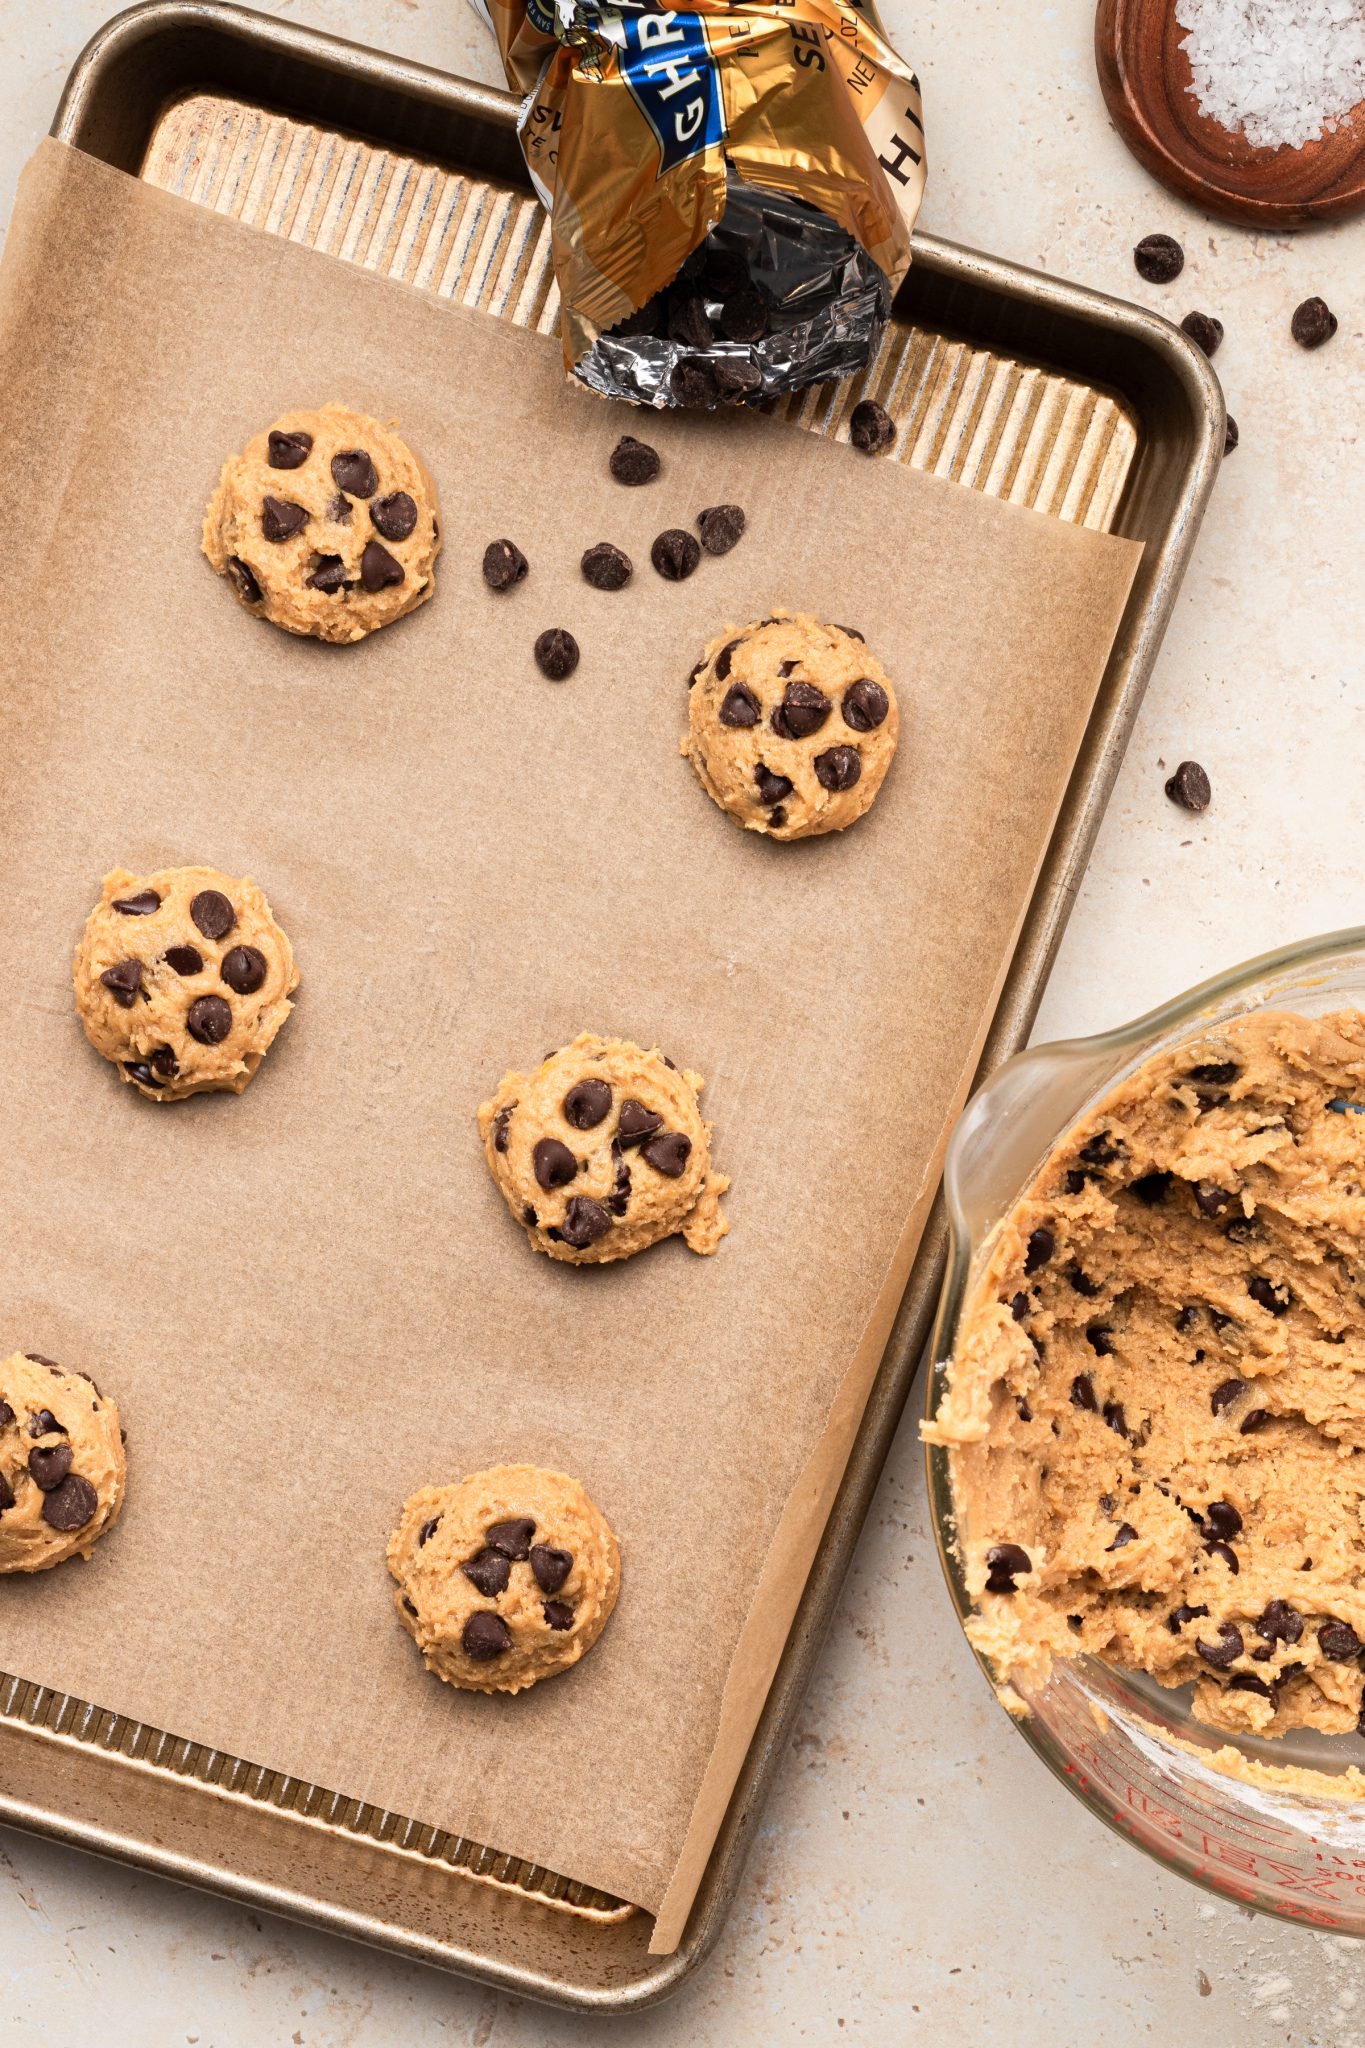
PS: Did you know?
To make perfectly round cookies, take the freshly baked cookies right from the oven, take a glass or something larger than the size of the cookies and swirl it around the warm dough. They look so much better this way!
Step by Step Directions
(For the full recipe, scroll down to the recipe card below)
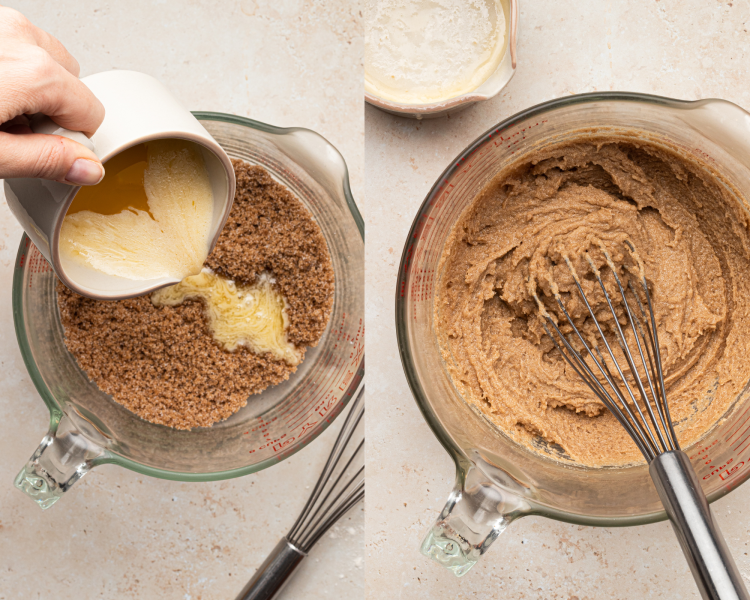
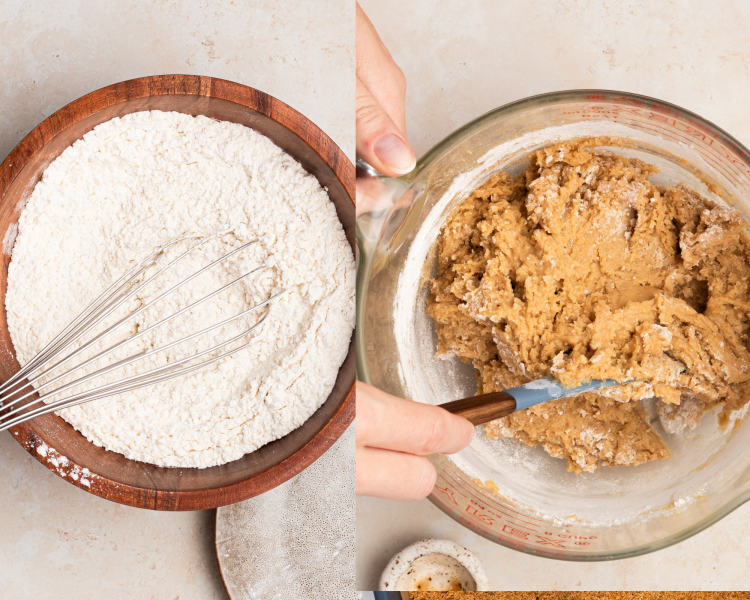
Whisk butter & sugars
Melt the butter & let it cool for a few minutes then whisk it into the brown and white sugars.
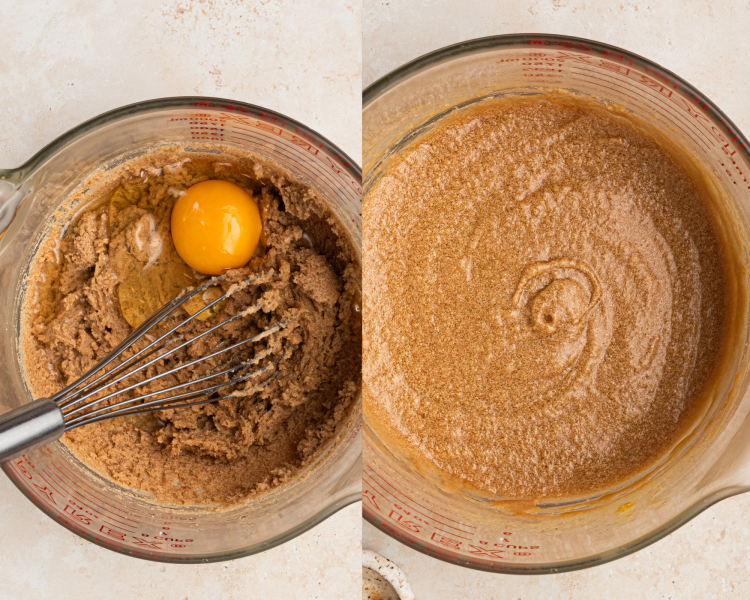
Add the rest of wet ingredients
Egg, egg yolk, lemon juice, and vanilla. Whisk until smooth.
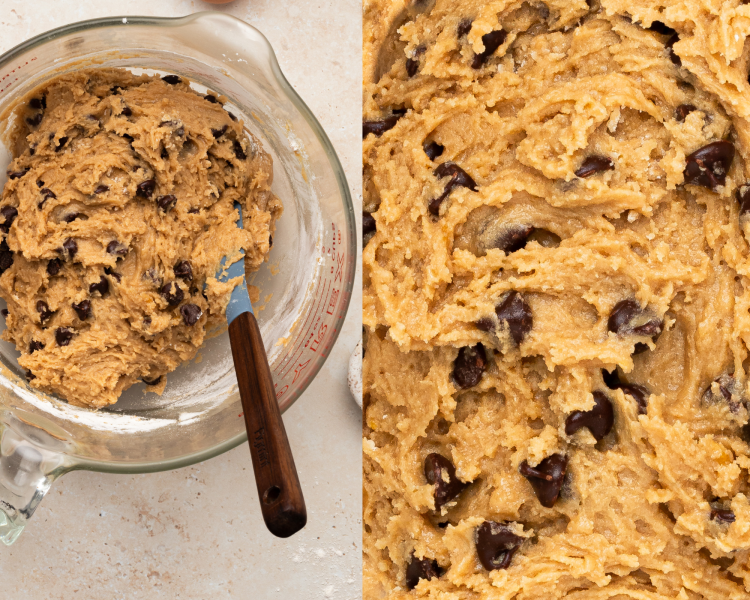
Dry ingredients
Fold in the dry ingredients and the chocolate chips and stir just until combined.
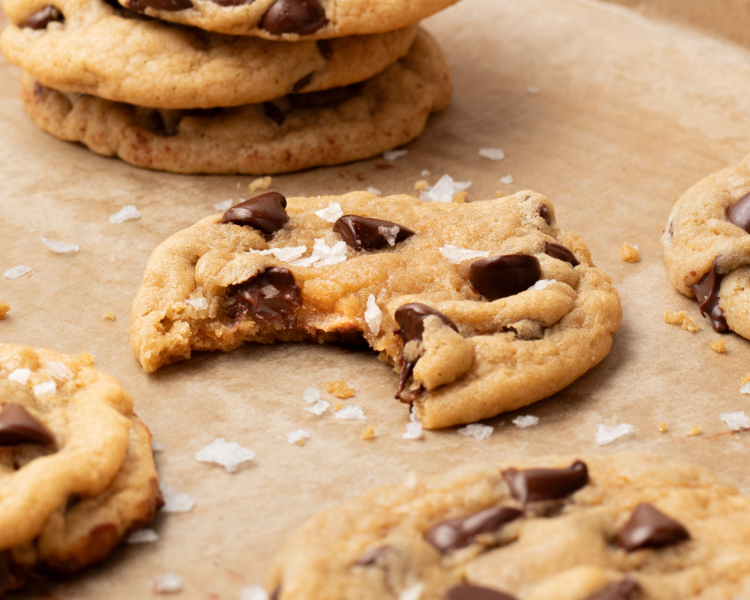
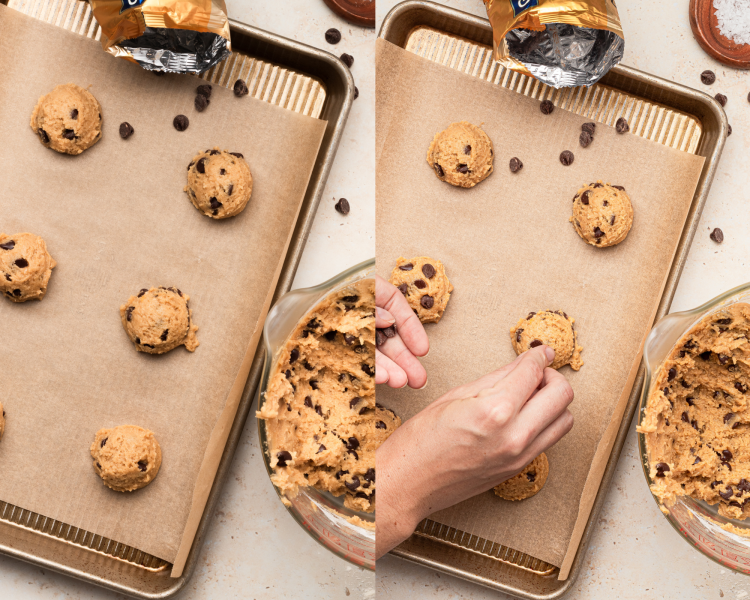
Scoop, bake, & ENJOY!
REALLY GOOD CCC. Hi. Hello. I love you.
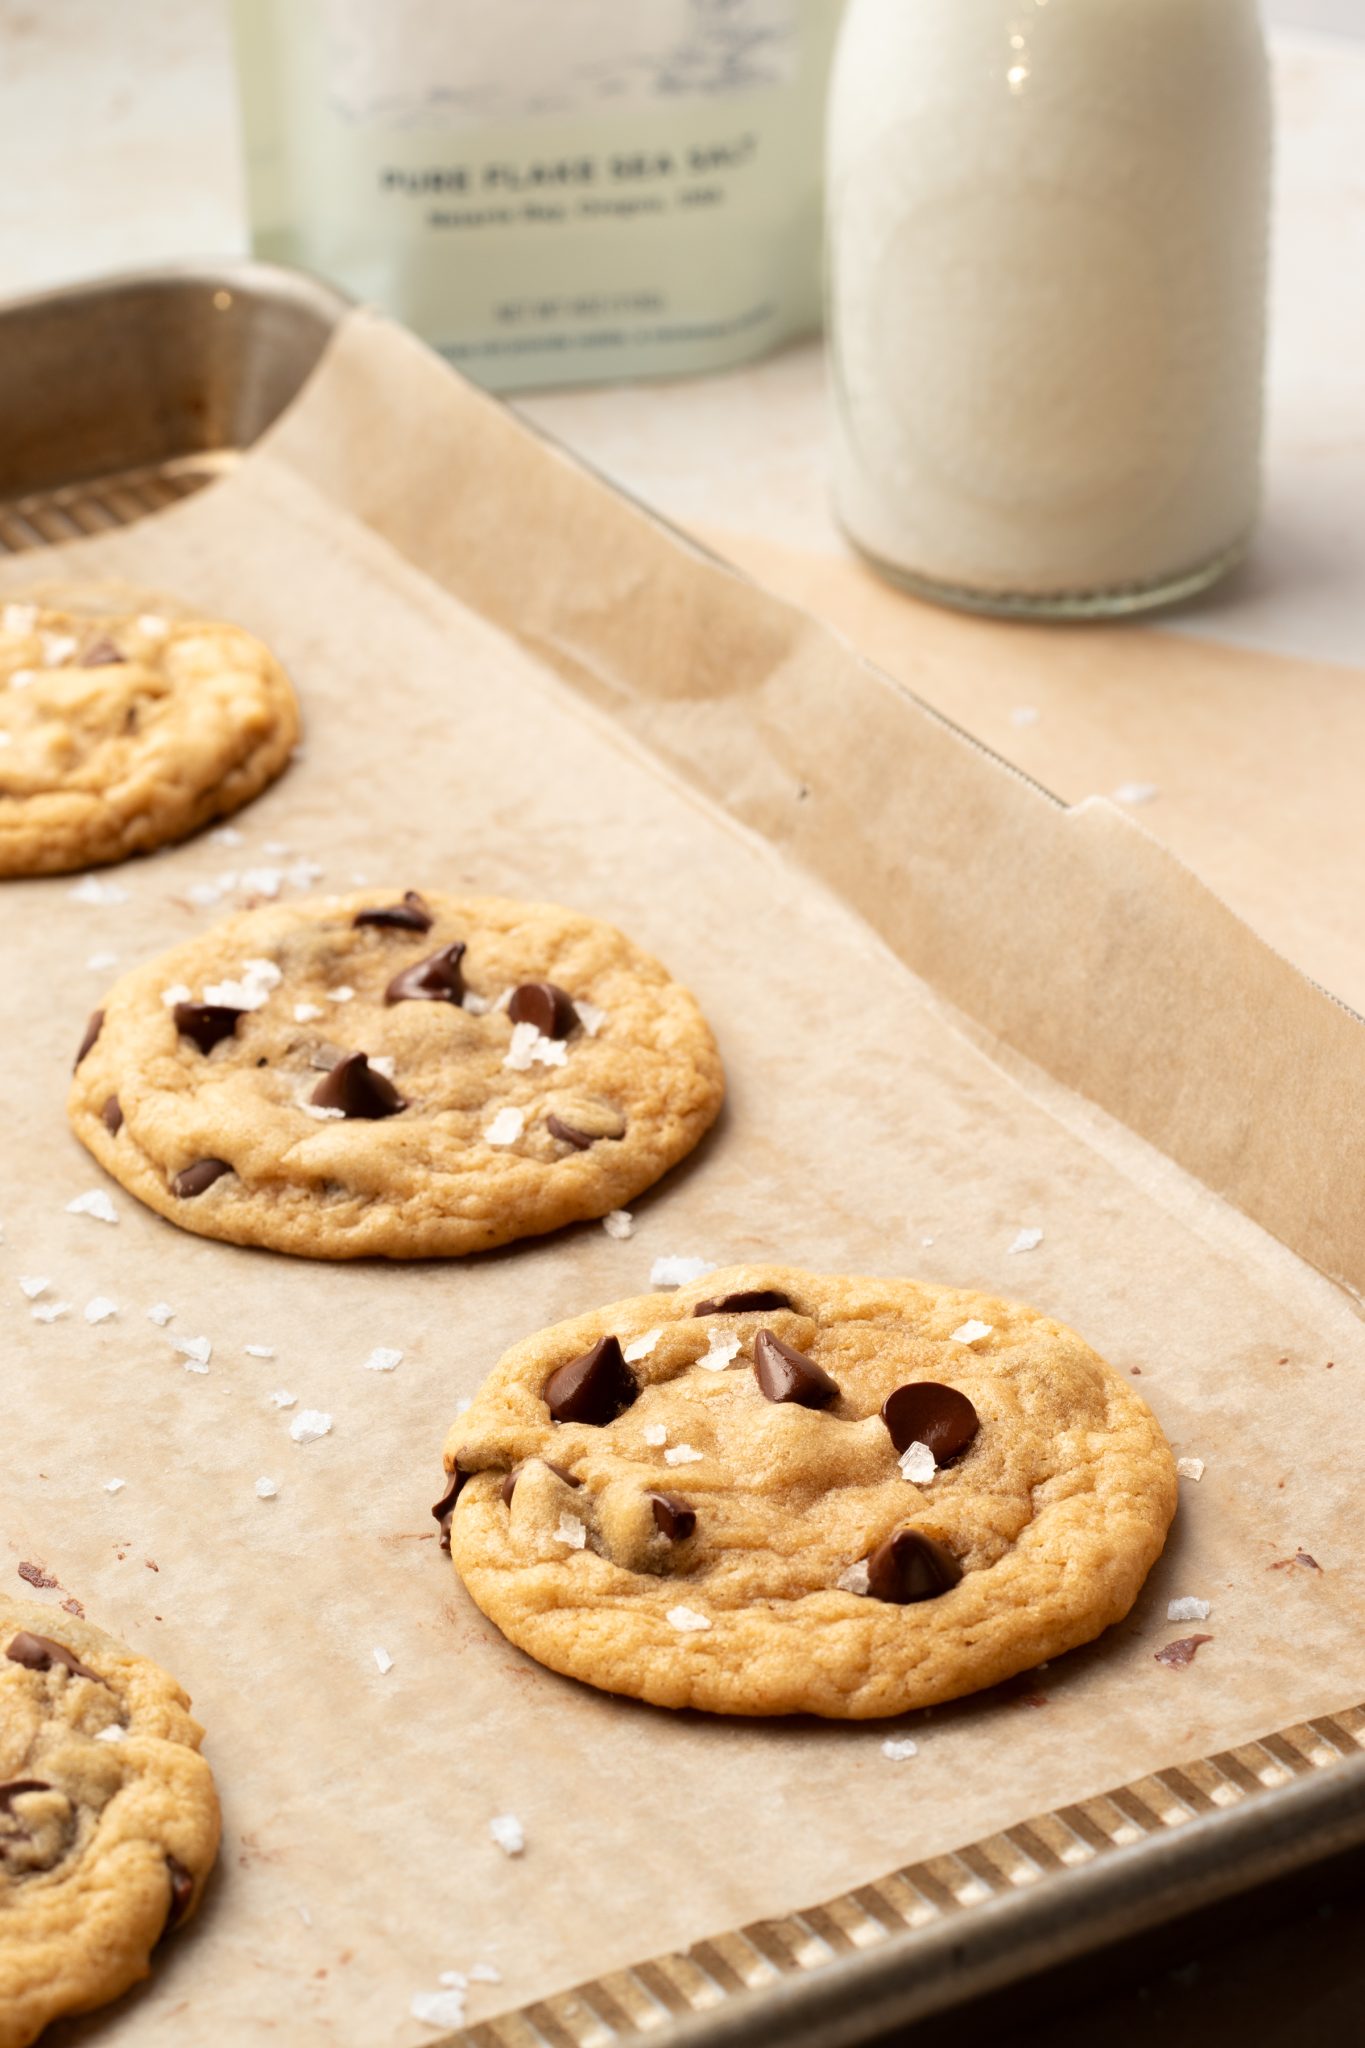
Success Tips
- Spoon and level flour properly: Spoon the flour into your measuring cup and be sure it’s leveled. Do not scoop the flour out of the container/bag with your measuring cup because you could end up with 50% more than you need. Spoon and level by using a spoon to scoop the flour into the measuring cup and use the back of a knife to level off the top of it.
- Allow the melted butter to cool before whisking in the sugars. Using melted butter will help create a rich and fudgy center in these cookies, unlike softened butter.
- These cookies are soft and puffy when they first come out of the oven! Be sure to allow them to rest on the cookie sheet, then transfer to a wire rack so they can set up completely.
- While the cookies are still warm, place a circular cookie cutter or a circular drinking glass around one of the cookies (it should be larger than the cookie so you don’t cut off any edges) and give the cookies a spin. Swirling the cookie should help to smooth out any uneven edges and make the cookies perfectly circular.
- Do not over bake. These cookies look very soft and slightly under baked when you take them out of the oven. But they will settle and create a fudgy soft center in the middle as they cool, thanks to the melted butter and sugars and perfect ratio of dry ingredients.
- Do not crowd the baking sheet. I like to bake 6 cookies at a time. Overcrowding the cookies can lead to them baking into each other and creating wonky shapes. We want the heat to circulate evenly around the cookies, so if you find your cookies are spreading too much, bake fewer cookies on your sheet at one time.
Storage
- Store these chipless chocolate chip cookies in an airtight container at room temperature for up to 5 days, or in the freezer for up to 3 months.
- To freeze the cookie dough, scoop the dough into 2 Tbsp. balls and freeze in a single layer in an airtight container for up to 3 months. You can bake the frozen cookie dough from frozen, just add an extra minute or so to your bake time. Ovens vary.
- Make Ahead: You can make the cookie dough and chill it in the refrigerator for up to 2–3 days. Allow to come to room temperature then continue to bake as directed.
shop this post
 Buy Now →
  Buy Now →
 Before You Begin! If you make this, please leave a review and rating letting us know how you liked this recipe! This helps our business thrive & continue providing free recipes.
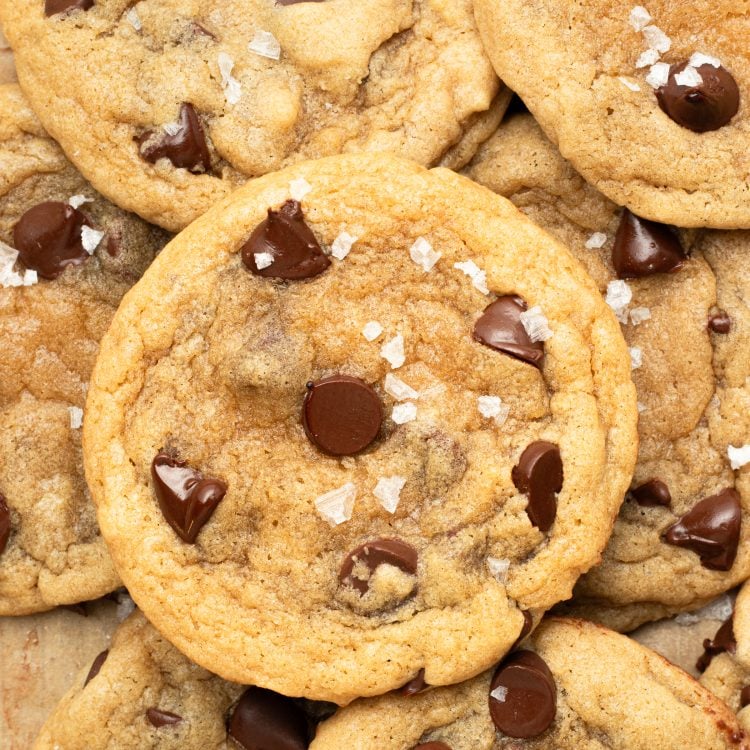
Ingredients
- 1/2 cup unsalted butter
- 3/4 cup dark brown sugar, packed
- 1/4 cup granulated sugar
- 1 large egg, room temperature
- 1 large egg yolk, room temperature
- 1 Tbsp. pure vanilla extract
- 1/2-1 tsp. lemon juice
- 1 3/4 cup all purpose flour, spooned and leveled
- 1 tsp. baking soda
- 1 tsp. cornstarch
- 1 tsp. kosher salt
- 3/4 cup semi sweet chocolate chips (plus more for decorating on top)
- flaky sea salt (such as Maldon), optional for finishing
Last step! If you make this, please leave a review and rating letting us know how you liked this recipe! This helps our business thrive & continue providing free recipes.
Instructions
- Preheat the oven to 325°F and line 2 baking sheets with parchment paper or silicone baking mats.
- Melt the butter in a microwave safe bowl in 30 second increments until melted. Allow to cool for 5-10 minutes just so it's not super hot.1/2 cup unsalted butter
- Add the sugars to a mixing bowl, and then whisk the melted butter in the sugars until it looks sort of like a paste. Be sure to break up any lumps of brown sugar with your fingertips.3/4 cup dark brown sugar, packed, 1/4 cup granulated sugar

- Add in the egg, egg yolk, vanilla, and lemon juice and whisk until combined.1 large egg, room temperature, 1 large egg yolk, room temperature, 1 Tbsp. pure vanilla extract, 1/2-1 tsp. lemon juice

- Add in the dry ingredients and stir just until combined.1 3/4 cup all purpose flour, spooned and leveled, 1 tsp. baking soda, 1 tsp. cornstarch, 1 tsp. kosher salt

- Fold in the chocolate chips (just fold it in 😉).3/4 cup semi sweet chocolate chips (plus more for decorating on top)

- If the cookie dough feels wet or sticky, let it sit on the counter for a few minutes and the flour will hydrate. Scoop the cookie dough using a 2 Tbsp. scoop and place on the prepared cookie sheet (I bake 6 cookies at a time). You should get about 18 cookies. Decorate the tops of the cookies with a few more chocolate chips on top, ~4-5 chips on top of each cookie is good.

- Bake for 8-10 minutes (under baking is super key for this recipe!). Right when you take them out of the oven, place a circular cookie cutter or a circular drinking glass around the cookies (it should be larger than the cookie so you don’t cut off any edges) and give the cookies a spin to give them a perfect circular shape.
- Allow to cool on the cookie sheet for just about 5 minutes then carefully transfer to a wire rack to cool completely. Finish with flaky sea salt, if using, and enjoy! PS: I love these cookies the longer they sit, like after an hour or 2 out of the oven is perfect. But next day, with morning coffee? Game over. SO GOOD!flaky sea salt (such as Maldon), optional for finishing

Notes
Nutrition Information
Nutritional information is provided as a courtesy and is automatically calculated. It should only be construed as an estimate rather than a guarantee. Ingredients can vary and Kroll’s Korner can’t make any guarantees to the accuracy of this information.
📸 Photography by Marie-Catherine Dubé

Just a yummy classic CCC recipe! Crazy easy and delicious. My scoop was too big so I only got 12 cookies instead of 18 but they were great. I’ll use my smaller scoop next time. These had a great texture to them. Salt on top is a must!!
Those looks so great, Kellie! 🥰 I’m so glad you enjoyed them!
I have heard nothing but great reviews about your chocolate chip cookies. I want to make them 110 g minimum and I actually use the 4″ rings. Do you think this recipe will work for this? Thank you
Aw thank you so much Marcella! I haven’t tried that specifically so I can’t say for sure but I think it could work?! If you do try it out let me know how it goes! 🙂
Made these cookies for Christmas Eve for all my sisters and we all agreed that this is the best cookie recipe ever !! Thank you so much !
OMG what a compliment, they look great! Thank you! 🙂
I had to give some of these away to my neighbors because they are so good I cannot stop eating them. So good. So rich. So classic. Chefs kiss!
SO PRETTY!! Thank you so much Mackenzie 🙂
So good! Easy recipe. My daughter even asked me for the recipe and I shared your entire site
Aw I am soo glad! Thank you! 🙂
I never leave a review for anything but I’ve made this multiple times and they truly are not only really good but really easy and always a big hit. Absolute perfection! Way to go Tawnie!
Awww I am sooo glad!! Thank you 🙂 They look PERFECT!
Hello. Hope all is well. What kind of kosher salt should I use?
Hello! I use this one: https://a.co/d/esHKaxT
I wish these had worked for me. I make the Kroll’s Kookies and they always turn out deliciousI. I tried this recipe for something different. They turned out really really flat and underbaked even though I followed the recipe exactly with a bake time of 10 min. I don’t usually mind a flat cookie, but this one seemed too underbaked and do not look like the photos. Not sure what happened?
Hi Megan! Oh no I am so sorry to hear. I haven’t had this issue but I can revisit them asap and see if I can troubleshoot anything. You can try chilling the dough to help with overspreading or adding in a touch more flour.
Hi!
I have made these cookies before and they were fabulous! Quick and easy to make, but this time the cookies did not flatten out after baking (still tasted good), any ideas why? Also, how do you keep the cookie dough from sticking in the scoop? I find that the level doesn’t always work or help.
Thanks for your time!
Hello! That’s strange that you’ve made them before and they baked fine but then they didn’t flatten this most recent time? Recipe has remained the same. Maybe too much flour? Or maybe just the kitchen environemnt/temp? I am not sure why it’s sticking in the scoop either, you can try spraying with a little nonstick spray 🙂
Delicious cookie recipe !! Followed recipe exactly & everyone loved ! Thanks Tawnie !
aw that makes me happy. Thanks so much for making & I am happy they were loved!