Easy Lemon Curd
This post may contain affiliate links. Please read our disclosure policy.
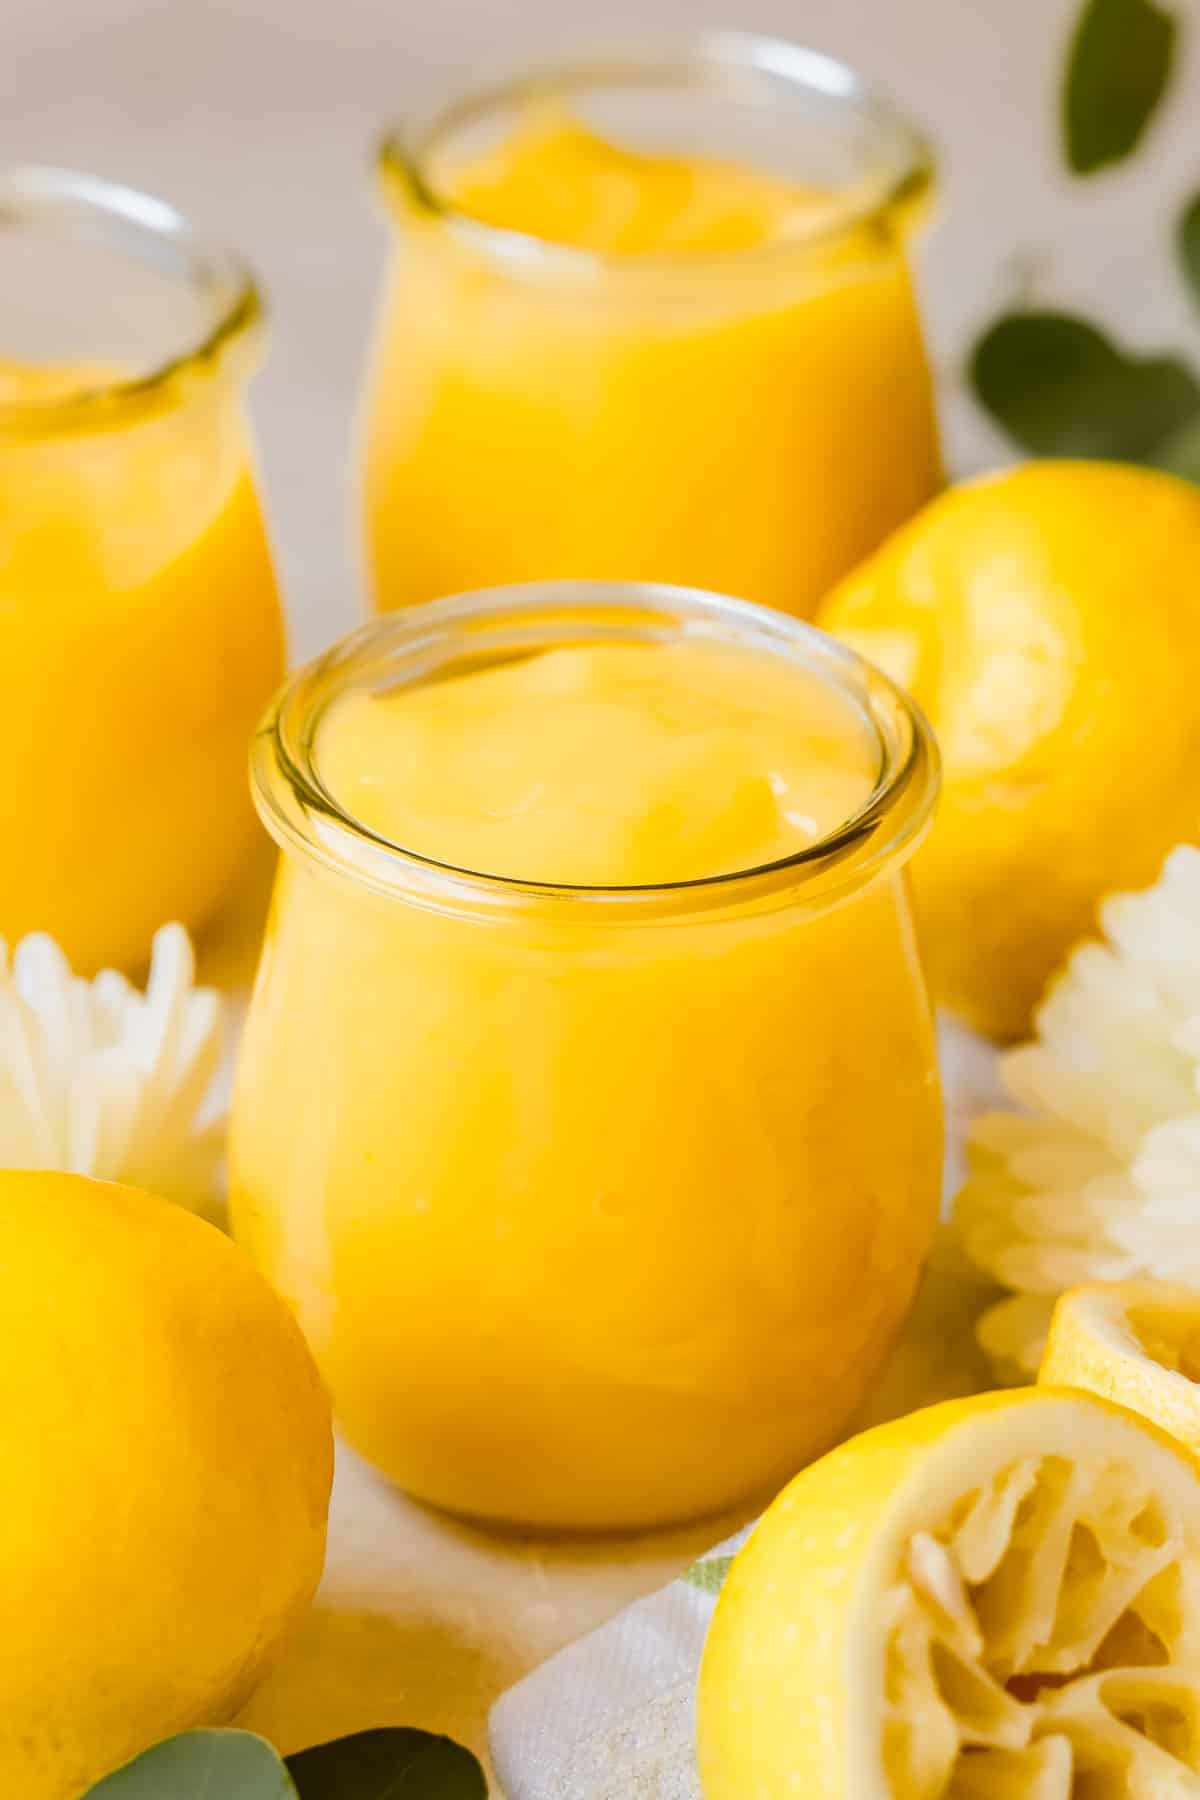
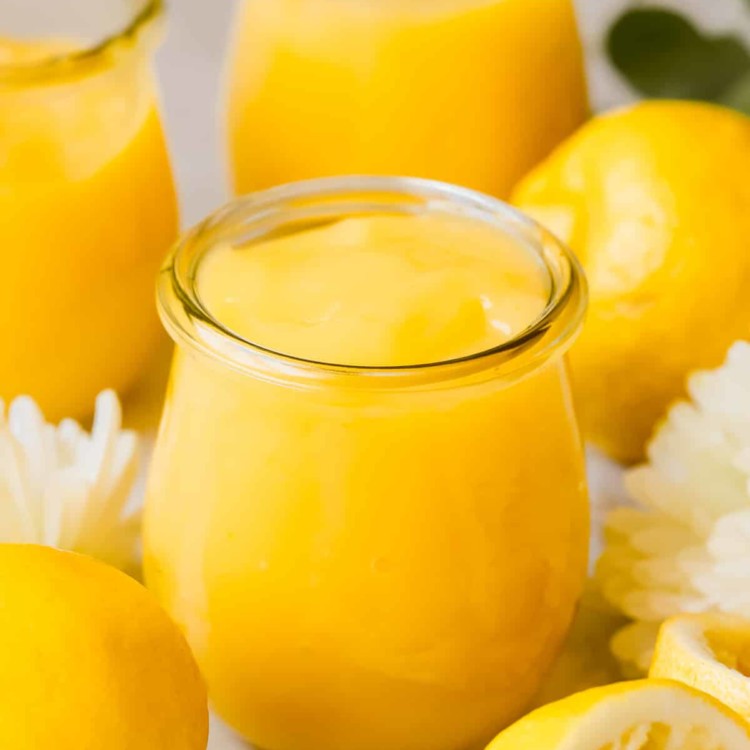
My Easy Lemon Curd is smooth and creamy, tangy and full of citrusy flavor! If you can whisk, you can make lemon curd!
It’s an easy recipe that requires just a bit of whisking to create a beautiful, golden curd that screams Spring and Summer. This recipe works great with cookies, cheesecake, pancakes, waffles, cupcakes, biscuits, scones, yogurt, ice cream…the options are endless.
This recipe is straightforward and has just 4 ingredients: fresh lemons (and zest), sugar, eggs, and salted butter. What you will end up with is the most satisfyingly sweet and tangy, lemony filling with the perfect tangy zing for cakes and cookies and all of us lemon lovers will be in heaven! Oh, and when you are stirring the ingredients on the stove for 25 minutes you will get in a good arm workout too!
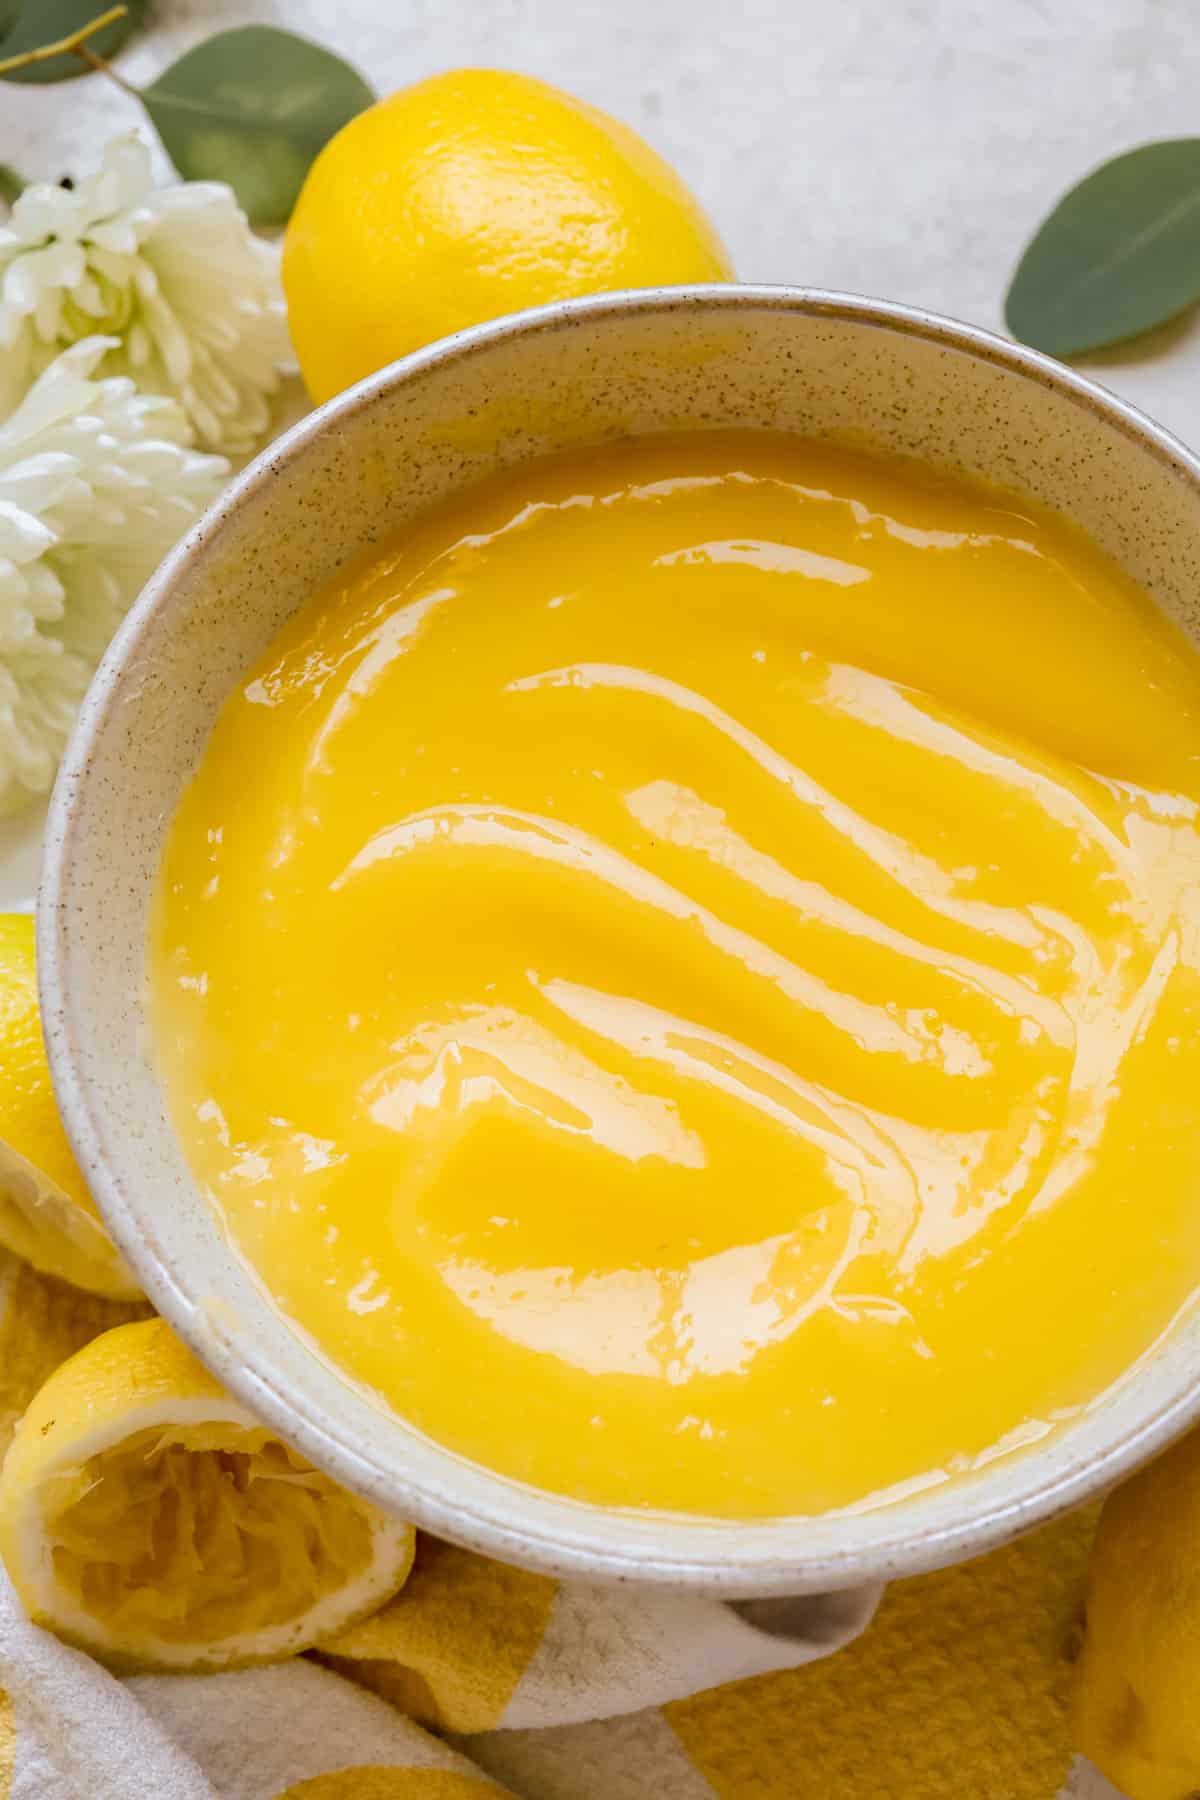
Of course I am really partial to homemade recipes. Not only is my homemade Easy Lemon Curd more flavorful but the color is much more vivid and bright yellow compared to store-bought. Believe me, once you have made curd from scratch, you will never go back to store-bought. Get ready to spread it on everything!
What is Lemon Curd?
Lemon curd is a creamy mixture made from lemon juice, sugar, eggs and butter. The ingredients are cooked together until the mixture thickens. When cooled, the lemon curd becomes thick enough to spread and is used as a topping for a variety of desserts and breads. You can make curd from plenty of juices and fruits like oranges, limes, raspberries, strawberries, mangoes, cranberries, etc.
Why This Recipe Works
- This recipe makes a big batch (2 cups) so you have leftovers for several other recipes.
- Makes for easy clean up since this is just a one pot recipe!
- It stores really well in the refrigerator.
- It’s homemade!
- No artificial ingredients or thickeners added.
Ingredient Notes
For the ingredient measurements and entire recipe, be sure to scroll down to the bottom of the blog post where the recipe card is located.
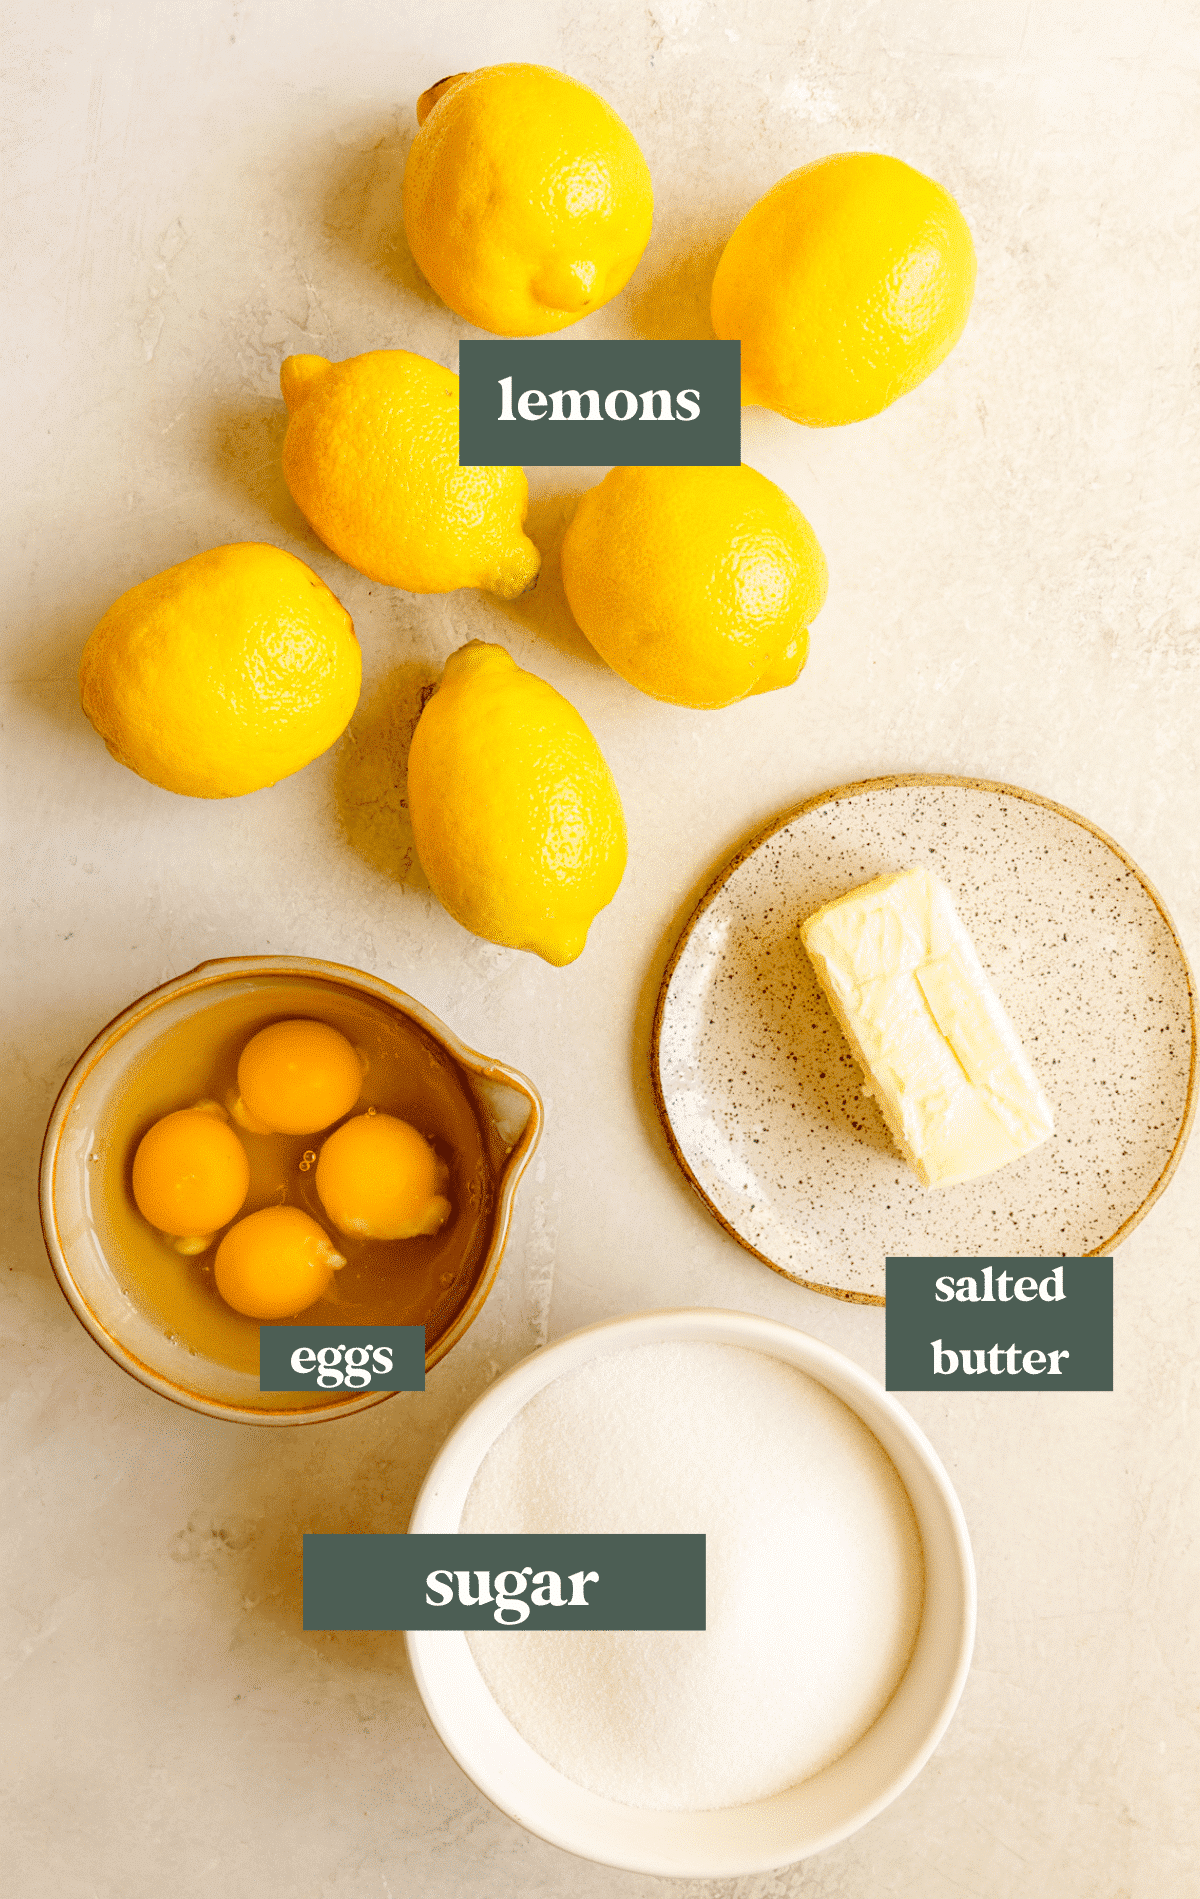
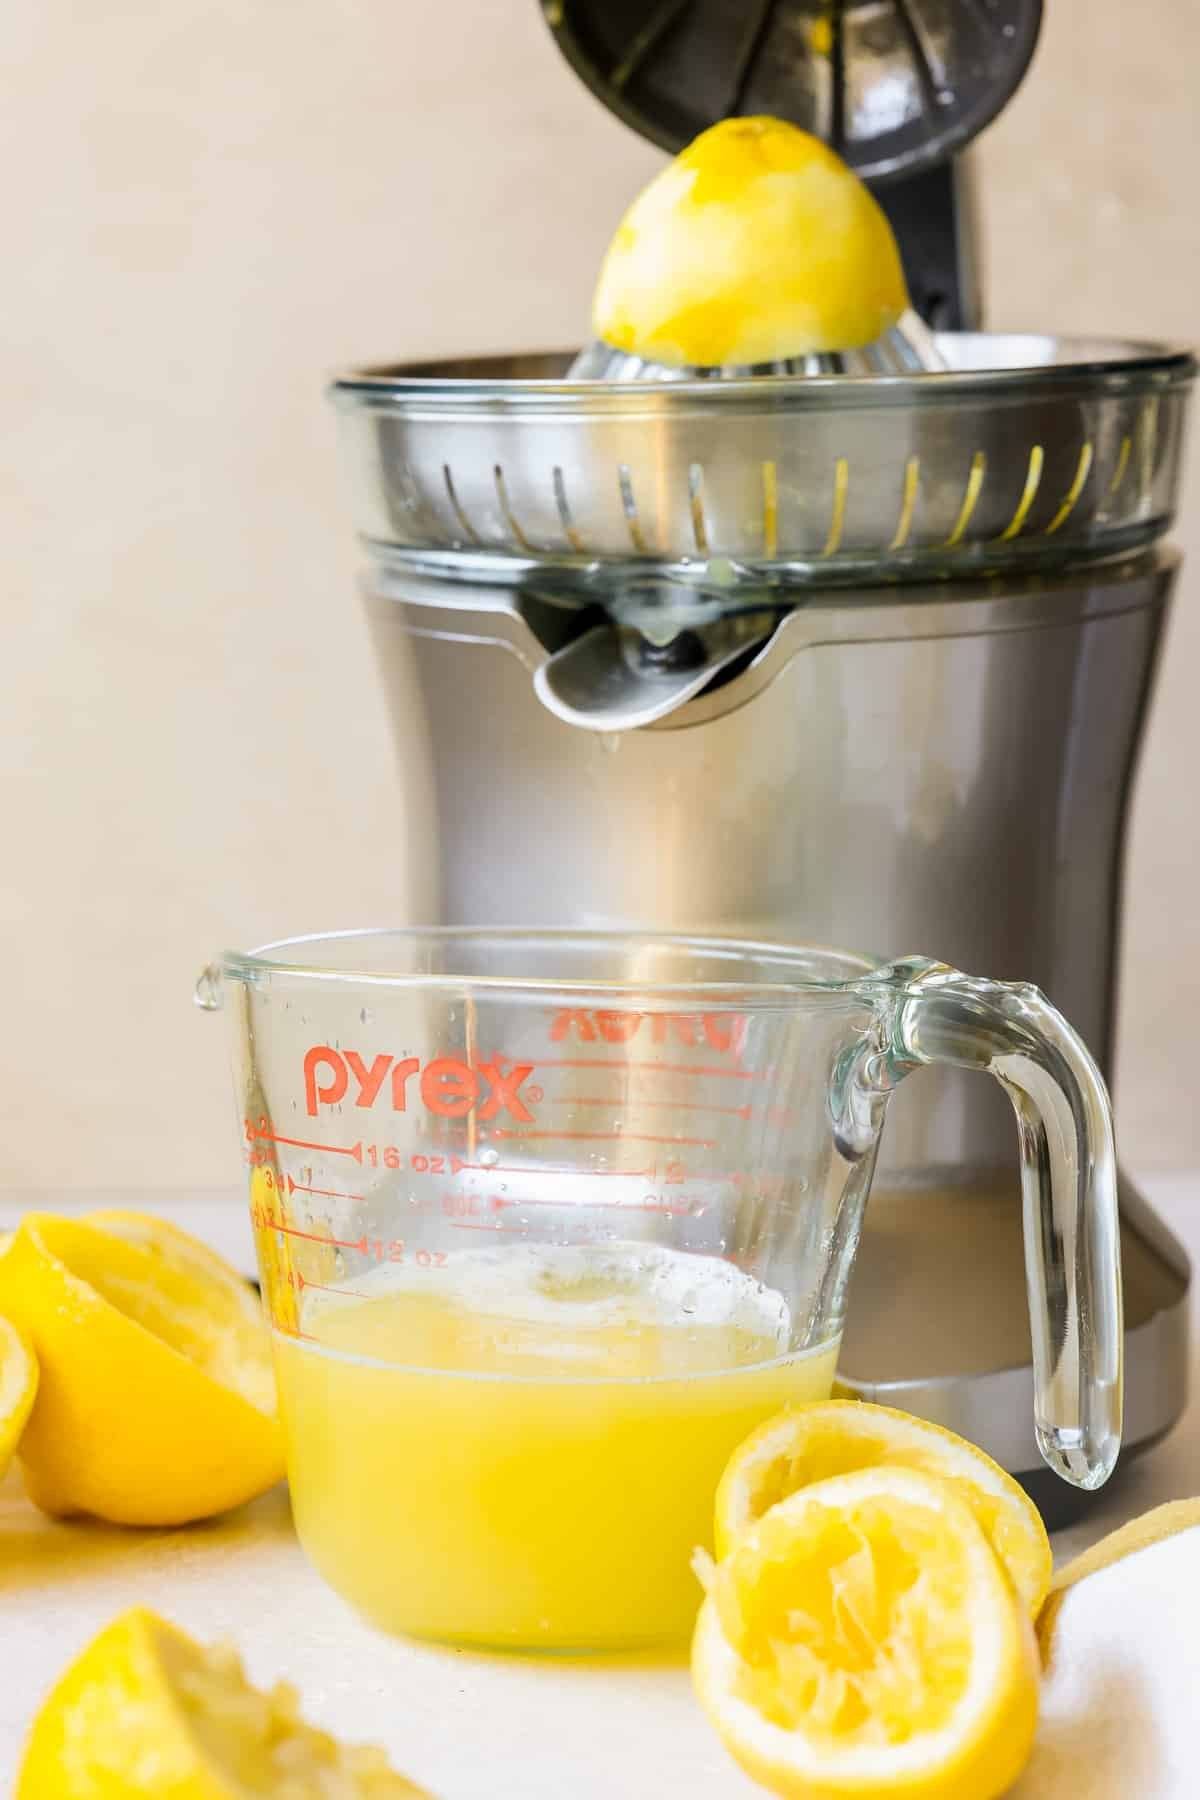
- Lemons: You’ll need about 5-6 lemons to get 1 cup of freshly-squeezed lemon juice, plus 1 Tbsp. of lemon zest.
- Eggs: I like using the whole egg, both the whites and yolk for the best flavor and consistency. Some recipes only use for yolks for a rich lemon curd.
- Sugar: Sugar helps to balance the sweet and tart flavors. Granulated sugar is best, and it is not recommended to use brown sugar, coconut sugar or any other sweetener because it will change the consistency and overall end product. Feel free to use less sugar for a more tart lemon curd.
- Butter: I prefer using salted butter so you don’t have to add any salt to the recipe. But if you only have unsalted butter, add 1/4 tsp. fine salt to the curd to balance the flavors. The butter helps give the curd a velvety smooth mouthfeel.
Step by Step Directions
For the full recipe instructions, scroll down to the bottom of the blog post to the recipe card.
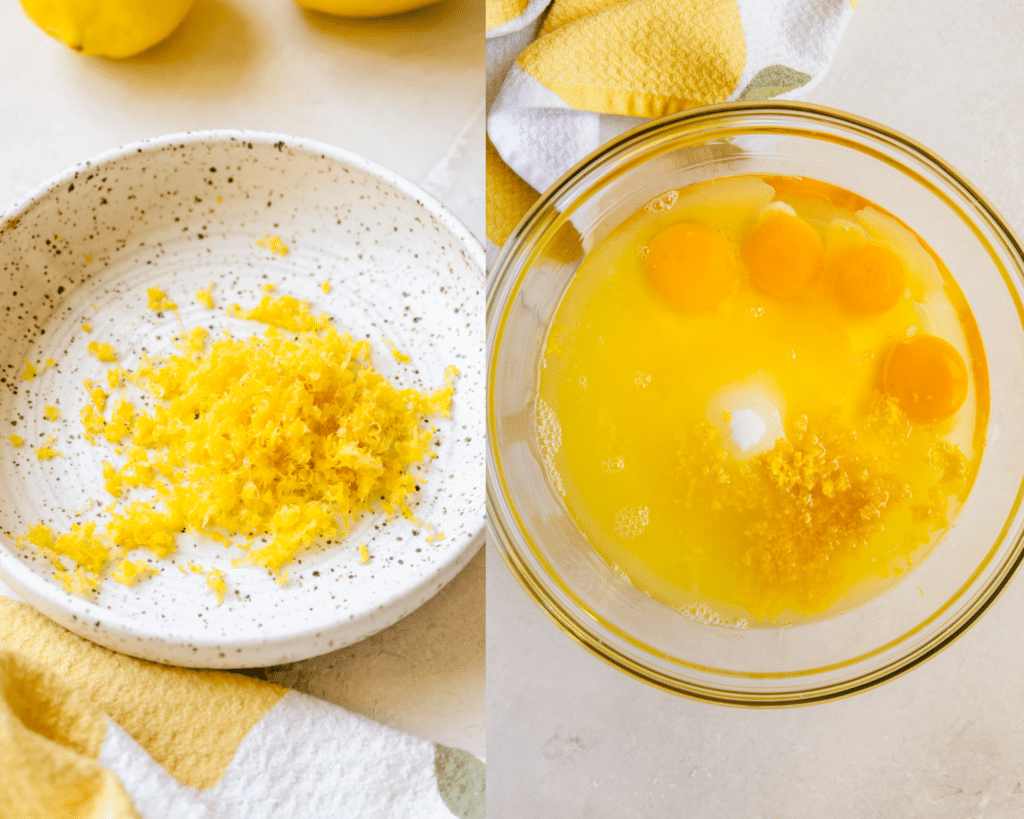
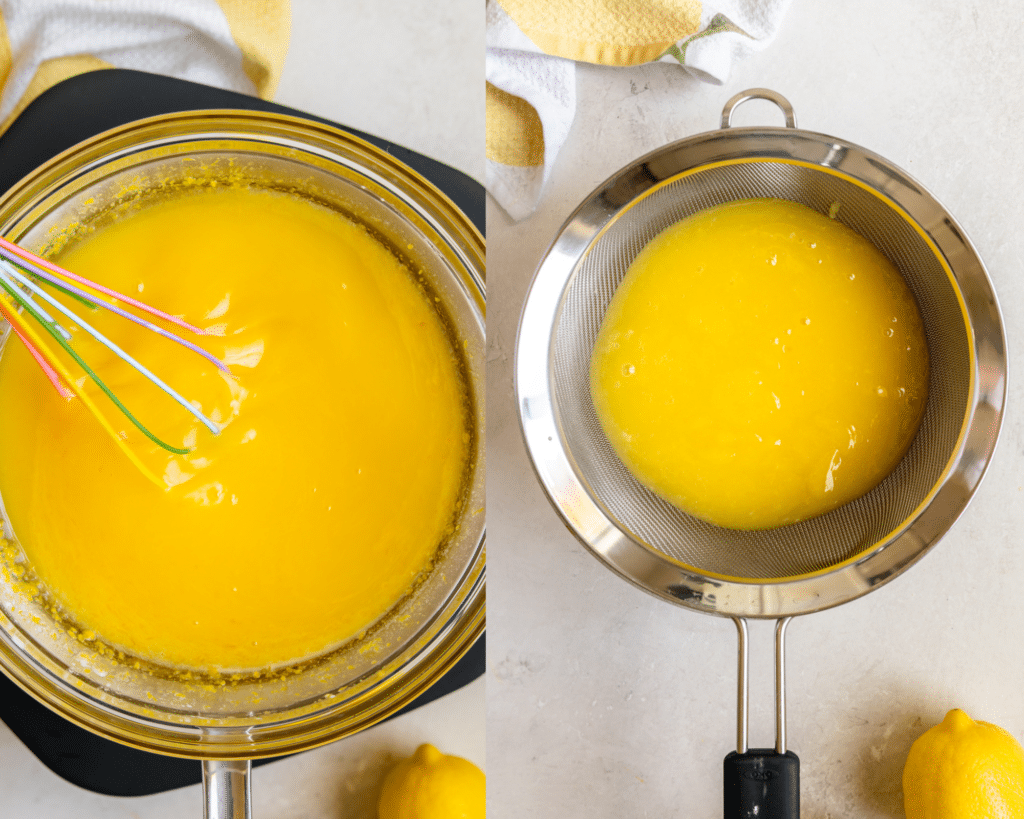
- Whisk together the sugar, eggs, lemon juice and lemon zest.
- Add the butter.
- Whisk continuously over a double boiler for ~25 minutes.
- Strain through a fine mesh sieve.
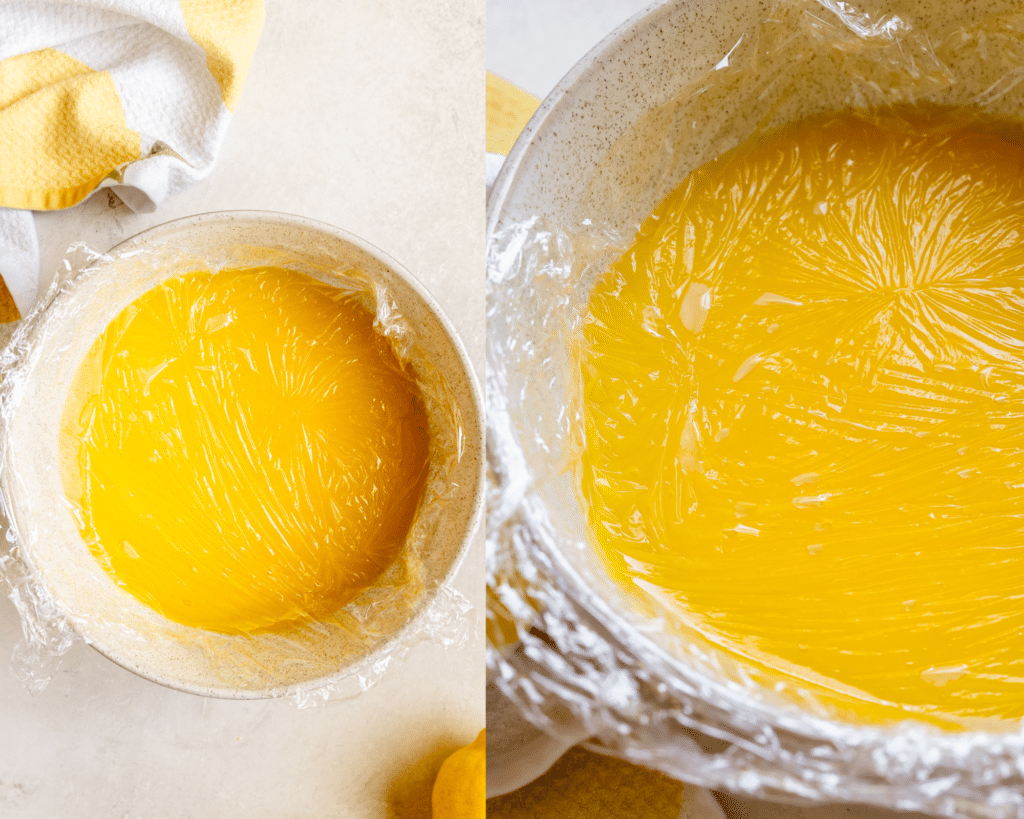
- Press plastic wrap on top.
- Cool at room temperature and then chill until thickened.
Expert Tips and Variations
- I don’t recommend using bottled lemon juice. Use fresh-squeezed for the best flavor.
- Be sure to continuously whisk the entire cook time. Walking away can result in a lumpy curd with cooked egg. Just think of this as a chance to get a nice little arm workout in!
- Strain the curd after it cooks for a super silky consistency.
- To get the most juice out of your lemons, microwave the lemons for 10-15 seconds before slicing in half and juicing.
- A lot of recipes call for adding the butter in after the curd is cooked for a silky smooth finish. However, I like to bend the rules a bit and find cooking the butter with all the ingredients works just as fine. If you add the butter in afterwards, keep the butter cold (not room temperature) and add it in a cube at a time, whisking in between to create a satiny smooth, silky finish.
- If you prefer a less sweet lemon curd, use less sugar. It will be more sharp in flavor and more tart with less sugar.
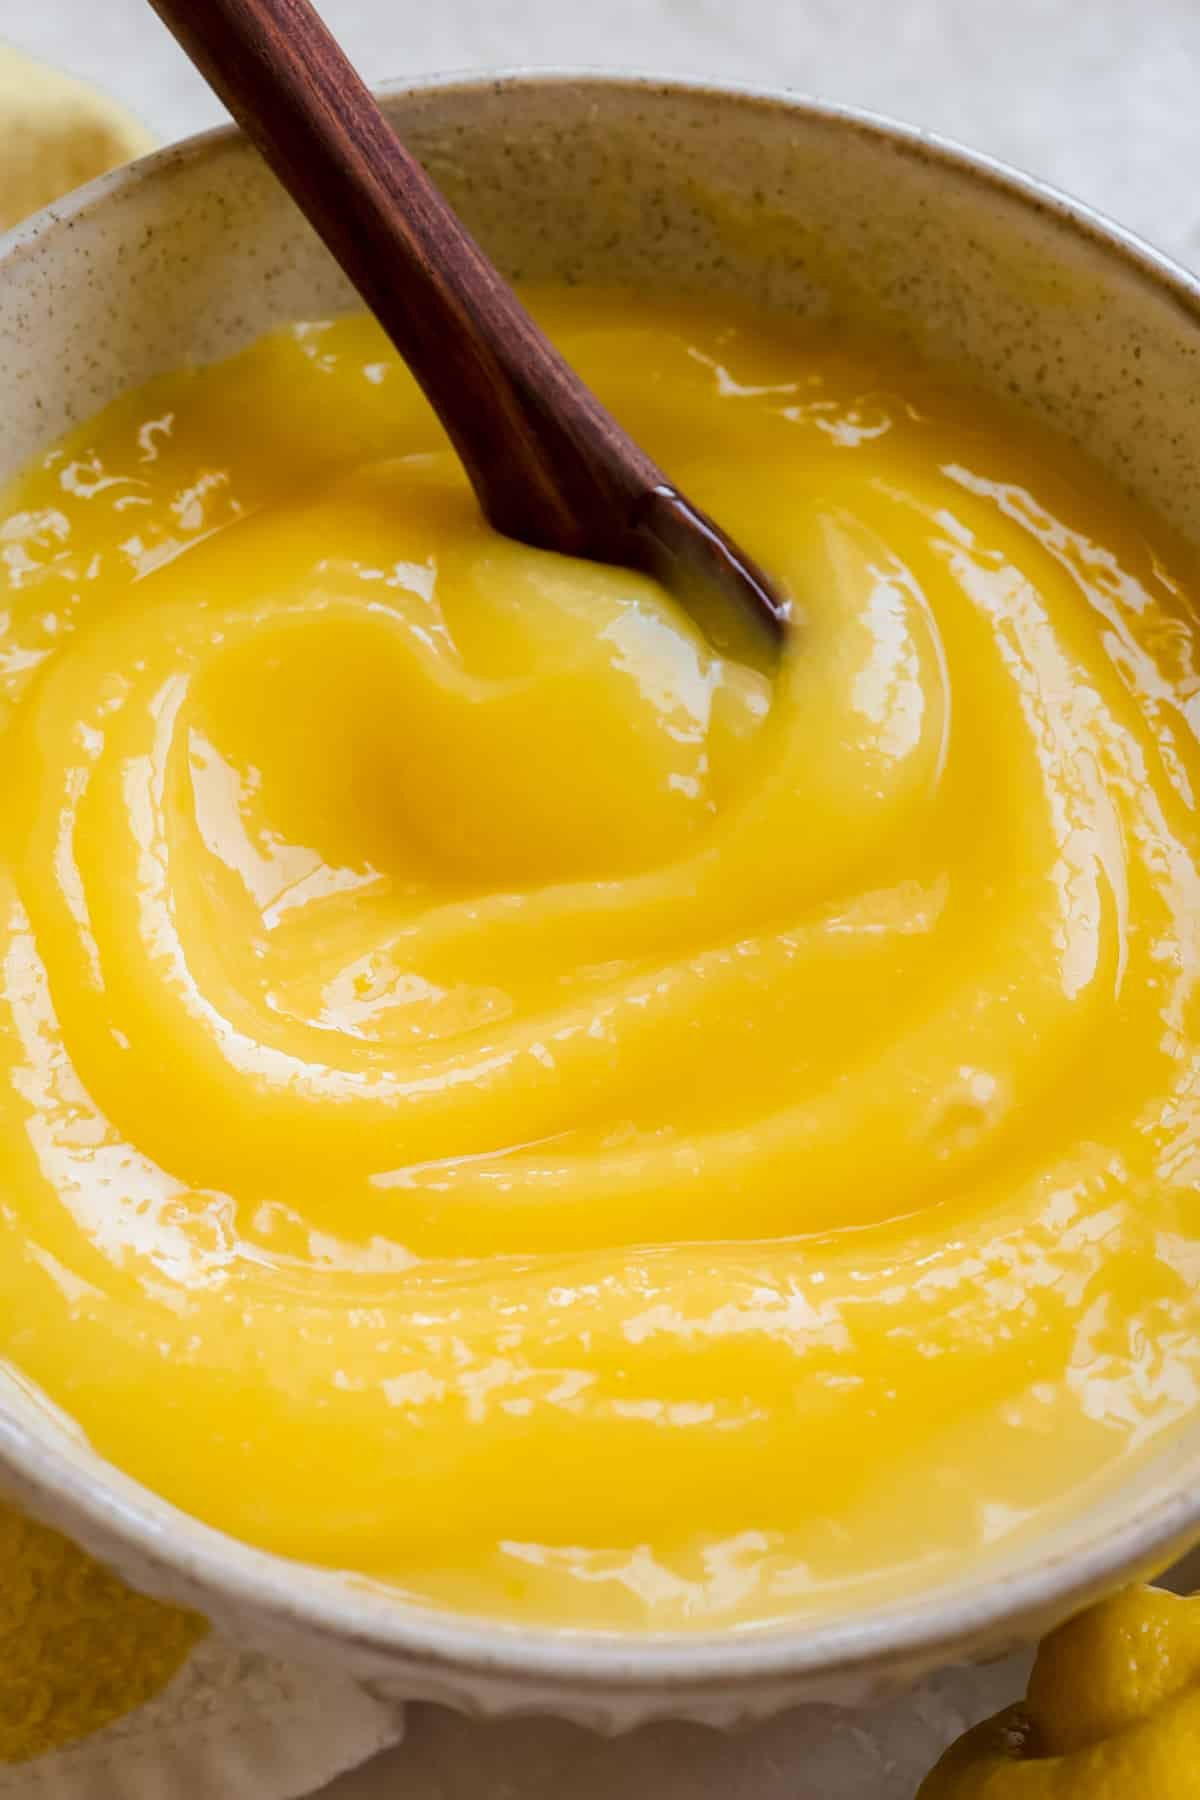
- Lumpy curd: If your lemon curd is turning out lumpy, you may have the heat too high or aren’t whisking the entire cook time. Be sure to whisk over a medium-low heat, and just keep whisking!
- When to tell lemon curd is done: You’ll know the lemon curd is done and you can stop whisking when it can coat the back of a spoon, or reaches 170°F.
- If you want a smaller batch just cut the recipe in half and your cook time will shorten as well.
- Lemon curd makes for a great gift! Gift a jar or 2 and spread the sunshine to your friends and family.
- Be sure not to let the bowl touch the simmering water. Too much direct heat can ruin the curd.

FAQ
Why isn’t my lemon curd thickening?
It may just need to cook a little bit longer. It can take up to 30 minutes sometimes of continuous whisking. And keep in mind, the curd will thicken more as it cools!
What do you eat with lemon curd?
So many options! You can make a tart, add it on top of pancakes, waffles, cakes, cheesecake, pies, ice cream, cookies, tiramisu, or simply spread on some toast!
How long does lemon curd last in the fridge?
Up to 1 week, if it even lasts that long! ?
Can I make lemon curd in the microwave?
The quick answer is yes. BUT, I did test this method out compared to the double boiler method and personally did not like it. It had a grainy texture, and the taste was totally different compared to the double boiler. It also baked differently in my lemon cookies, spreading more. I recommend spending a few extra minutes whisking, and skipping the microwave method for best results.
Why is my lemon curd bitter?
When zesting the lemons, make sure that you only zest the yellow part of the lemon peel, and not any of the pith or white part from the peel. The pith is bitter and if you zest it into your curd it will make it bitter.
Can I freeze lemon curd?
Yes you can. Just seal in an air tight container and you can store it in the freezer for up to a year. Before using, thaw the frozen lemon curd in the refrigerator for 24 hours before using.
shop this post
 Buy Now →
  Buy Now →
 Before You Begin! If you make this, please leave a review and rating letting us know how you liked this recipe! This helps our business thrive & continue providing free recipes.
Easy Lemon Curd
Ingredients
- 1 cup lemon juice, freshly squeezed (~5-6 lemons)
- 1 Tbsp. lemon zest (~from 2 lemons)
- 1 3/4 cups sugar
- 4 large eggs
- 1/2 cup salted butter
Last step! If you make this, please leave a review and rating letting us know how you liked this recipe! This helps our business thrive & continue providing free recipes.
Instructions
- Fill a medium sized saucepan with 2 inches of water. Bring to a boil over high heat. Then turn the heat down to medium-low so the water is at a simmer.
- Whisk together the lemon juice, lemon zest, sugar and eggs in a heatproof mixing bowl. Slice the butter into cubes and add to the egg mixture.1 cup lemon juice, freshly squeezed (~5-6 lemons), 1 Tbsp. lemon zest (~from 2 lemons), 1 3/4 cups sugar, 4 large eggs, 1/2 cup salted butter
- Place the bowl over the simmering water and get ready for a little arm workout! Whisk continuously for ~20-25 minutes or until the curd begins to thicken. The curd might look curdled from the butter at first, but it will smooth out as you continue to whisk.
- This makes a big batch of lemon curd (2 cups), which is why it takes some time to thicken, but the time can also vary based on your stovetop burner. I like to check the temperature with a thermometer and you'll know when it's done when it reaches 170°F or can coat the back of a spoon.
- Strain the curd through a fine mesh sieve into a glass bowl.
- Cover with plastic wrap, pressing the plastic wrap down directly on the warm curd to help prevent a top layer of film from forming (this is called contact wrapping).
- Allow the curd to cool at room temperature, then transfer to the fridge to cool completely, at least 4 hours or overnight. The curd thickens when it cools so allow it plenty of time to chill prior to using.
- Refrigerate the curd in sealed glass jars for up to 1 week. Enjoy!!
Notes
- Freeze: freeze the curd for up to 1 year in sealed, freezer safe containers. Thaw in the fridge the night before before using the next day.
- Salt: I like to use salted butter to balance the tart and sweet flavors. If you only have unsalted butter, simply add 1/4 tsp. salt to the recipe.
- Straining: I prefer straining the curd after it cooks to get rid of the zest and any egg that may have cooked. I love doing this even if I feel like I made it perfectly just to ensure a velvety smooth lemon curd.
- Butter: some recipes add the butter after the curd has cooked, but I find adding it in while it’s cooking is fine, too. If you want to add the butter in after it cooks, simply remove from heat, whisk the butter in a tablespoon or so at a time and let the heat from the curd melt the butter.
Nutritional information is provided as a courtesy and is automatically calculated. It should only be construed as an estimate rather than a guarantee. Ingredients can vary and Kroll’s Korner can’t make any guarantees to the accuracy of this information.

There seems to be an error, when the metric setting is chosen. This error becomes evident when scaling up and looking at the butter amounts, toggling between US customary and metric. Would love to try it, but unsure on the butter weight!
Hello, I am not sure where the issue is as I cannot replicate it on my end. 1/2 cup butter is 113 grams. And if you double it, 226 grams.
I love everything LEMON. Making this to add to the cheesecake bars. This curd soooo delicious and easy to make, had to tag in my husband midway LOL. Side note: Thank you for how you lay out your recipes, it really helps me!
Thank you so much for making it! The whisking can be a lot haha! So glad you enjoyed the user experience of the recipe layout 🙂
The very BEST lemon curd I have ever made!!
I’ve made this twice now and it is absolutely divine!!! Simple yet decadent with crepes. Would it work well using orange?
I am so glad you love it!! thank you 🙂 I haven’t tested it with orange but I bet it would work well!
Can this be put in a lemon meringue pie? If so, do you think one batch would work? Thanks
I haven’t personally tested that but I bet it would work beautifully! This makes a big batch so I would just add however much you think your pie needs. <3
Absolutely delicious! Great in cookies or eaten plain with crackers. Yum!
yay! Thank you so much 🙂
Honestly, I could eat this with a spoon. It’s beyond delicious and very simple to make, the directions are easy to follow!
it’s beautiful!!! thank you soooo much! yayyyy 🙂
I enjoyed making this lemon curd! It was a wonderful challenge as I hadn’t made it before. I also love how minimal ingredients make such a delicious topping and it makes so much!
yayyyy~ thank you sooo much!!