No Bake Mini Biscoff Cheesecakes
This post may contain affiliate links. Please read our disclosure policy.
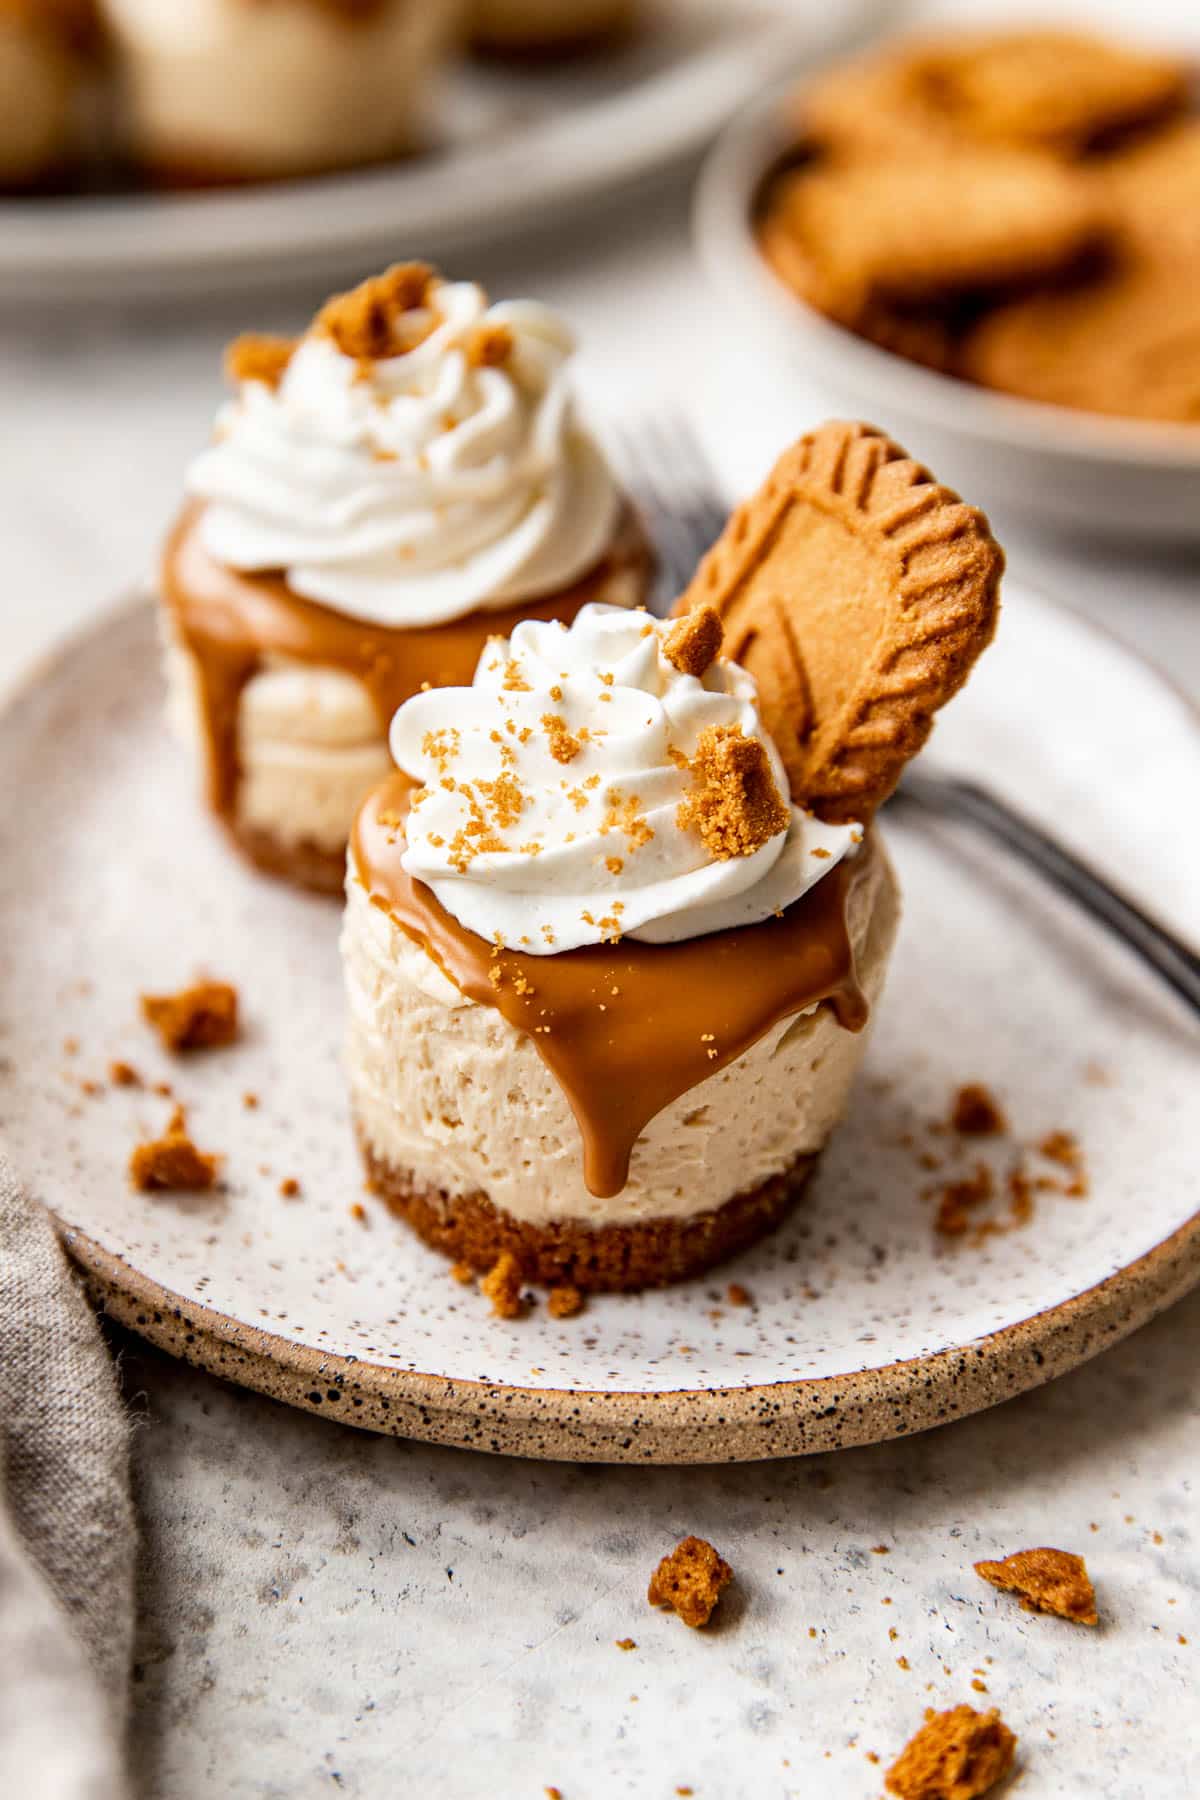
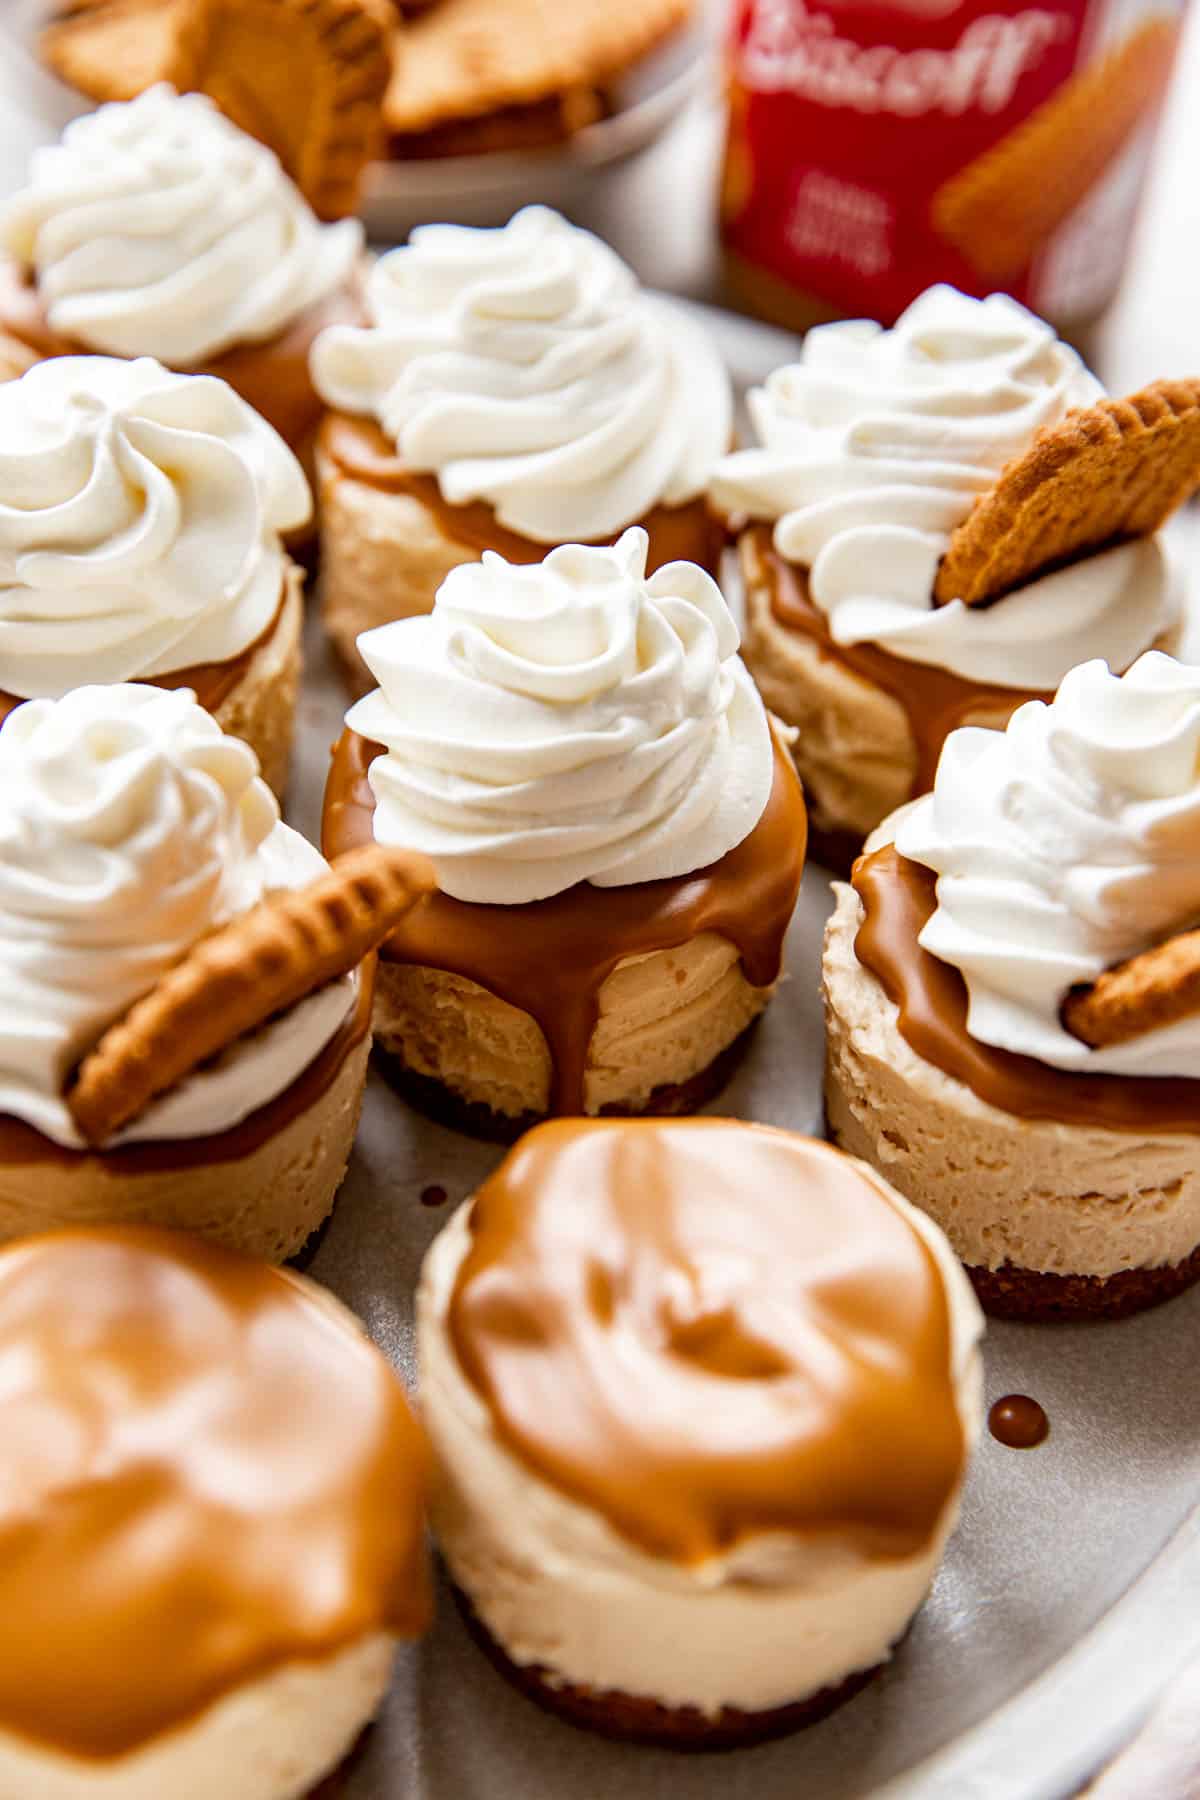
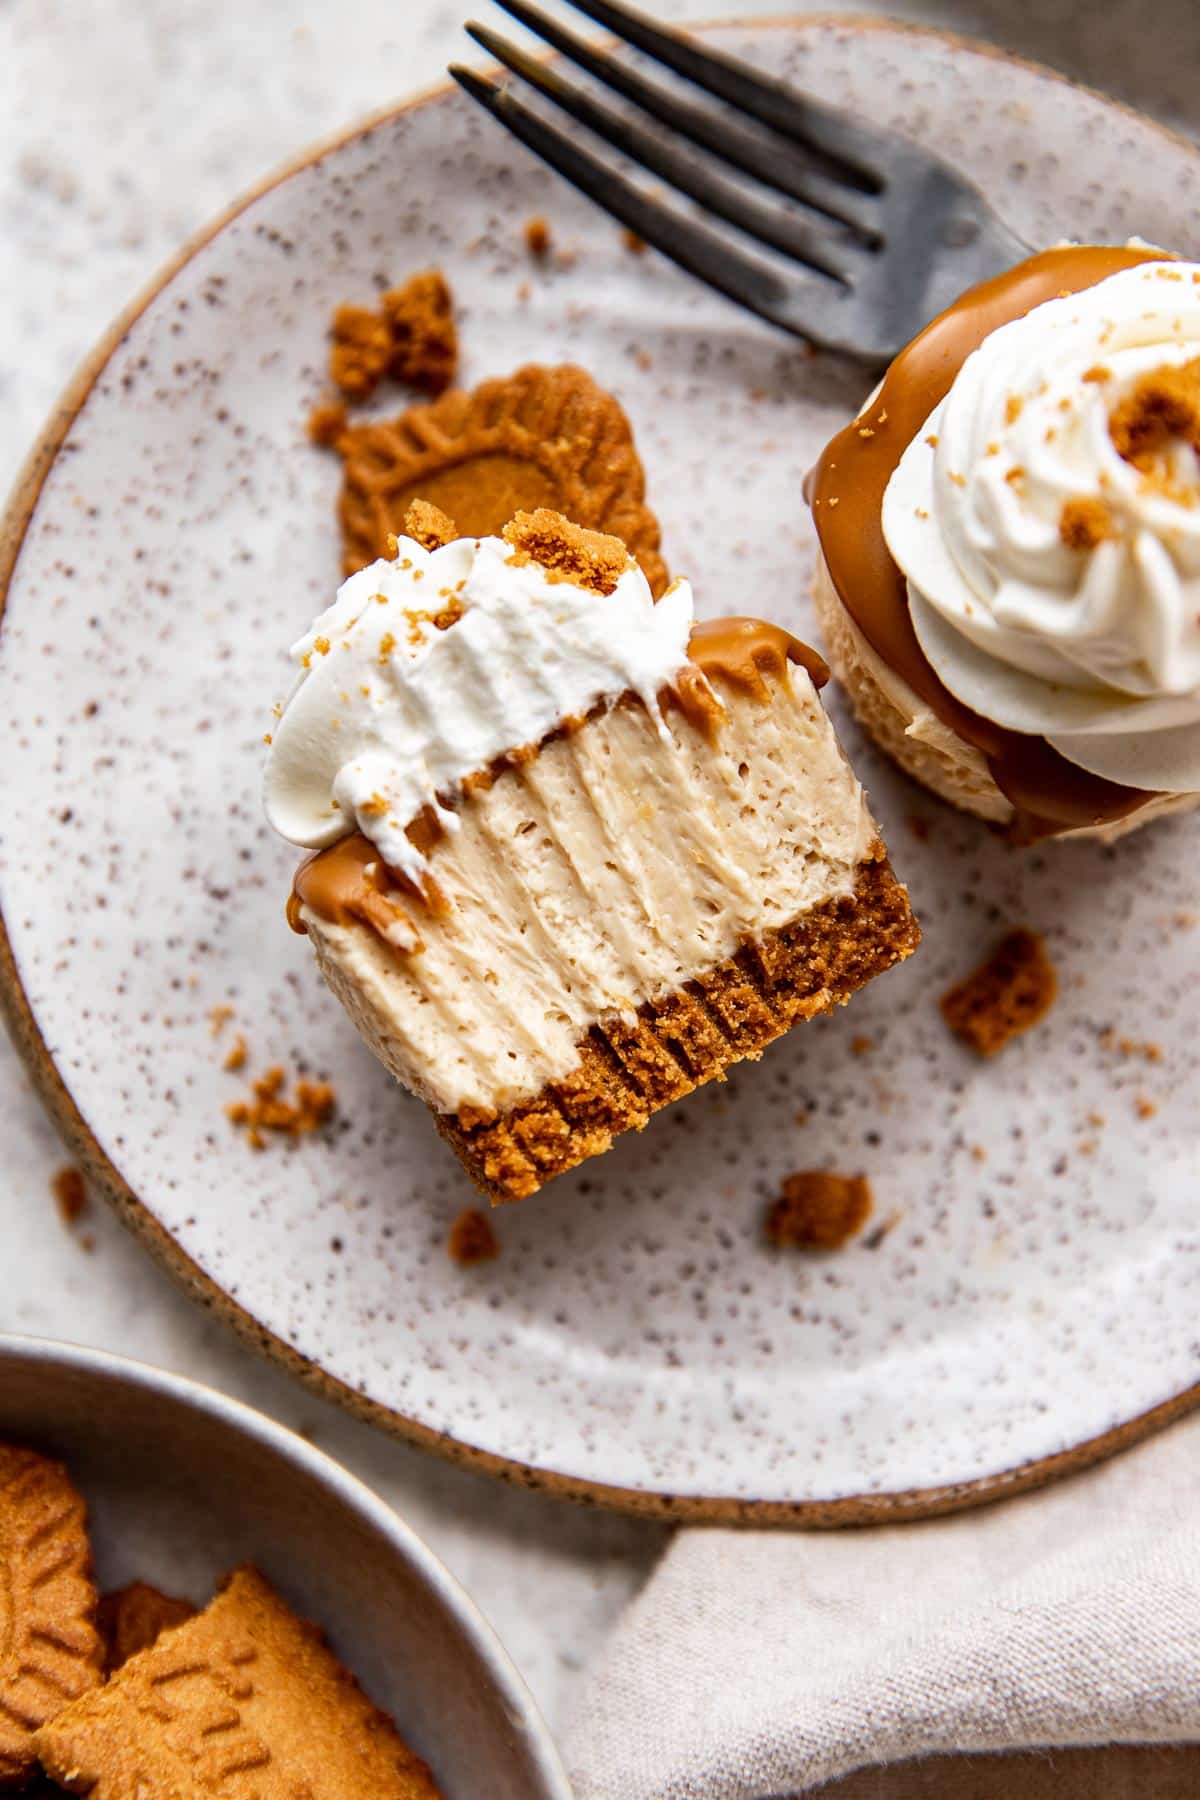
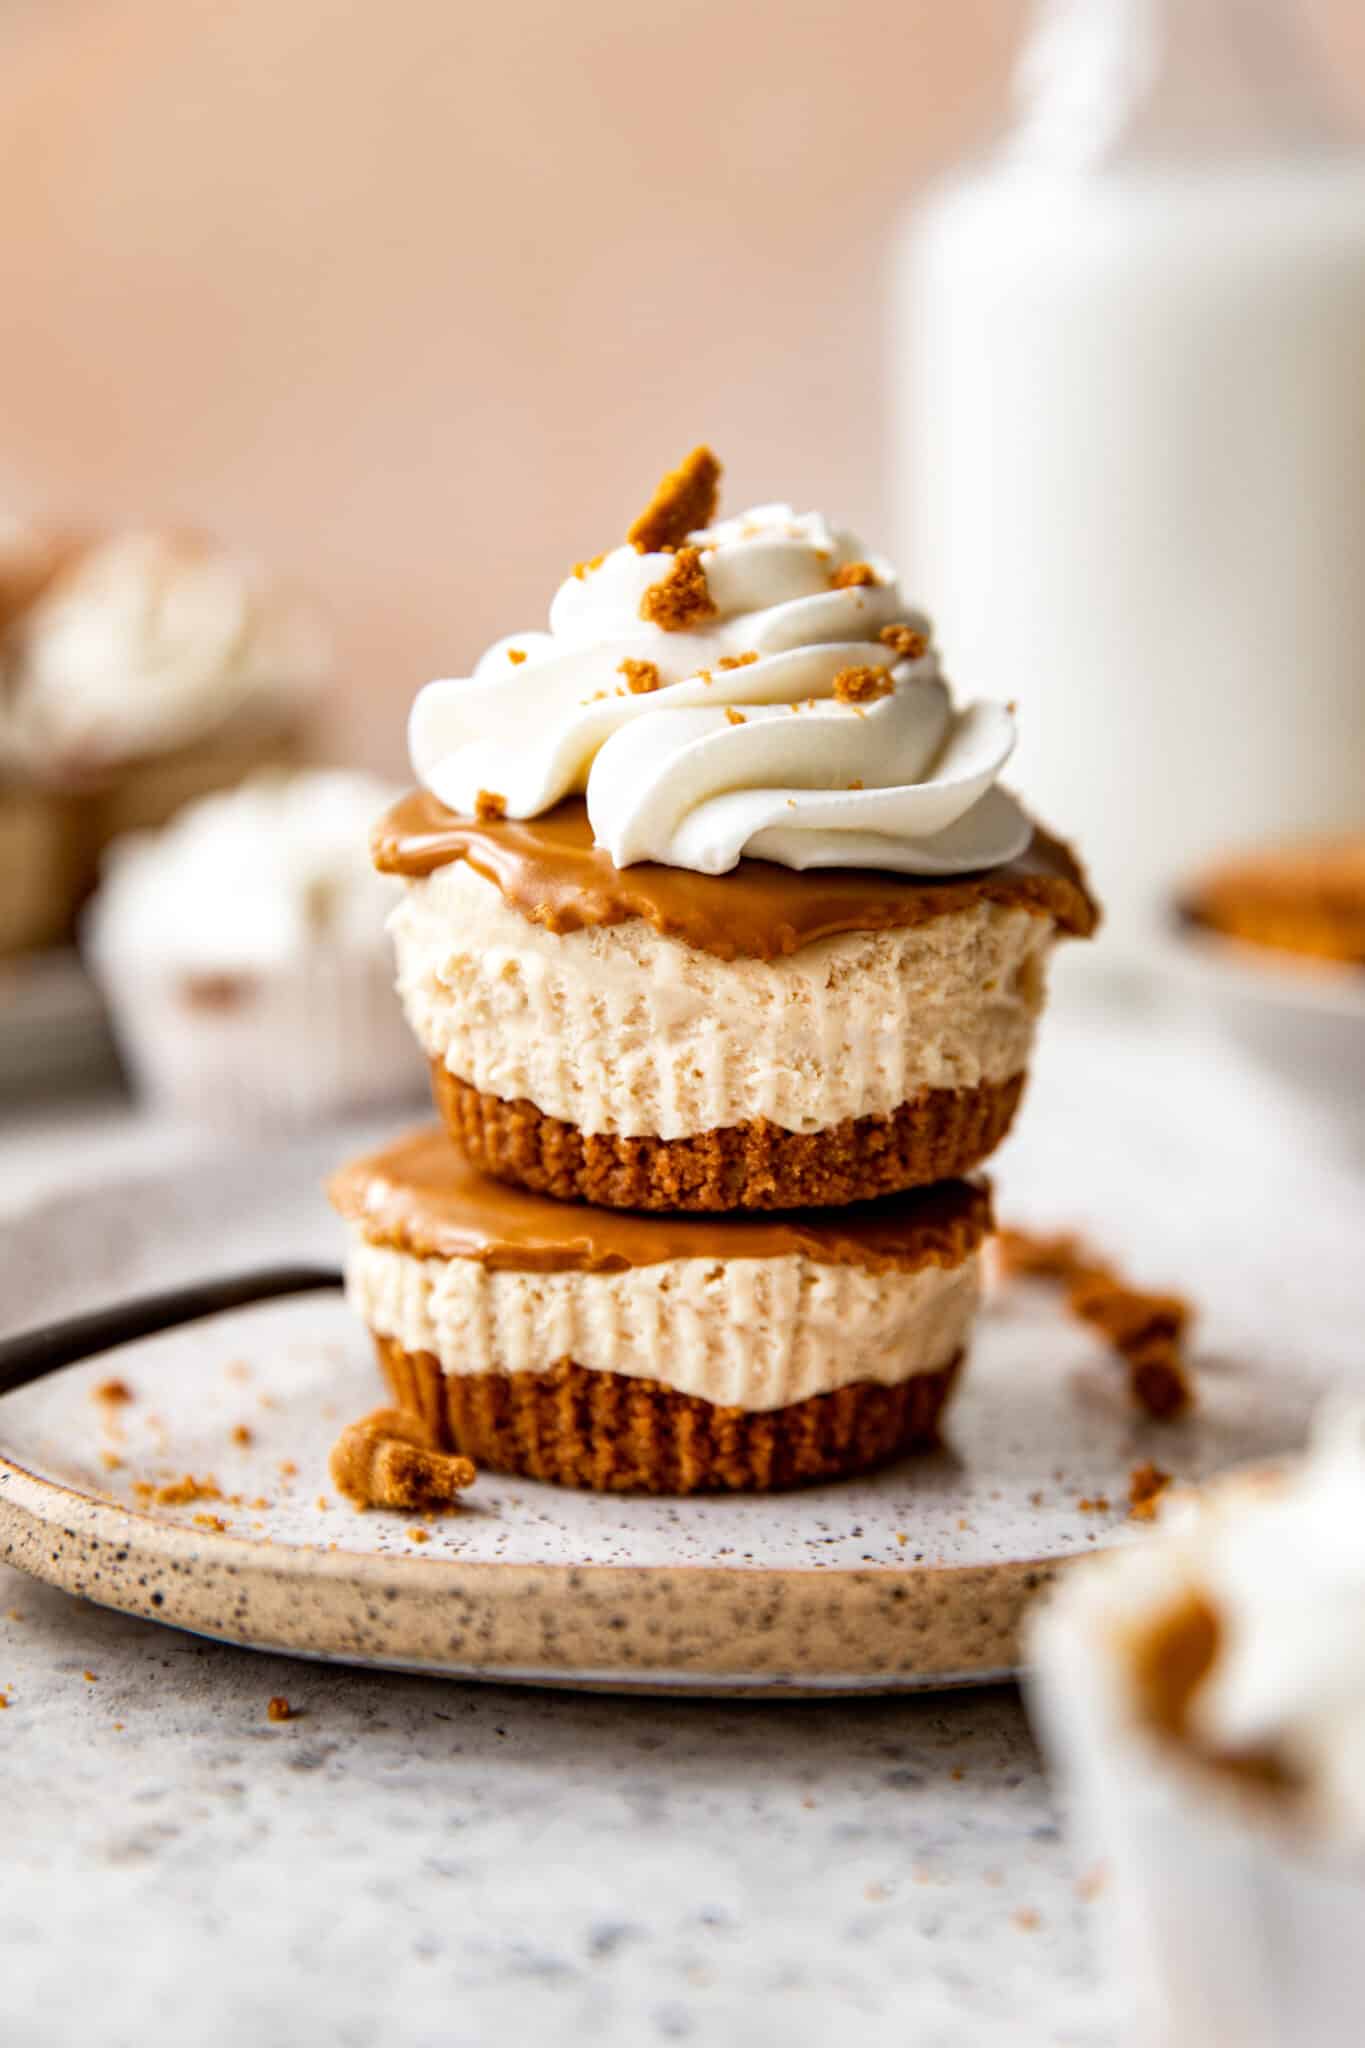
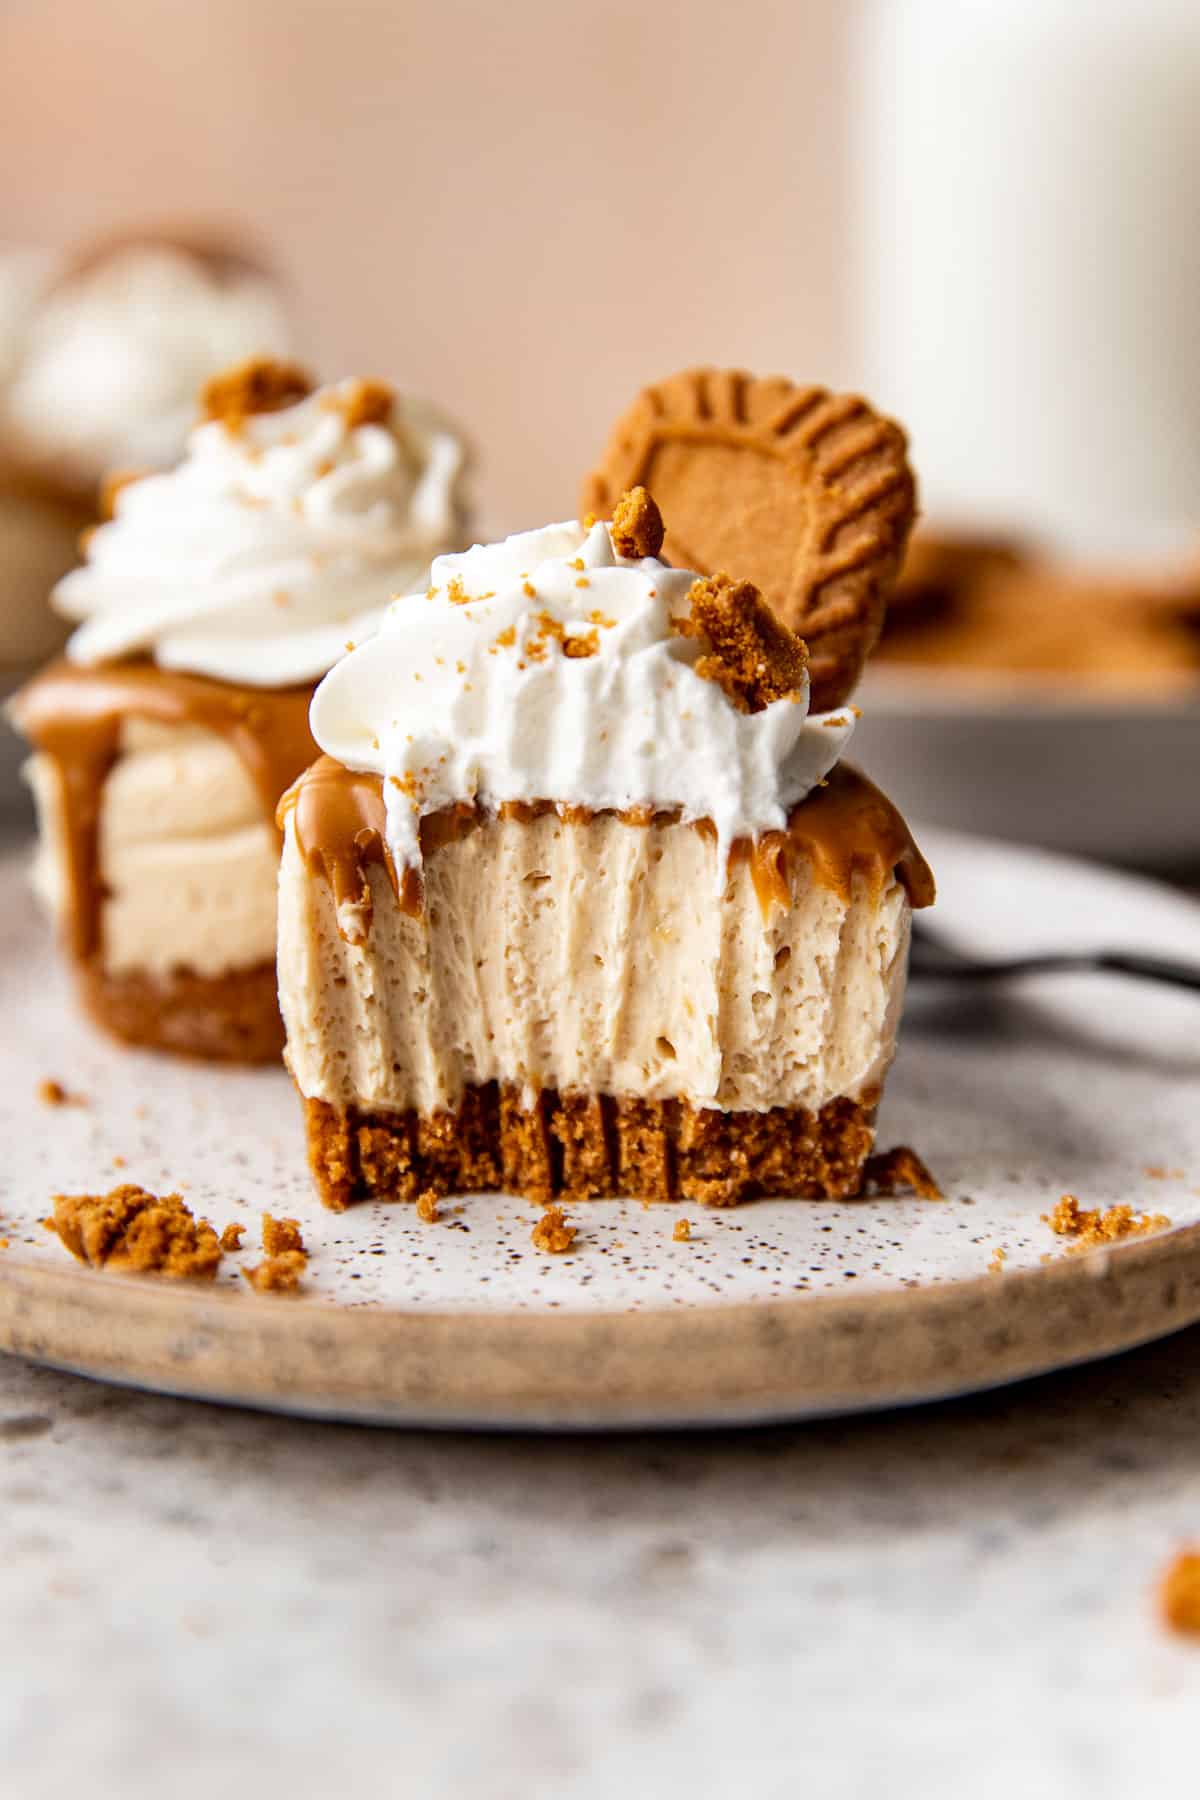
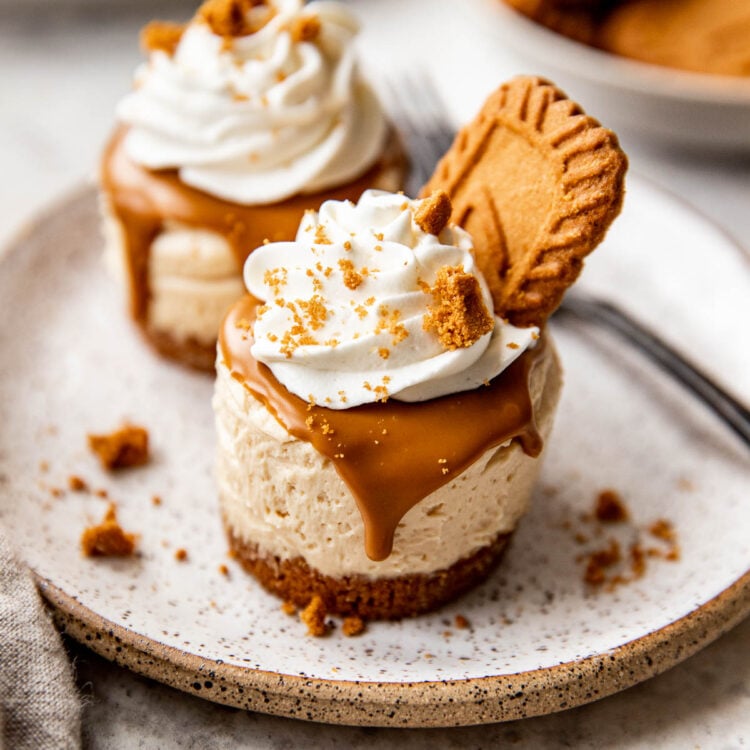
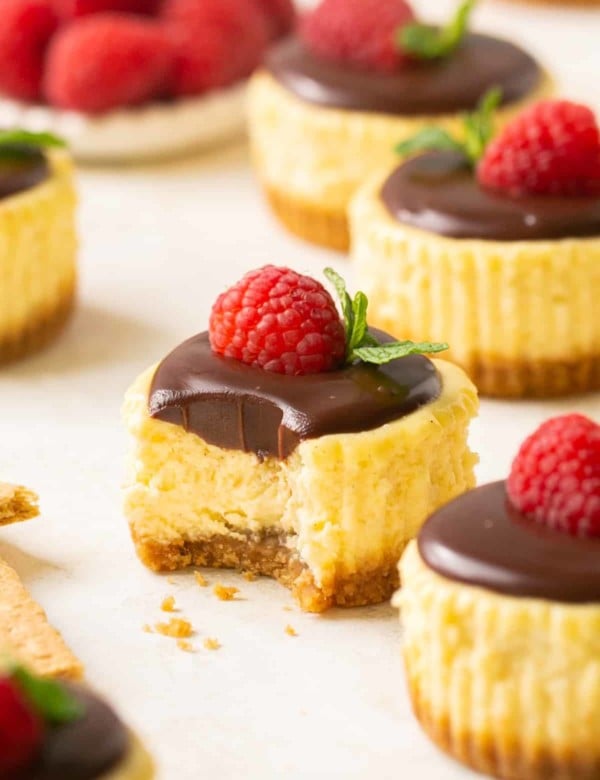
These easy to make and indulgent individual serving no bake biscoff cheesecakes are made with a buttery and crunchy Biscoff cookie base, a rich, smooth and creamy Biscoff cheesecake filling and a drizzle of melted Biscoff spread on top.
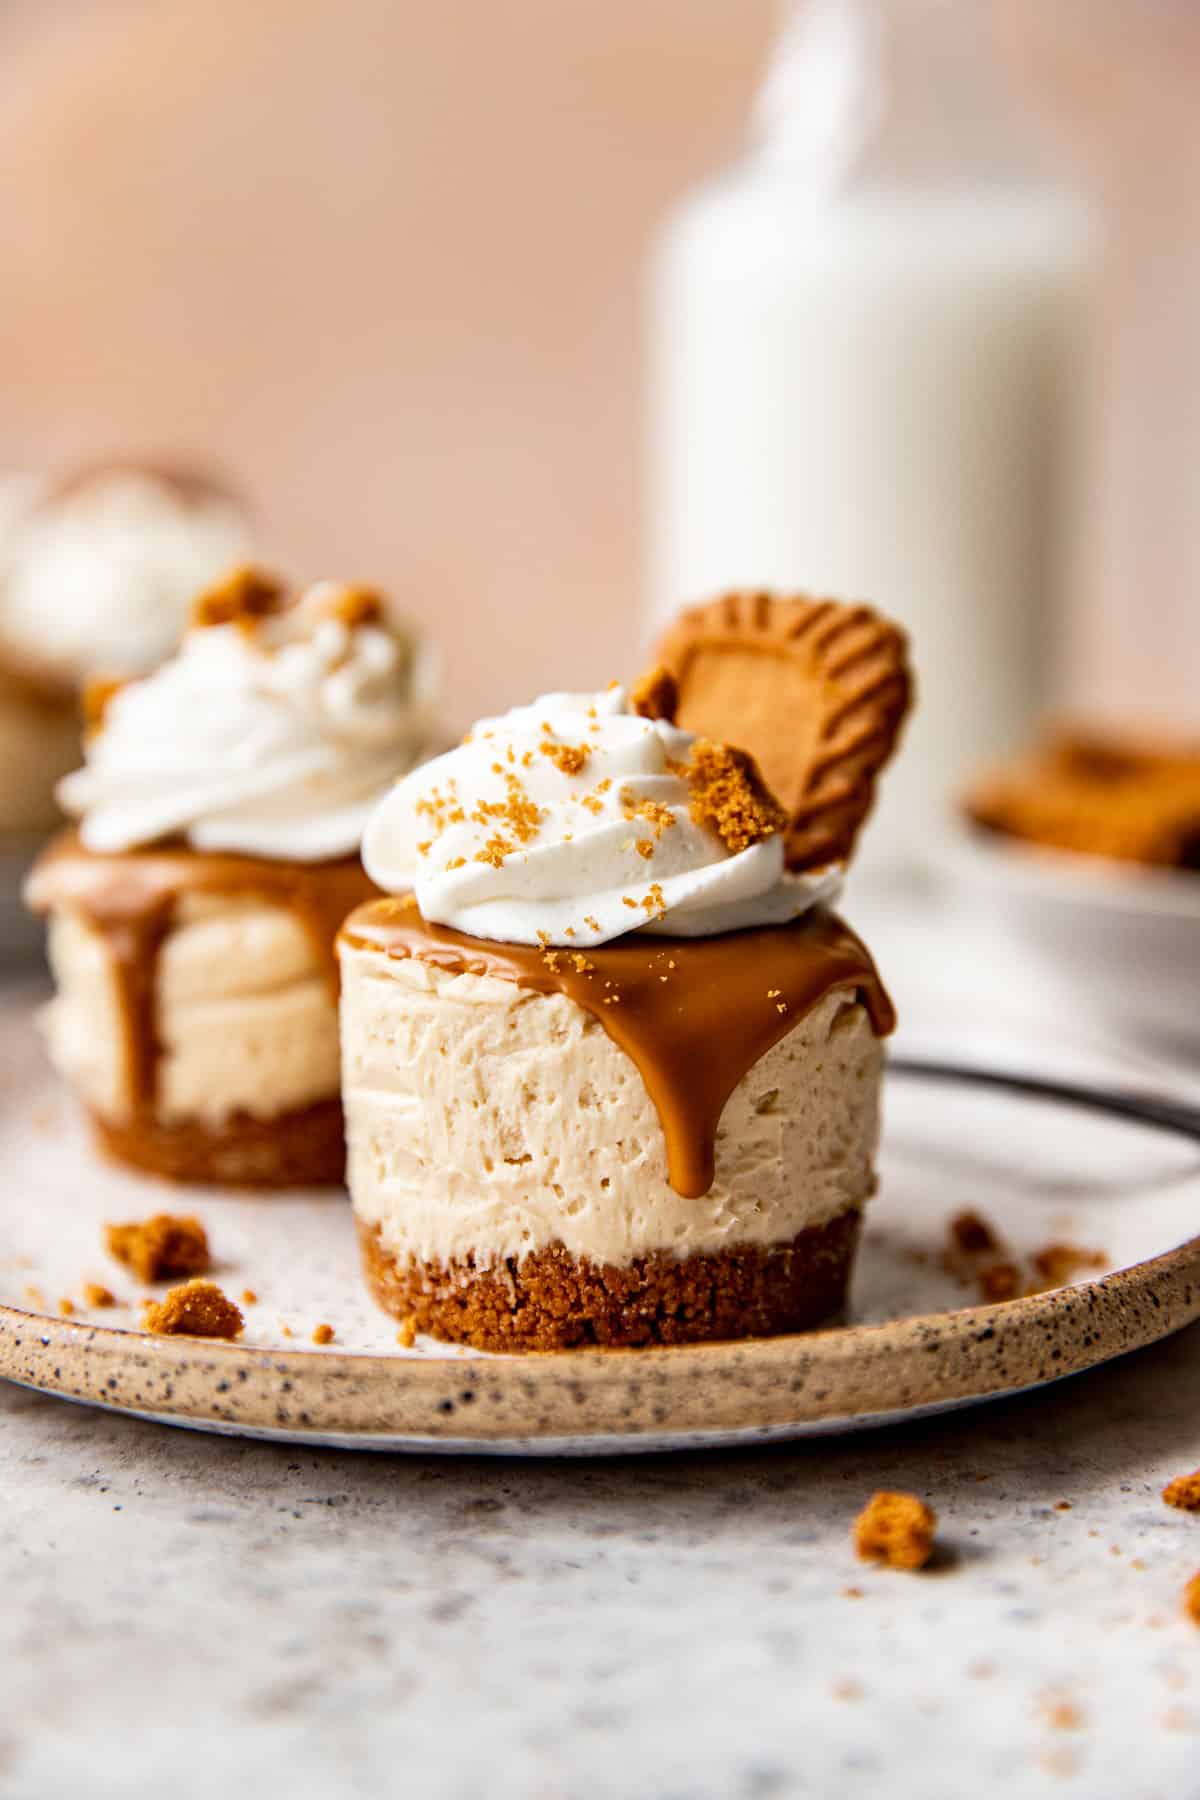
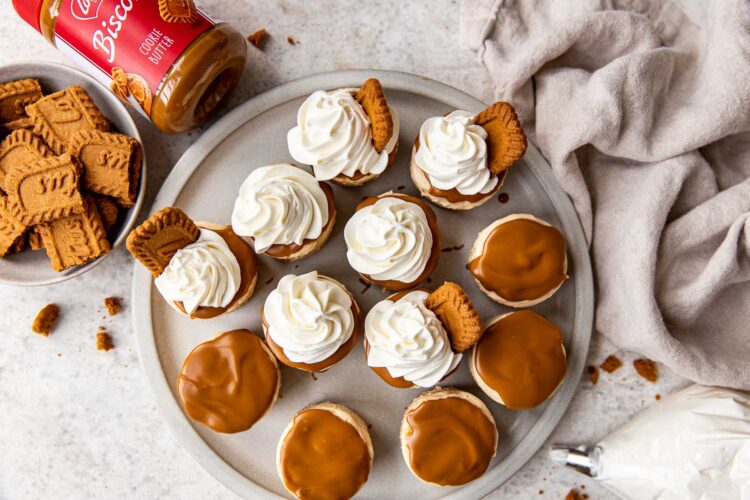
Each bite is filled with notes of cinnamon and a rich caramelized flavor from the cookie butter. I like to top each mini cheesecake with whipped cream, a Biscoff cookie and some crushed up Biscoff cookies from added texture and just because it looks so pretty!
And if you love these, you’ll also love my Mini Cheesecake Bites (vanilla bean), my Lemon Cheesecake Bars, and my Chocolate Chip Cookie Cheesecake Bars.
These no bake biscoff cheesecakes have an elegant presentation making them perfect for special occasions. But they are also so easy to make for any time you’re craving a sweet treat!
Why this recipe works
- No baking required and no water bath required, yay!
- Can be made using this mini cheesecake pan, or a regular 12 count muffin tin.
- Easily made the day before you need them, making prep for your party or occasion totally seamless!
- Just a bit of sour cream helps with the airy, soft cheesecake texture.
- The individual size makes them convenient for parties or to include on a dessert table.
Ingredient Notes
For the ingredient measurements and entire recipe, be sure to scroll down to the bottom of the blog post where the recipe card is located.
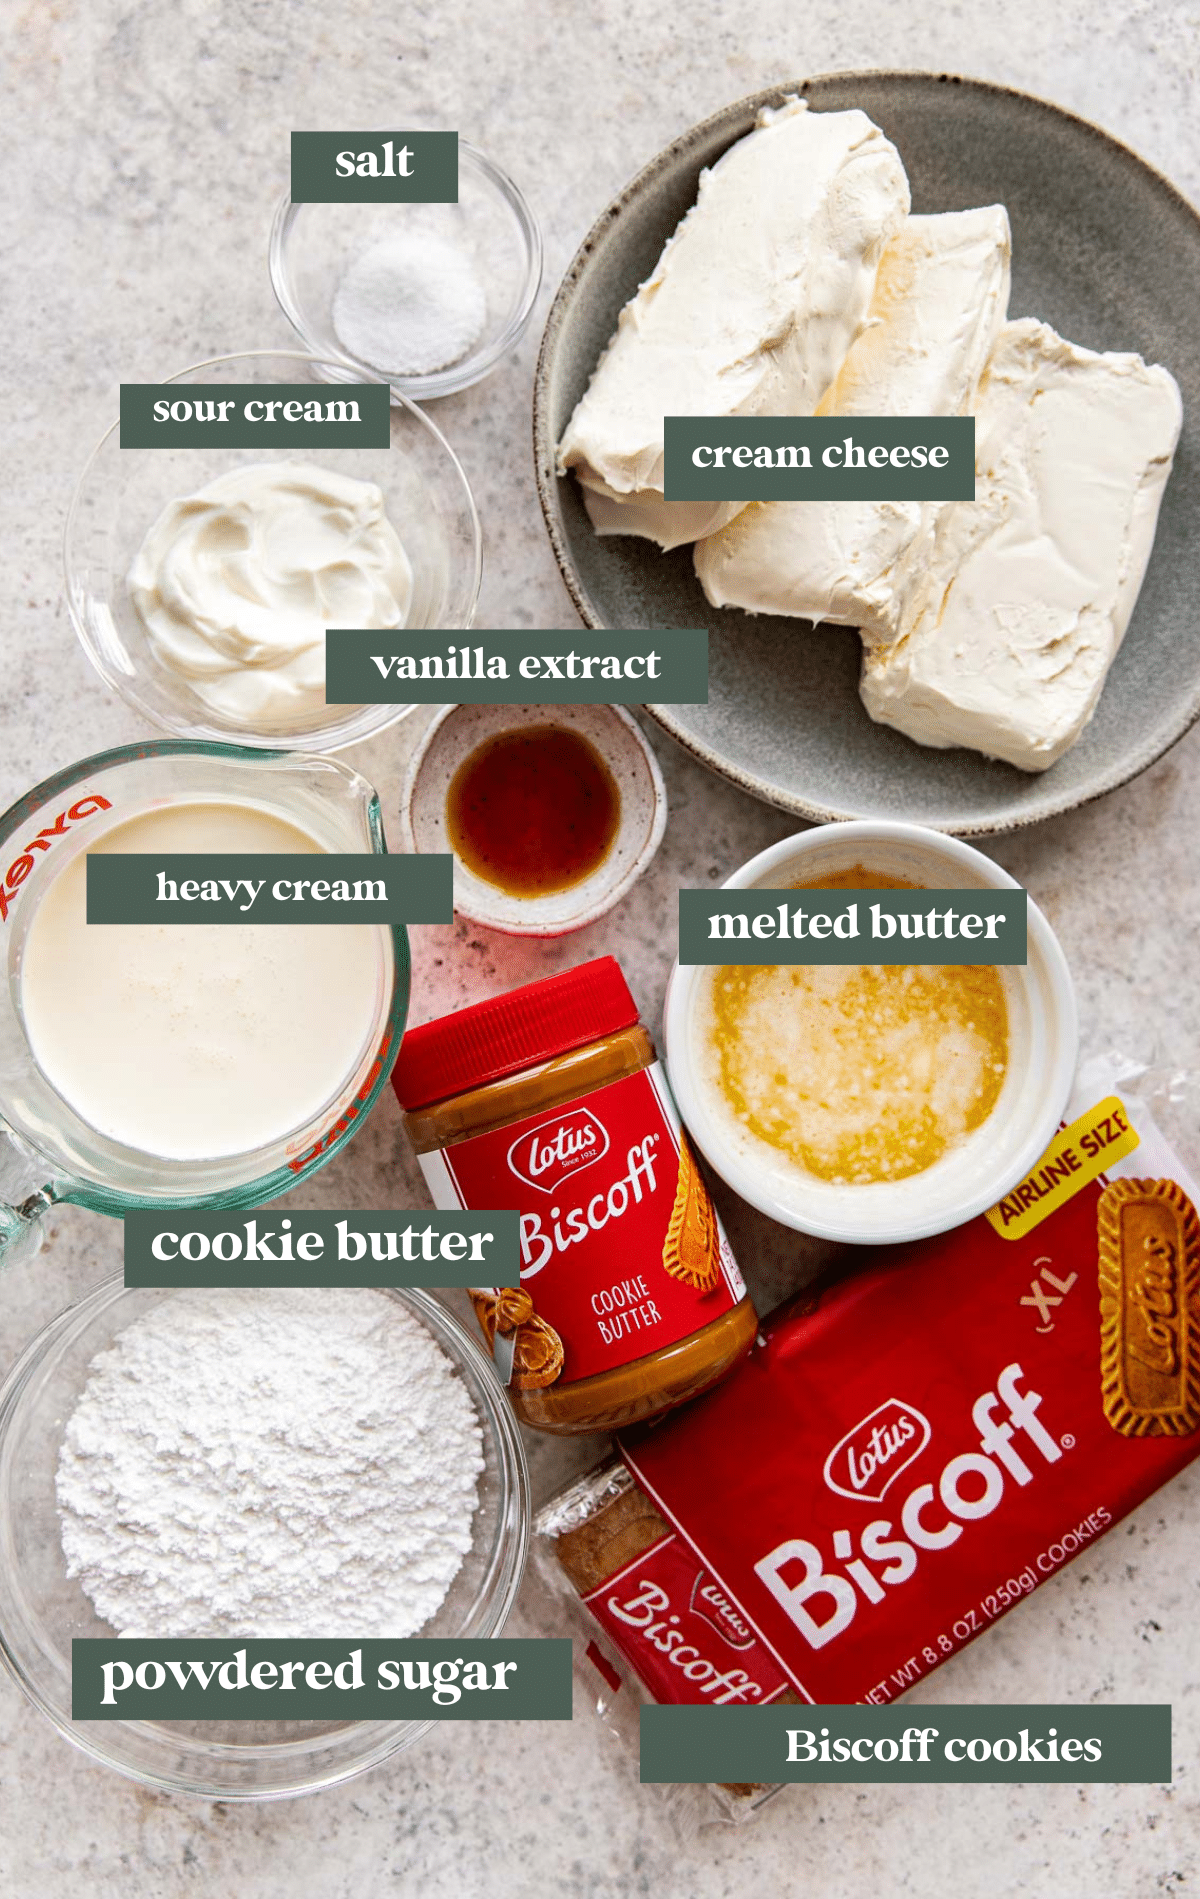
- Biscoff Cookies: You’ll need one 8.8 oz. package for the crust, plus any extract for garnishing.
- Butter: Melted butter prevents the crust from falling apart. It moistens every crumb to make the perfect crust. You can use salted or unsalted, whatever you prefer.
- Biscoff Spread/Cookie Butter: I love the Lotus Creamy Biscoff Cookie Butter. It has notes of cinnamon, ginger, allspice, and cloves and it just totally YUMMY!
- Salt: used to balance out the sweetness in the cheesecake filling.
- Cream cheese: be sure it’s softened to room temperature and always use full-fat cream cheese for the best texture of your cream cheese filling.
- Sour cream: Full fat recommended. I love adding in a bit of sour cream to help with the airy, soft texture.
- Heavy cream: the heavy cream is whipped and folded into the cream cheese mixture to lighten the texture of the filling. Make sure the heavy cream is cold before whipping it, I take it straight from my fridge/don’t let it sit out too long before whipping.
- Powdered sugar: I like using this over granulated sugar for the cheesecake filling because powdered sugar (confectioners’ sugar) dissolves easily and contributes to a smoother texture.
Step by Step Directions
For the full recipe instructions, scroll down to the bottom of the blog post to the recipe card
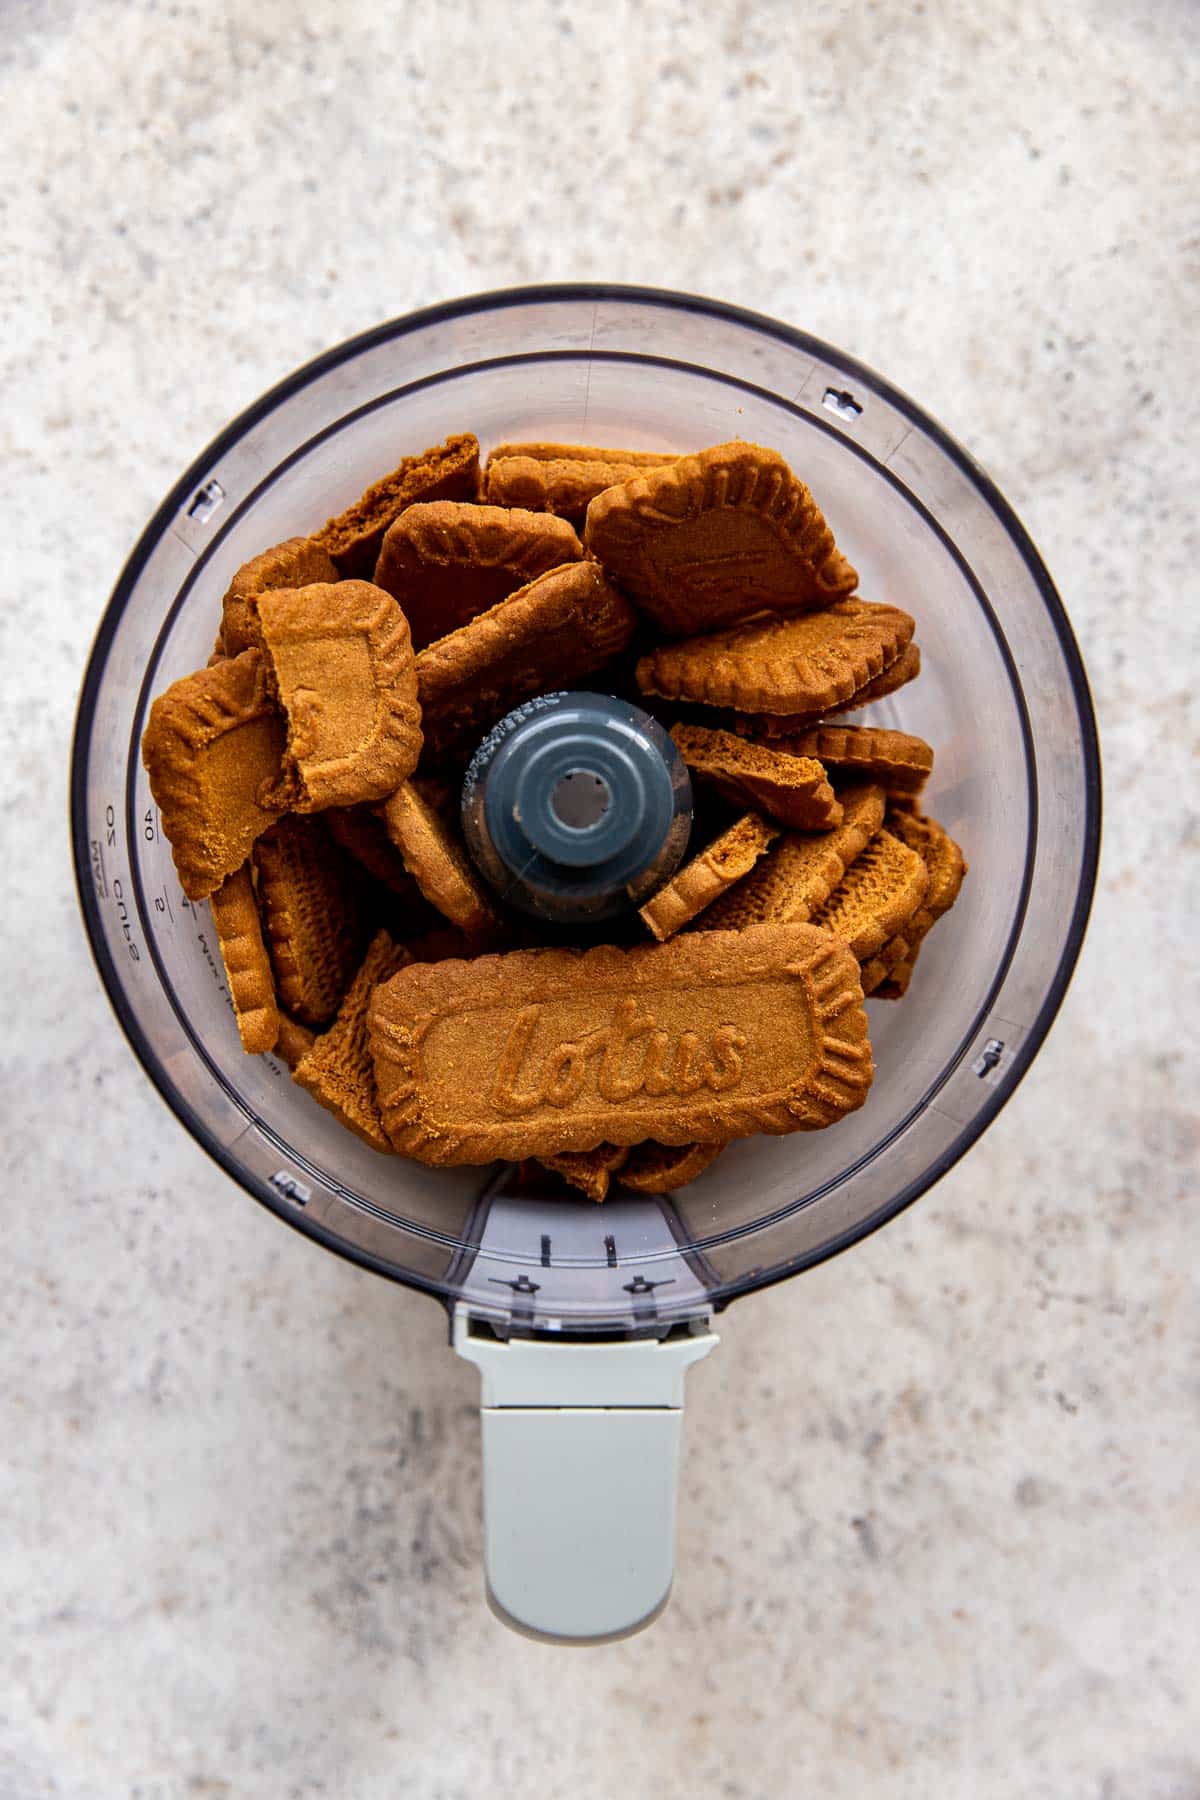
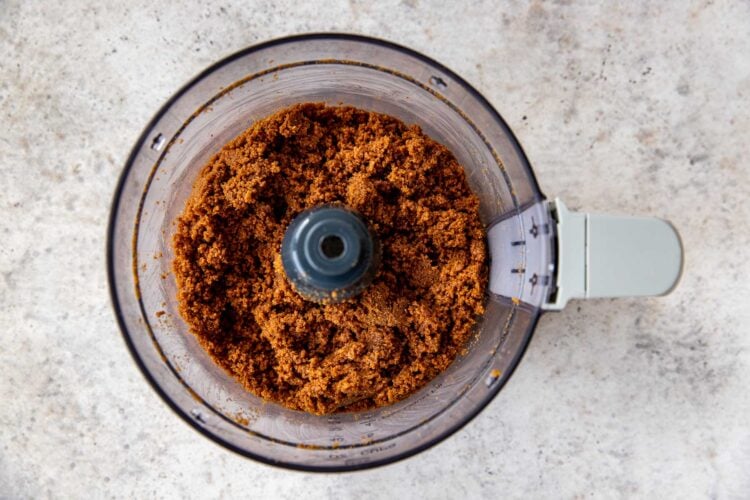
- Blitz the cookies in a food processor with melted butter.
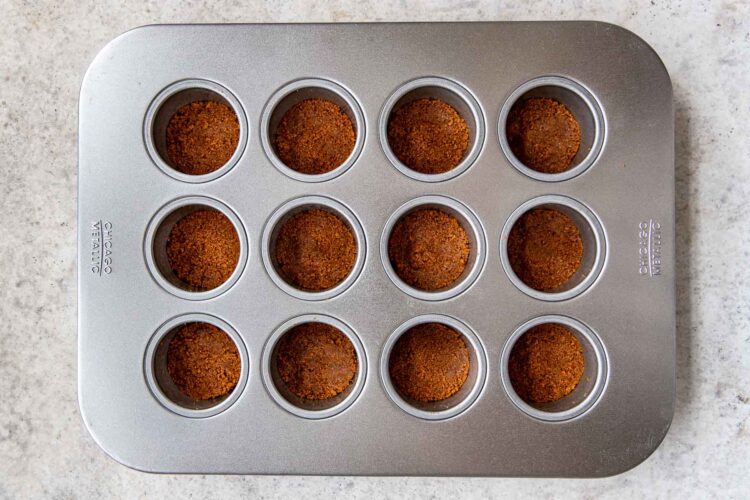
- Press into pan and freeze while you make the cheesecake filling.
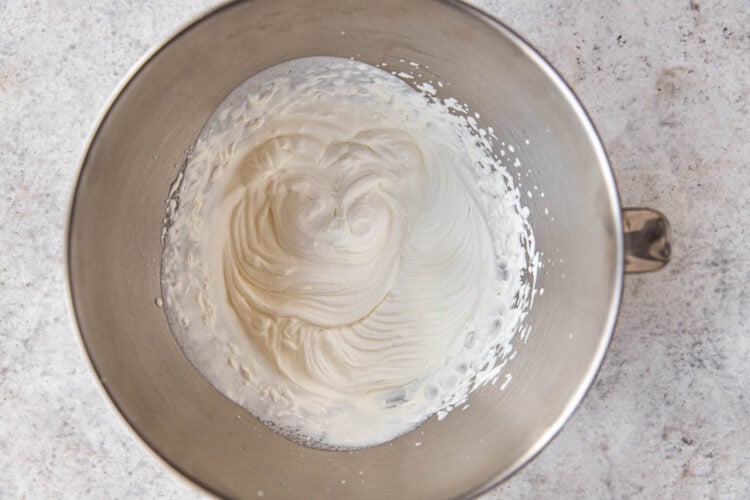
- Beat the heavy cream in a mixing bowl.
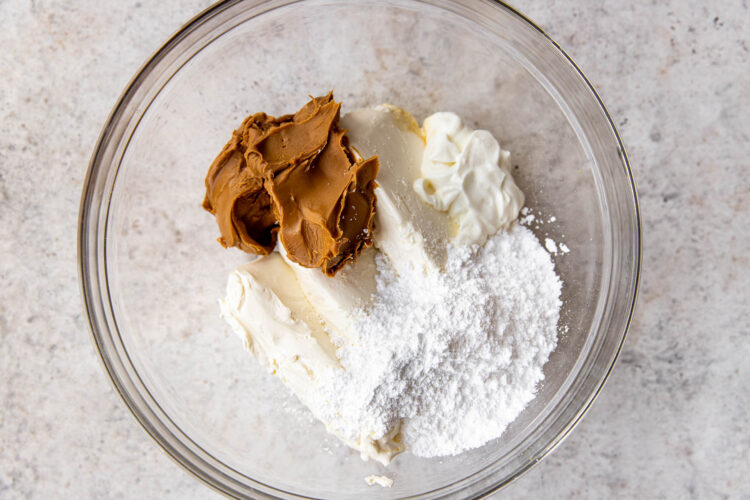
- Then beat remaining cheesecake filling ingredients.
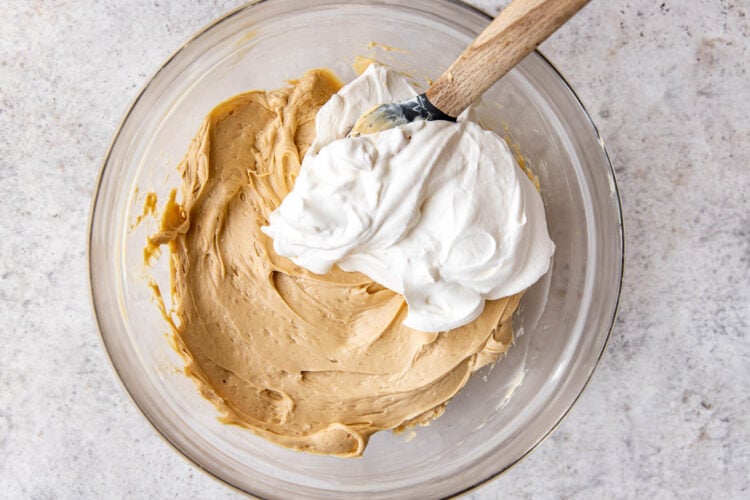
- Fold in the cream.
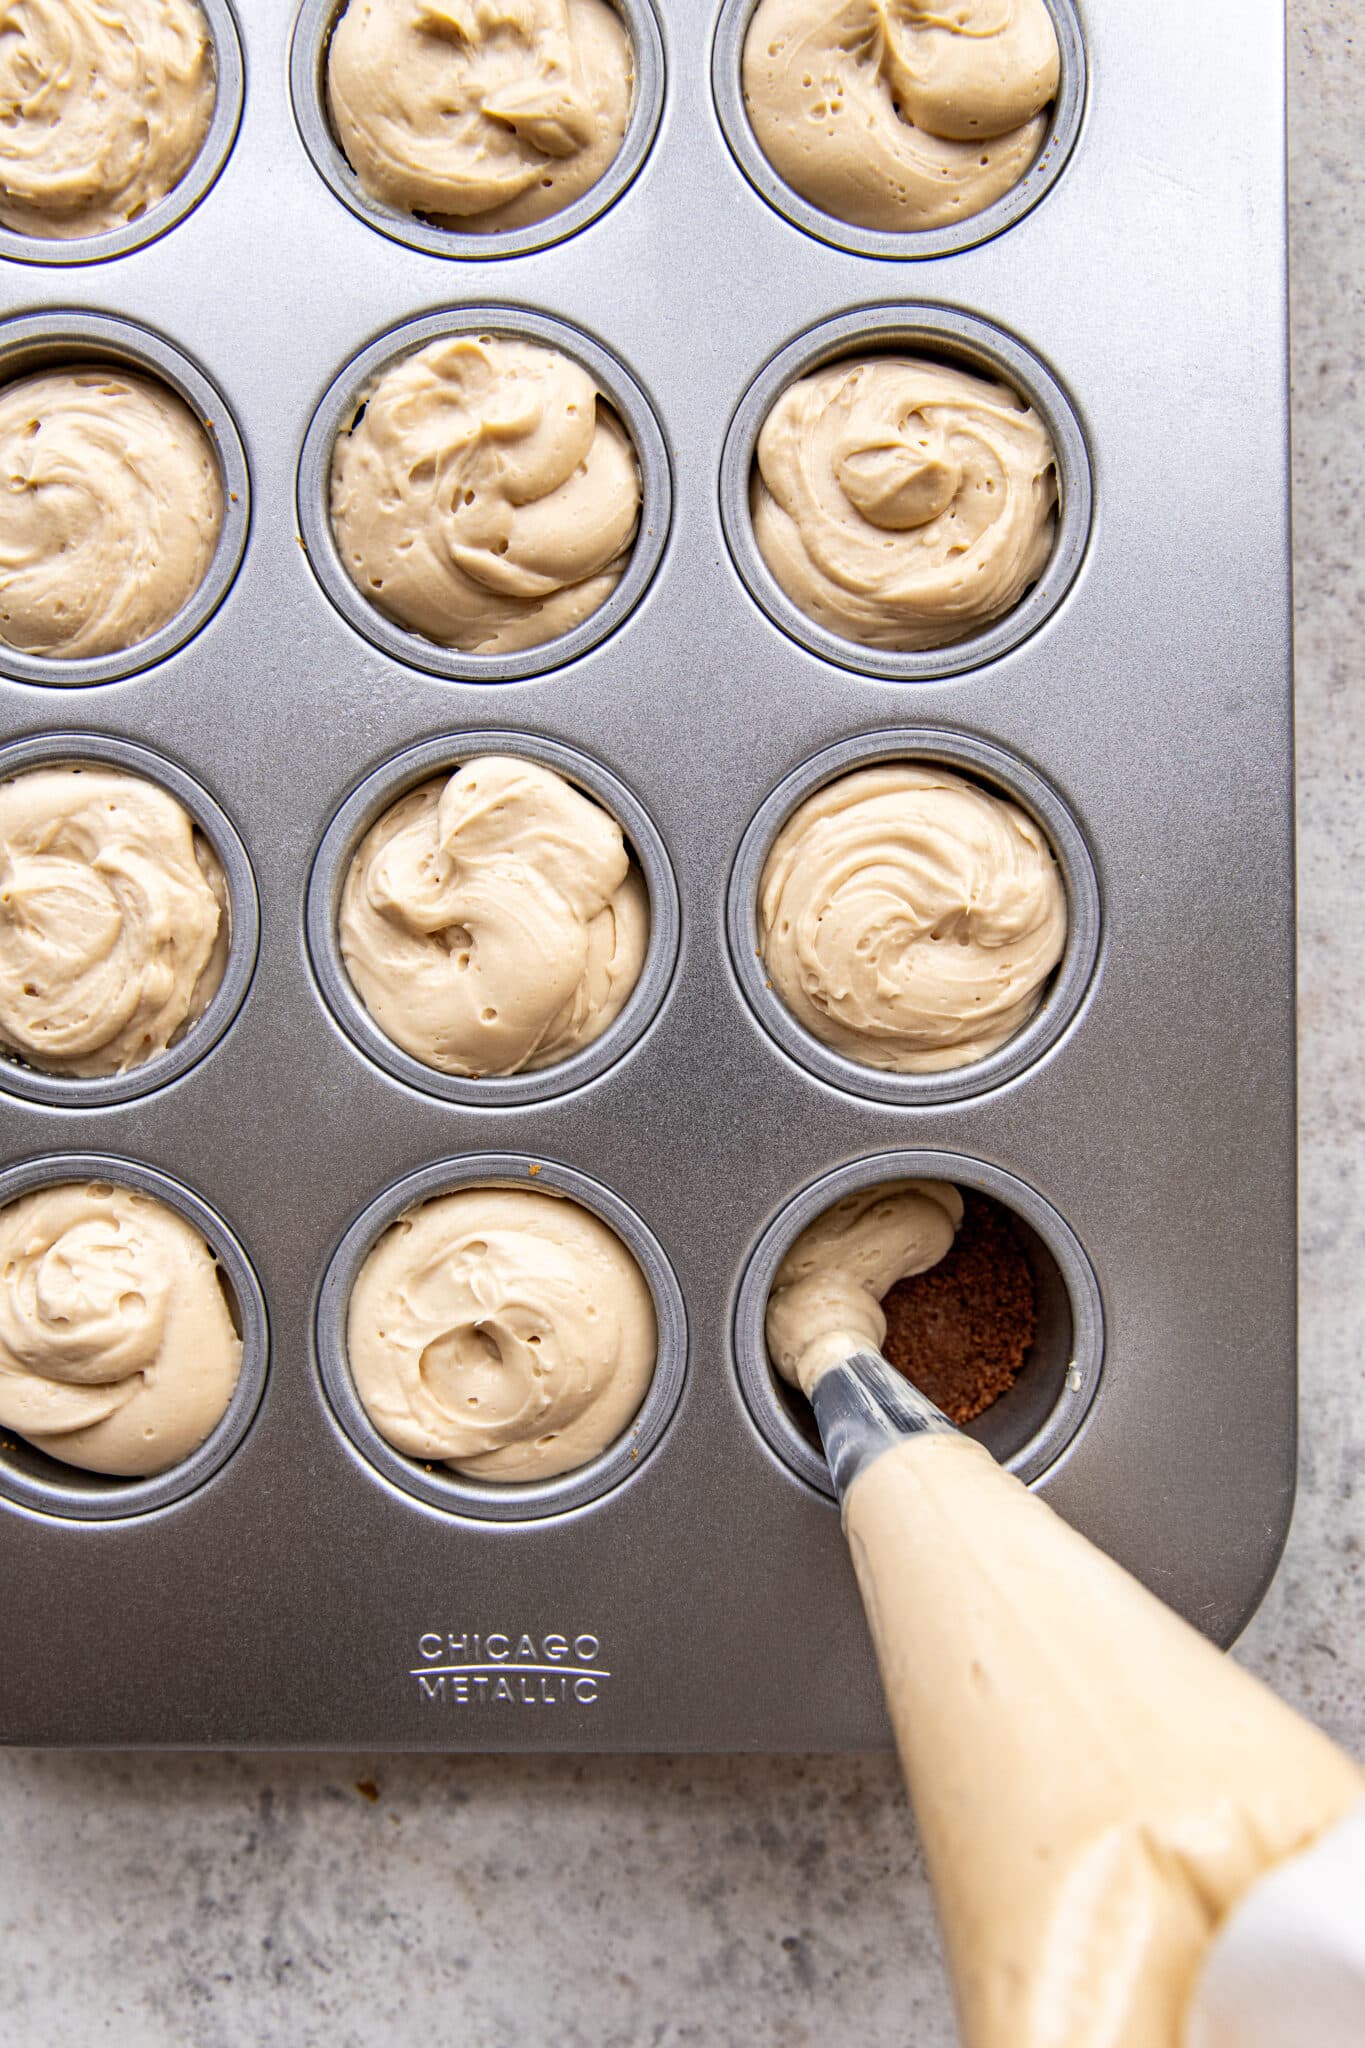
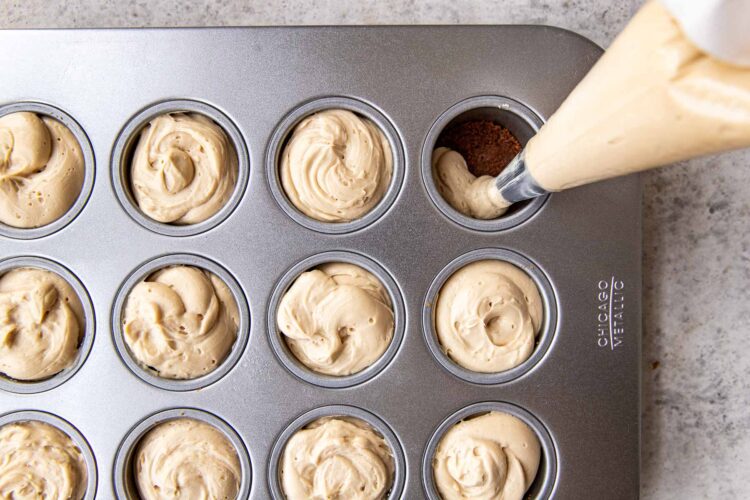
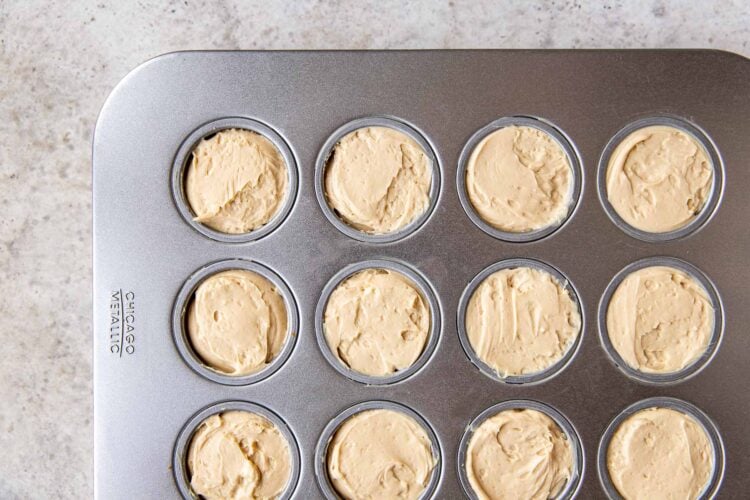
- Pipe the filling on top of the crust.
- Freeze 6 hours or overnight.
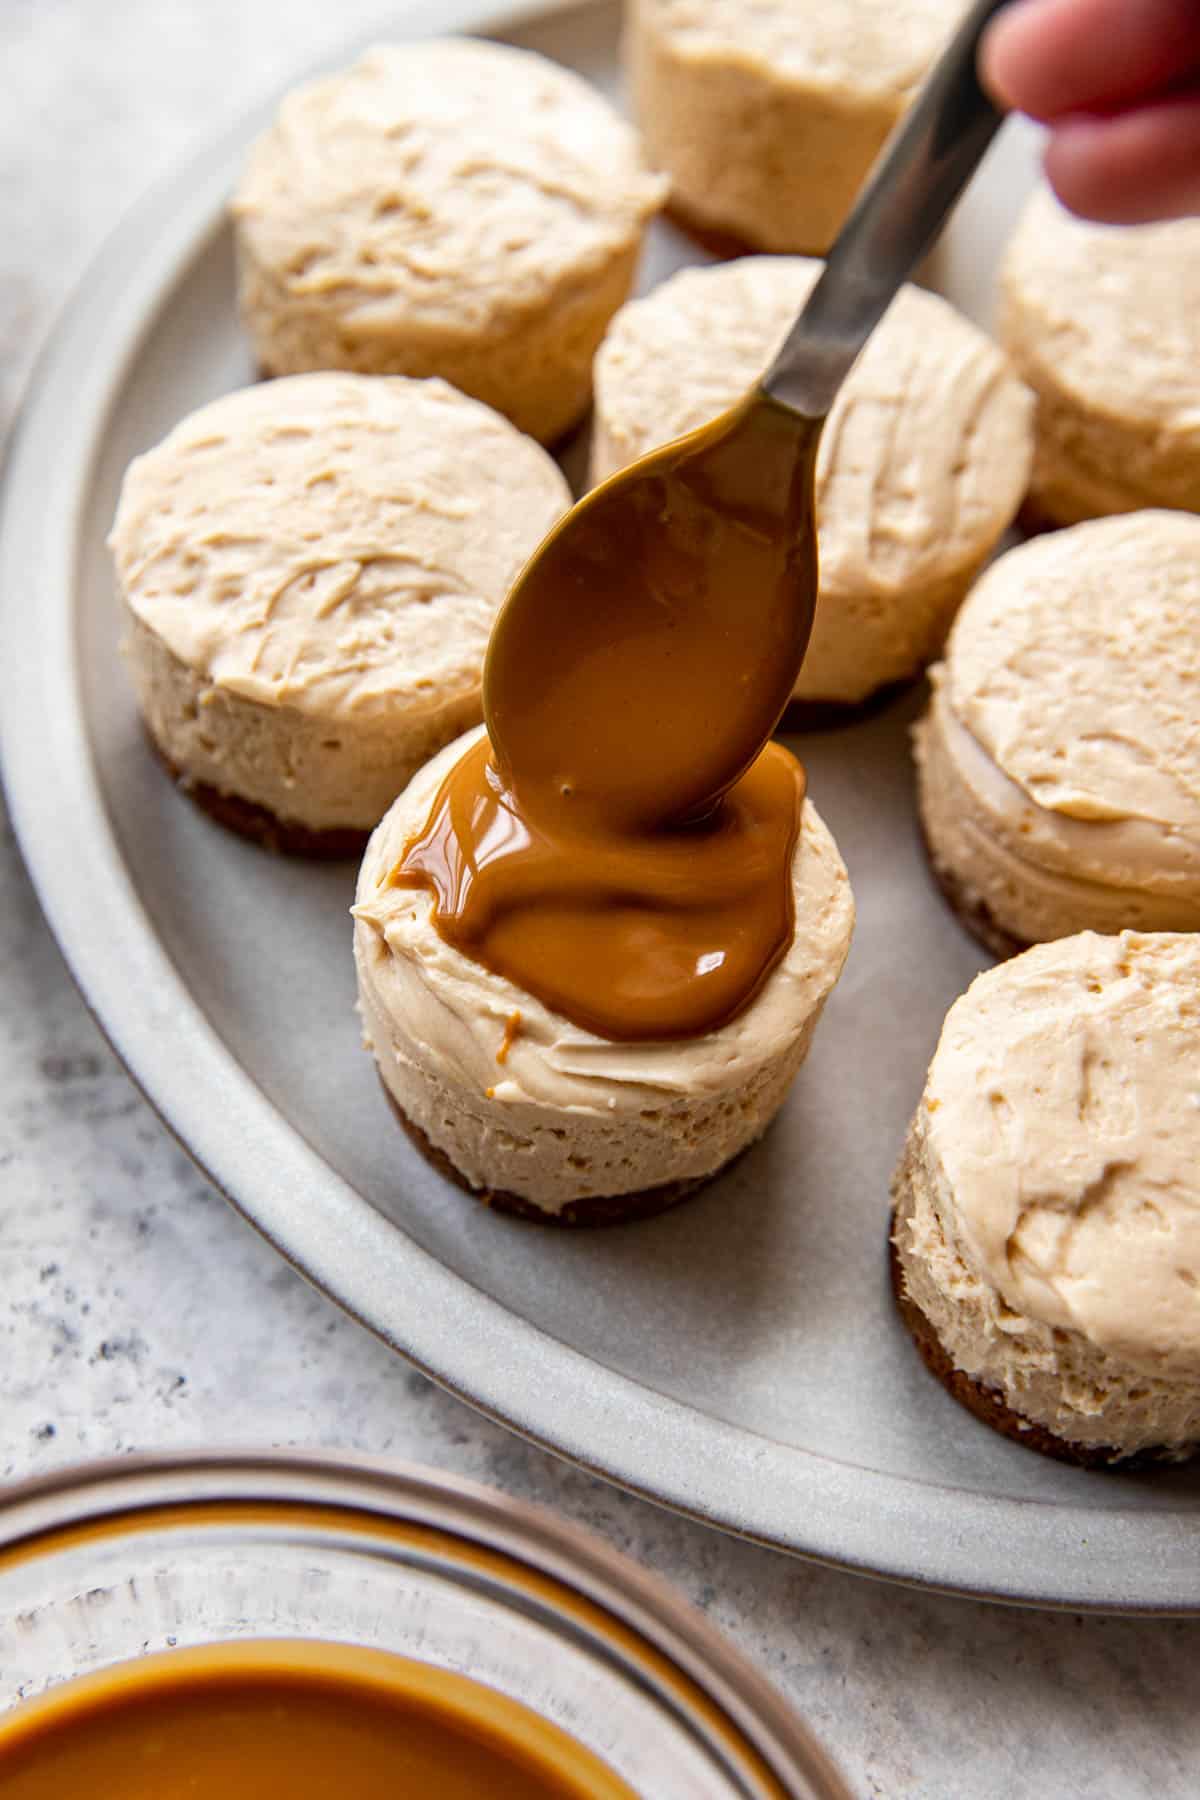
- Top with melted Biscoff cookie butter, whipped cream, etc.
Expert Tips
- Use Room Temperature Ingredients: Ensure that your cream cheese is softened to room temperature before mixing. This creates a smooth and creamy filling without lumps.
- Whip the Cream to Stiff Peaks: Whip the heavy cream separately until stiff peaks form before folding it into the cream cheese mixture. This helps to lighten the texture of the filling and create a fluffy cheesecake.
- Chill the Cheesecake Thoroughly: Refrigerate the cheesecake for at least 6 hours, or preferably overnight, to allow it to set properly. This ensures a firm and creamy texture.
- Grease the Pan or Use Parchment Paper: To easily remove the cheesecake from the pan, either grease the sides non stick spray, butter or you line the bottom with parchment paper before adding the crust and filling.
- Decorate Before Serving: Add any desired toppings or garnishes just before serving to keep them visually appealing!
FAQ
Can I freeze them?
Yes, wrap them individually and place in a freezer safe container. Once you are ready to serve them, thaw the cheesecake bites in the refrigerator overnight, then once thawed you can decorate the tops however you’d like.
How long will they last in the freezer?
Up to 3 months.
How long do I need to chill mini cheesecakes?
I always say at least 6 hours or usually overnight for best results.
Can I use a regular muffin pan?
Yes, you can use a regular 12 count muffin pan with cupcake liners for easy removal.
Storage
- Store in the fridge in an air tight container for up to 4 days.
- Freeze for up to 3 months
shop this post
 Buy Now →
  Buy Now →
 more recipes you’ll love
Before You Begin! If you make this, please leave a review and rating letting us know how you liked this recipe! This helps our business thrive & continue providing free recipes.
No Bake Mini Biscoff Cheesecakes
Ingredients
Crust
- 1 (8.8 oz, 250g) package Biscoff cookies
- 1/2 cup melted butter, unsalted
Filling
- 1 cup heavy cream, cold
- 3 (8 oz. blocks) full-fat cream cheese, softened to room temperature
- 1 cup powdered sugar
- 1 cup creamy Biscoff cookie butter
- 1/3 cup sour cream, room temperature
- 2 tsp. pure vanilla extract
- pinch of salt
Topping
- 1/2 cup creamy Biscoff cookie butter
- additioal Biscoff cookies for garnish/whole or crushed
- whipped cream
Last step! If you make this, please leave a review and rating letting us know how you liked this recipe! This helps our business thrive & continue providing free recipes.
Instructions
- Blitz the biscoff cookies in a food processor until finely ground. Stream in the melted butter until combined. Mixture will be sandy but should be able to come together when pressed together.1 (8.8 oz, 250g) package Biscoff cookies, 1/2 cup melted butter, unsalted

- Spray 2 mini cheesecake pans with non stick spray (or 2, 12 count muffin pans with cupcake liners), then press crumbs into pans. ~1 tbsp. in each. Freeze or refrigerate while you make the filling.

- Beat the cold heavy cream with a hand mixer in a medium sized chilled mixing bowl, or in a stand mixer fitted with the whisk attachment, until stiff peaks form, ~2 minutes. Careful not to over beat. Place in the fridge while you prepare the rest of the cheesecake filling.1 cup heavy cream, cold

- In another medium-large mixing bowl, beat the cream cheese, powdered sugar, biscoff cookie butter, sour cream, vanilla and salt until smooth and fully combined.3 (8 oz. blocks) full-fat cream cheese, softened to room temperature, 1 cup powdered sugar, 1 cup creamy Biscoff cookie butter, 1/3 cup sour cream, room temperature, 2 tsp. pure vanilla extract, pinch of salt

- Fold the whipped cream in, gently using a rubber spatula until no white streaks remain.

- Spoon the filling into a piping bag fitted with a round 1A tip and pipe the filling onto the chilled crust. Smooth the tops out in an even layer.

- Refrigerate for 6 hours or overnight. (You can loosely cover)

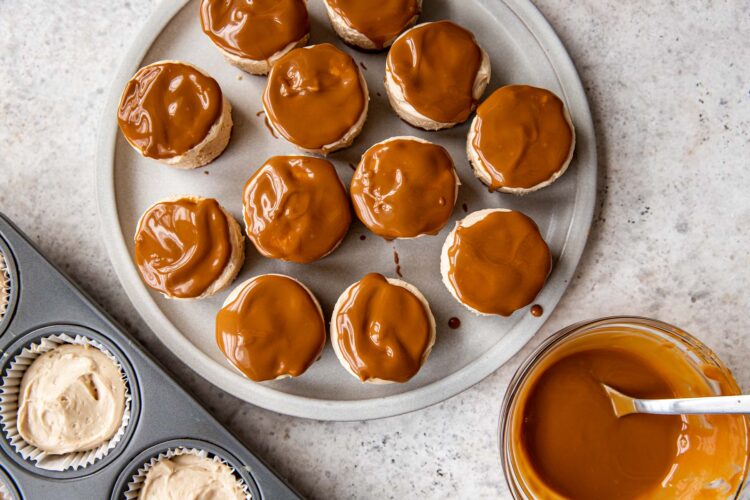
- Melt the biscoff spread in the microwave, about 20-30 seconds until melty. Spread on tops of cheesecakes (it can drip down the sides) and then place back in the fridge until set. About 15-20 minutes.1/2 cup creamy Biscoff cookie butter

- Garnish with any other desired toppings (can stick a piece of biscoff cookie on top at a cute angle, crumbled biscoff cookie, whipped cream, etc.) Serve and ENJOY!additioal Biscoff cookies for garnish/whole or crushed, whipped cream

Video
Notes
Nutrition Information
Nutritional information is provided as a courtesy and is automatically calculated. It should only be construed as an estimate rather than a guarantee. Ingredients can vary and Kroll’s Korner can’t make any guarantees to the accuracy of this information.

I’m a little unclear on the directions – can these just be refrigerated or must they actually be frozen for the 6 hours? If frozen, will they maintain their cheesecake consistency when brought to room temperature? I’m thinking of making them for my book club when it’s my turn to host.
Hello! I am sorry the directions seem unclear. Step 7 is to refrigerate for at least 6 hours or overnight is OK too. If making for book club, I would refrigerate them. They’ll last up to 4 days in the fridge. The freezer is recommended is you have leftovers and can be frozen up to 3 months. I would place in the fridge overnight to thaw before enjoying the frozen ones. I hope you love them 🙂
Can this be made as a cheesecake instead of mini cupcakes?! If so, would the ingredients and portion size be the same and what kind of pan would I use? I made the cupcakes last year and they were the main attraction!!!! Thank you
Yes great question! Keep the recipe the same, just use a 9 inch spring form pan. You can line with parchment 🙂 Thank you soo much!
Awesome and Thank you!!
you’re very welcome! Excited to hear how it goes 🙂
This recipe is amazing!! My family all loved it and said it has to be the go to from now on.
Aw I am soo glad Brandi, thank you!
Everything about this recipe was excellent!!! A new favorite!!
I am soo glad! Thank you so much Doreen! 🙂
I made these in in 24 full-size muffin tins with paper liners (I didn’t spray the pan before or after I put the liners in.). I still had too much crust and filling so I made a ramekin with the leftovers. I learned something while reading the comments – I didn’t know there was such as thing as a mini-cheesecake pan. If they are the size of a mini-muffin pan, you will have way too much crust and filling. I’m guessing they are bigger than mini-muffin pans. The photo is deceiving to those of us who didn’t know about mini-cheesecake pans.
The cheesecakes are delicious! Everyone loved them. Make sure the whipped cream is whipped to stiff peaks, like it says (but don’t over whip them) so the filling sets at the right consistency. And if you press down on the crust it won’t crumble (see step #2)
Hi Betsy! Oh no, yes a mini MUFFIN pan is significantly different and much smaller than a mini cheesecake pan. In step 2, I mention using a mini cheesecake pan or a 12 count muffin pan. And in the photo the pan is shown. I have the cheesecake pan linked in the “shop this post” section of the blog post. So sorry about the confusion!
Good flavor but crust did not set at all.
Hi Heather! Hmm, do you mean it was just crumbly? That’s so strange, I haven’t had that experience when making these before. How long did you let them chill in the fridge?
Made these in to 24 cupcake size. Even after being in the fridge for 20 hours, my filling is very, very soft. Anyone else? Good flavor but I wanted more cheesecake density.
Oh no. I am so sorry to hear! That has not happened to me before, and I’ve made them in cupcake tins and the cheesecake pans. did you use full fat cream cheese?
Went to a bridal brunch today where these were served and they were delicious! Asked for the recipe immediately, and I’ve already saved and printed! Can’t wait to try to make them myself, but they were a crowd pleaser at the party for sure and a real show stopper.
I feel so honored they were at the brunch! how fun. Thank you, I hope you have fun making them, too! 🙂
Rather than make 24 minis, is it possible to make this as a singular cheesecake using a springform pan?
i had a follower tell me she did that and it turned out great 🙂 I haven’t tested personally, though!
The taste of these are delicious however ingredient quantities are too much. I was left with a huge amount of filling and even crust. Thankfully, I had extra pans. I made 40 minis and had a bunch of filling left over
Oh no, I am so sorry to hear you had leftover filling. I can note in the recipe that you need to really fill them to the brim. I used the cheesecake pans and tested in regular muffin pans and got 24. Did you use a mini pan? Or a regular 12 count muffin pan?
I used mini pans
i think that’s the problem then. So sorry about that!