White Chocolate Dipped Red Velvet Cookies
This post may contain affiliate links. Please read our disclosure policy.
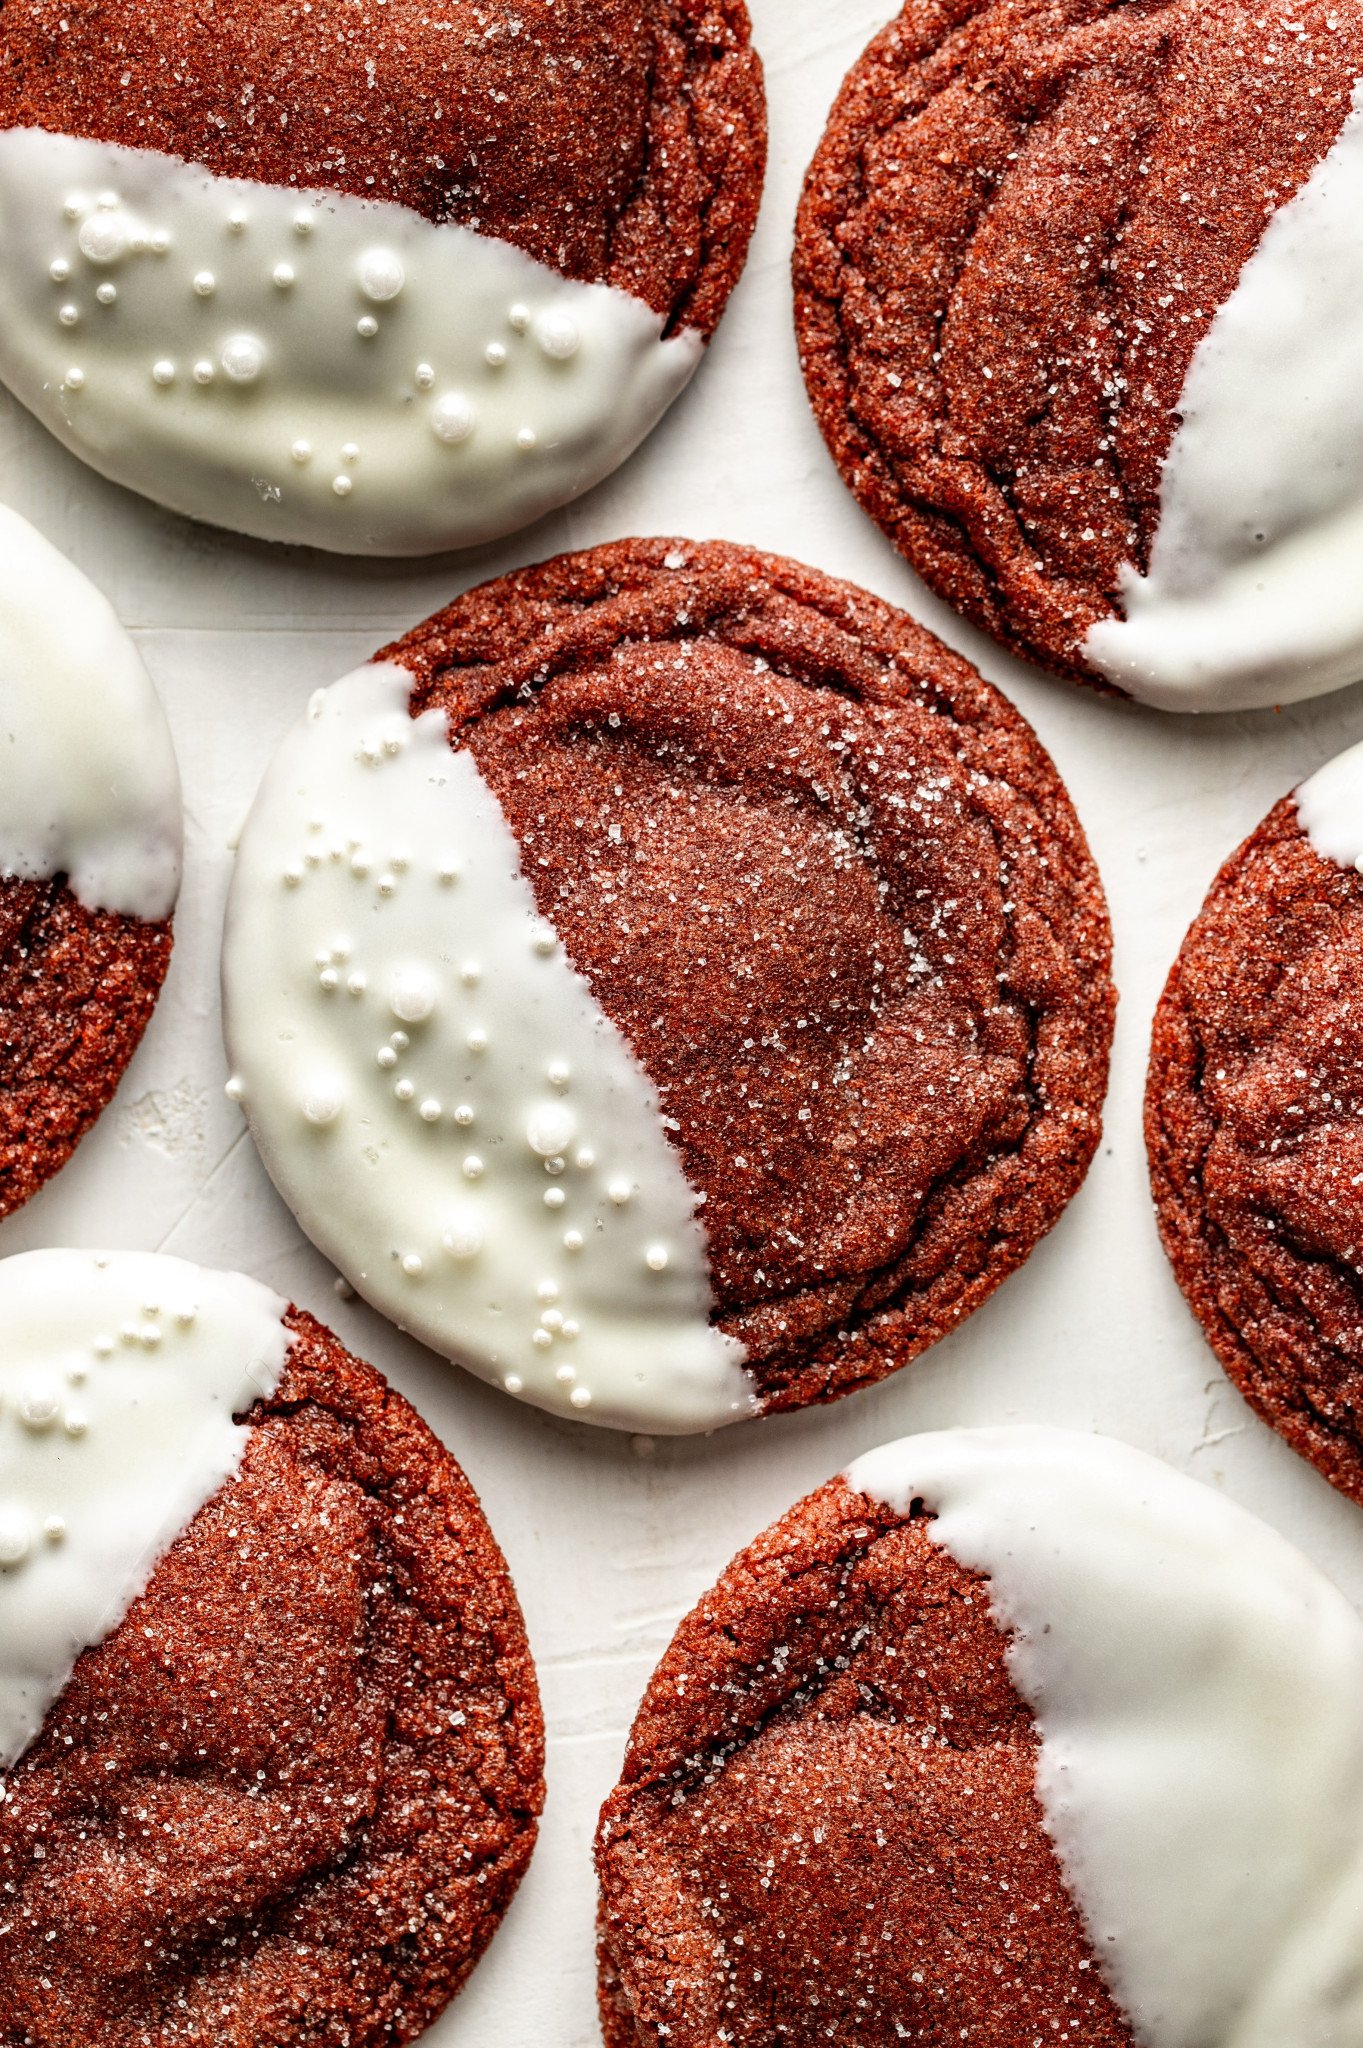
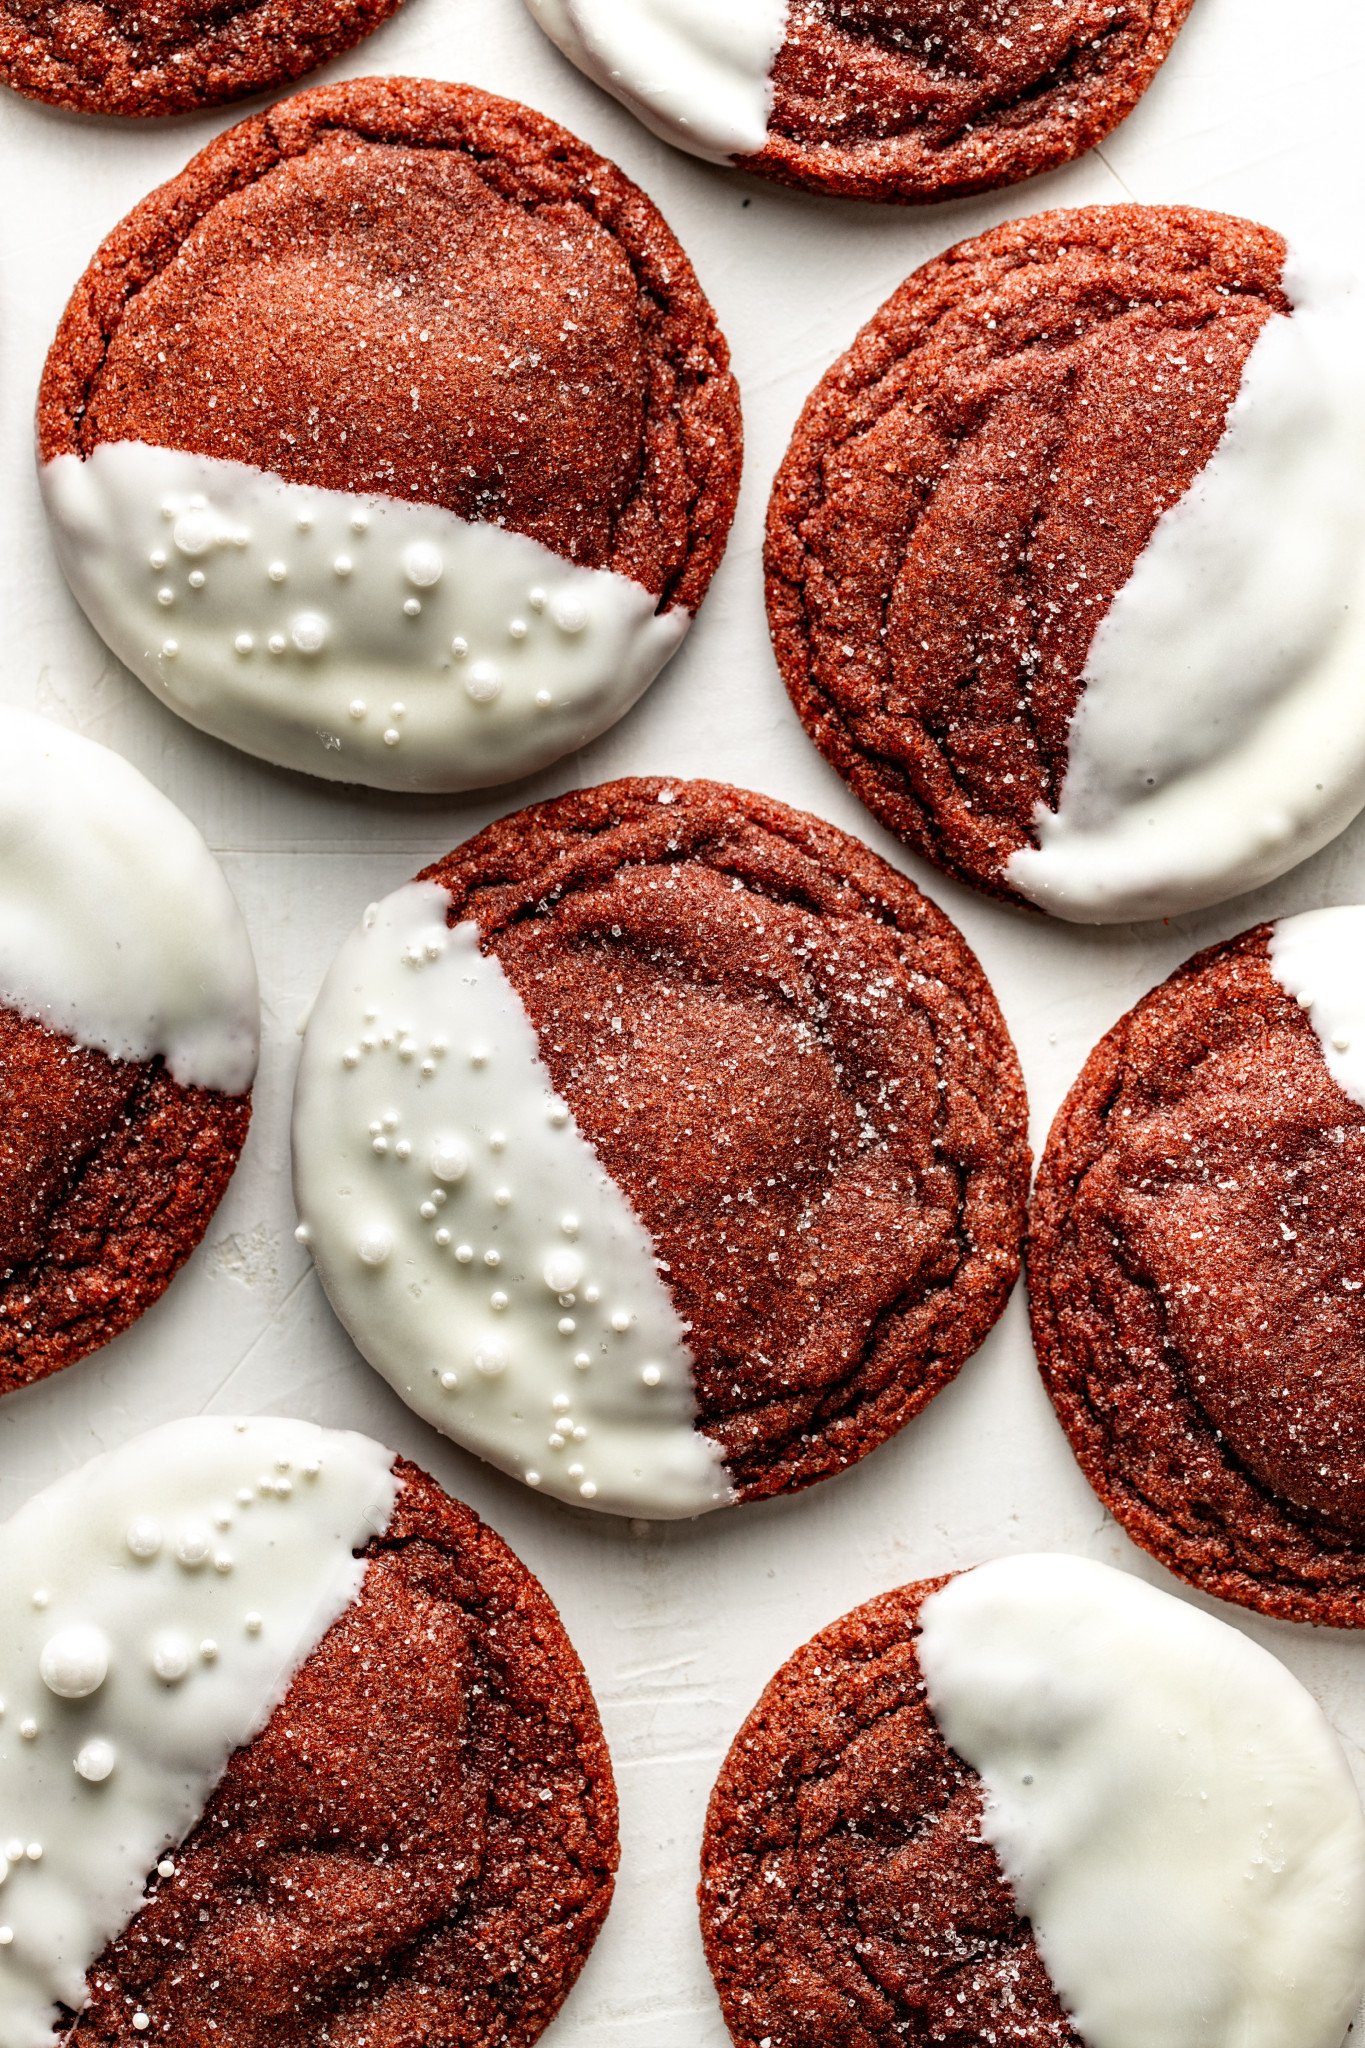
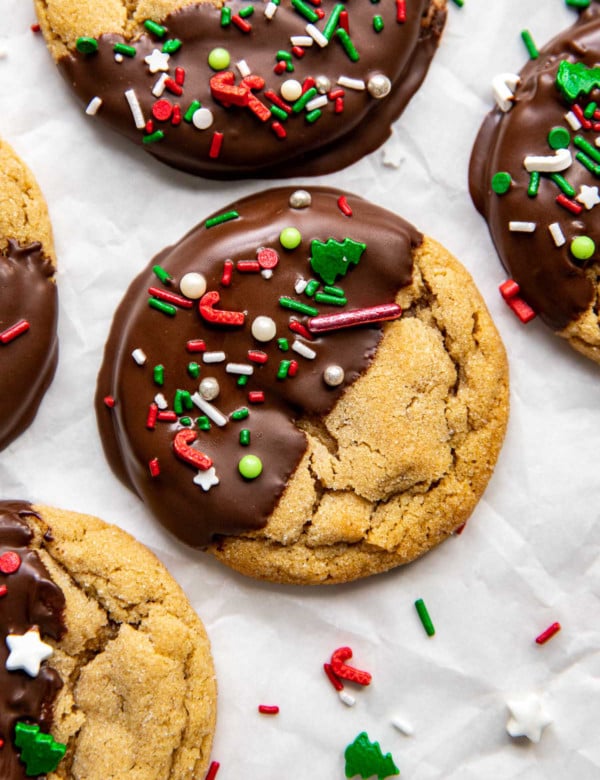
If you’re looking for a holiday cookie that not only tastes festive but looks the part, you have to try these White Chocolate Dipped Red Velvet Cookies! They’re soft, chewy, and everything you want in a holiday treat.
I love these cookies because each bite has that signature red velvet flavor (lightly chocolatey with a subtle hint of tang) paired with creamy white chocolate for the perfect balance of flavors. They’re just as tasty as they are beautiful and surprisingly easy to make!
Whether you’re baking for a holiday party, cookie exchange, or just want to add something special to your dessert lineup, these cookies will definitely hit the spot. And for more fun holiday cookies, try my Fudgy Crinkle Cookies, Eggnog Cookies with Cream Cheese Frosting, Tiramisu Cookies, or White Chocolate Macadamia Nut Cookies.


 Table Talk with Tawnie

I’ve always had a soft spot for red velvet desserts (like my Red Velvet Crinkle Cookies), especially during the holidays. There’s just something about that deep red color and hint of cocoa that feels extra festive. That’s why I was so excited to add these White Chocolate Dipped Red Velvet Cookies to my holiday lineup this year! Not only are these cookies delicious and surprisingly easy to make, but I love how festive they look on a cookie platter!


- All-purpose flour: All-purpose flour is the only flour I’ve tested this cookie recipe with. As always, it’s very important to make sure you’re using the spoon and level method to measure your flour when baking (you can also use a kitchen scale to weigh your ingredients). Too much flour can result in drier, harder cookies, which you definitely don’t want with these!
- Unsweetened cocoa powder: Use regular unsweetened cocoa powder (not Dutch-processed) for that classic light chocolate flavor and the deep red-brown hue red velvet is known for, without the cookies turning too dark.
- Distilled white vinegar: Just a splash! You won’t taste it, but it’s a key ingredient in red velvet recipes. It reacts with the baking soda to help the cookies rise and adds that signature tang. Apple cider vinegar works too.
- Red gel food coloring: This gives the cookies their signature red velvet color. I prefer gel food coloring for a richer tone, but you can adjust the amount to reach your perfect shade.
- White chocolate melting wafers: For dipping, I love using Ghirardelli melting wafers; they melt smoothly and set up with that perfect glossy finish.
Step by Step Directions
(For the full recipe, scroll down to the recipe card below)

Mix wet ingredients
Whisk together the melted butter and sugars until smooth and glossy. Then add the rest of the wet ingredients and whisk until fully combined.

Whisk dry ingredients
In a separate bowl, whisk together the dry ingredients.

Combine ingredients
Gradually fold the dry ingredients into the wet ingredients. Careful not to over-mix! Cover with plastic wrap and chill for 30-60 minutes.

Scoop & roll
Scoop the cookie dough and roll into balls. Roll each dough ball in granulated sugar, then place on the prepared baking sheet.

Bake & dip!
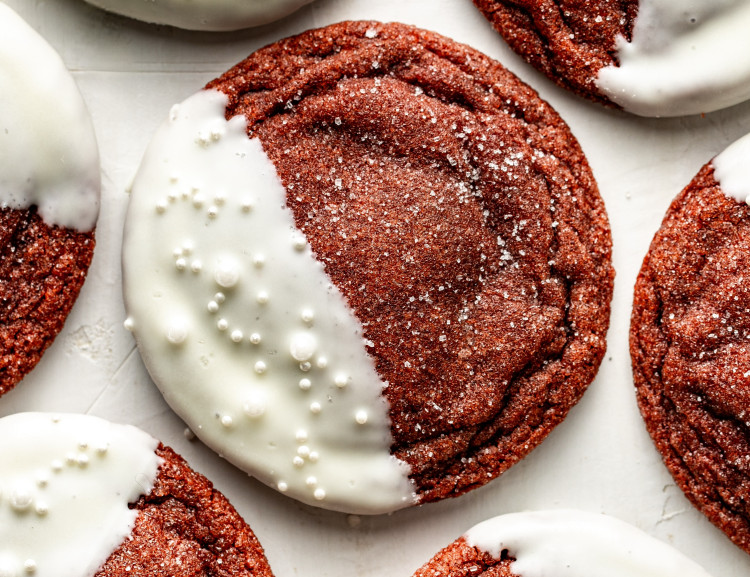
Bake for 8–10 minutes, or until the edges are set and the centers still appear soft. Let cookies cool. Then dip the cookies into the melted white chocolate and top with sprinkles. Allow chocolate to set, then ENJOY!
Expert Tips
- Spoon and level flour: Spoon the flour into your measuring cup and be sure it’s leveled. Do not scoop the flour out of the container/bag with your measuring cup because you could end up with 50% more than you need. Spoon and level by using a spoon to scoop the flour into the measuring cup and use the back of a knife to level off the top of it. You can also use a kitchen scale for accurate measurements.
- Don’t over-mix the dough: Mix until the ingredients are combined. Overmixing can develop too much gluten, making the cookies tough. To prevent this, I like to fold in the dry ingredients just until no more dry flour pockets are left.
- Chill the dough: Don’t skip this step! Letting the dough rest in the fridge for 30–60 minutes helps it firm up, making it easier to scoop and roll while also giving you thicker, chewier cookies. You can also prep the dough and let it chill in the fridge for up to 2-3 days.
- Don’t over-bake: Bake just until the edges are set and the centers still appear soft. The cookies will continue to set as they cool. Always underbake!
- Do not crowd the baking sheet: I like to bake 6-8 cookies at a time. Overcrowding the cookies can lead to the cookies baking into each other and creating wonky-shaped cookies. We want the heat to circulate evenly around the cookies, so if you find your cookies are spreading too much, bake fewer cookies on your sheet at one time.
- Let cookies cool before dipping: Make sure to let the cookies cool all the way before dipping! If they’re even a little warm, the white chocolate can melt or slide right off.
Want perfectly circular cookies? Immediately upon removing the cookies from the oven, place a circle cookie cutter or a circular drinking glass around one of the cookies (it should be larger than the cookie so you don’t cut off any edges) and give the cookies a spin. Swirling the cookie helps to smooth out any uneven edges and make the cookies perfectly circular!
Bake up some holiday magic with my Holiday Cookie Series! 🎄🍪 These easy, delicious recipes are perfect for gift-giving, cookie swaps, and holiday celebrations!
Storage / Freezing
- Store these white chocolate dipped cookies in a sealed container at room temperature for up to 5 days, or in the freezer for up to 3 months.
- To freeze: Scoop the dough into 2 Tbsp. sized balls and freeze in a single layer in an airtight container for up to 3 months. You can bake the frozen cookie dough from frozen, just add an extra minute or so to your bake time, then dip them in the melted chocolate.
- Make ahead: You can make the cookie dough and chill it in the refrigerator for up to 2–3 days. Allow to come to room temperature then continue to bake as directed.

shop this post

Gel food coloring (classic colors)
Buy Now → Buy Now →
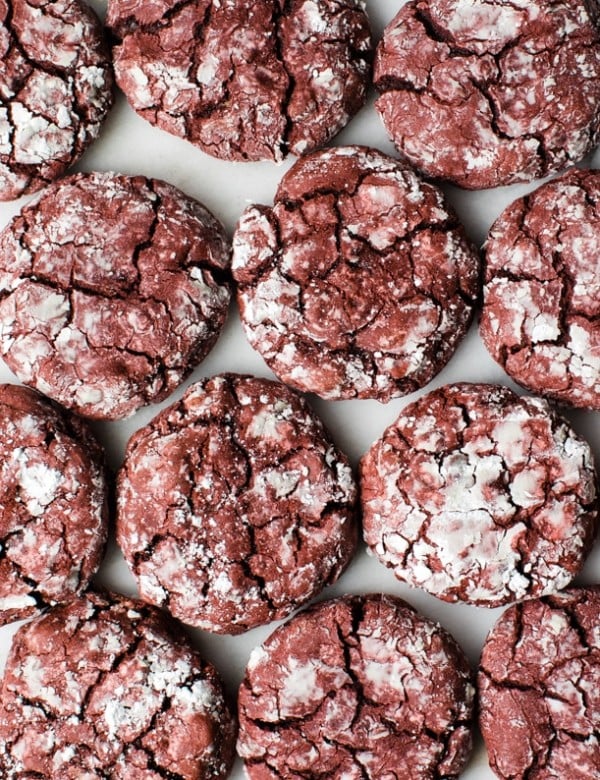
Before You Begin! If you make this, please leave a review and rating letting us know how you liked this recipe! This helps our business thrive & continue providing free recipes.

Ingredients
- 1 cup unsalted butter (mostly melted)
- 1 cup dark brown sugar (packed)
- 1 cup granulated sugar
- 2 large eggs (room temperature)
- 1 tsp. red gel food coloring (adjust for desired color)
- 1/2 tsp. distilled white vinegar
- 1½ tsp. vanilla extract
- 3 cups all-purpose flour (spooned & leveled)
- 1/4 cup unsweetened cocoa powder
- 1 tsp. baking soda
- 1 tsp. fine sea salt
- 1/4 tsp. espresso powder (optional, enhances cocoa flavor)
For Rolling & Decorating:
- ~1/4 cup granulated sugar (for rolling)
- White chocolate melting wafers (I like to use the Ghirardelli melting wafers, for dipping or drizzling)
- Sprinkles (for decorating (optional))
Last step! If you make this, please leave a review and rating letting us know how you liked this recipe! This helps our business thrive & continue providing free recipes.
Instructions
- Preheat the oven: Preheat the oven to 350°F (177°C). Line two large baking sheets with parchment paper.
- Whisk butter and sugars: In a large mixing bowl, whisk together the melted butter, dark brown sugar, and granulated sugar until smooth and glossy.1 cup unsalted butter, 1 cup dark brown sugar, 1 cup granulated sugar

- Add wet ingredients: Add the eggs, red gel food coloring, vinegar, and vanilla, and whisk until fully combined.2 large eggs, 1 tsp. red gel food coloring, 1/2 tsp. distilled white vinegar, 1½ tsp. vanilla extract
- Combine dry ingredients: In a separate bowl, whisk together the flour, cocoa powder, baking soda, salt, and espresso powder.3 cups all-purpose flour, 1/4 cup unsweetened cocoa powder, 1 tsp. baking soda, 1 tsp. fine sea salt, 1/4 tsp. espresso powder
- Combine wet and dry: Gradually fold the dry ingredients into the wet ingredients using a rubber spatula or wooden spoon. Mix until no streaks of flour remain, being careful not to overmix. Cover with plastic wrap and chill for 30-60 minutes. Start Timer
- Scoop and roll: Scoop about 2 tablespoons of dough per cookie and roll into balls. Roll each dough ball in granulated sugar before placing them on the prepared baking sheet, spacing about 2 inches apart.~1/4 cup granulated sugar
- Bake: Bake for 8–10 minutes, or until the edges are set and the centers still appear soft. The cookies will continue to set as they cool. Always underbake! Immediately after baking, cookie-scoot into perfect circles using a round cutter. Start Timer
- Cool: Let cookies cool on the baking sheet for ~5 minutes before transferring to a wire rack to cool completely. Sprinkle with any leftover granulated sugar, if you’d like!
- Decorate: Once cooled, dip cookies with melted white chocolate wafers and top with festive sprinkles, if using. Allow the chocolate to set before serving or storing. ENJOY!White chocolate melting wafers, Sprinkles


Notes
- Store these white chocolate dipped cookies in a sealed container at room temperature for up to 5 days, or in the freezer for up to 3 months.
- To freeze: Scoop the dough into 2 Tbsp. sized balls and freeze in a single layer in an airtight container for up to 3 months. You can bake the frozen cookie dough from frozen, just add an extra minute or so to your bake time, then dip them in the melted chocolate.
- Make ahead: You can make the cookie dough and chill it in the refrigerator for up to 2–3 days. Allow to come to room temperature , then continue to bake as directed.
Nutrition Information
Nutritional information is provided as a courtesy and is automatically calculated. It should only be construed as an estimate rather than a guarantee. Ingredients can vary and Kroll’s Korner can’t make any guarantees to the accuracy of this information.
📸 Photos by Megan McKeehan of The Broke Girl Table

Excellent cookies. The white chocolate made them a bit sweeter than expected, so withy second batch is didn’t roll the cookie balls in sugar.
I love all of your recipes. I follow the steps to a T and they work out exactly as shown.
I made the chocolate red belt dipped cookies – put them into the fridge for 60 minutes prior to baking – rolled them into balls then into the granulated sugar and they did not flatten as your picture shows. They are still round and high . Not sure what to do so they turn out as yours have. Any thoughts please. Once again they taste great just look funny. Thank you for all your recipes
Hi Karen! Oh no I am so sorry. You and a couple others seem to be having this issue and I believe it could be from not measuring the flour probably is my only guess. I made these multiple times with no issue of my own and my photographer didn’t have issues either when she made them.
Excellent!!!! These cookies are amazing and delicious! Can’t decide if I like the frosted side or the plain side so it forces me to eat another one!
Lol too funny!! Thanks so much Amy 🙂
The cookies turned out great, I realized afterward I used a vanilla candy coating instead of white chocolate. They still taste good but does that make a huge difference?
Thank you!! The vanilla candy coating is great for dipping, just has a sweet flavor compared the white chocolate 🙂
My question is how did you get yours flat like the christmas sugar cookies? Mine almost came out like crinkle cookies! They still taste really good I was just curious!
Hi Bella! Hmmm, I am not sure exactly. Mine are kind of puffy right out of the oven but settle as they cool. Maybe the type of cocoa powder used?
Hello I have a question my cookies didn’t go flat like yours did I don’t know why the only thing I did differently was not add white distilled vinegar because I didn’t have any. Mine came out kind of like crinkle cookies without the powdered sugar and where much thicker. So I’m just wondering how did yours turn out flat and beautiful like yours did in the photo with the dipped white chocolate?
I’m so sorry about that! Maybe too much flour?? I am not sure. I am sorry, baking is so tricky!
Red velvet is not chocolate, nor does it have coffee in it. You have made a Mocha Chocolate cookie, not red velvet 🥺
Hey Jeani! Thanks for your comment. These cookies actually don’t taste like mocha at all. To clarify, red velvet does actually usually contain small amounts of cocoa powder in it. I also mentioned the espresso powder is optional. The vinegar also helps give the cookies that red velvet flavor we all know and love. Feel free to call these whatever kind of cookie you want and I hope you love the recipe. 🙂 If not, try my red velvet crinkle cookies https://krollskorner.com/recipes/desserts/red-velvet-crinkle-cookies/ (spoiler: these contain cocoa powder though, too!) Thanks so much for leaving a comment and being a follower!