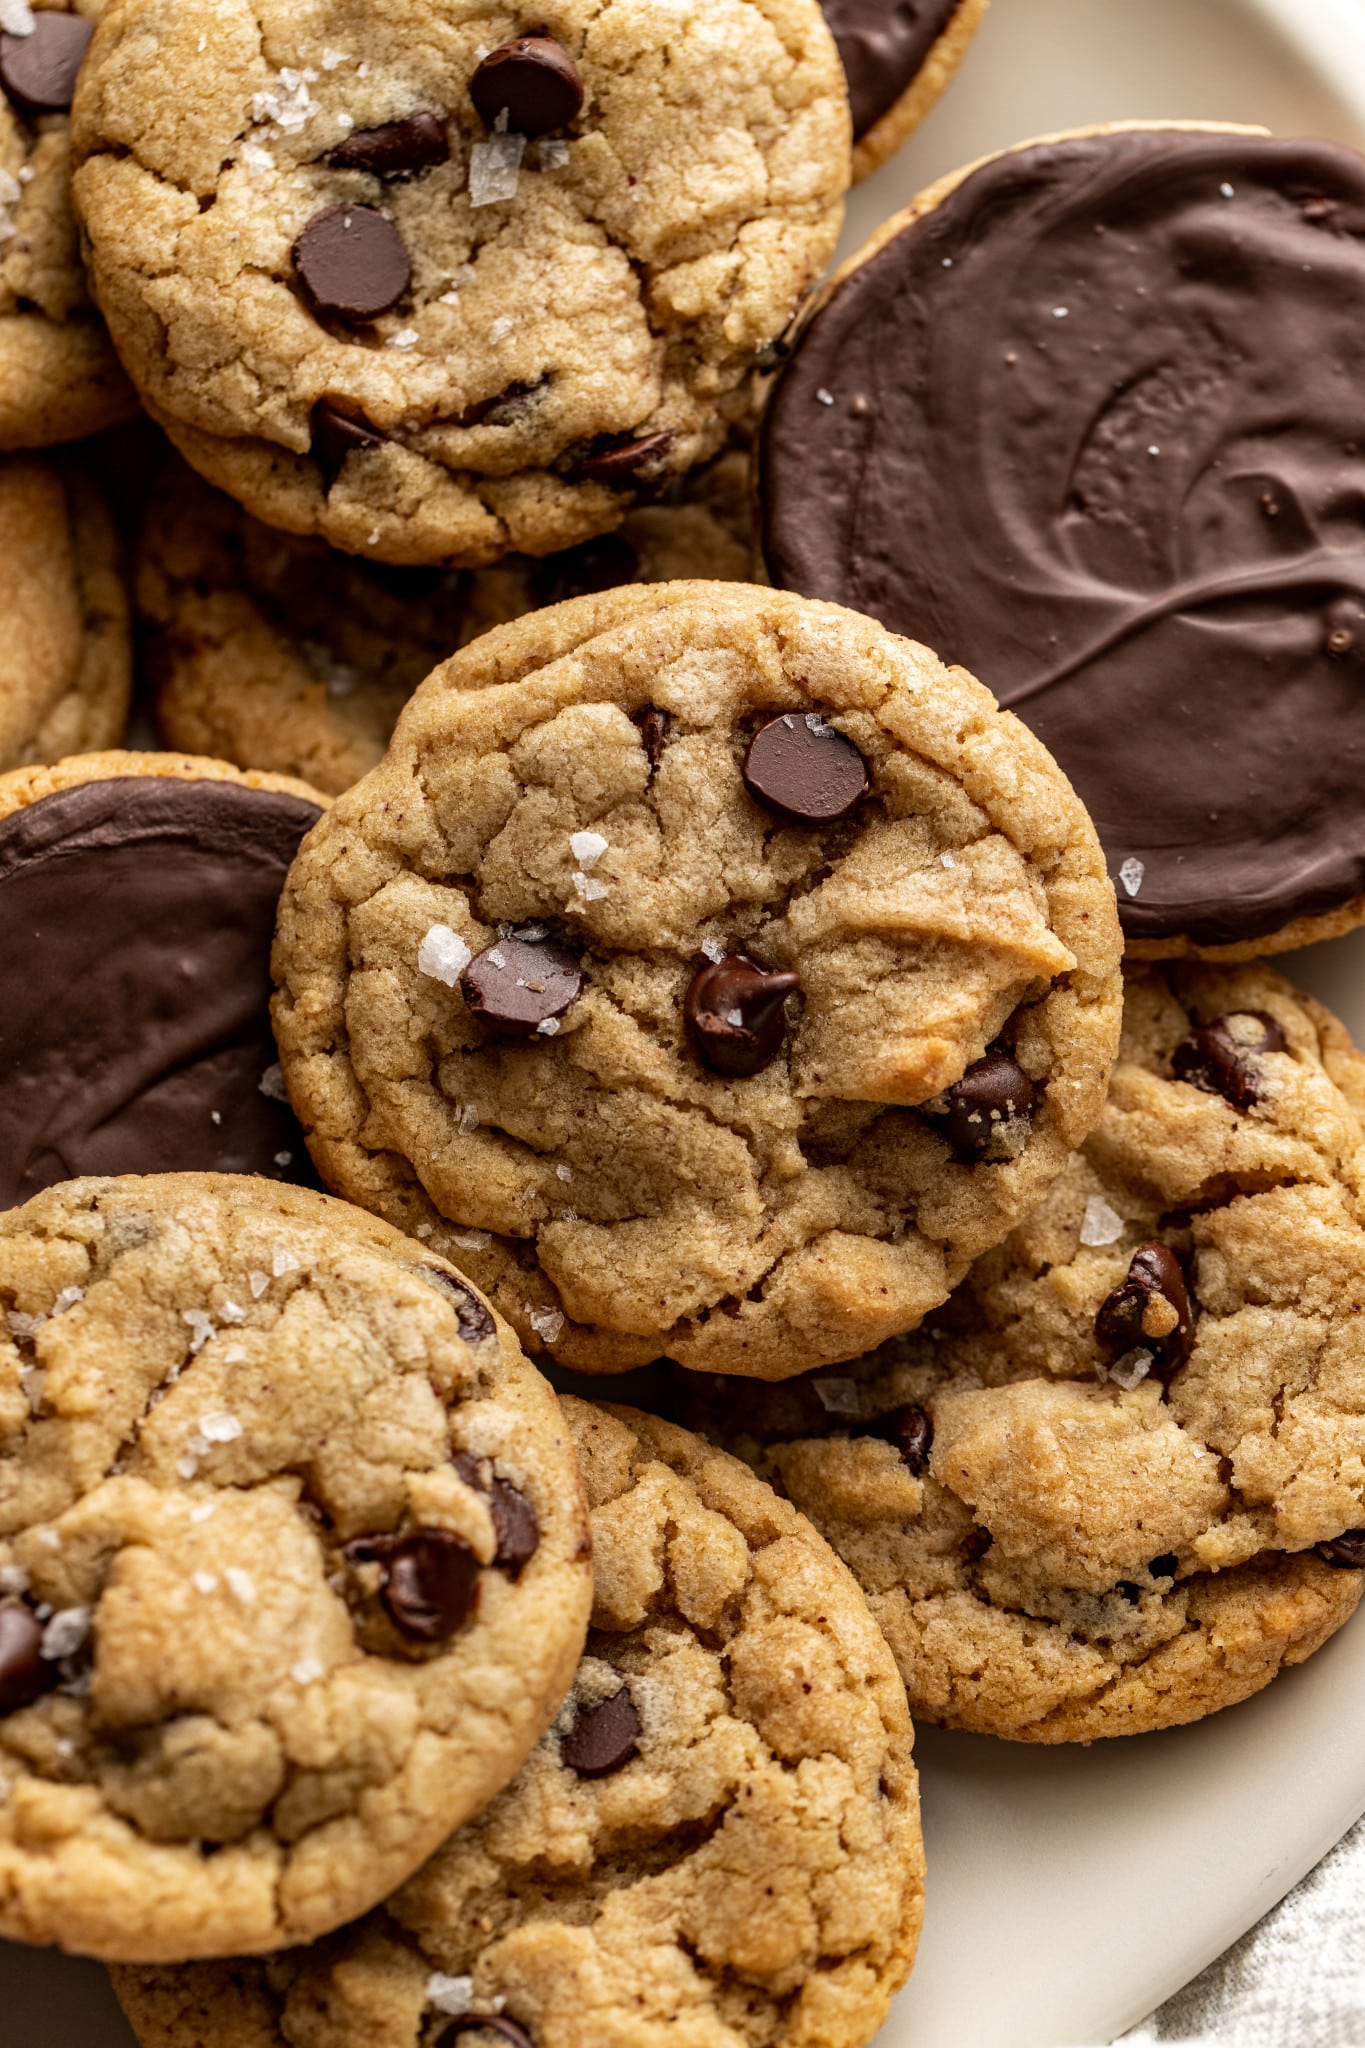
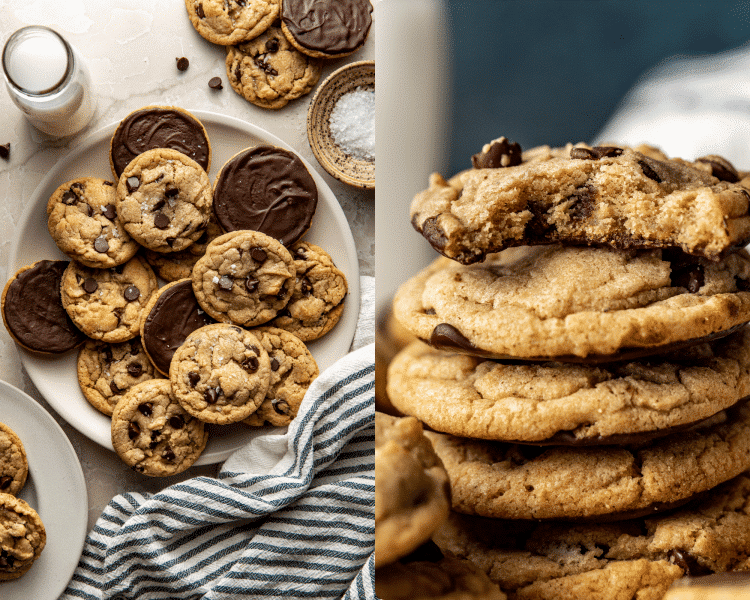
Chocolate Dipped Brown Butter Cookies
This post may contain affiliate links. Please read our disclosure policy.
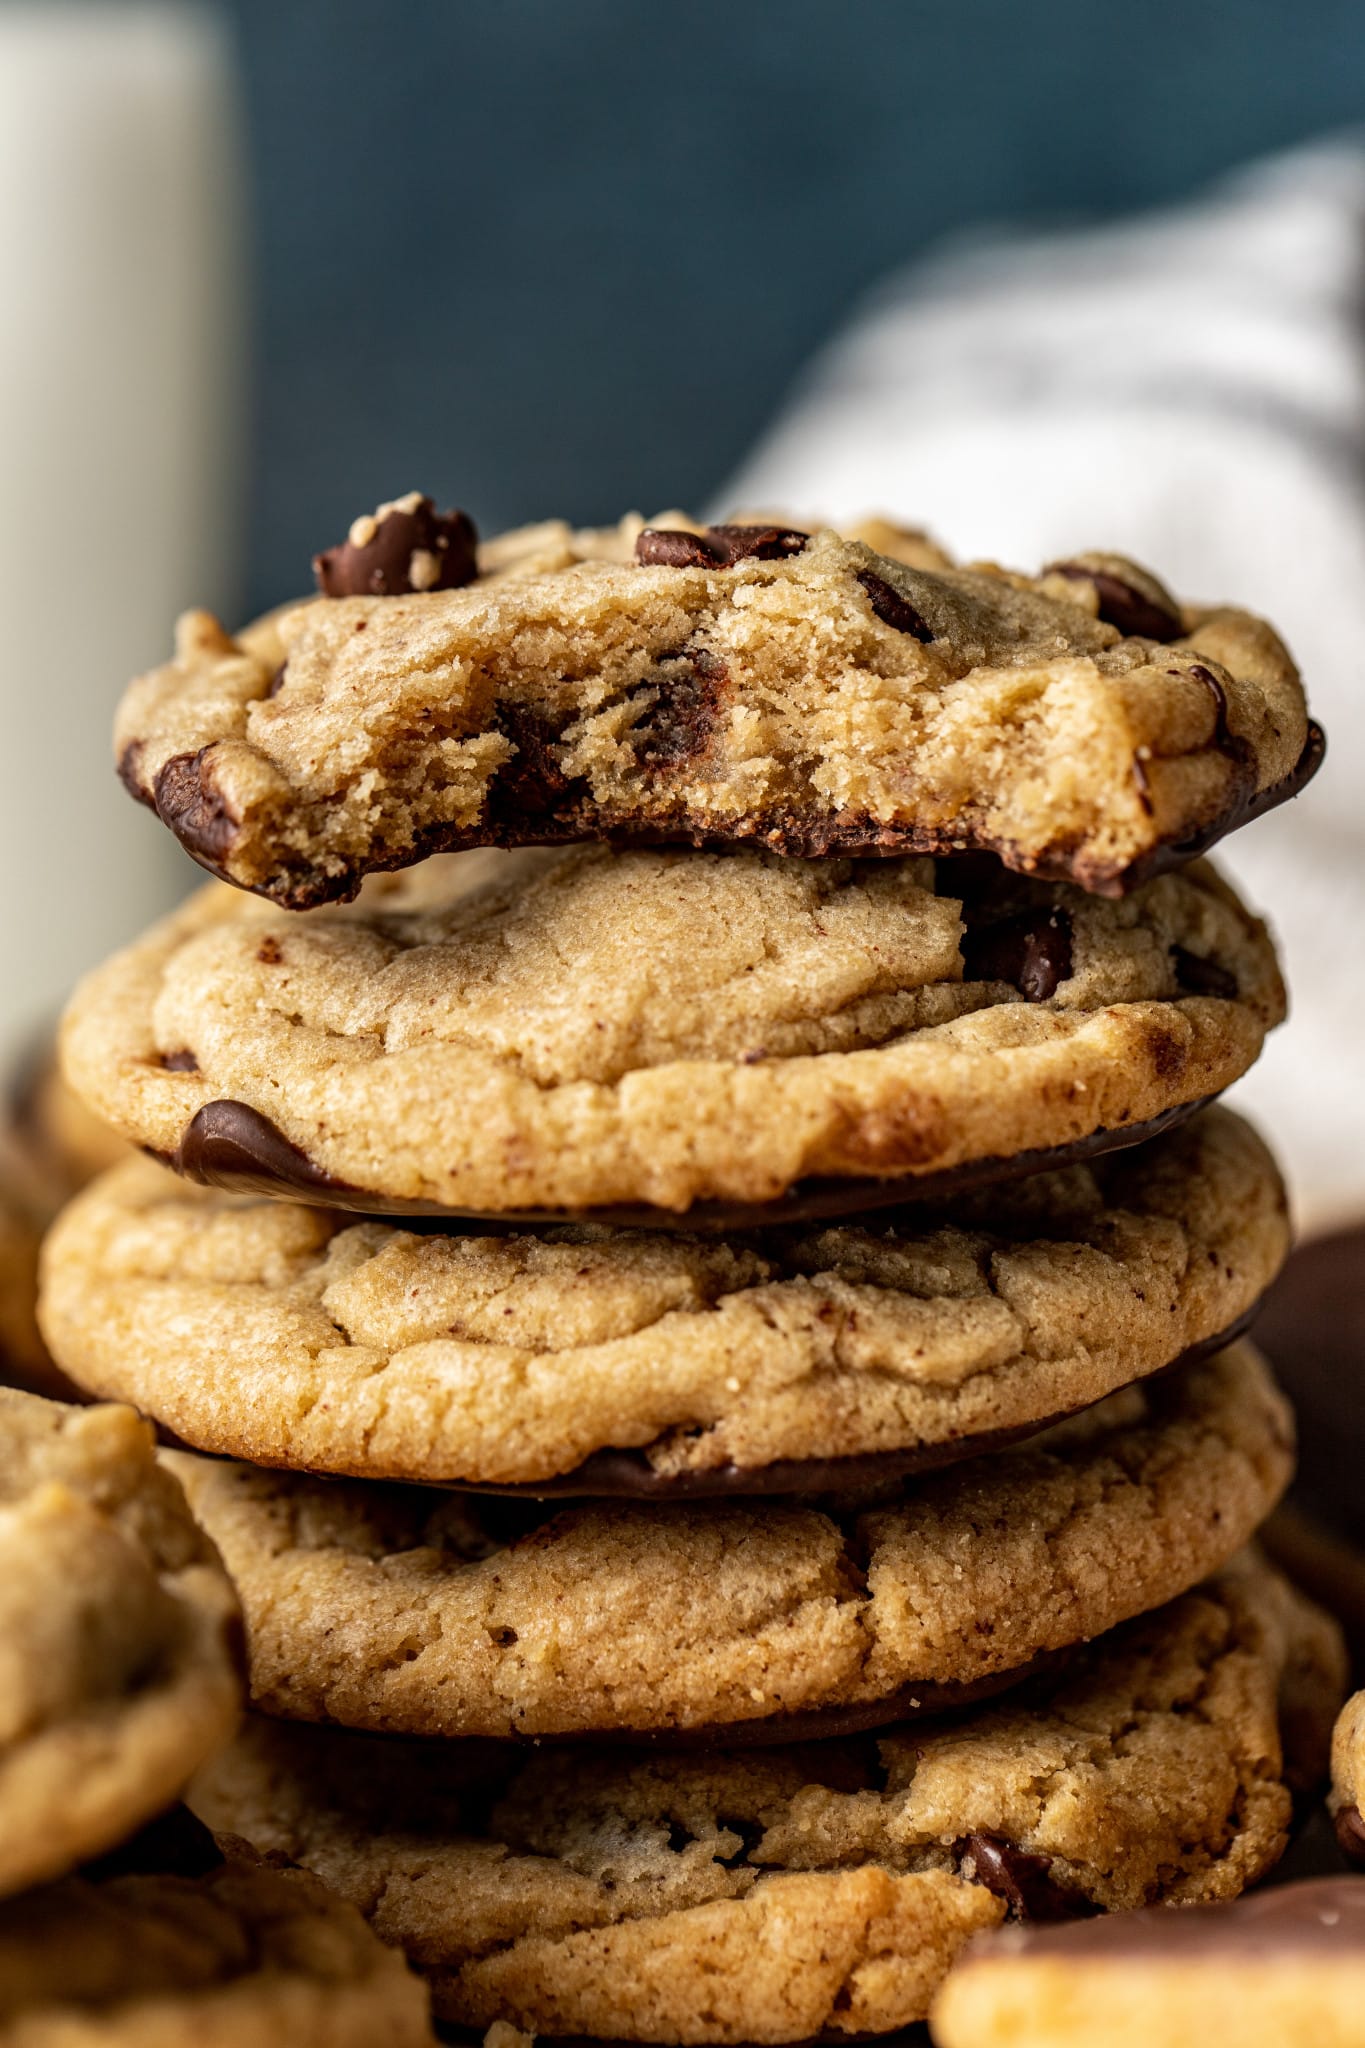
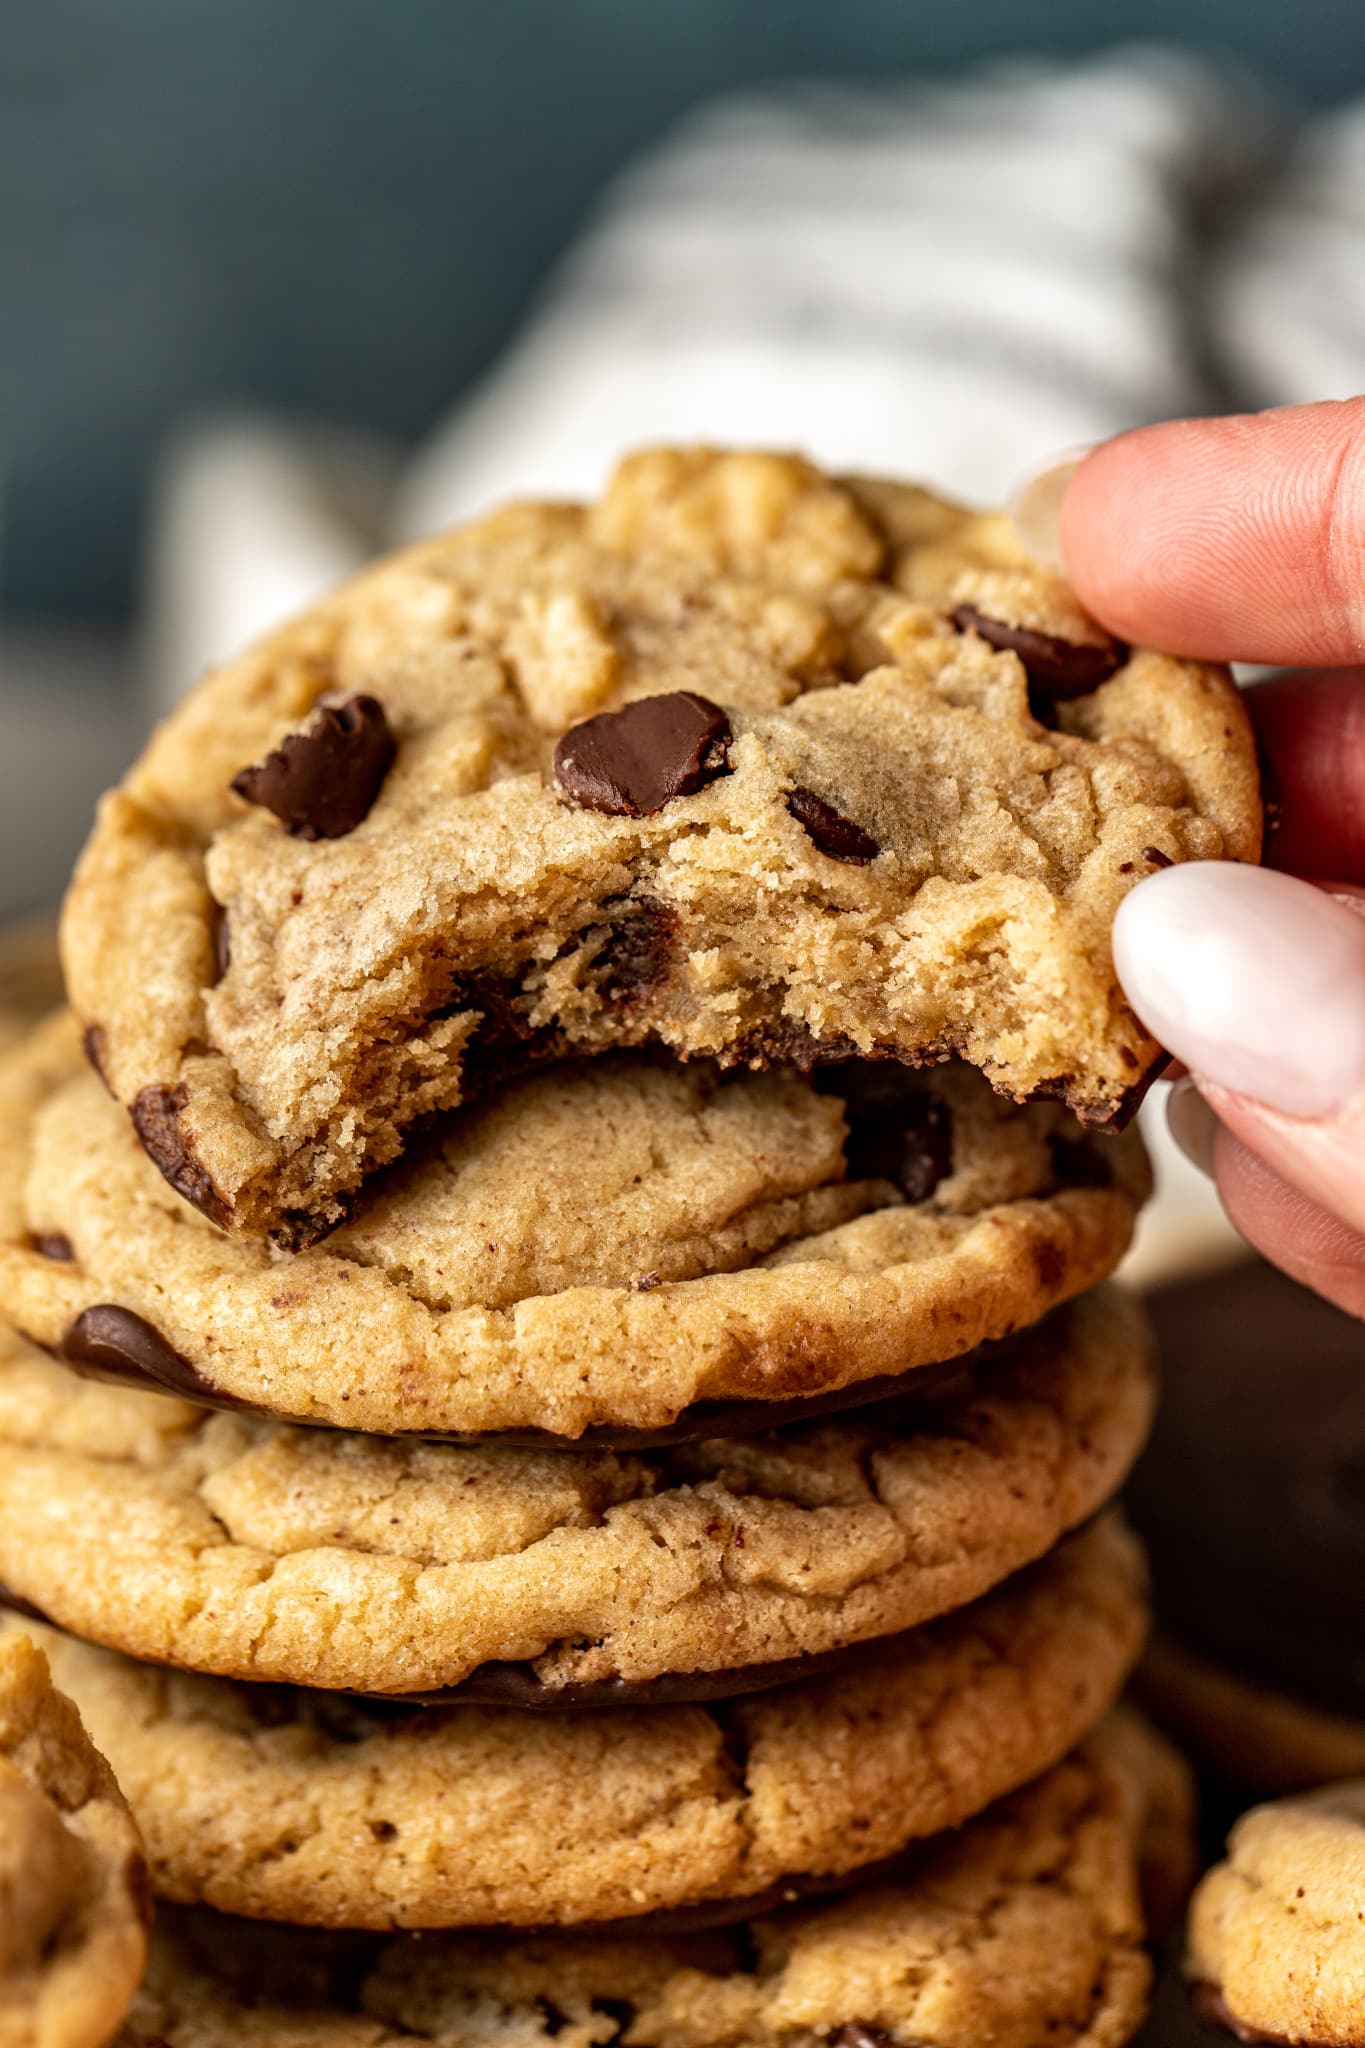
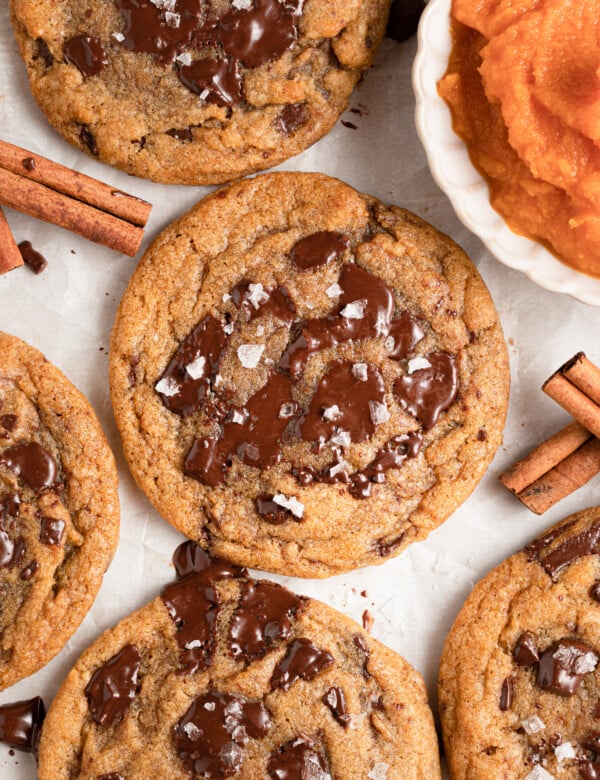
If you’ve never made cookies with brown butter, what are you waiting for? The brown butter gives these cookies rich, nutty, caramel notes and softness that allows them to be thin but still chewy. Plus, if you always forget to set your butter out like I do, problem solved!
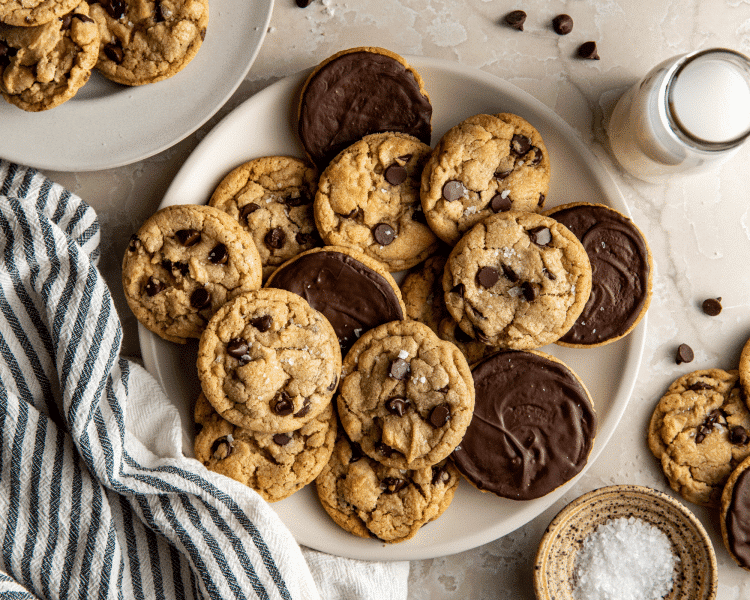
These Chocolate Dipped Brown Butter Cookies are super similar to my Brown Butter Chocolate Chunk Cookies but have a melted chocolate layer on the bottom that is perfect for all you chocolate lovers out there!!
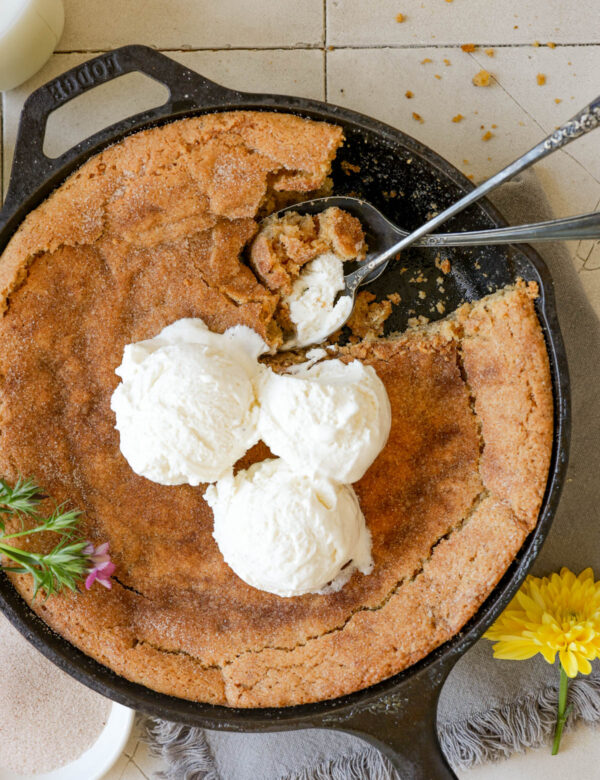
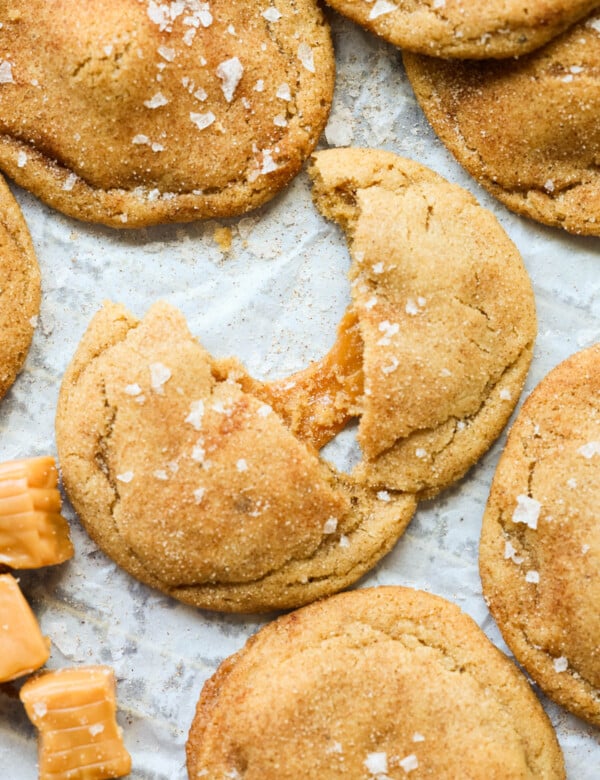
And if browning butter intimidates you, don’t worry! It’s super easy and I walk you through it with in step-by-step instructions in this post. Then once you get the hang of it, you can also make my Brown Butter Caramel Snickerdoodles, Brown Butter Chocolate Chunk Blondies, or my Brown Butter Snickerdoodle Cookie Skillet!


 Table Talk with Tawnie

I still remember the first time I made brown butter cookies. I was in a rush (as usual) and thought, Do I really have time for this extra step? But the moment I smelled that rich, melted butter I knew I had just unlocked a whole new level of cookie magic. So now any time I want to take my cookies to the next level I’ll just whip up a batch of browned butter. It makes them bakery-worthy without a ton of extra effort!
And when you dip these thin, soft, chewy cookies into the silky melted chocolate? Game over. These cookies were inspired by Jacques Torres and his chocolate dipped chocolate chip cookies and I’m telling you, these cookies will definitely make people think you spent hours baking when, in reality, you whipped them up in no time without a ton of effort!
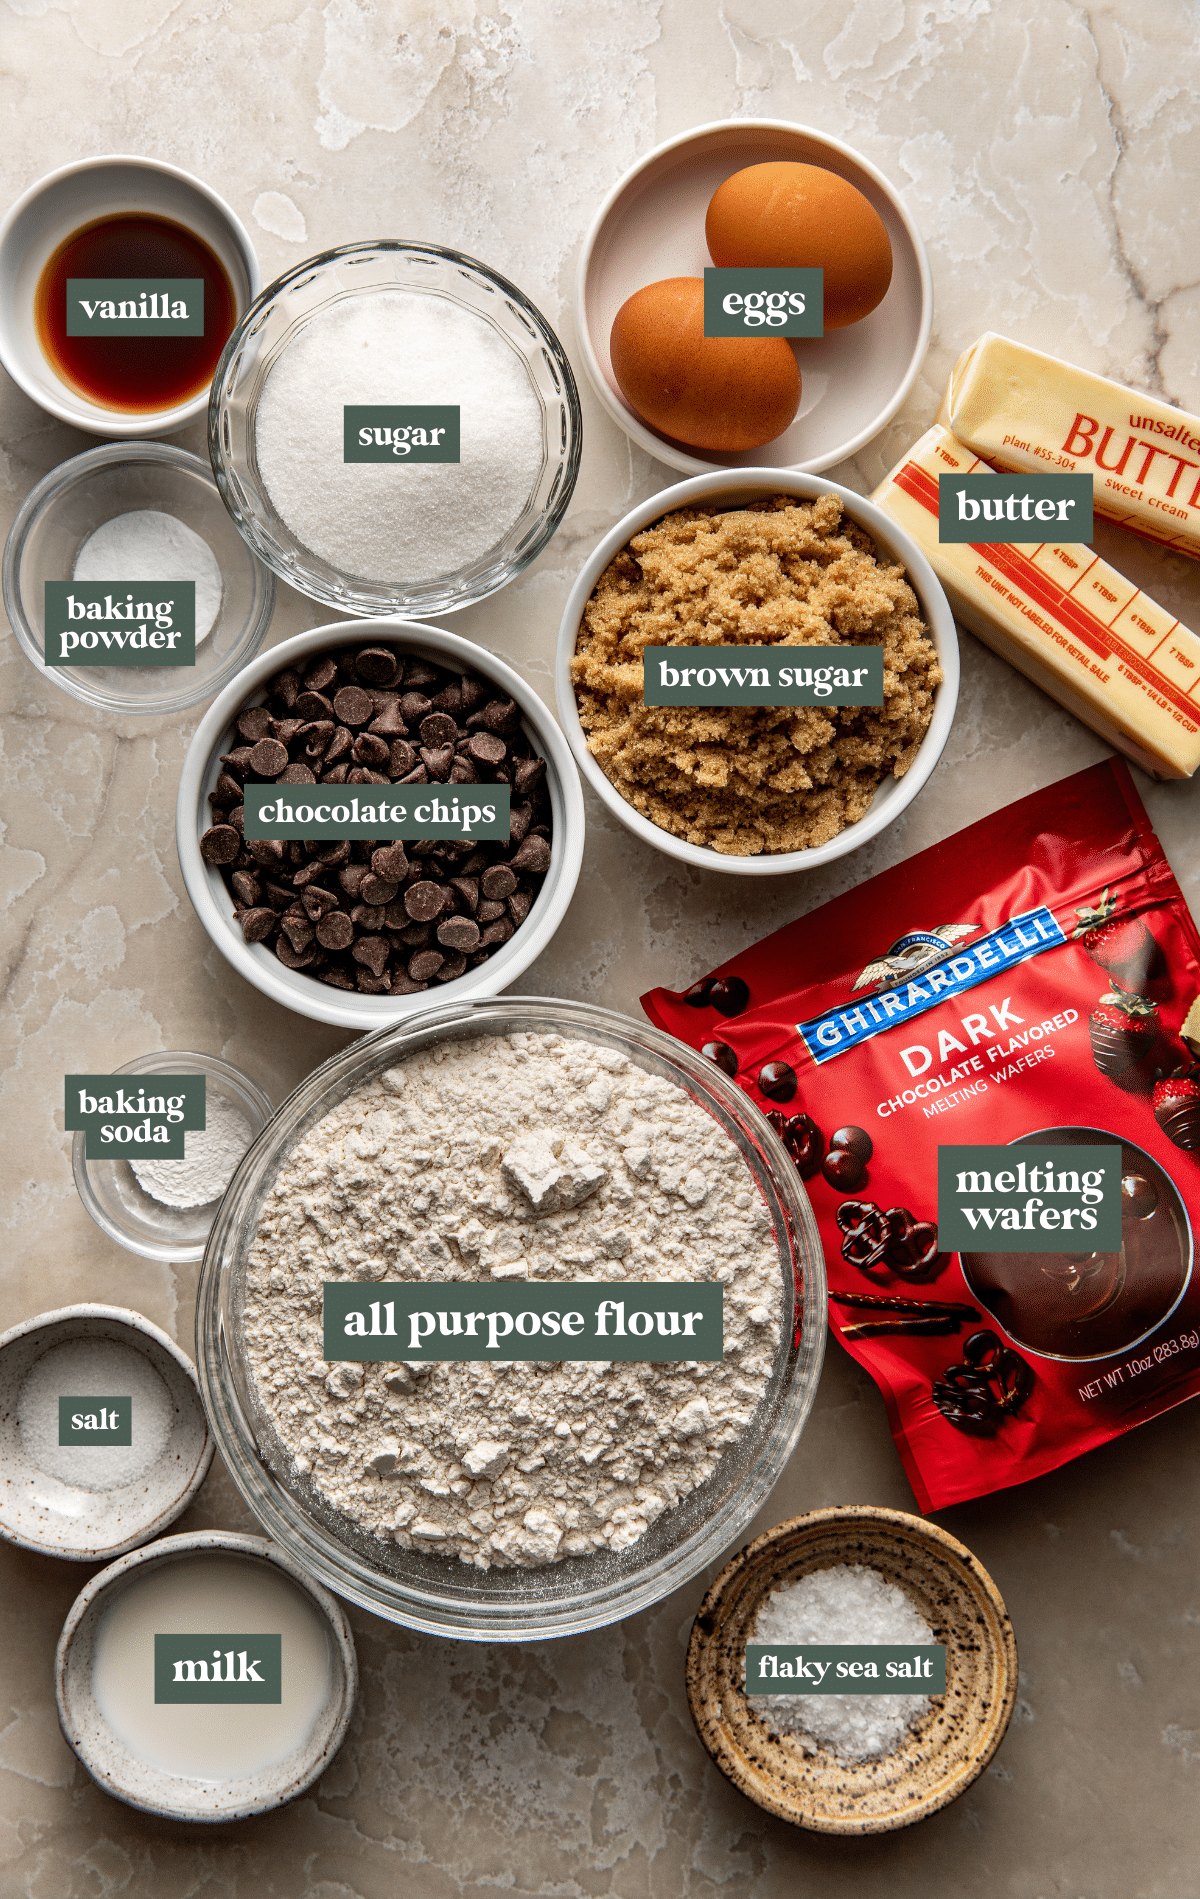
- Butter: Make sure to use unsalted butter and visit this post on how to brown butter for an easy tutorial.
- Sugar: I like using more brown sugar than white sugar in this recipe to make the cookies chewy. Just whisk the sugars into the melted butter to form a paste. No need to cream the ingredients with a stand mixer. And be sure to break up any clumps of the brown sugar. This recipe also will work with light brown sugar, but I prefer the dark brown in this recipe.
- Egg and egg yolk: Adding an extra egg yolk helps create a richer, chewier cookie. You can save the egg white for breakfast the next day! Also, make sure your eggs are at room temperature so they will mix more easily with the rest of the wet ingredients.
- Flour: All-purpose flour is the only flour I’ve tested this cookie recipe with. As always, it’s very important to make sure you’re using the spoon and level method to measure your flour when baking. Too much flour can result in drier, harder cookies, which you definitely don’t want with these ones!
- Semi-sweet chocolate chips: Since we’re using milk or dark chocolate for the chocolate shell, I opted for a semi-sweet chocolate chip to go alongside them. But you could use milk or dark if that’s what you prefer!
- Melting wafers: I prefer to use milk or dark chocolate melting wafers for the chocolate dip. I use the Ghirardelli brand. However, if you don’t have melting wafers you can just use chocolate chips with a little coconut oil or shortening.
Step by Step Directions
(For the full recipe, scroll down to the recipe card below)
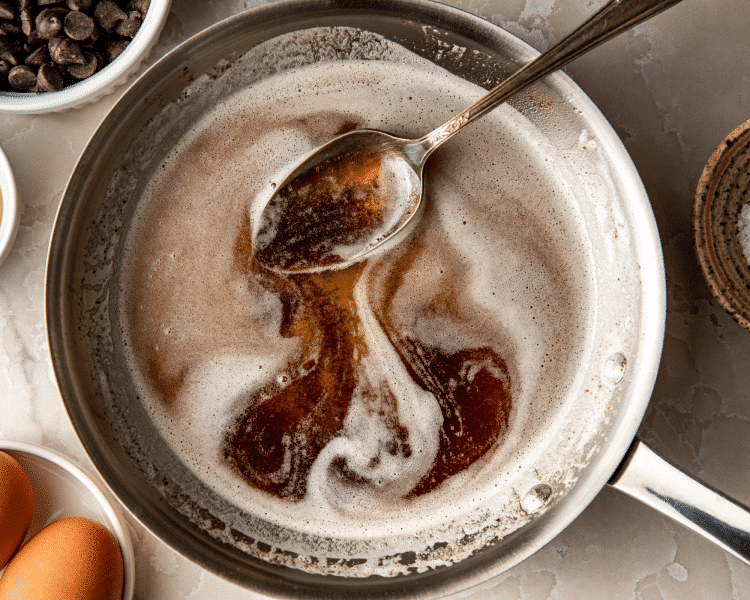
Brown the butter
Check out my how to brown butter blog post if you need some guidance.
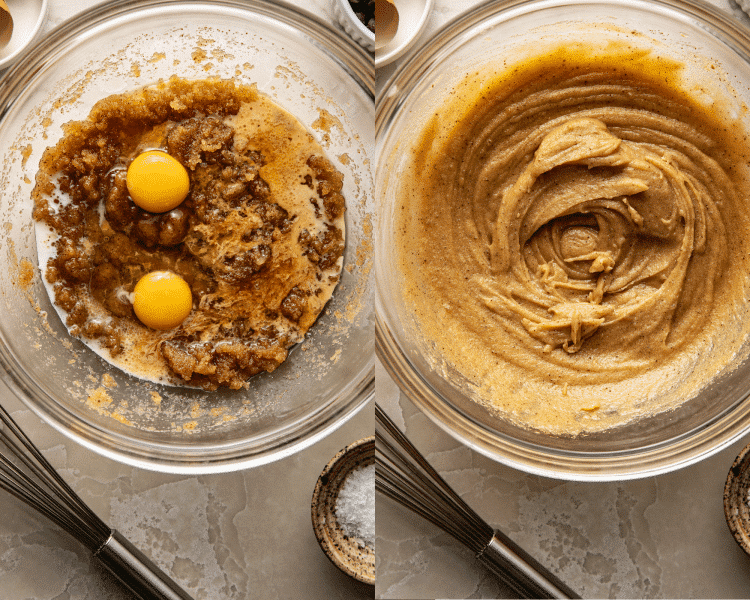
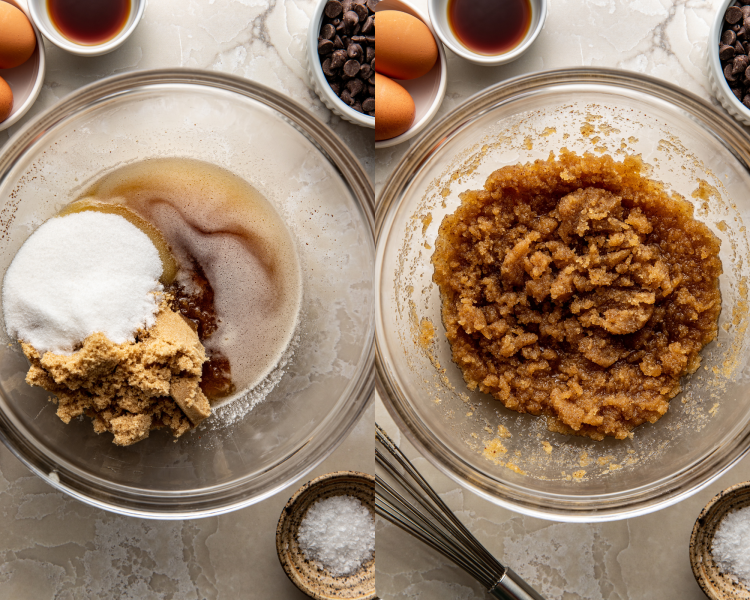
Mix wet ingredients
Add both sugars and whisk until incorporated then add the remaining wet ingredients.
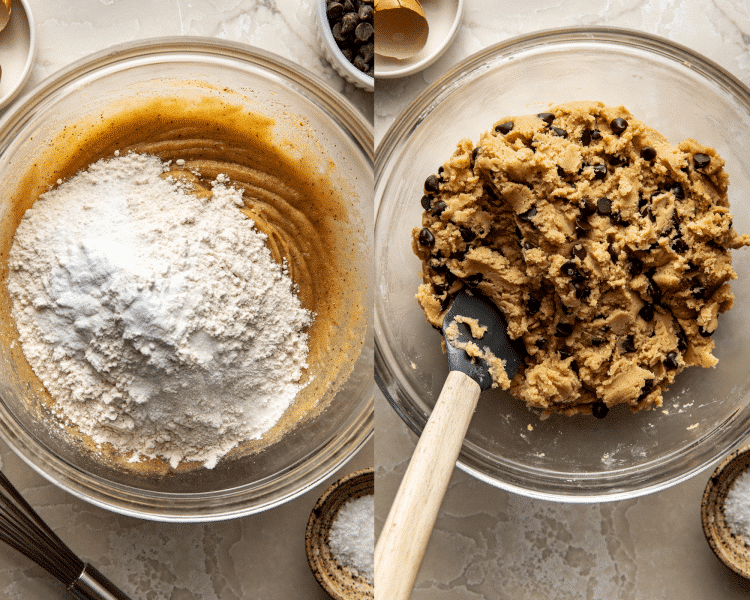
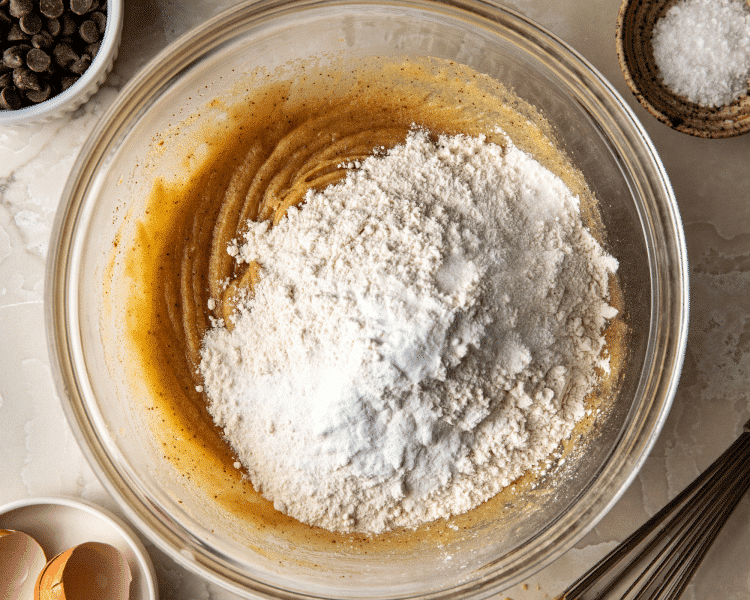
Fold in dry ingredients
Fold in the dry ingredients. Then pop the cookie dough into the fridge for a few minutes to let the flour to hydrate so that we get a super soft and chewy cookie.
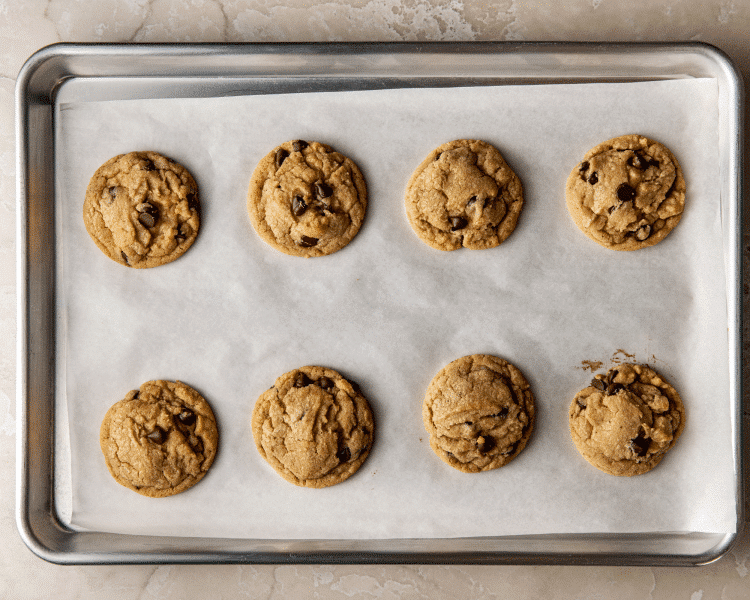
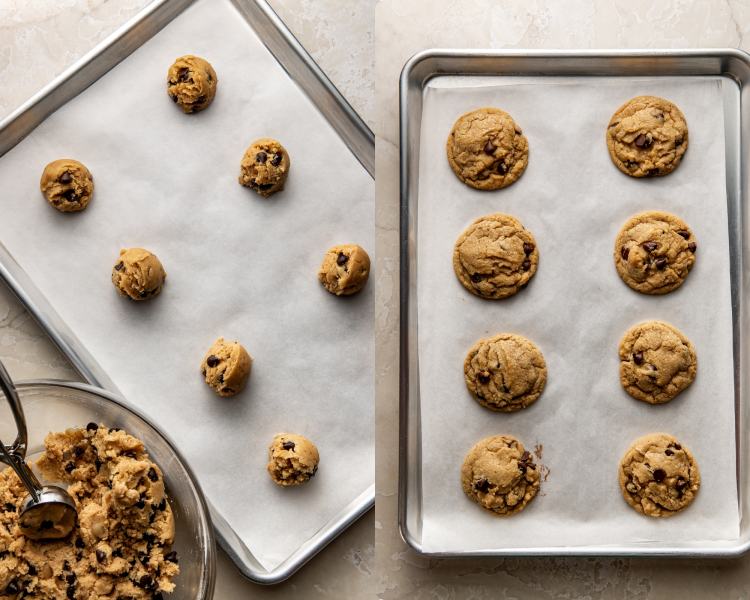
Scoop & bake
Once chilled, scoop cookies into 1½ tbsp. sized balls and bake for ~8-10 minutes (it’s okay if they’re slightly underbaked, they’re continue to cook on the hot pan). Then let cool slightly.
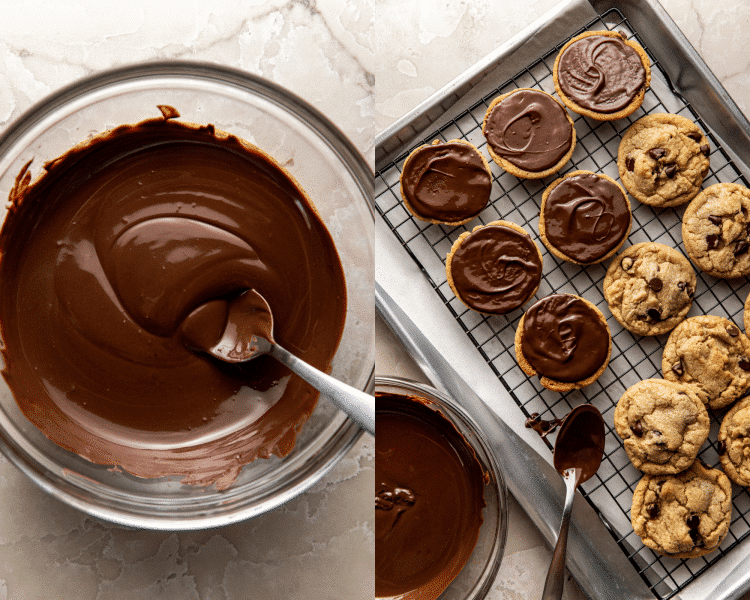
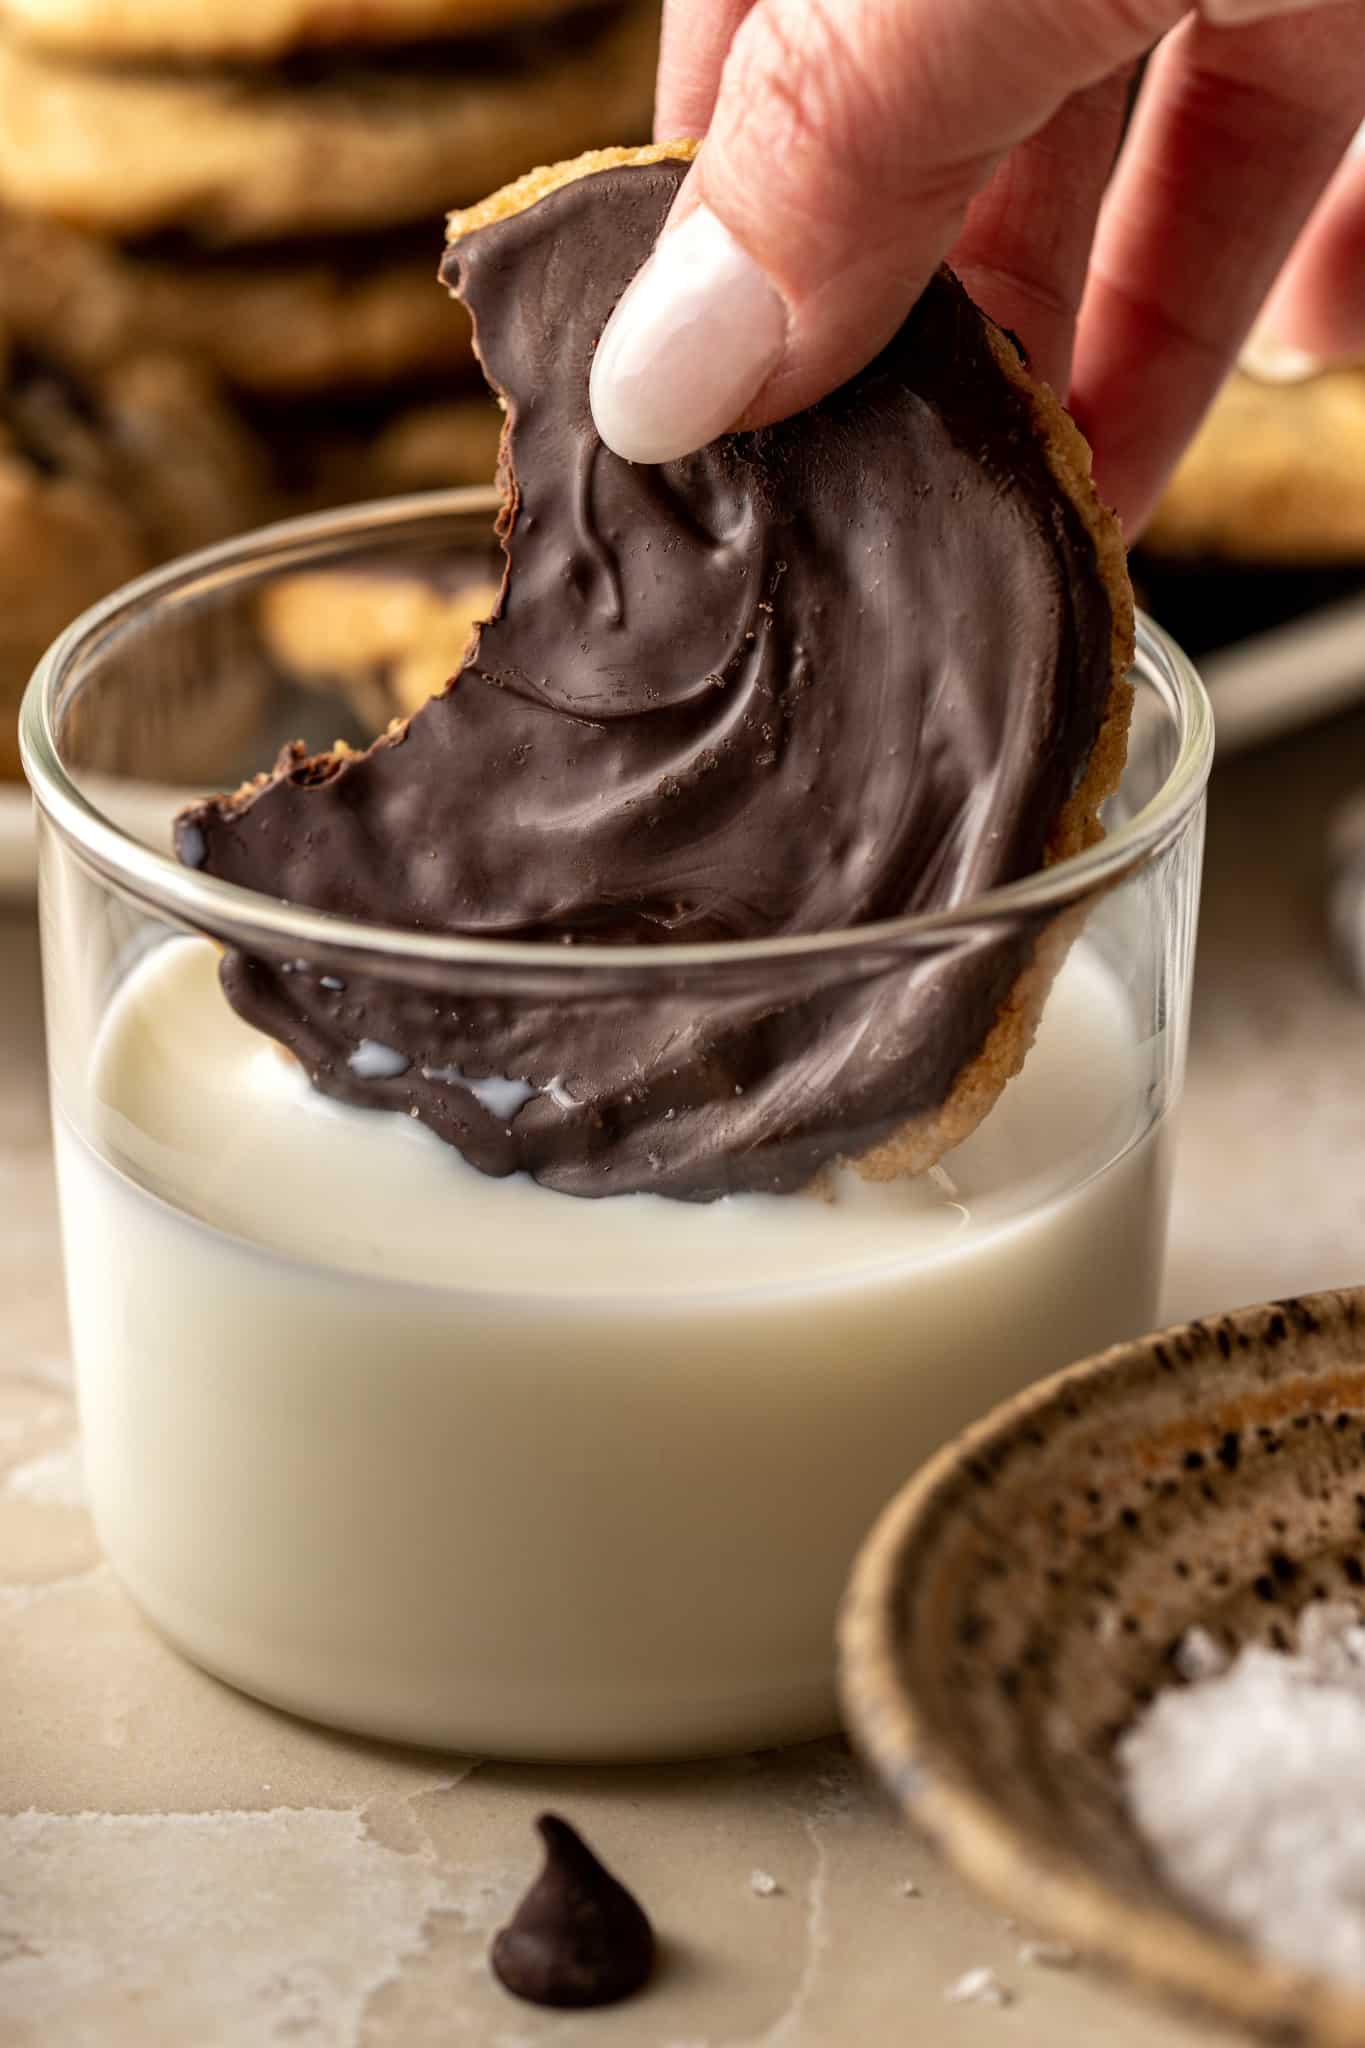
Dip in chocolate
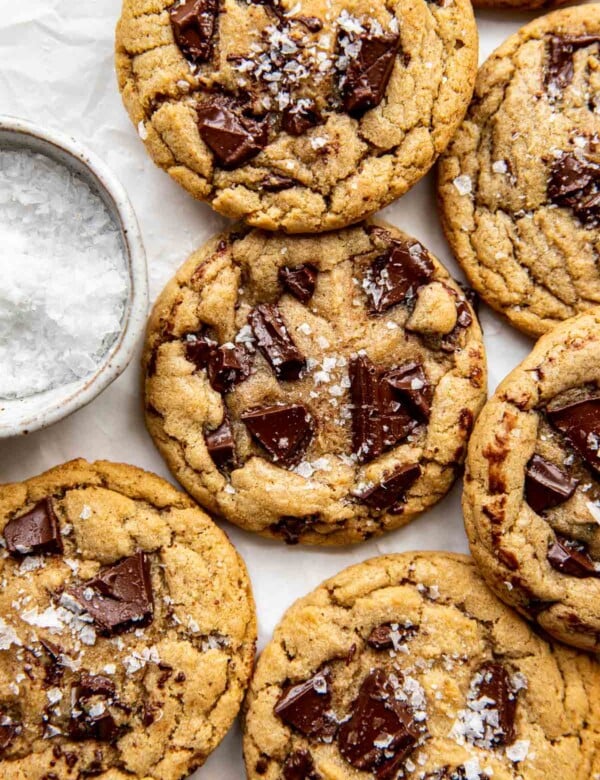
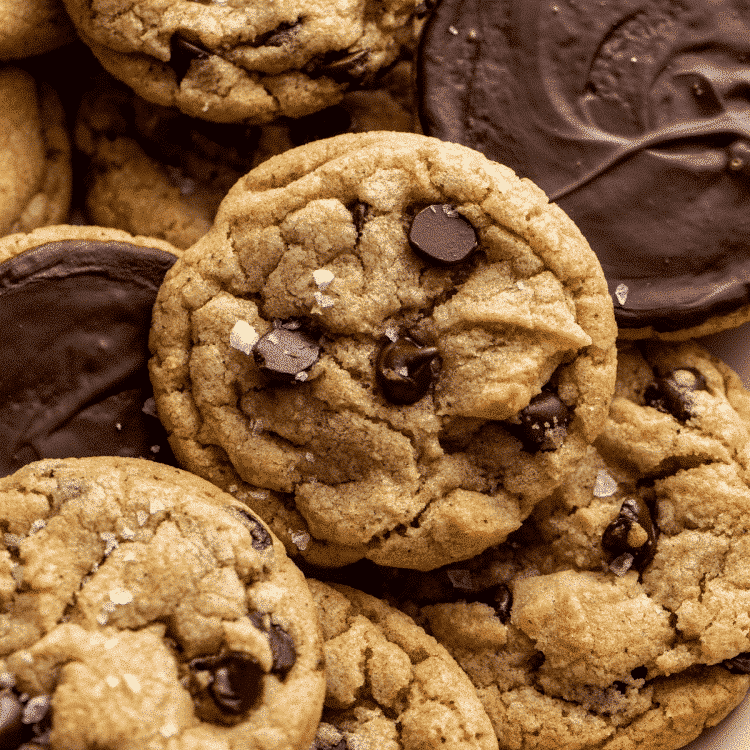
While the cookies are cooling, melt the chocolate wafers. Then spread a layer of chocolate on the bottom of the cookies and sprinkle with flakey sea salt to really take these cookies to the next level!
Enjoy!!
Last but most importantly, enjoy!!
Expert Tips
- Properly measure the flour: As with any baking recipe, make sure to spoon the flour into your measuring cup and use the back of a knife to level off the top. Do not scoop the flour out of the container/bag with your measuring cup because you could end up with 50% more than you need.
- Allow the melted butter to cool: Allow the brown butter to cool slightly before whisking it into the sugars. Using melted brown butter will help create a rich and fudgy center in these cookies, unlike softened butter.
- Don’t overmix the dough: Mix until the ingredients are combined. Overmixing can develop too much gluten, making the cookies tough. To prevent this, I like to fold in the dry ingredients just until no more dry flour pockets are left.
- Don’t overbake: These cookies look very soft and slightly underbaked when you take them out of the oven. But they will settle and create a soft center in the middle as they cool.
- Oven temperature: My oven runs hot, so I actually baked mine at 325 for 9 minutes. If you notice the edges are browning too much on yours, you can try changing the oven temperature or bake time.
- Do not crowd the baking sheet: I like to bake 6-8 cookies at a time. Overcrowding the cookies can lead to the cookies baking into each other and creating wonky shaped cookies. We want the heat to circulate evenly around the cookies so if you find your cookies are spreading too much, bake less cookies on your sheet at one time.
Want perfectly circular cookies? While the cookies are still warm, place a circle cookie cutter or a circular drinking glass around one of the cookies (it should be larger than the cookie so you don’t cut off any edges) and give the cookies a spin. Swirling the cookie helps to smooth out any uneven edges and make the cookies perfectly circular – which is just SO cute!
Storage / Freezing
- Store these chocolate dipped cookies in a sealed container at room temperature for up to 5 days, or in the freezer for up to 3 months.
- To freeze: Scoop the dough into 1½ tbsp. sized balls and freeze in a single layer in an airtight container for up to 3 months. You can bake the frozen cookie dough from frozen, just add an extra minute or so to your bake time then dip in the melted chocolate.
- Make ahead: You can make the cookie dough and chill it in the refrigerator for up to 2–3 days. Allow to come to room temperature then continue to bake as directed.
shop this post
 Buy Now →
  Buy Now →
 More Brown Butter Recipes You’ll Love
Before You Begin! If you make this, please leave a review and rating letting us know how you liked this recipe! This helps our business thrive & continue providing free recipes.
Ingredients
- 1 cup unsalted butter (browned)
- 1 ¼ cup light or dark brown sugar (packed)
- ½ cup granulated sugar
- 1 large egg (room temperature)
- 1 large egg yolk (room temperature)
- 2 tbsp. whole milk
- 1 tbsp. vanilla extract
- 2 ½ cups all purpose flour (spooned and leveled)
- 1 tsp. salt (use 1/2-3/4 tsp. salt if sensitive to salt)
- 1 tsp. baking soda
- ½ tsp. baking powder
- 1 cup semi sweet chocolate chips
- 1, 10 oz. bag milk or dark chocolate melting wafers (for dipping I use the Ghirardelli brand)
- Maldon flaky sea salt
Last step! If you make this, please leave a review and rating letting us know how you liked this recipe! This helps our business thrive & continue providing free recipes.
Instructions
- Brown the butter: For a detailed tutorial, see this post on how to brown butter. Pour the butter in a large mixing bowl and allow the butter to cool slightly, ~10-15 minutes.1 cup unsalted butter

- Whisk in the sugars: Add both sugars to the slightly cooled brown butter and whisk until incorporated. It will look sandy, just make sure all large brown sugar clumps are broken up.1 ¼ cup light or dark brown sugar, ½ cup granulated sugar
- Add eggs and vanilla: Whisk in the eggs, milk, and vanilla extract until smooth.
- Fold in dry ingredients: Use a rubber spatula to fold in the dry ingredients until most of the flour is incorporated. (I just add them directly in, instead of whisking in a separate bowl)2 ½ cups all purpose flour, 1 tsp. baking soda, ½ tsp. baking powder, 1 tsp. salt
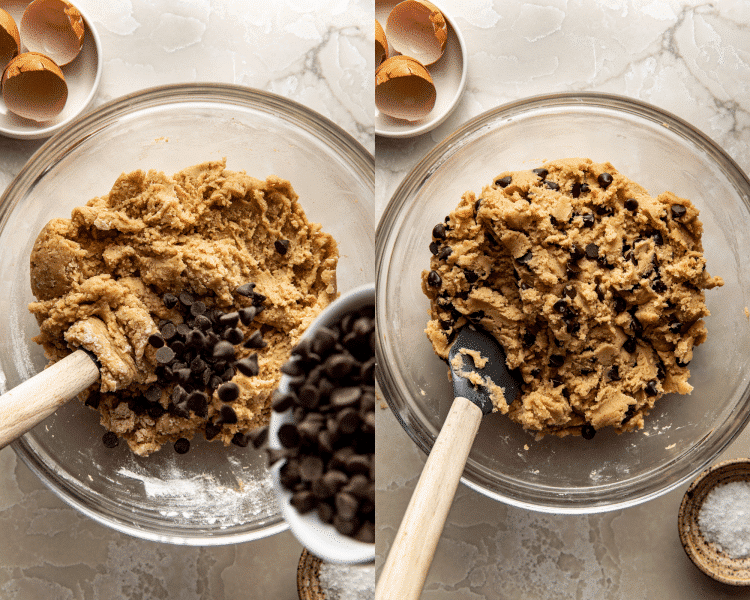
- Add chocolate chips: Fold in the chocolate chips. Careful not to over mix. YUM.1 cup semi sweet chocolate chips
- Brief chill: Pop the cookie dough in the fridge for just about 10-15 minutes. This brief rest period will allow the flour to hydrate the dough and help create a super soft and chewy cookie.
- Prep and preheat: Meanwhile, preheat the oven to 350°F. Line two baking sheets with parchment paper.
- Scoop and bake: Using a cookie scoop, scoop the cookies into about 1½ tbsp. sized balls and drop them about 2 inches apart on prepared baking sheets. Bake for just 8-10 minutes or until the edges are set, and the centers are still gooey. Underbaking is always key since the cookies will continue to cook as they cool on the baking sheet, so removing them from the oven underbaked a little is perfectly fine! PS: you can swirl a cup around the cookies when warm right out of the oven to make perfect circles.
- Cool: After a few minutes on the baking sheet, carefully use a spatula to place on a wire cooling rack lined with parchment paper.
- Chocolate time: Melt the chocolate wafers in a microwave-safe bowl in 30-second increments until melted completely. Use a spoon or butter knife to spread a layer of chocolate on the bottom of the cookies. Lay the cookies chocolate side facing up on the parchment paper and allow the chocolate to harden, it will take ~30 minutes. Garnish the top of cookies with flaky sea salt, if desired.1, 10 oz. bag milk or dark chocolate melting wafers, Maldon flaky sea salt
- Last step: Enjoy!!
Notes
Nutrition Information
Nutritional information is provided as a courtesy and is automatically calculated. It should only be construed as an estimate rather than a guarantee. Ingredients can vary and Kroll’s Korner can’t make any guarantees to the accuracy of this information.
📸 Photography by Meg McKeehan Photography

Hubby loved these cookies. I need to brown the butter a little more next time.
Yayyy! I’m so glad he loved them! 🫶🏻
I am In the middle of making these but decided to leave 5 stars SOLEY based on the fact that the measurements and ingredients are listed in the steps 100/10 amazing. Amazing. I love It.
OMG amazing! haha so glad you like that feature. thank you and hope you love the cookies! 🙂
These cookies were so yummy! Absolutely delicious, great recipe. I made these for my family and we all loved them.
Yayyy! So happy to hear you loved these, Lexi!! 🥰
These cookies are AMAZING and have won their place on the top cookie recipes in our household. We will definitely be making these again this holiday season and throughout the years to come. Perfection!
Awww how cool!! I’m so glad they were enjoyed, thank you Bree!
I LOVE these cookies!! They come together so fast and have such a delicious flavor with the brown butter. I make these often when we are craving something sweet. I have yet to add the chocolate on the bottoms though (mainly because I haven’t bought the chocolate) but they are absolutely wonderful even with out it! I love all the recipes I’ve made from @krollskorner 🩷
Hi Sara! Thanks soo so much for making them 🙂 this means a lot to me!!
These cookies are delicious. Melted chocolate along w/ brown butter elevates an already delicious Substituted milk choc chips for semi sweet. My family gave rave reviews. Will share with co- workers. Thanks for this great recipe.
Ahhh I’m sooo happy to hear you loved these GayLynn! 🥰 Thanks so much for leaving a review!
I made them today. They were very good. The only thing is that I’m not sure if I added more salt or the pink salt is saltier than regular salt. They were a little salty but they were still very good. Next time I will cut the salt in half. They were pretty easy to make. 😊
Thank you so much for making them, they look great! Himalayan salt I dont believe should taste saltier than table salt. So sorry about that!