Chocolate Chip Scones
This post may contain affiliate links. Please read our disclosure policy.

I absolutely love making these buttery Chocolate Chip Scones! Like, really, really, really love. And soon you will, too!
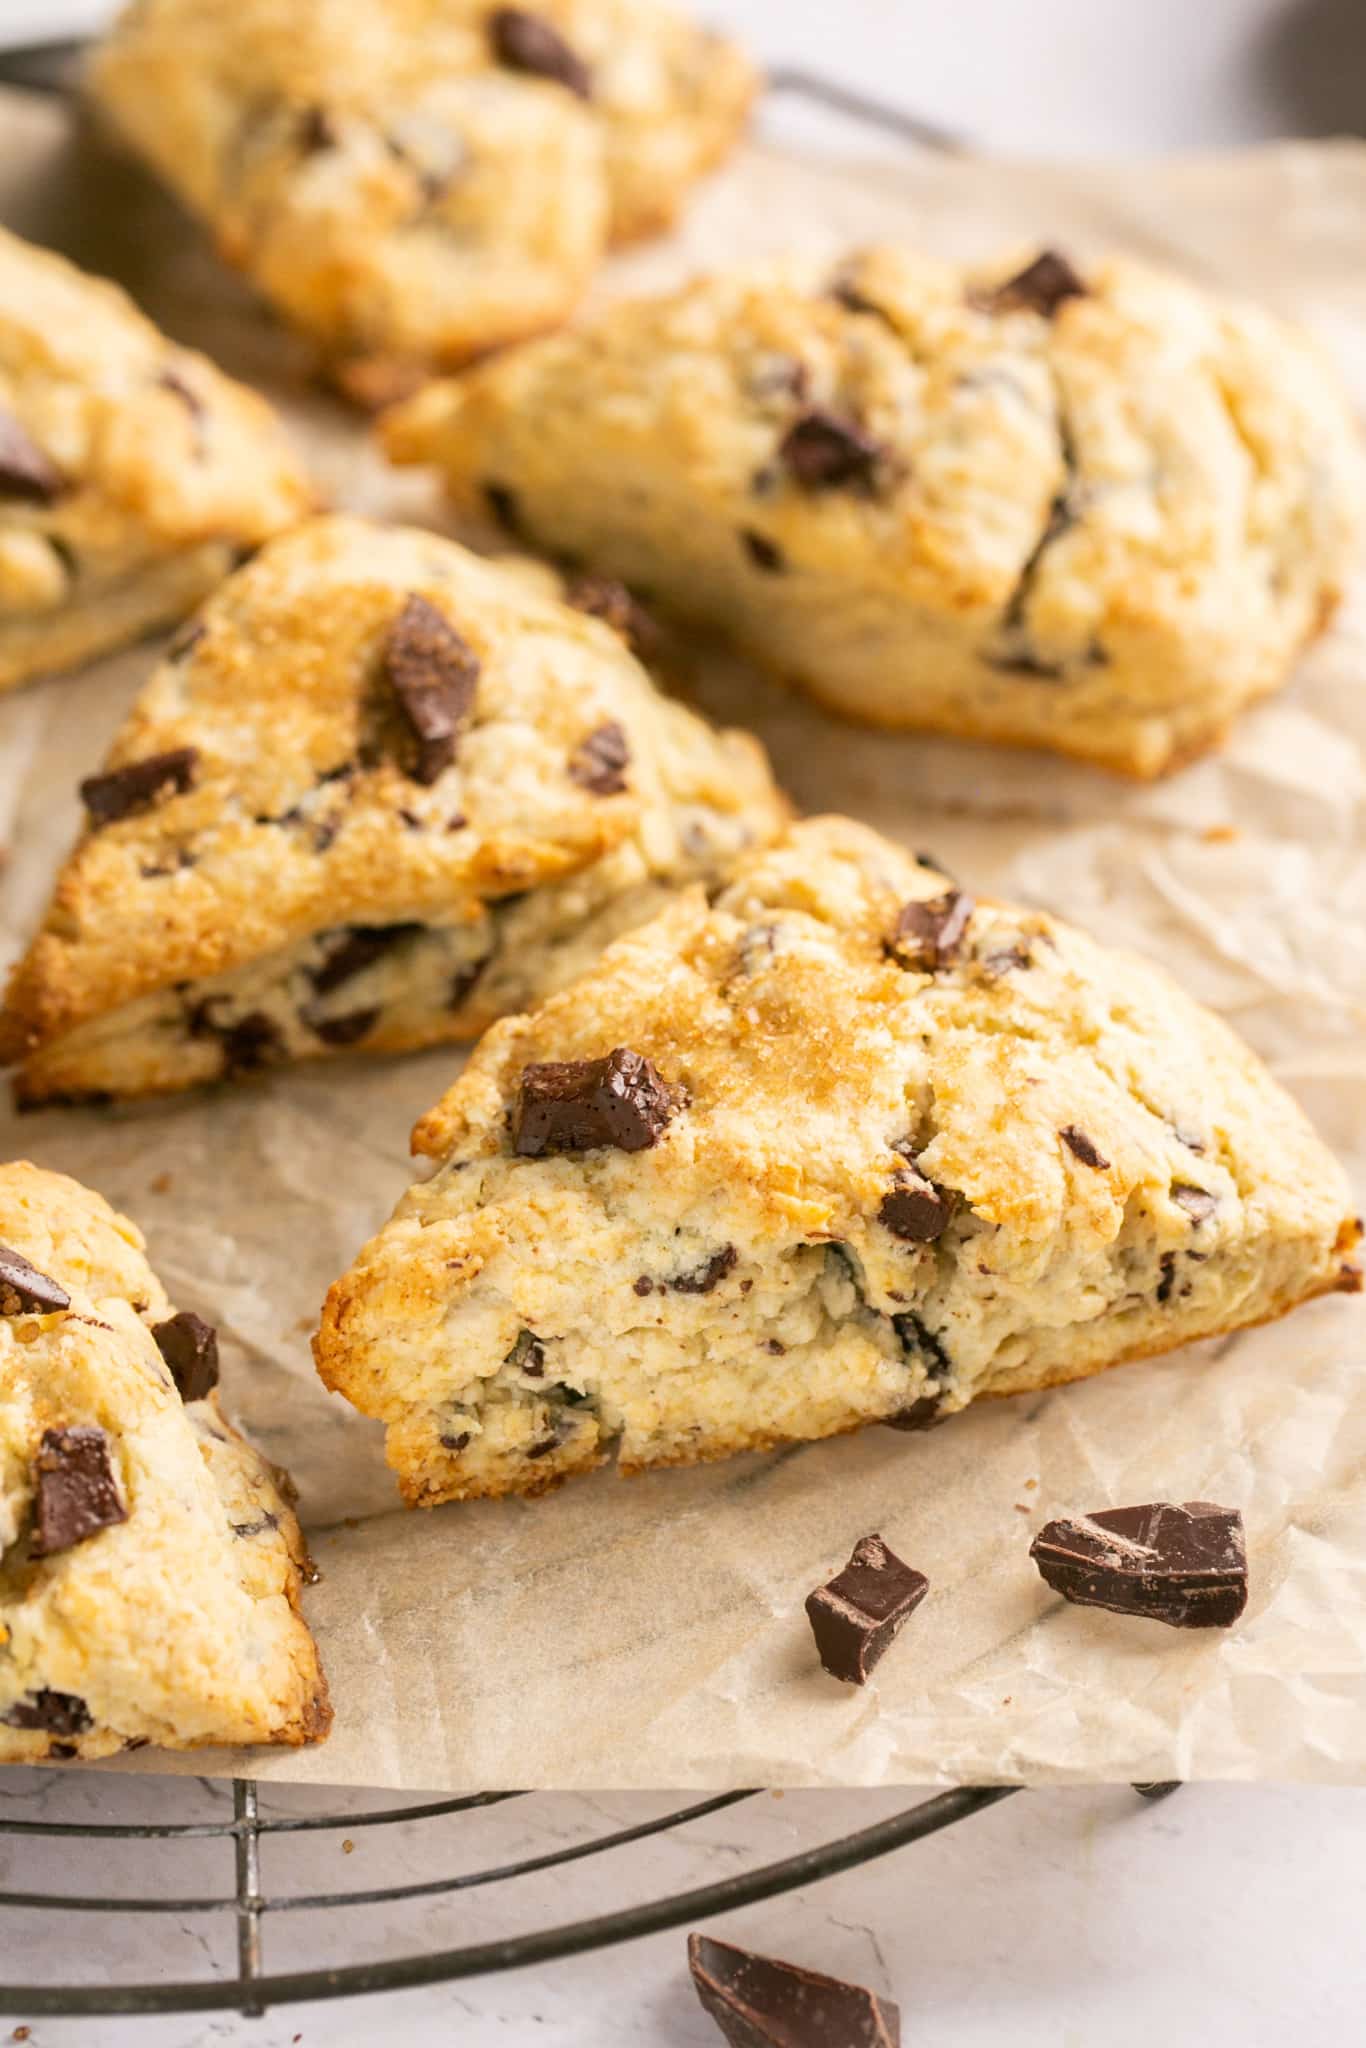
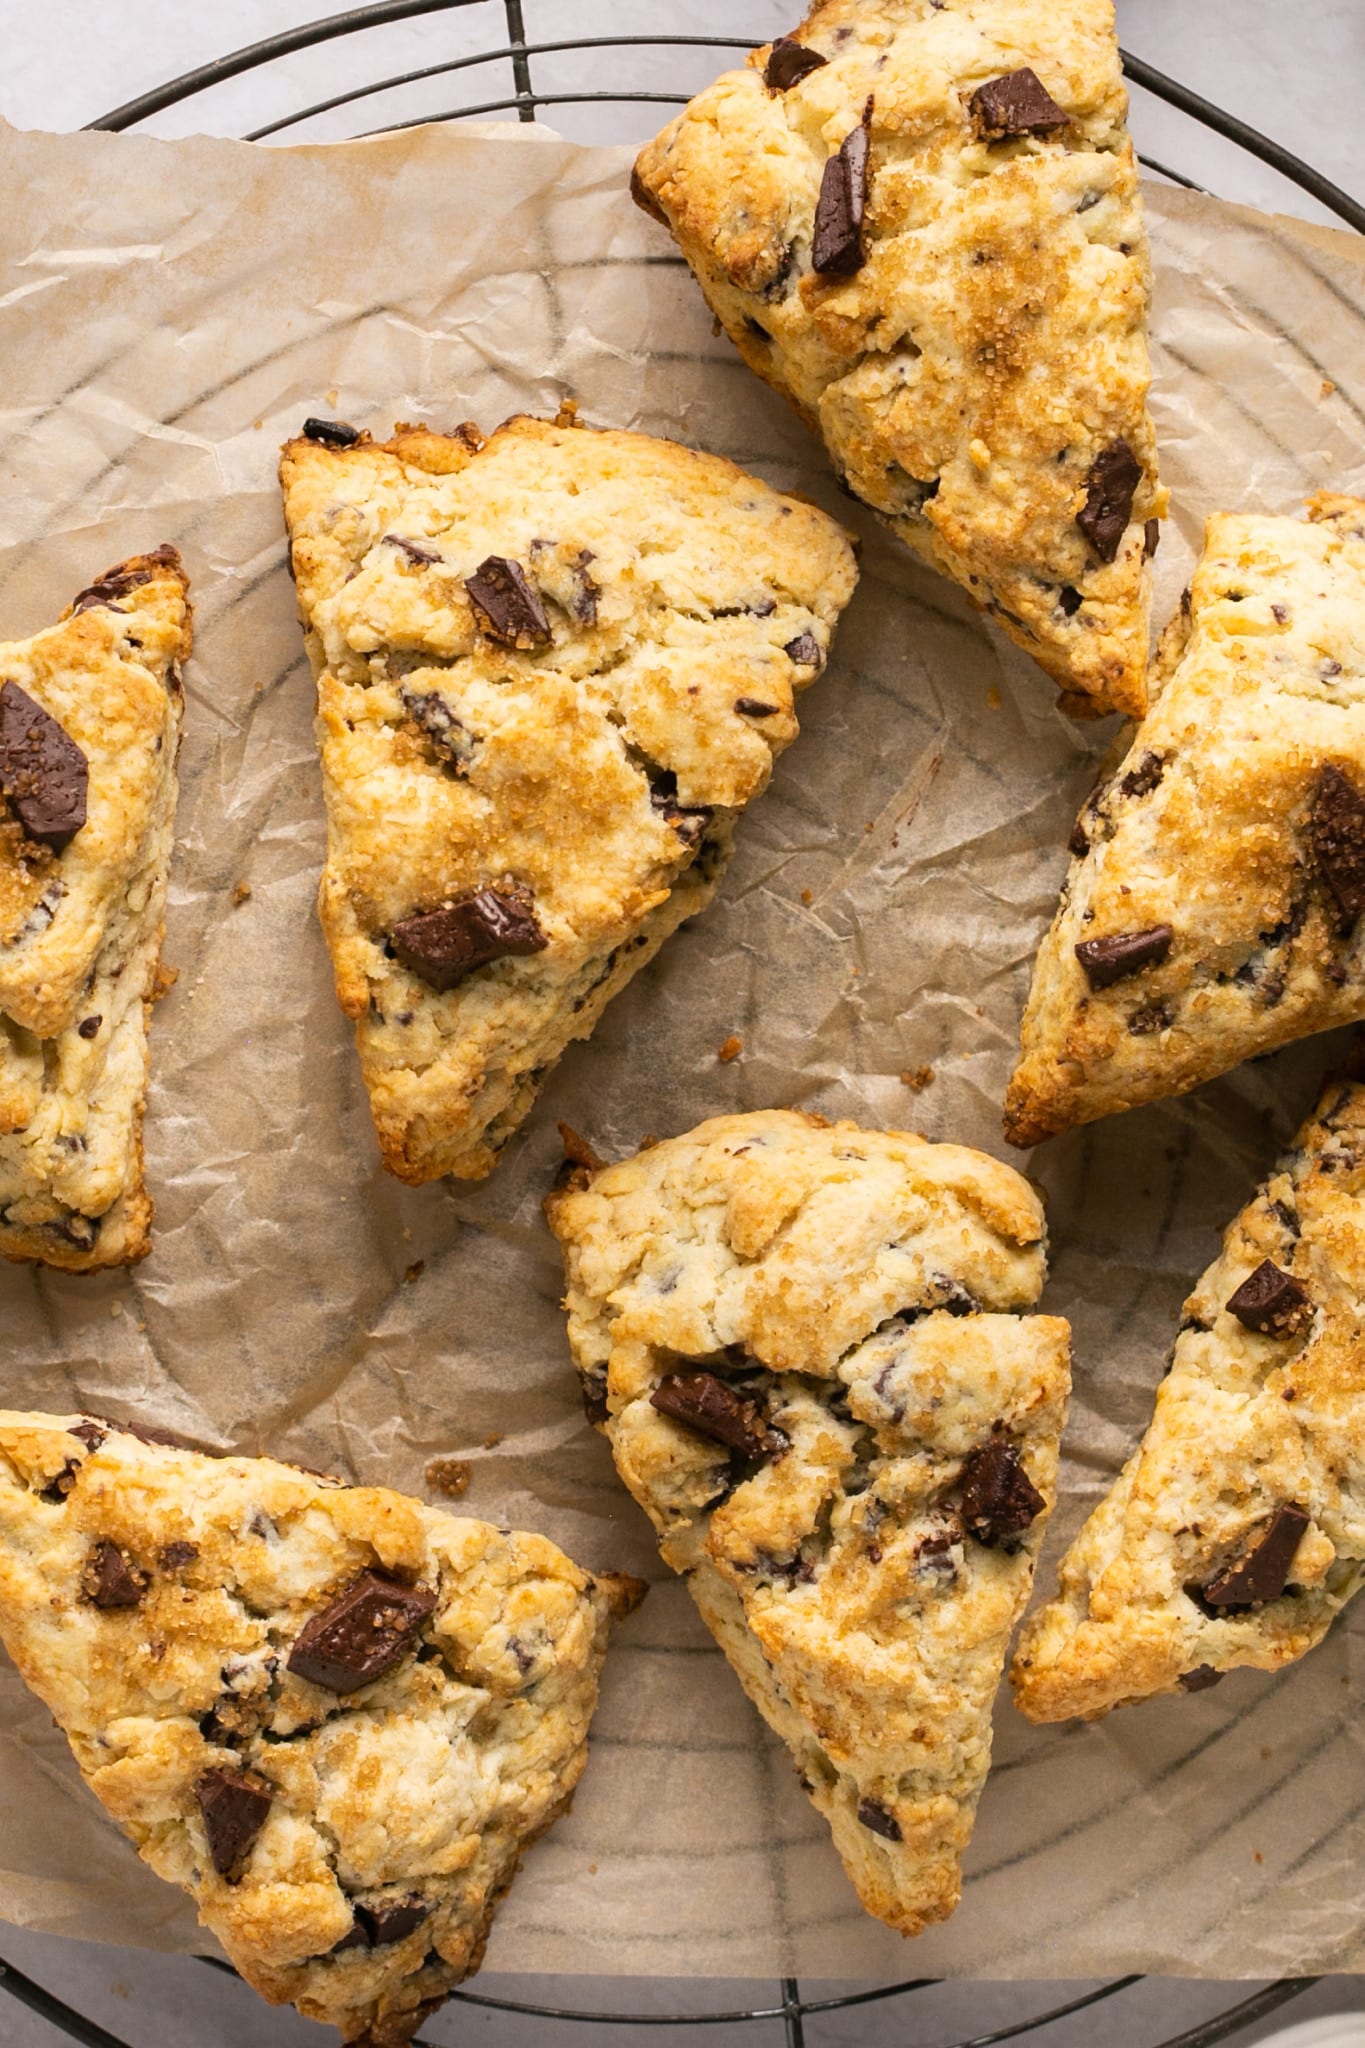
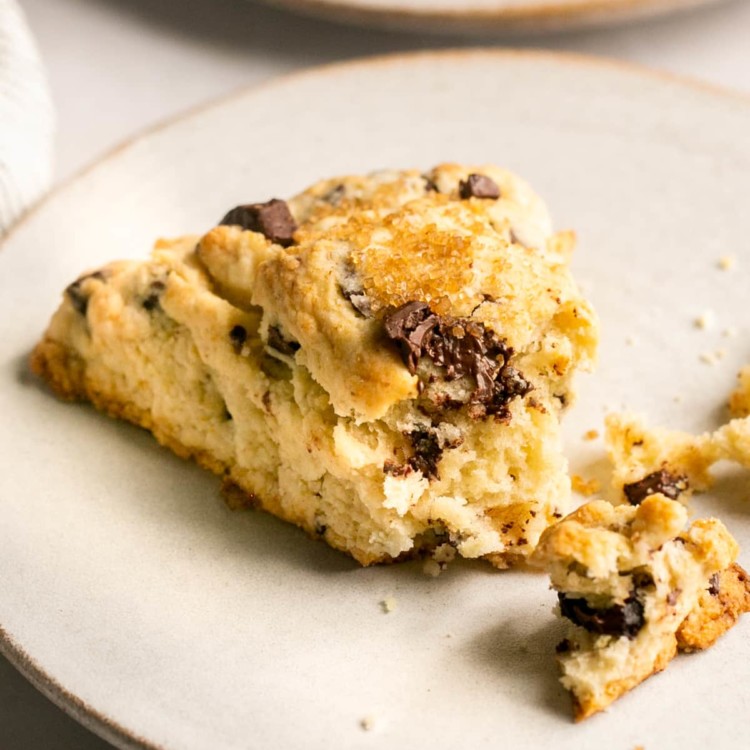
How can you resist the crispy, golden tops, crunchy (but not too crunchy) bottoms, their light but tender middles, and the pockets of warm, melty chocolate in each bite?!
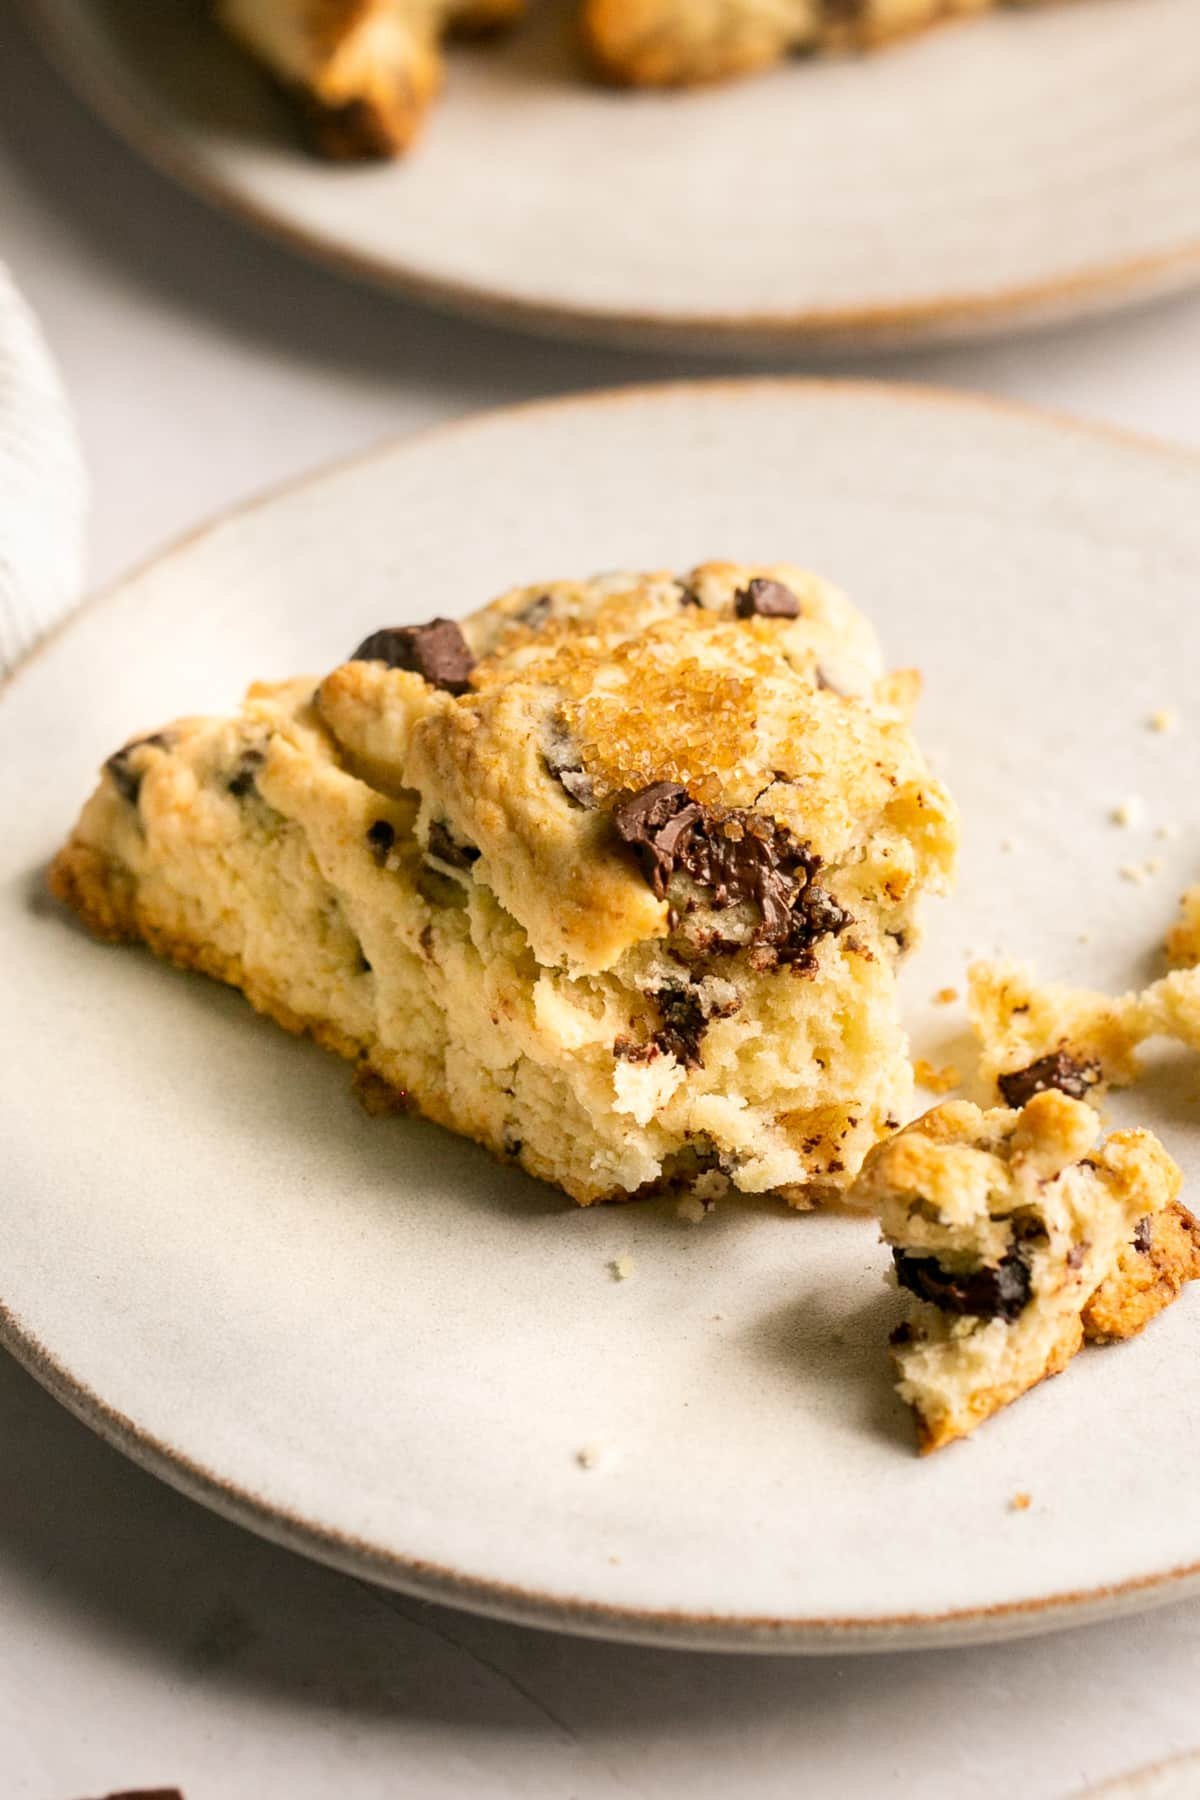
At first sniff you will enjoy the fragrant richness of the butter and sugar that mingle so well with the indulgent aromas of chocolate. Pulling you in for a closer look the scones have golden tops and crispy edges. At the center, my ultra buttery Chocolate Chip Scone is soft, tender, flaky, and filled with puddles of chocolate chunks. Have I convinced you that these are amazing yet? Say goodbye to flavorless, dry, dense scones!
I thoroughly enjoy being in the kitchen and baking. It’s so much fun to create something that people like. I also take a lot of pleasure in knowing that I am making a recipe that is easy to make, something that you want to share with others, and of course, make again. My Chocolate Chip Scones lands in that category.
This scone recipe is easy to make, and with baking time under 30 minutes you could be whipping up a grab-and-go breakfast, mid-day snack, or an after dinner dessert in no time.
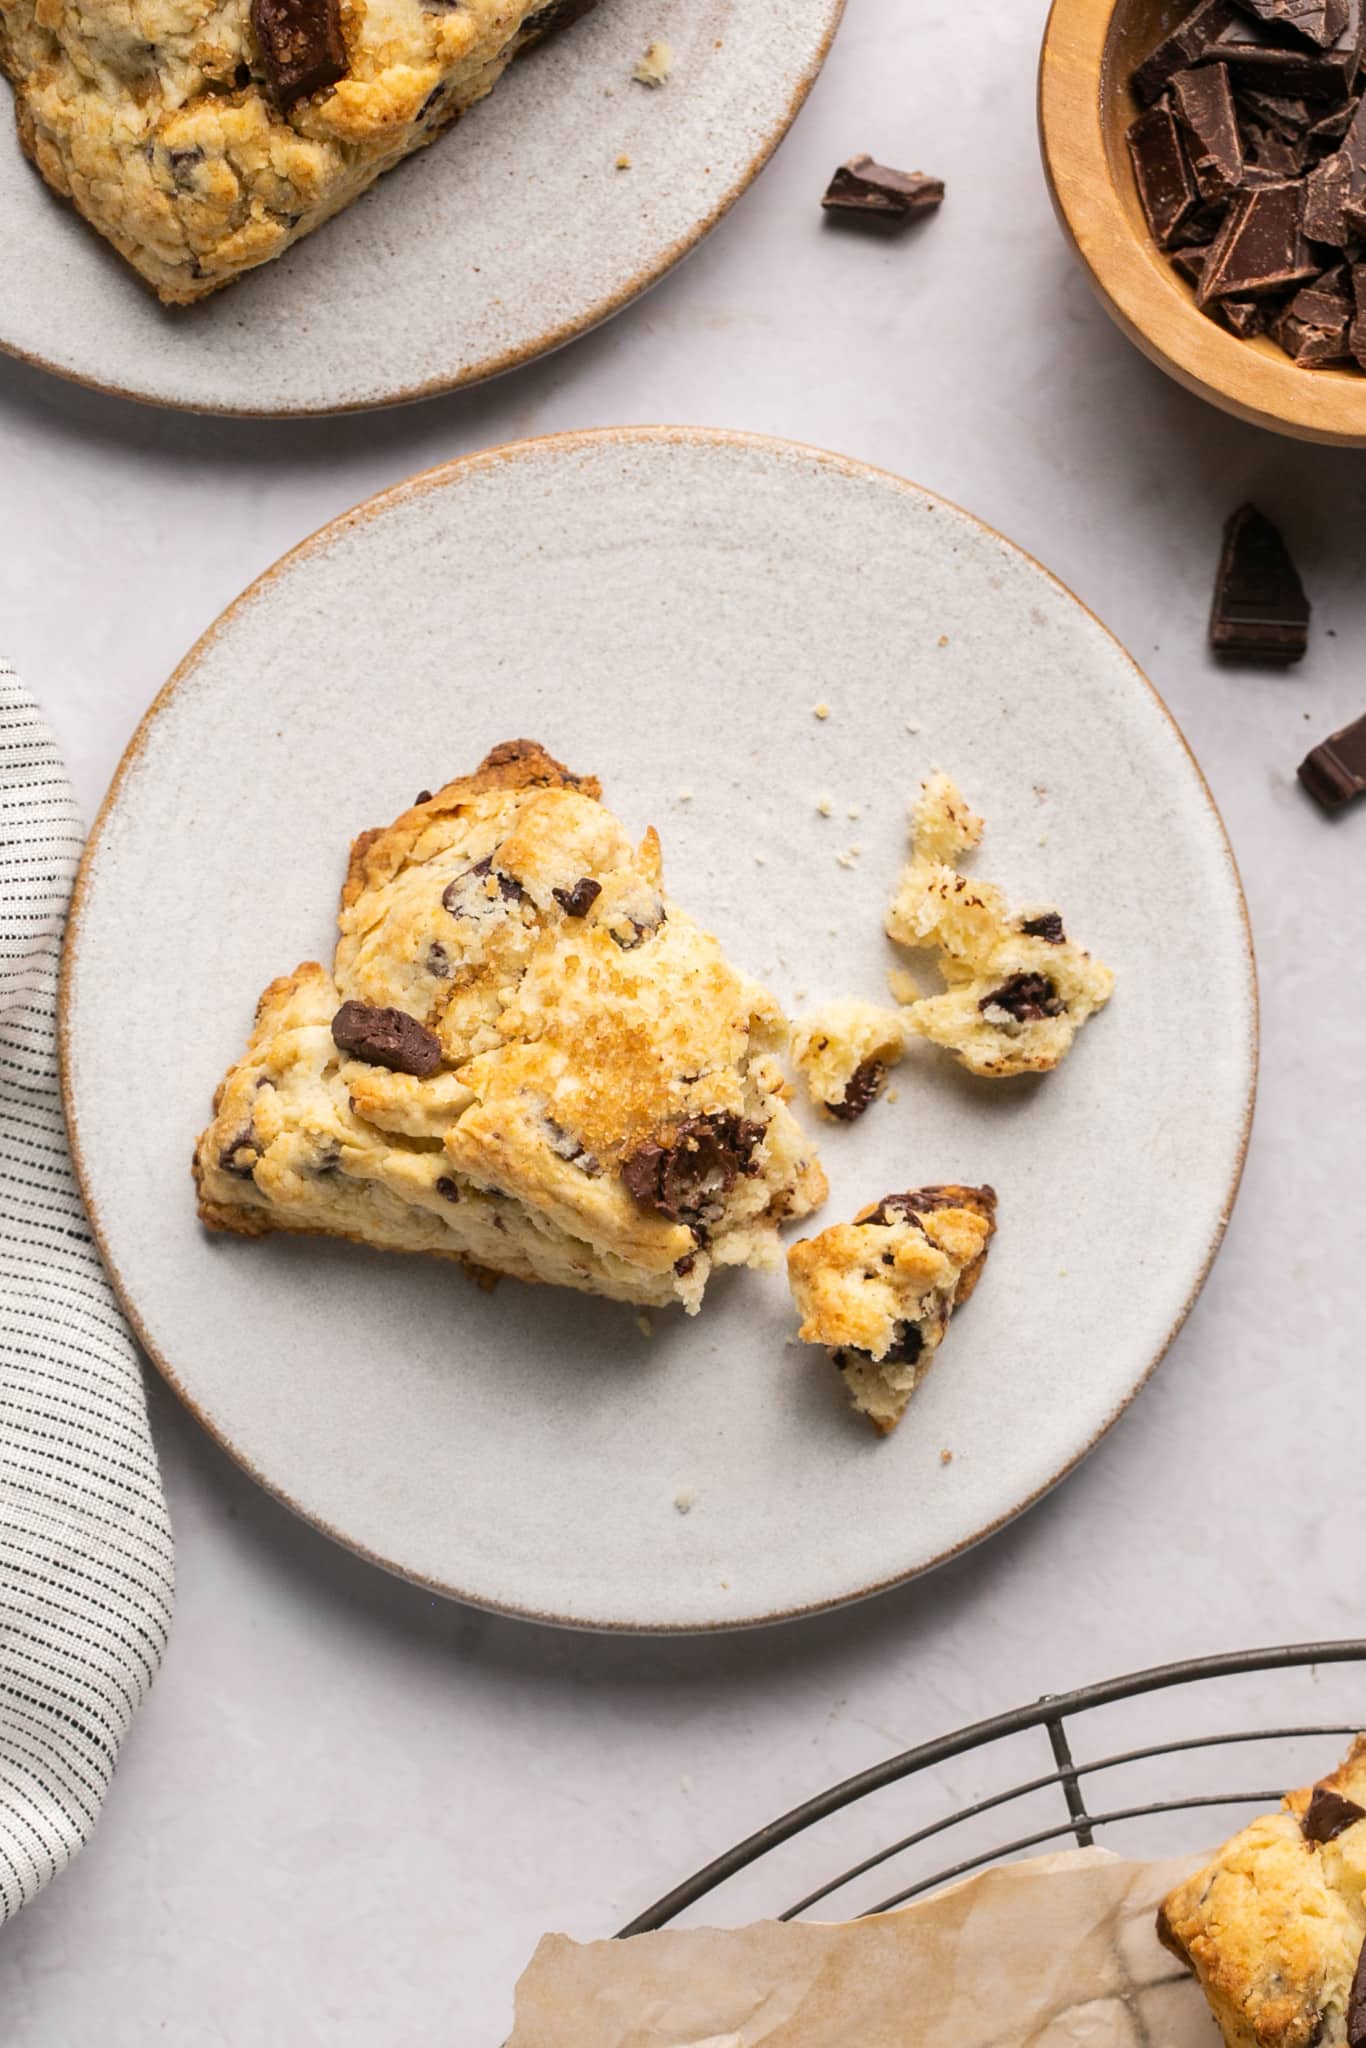
Right-out-of-the-oven or cooled to room temperature get ready to take a bite of my Chocolate Chip Scone…it is guaranteed to please!
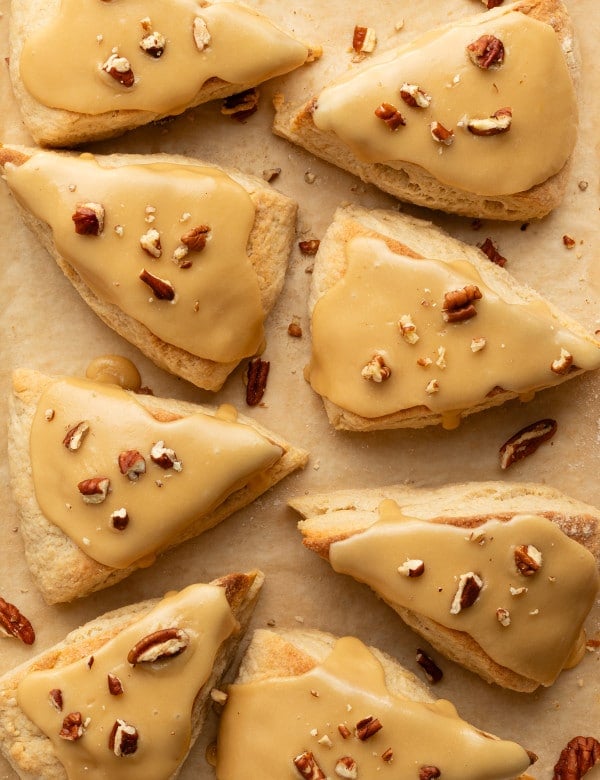
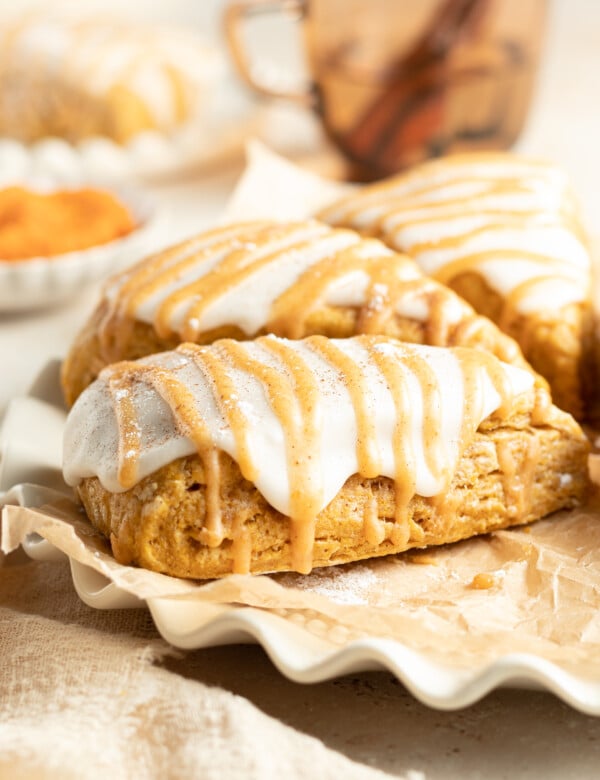
Other reader-favorite breakfast baked goods include my Peanut Butter Muffins, Maple Scones, and Cranberry Orange Bread!
Reasons Why You Will Love My Chocolate Chip Scones:
- The are slightly sweet and have an incredibly soft texture.
- Buttery and full of flavor!
- The subtle caramel flavor of the turbinado sugar (which is a coarse sugar) is the perfect finishing touch to these Chocolate Chip Scones
- So easy to make. Trust me! I know the thought of making a scone can be intimidating!
- They make a quick and easy breakfast or treat
- Satisfy any chocolate craving!
- And what’s not to love about a freshly baked scone?! I’ll wait ?
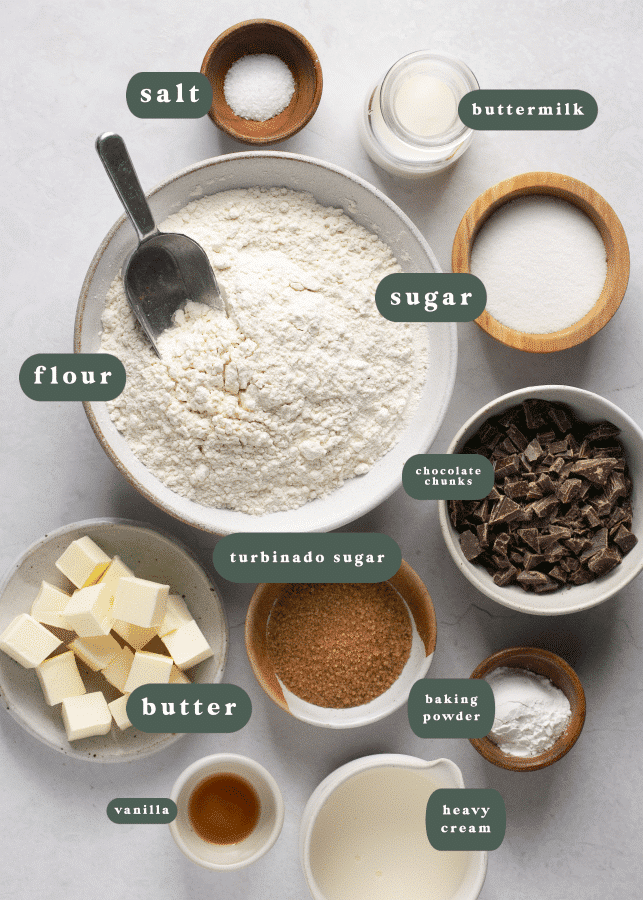
Ingredient Notes
The ingredients are simple. It’s all about keeping the ingredients cold and using quality chocolate. For the ingredient measurements and entire recipe, be sure to scroll down to the bottom of the blog post where the recipe card is located.
- All-purpose flour: using all purpose flour results in a higher rising scone that holds its shape. To make a more delicate scone, you can use cake flour. To make these gluten free, use your favorite 1-1 gluten free flour.
- Baking powder: Baking powder adds lift to the scones.
- Kosher Salt: Enhances the favor of the scones without making them taste salty.
- Sugar: Adds a sweetness, tenderness and a fine texture to the scones. Since this recipe doesn’t add much sugar, I like to top the scones with turbinado sugar as well.
- Cold unsalted butter cut into cubes: Cubing the cold butter makes it easier to cut into the flour mixture. Butter helps with the rise of the scones, along with being responsible for the crisp edges, golden brown top and wonderful buttery flakiness.
- Cold heavy cream: brings tenderness to these tasty scones. Keep the cream in the fridge right until you’re ready to use it.
- Buttermilk: Keep refrigerated right until you add the buttermilk to the recipe.
- Vanilla extract: Real Vanilla Extract is recommended.
- Milk or semi sweet chocolate: a high quality 4 oz. chocolate bar works well. Chop into small chunks. I know this recipe is technically called chocolate chip scones, but I love using the chocolate bar. Feel free of course to use chocolate chips in place of the chopped chocolate pieces! ?
- Turbinado sugar: adds the perfect crunch and sweetness.
Step by Step Directions
For the full recipe instructions, scroll down to the bottom of the blog post to the recipe card.
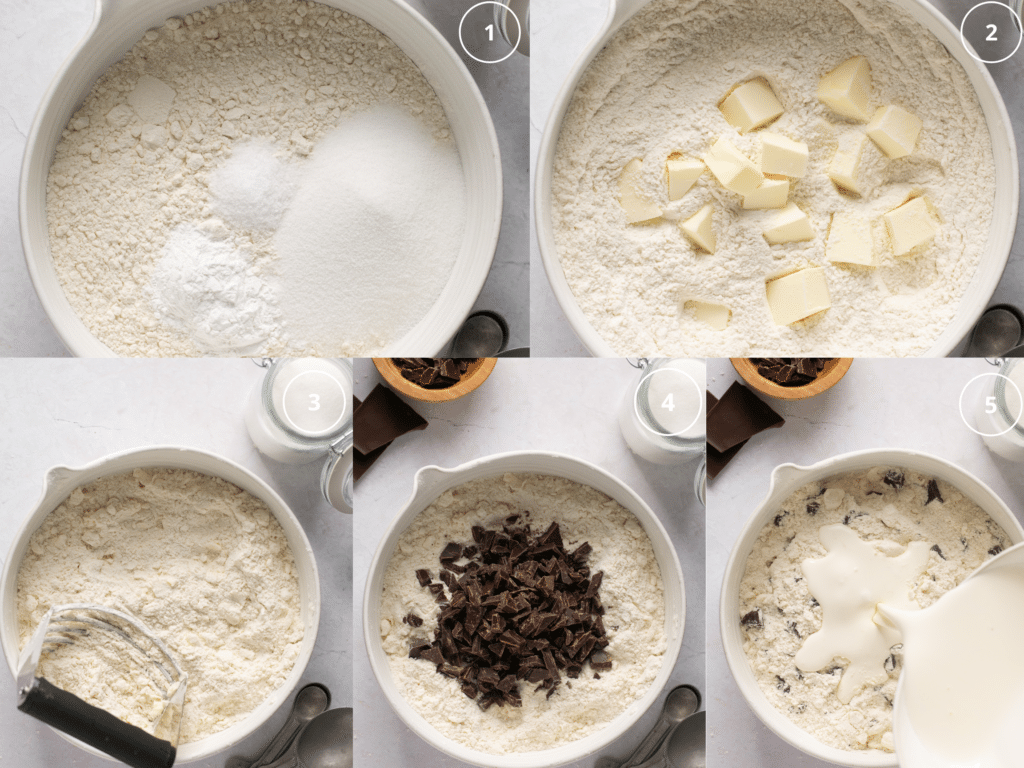
- Sift flour. Then whisk in the baking powder, salt and sugar.
- Cut in the butter using a pastry cutter.
- Add in the chopped chocolate pieces and toss to combine.
- Whisk together the heavy cream, buttermilk and vanilla.
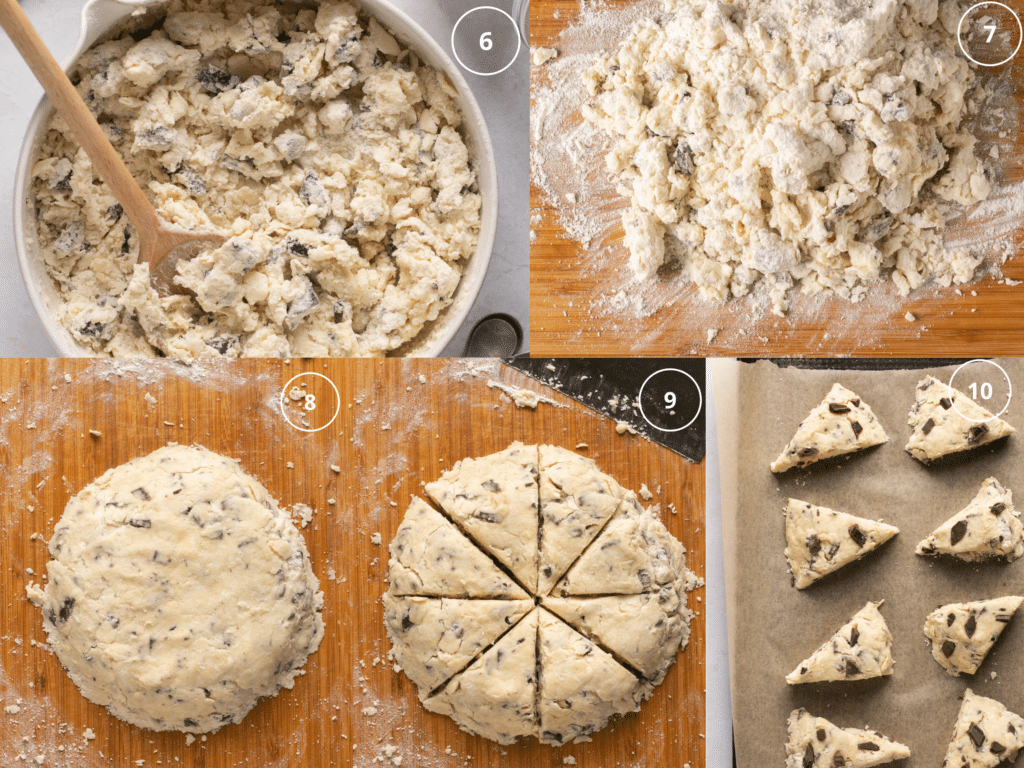
- Pour into the dry ingredients. Stir until a dough begins to form.
- Turn out onto a lightly floured surface.
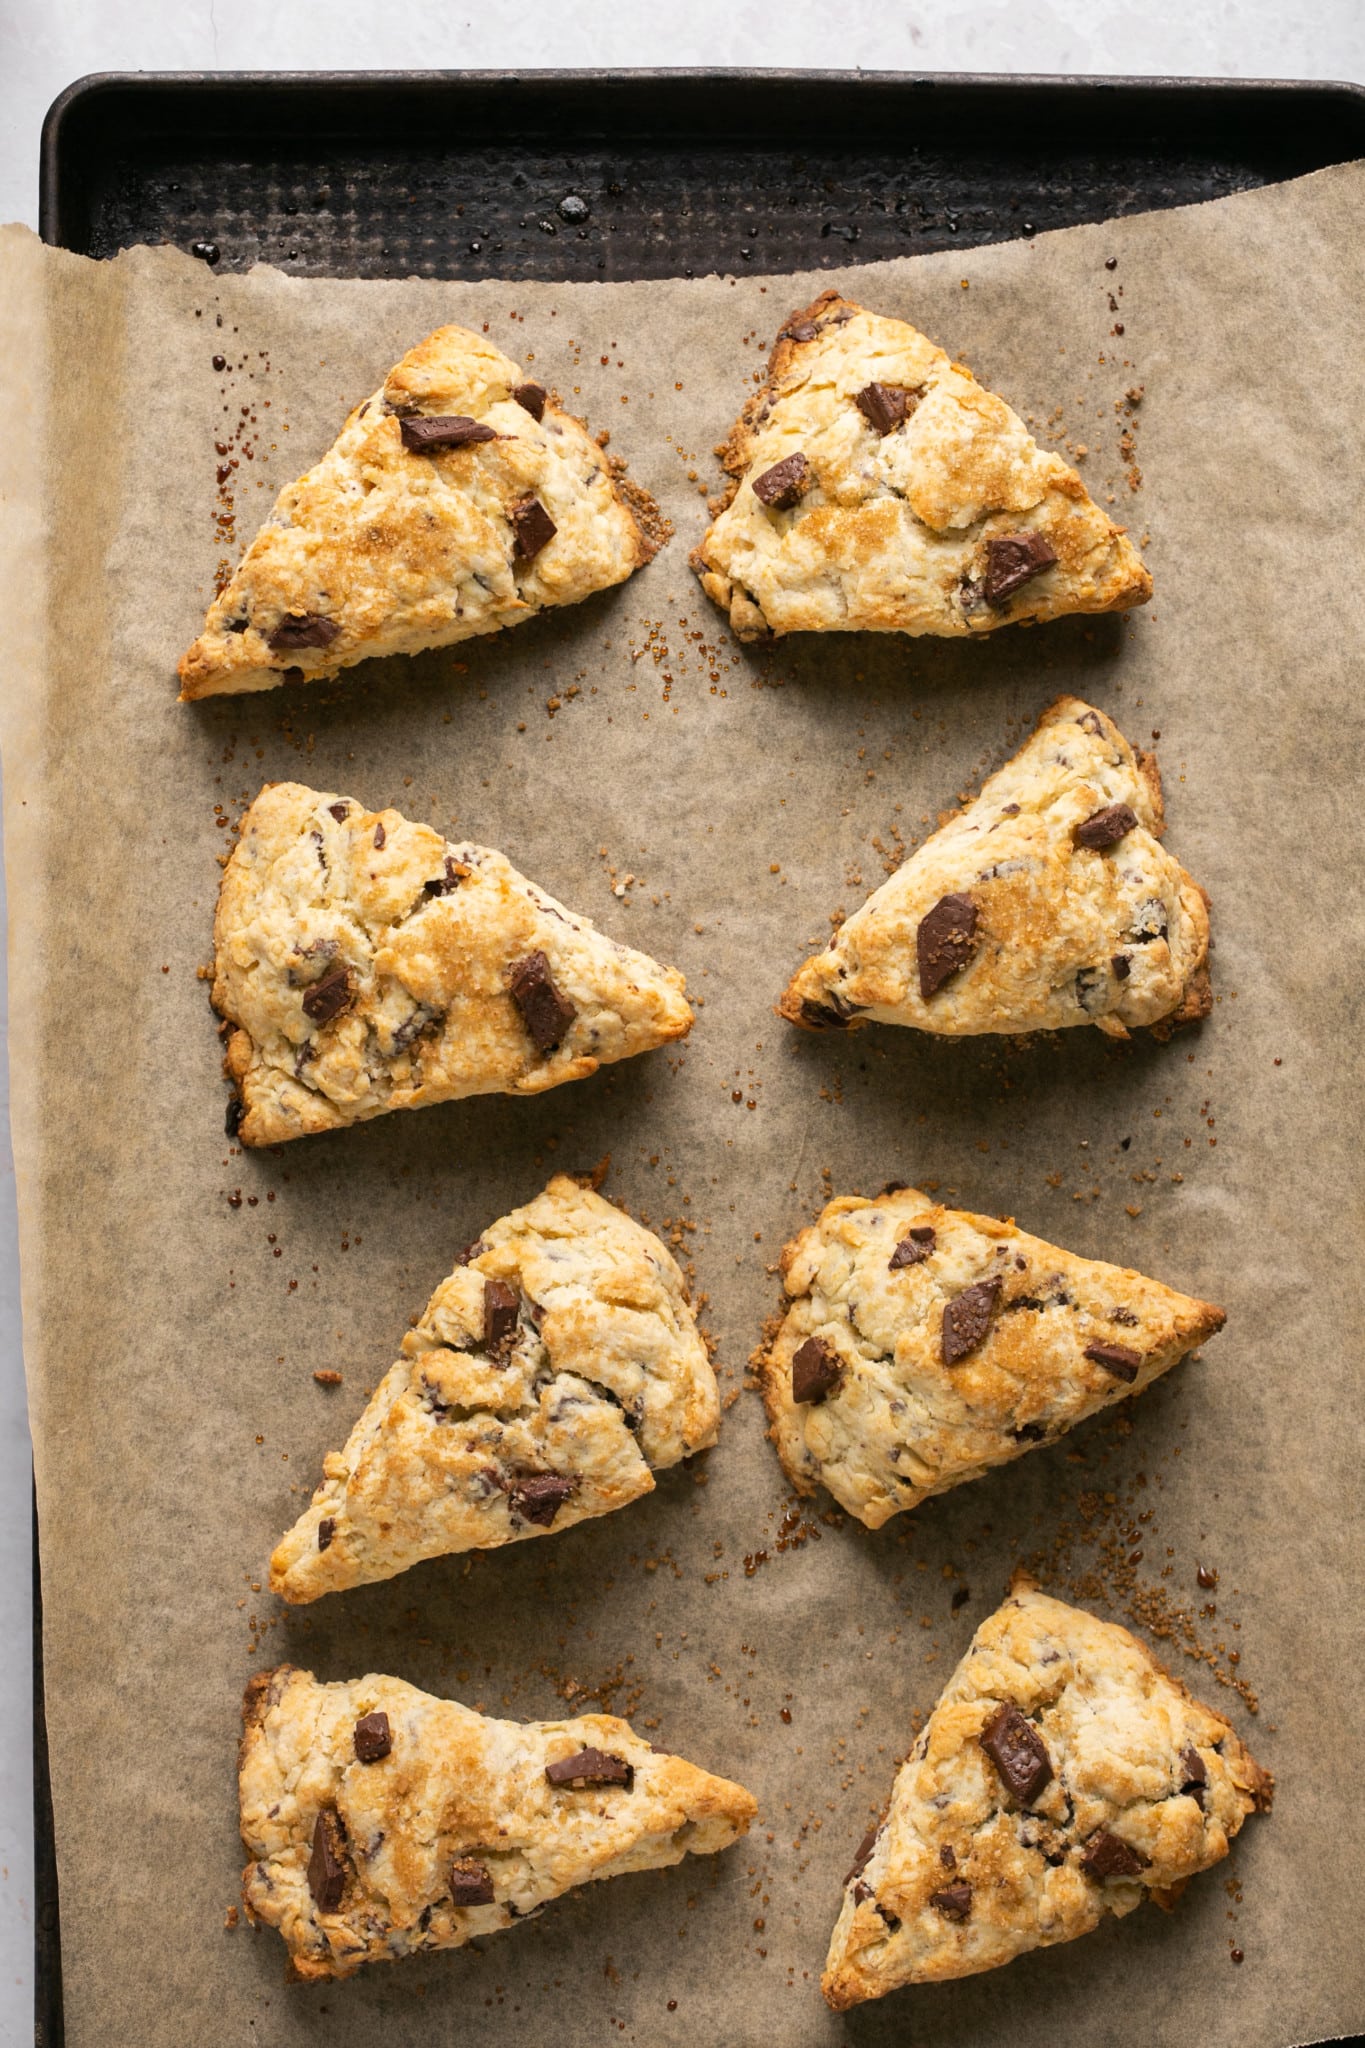
- Pat into a circle. Cut into 8 wedges.
- Place on parchment paper lined baking sheet. Top with turbinado sugar.
- Freeze for 15-30 minutes.
- Preheat oven to 400°F.
- Bake for 18-20 minutes or until the tops are golden brown.
Tips and Variations
- To avoid overly dense scones, make sure you work the dough as little as possible. Do not over mix. Just knead the dough until it comes together.
- Some of the easiest ways to cut the butter into the dry ingredients are to use a pastry cutter or pastry blender, two butter knives held together at an angle, or just get in there and use your hands/fingertips.
- If you feel your dough got too warm, especially if you use your fingertips to break the butter into pieces, be sure to freeze or refrigerate the scones prior to baking.
- Use cold butter, or even frozen butter for a better rise. The colder the better.
- Using heavy cream and buttermilk (thick liquids) avoids the scones from coming out flat and flavorless.
- Work fairly quickly with the dough so the cold ingredients stay cold.
- Be sure to work on a lightly floured surface and you can add a little bit of flour to help form into a ball, but do not add too much flour.
- Cut the butter into the scones using a pastry blender.
- Cut the scones into wedges using a bench scraper for clean cuts.
- Free free to add nuts, or use regular chocolate chips.
What is the difference between a scone and a biscuit?
- Scones are sweet and usually have fruit or chocolate in them…biscuits are not sweet and usually do not have fruit in them.
- Scones have a higher sugar ratio
- They are both considered “quick breads” because they do not need to rise before baking.
- They are both light and flakey.
FAQ
Why do I need to sift the flour?
Sifting the flour will break up any lumps, and will provide you with a more accurate measurement of the flour. By sifting the flour, it becomes lighter and airier and makes it easier to mix into other ingredients.
Do I have to “cut” in the butter?
Yes, this is a must if you want to produce a flaky texture. When you cut the butter into dry ingredients, you create pockets of butter, which melt as the scone bakes creating air pockets that make a flaky scone.
Can I make these chocolate chip scones gluten free?
While I have never personally tested this recipe using gluten free flour, you can try a 1-1 gluten free flour or an oat flour.
Can I use frozen butter?
Yes. Working with very cold butter when making scones is a crucial step so using frozen butter can be done. When the scones are baked the butter melts in the oven and creates an ultra-flaky, tender, soft Chocolate Chip Scone.
Storage
- Once baked and cooled, store at room temperature in an air tight container for 2-3 days.
- Freezing instructions after baking: Let them cool at room temperature and place in a re-sealable bag or airtight container to protect from freezer burn. Enjoy them within 3 months.
- Freezing scones before baking: Freeze the unbaked scone wedges on a plate or baking sheet for 1 hour. Then layer them in a freezer-friendly bag or container. Bake from frozen, adding a few minutes to the bake time or thaw overnight in the fridge and bake as directed.
More Kroll’s Korner Scone Recipes:
shop this post
 Buy Now →
  Buy Now →
 Before You Begin! If you make this, please leave a review and rating letting us know how you liked this recipe! This helps our business thrive & continue providing free recipes.
Chocolate Chip Scones
Ingredients
- 2 cups all-purpose flour, spooned and leveled
- 1 Tbsp. baking powder
- 1 tsp. kosher salt
- 1/4 cup sugar
- 6 Tbsp. cold, unsalted butter, cut into cubes
- 3/4 cup cold heavy cream
- 1/4 cup buttermilk
- 1 tsp. vanilla extract
- 4 oz. semi sweet chocolate bar, chopped*
- turbinado sugar, for garnish (optional).
Last step! If you make this, please leave a review and rating letting us know how you liked this recipe! This helps our business thrive & continue providing free recipes.
Instructions
- Sift the flour in a large mixing bowl. Then whisk in the baking powder, salt and sugar.2 cups all-purpose flour, spooned and leveled, 1 Tbsp. baking powder, 1 tsp. kosher salt, 1/4 cup sugar
- Cut in the butter using a pastry cutter. Alternatively, you can use your fingers and smash each butter piece flat between your fingertips. Continue smashing and rubbing until butter disappears into a coarse meal.6 Tbsp. cold, unsalted butter, cut into cubes
- Add in the chopped chocolate pieces and toss to combine.4 oz. semi sweet chocolate bar, chopped*
- Whisk together the heavy cream, buttermilk and vanilla.3/4 cup cold heavy cream, 1/4 cup buttermilk, 1 tsp. vanilla extract
- Pour the heavy cream mixture into the dry ingredients. Stir until a dough begins to form. It will be soft and shaggy at this point.
- Turn out the dough onto a lightly floured surface. Begin to gently knead and fold just until combined and you're able to form into a circle. Pat it around the edges and use the palms of your hands to tidy up the circle around the edges.
- Cut the scones into 8 wedges, or 6 if you'd like a large scone.
- Place the scones on a parchment paper lined baking sheet. Top the scones with turdinado sugar, if using. I like adding this to add a caramel-y crunch and for a touch more sweetness. You can also garnish with more chocolate chunks or chocolate chips on top.turbinado sugar, for garnish (optional).
- Freeze the scones for 15-30 minutes, especially if you feel the dough got warm while you were working with it. Cold dough = best scones.
- Preheat the oven to 400°F. Once preheated, bake the scones for 18-20 minutes or until the tops are golden brown. Baking time will depend on how thick you make your scones. Adjust as needed.
- Let scones cool for a few minutes, then dig in! Enjoy!
Notes
- I love using a chopped chocolate bar, like Ghirardelli. I love how the chocolate shreds disperse through the scones but like the recipe name says “chocolate chip” feel free to also use milk or semi sweet chocolate chips.
- Once baked and cooled, store at room temperature in an air tight container for 2-3 days.
- Freezing instructions after baking: Let them cool at room temperature and place in a re-sealable bag or airtight container to protect from freezer burn. Enjoy them within 3 months.
- Freezing scones before baking: Freeze the unbaked scone wedges on a plate or baking sheet for 1 hour. Then layer them in a freezer-friendly bag or container. Bake from frozen, adding a few minutes to the bake time or thaw overnight in the fridge and bake as directed.
Nutrition Information
Nutritional information is provided as a courtesy and is automatically calculated. It should only be construed as an estimate rather than a guarantee. Ingredients can vary and Kroll’s Korner can’t make any guarantees to the accuracy of this information.

These were so incredible! It’s my first time baking anything alone(I’m 12) and my family ate them in 12 hrs they are so good with a glass of milk! I was nervous but they turned out perfect!
OMG Sarah! Amazing 🙂 so glad it worked out well, you did great! Thanks for sharing how it went with me!
Recipe was easy to follow. Scones were delicious. I will be making these again soon!!!
I’m so happy to hear this!! 🥰
Absolutely marvelous scones! Recipe is a keeper! Will make again and again!!
I am so glad, thank you! 🙂
These Chocolate chip scones came out perfect!! Had a go to recipe but this is Now my go to for Scones!! If follow recipe shouldn’t have any problems at all!
Thank you sooo much Layanne! Means a lot to me 🙂
These are so amazing!!
Hi Nicole! SO happy you love these scones 🙂 thank you for making them. They look fantastic!
These are my go to scones. I have a reputation among friends and family as the scone lady 😂😂 thank you Tawnie!
Wanted to ask a question though! I’m wanting to make several batches of scones for gifts and wondered if this recipe would work to to make mini scones? I normally make 8 from this recipe, but would it work just the same to divide the ball into two and make mini scones from there? Does that make sense? 🫣
hahaha I love that! not a bad reputation to have, hehe. While I havent made mini scones with this recipe, I have with others so I don’t see why you couldn’t. Maybe just adjust the baking time since they are smaller 🙂 thank you so so much!
Scones always seemed daunting to make, but this recipe was actually very easy to follow! My husband loved them and requests them frequently now. We did use chocolate chips instead of the chopped chocolate bar.
they’re literally perfect! thank you for uploading a photo and making them. glad hubby approves too!! 🙂
I loved scones as a kid, so happy to have your recipe! The first batch I made with blueberries because my husband doesn’t like them too sweet, they turned out delicious!! I just made my second batch with the chocolate, it’s so easy to make, thank you for sharing. I’ll share the second batch with my friends.
I made these using plain yogurt since I didn’t have buttermilk. Turned out excellent and tastes wonderful! My first time ever making scones so I wasn’t sure about how sticky to expect when turning out to knead and I added just a bit of flour to counter to keep from sticking.
My family and I loved these! I used chocolate chips instead but they turned out so good. They were way easier than I thought to make and I will definitely be making them again. Can’t wait to try with blueberries.