Ninja Creami 101: The Ultimate Guide
This post may contain affiliate links. Please read our disclosure policy.
If you’re new to the Ninja Creami or just trying to get the hang of it, you’re in the right place! I recently kicked off my Ninja Creami Series, which is filled with many yummy, healthy ice cream and frozen treat recipes. Just like with any new kitchen appliance, there’s definitely a learning curve to the Creami so I wanted to create a one-stop troubleshooting guide to answer all your Creami questions!
Whether your ice cream came out crumbly, your pints aren’t spinning, or you’re wondering how long to freeze things, this guide is here to help. I’ll be sure to link this guide in all my Ninja Creami recipes so you can easily find tips, tricks, and solutions whenever you need them. If you think of more questions as we go, be sure to pass those along!
Helpful Tips
- Prep in advance: Make sure to allow your pint at least 24 hours to freeze before spinning.
- Avoid icy edges: If you don’t have time to let your pint sit on the counter for ~15-20 minutes, you can run your pint container under warm water for 30 seconds before running it through the Ninja Creami machine. You can also run a butter knife or spoon along the sides after the initial spin to make sure there aren’t any icy edges.
- Respins: If your ice cream isn’t smooth and creamy after the first respin, you can respin until you get your desired consistency.
- Don’t overfill the container: Make sure not to overfill the pint container. The ice cream will expand in volume as it spins so don’t worry if it looks like the pint isn’t initially full.

Getting Started
What is the Ninja Creami?
The Ninja Creami is a countertop appliance that transforms almost any liquid mixture into scoopable ice cream, sorbet, gelato, smoothie bowls, and more. What makes it different from a traditional ice cream maker is that you freeze your base first, then use the Creami machine to “spin” it into a creamy, smooth texture when you’re ready to eat. It’s also different from traditional ice cream makers because it allows you to make one pint at a time (instead of multiple servings) so it allows you to create lots of different flavor combinations and treat types! You can use the Creami to make regular ice cream, low-calorie/high protein ice cream, frozen yogurt, smoothie bowls, frappuccinos, sorbet, etc.
What tools do I need before I start?
To get started, you need a few simple things! The two most important things are the Ninja Creami machine and your Creami pint containers. Make sure you are using the pint containers that came with your Ninja Creami or Creami-compatible pint containers.
Other helpful tools I recommend are an electric frother or blender to combine your ingredients. You want to make sure you blend your ingredients really well so that your recipes turn out nice and smooth and don’t have any clumps of ingredients in them. If you’re using a recipe with frozen fruit, I recommend blending them up first as the Ninja Creami blades aren’t designed to cut through big chunks of fruit.
Can I use your recipes in my regular ice cream machine?
My recipes are intended for the Ninja Creami, and have not been tested in regular ice cream machines. An ice cream machine will churn the ice cream as it freezes, and a Creami is designed to churn a pre-frozen mixture.
Can I double a recipe?
If you want to double a recipe, you will need to use two pint containers! You want to make sure you don’t overfill your pint containers as the ice cream (or frozen treat) will expand as it spins.
A lot of people worry that the pint initially doesn’t look very full but the recipes are written that way on purpose! If the container is too full, the blades won’t be able to spin correctly, and your Creami will not turn out.
What’s the difference between the Ninja Swirl, Ninja Deluxe, and original Ninja Creami?
There are currently three different versions of the Ninja Creami. The original uses 16-oz pint containers and has seven functions. The Ninja Deluxe has larger serving sizes (uses a 24-oz pint container) and additional functions like drinks and slushies. Lastly, the newest edition, the Ninja Swirl, has a built-in “swirl” dispenser for mix-ins or soft-serve-style dispensing. It’s also supposed to be a quieter and more compact machine.
No matter which model you choose, you will be able to make all of my Ninja Creami recipes, so it’s totally up to you which one will work best for you!
Ingredient 101
Why do a lot of Creami recipes use pudding mix? Can I make them without it?
A lot of Creami recipes use pudding mix because it acts as a thickening agent. The pudding mix is typically used in lower calorie recipes where the recipe calls for lower fat milk to help keep calories down. You can absolutely make delicious ice cream without it (I would recommend using full-fat milk or heavy cream if you want a thick, creamy texture) but it’s totally up to your preference.
If you don’t want to use pudding mix, you can also use guar gum, cottage cheese, xanthan gum as thickening agents. If using guar gum or xanthan gum just be sure to use only a very small amount as too much can make the texture really weird.
What are some of your favorite protein powder recommendations?
There are SO many different protein powders out there and honestly any brand you like will probably work just fine! Just make sure to blend the protein powder into the milk using an electric frother or blender to ensure you don’t have any clumps.
Some of my personal recommendations that I’ve tried are Clean Simple Eats, Ritual (great for pre and post-natal) and PEScience.
Do I always have to use protein powder?
No, you don’t have to use protein powder! A lot of my recipes like my Strawberry Ice Cream and Strawberry Frozen Yogurt don’t use any protein powder!
I see a lot of recipes using Fairlife milk…do I have to use that brand?
No, you do not have to use Fairlife milk! A lot of people like to use Fairlife milk since it’s higher in protein than regular milk but it’s definitely not necessary!
What sweeteners can I use besides granulated sugar?
If you’re looking for alternatives to granulated sugar, you can use any other type of sweetener you prefer. Try another granulated sweetener like Swerve, Truvia, or Monk Fruit Sweetener. You can also use liquid sweetener like liquid stevia. For a more natural option, try maple syrup or honey.
If you’re using a flavored protein powder or pudding mix, those might be sweet enough for you that you don’t need to add additional sweetener. I always like to taste each recipe after I blend it up to see if it needs additional sweetener added.
Can I add large chunks of fruit into my Creami or do I always have to blend it?
I recommend always blending up large chunks of fruit into any Creami base. The blades are not designed to cut through large chunks of frozen fruit and not blending your recipes can lead to early damage to the blades.
For the base (milk) can I use a protein shake instead?
Yes, a great time saving hack is to use a protein shake instead of milk + protein powder!
How To Make A Ninja Creami
Prepare Creami Base
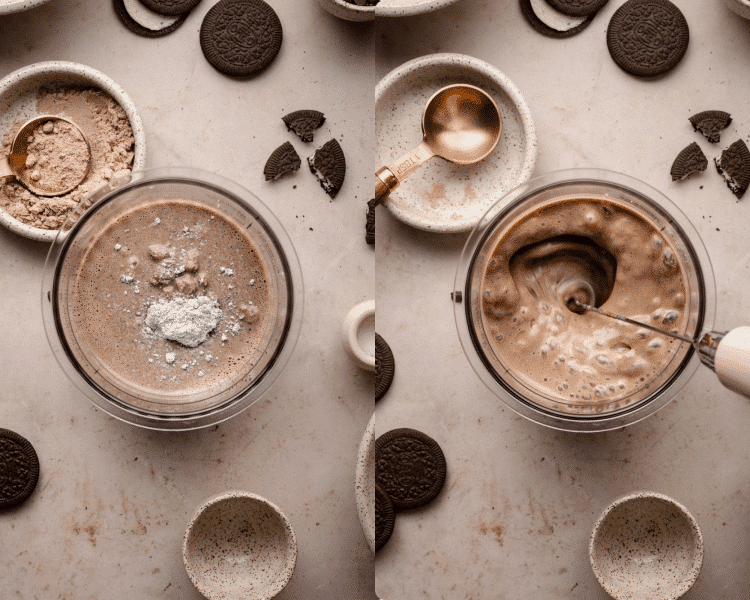
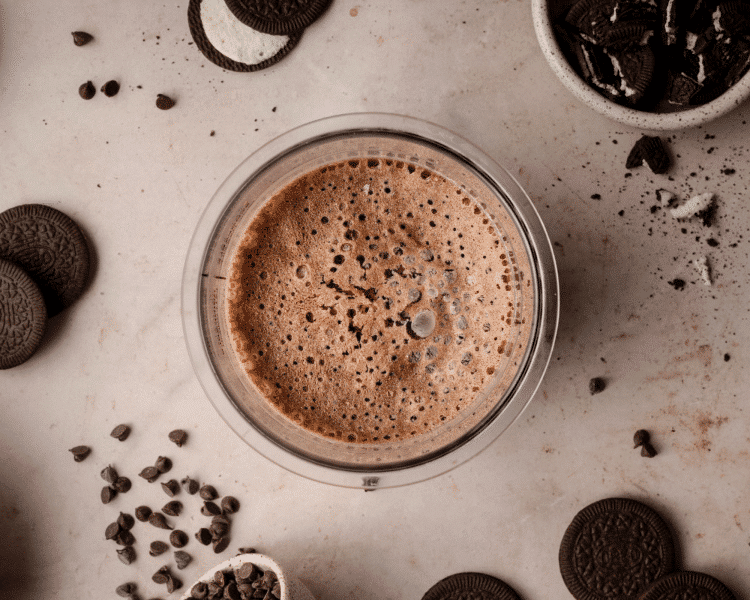
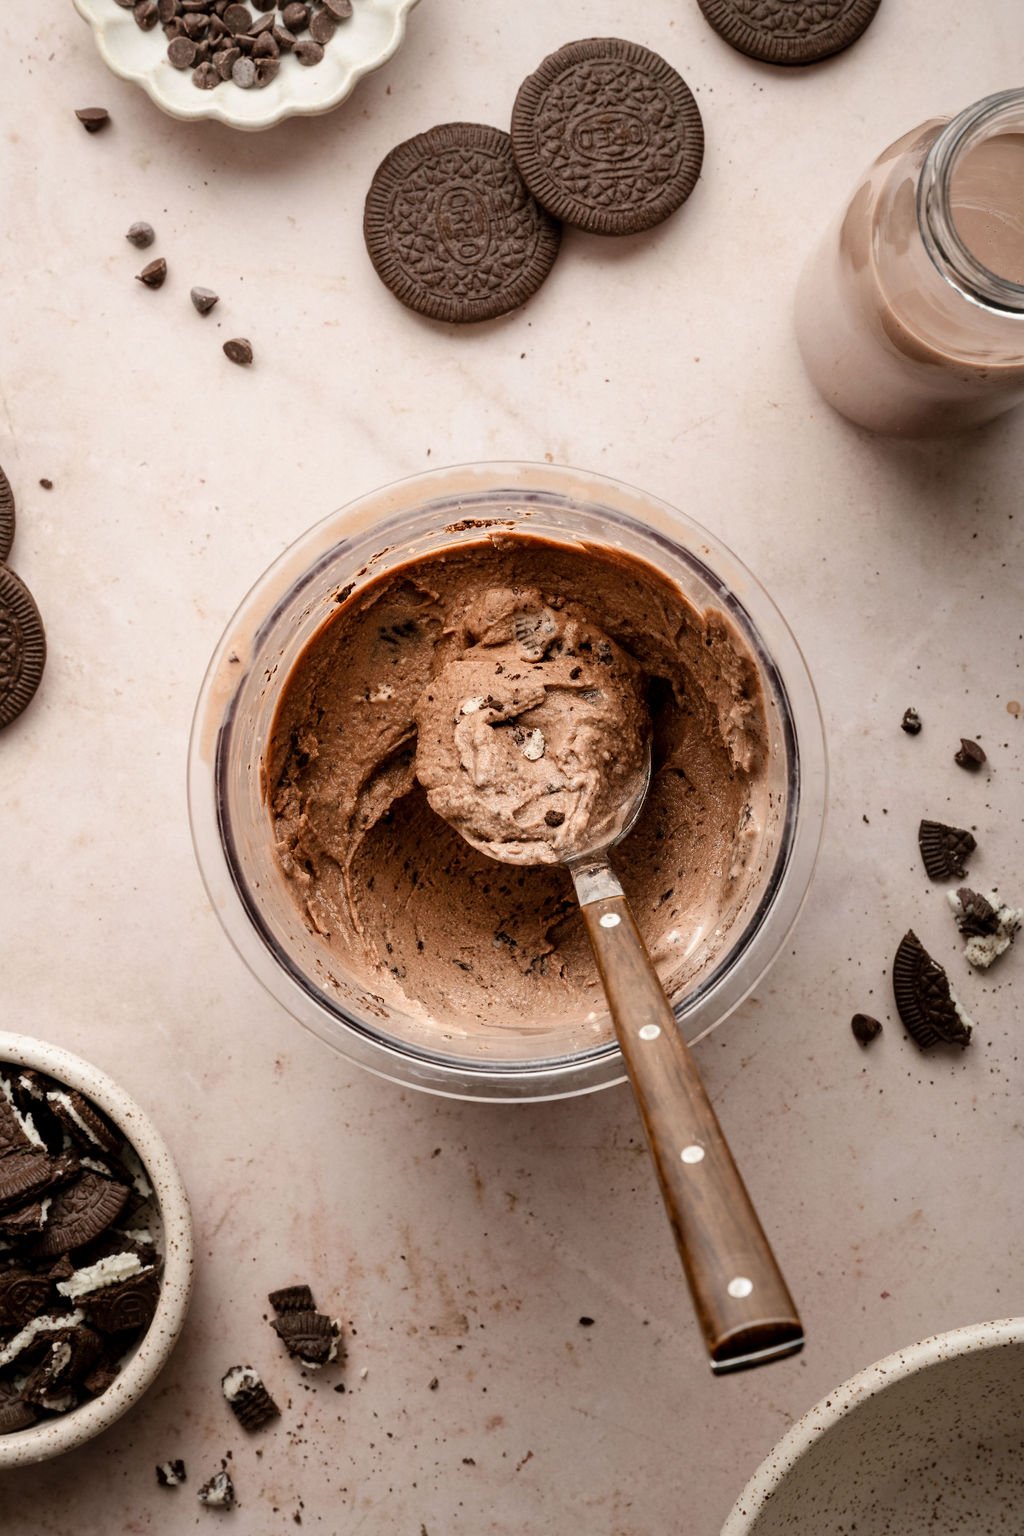
Start by prepping your Ninja Creami ingredients! Whether you’re making a basic vanilla recipe or a fun flavor, you’ll need to mix all your ingredients in the pint container at least 24 hours in advance. Tip: Make sure to blend any frozen chunks of fruit or cookie pieces if adding! The Creami blade isn’t meant to cut through large chunks. Use a handheld milk frother or blender to blend everything together!
Freeze
Place pint container in freezer (with the lid off) for 24 hours. Freezing with the lid on creates a hump at the top of the ice cream, which can damage the blade, so be sure to leave it off for optimal results!
Spin
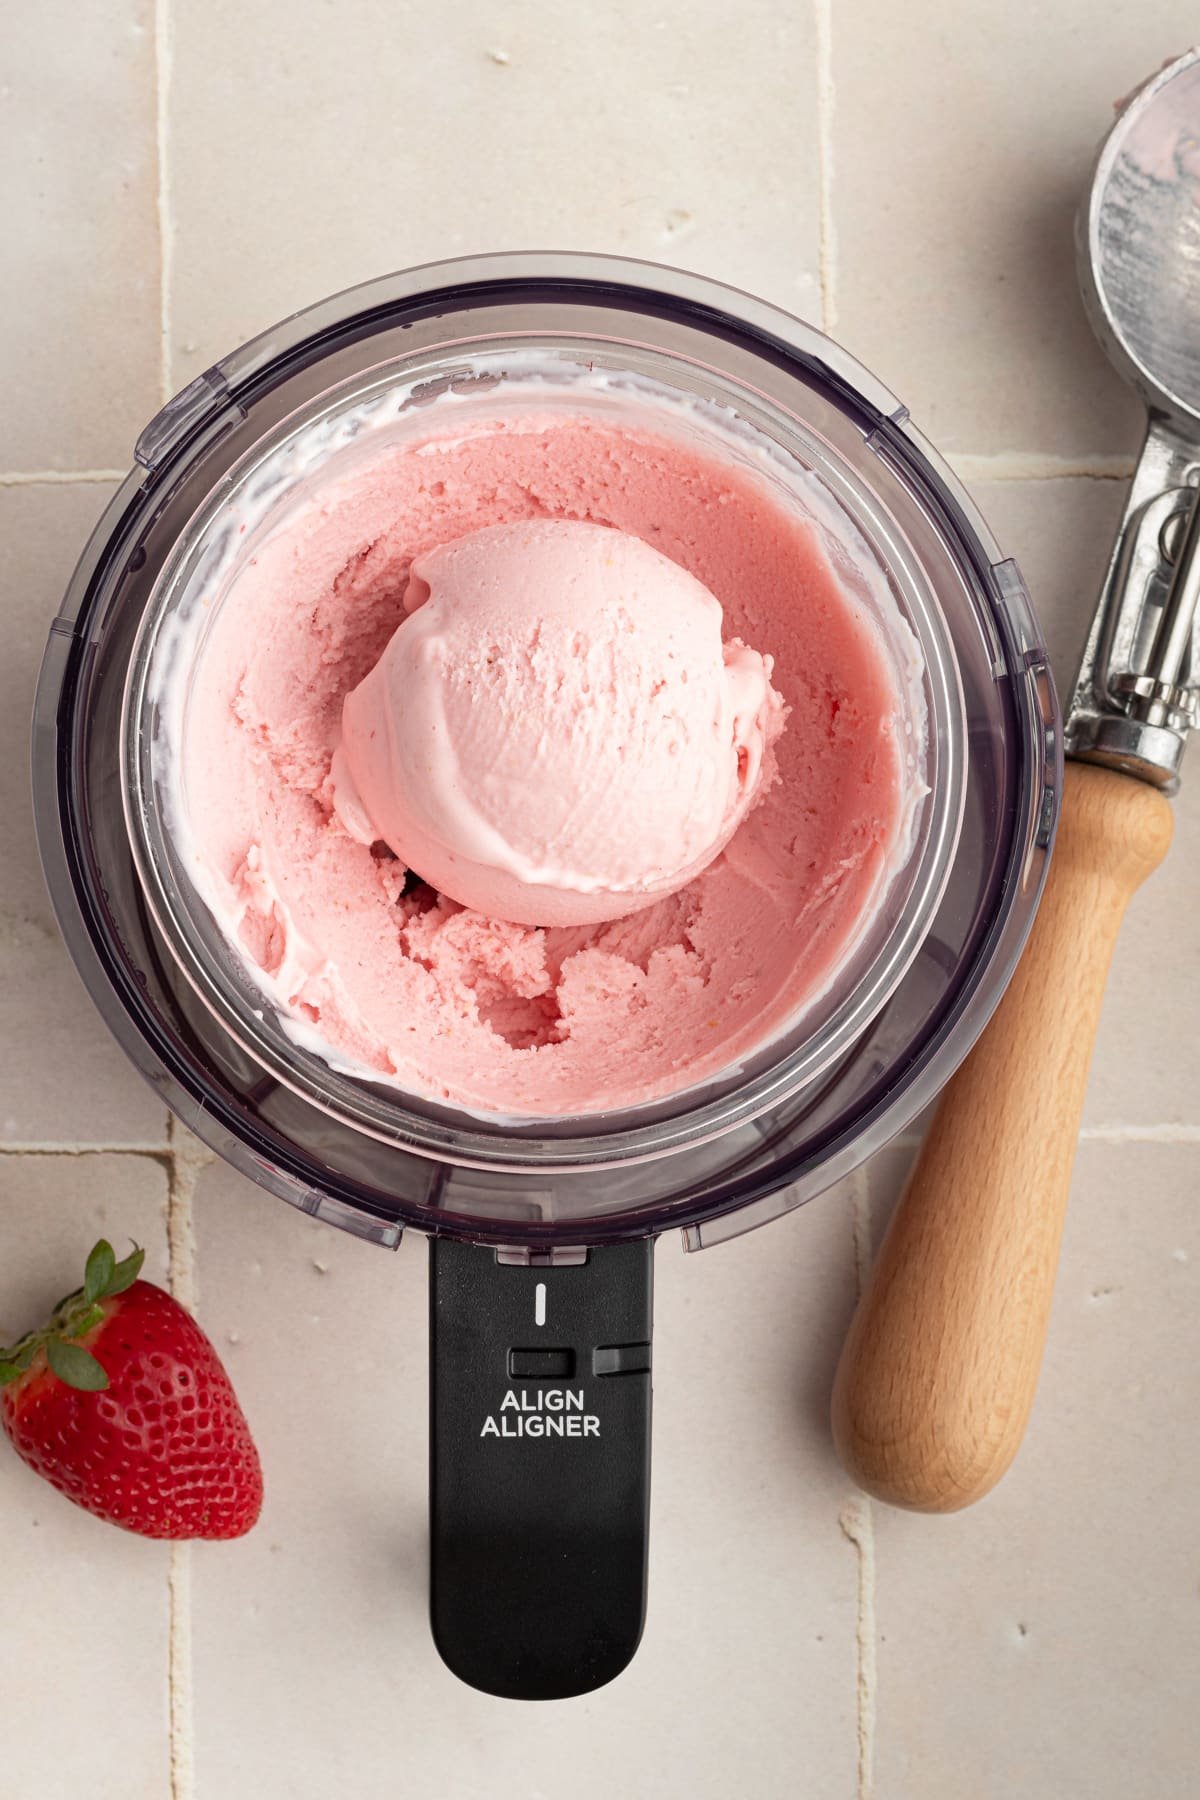
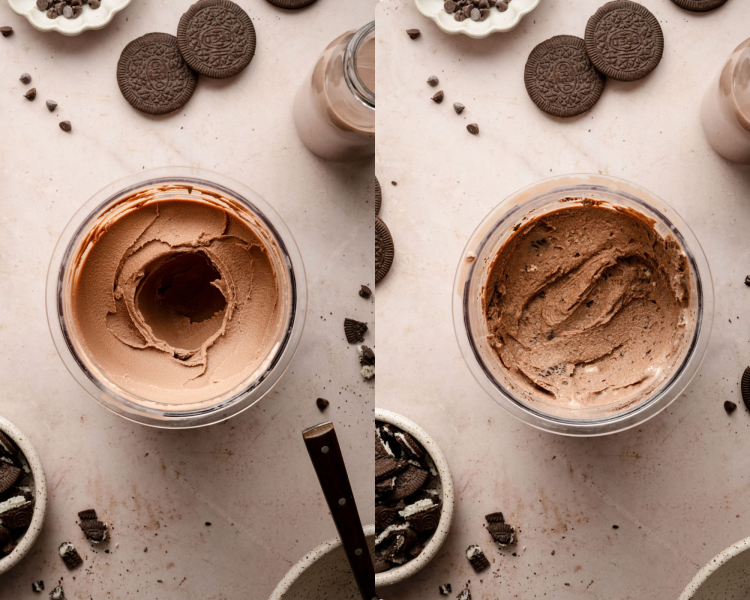
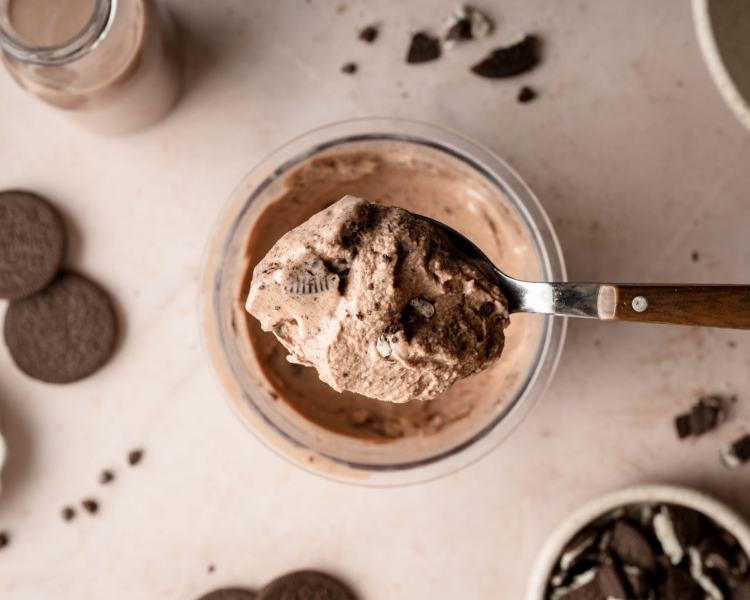
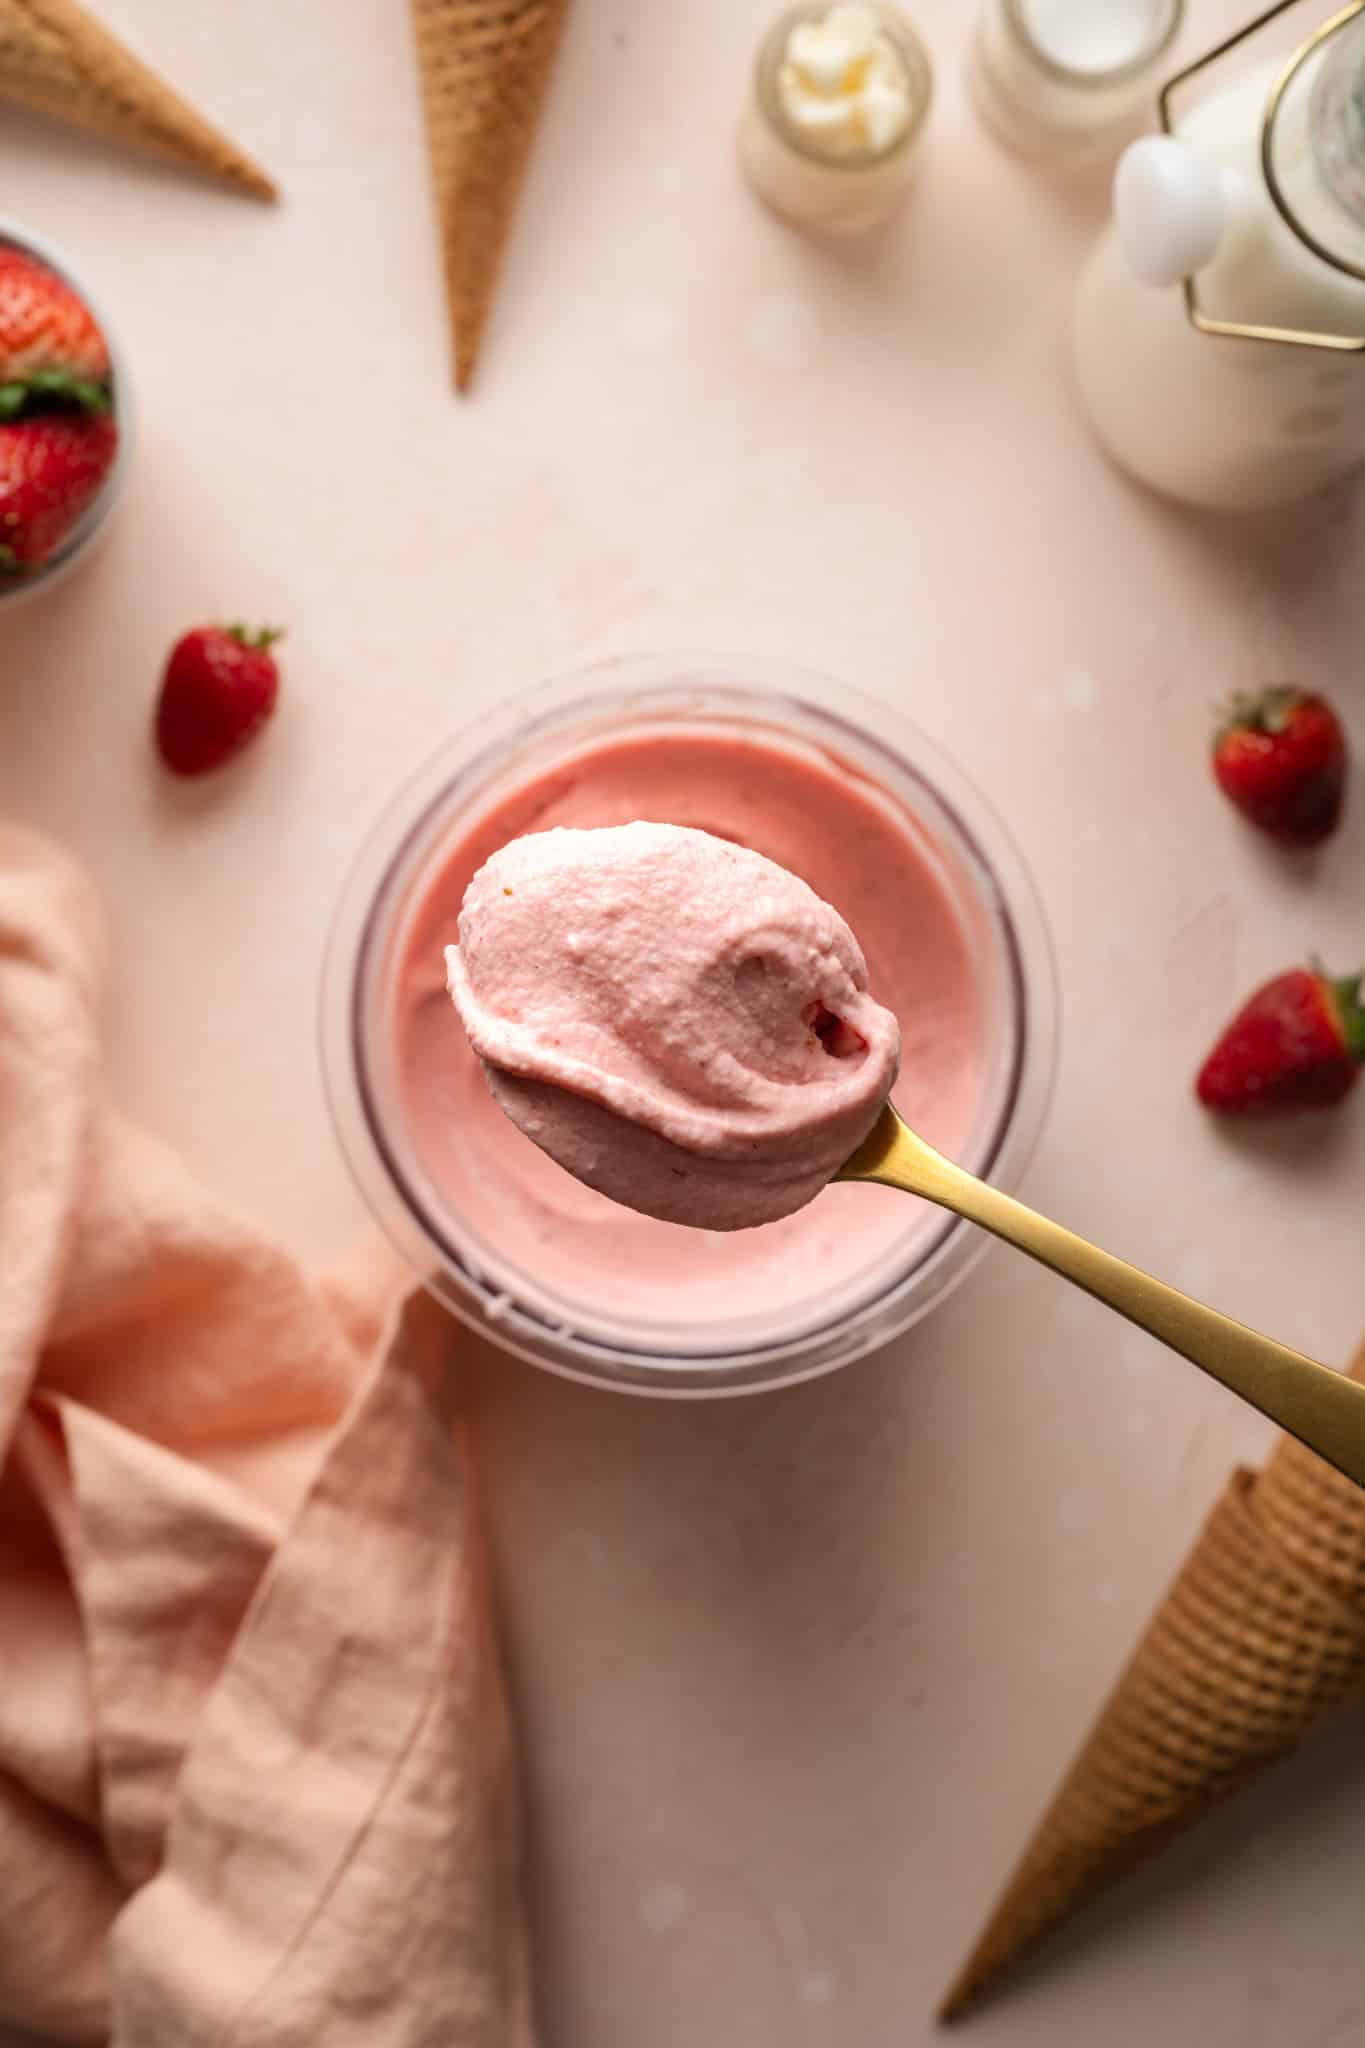
Remove pint from freezer and either spin right away or if directed, let sit on the counter for ~15-20 minutes to slightly defrost. Then depending on the recipe you used, run the Ice Cream or Lite Ice Cream Cycle (follow specific recipe instructions for this) . After the first spin, take out, scrape down any sides and run the Respin cycle. You can also dig a hole and add any mix-ins desired and run the Mix-in cycle. If Creami isn’t to your desired consistency yet, you can rerun the Respin or Mix-In cycle until it reaches your desired creamy consistency!
Enjoy
Top with your favorite toppings and ENJOY!
Making Your Creami
Do I have to freeze the base recipes overnight?
Yes, for best results I recommend freezing your base recipes for 24 hours. I have tested a couple recipes after 8-12 hours and while they worked, the consistency was not as thick and creamy.
My machine is SO loud, is this normal?
Yes, the Ninja Creami is very loud! I was definitely surprised when I finally got one and heard how loud it was. It’s not a deal breaker for me but definitely something to be aware of and just note you probably won’t be making these during nap time (Lol!).
I recently saw this appliance cover that is supposed to help with noise if you want to give it a try!
How do I clean my Ninja Creami blades?
After spinning, twist off the outer lid of the processing bowl and carefully lift out the blade. It sits right in the center of the lid and pulls straight up. Use a soft brush to wash with warm water and soap (the blade is not dishwasher safe) and then let air dry before reassembling.
I didn’t finish my Creami I just made…can I re-freeze and spin the same pint for the next day or later on?
Yes, if you don’t finish your Creami you can use a spoon to level out the ice cream that is still in the pint container, top with lid and place back in the freezer. When you’re ready to eat, take the pint out (let it sit at room temperature for 5-10 minutes) and Re-spin.
You can also move your leftover Creami to another freezer-safe container if you want to free up your pint containers for different recipes.
Why should I run my Creami under hot water for a few seconds before spinning?
Running the Creami under warm water before spinning helps to avoid icy edges. You can also let the pint container sit on the counter at room temperature for 10-15 minutes before spinning.
Some recipes say I should thaw on the counter before spinning, how long should I set it out?
I recommend letting the pint container sit on the counter for 5-10 minutes before spinning. This helps to soften the ice cream slightly to avoid icy edges. If you don’t have time to let the pint container sit on the counter, you can also run it under warm water for a few seconds before spinning.
Do I always have to add a splash of milk when I re-spin my Creami?
No, it’s totally up to personal preference (and recipe) if you want to add a splash of milk before re-spinning. If you want a thicker texture, you may not need to add a splash of milk. However, if you like softer ice cream (more like soft serve) some recipes will call for a tablespoon or so of milk before Re-spinning to help smooth everything out.
I always see people using the Lite Ice Cream setting. What’s the difference between using Lite Ice Cream and Ice Cream setting?
The regular Ice Cream setting is designed for more traditional ice cream bases made with full-fat dairy and sugar. It is best for creating a thick, scoopable texture.
The Lite Ice Cream setting is designed for lower-fat, low-calorie, or high-protein mixtures (i.e. your recipes made with Fairlife, almond milk, protein shakes, yogurt, etc.)
Why do I have to dig a hole in the Creami before adding the mix-ins?
Digging a hole in the Creami before adding your mix-ins allows you to place the mix-ins exactly where the blade will spin during the Mix-In cycle. If you sprinkle them on top or around the edges, they won’t get incorporated as well and will just stay close to the top.
Troubleshooting Tips
Why is my Creami so icy?
There are several reasons your Creami might have turned out icy:
1. Using too much liquid: Using just almond milk, water, or low-fat milk without anything to add body (like pudding mix, protein powder, or a creamy add-in) often leads to iciness. To fix, add a bit of sugar-free pudding mix, a dash of xanthan gum, or a tablespoon of Greek yogurt or cottage cheese to thicken it up.
2. Base didn’t freeze correctly: If your freezer is too cold or your pint isn’t level while freezing, you might get uneven ice formation. Always freeze your pint with the lid off on a flat surface for 24 hours.
3. Not enough sugar or sweetener: Sugar helps reduce iciness by lowering the freezing point. If your base is very low in sugar or uses low-calorie sweeteners (like stevia or monk fruit drops), you will most likely get a harder texture. Try using sweeteners with more volume (like allulose, erythritol, or sugar-free syrups) or adding a splash of milk when re-spining for extra softness.
4. Re-Spin: Some bases, especially lower calorie or higher protein recipes, are meant to be re-spun. If your pint is crumbly or icy after the first spin, don’t worry! Use the Re-Spin button once (or even twice) to get your desired creamy texture.
My Creami is super dry and crumbly…help!
If your Creami is super dry and crumbly it’s probably because it just needs to soften a bit before spinning again. A few ways to avoid this is to run it under hot water for a few seconds before spinning or let it sit on the counter for 10-15 minutes before spinning. You can also add a tablespoon of milk after the initial spin before you Re-spin the help get a creamy consistency. Also, don’t be afraid to Re-spin 2-3 times if your base needs a little help!
My Creami is super runny and soft after spinning…help!
If your Creami is super runny and soft after spinning it probably means it got too warm before spinning. If this is the case and you let it sit out or ran it under hot water, that means you probably don’t need to let it sit as long before spinning. If your creamy is too runny, you can place it back in the freezer for a few minutes to help it thicken back up!
My Creami is still chalky after re-spinning once, can I respin it again? How many respins can I do?
Yes, you can definitely Re-spin it again (or you can add mix-ins and run the Mix-in cycle). There’s no limit on the amount of times you can respin. It will honestly just depend on your preferred ice cream texture!
After I spin mine, the sides are always frozen?
To prevent icy sides, I like to use a spoon or butter knife to run along the sides after the initial spin before respinning. This helps break up everything from the sides so that it can all be combined during the respin. After the first re-spin if things still look frozen, I will take a spoon and scrape along the bottom and sides before re-spinning again or adding my mix-ins and running the mix-in cycle.
Why does my Ninja Creami have a “hump” on top after I freeze it?
Freezing your base with the lid on can create a “hump” on the top. To avoid the hump, place your Creami containers in the freezer on a flat surface without the lid until frozen. You want to make sure to freeze your pints with a smooth top for the best results while spinning and also to avoid any potential damage to the blades. If you’re making multiple pints at once, you can place the lids on the containers after they are frozen for easier storage.
helpful tools
 Buy Now →
Ninja Swirl by CREAMi Pints and Lids
Buy Now →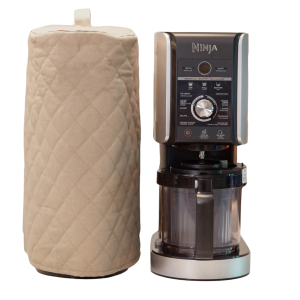 Buy Now →
  Buy Now →
  Buy Now →
  Buy Now →
 My Favorite Ninja Creami Recipes
I’m currently working on my Ninja Creami Series, so stay tuned for lots of yummy frozen treats this summer! To get you started, here are a few of my favorite recipes so far: