Samoas Cookies (Girl Scout Copycat)
This post may contain affiliate links. Please read our disclosure policy.
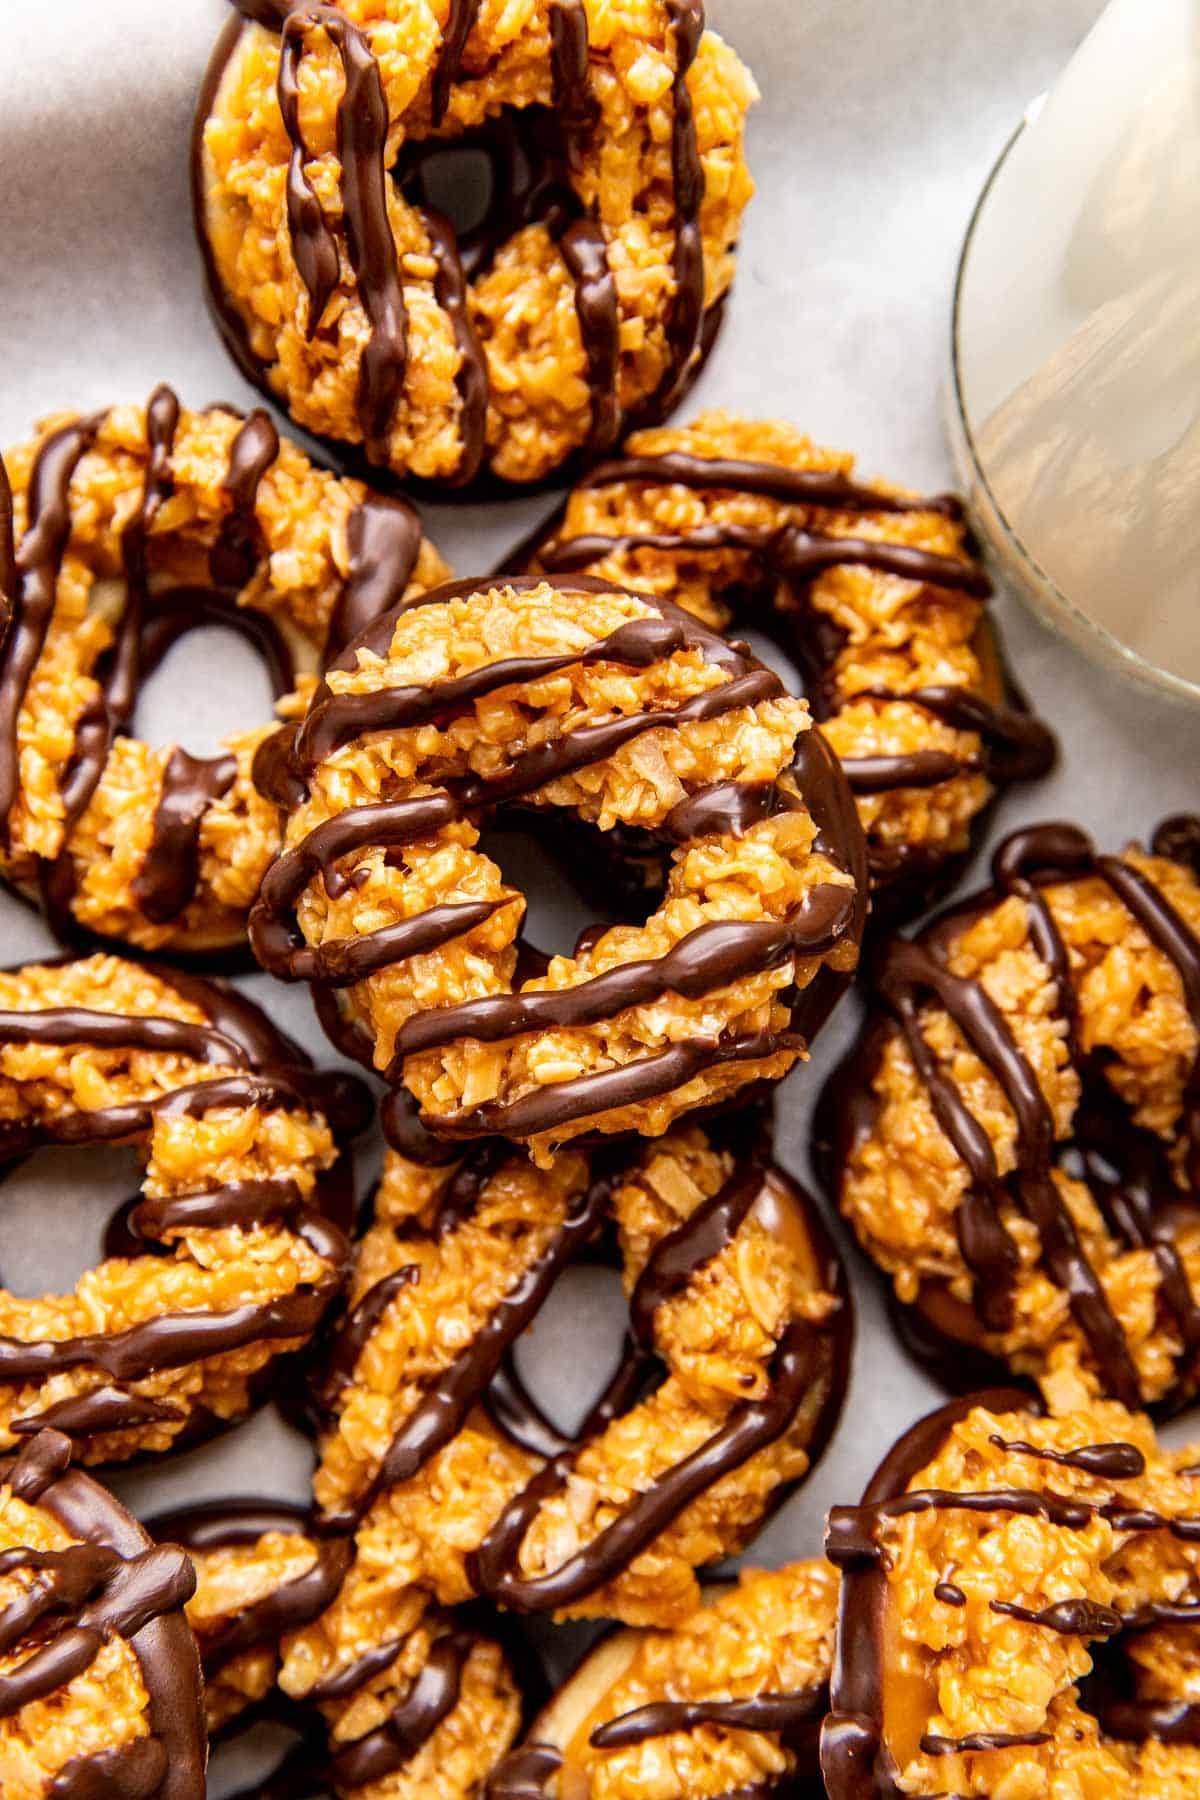
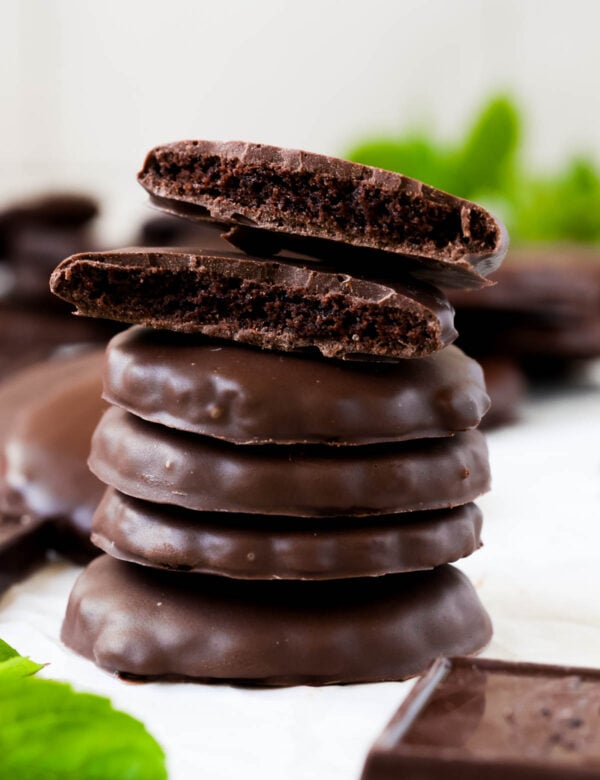
After making my Homemade Thin Mints (Girl Scout Copycat) recipe, I knew I had to tackle more Girl Scout cookie recipes. This way, you can enjoy them year-round and not have to wait for Girl Scout Cookie season! 🤗 If neither of these Girl Scout flavors are your favorite, try my Copycat Girl Scout Tagalongs (Peanut Butter Patties)!
After all, according to the Girl Scout Cookies website, Samoas are the second-highest-selling flavor (Thin Mints take the lead!).
There is so much to love about these cookies and something fun and special about making them at home. I taste-tested them side by side with the real packaged cookies, and without surprise, the homemade Samoas were so much more flavorful.
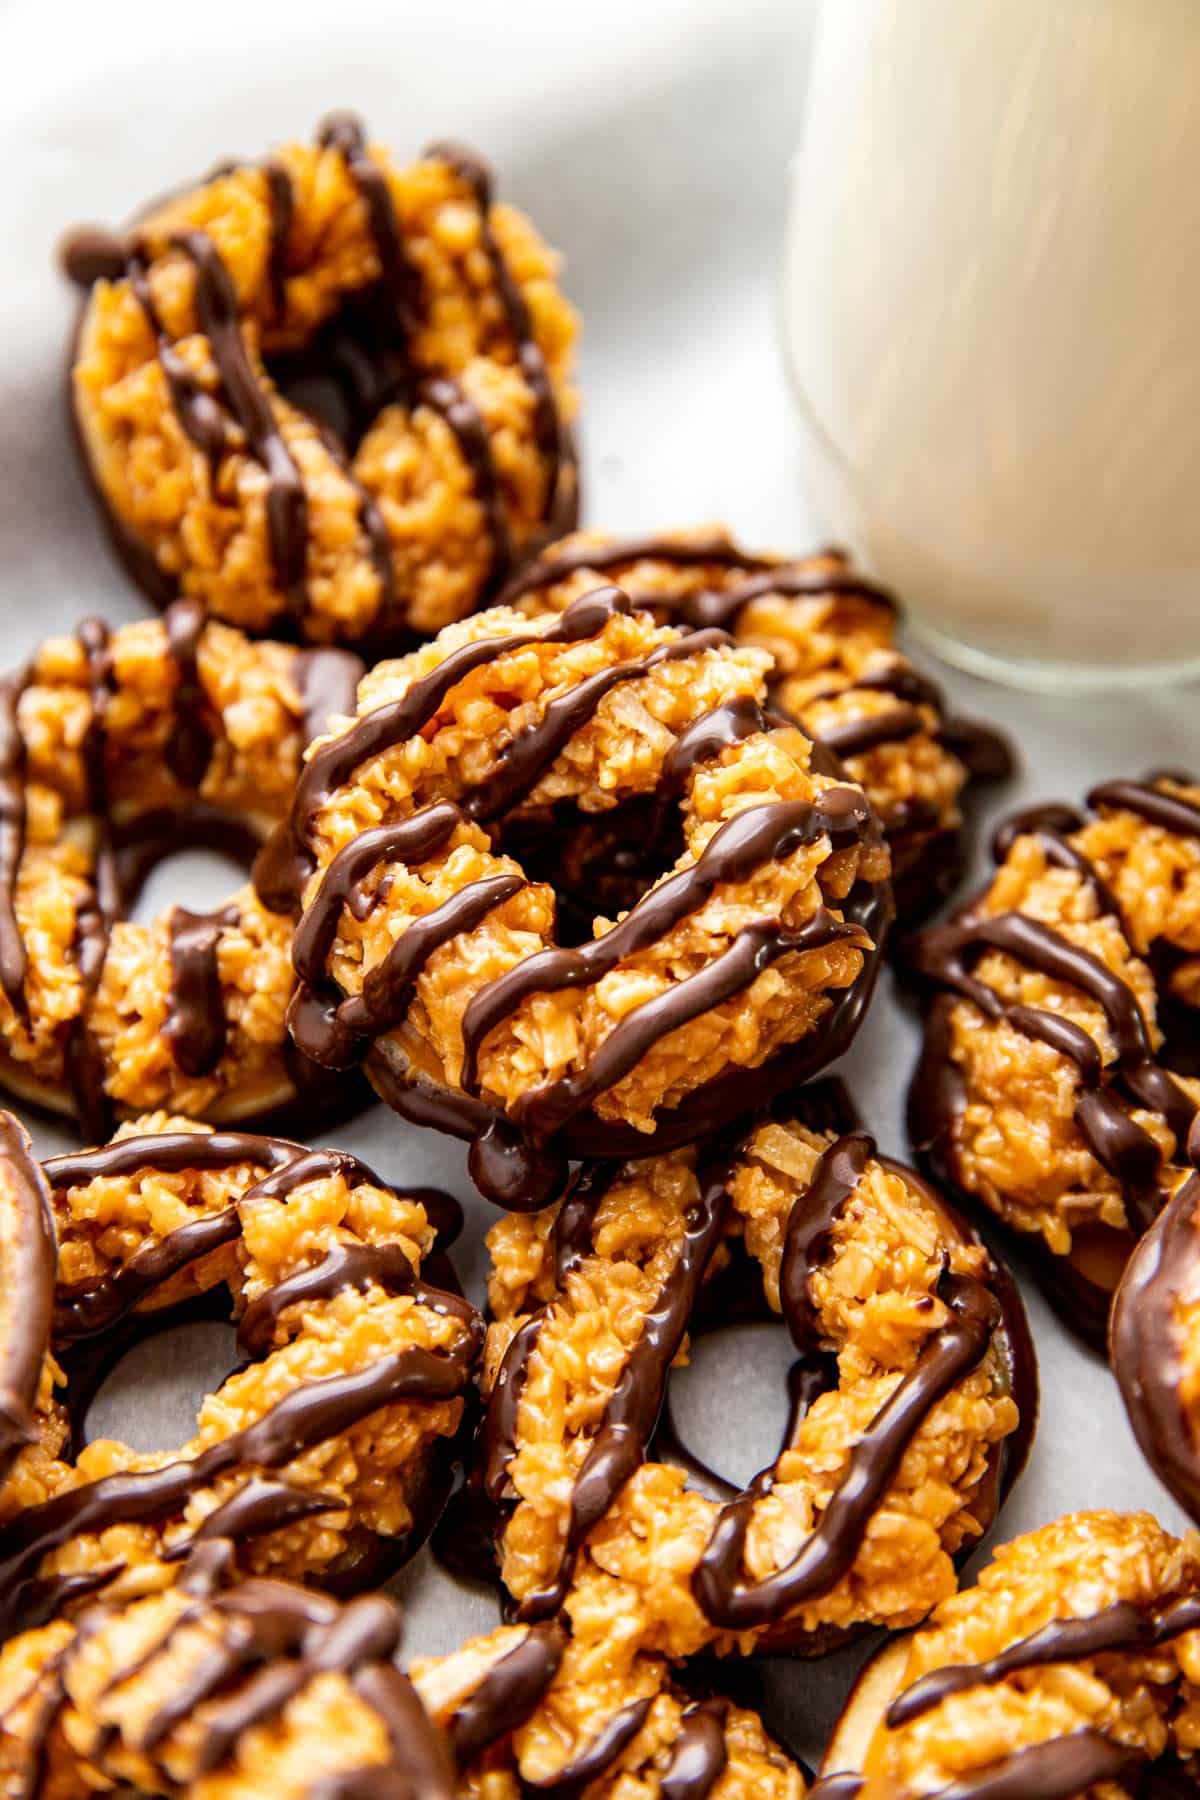
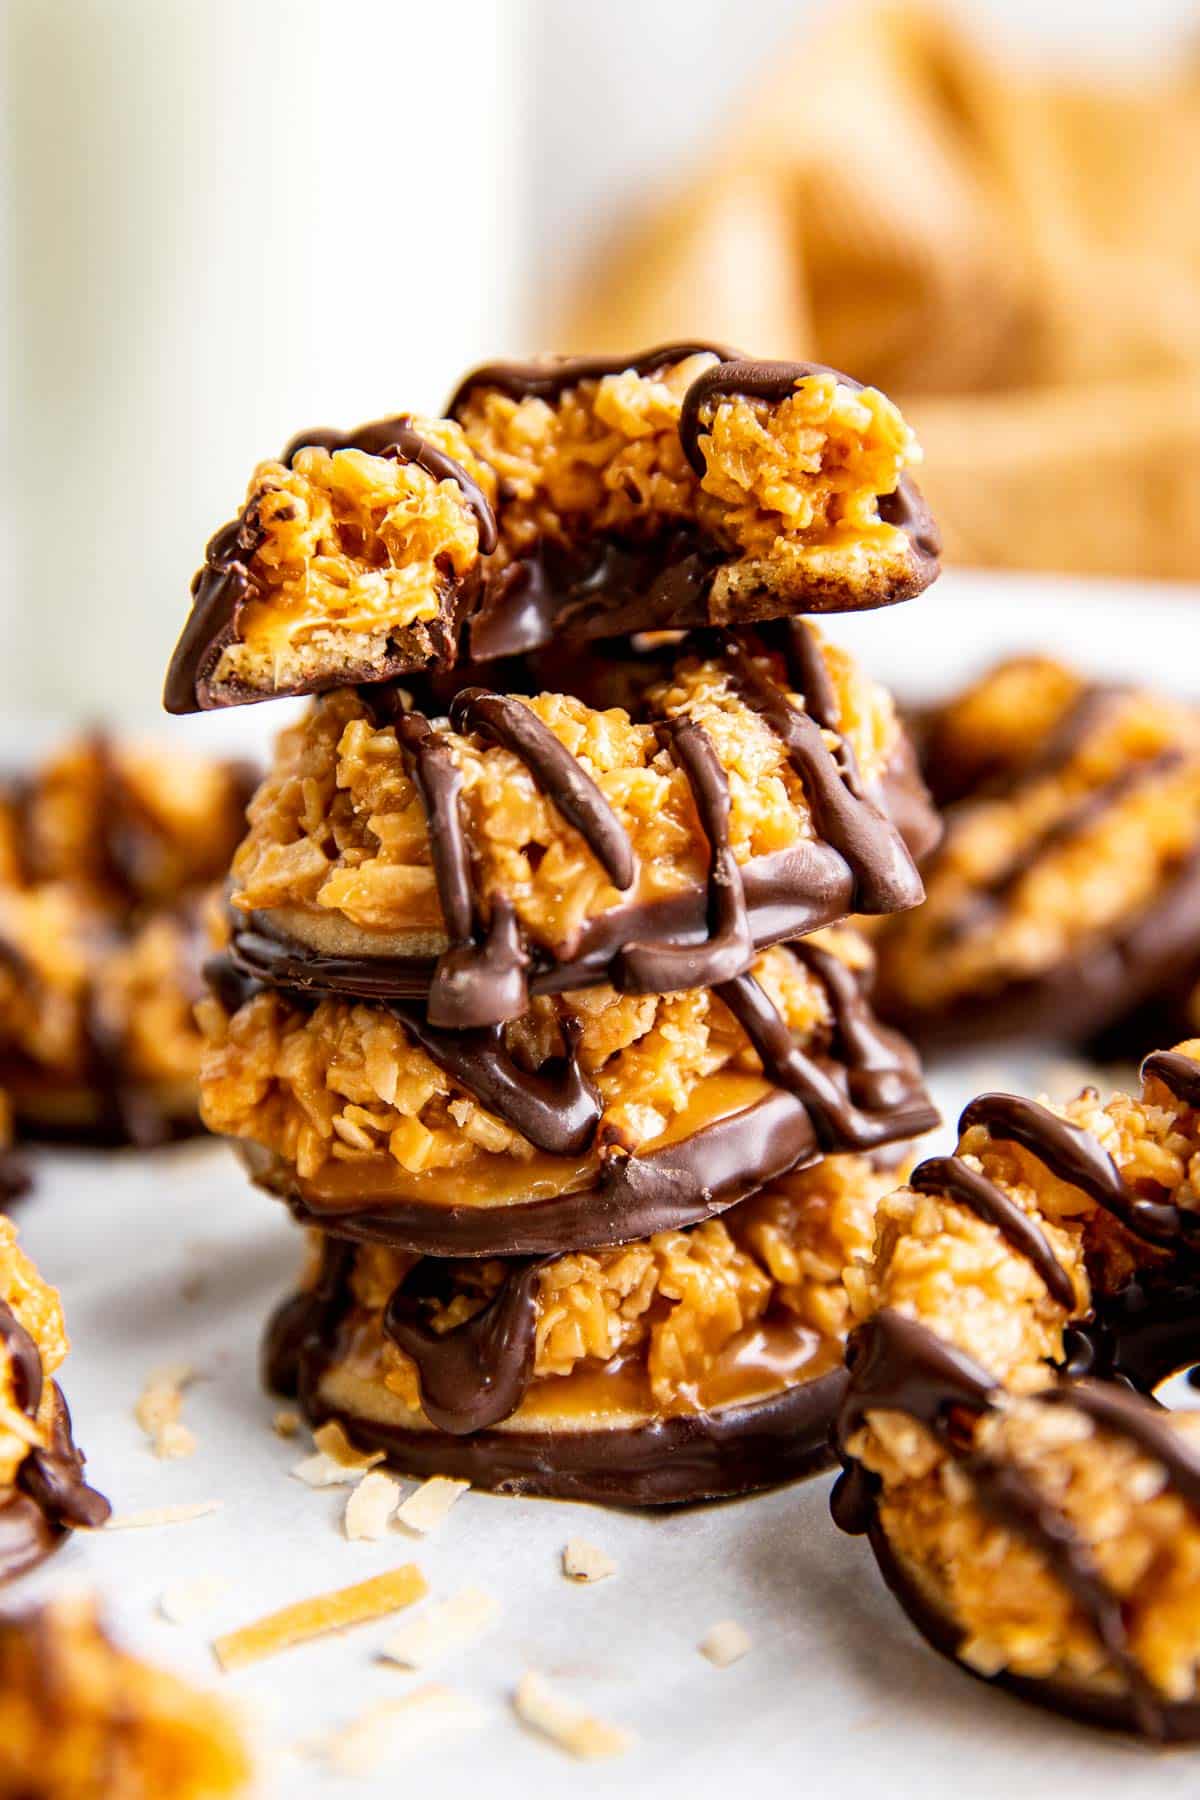
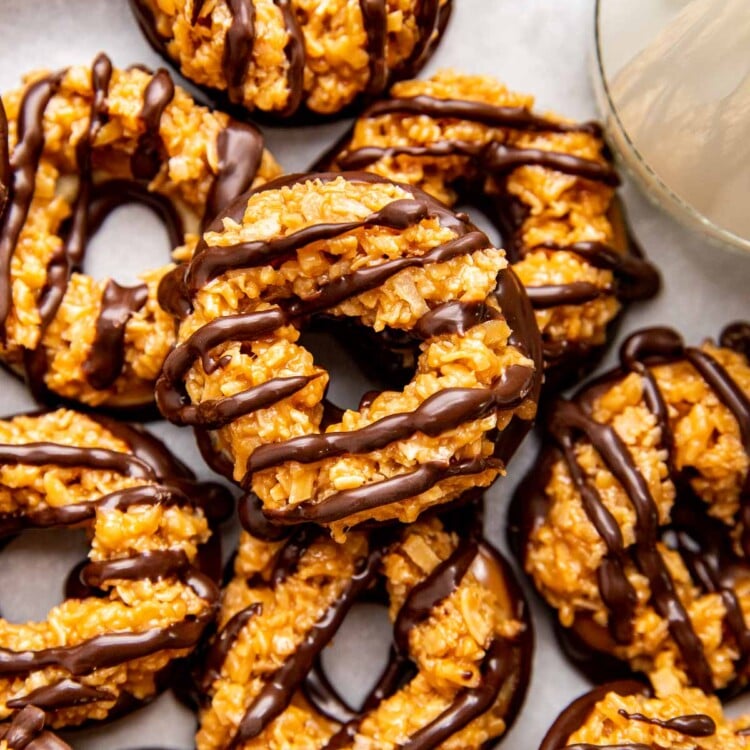
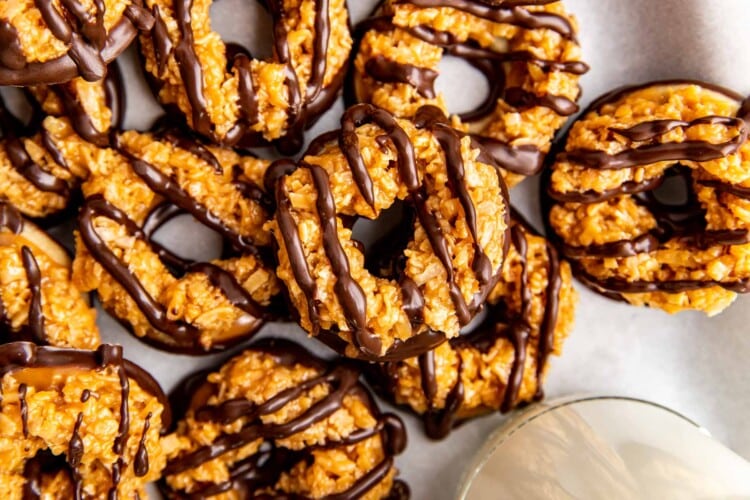
Each cookie has a crisp, buttery shortbread base generously coated with a layer of rich, gooey caramel, adding delightful chewiness to every bite. The caramel is topped with a heaping sprinkling of toasted coconut, adding a satisfying crunch and a hint of nutty sweetness. Then, just the bottom of the cookies gets dunked in chocolate and drizzled with a little of that smooth, creamy chocolate.
I love storing these cookies in the freezer and popping one or two out when the craving strikes. Making them at home adds an extra layer of enjoyment, making each bite even more special. Adults and kids alike will love these iconic cookies!
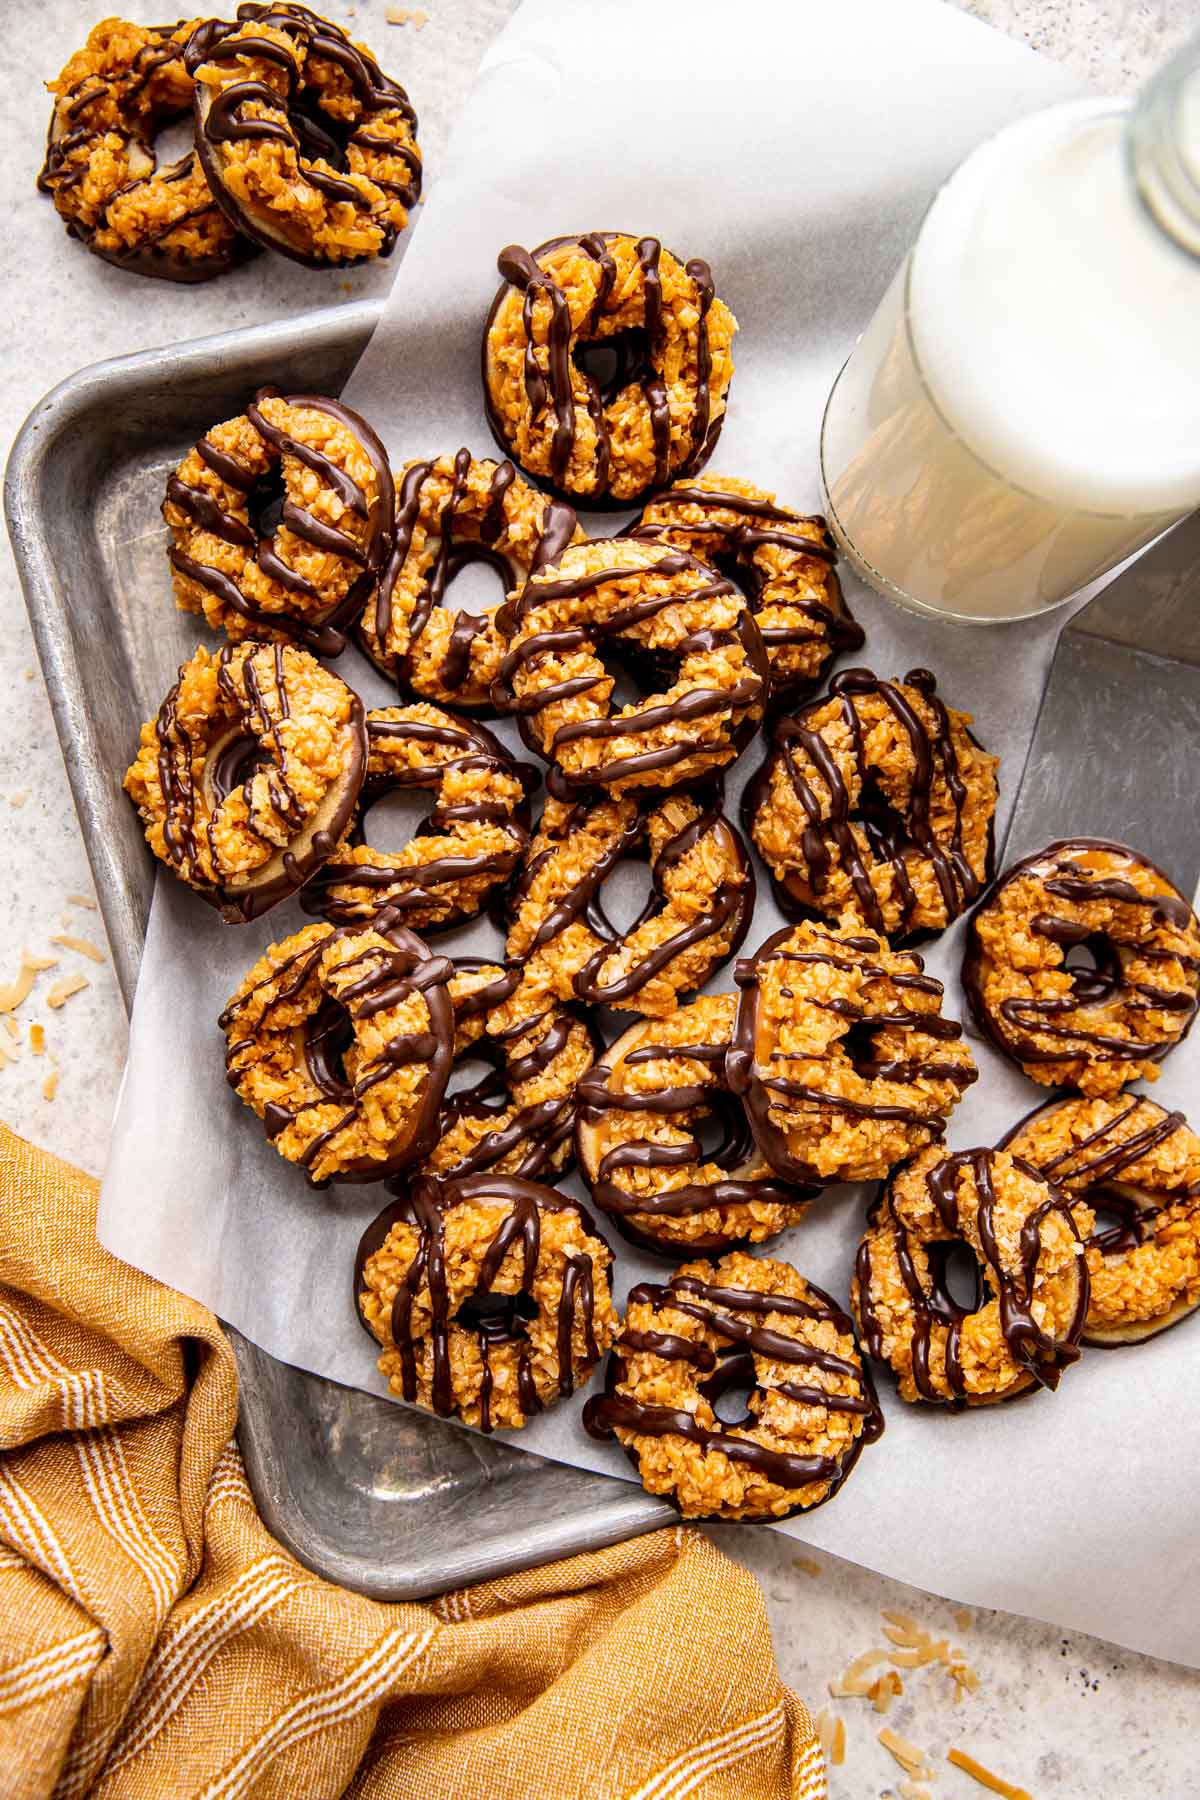
Samoas cookies, also known as Caramel deLites in some regions, are a type of Girl Scout cookie. Each cookie has a sweet, buttery shortbread base, with toasted coconut providing a slight crunch and the caramel adding a chewy texture. The cookies are dunked partially in chocolate and a chocolate drizzle on top adds a perfect finishing touch.
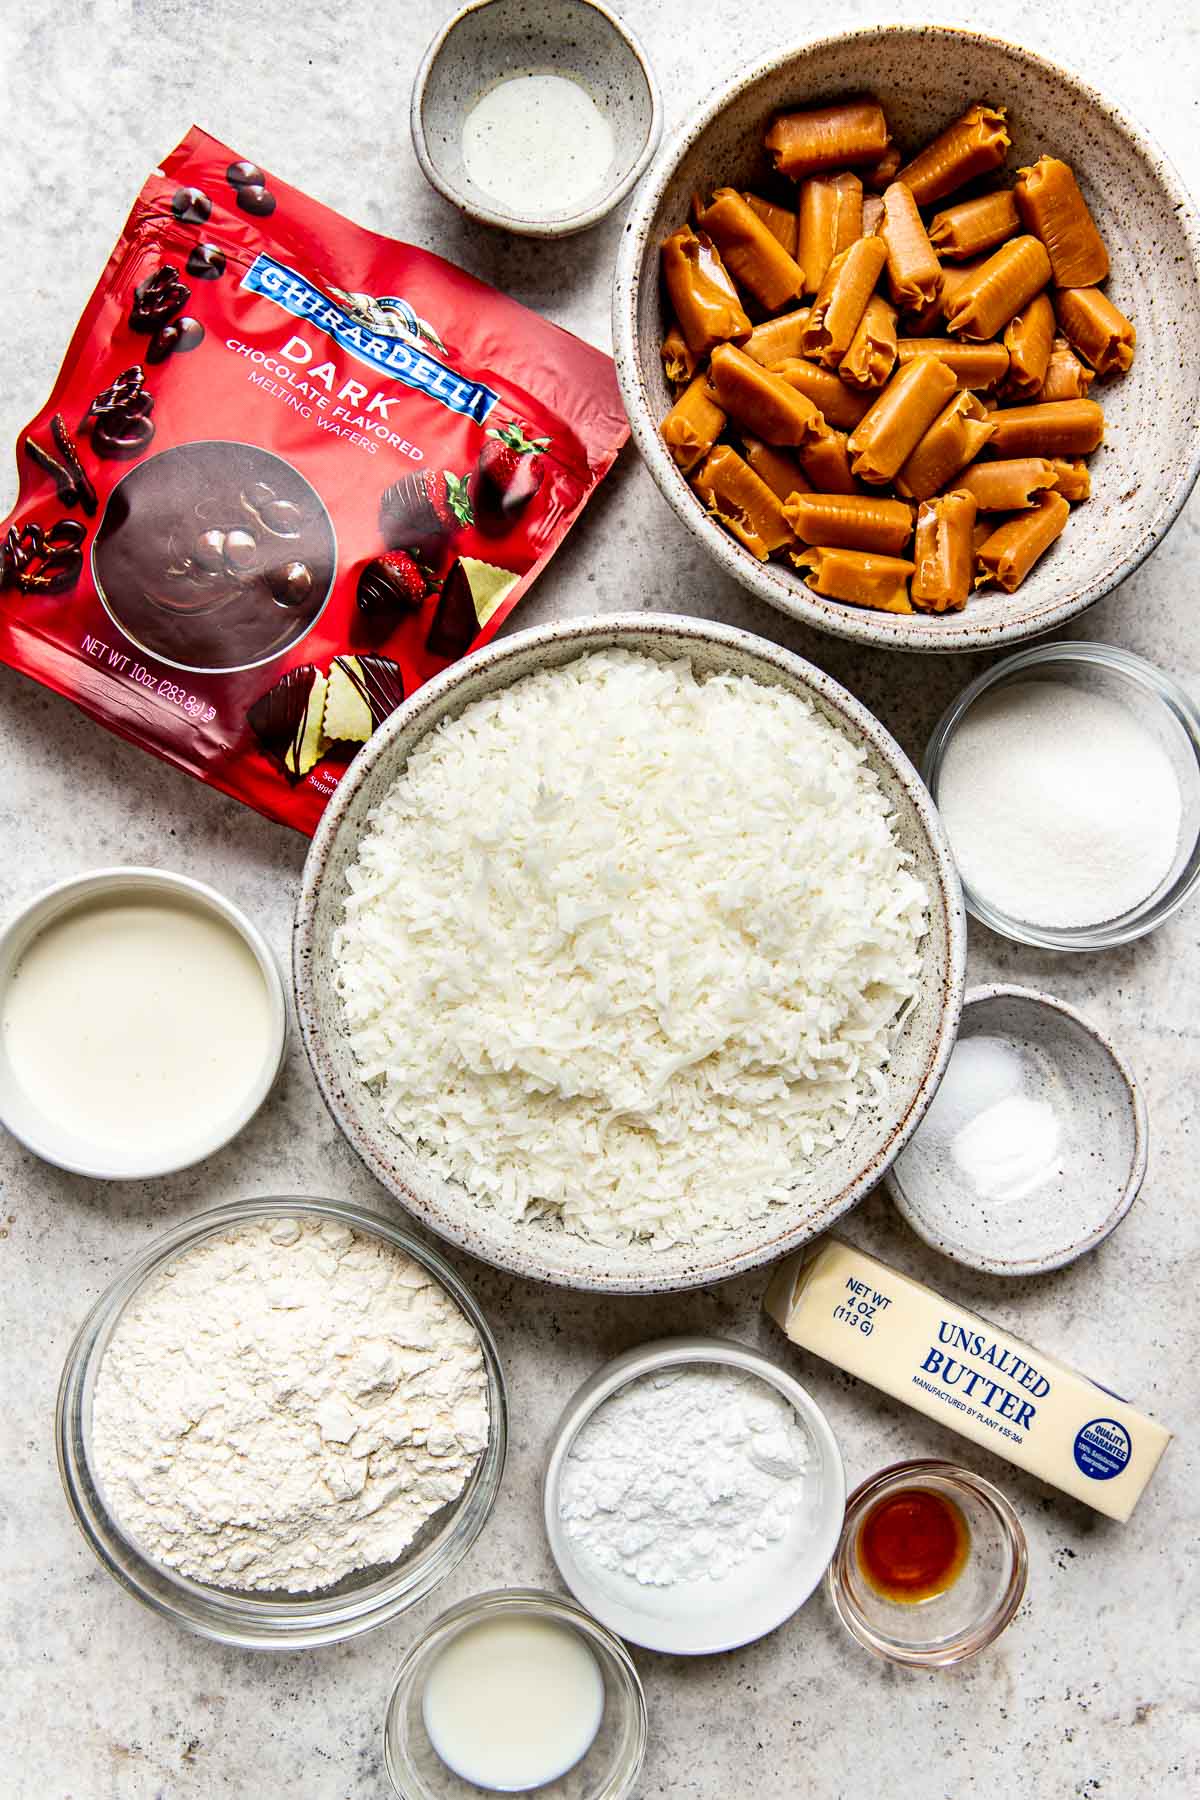
Ingredients
For the ingredient measurements and the entire recipe, scroll down to the bottom of the blog post where the recipe card is located.
- Butter: A key ingredient in the shortbread base, butter adds a rich, creamy flavor and a tender texture. Be sure the butter is softened before you start baking.
- Flour: A primary ingredient in the shortbread base, flour provides structure and helps achieve the cookie’s crisp texture.
- Sugar: I like using both granulated sugar and powdered sugar because the fine texture of the powdered sugar helps create a smoother, more tender cookie crumb, and the granulated sugar provides that crisp texture and, of course, sweetness.
- Milk: a touch of milk added to the shortbread cookie base helps produce a slightly soft and tender cookie.
- Coconut: Toasted coconut is generously sprinkled on top of the caramel. This ingredient adds a delightful crunch and a hint of nutty sweetness, enhancing the overall taste and texture of the cookie.
- Chocolate: The cookies are dunked and drizzled with smooth, creamy chocolate, adding a touch of indulgence and balancing the sweetness of the caramel and coconut. I love using the Ghirardelli dark chocolate melting wafers because the chocolate sets up nicely as it cools.
- Caramel: I found Werther’s Soft Caramels worked best. Making these cookies already involves many steps, so I streamlined the process by using these caramels. The only hard part is unwrapping them!
Step by Step Directions
Be sure to scroll down to the recipe card for the full recipe instructions.
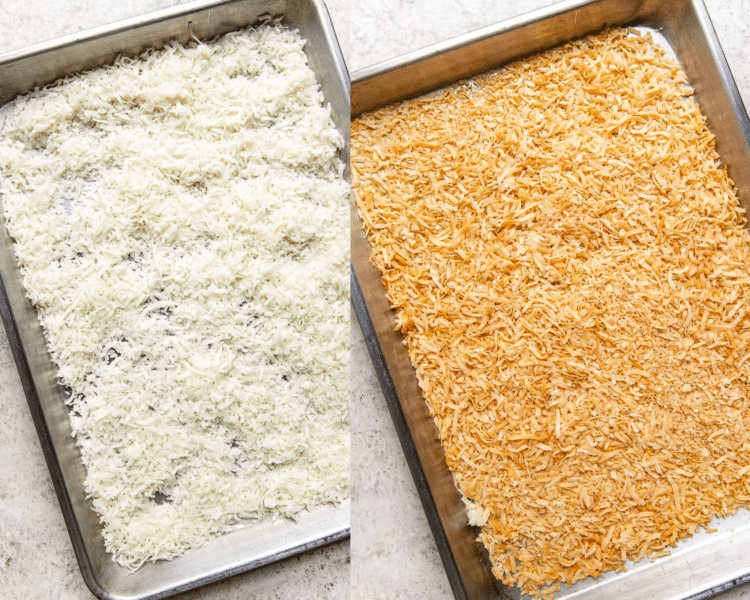
Toast the coconut
Pour the coconut onto a baking sheet and place it in the oven to toast for ~10-15 minutes, stirring frequently to prevent burning.
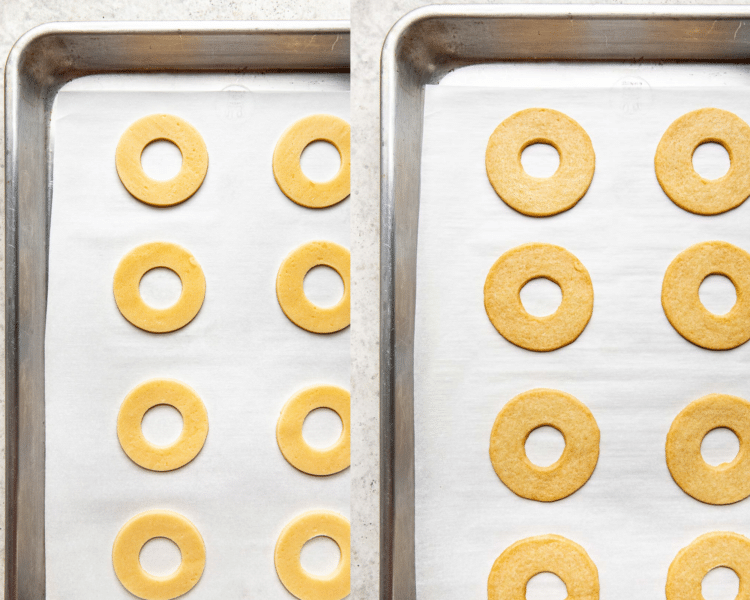
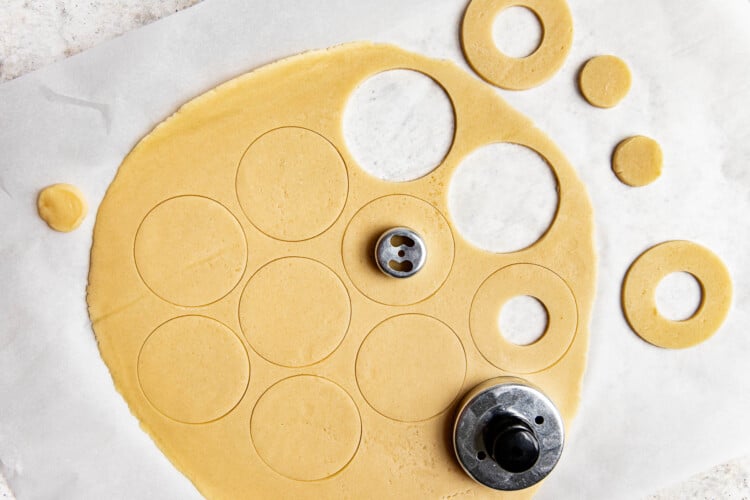
Make the shortbread cookies dough, cut out the cookies using a 2-inch circular cookie cutter or a donut-shaped cookie cutter and bake 8-10 minutes.
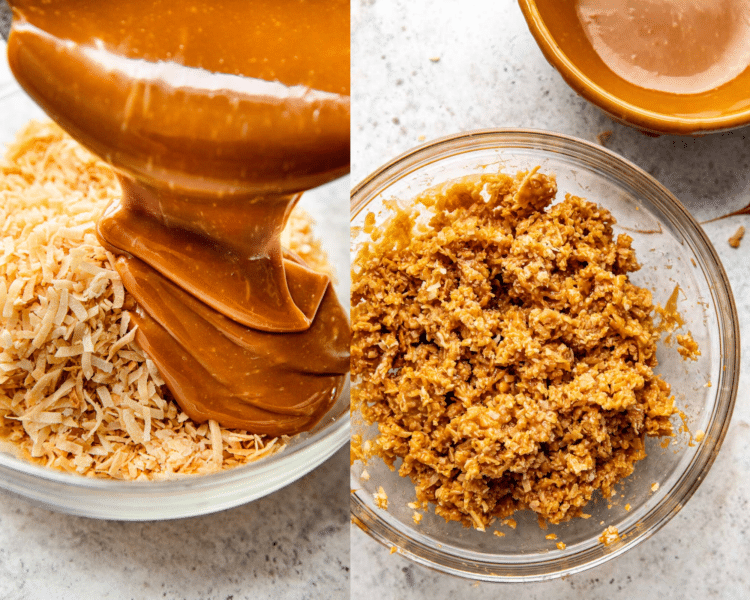
Caramel time!
Pour the caramel into the toasted coconut. Things are going to get a little sticky!
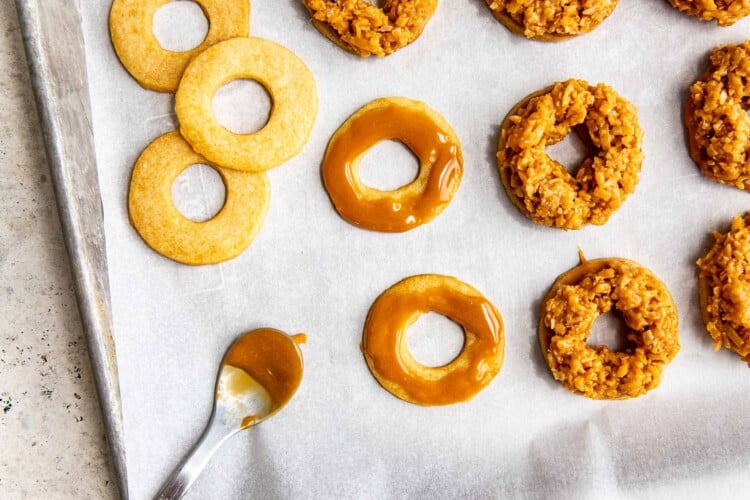
This helps act as the glue for the coconut caramel mixture so it can stick. Use a spoon to spread it around evenly. This process can get a bit messy, take your time.
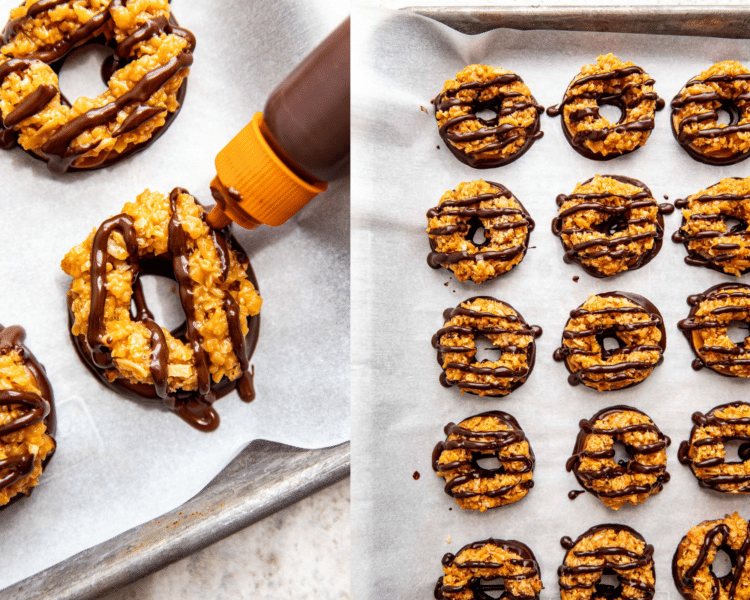
Add coconut & chocolate!
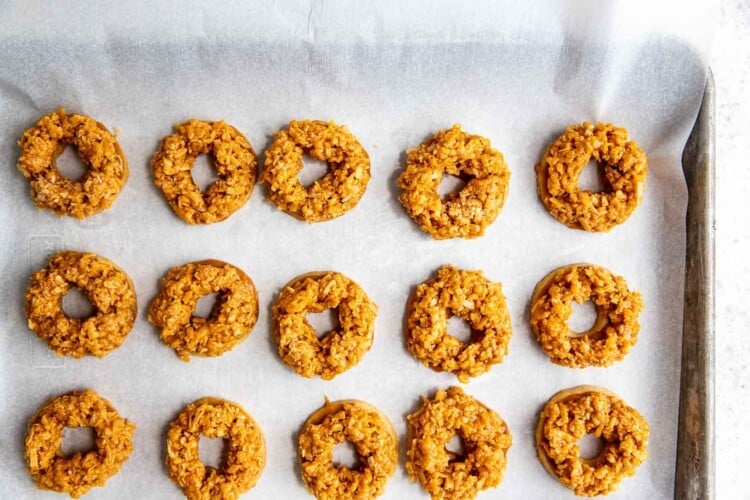
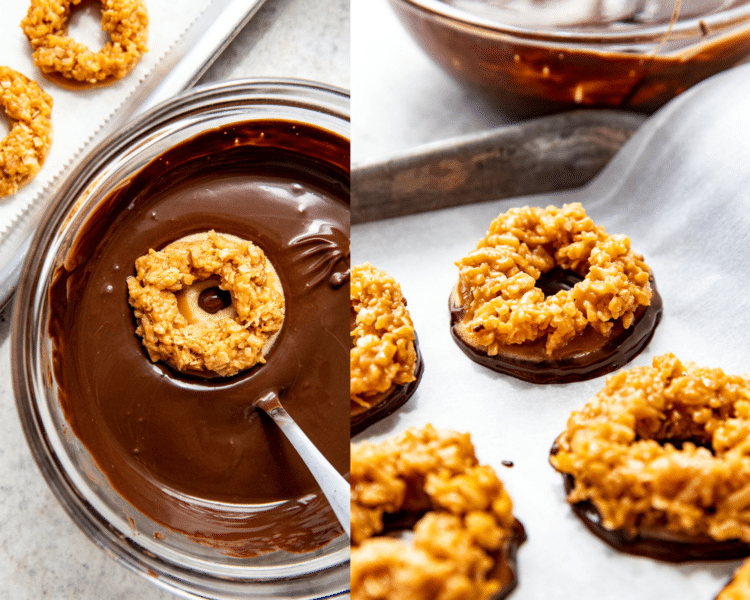
Mound the coconut mixture on each cookie ring, pressing it down slightly. Dunk the bottom half of each cookie into the melted chocolate and drizzle with more on top! Allow to set, then enjoy! YAY!
Expert Tips
- Roll out the shortbread dough to an even thickness when making the shortbread cookies. This ensures that all cookies are baked uniformly.
- Chilling the Dough: Chill the dough before cutting out the cookies. This makes cutting easier and helps the cookies maintain their shape during baking. I like to chill for at least 1 hour or up to overnight in the fridge.
- Allow ample time for each step, especially for cooling and setting the caramel and chocolate layers. Rushing can lead to a messier appearance and less optimal texture.
- I like to use this 2 1/2 inch stainless steel doughnut cutter to create the shape in these cookies, but you can also use a regular 2-inch cookie cookie and something small like a piping bag tip to cut a small circle in the center.
- Drizzling Technique: Use a piping bag or a zip-top bag with a small corner cut off to drizzle the chocolate. This gives you better control and results in a more professional appearance.
Variations
- Nuts: Add sliced or slivered almonds to the toasted coconut mixture.
- Spice: Add a pinch of cinnamon or cardamom to the shortbread dough.
- Mint: Add a few drops of peppermint extract to the chocolate drizzle.
- Nutella: Use Nutella instead of melted chocolate for the drizzle.
- Caramel apple: Add finely chopped dried apples to the toasted coconut mixture.
- White chocolate: Use white chocolate for the drizzle instead of milk or dark chocolate.
- Orange zest: Add orange zest to the caramel or shortbread dough.
- Peanut butter samoas: Add a layer of peanut butter between the shortbread base and the caramel layer.
More recipes to love
Storage
- Room Temperature: When stored in an airtight container at room temperature, homemade Samoas cookies can last for about 1 week. Ensure the container is sealed properly to prevent it from becoming stale or losing its texture.
- Refrigeration: They can last up to 3 weeks in the refrigerator. Ensure they are stored in an airtight container to avoid absorbing odors from other foods.
- Freezing: For long-term storage, you can freeze homemade Samoas cookies. Place them in a single layer on a baking sheet to freeze, then transfer them to a freezer-safe container or bag once they are solid. Properly stored, they can last for up to 3 months in the freezer.
Before You Begin! If you make this, please leave a review and rating letting us know how you liked this recipe! This helps our business thrive & continue providing free recipes.
Ingredients
- 1/2 cup unsalted butter, room temperature
- 1/4 tsp. salt
- 1/3 cup granulated sugar
- 2 Tbsp. powdered sugar
- 1 Tbsp. whole milk
- 1/2 tsp. vanilla extract
- 1 cup all purpose flour, spooned and leveled
- 1/4 tsp. baking soda
Coconut layer
- 3 1/2 cups shredded sweetened coconut flakes
- 15 oz. caramels (I used Wether's soft caramels, which are a semi-pain to unwrap, but still faster than making homemade!))
- 2-3 Tbsp. heavy cream
Chocolate
- 10 oz. bag Ghirardelli dark chocolate melting wafers
- 1 tsp. oil (canola or vegetable)
Last step! If you make this, please leave a review and rating letting us know how you liked this recipe! This helps our business thrive & continue providing free recipes.
Instructions
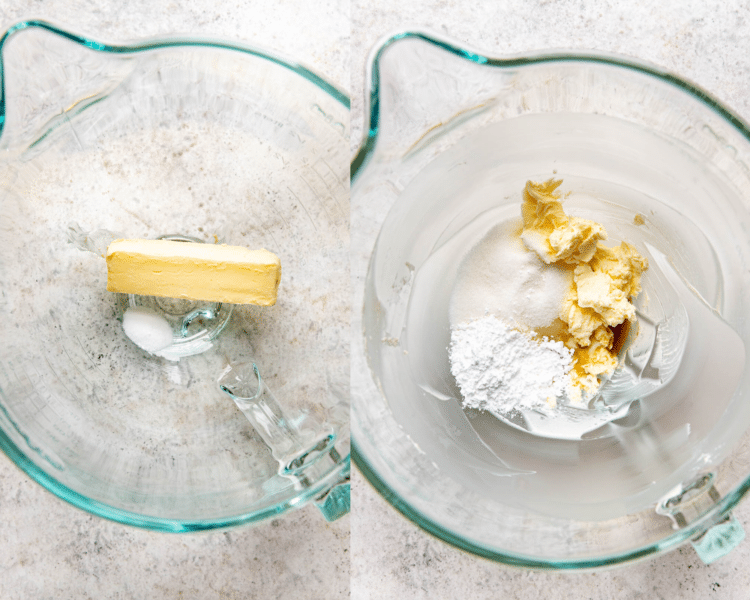
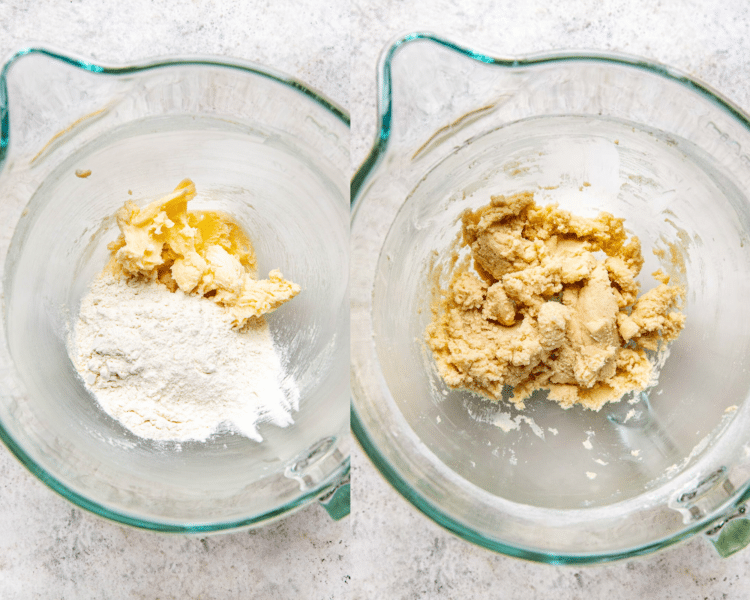
- Cream the butter and salt in a stand mixer with the paddle attachment, for 2-4 min. Add both sugars, milk, and vanilla extract. Beat again for 1-2 minutes.1/2 cup unsalted butter, room temperature, 1/4 tsp. salt, 1/3 cup granulated sugar, 2 Tbsp. powdered sugar, 1 Tbsp. whole milk, 1/2 tsp. vanilla extract

- Add the flour and baking soda on low speed just until the dough comes together.1 cup all purpose flour, spooned and leveled, 1/4 tsp. baking soda

- Bring the dough together into a disk. Place on a sheet of parchment paper, place another sheet of parchment on top and roll out the dough between the parchment. Roll it out about ¼ inch thick. Place on a cookie sheet, and chill for at least 1 hour or up to overnight in the fridge.

- Preheat the oven to 350°F.
- Toast the coconut. Pour the coconut onto a baking sheet and place it in the oven to toast for ~10-15 minutes, stirring frequently to prevent burning. Depending on your oven, this may take longer or faster so be sure to keep a close eye on it! Once toasted, remove to a parchment-lined baking sheet to cool. You want to move it to another sheet pan so the residual heat doesn’t continue to toast the coconut.3 1/2 cups shredded sweetened coconut flakes

- Once the cookie dough has chilled, peel back the top piece of parchment. Cut out the cookies using a 2-inch circular cookie cutter or a donut-shaped cookie cutter. If using just a regular 2-inch circular cookie cutter, you’ll need to use a piping tip to cut out a small circle in the middle.

- Place the cut-out cookies on a parchment-lined baking sheet and bake for ~8-10 minutes or until the edges just start to become golden. Cool on the cookie sheet for a few minutes, then place on a wire cooling rack.

- Rework the scraps, re-roll between the parchment, and chill again until firm enough to make more cutouts. You should be able to yield ~22-25 cookies.
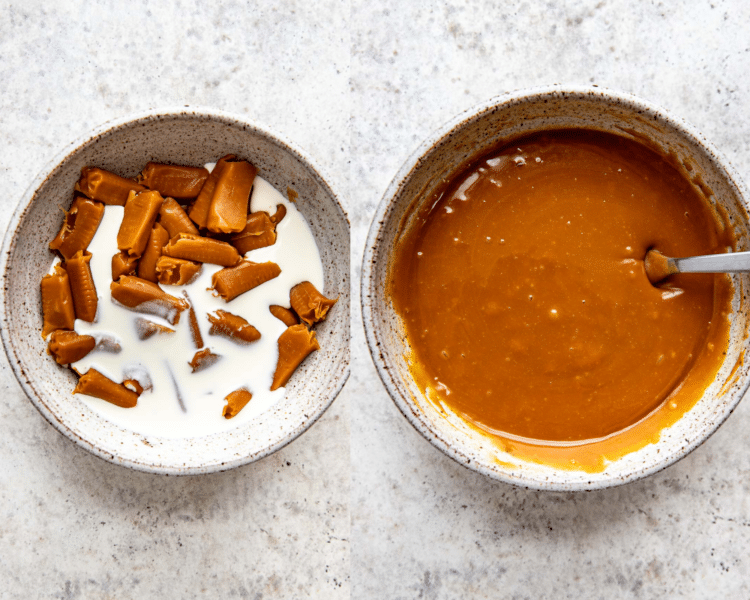
- Unwrap the caramels and place in a microwave-safe bowl. Add the heavy cream. Melt in the microwave in increments until melted. Add a touch more heavy cream if needed to get a good consistency.15 oz. caramels, 2-3 Tbsp. heavy cream

- Pour a majority of the caramel into the toasted coconut. Reserve just about ¼-⅓ cup to the side. Mix the caramel into the toasted coconut. It will be nice and sticky but thoroughly combined.

- Add a thin layer of the reserved caramel to the shortbread cookie to act as the glue for the coconut caramel mixture so it can stick. Use a spoon to spread it around evenly. This process can get a bit messy, take your time.

- Add a mound of the coconut mixture to each cookie ring, pressing it down slightly. I use my fingers for this process. Once again, a little messy, but not bad. Wash your fingers if they get too sticky and then continue mounding the coocnut on. Allow the coconut to set up ~15-30 minutes.

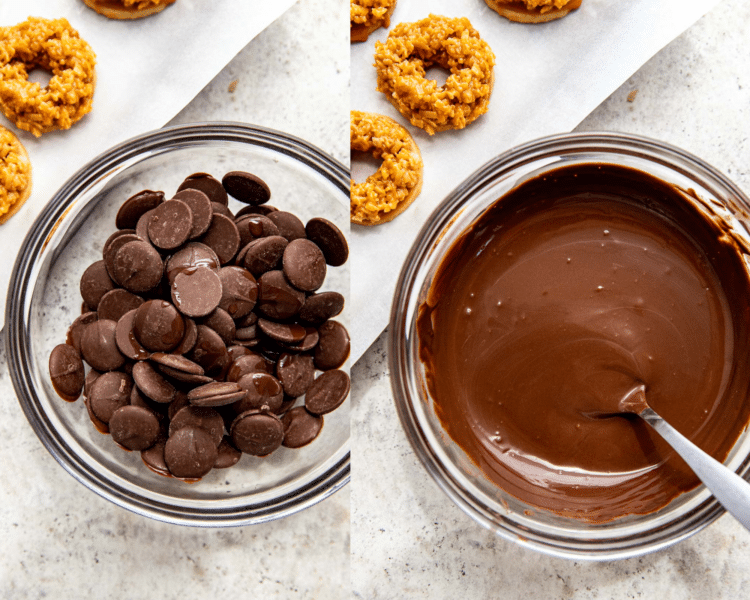
- Melt the chocolate and oil in the microwave.10 oz. bag Ghirardelli dark chocolate melting wafers, 1 tsp. oil (canola or vegetable)

- Using a fork, dunk the bottom half of each cookie into the melted chocolate. Tap off excess and then place cookies on a Silpat-lined baking sheet. Repeat with remaining cookies.

- Drizzle chocolate on top of cookies. I like to get a fine drizzle over the tops by just placing the remaining chocolate in a ziplock baggie, cutting off one of the corners, and drizzling it over the top.

- Allow to set up, and enjoy! Yay you did it!

Notes
- Store in an air-tight container for up to 1 week or freeze for up to 3 months.
Nutrition Information
Nutritional information is provided as a courtesy and is automatically calculated. It should only be construed as an estimate rather than a guarantee. Ingredients can vary and Kroll’s Korner can’t make any guarantees to the accuracy of this information.


So glad I saw this recipe. It was a bit time consuming to .ake.. but it is all worth it. I used unsweetened coconut.. and I used coconut oil to melt the chocolate ganache. It is so yummy!
They do take a bit of time but they look great!!! Thank you!! 🙂
This recipe is amazing! Everyone went crazy for them. They are time consuming to make, but very worth it. My round cookie cutter was a bit large so I doubled the batch. These cookies came out better than the original GS Samoa cookies!
Aw I am so glad, thank you Melissa!! 🙂
I used unsweetened coconut to balance sweetness from caramel and chocolate. They tasted great, the shortbread cookie base was delicious on its own too.
You have me craving these now – they look so perfect! I am glad the unsweetened coconut worked well too 🙂 thank you!
Recipe is fantastic! Better than the eating the originals. So delicious!
they turned out beautiful! thank you so much 🙂
These cookies are so yummy! I’m so glad we tried them!
Thank you so much Ashley!!