Homemade Toffee Bits (For Cookies!)

This post may contain affiliate links. Please read our disclosure policy.
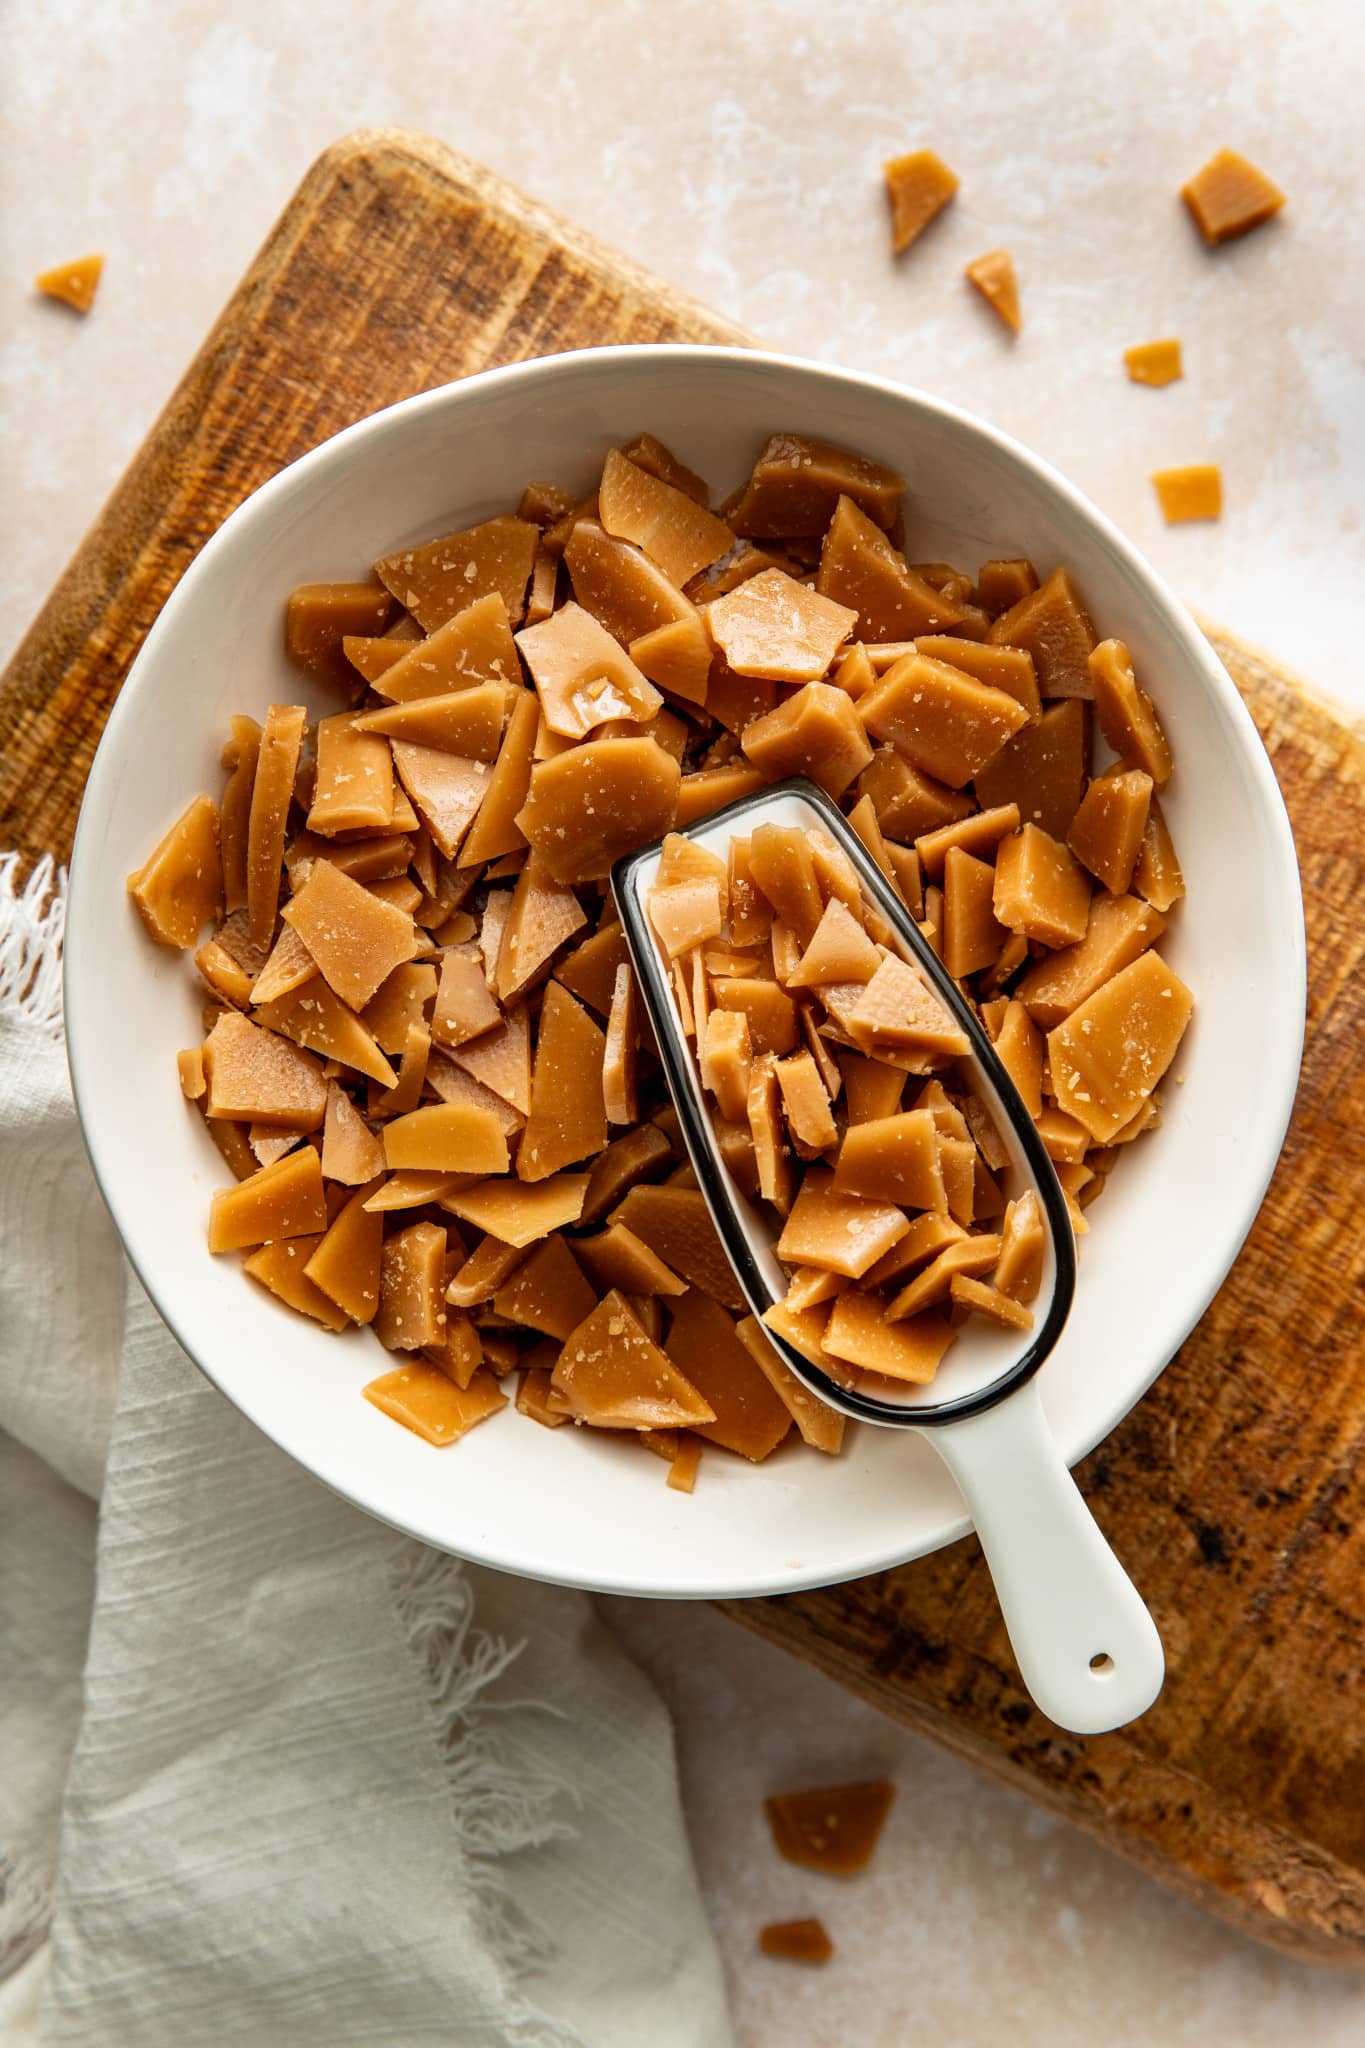
If you’ve never made homemade toffee before, don’t let the candy-making part intimidate you! This recipe uses just four simple ingredients and comes together on the stovetop for a buttery, crunchy treat that tastes so much better than store-bought.
The key to great toffee is cooking the butter and sugar to the right temperature so it reaches that classic crisp, snappy texture. Once it’s ready, simply pour it onto a baking sheet, let it cool and harden, then break it into pieces for an easy homemade treat that’s perfect for sharing.
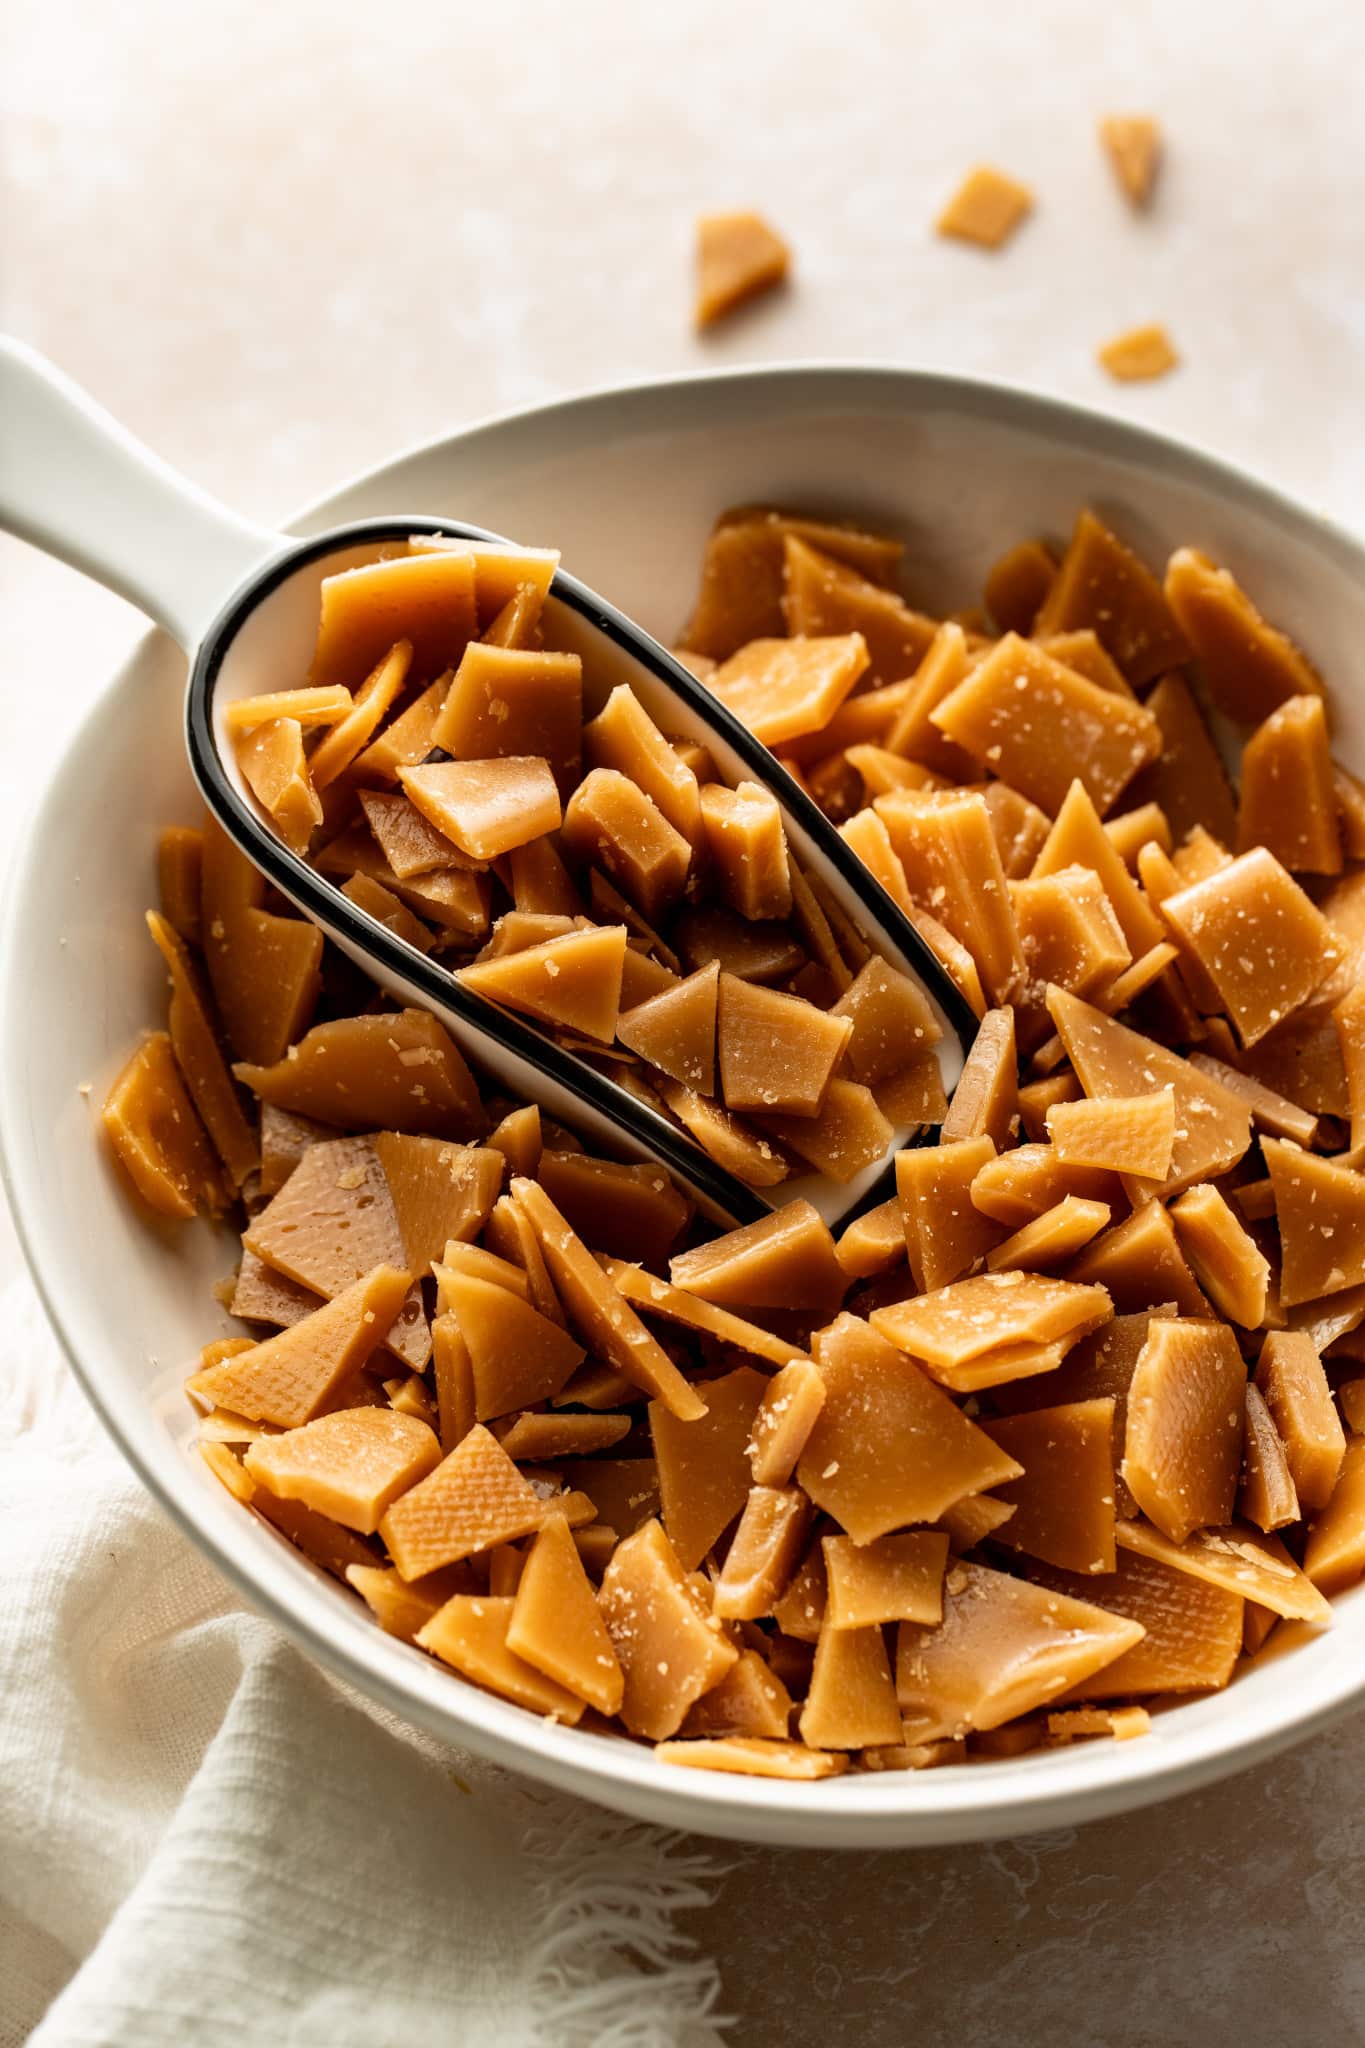
These Homemade Toffee Bits are perfect for mixing into your favorite cookie recipe, throwing on top of a delicious bowl of ice cream, or just enjoying by the handful! They would also be a great gift during the holiday season if you want to add something extra to your dessert gift box!🎁
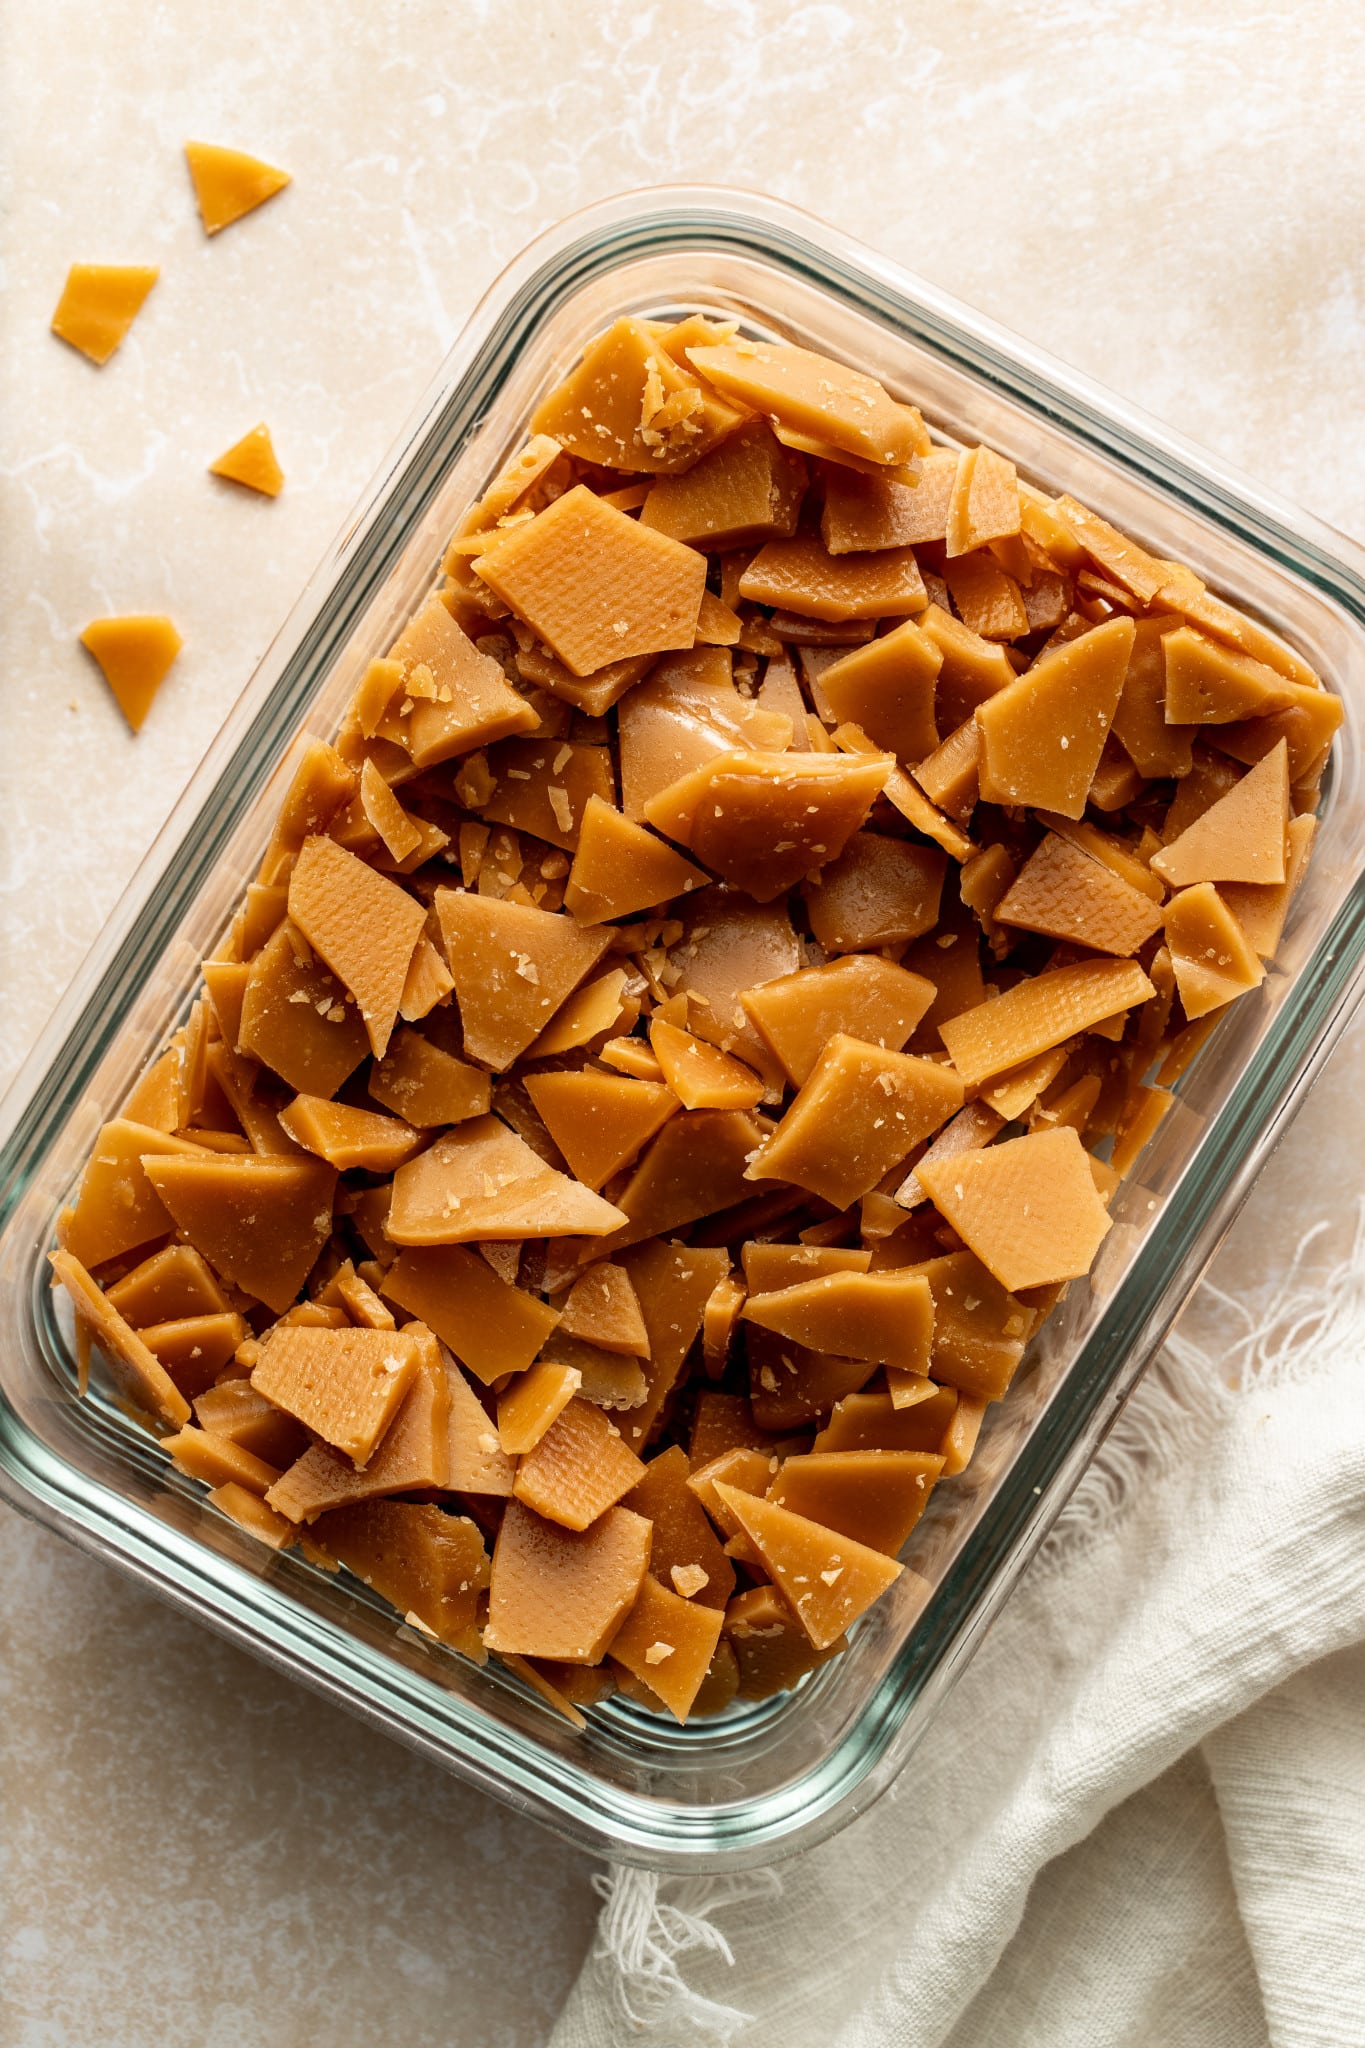

 Table Talk with Tawnie

Trust me when I tell you with this recipe, ANYONE can make homemade toffee pieces! I nailed down the directions and ingredients to be fool proof. You got this!
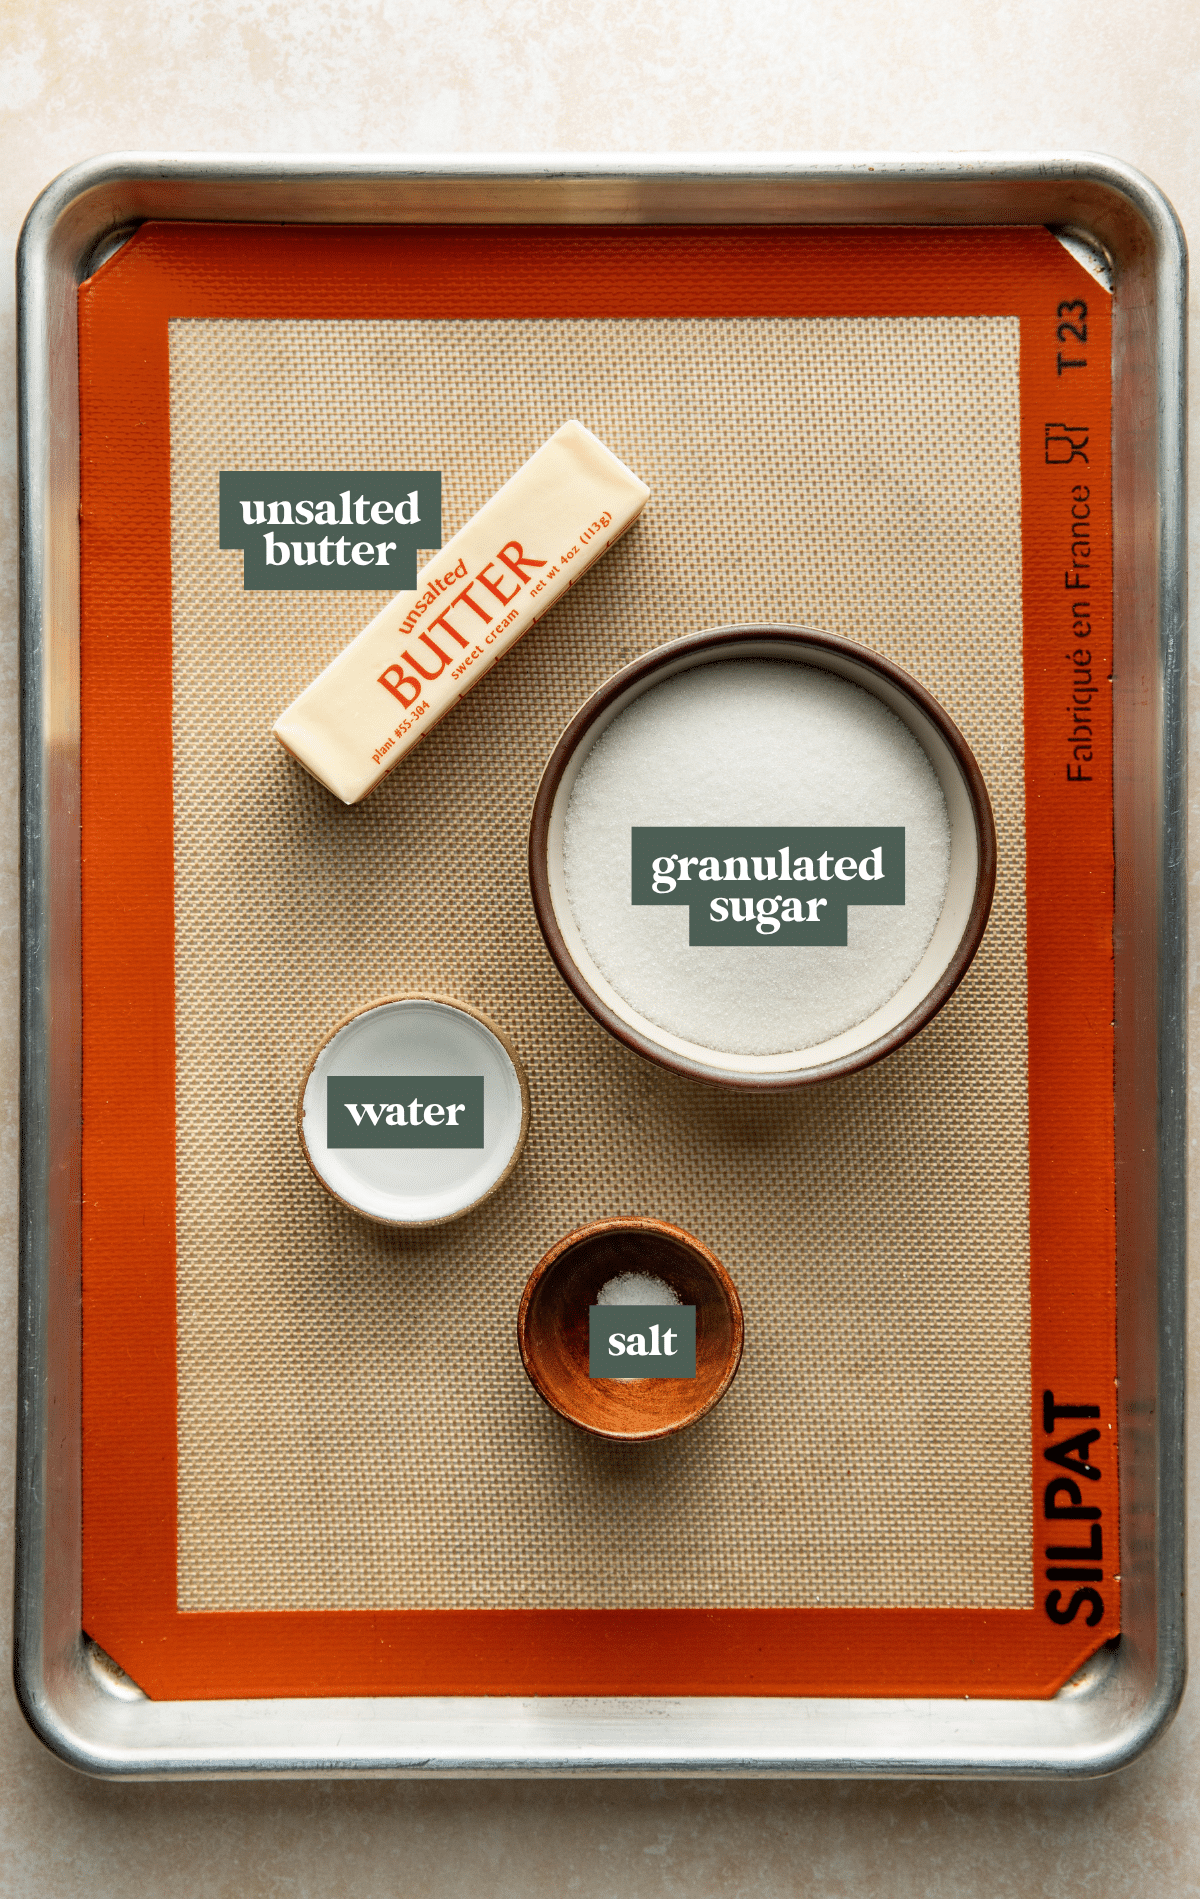
- Unsalted butter: Creates a rich, buttery flavor and smooth texture while allowing you to control the amount of salt in the toffee.
- Granulated sugar: The main sweetener that caramelizes as it cooks, giving the toffee its signature deep golden color and crisp, crunchy texture.
- Water: Helps the sugar dissolve evenly and prevents it from scorching as the toffee begins to cook.
- Salt: Balances the sweetness and enhances the rich, buttery, and caramelized flavors.
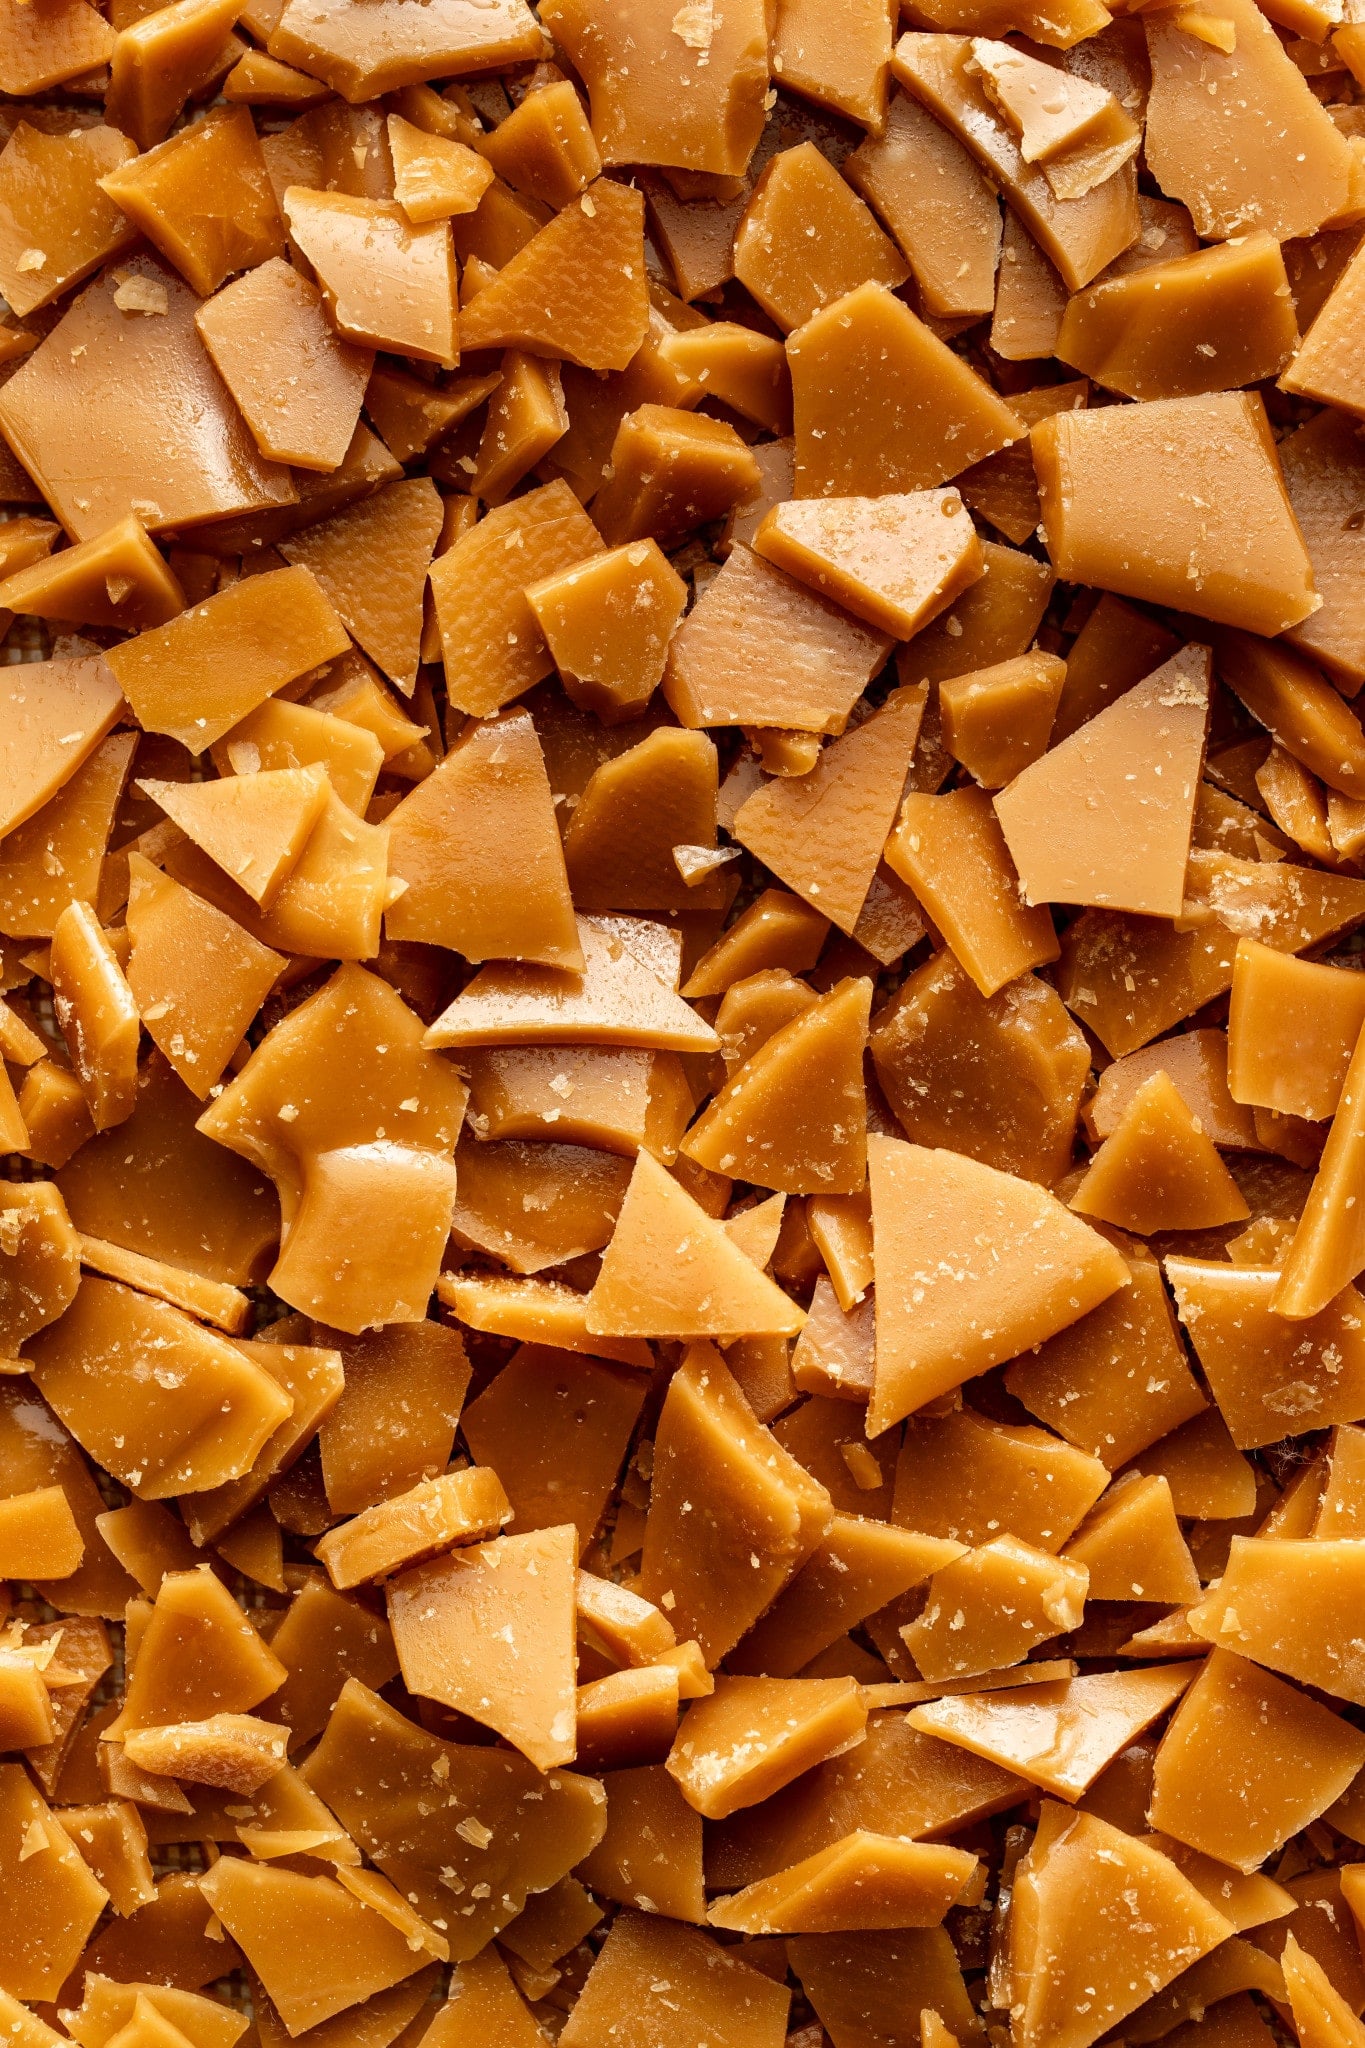
Step by Step Directions
(For the full recipe, scroll down to the recipe card below)
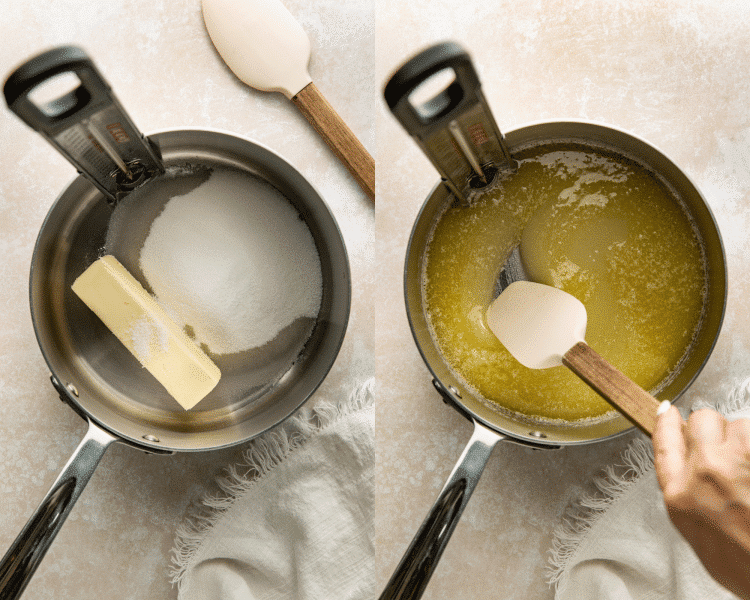
Melt ingredients
Add all the ingredients to saucepan over medium-low to medium heat.
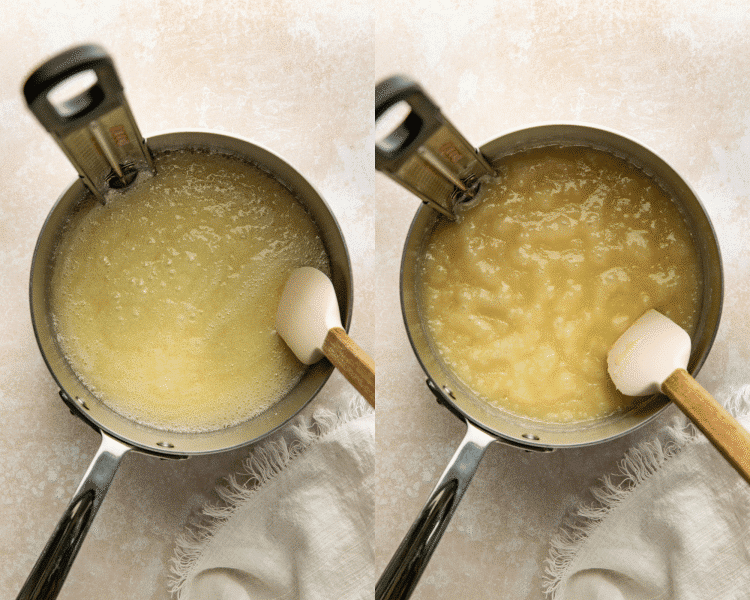
Bring to a gentle boil
Stir continuously until the mixture gently starts to bubble. Continue cooking over medium to medium-low heat, stirring steadily and scraping the bottom and sides of the pan so the mixture cooks evenly.
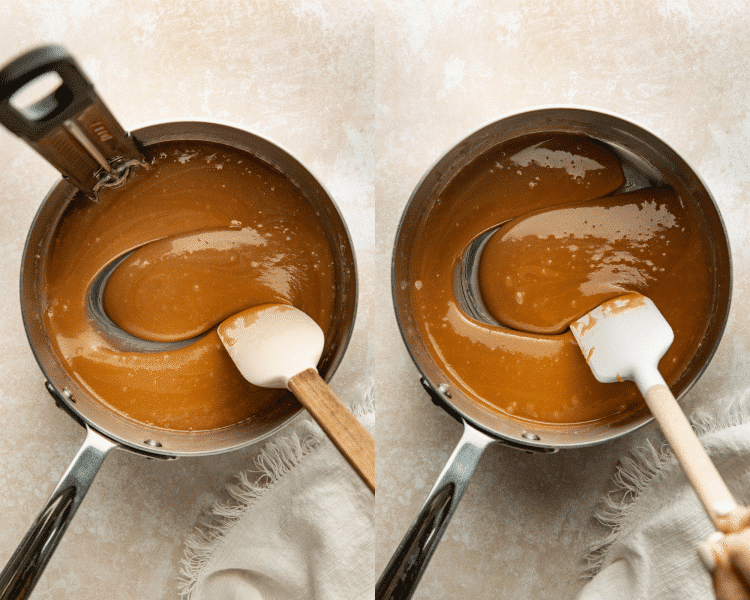
Cook the toffee
Continue cooking until the mixture reaches 300-305°F on a candy thermometer (about 10-12 minutes) and reaches a rich golden-caramel color.
Pour & cool
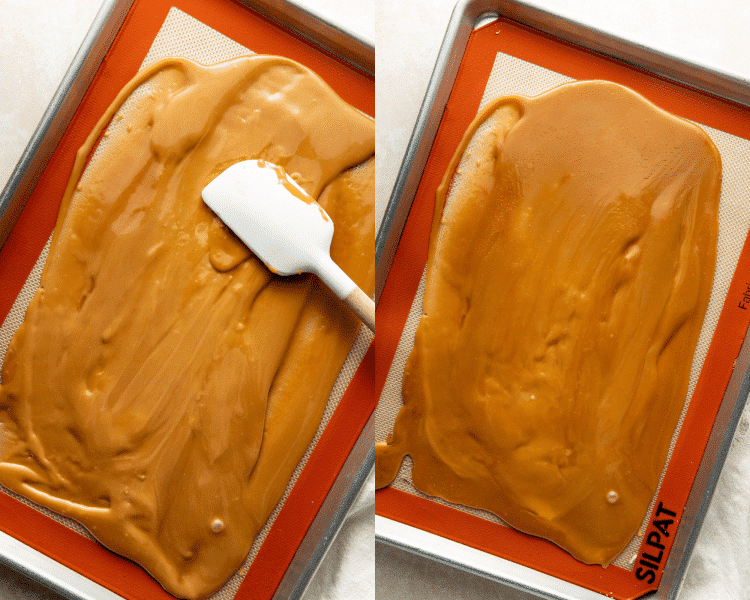
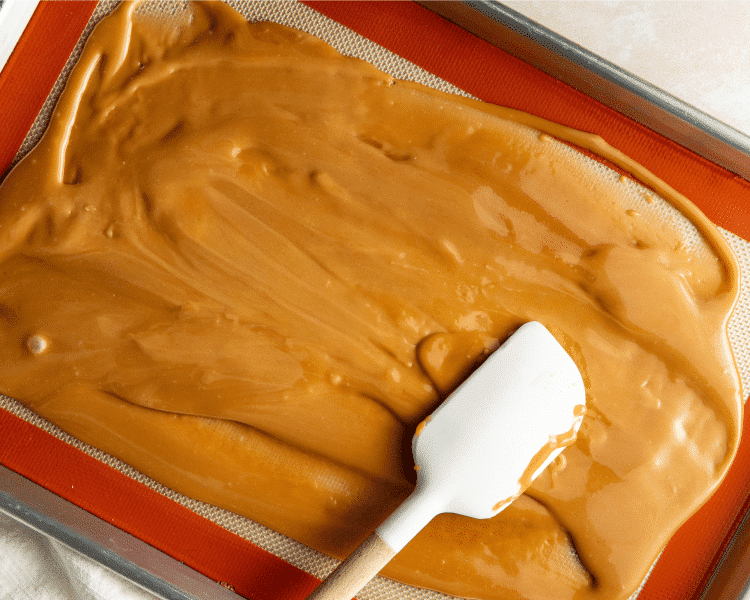
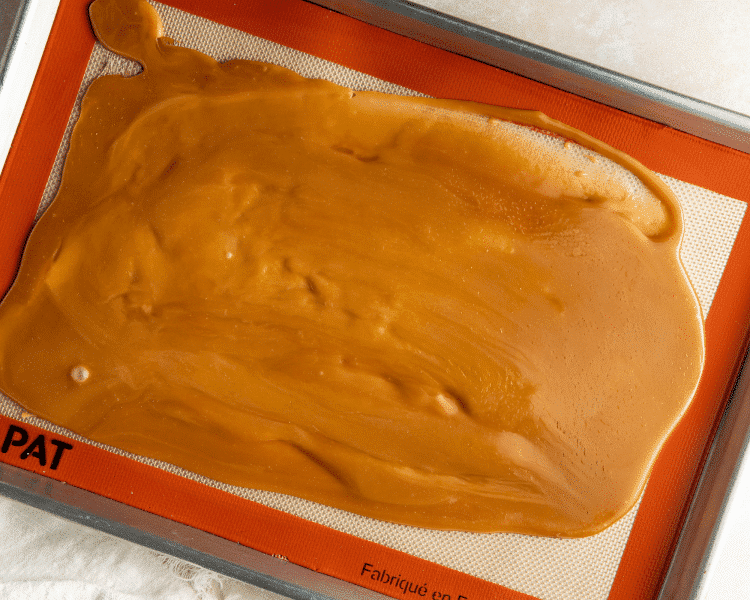
Pour the hot toffee onto a prepared pan and quickly spread it into a thin, even layer. Let the toffee sit undisturbed at room temperature until completely cool and hard.
Break into toffee bits
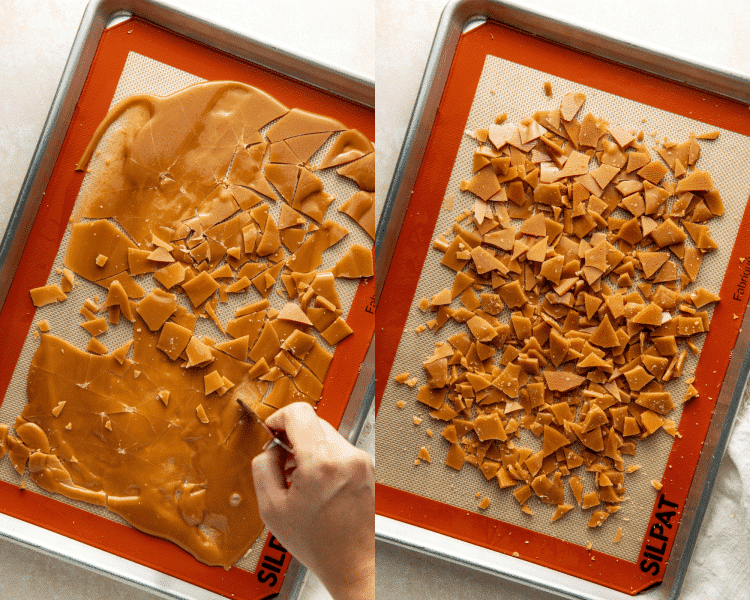
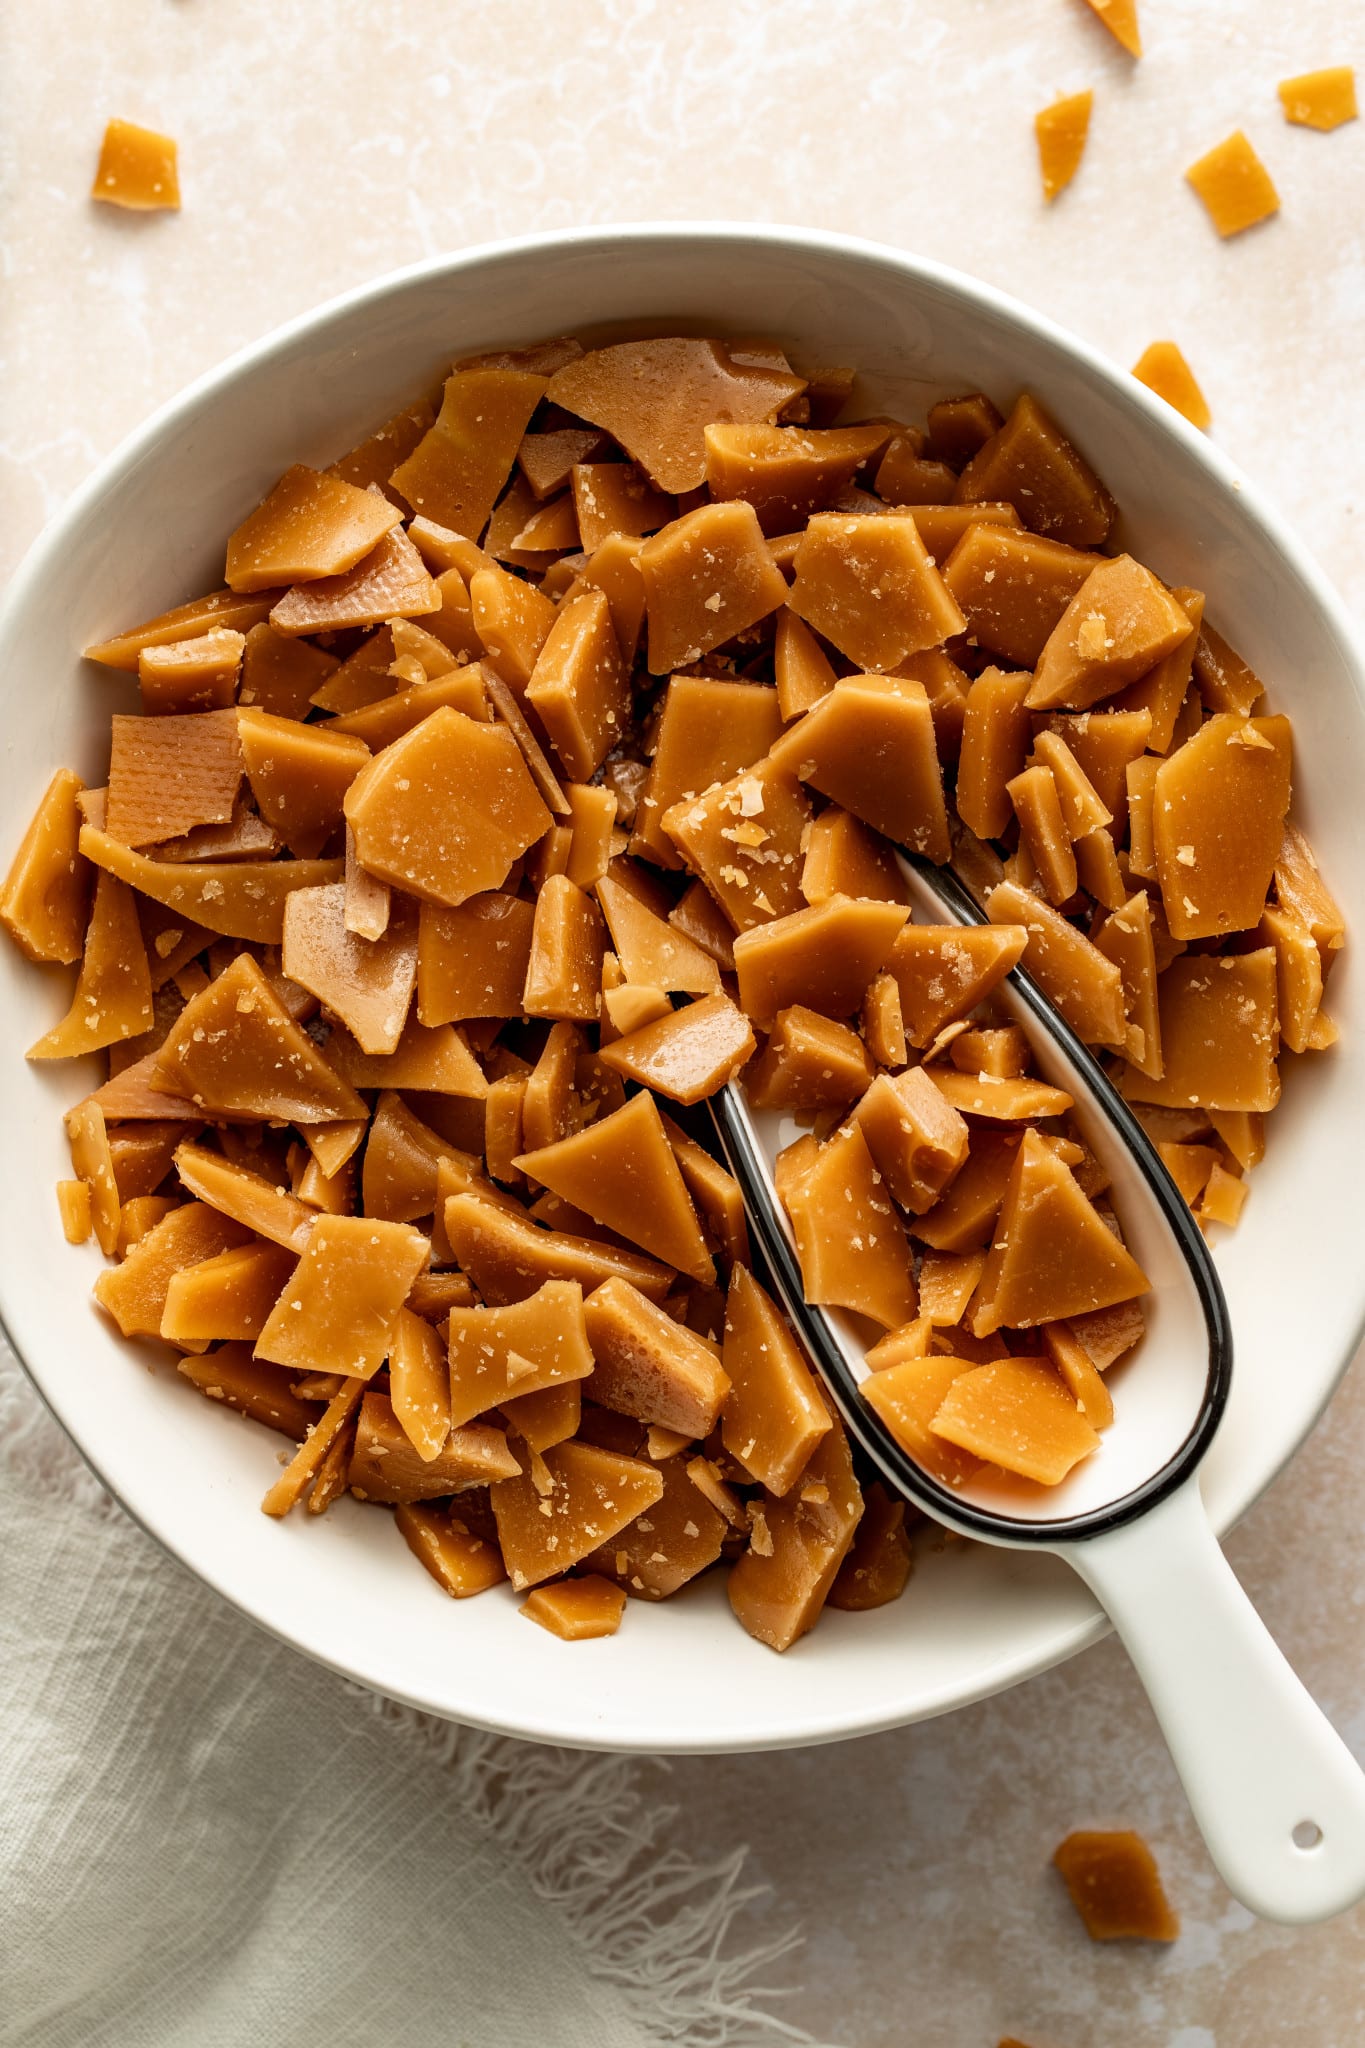
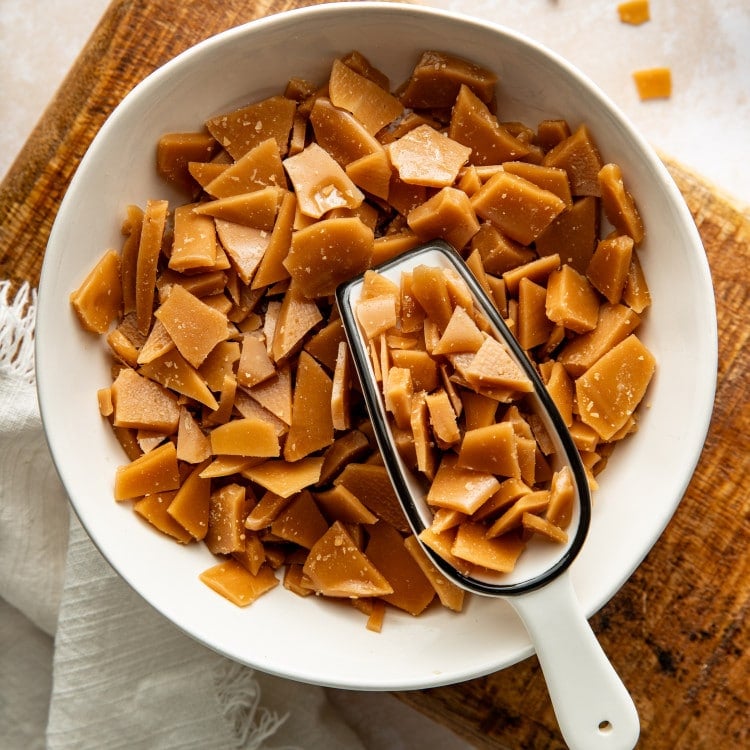
Once completely cooled, break the toffee into pieces and chop with a sharp knife into small, irregular bits. Use in your favorite cookie recipes, throw on top of ice cream, or just enjoy a few sweet bites😉
Expert Tips
- Use a candy thermometer: Color is helpful, but temperature is the most reliable way to know when your toffee is finished. For cookie bits, I recommend 300-305°F (hard-crack stage). This gives you crisp toffee without taking it so dark that it can taste bitter after being baked again in the cookies.
- Use a heavy-bottomed saucepan: Thin pans develop hot spots that can scorch the sugar before the entire mixture reaches the proper temperature.
- Don’t crank up the heat: Medium-low to medium is plenty. If the mixture gets too hot too quickly, the butter is more likely to separate and the sugar can burn.
- Keep stirring steady, not aggressively: You want to keep the mixture moving and prevent scorching without splashing hot sugar up the sides of the saucepan.
- Some bubbling and foaming is normal: The appearance will change considerably as the water cooks out of the butter and the sugar becomes more concentrated.
- If the toffee looks greasy: This usually means the butter is beginning to separate. Take it off the heat, stir or whisk it back together, then return it to lower heat.
- If the toffee looks grainy: Sugar crystals may have formed. Keep the heat moderate and avoid scraping dried sugar crystals from high up on the sides of the pan back into the mixture.
- Work quickly once it reaches temperature: Toffee continues cooking from residual heat and begins setting almost immediately.
- Let it cool completely before chopping: Warm toffee will bend or stick rather than breaking into crisp pieces.

Storage / Freezing
- Store the homemade toffee bits in an airtight container at cool room temperature for up to 2 weeks. Keep them away from heat and humidity, which can make the toffee sticky.
FAQs
Why is my toffee soft instead of crunchy?
Toffee needs to reach the proper temperature while cooking to develop that crisp, crunchy texture. If it’s undercooked, it may stay soft or chewy. Using a candy thermometer is the easiest way to make sure it reaches the correct temperature.
Why did my butter separate from the sugar?
Butter can separate if the mixture is cooked too quickly or at an uneven temperature. Keep the heat steady and stir consistently while the toffee cooks to help the butter and sugar stay emulsified.
Can I make toffee without a candy thermometer?
Yes, but a candy thermometer makes the process much more reliable. Without one, you’ll need to carefully watch the color and texture, but there’s a greater chance of undercooking or overcooking the toffee.
Can I put toffee in the fridge to help it cool faster?
Yes! If you’re short on time, you can place the toffee in the refrigerator to speed up the setting process. However, letting it cool completely at room temperature is ideal for the best texture. Avoid leaving it in the fridge for too long, as condensation can form and make the toffee sticky.
shop this post
 Buy Now →
  Buy Now →
  Buy Now →

Before You Begin! If you make this, please leave a review and rating letting us know how you liked this recipe! This helps our business thrive & continue providing free recipes.
Homemade Toffee Bits
Ingredients
- 1/2 cup unsalted butter
- 1 cup granulated sugar
- 1 Tbsp. water
- 1/4 tsp. salt

Last step! If you make this, please leave a review and rating letting us know how you liked this recipe! This helps our business thrive & continue providing free recipes.
Instructions
- Prep the pan: Line a rimmed baking sheet or 9×13-inch pan with parchment paper or a silicone baking mat. Have this ready before you begin because the toffee needs to be poured immediately once it reaches temperature.
- Melt ingredients: Add the butter, sugar, water, and salt to a small/medium, heavy-bottomed saucepan over medium-low to medium heat.1/2 cup unsalted butter, 1 cup granulated sugar, 1 Tbsp. water, 1/4 tsp. salt

- Bring to a gentle boil: Stir gently and continuously. Once the mixture begins gently bubbling, continue cooking over medium to medium-low heat, stirring steadily and scraping the bottom and sides of the pan so the mixture cooks evenly.
- Cook the toffee: Continue cooking until the mixture reaches 300-305°F on a candy thermometer, about 10-12 minutes depending on your pan and stovetop Start Timer. As it cooks, the mixture will bubble and foam before thickening, smoothing, and becoming glossy. The finished toffee should be a rich golden-caramel color and smell deeply buttery and caramelized. Keep an eye on the heat: If the mixture browns quickly, smells burnt, or you notice dark spots forming on the bottom, reduce the heat. Slow and steady is better than rushing the toffee.
- If the butter separates: Don't panic if you notice a layer of melted butter pooling around the edges. Remove the saucepan from the heat and carefully stir or whisk until the mixture comes back together. Return it to lower heat and continue cooking and stirring. Avoid suddenly increasing the heat, which can encourage the butter and sugar to separate.
- Pour immediately: Pour the hot toffee onto the prepared pan. Use a heatproof spatula to quickly spread it into a thin, even layer. Don't worry about making it perfectly uniform since you'll be chopping it into bits.
- Cool: Let the toffee sit undisturbed at room temperature until completely cool and hard, about 20-30 minutes. Start Timer
- Make the toffee bits: Once completely cooled, break the toffee into pieces and chop with a sharp knife into small, irregular bits. For cookies, I like a mixture of tiny pieces and slightly larger chunks, so you get toffee throughout every bite.
Equipment
Notes
- Use a candy thermometer: Color is helpful, but temperature is the most reliable way to know when your toffee is finished. For cookie bits, I recommend 300-305°F (hard-crack stage). This gives you crisp toffee without taking it so dark that it can taste bitter after being baked again in the cookies.
- Use a heavy-bottomed saucepan: Thin pans develop hot spots that can scorch the sugar before the entire mixture reaches the proper temperature.
- Don’t crank up the heat: Medium-low to medium is plenty. If the mixture gets too hot too quickly, the butter is more likely to separate and the sugar can burn.
- Keep stirring steady, not aggressively: You want to keep the mixture moving and prevent scorching without splashing hot sugar up the sides of the saucepan.
- Some bubbling and foaming is normal: The appearance will change considerably as the water cooks out of the butter and the sugar becomes more concentrated.
- If the toffee looks greasy: This usually means the butter is beginning to separate. Take it off the heat, stir or whisk it back together, then return it to lower heat.
- If the toffee looks grainy: Sugar crystals may have formed. Keep the heat moderate and avoid scraping dried sugar crystals from high up on the sides of the pan back into the mixture.
- Work quickly once it reaches temperature: Toffee continues cooking from residual heat and begins setting almost immediately.
- Let it cool completely before chopping: Warm toffee will bend or stick rather than breaking into crisp pieces.
- Store: Store the homemade toffee bits in an airtight container at cool room temperature for up to 2 weeks. Keep them away from heat and humidity, which can make the toffee sticky.
Nutrition Information
Nutritional information is provided as a courtesy and is automatically calculated. It should only be construed as an estimate rather than a guarantee. Ingredients can vary and Kroll’s Korner can’t make any guarantees to the accuracy of this information.
📸 Photos by Megan McKeehan of The Broke Girl Table