Crackly Top Brownie Cookies

This post may contain affiliate links. Please read our disclosure policy.
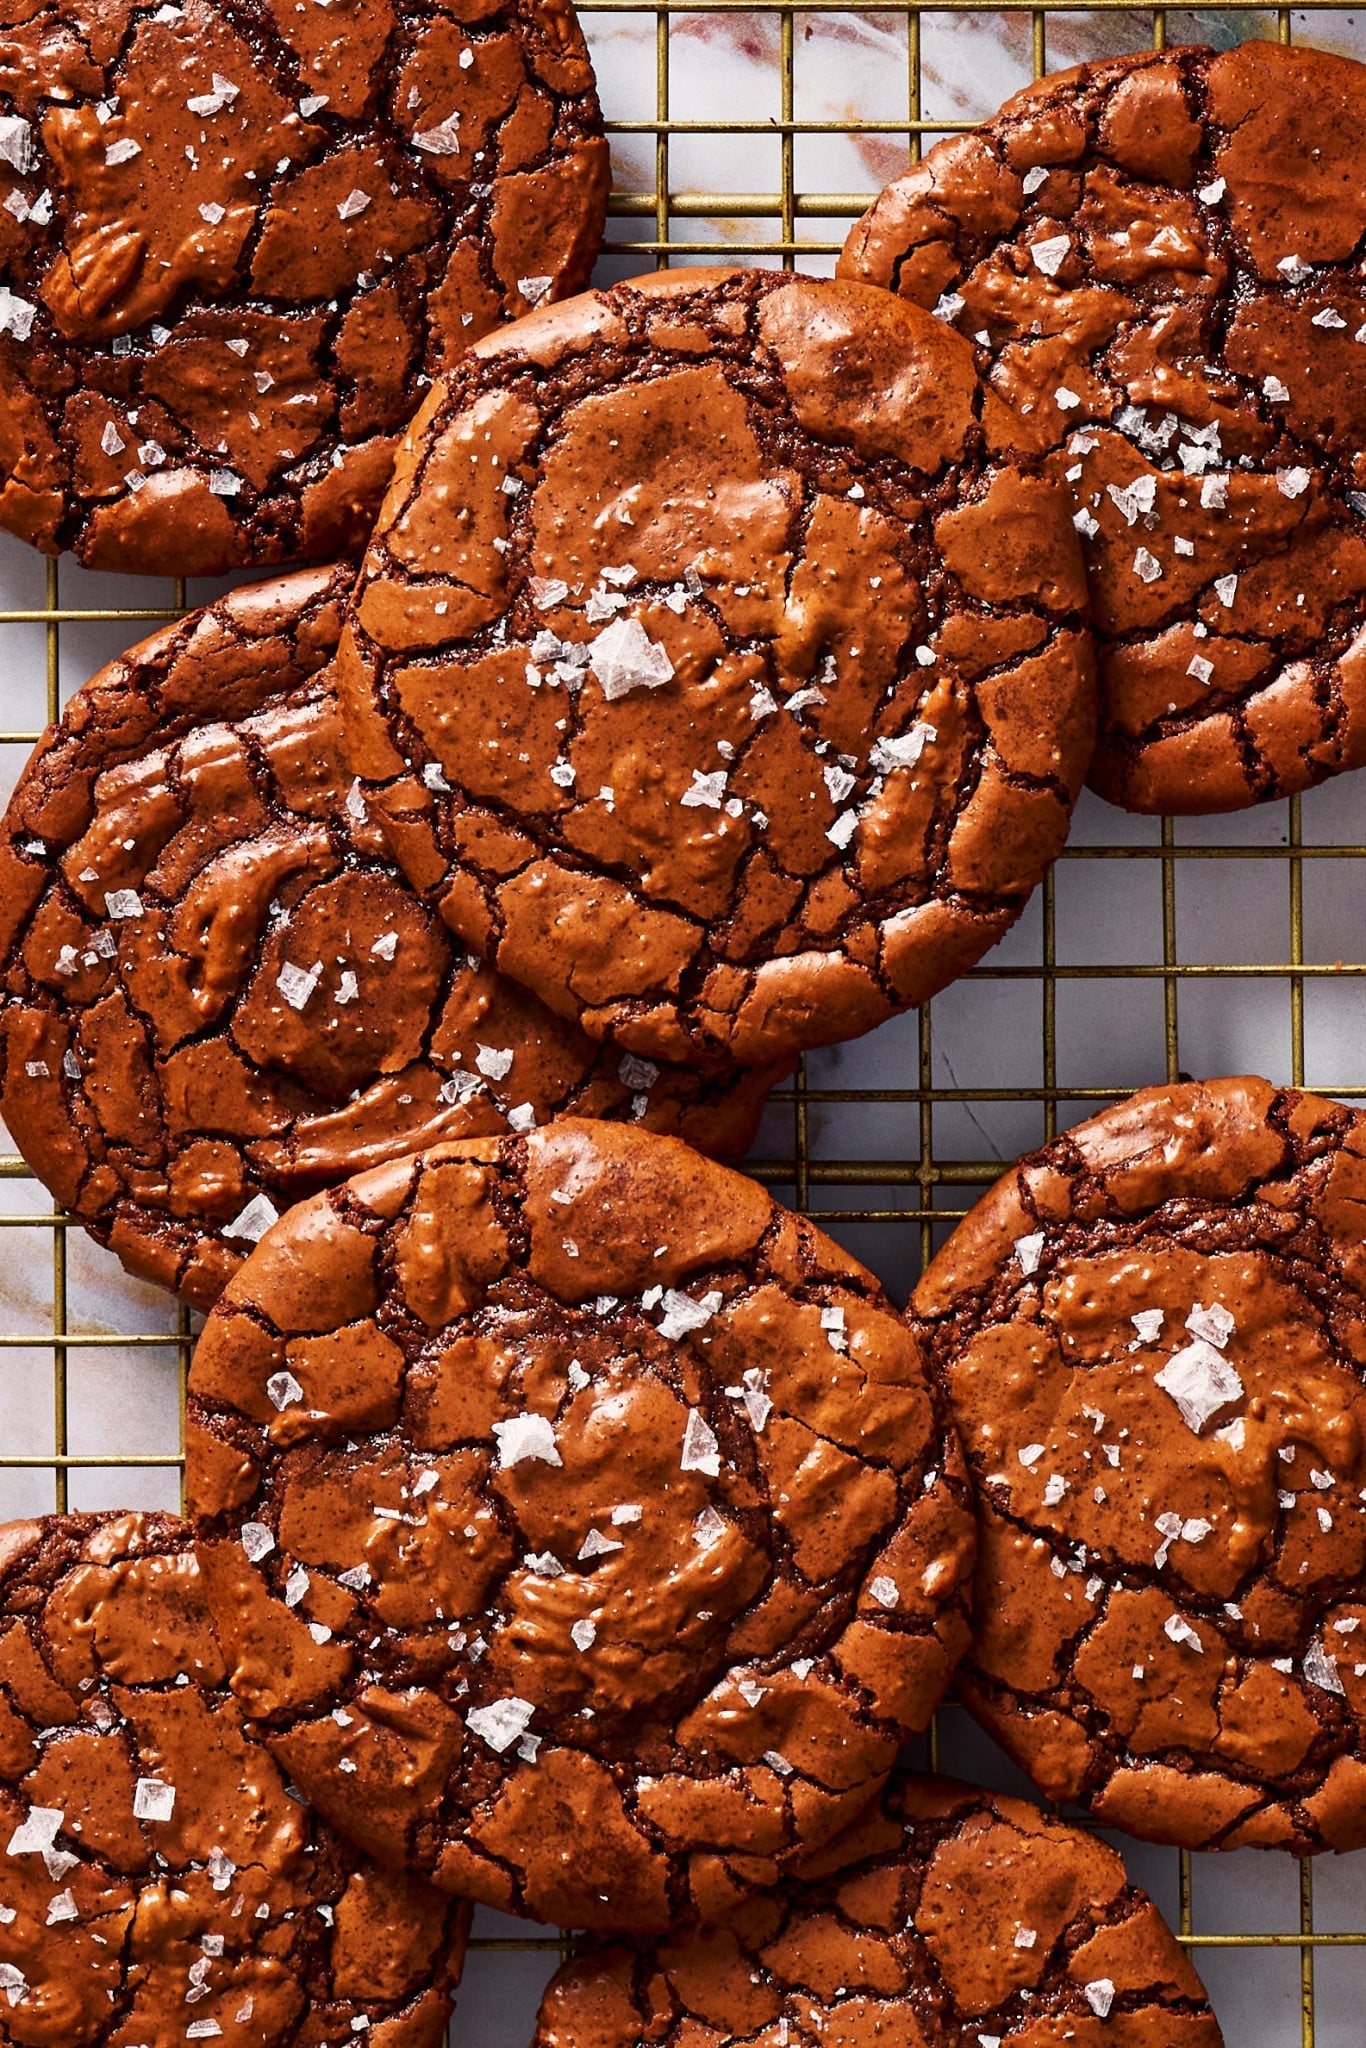
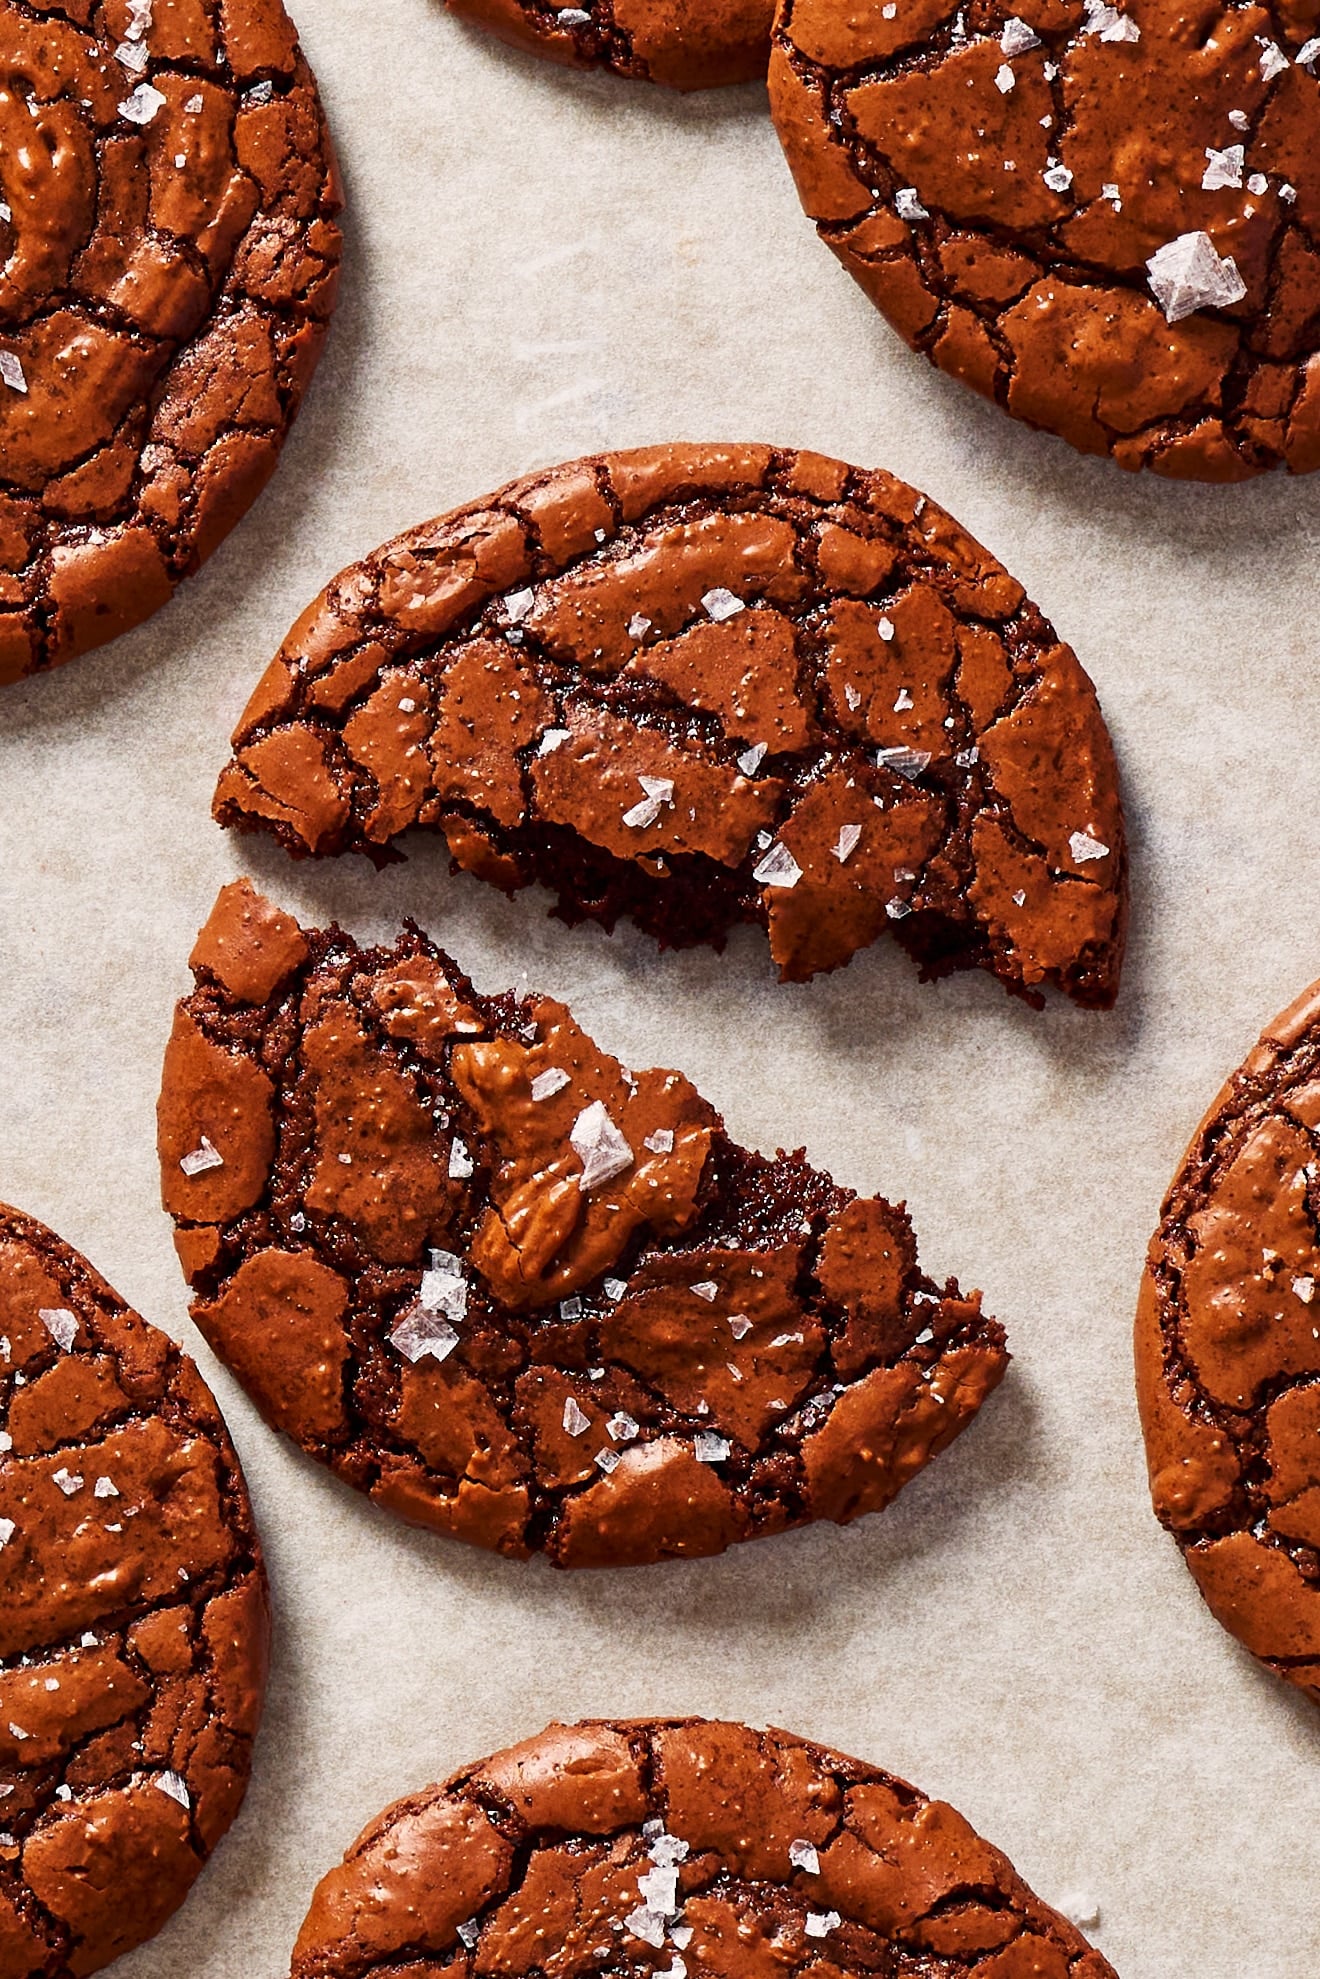
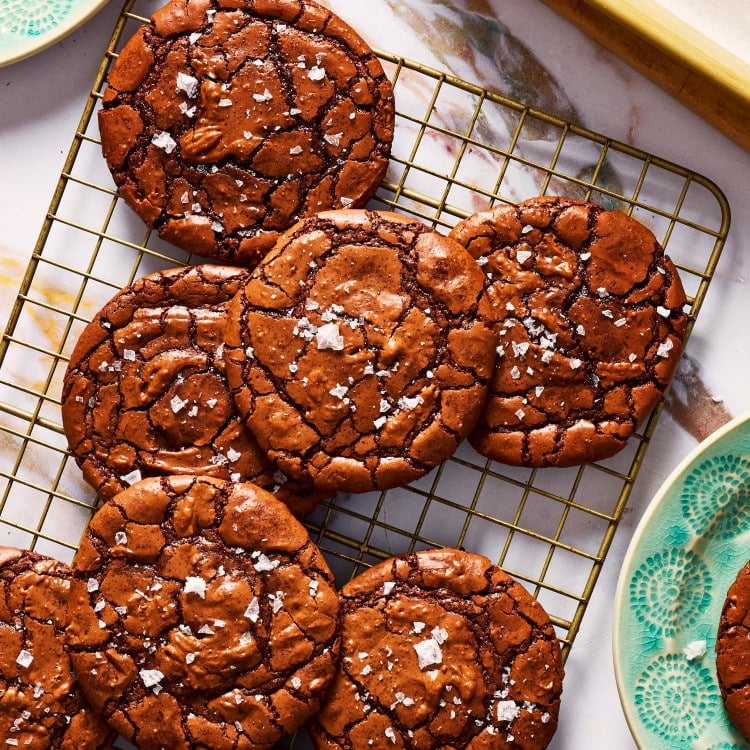
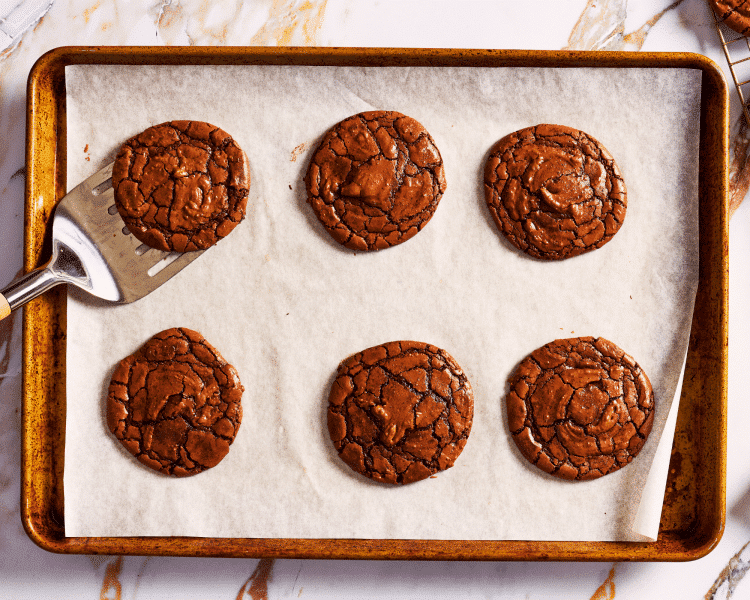
If you love fudgy brownies and chewy chocolate cookies, these Crinkly Top Brownie Cookies combine the best of both worlds. They have glossy, crackly tops, rich chocolate flavor, crisp edges, and irresistibly soft, gooey centers that taste just like the corner piece of a homemade brownie.
The secret to those signature shiny, crinkled tops is whipping the eggs and sugar until they’re thick and ribbony before folding in the melted chocolate. It takes just a few extra minutes but creates bakery-style cookies that look as impressive as they taste. Whether you’re baking for the holidays, a cookie exchange, or simply satisfying a chocolate craving, these brownie cookies are guaranteed to disappear fast.
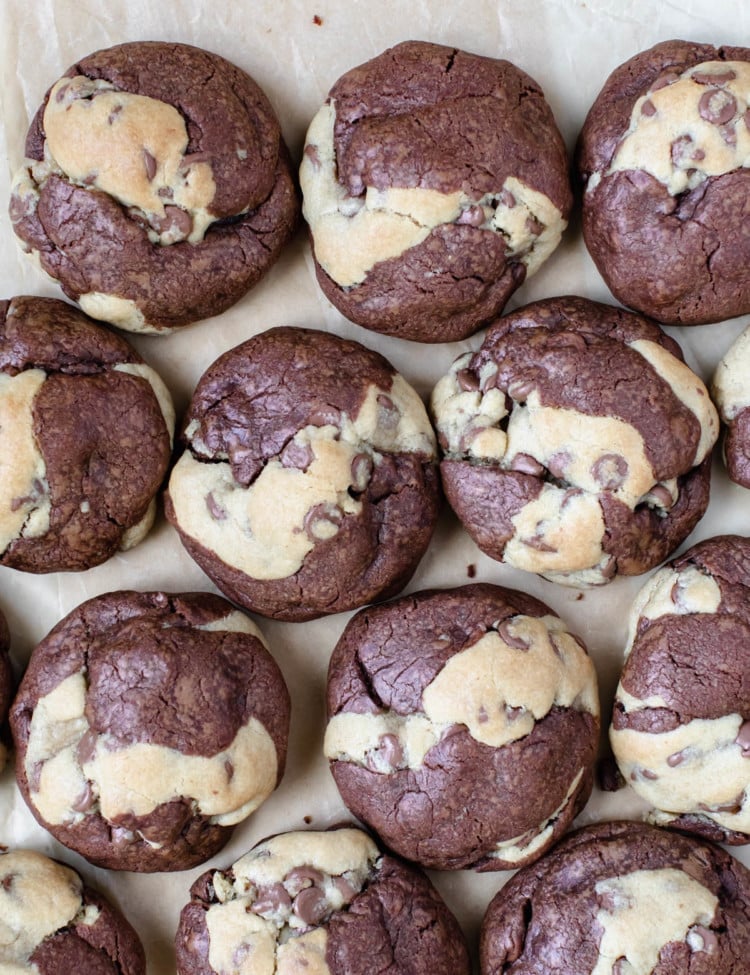
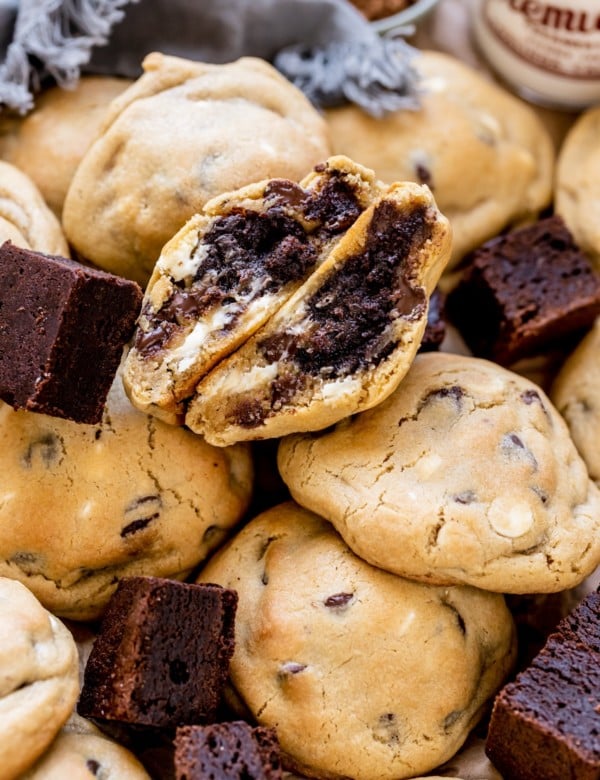
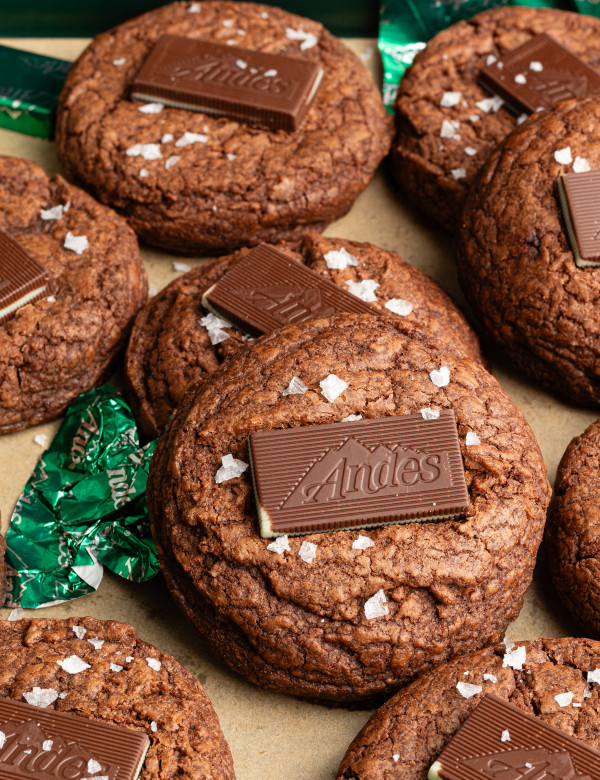
For more delicious cookies you’ll love, be sure to try my Red Velvet Crinkle Cookies, Chocolate Andes Mint Cookies, Chocolate Peanut Butter Blossoms, Black and White Chocolate Chip Cookies, Chewy Chocolate Cookies, or Fudgy Chocolate Crinkle Cookies.
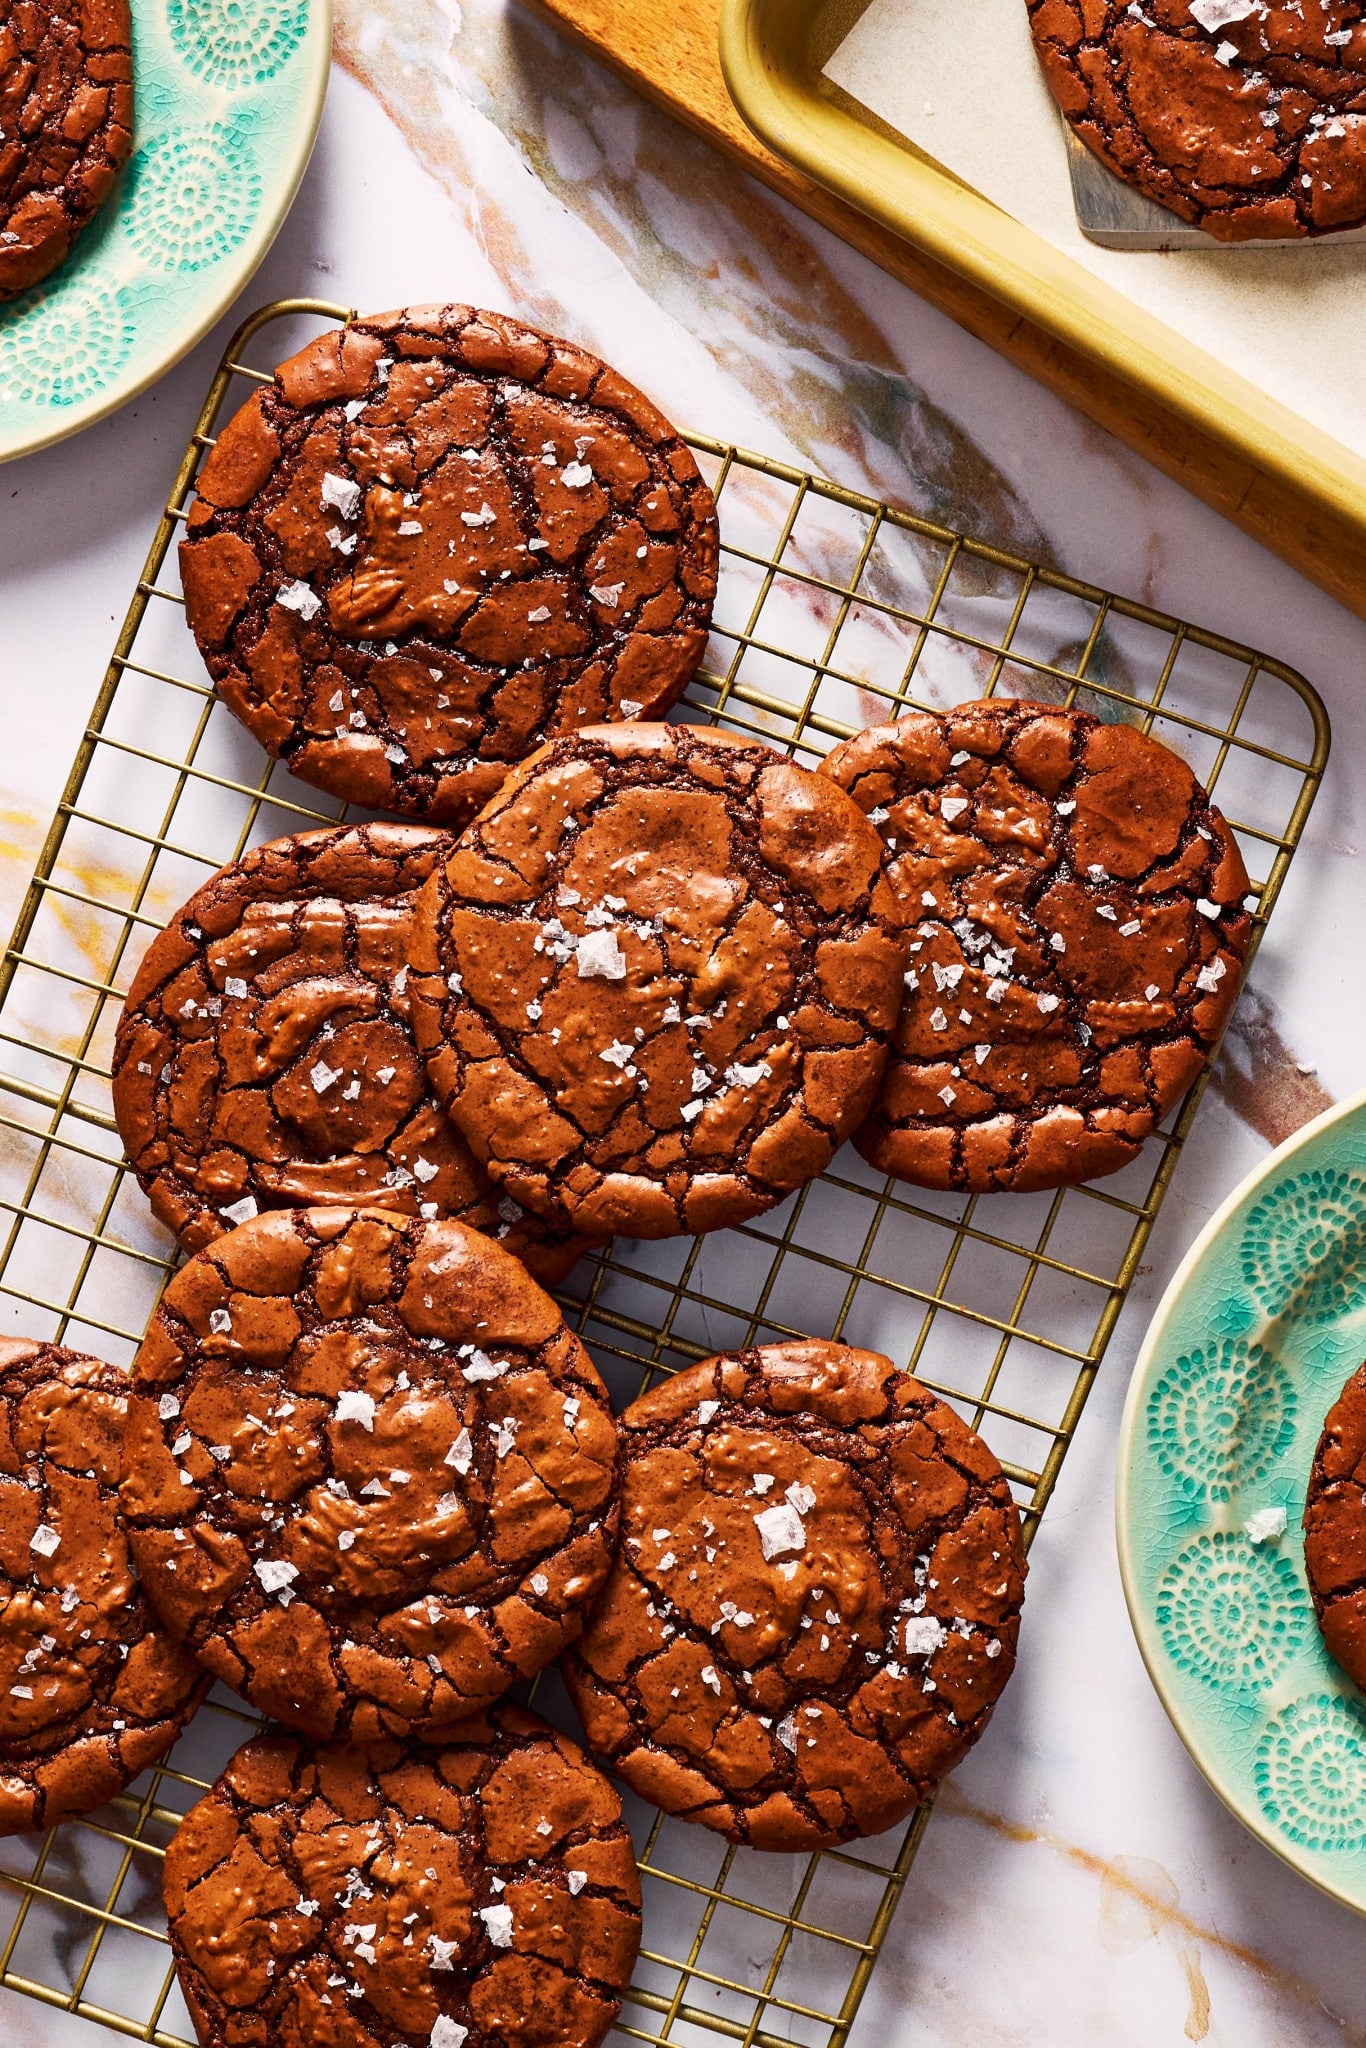
 Table Talk with Tawnie

I spent several rounds (6 to be exact) recipe testing the perfect crackly top brownie cookie for you! I discovered the temperature of the cookie dough largely impacted the appearance of the crinkles on top. With this recipe, you’ll get those glossy, crinkly tops, chewy edges, and irresistibly fudgy centers, and overall you’ll get cookies that taste just like the best brownie! I had so much fun making this one for you! And if you want to go the extra mile, turn these into ice cream cookie sandwiches and thank me later!
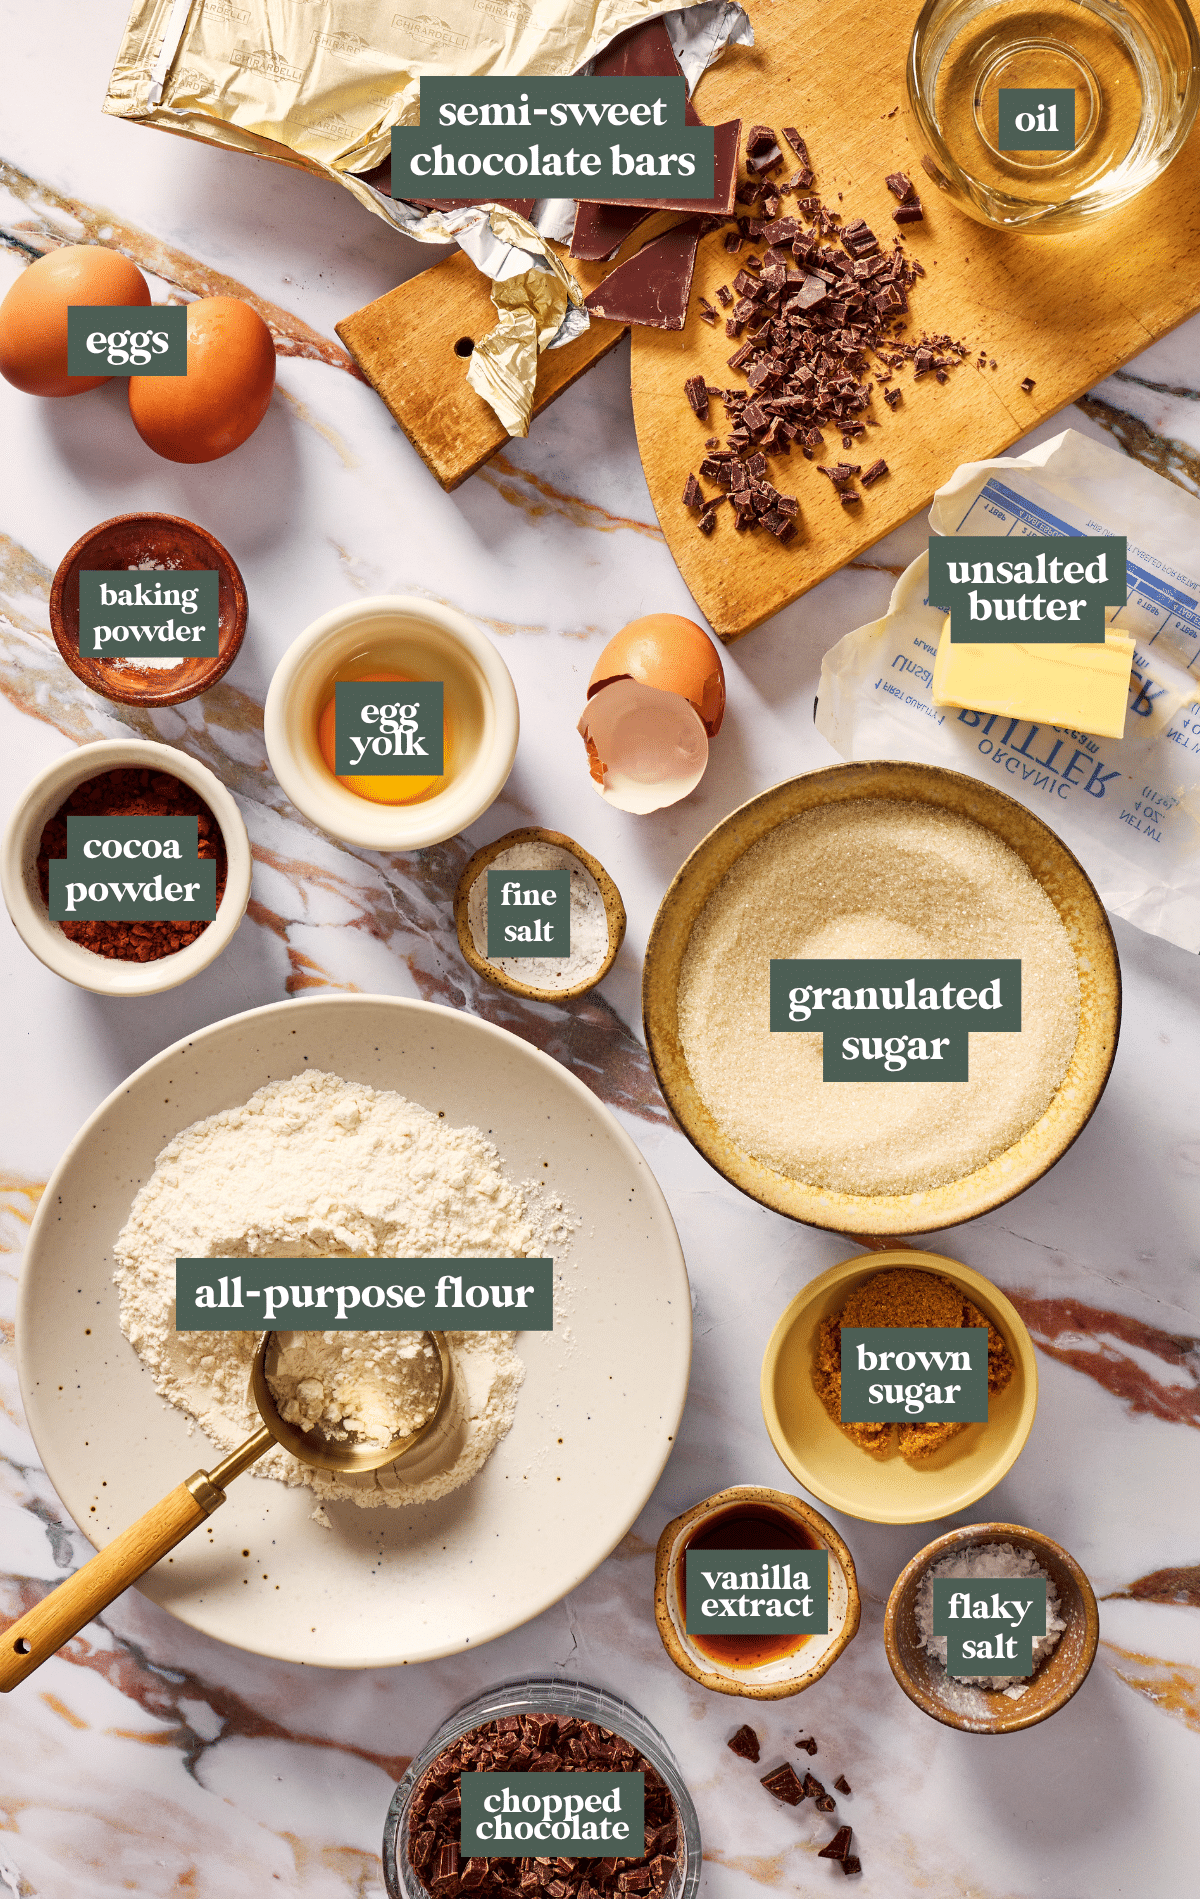
- Semi-sweet chocolate bars: Use high-quality semi-sweet chocolate bars rather than chocolate chips for the smoothest melt and richest flavor. Chopping the chocolate into small, even pieces helps it melt quickly and evenly.
- Eggs: You’ll need 2 large eggs plus 1 egg yolk. For the best texture and a shiny, crackly top, let the eggs come to room temperature before mixing.
- Dutch-process cocoa powder: Dutch-process cocoa has a smoother, less acidic flavor than natural cocoa, making these brownie cookies extra fudgy and decadent.
- All-purpose flour: All-purpose flour is the only flour I’ve tested this cookie recipe with. As always, it’s very important to make sure you’re using the spoon and level method to measure your flour when baking (you can also use a kitchen scale to weigh your ingredients). Too much flour can result in drier, harder cookies, which you definitely don’t want with these!
- Sugars: You’ll need both granulated sugar and light brown sugar for these cookies. The granulated sugar helps create the signature shiny, crackly tops, while the brown sugar adds moisture and a subtle caramel flavor for extra-chewy centers.
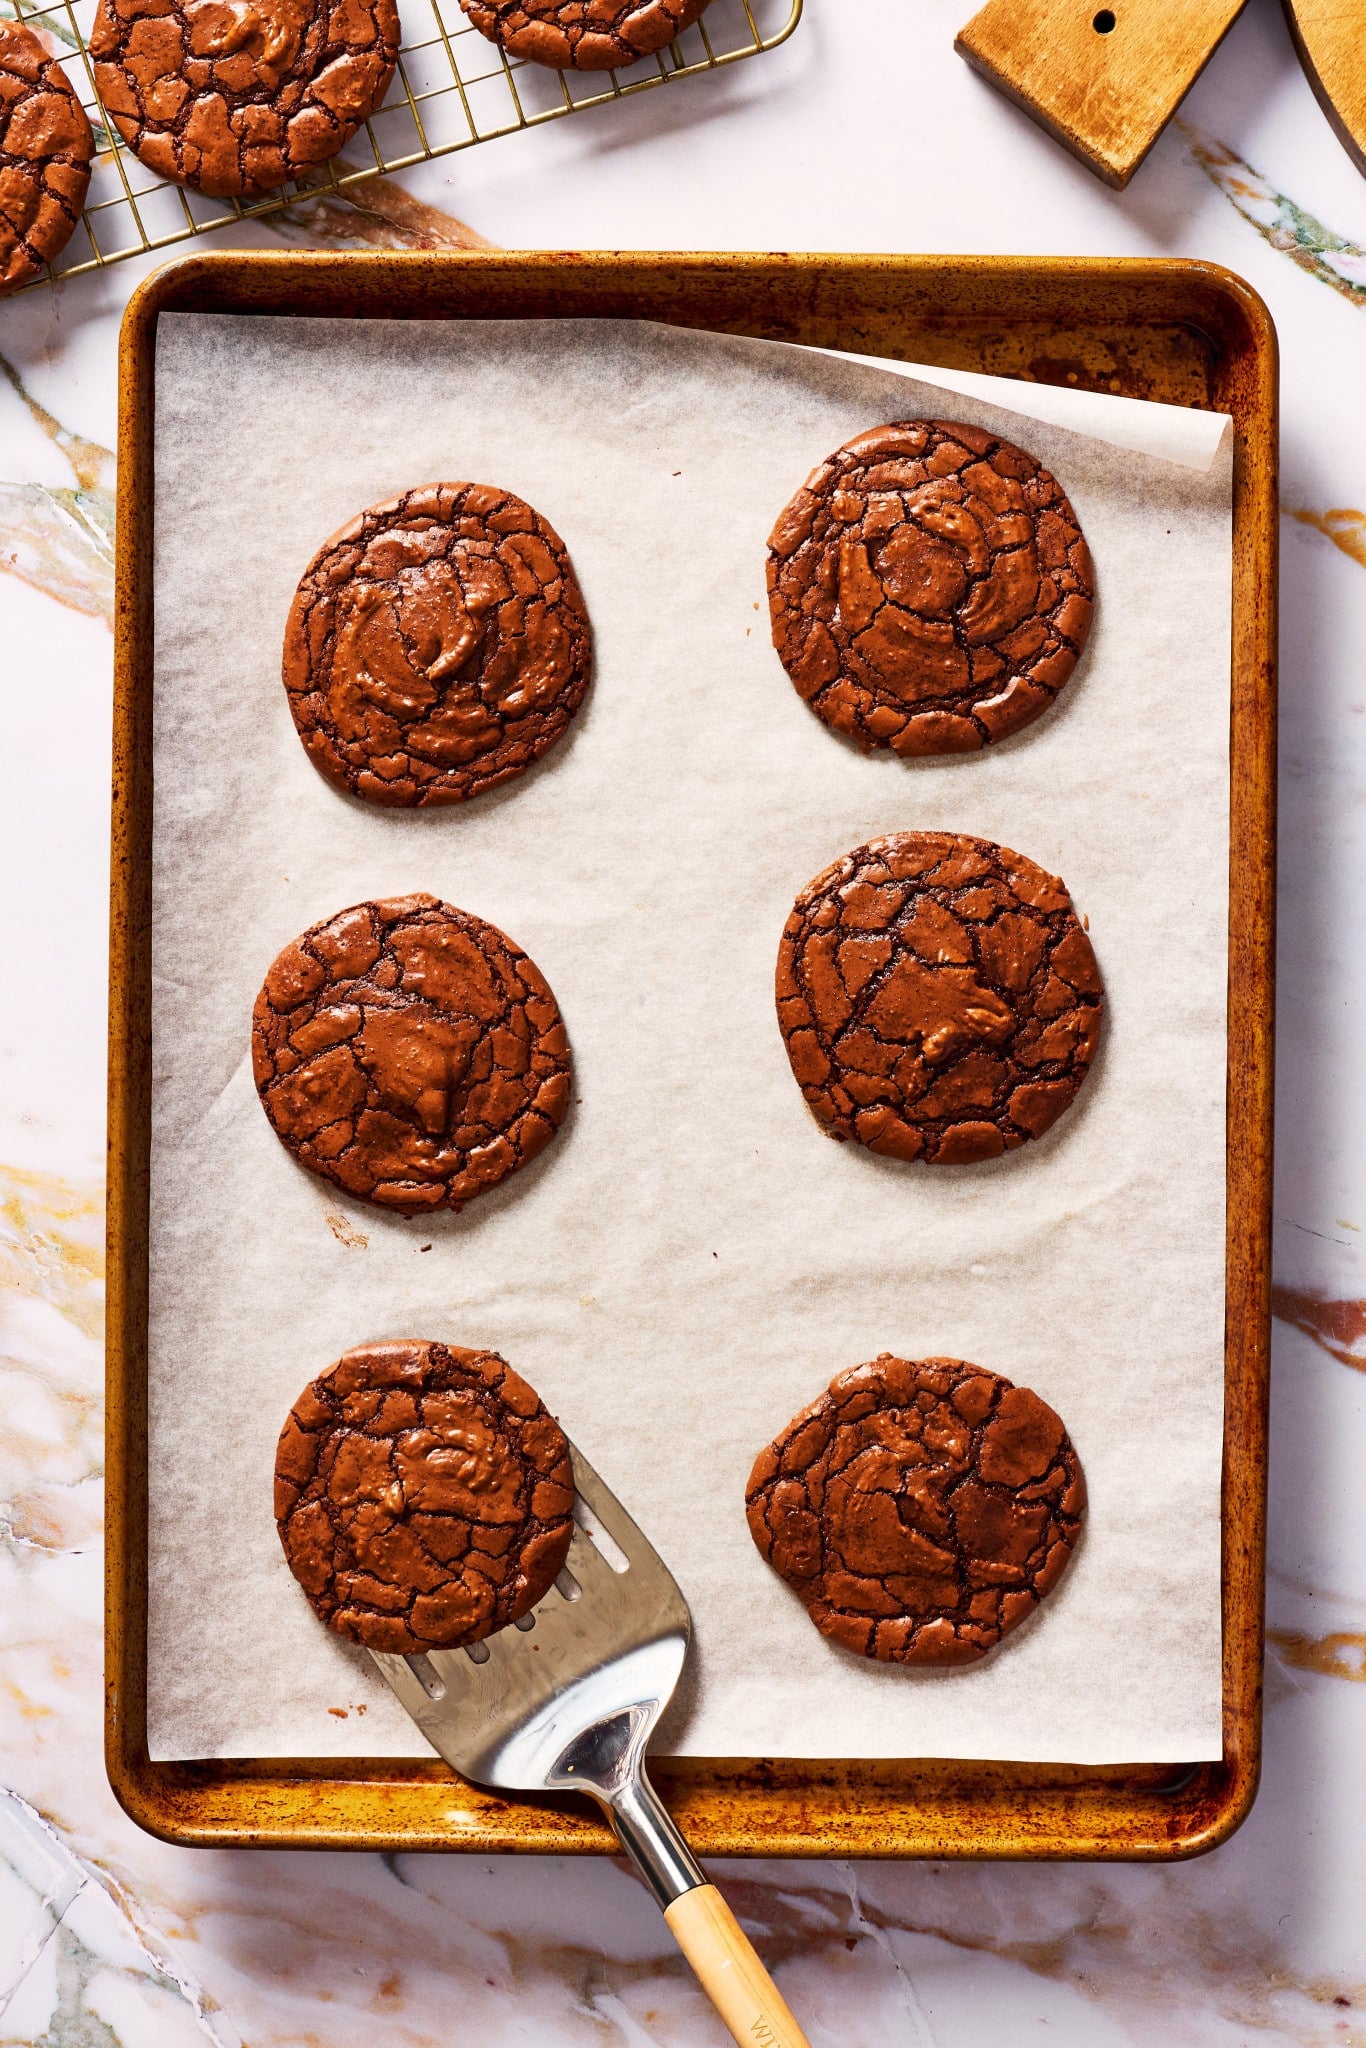
Step by Step Directions
(For the full recipe, scroll down to the recipe card below)
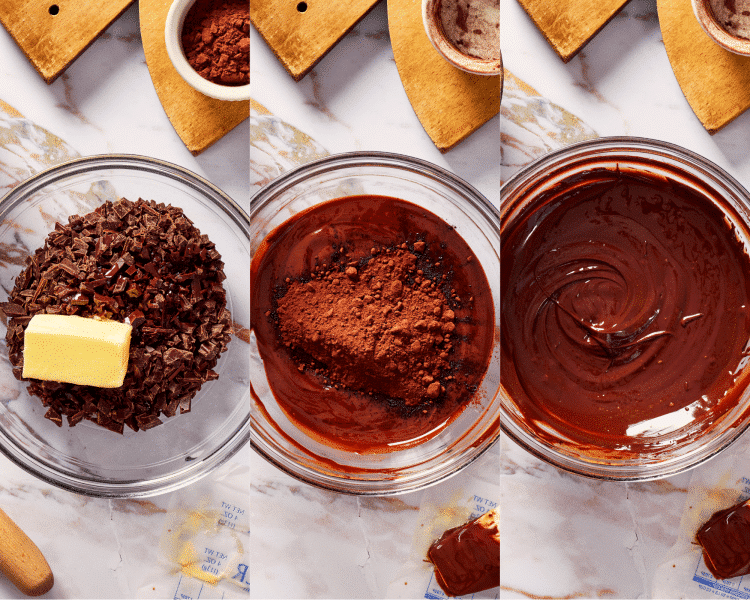
Melt the chocolate
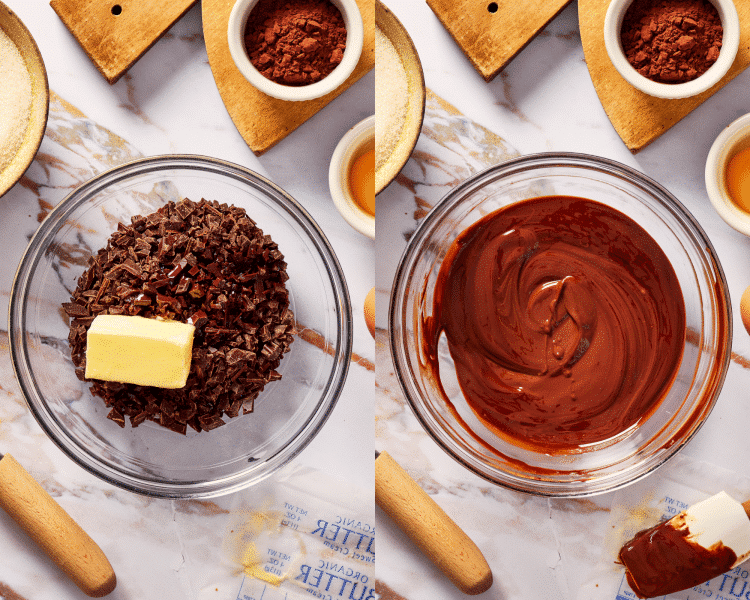
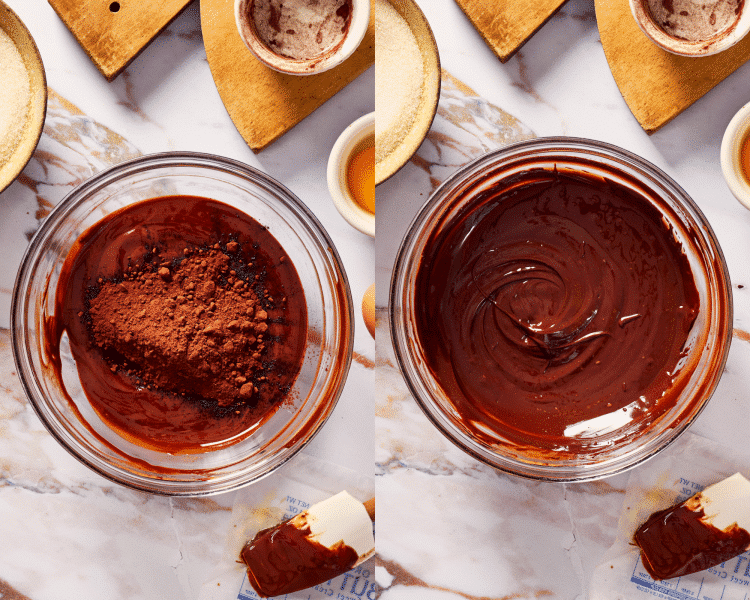
Melt the chocolate with the butter and oil. Then whisk in the cocoa powder and let it sit for about 5 minutes.
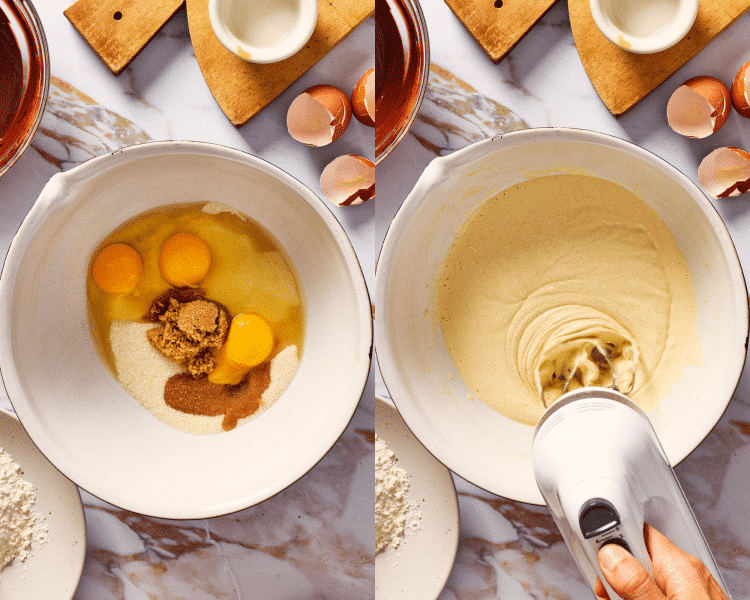
Whip the eggs and sugar
Combine the wet ingredients and mix until the mixture becomes pale, thick, and ribbony. Tip: This is key for getting the crinkly tops.🤩
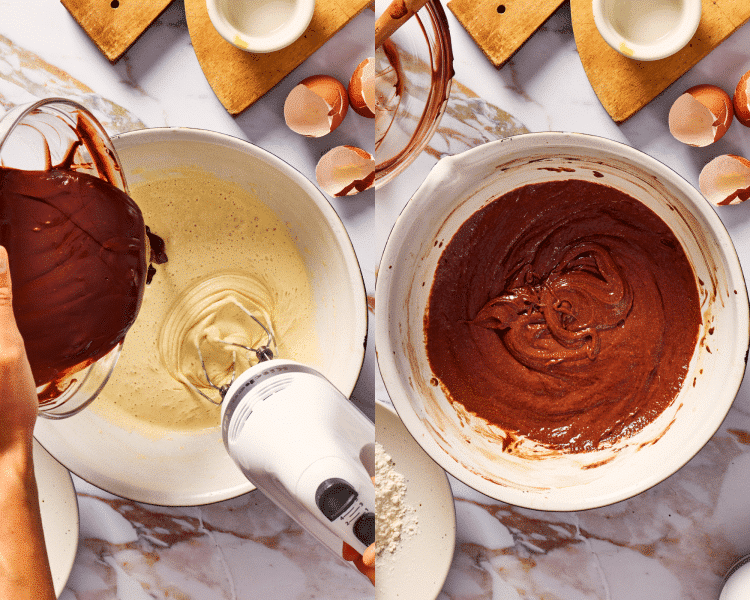
Combine
Then slowly stream in the warm chocolate mixture and mix until fully incorporated.
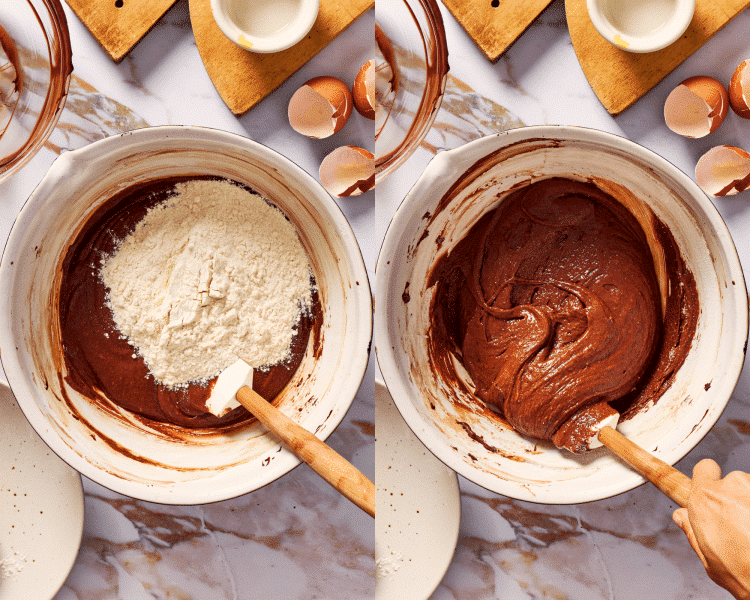
Add dry ingredients
Add the dry ingredients and mix until combined.
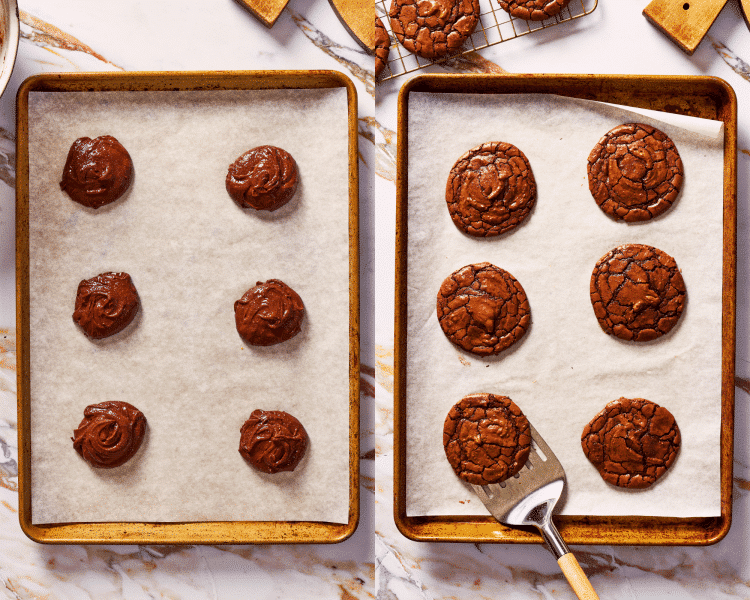
Scoop & bake!
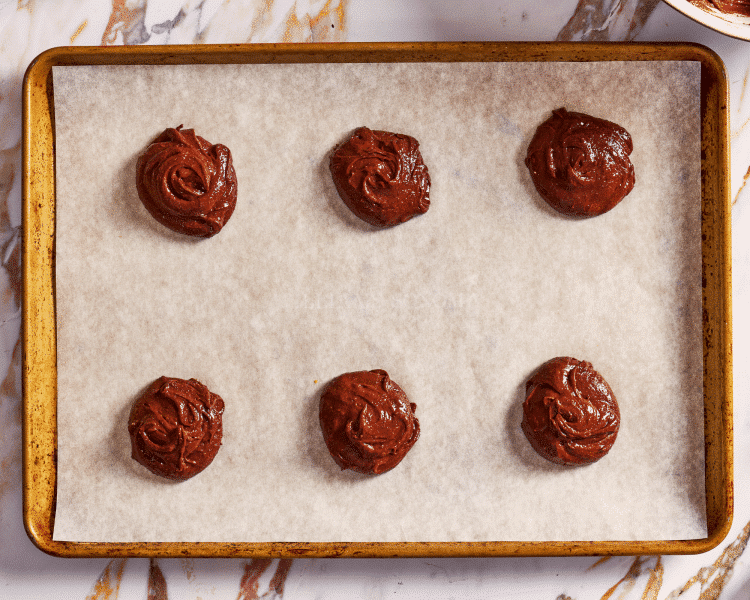
Scoop the batter onto the prepared baking sheet and bake for 9-10 minutes. Let the cookies cool, sprinkle with flaky salt, and ENJOY!!
Expert Tips
- Eggs: Room-temperature eggs are key for achieving shiny, crackly tops. If you forgot to set them out ahead of time, place them in a bowl of warm (not hot) water for 5–10 minutes before using.
- Chocolate mixture: The chocolate mixture should still be warm when added to the eggs, but not hot enough to scramble them. Let it cool for about 5 minutes after melting, then slowly stream it into the whipped egg mixture while mixing on low speed.
- Don’t overbake: Pull the cookies from the oven when the centers still look slightly underdone. They’ll continue to set as they cool, leaving you with soft, fudgy centers instead of dry, cakey cookies.
- Don’t let the batter sit: For the most consistent crackly tops, bake the cookies shortly after mixing the batter. As the batter sits, it thickens, which can reduce the signature glossy, crinkled appearance on the baked cookies.
- Whip the eggs and sugar well: Don’t rush this step. Beat the eggs and sugars for a full 5–7 minutes until the mixture is pale, thick, and leaves ribbons on the surface. This is one of the biggest secrets to achieving glossy, crackly tops.
- Measure the flour correctly: Spoon the flour into your measuring cup and level it off with a knife rather than scooping directly from the bag. Too much flour can make the cookies thicker and less fudgy.
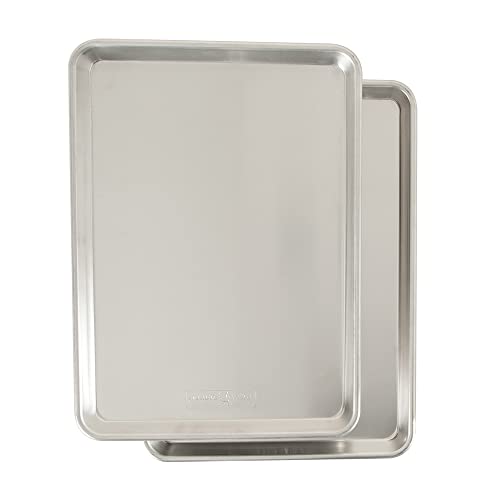
- Use a light-colored baking sheet: Light-colored pans promote even baking and help prevent the bottoms from over-browning before the centers are perfectly fudgy.
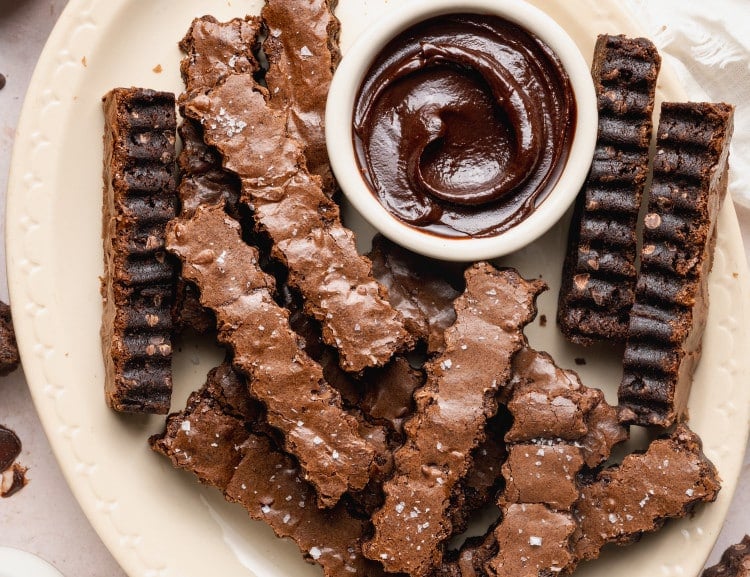
Try my brownie fries!
These fudgy Brownie Fries are baked, then cut into fry-shaped strips with a fry cutter for a fun twist on classic brownies. Perfect for dipping and sharing!
Variations / Substitutions
- Nutty brownies: If you love nuts in your brownies, stir in 1/2 cup of chopped toasted walnuts or pecans for added crunch and classic brownie flavor.
- Extra chocolatey: Use dark chocolate (60–70% cacao) instead of semisweet chocolate for a richer, more intense cookie.
- Holiday version: Mix in crushed peppermint candies after baking or drizzle the cooled cookies with melted white chocolate like these Peppermint Brownies.
- Gluten-free: Swap the flours for Bob’s Red Mill Gluten Free 1-to-1 Baking Flour.
Storage / Freezing
- Room temperature: Store the cooled cookies in an airtight container for up to 4 days. Place a piece of bread in the container to help keep the cookies soft and fudgy.
- Freezer: If cookies are baked, freeze them in a freezer-safe container or zip-top bag for up to 3 months. Thaw at room temperature before serving.
- Freeze the dough: Scoop the cookie dough onto a parchment-lined baking sheet and freeze until firm. Transfer the dough balls to a freezer bag and freeze for up to 3 months. Bake from frozen, adding 1–2 minutes to the baking time as needed.
shop this post
 Buy Now →
  Buy Now →
  Buy Now →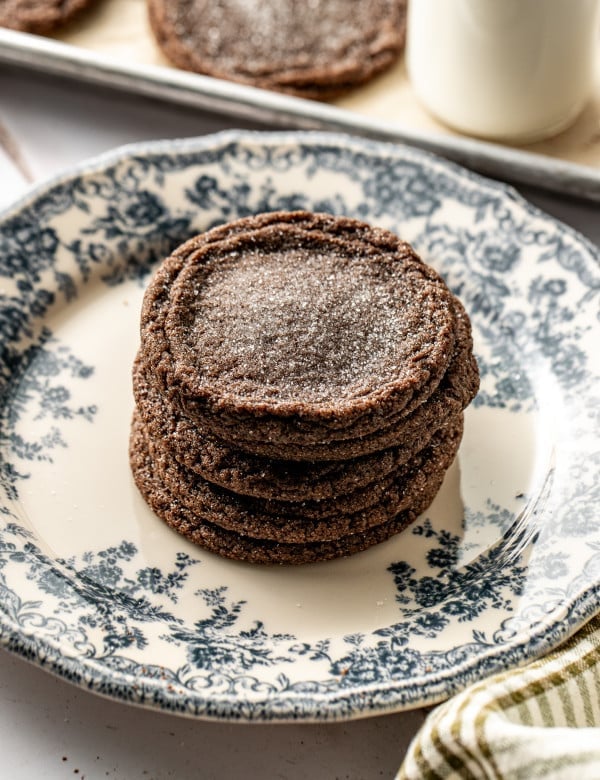
Before You Begin! If you make this, please leave a review and rating letting us know how you liked this recipe! This helps our business thrive & continue providing free recipes.
Ingredients
- 8 oz semisweet chocolate bars (finely chopped)
- 4 Tbsp. unsalted butter
- 1/4 cup neutral oil (canola, vegetable, or avocado oil)
- 3 Tbsp. Dutch-process cocoa powder
- 2 large eggs (room temperature)
- 1 large egg yolk (room temperature)
- 1 cup + 2 Tbsp granulated sugar
- 2 Tbsp. light brown sugar (packed)
- 2 tsp. vanilla extract
- 2/3 cup + 1 Tbsp. all-purpose flour (spoon and leveled)
- 1/2 tsp. baking powder
- 3/4 tsp. Diamond Crystal kosher salt (or 1/2 tsp. Morton kosher salt)
- 1/2-1 cup chopped chocolate (optional)
- Flaky sea salt (for finishing (optional))

Last step! If you make this, please leave a review and rating letting us know how you liked this recipe! This helps our business thrive & continue providing free recipes.
Instructions
- Prep: Preheat the oven to 350°F. Line several light-colored baking sheets with parchment paper or silicone baking mats.
- Melt the chocolate: In a medium heatproof bowl, combine the chopped chocolate, butter, and oil. Microwave in 20-second intervals, stirring between each, until smooth and fully melted.8 oz semisweet chocolate bars, 4 Tbsp. unsalted butter, 1/4 cup neutral oil

- Add cocoa powder: Whisk in the cocoa powder until incorporated. Set aside to cool for about 5 minutes Start Timer. The mixture should still be warm but not hot.3 Tbsp. Dutch-process cocoa powder
- Whip the eggs and sugar: In a large mixing bowl, combine the eggs, egg yolk, granulated sugar, brown sugar, and vanilla extract. Using a hand mixer or stand mixer fitted with the whisk attachment, beat on medium-high speed for 5-7 minutes Start Timer, or until the mixture becomes pale, thick, and ribbony. This step is key for getting the crinkly tops.2 large eggs, 1 large egg yolk, 1 cup + 2 Tbsp granulated sugar, 2 Tbsp. light brown sugar, 2 tsp. vanilla extract
- Combine: With the mixer on low speed, slowly stream in the warm chocolate mixture. Mix until fully incorporated.
- Add dry ingredients: Add the flour, baking powder, and salt. Mix on low speed just until no dry streaks remain. Do not overmix. (You can also add in additional chopped chocolate here if desired.2/3 cup + 1 Tbsp. all-purpose flour, 1/2 tsp. baking powder, 3/4 tsp. Diamond Crystal kosher salt, 1/2-1 cup chopped chocolate
- Scoop: Using a 2 Tbsp cookie scoop, portion the batter onto the prepared baking sheets, leaving about 2 inches between each cookie. Note: The cookie dough will look almost like brownie batter right when you bring it together. This is totally fine! The longer it sits, the more the dough will start to behave like cookie dough. Each batch of cookies you bake might have a slightly different crinkled appearance on top due to the temperature of the dough.
- Bake: Bake for 9-10 minutes Start Timer, or until the tops are crackly and the edges look set while the centers still appear slightly soft. Do not overbake.
- Cool: Allow the cookies to cool on the baking sheet for 5 minutes Start Timer before transferring to a wire rack. Sprinkle with flaky sea salt, if desired.
Notes
- Eggs: Room-temperature eggs are key for achieving shiny, crackly tops.
- Chocolate mixture: The chocolate mixture should still be warm when added to the eggs, but not hot enough to scramble them.
- Don’t over-bake: Pull the cookies from the oven when the centers still look slightly underdone. They’ll continue to set as they cool.
- Don’t let batter sit: For the most consistent crackly tops, bake the cookies shortly after mixing the batter.
Nutrition Information
Nutritional information is provided as a courtesy and is automatically calculated. It should only be construed as an estimate rather than a guarantee. Ingredients can vary and Kroll’s Korner can’t make any guarantees to the accuracy of this information.
📸 Photography by Angelica Oles


I felt so proud to make these! I’m not a good baker but this was so easy to follow and they turned out so yummy! 😋
The stories we tell ourselves shape us so you can tell yourself you’re a GREAT BAKER!! You can do it look how beautiful those cookies are:) thank you!!
Oh my goodness!!!! These are addictive!!! I did add chocolate chips. My family was VERY happy with these cookies! Sorry no pics. They were gone too fast.
hehe I am soo glad you enjoyed them! Thank you! 🙂
I ate them too fast to take a picture! They came out exactly as pictured and were delicious! I used 1/2 semisweet chocolate and 1/2 70% bittersweet, great chocolate flavor!
Love that Jenn, thank you soo much!
Flavor outstanding. First cookies baked were shiny just as pictured. But last ones in the oven lost the shiny – still taste great!
Hello! Thanks for making the cookies 🙂 Yes, I touched on this in the recipe notes but to explain a little more, for the shiniest, crackliest tops, you’ll want to bake the cookies soon after mixing the batter. Because as the batter rests, it thickens, loses some of its trapped air, and the baking powder begins activating. All of these changes reduce the dramatic spreading and surface cracking that create those signature brownie-like tops. The first batch almost always has the most beautiful crinkles so that makes sense why you experienced that. The last batch while not having dramatic crinkles should still taste amazing!! 🙂
These are amazing!! Brownies in cookie form! These are easy to make and come together quickly. I added the ingredients to my mixer and started the mixer. Then I popped the chopped chocolate butter and oil in the microwave. Since it needed to cool a bit I figured I would use the mixing time for it cool down. By the time the oven had pre heated the batter was ready and cookies were going into the oven. I added chopped milk chocolate to the batter.
Delicious, would be yummy warmed up and served with ice cream or even better make an ice cream sandwich with them!!
Will definitely make again!
Beth they are perfect! Thanks so much for making them! 🙂 soo so good with ice cream yes!