Chocolate Chip Cookie Ice Cream Cups
This post may contain affiliate links. Please read our disclosure policy.
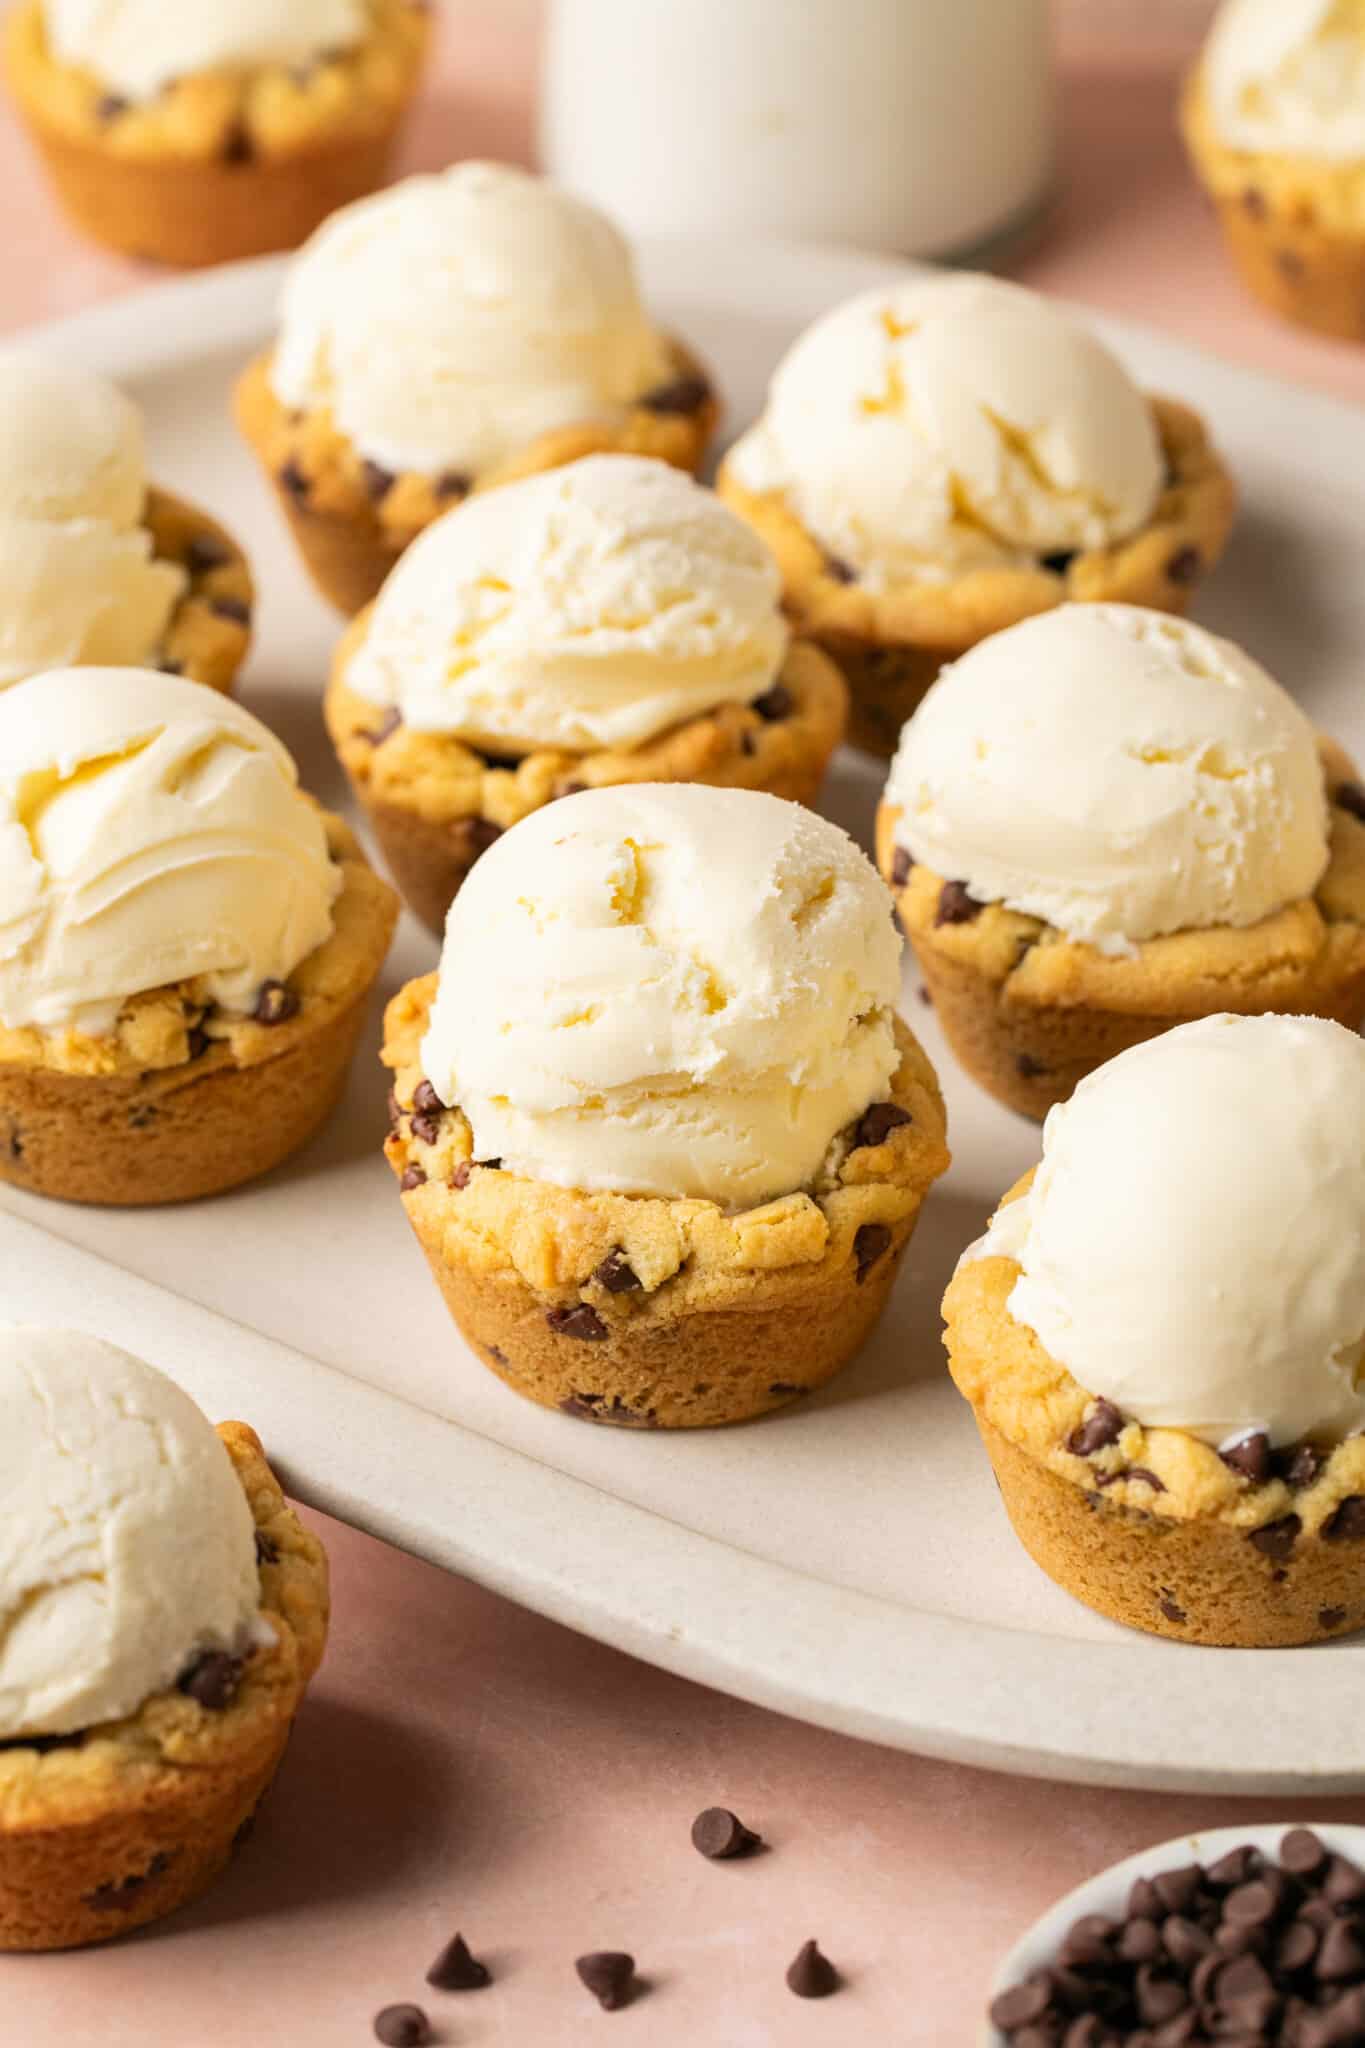
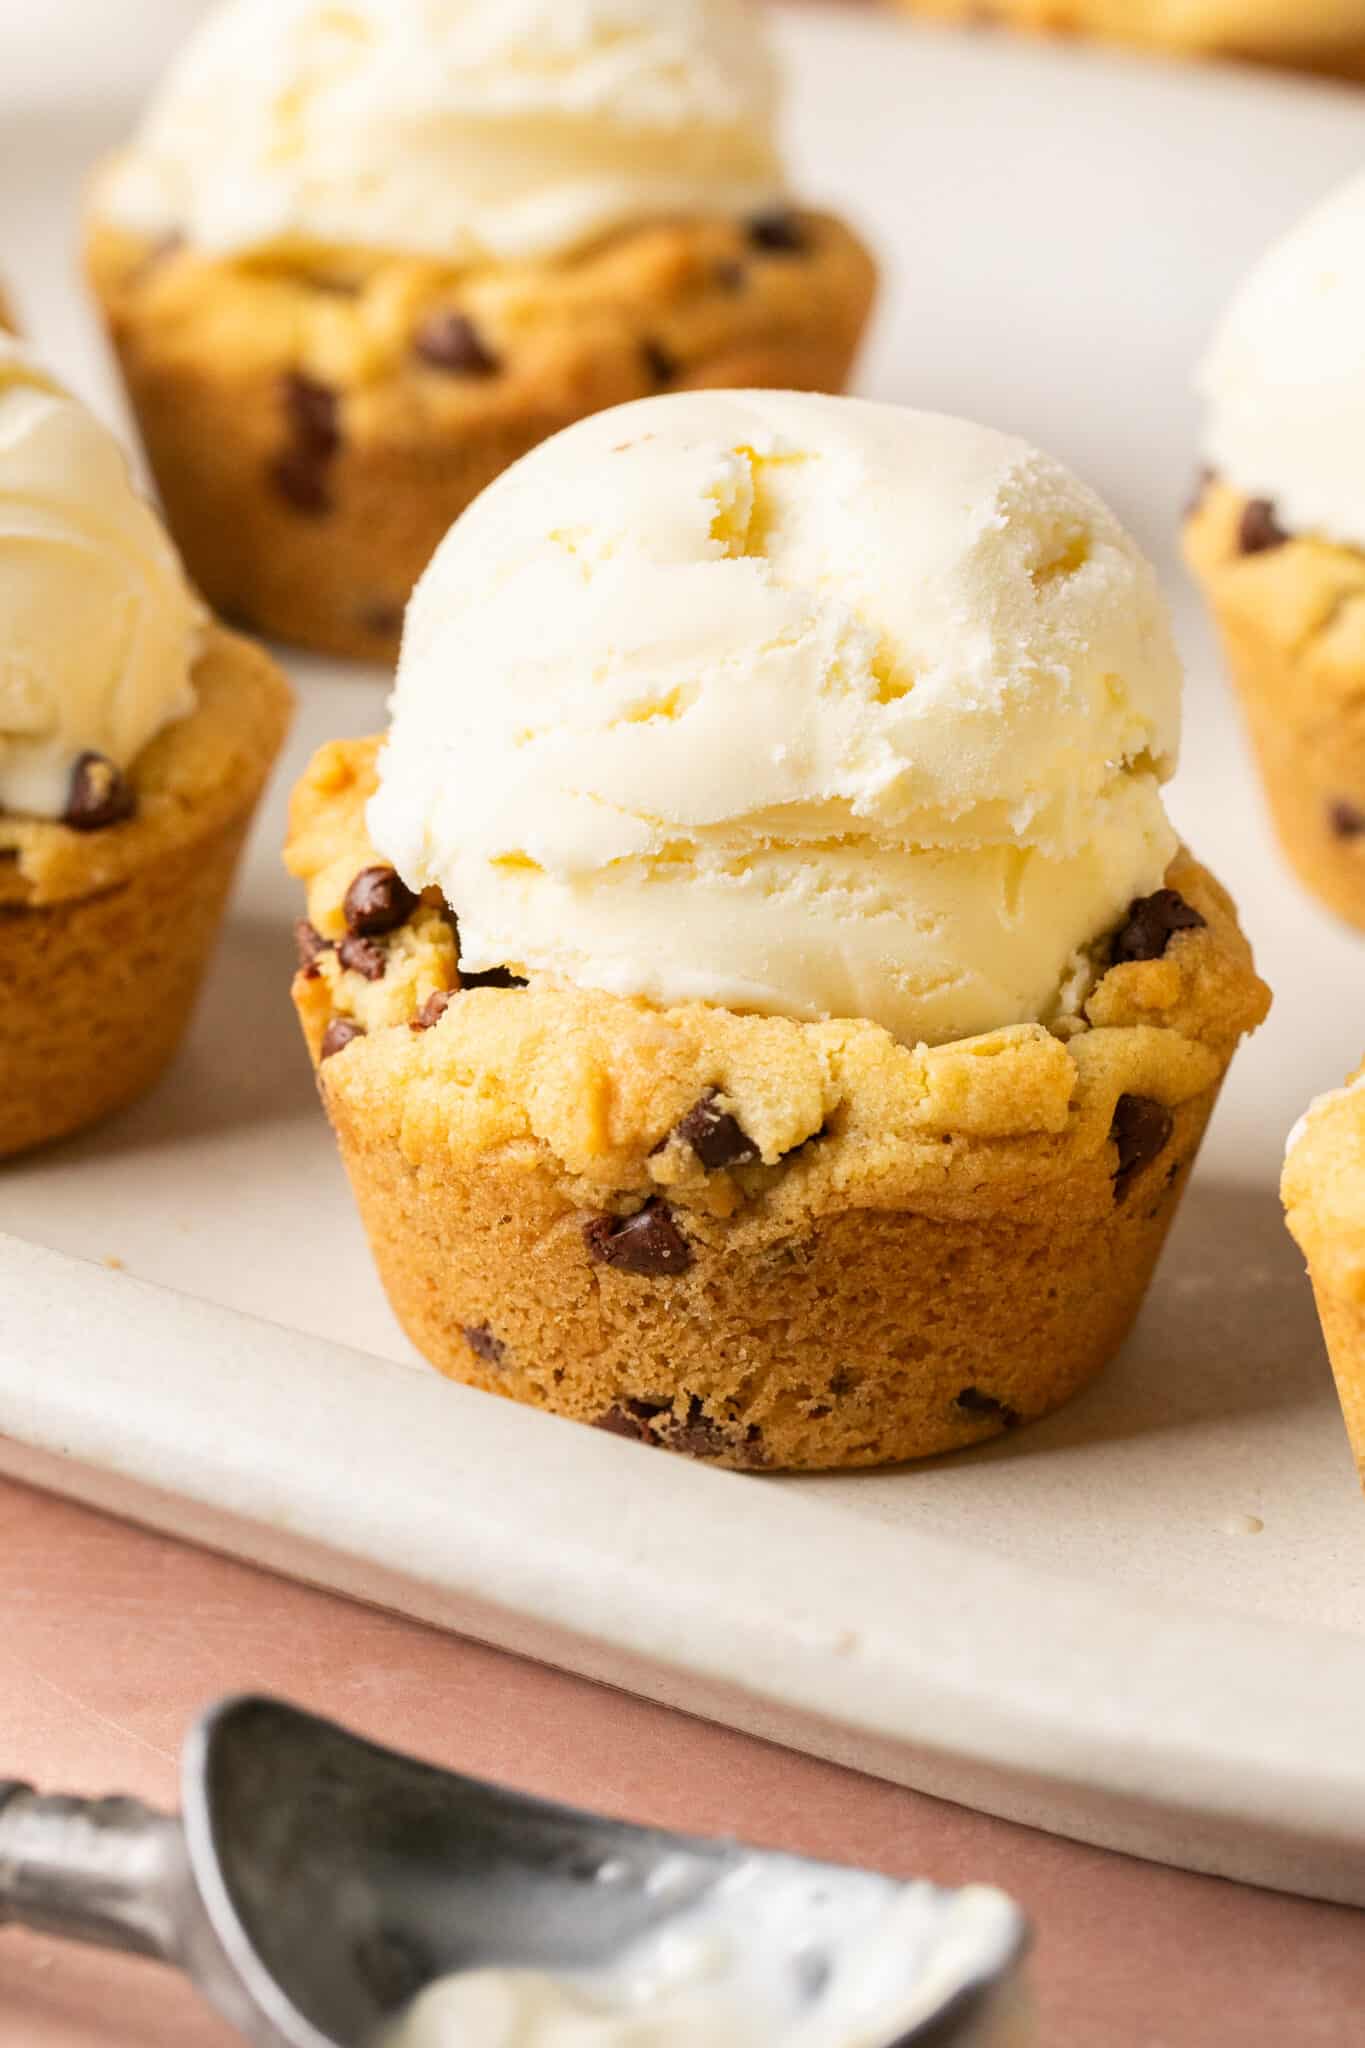
These Chocolate Chip Ice Cream Cookie Cups combine the best of both worlds: ice cream and cookies!
These ice cream cookie cups are so fun for parties, summer barbecues with family and friends, or when craving a sweet treat.
Imagine a hot summer day and this warm, gooey chocolate chip cookie paired with cool, creamy ice cream in your hands. It’s a timeless dessert that’s sure to please everyone! Much like my Cookie Ice Cream Sandwiches, my Mini Chocolate Chip Cookies, and my Sheet Pan Chocolate Chip Cookies.
Why this recipe works
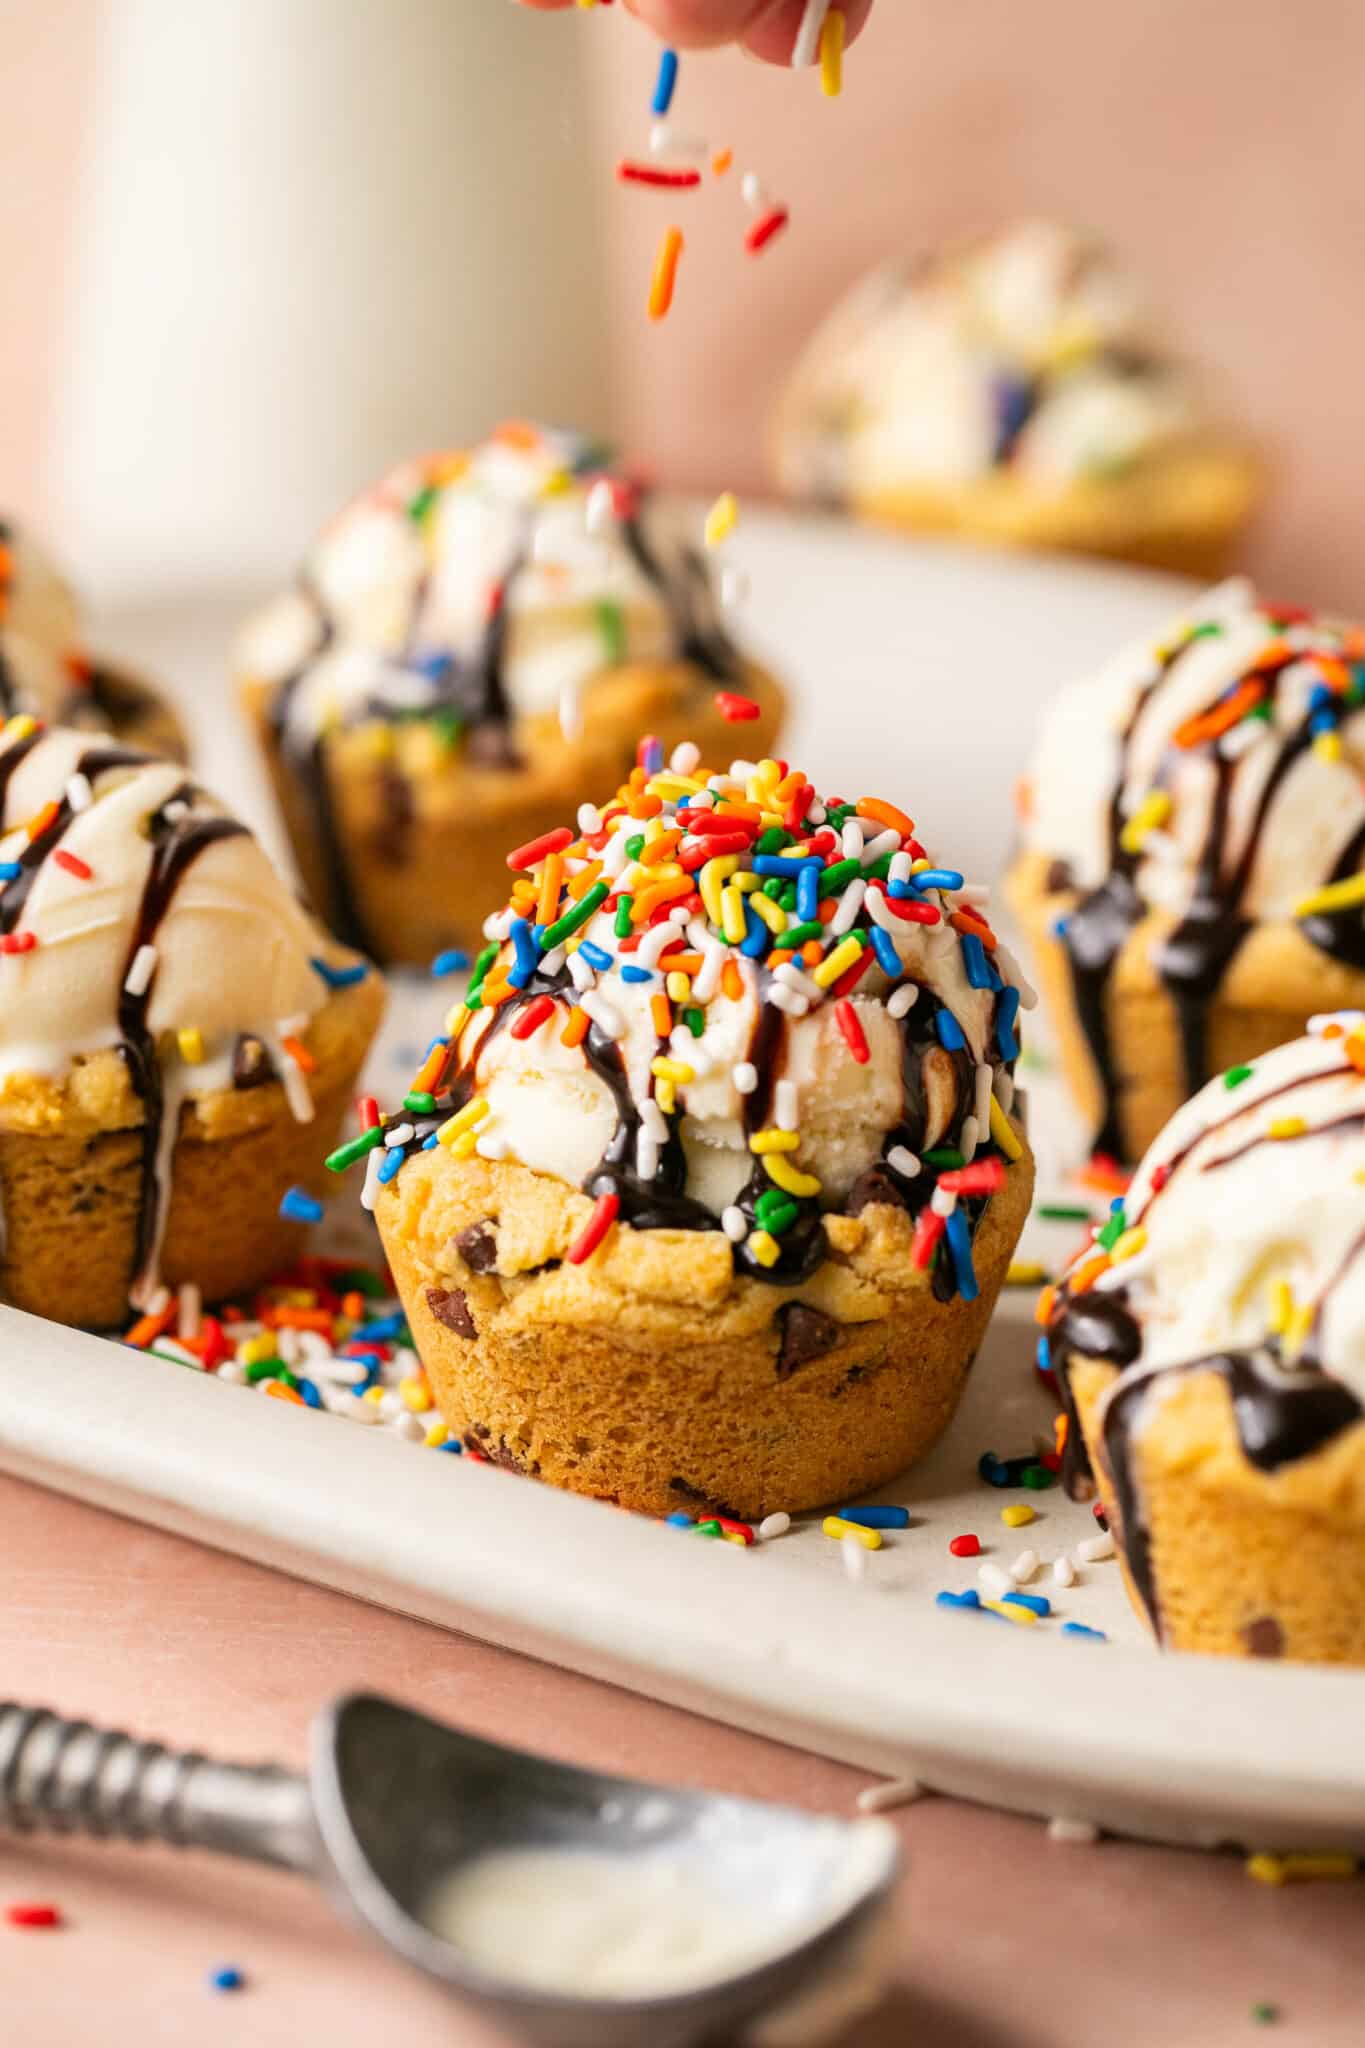
- It’s fun and versatile! You can customize them with your favorite ice cream flavors and toppings, making each cup unique. From classic vanilla to rich chocolate and rainbow sprinkles or caramel sauce!
- The vanilla pudding mix adds extra moisture to the cookie dough, resulting in a softer, chewier, and more tender cookie. The gelatinized starches in the pudding mix help retain moisture, preventing the cookies from drying out, so these cookies truly stay soft for several days.
- Easy to make! You can whip up a batch with a simple recipe and a few basic ingredients in no time. Plus, they’re a great activity to do with kids!
Ingredient Notes
For the ingredient measurements and the recipe, scroll down to the bottom of the blog post where the recipe card is located.
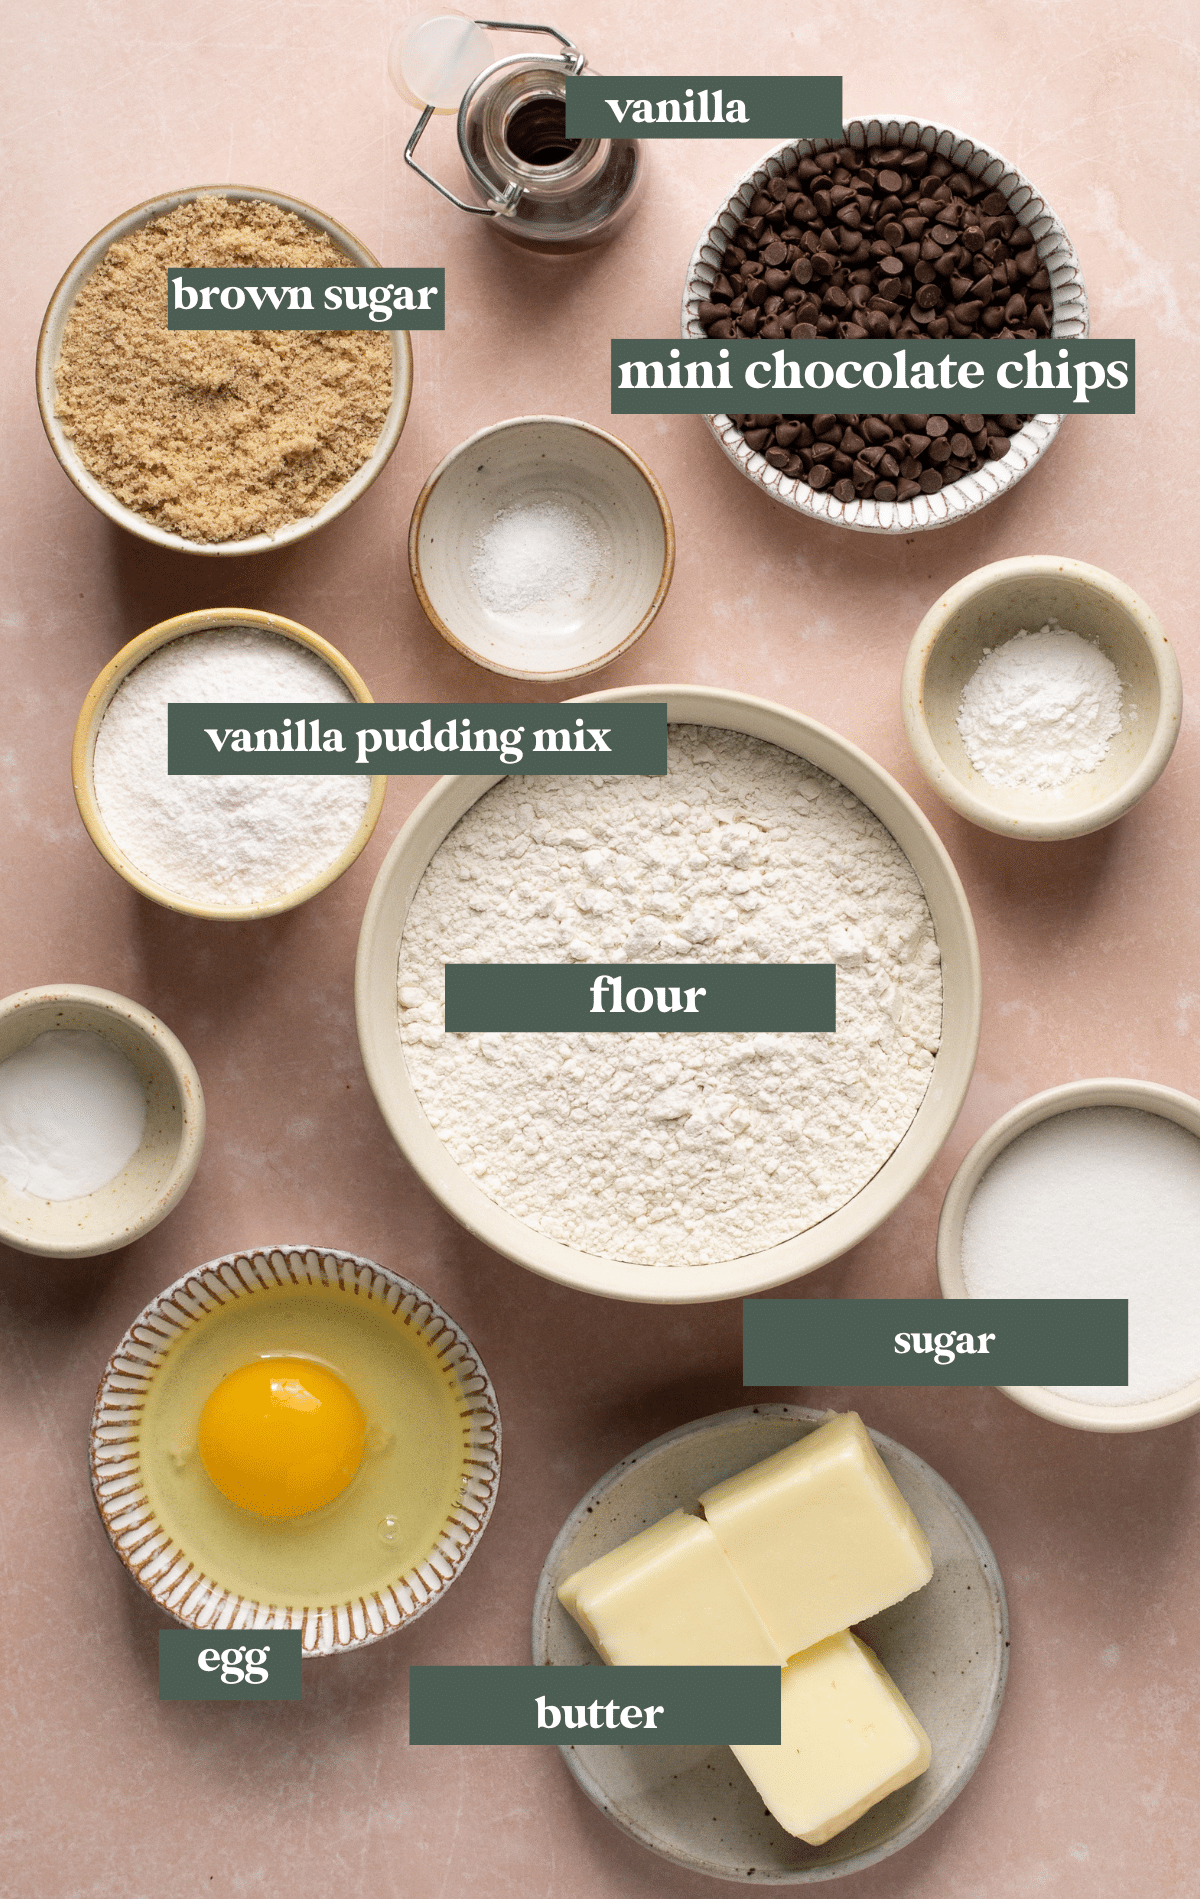
- Butter: Ensure the butter is at room temperature for easier creaming with sugar, which helps create a tender and chewy texture.
- Sugars: I like to use both brown and granulated. Granulated sugar contributes to the crispness of the cookie, while brown sugar adds chewiness and a rich, caramel-like flavor.
- Flour: I use all-purpose flour; I have not tested this recipe with other flour varieties. Measure it correctly using the spoon-and-level method to avoid dense cookies.
- Egg: The egg adds moisture and acts as a binding agent, contributing to the cookie’s structure.
- Pudding mix: as mentioned above, the pudding mix helps create a softer and chewier cookie. I used a vanilla instant pudding mix for this recipe. Feel free to leave the pudding mix out and use more flour in its place.
- Mini chocolate chips: Mini semi-sweet chocolate chips are perfect for these cookie cups, ensuring you get chocolate in every bite.
- Other ingredients needed: salt, baking soda, baking powder, and vanilla extract.
Step by Step Directions
Be sure to scroll down to the recipe card for the full recipe instructions.
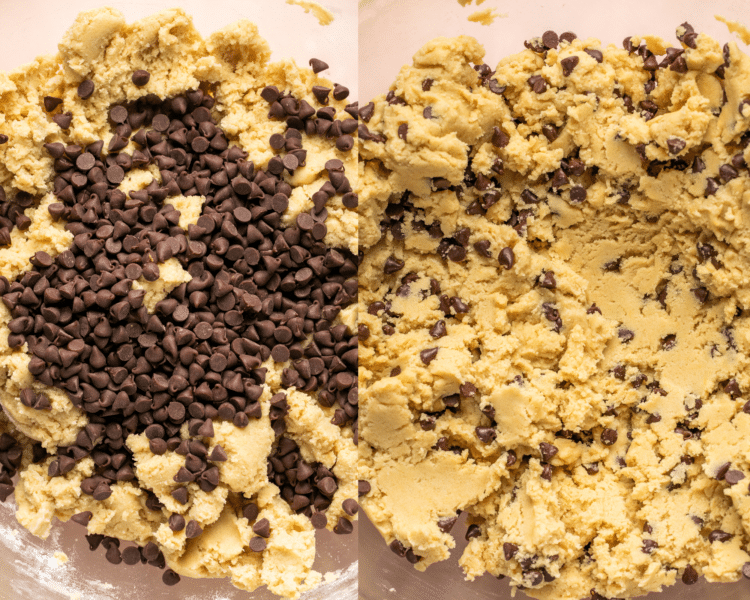
Bring the cookie dough together using a stand mixer, or a hand mixer will work too.
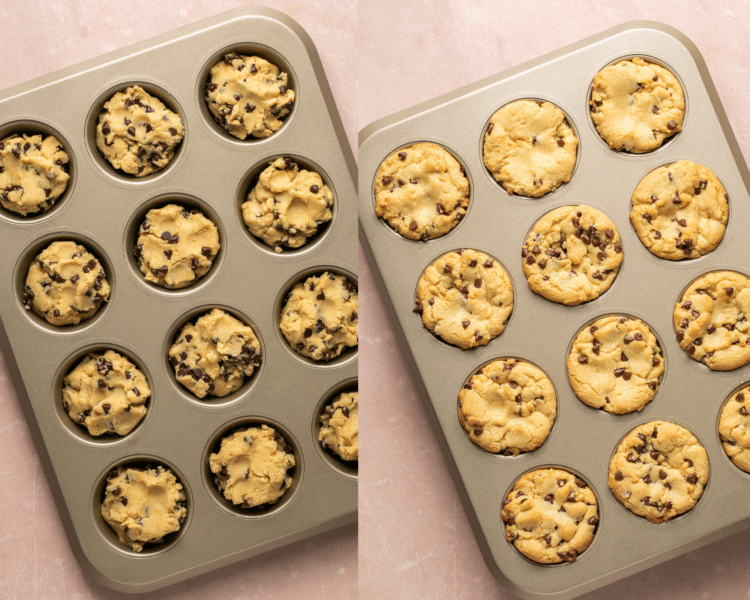
Scoop into muffin tin
Scoop cookie dough into a prepared muffin tin, then bake until golden on the tops, ~15 minutes.
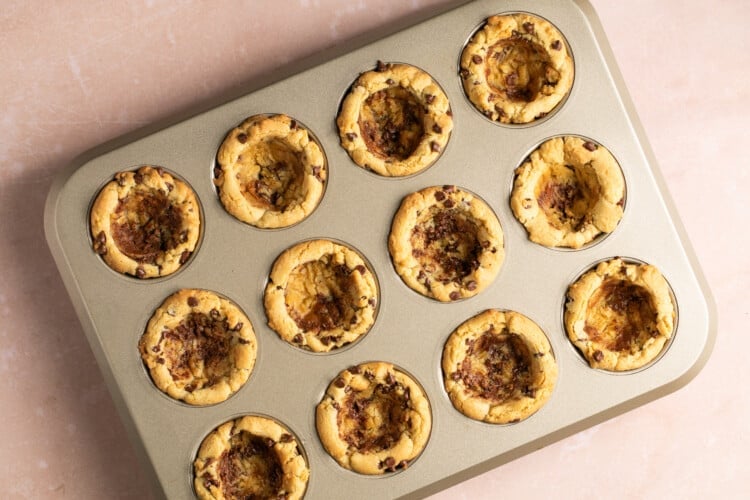
Create the cup shape
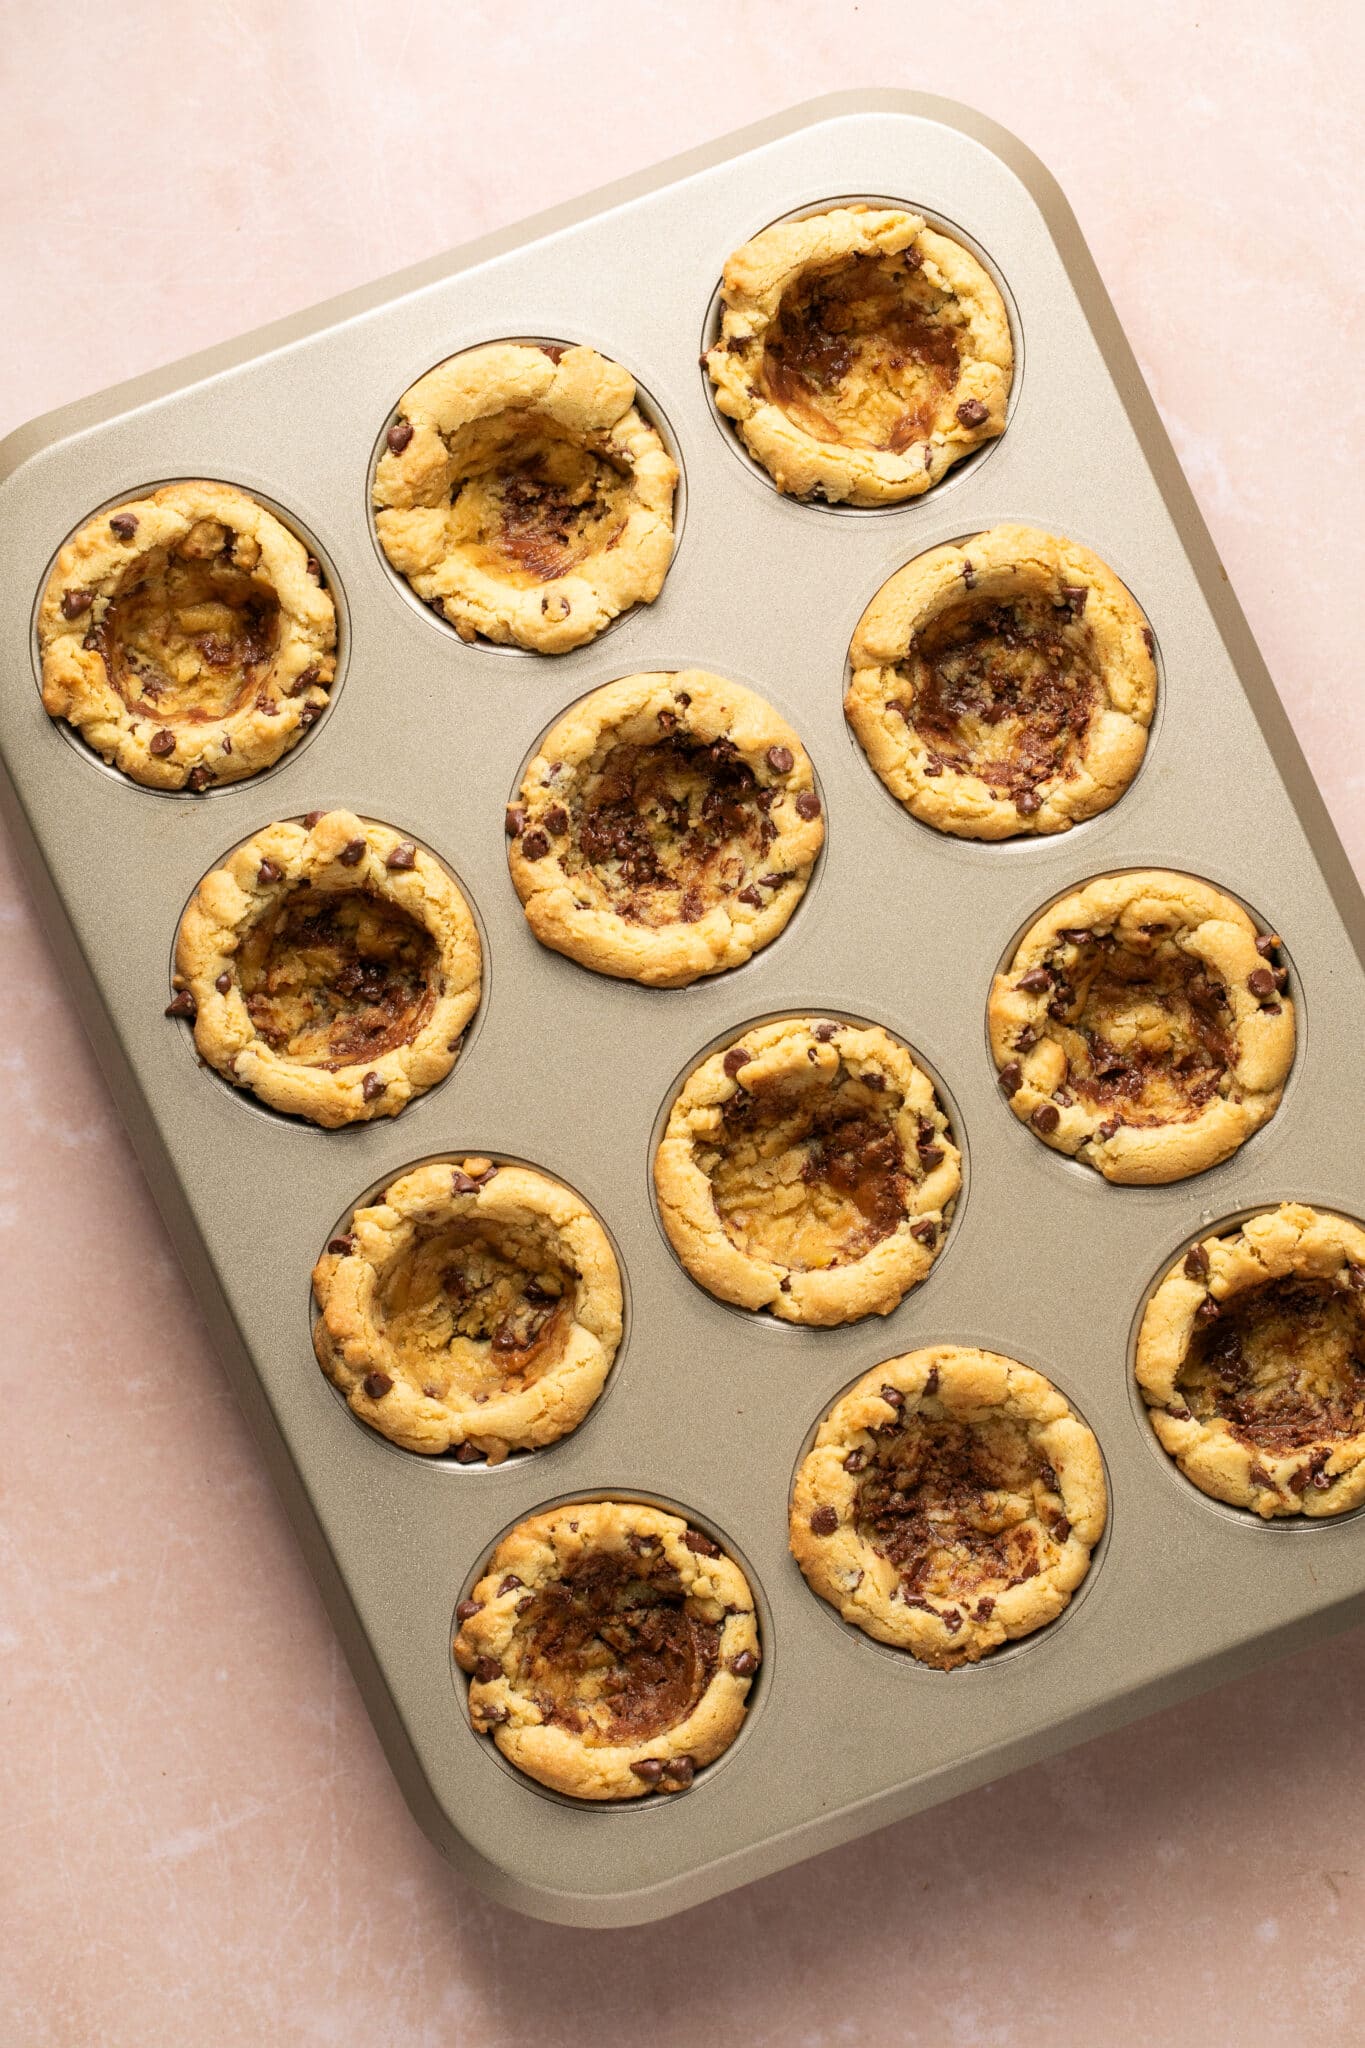
Using a spoon, gently press the cookie down in the center to create a well for the ice cream.
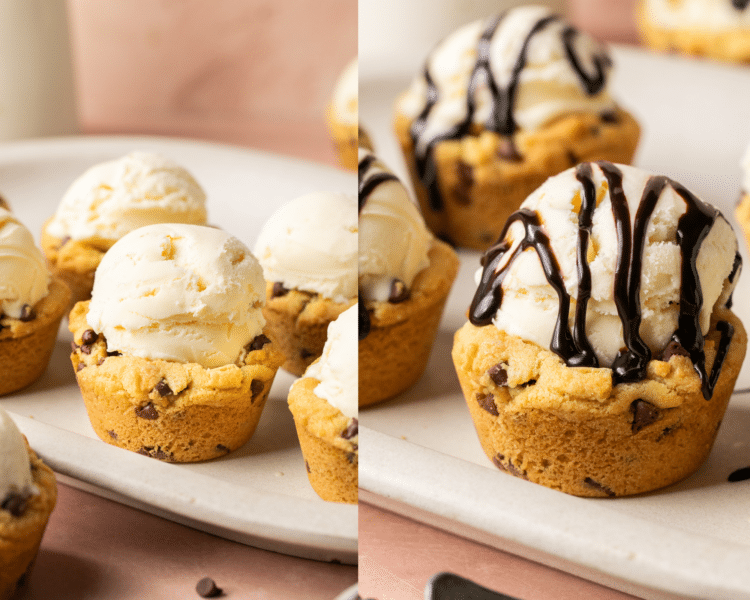
Scoop and decorate!
Scoop ice cream into each cookie cup, and decorate with chocolate syrup, sprinkles, etc.
Expert Tips
- Grease Thoroughly: Even if using a non-stick muffin tin, lightly grease the cups with nonstick baking spray or butter. This ensures the cookie cups will be released easily.
- Underbake Slightly: Slightly underbake the dough for a softer, chewier cookie cup. This will give you a deliciously gooey texture that pairs perfectly with ice cream. The cookie cups cool in the pan, too, so remember there will be carry-over baking. The cooling time also helps them firm up slightly and makes removal easier.
- Create Space for Filling: Don’t press the dough too thin at the bottom or sides, as this can cause the cup to break when filled. A thickness of about 1/4 inch is usually ideal.
- Make Ahead: You can prepare the cookie cups ahead of time and store them in an airtight container. Just fill them with ice cream and toppings when you’re ready to serve.
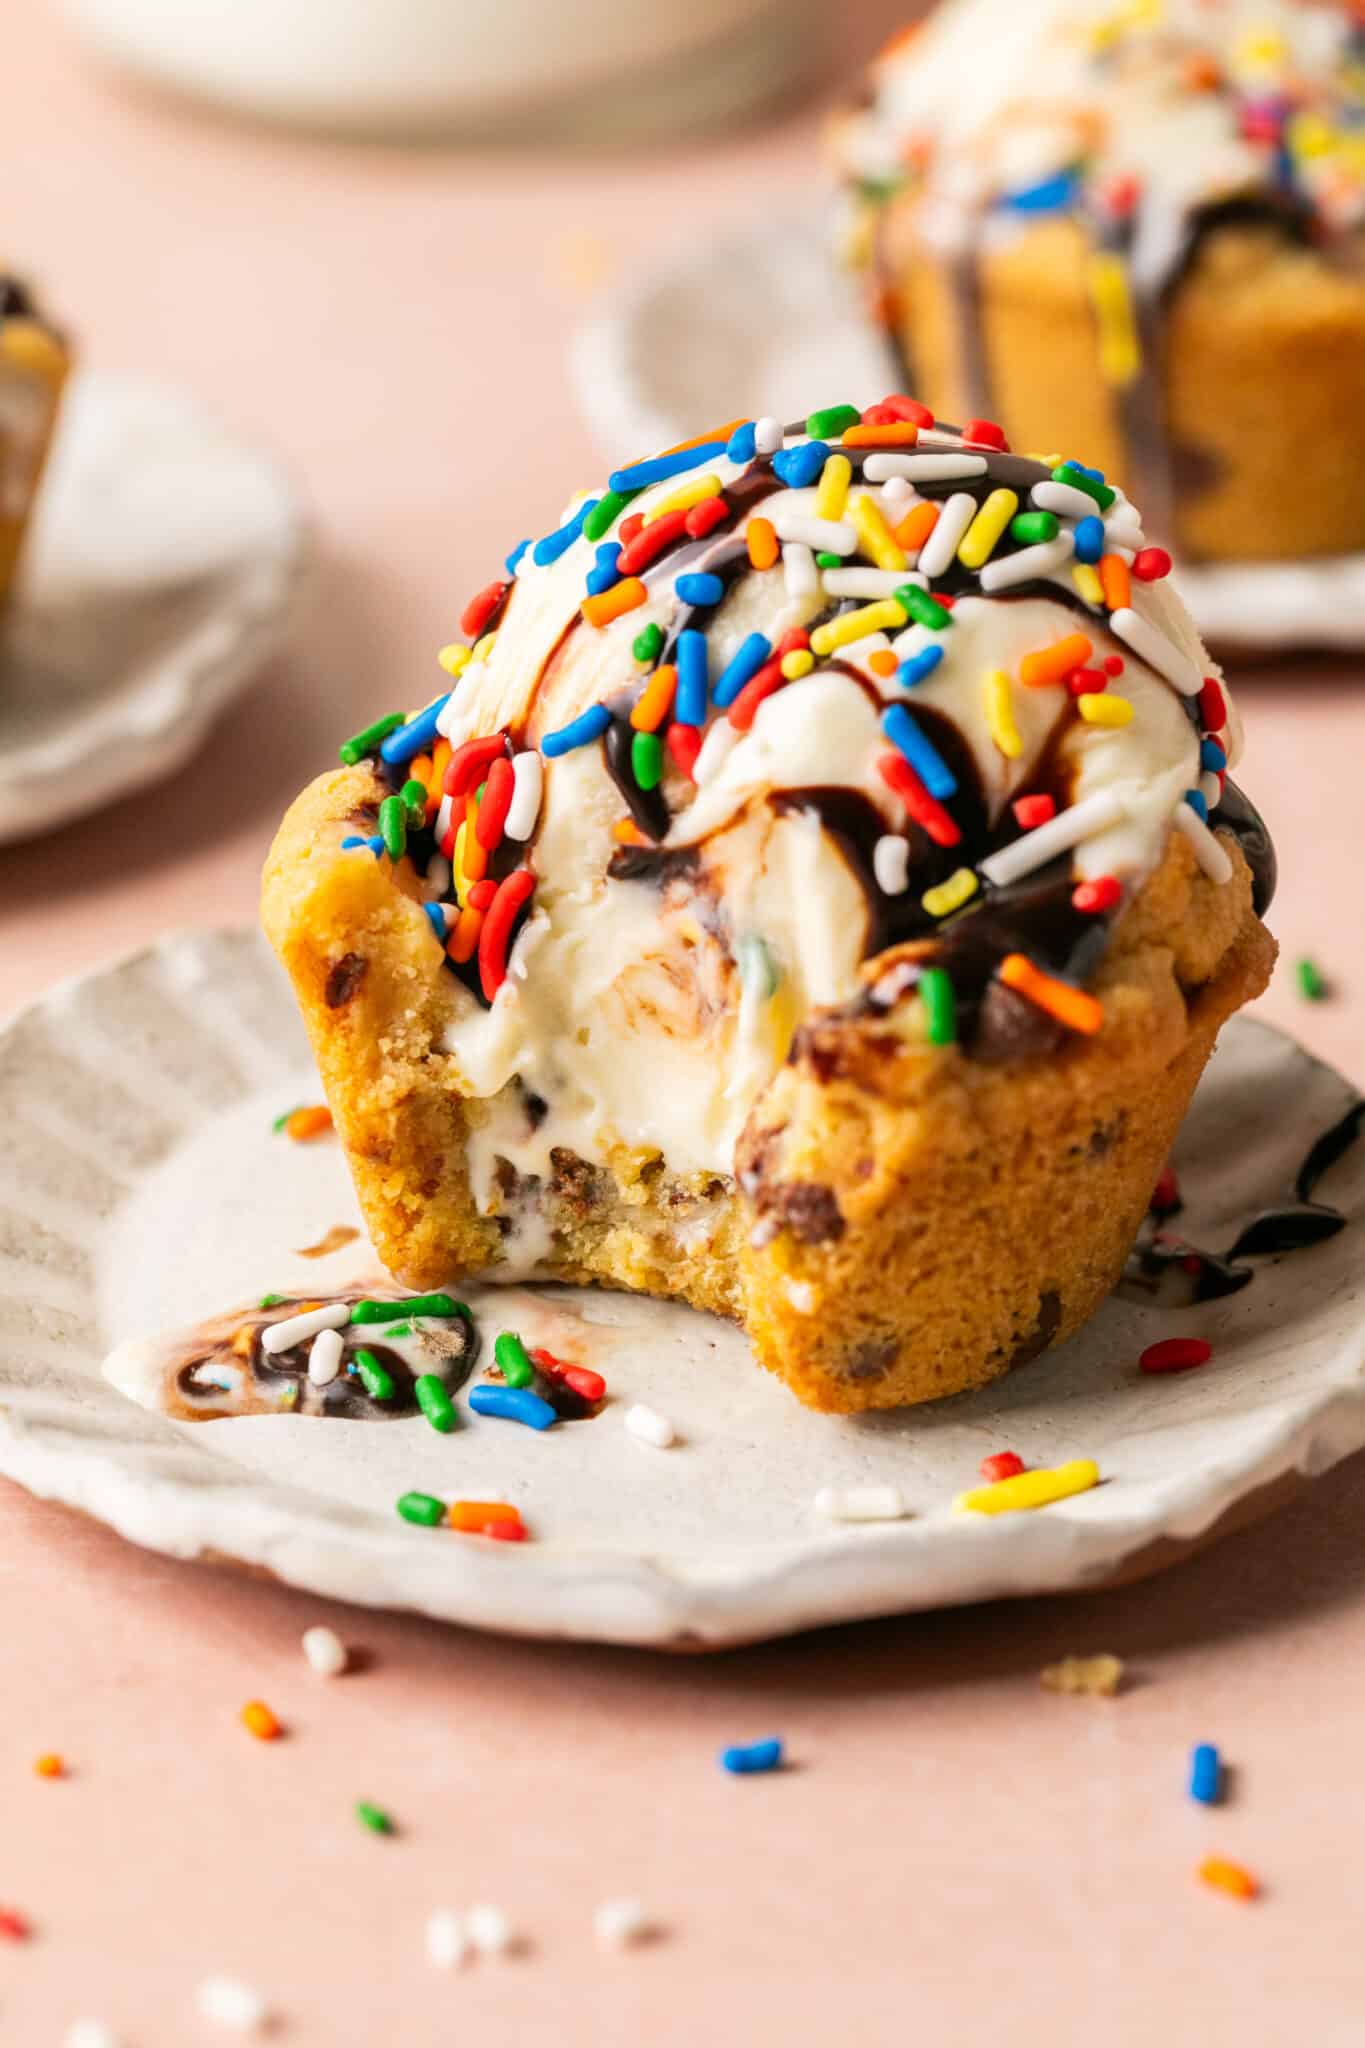
Variations
- Seasonal Flavors: Use seasonal ice cream flavors and toppings for festive variations, such as pumpkin spice in the fall or peppermint in the winter.
- Texture Contrast: Add crunchy toppings like nuts, cookie crumbs, or candy pieces for a delightful texture contrast with the creamy ice cream.
- Drizzles and Sauces: Enhance the flavor with drizzles of caramel, chocolate, or fruit sauces.
Storage
- Cool the unfilled cookie cups completely and store them in an airtight container at room temperature for 3-5 days or in the fridge for up to 1 week. You can also freeze the cookie cups for up to 3 months.
- If you want to scoop the ice cream in them to batch-prepare, you can scoop the ice cream into the cookie cups and freeze for a few hours before serving. But for the best flavor and texture and to help prevent the cookie from getting soggy, I recommend separating them until you’re ready to scoop and serve.
More Recipes You’ll Love
shop this post
 Buy Now →
  Buy Now →
 Before You Begin! If you make this, please leave a review and rating letting us know how you liked this recipe! This helps our business thrive & continue providing free recipes.
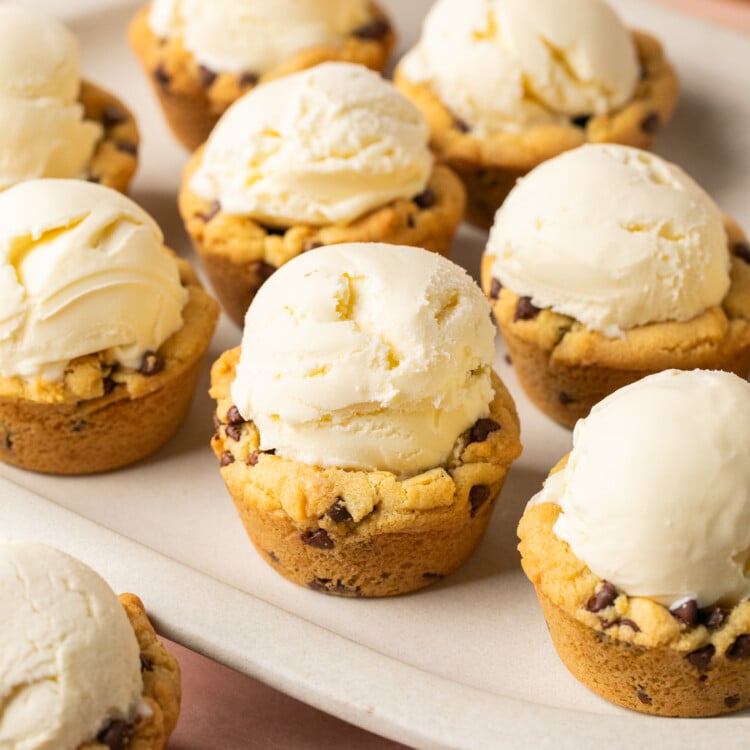
Ingredients
- 3/4 cup unsalted butter, softened
- 3/4 cup brown sugar (dark or light), packed
- 1/2 cup granulated sugar
- 1 large egg, room temperature
- 1 tsp. vanilla extract
- 2 1/4 cup all-purpose flour, spooned and leveled
- 1, 3.4 oz. box instant vanilla pudding mix*
- 1 tsp. baking soda
- 1 tsp. baking powder
- 3/4 tsp. salt
- 1/2 cup mini semi sweet chocolate chips
- for serving: vanilla ice cream, caramel sauce, sprinkles, chocolate fudge, etc.
Last step! If you make this, please leave a review and rating letting us know how you liked this recipe! This helps our business thrive & continue providing free recipes.
Instructions
- Preheat the oven to 350°F. Grease a standard 12 count muffin tin with baking spray and set aside. Optional: you can dust a sprinkle of flour in each well too, to help cookie cups release from pan.
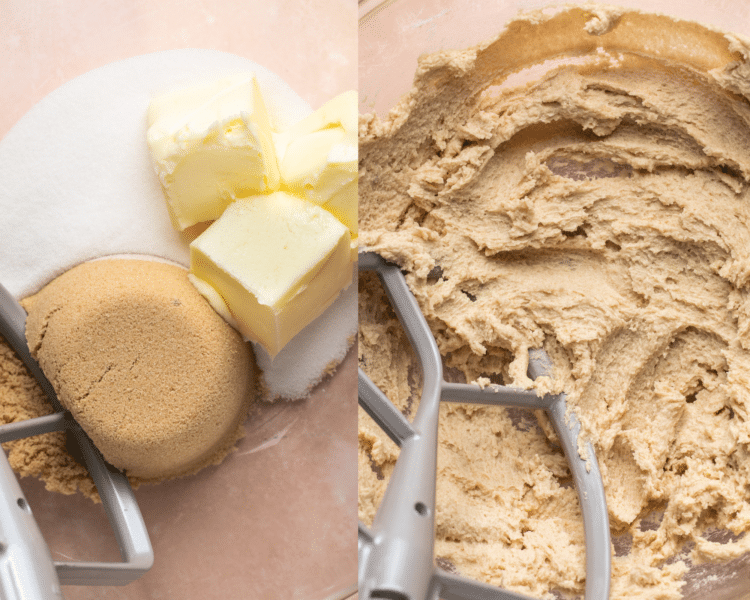
- Place the butter and sugars in the bowl of a stand mixer. Secure the paddle attachment and cream until light and fluffy, ~3 minutes.3/4 cup unsalted butter, softened, 3/4 cup brown sugar (dark or light), packed, 1/2 cup granulated sugar

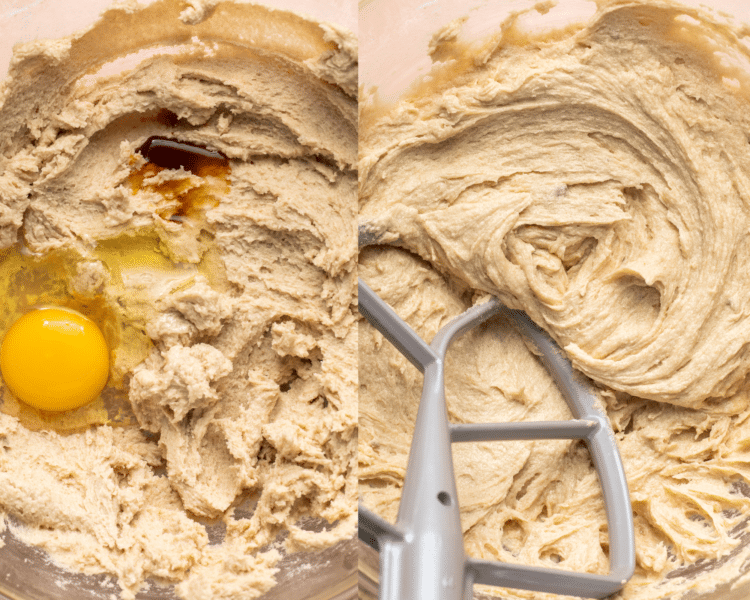
- Then, add in the egg and vanilla extract. Blend until mixed. If any of the mixture gets stuck on the paddle attachment or side of the bowl, use a rubber spatula to knock it off.1 large egg, room temperature, 1 tsp. vanilla extract

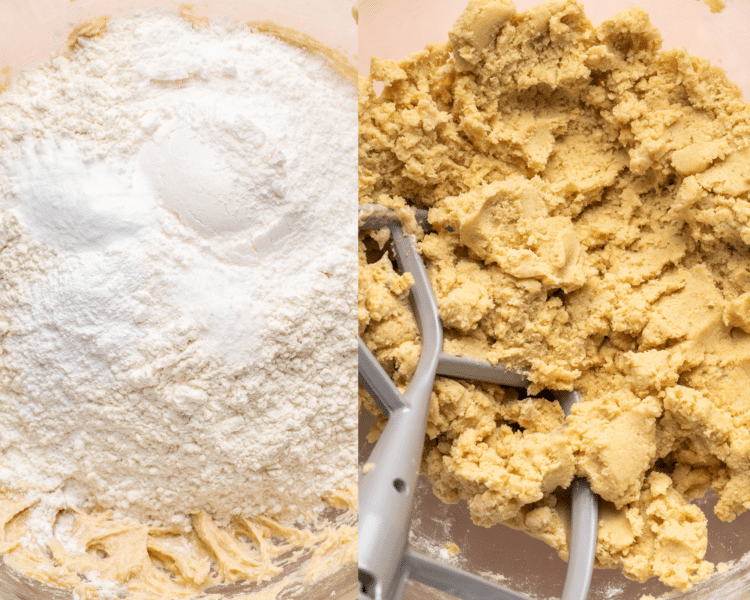
- Add in the dry ingredients and mix together on low speed.2 1/4 cup all-purpose flour, spooned and leveled, 1, 3.4 oz. box instant vanilla pudding mix*, 1 tsp. baking soda, 1 tsp. baking powder, 3/4 tsp. salt

- Add in the mini chocolate chips and incorporate just until combined.1/2 cup mini semi sweet chocolate chips

- Scoop the cookie dough into prepared muffin tin, ~3 tbsp in each. No need to roll into a ball or press cookie dough down, the cookies take shape in the well of the muffin tins as they bake. Bake for ~15-17 minutes, or until edges begin turning light golden brown. The center will be a little underdone.

- Once removed from the oven, they will have a slight indentation in the middle. Take a spoon, and gently press the cookie down and toward the edges to create a cup shape. Once again, they cookie may seem a little underdone, but it’s OK. They’re just gooey and warm!

- Allow to cool in the muffin pan for ~15-30 minutes before removing from pan; this makes it easier and ensures they won’t break. Run a knife around the edges to release them onto a wire cooling rack.
- Once completely cooled, scoop ice cream into the cups, garnish with your favorite ice cream toppings and enjoy! OR you can warm the cookie cup in the microwave for a few seconds then add a scoop of ice cream for a warm cookie pizookie vibe!for serving: vanilla ice cream, caramel sauce, sprinkles, chocolate fudge, etc.

Notes
- Storage:
- Cool the unfilled cookie cups completely and store in an air-tight container at room temperature for up to 3-5 days or in the fridge for up to 1 week. You can also freeze the cookie cups for up to 3 months.
- If you want to scoop the ice cream in them to batch-prepare, you can scoop the ice cream into the cookie cups and freeze for a few hours before serving. But for the best flavor and texture and to help prevent the cookie from getting soggy, I recommend separating them until you’re ready to scoop and serve.
Nutrition Information
Nutritional information is provided as a courtesy and is automatically calculated. It should only be construed as an estimate rather than a guarantee. Ingredients can vary and Kroll’s Korner can’t make any guarantees to the accuracy of this information.

SO good! I added buttercream and edible cookie dough 😊
How would you adjust sugar to turn this into sugar cookie??
that sounds amazing! thank you so much for making them. I am not sure. I haven’t tested them that way, if you try something out lmk how it goes 🙂
So gooey and delicious! A hit with my family!!
OMG, such a great, simple dessert!! My family loved them (especially our grandkids)!!! Will definitely make again!
These are so easy to make and delicious! Perfect summer treat!
Loved this recipe! Super easy to make and perfect for summer!
They look great!! thank you 🙂
I made these to take for our family trip to the beach. I baked them in foil cupcake liners to try to keep them more secure for travel. They turned out so great! We just removed them from the liners when we were ready to eat them, warmed them a little in the microwave, and they were so yummy!! Everyone loved them! The recipe was easy and quick to prepare. Definitely will make these again!
What a fun dessert!🍨
I ❤️ the way they look & they taste amazing.
Thanks for sharing!😊
Perfect!! I think I just needed to mix my dough a tiny bit longer to make it smoother and the edges would’ve looked prettier, but they taste great and are sturdy.
I did think they were underdone when I first pulled them out but I trusted the process and they turned out perfect when cool!