The Tasty Food Photography Workshop at Pinch of Yum
This post may contain affiliate links. Please read our disclosure policy.
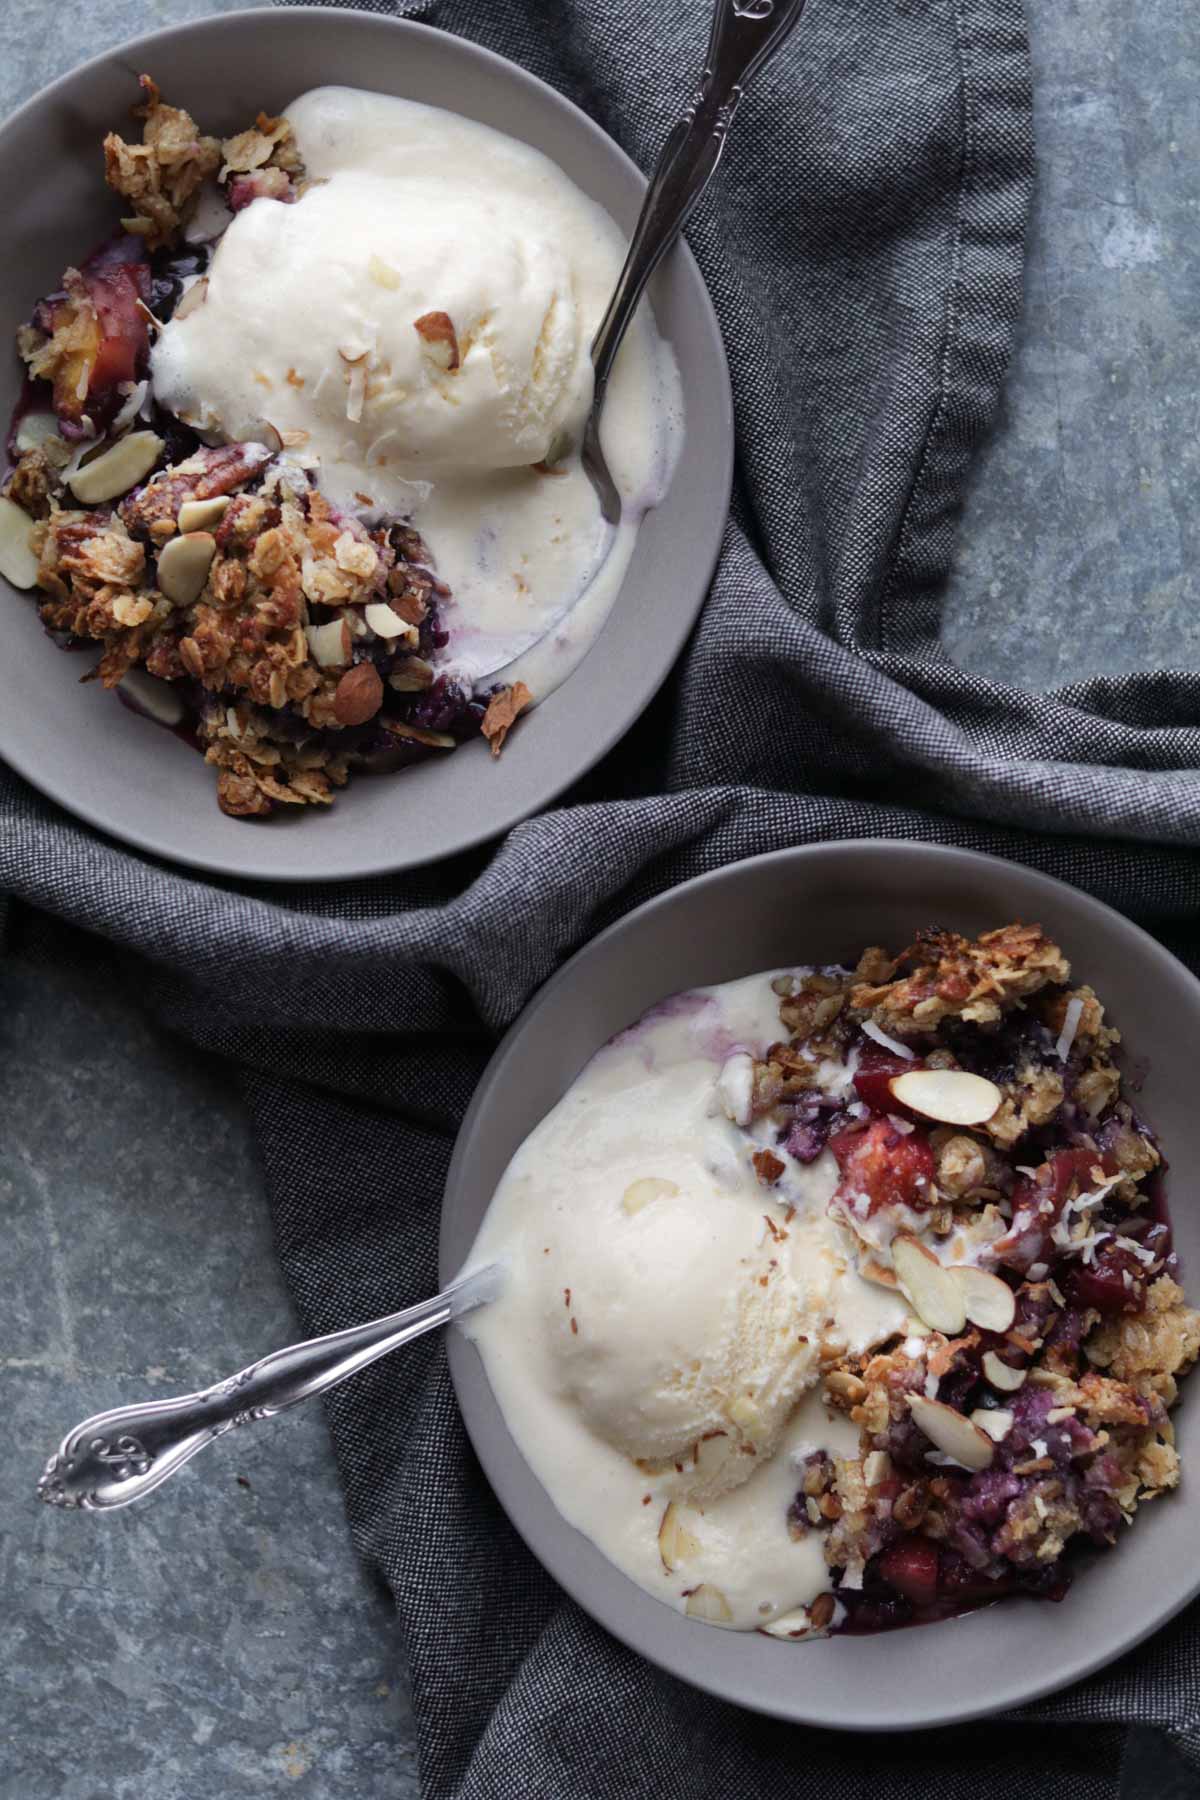
Imagine a kid in a candy store at Disneyland…googly-eyed at everything her pupils land on and a smile as big as the Mississippi River. That’s how this California girl was upon stepping foot into the Pinch of Yum (POY) studio.
I didn’t set too many expectations going into this 2-day, 12 hour total food photography workshop. And I mean that in the most positive way. Like many other food bloggers, I’ve been following POY for a while now and everything published is top notch so I knew the workshop would be amazing. I did however set expectations for myself – and they were all met, and even surpassed. I’ve never had so much intentional alone time with my camera to hone in on understanding how the ISO, shutter and aperture all work together…alone with my thoughts and creativity in a well lit studio yet surrounded with multiple other woman who have the same energy and passion towards food photography. It was pretty magical if you ask me.
I thought the days would be long (fun long like a Monopoly game) but they sadly flew by SO fast just like my airplane will do here shortly on its way back to San Fran. What I learned at this workshop is simply nothing compared to anything I have tried to teach myself through a YouTube video or other similar tutorial videos. Here is a little breakdown of our 2 days so you can get an understanding of what we did:
Phase 1: DSLR Mastery
Phase 2: Lighting
Phase 3: Styling
Phase 4: Editing
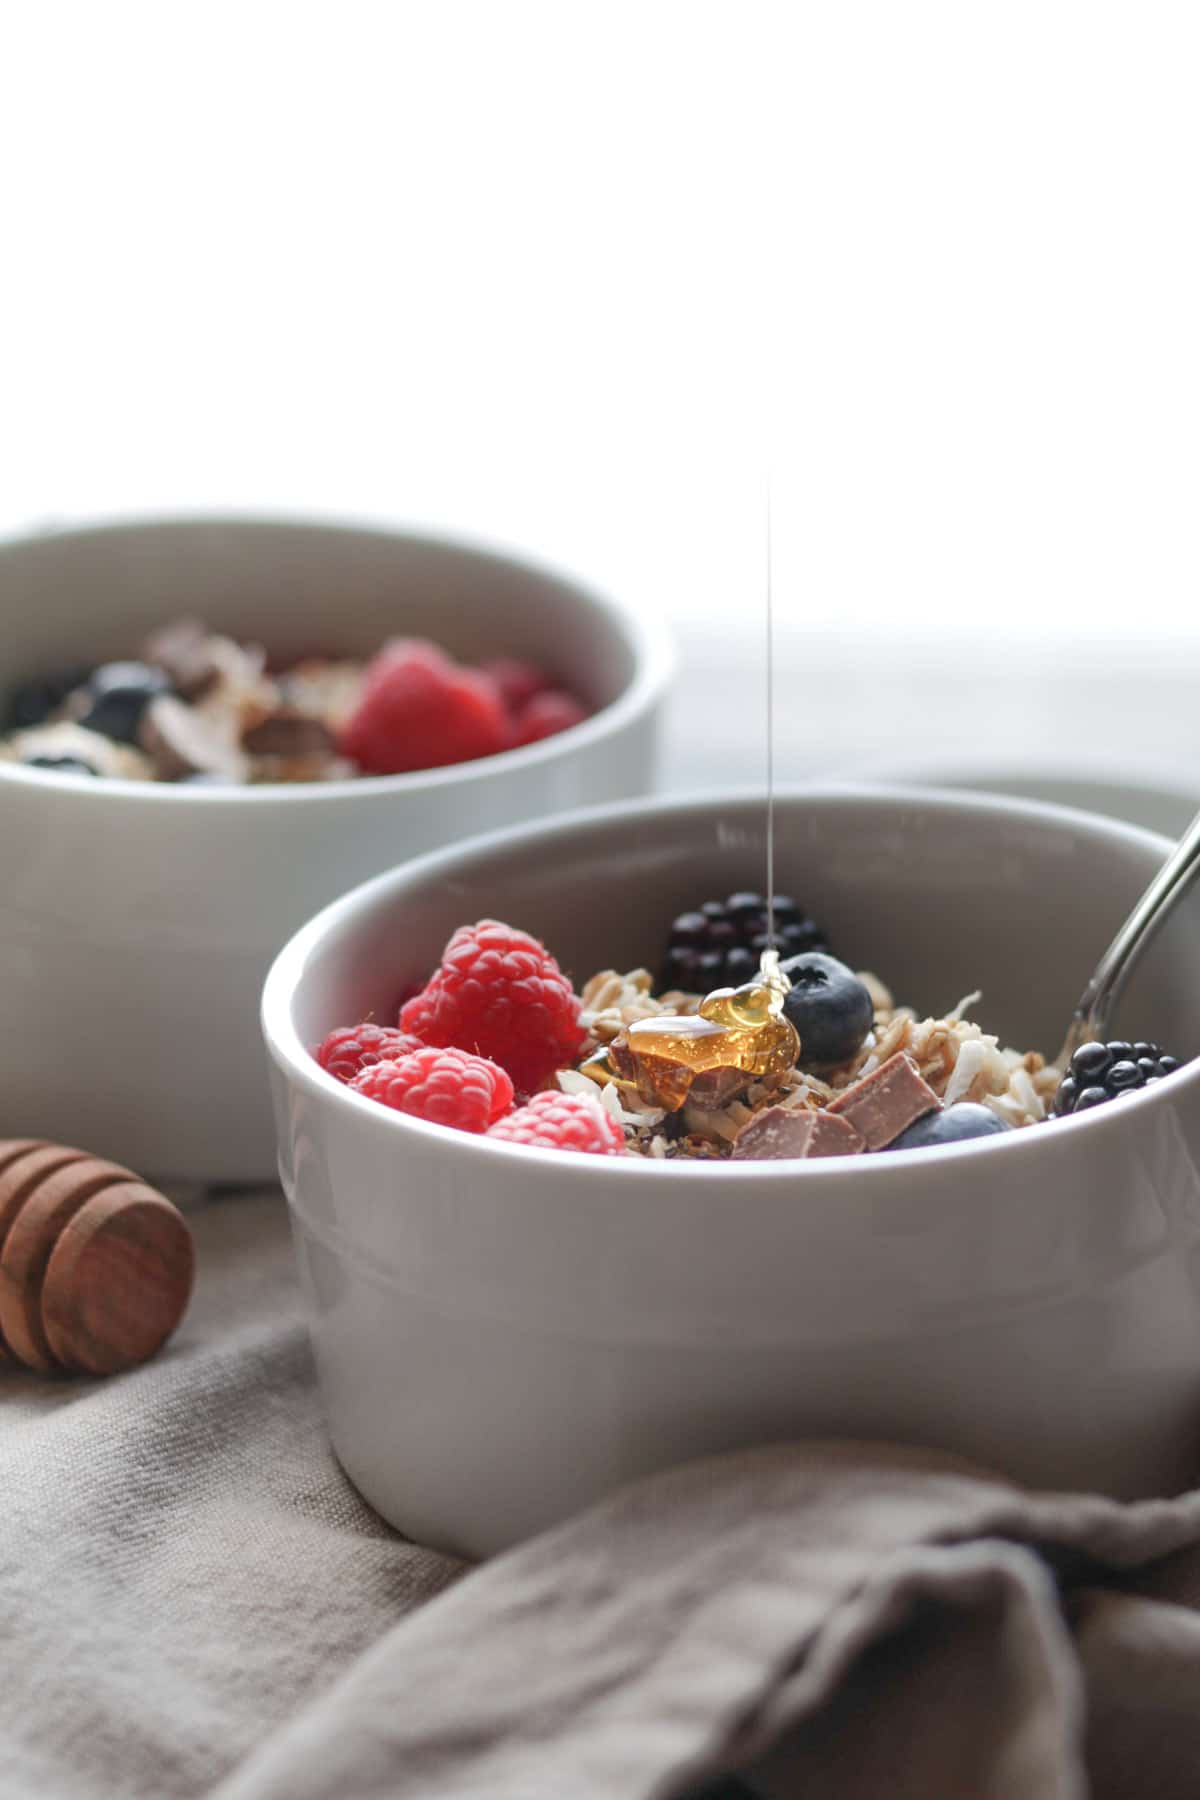
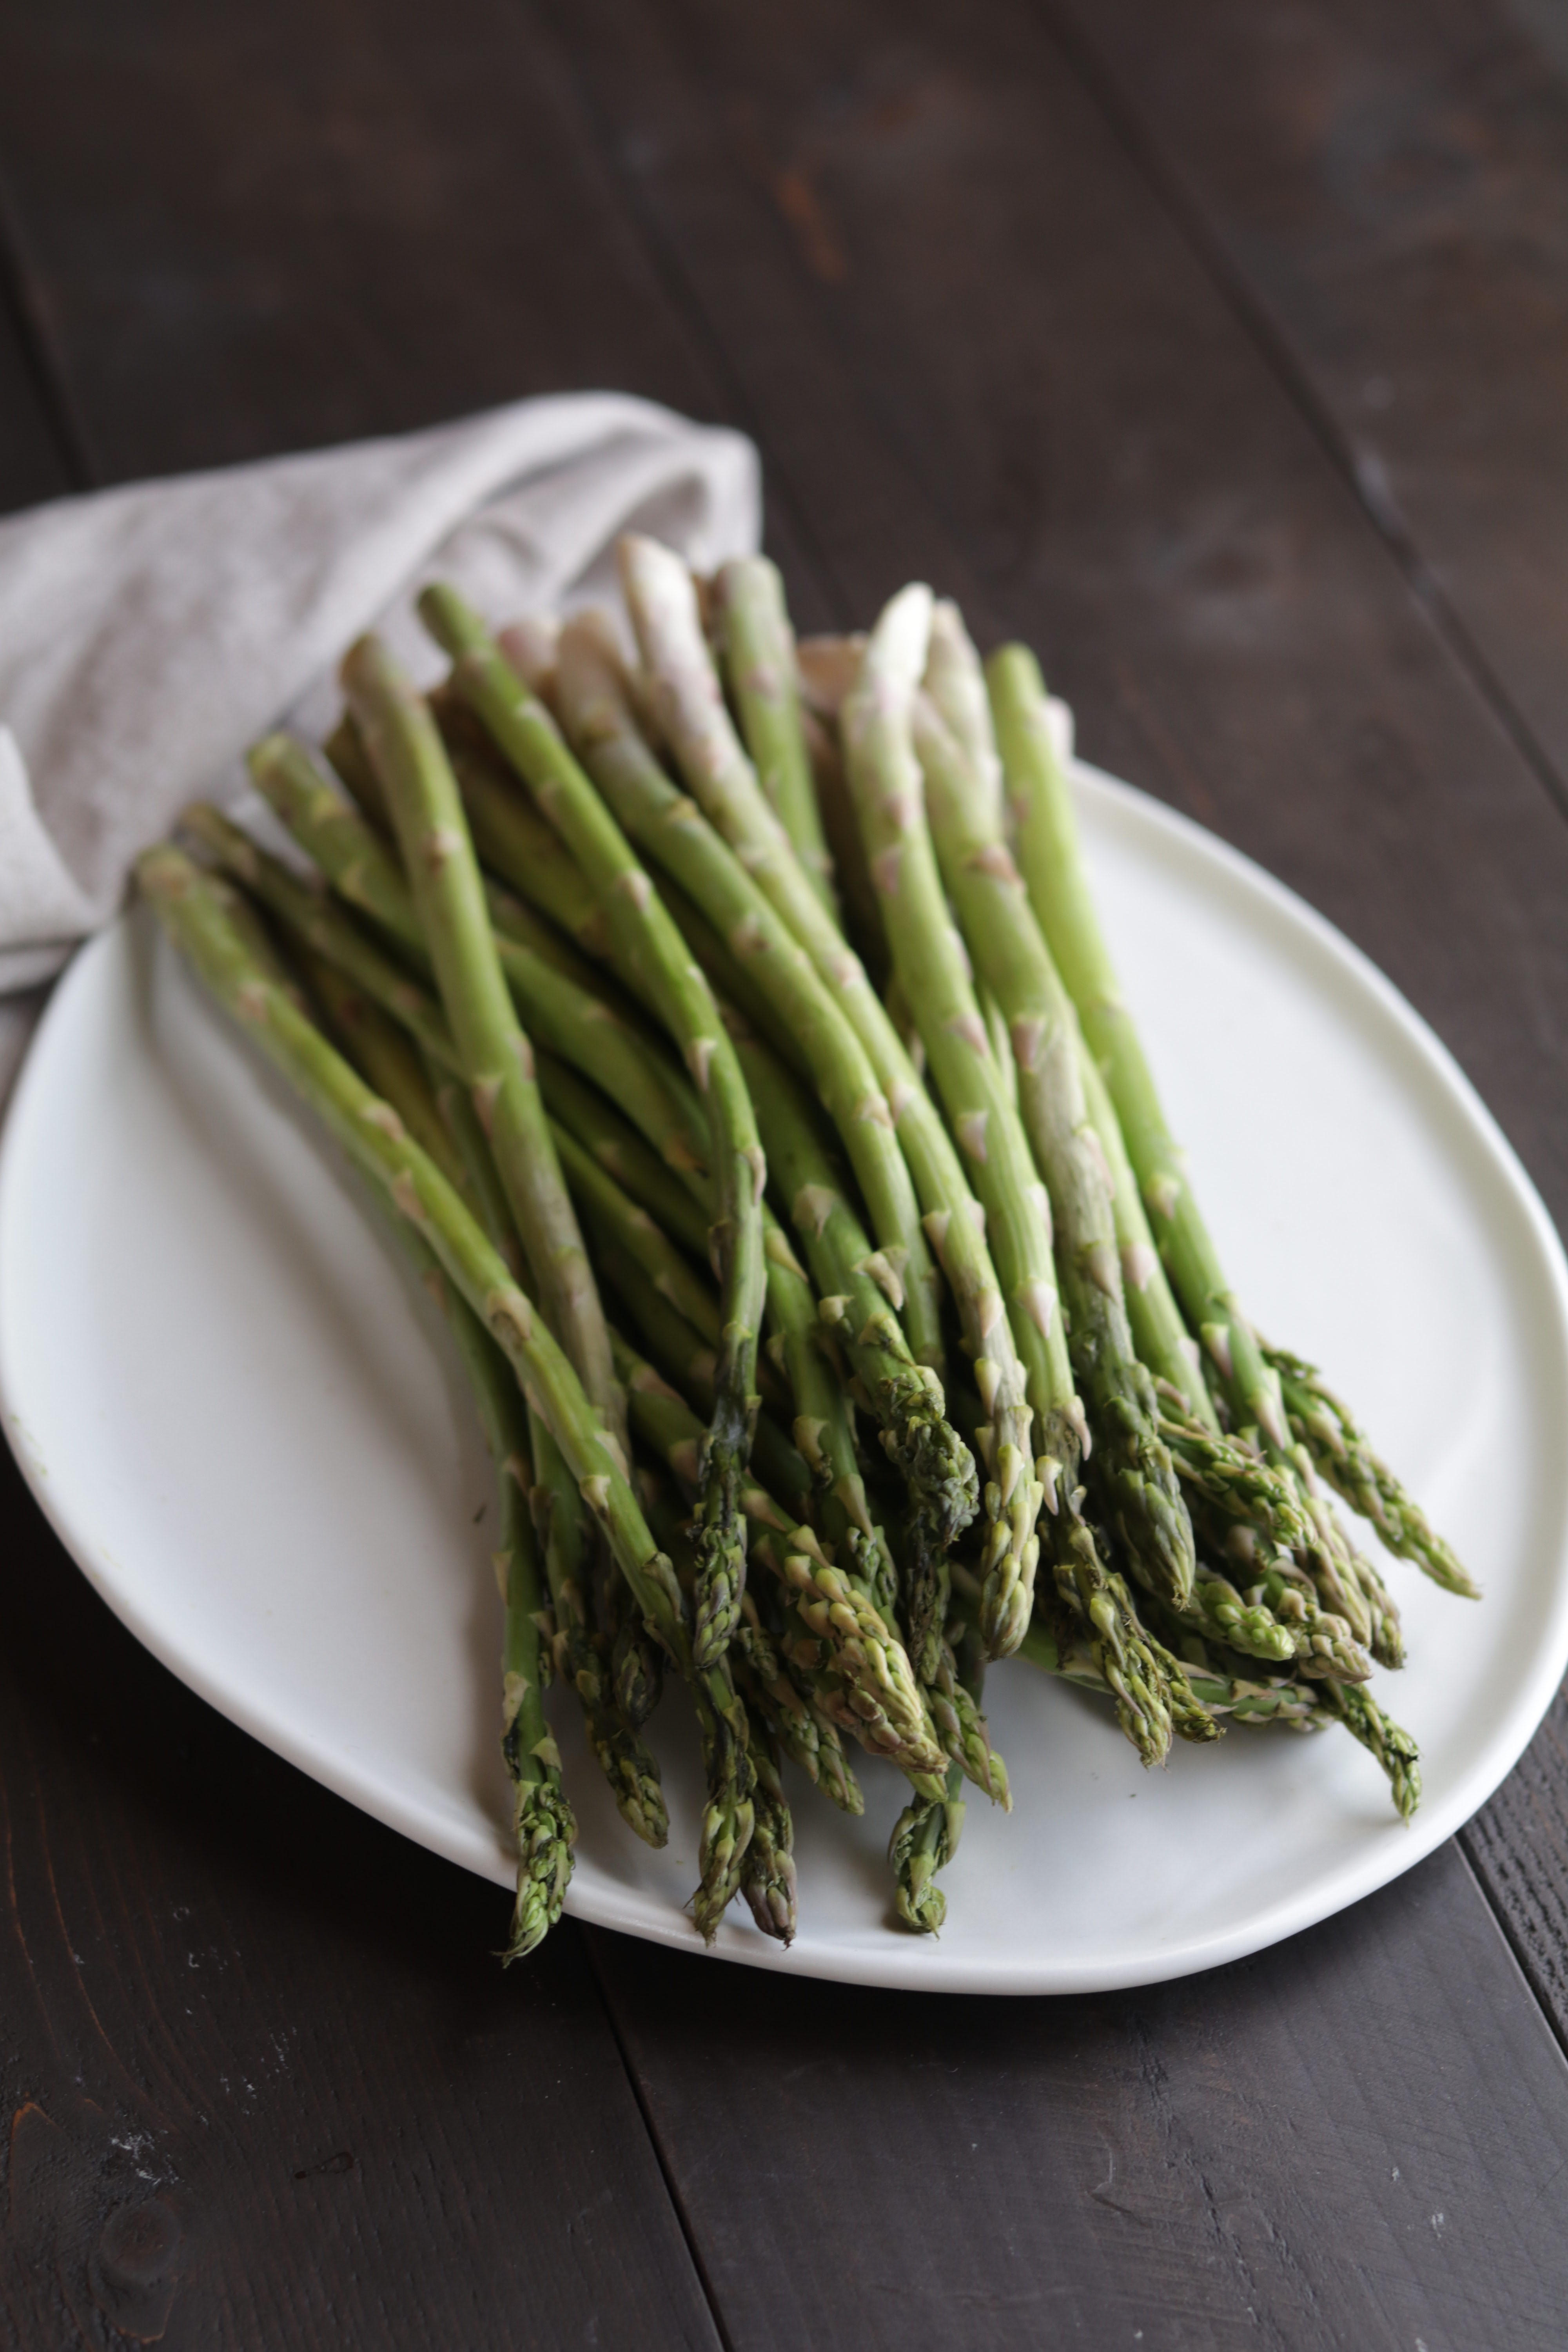
In-between the phases of Lindsay “lecturing” – which she was so good at by the way, must be her teacher skills from her previous job – she had us individually set up by well lit windows so we could practice what we just learned. For example, after we learned about the DSLR mastery section – we had some very simple yet beautiful produce to take photos of. WHICH I NEVER KNEW COULD BE SO FUN! Our aim was to really tinker with the ISO, Aperture and Shutter and see how they all work together on manual mode. It’s fascinating to see how they all play off each other. Simply taking 1 step to the right or left and having a different angle of light hitting the plate of radishes can dramatically change how the photo will turn out. When I am at home, in my non-POY studio AKA the spare bedroom in the house, I never take the time to play with the camera settings in this way. Now, I will.
[Tweet “Find out what I learned at the Tasty Food Photography Workshop at the Pinch of Yum studio! krollskorner.com”]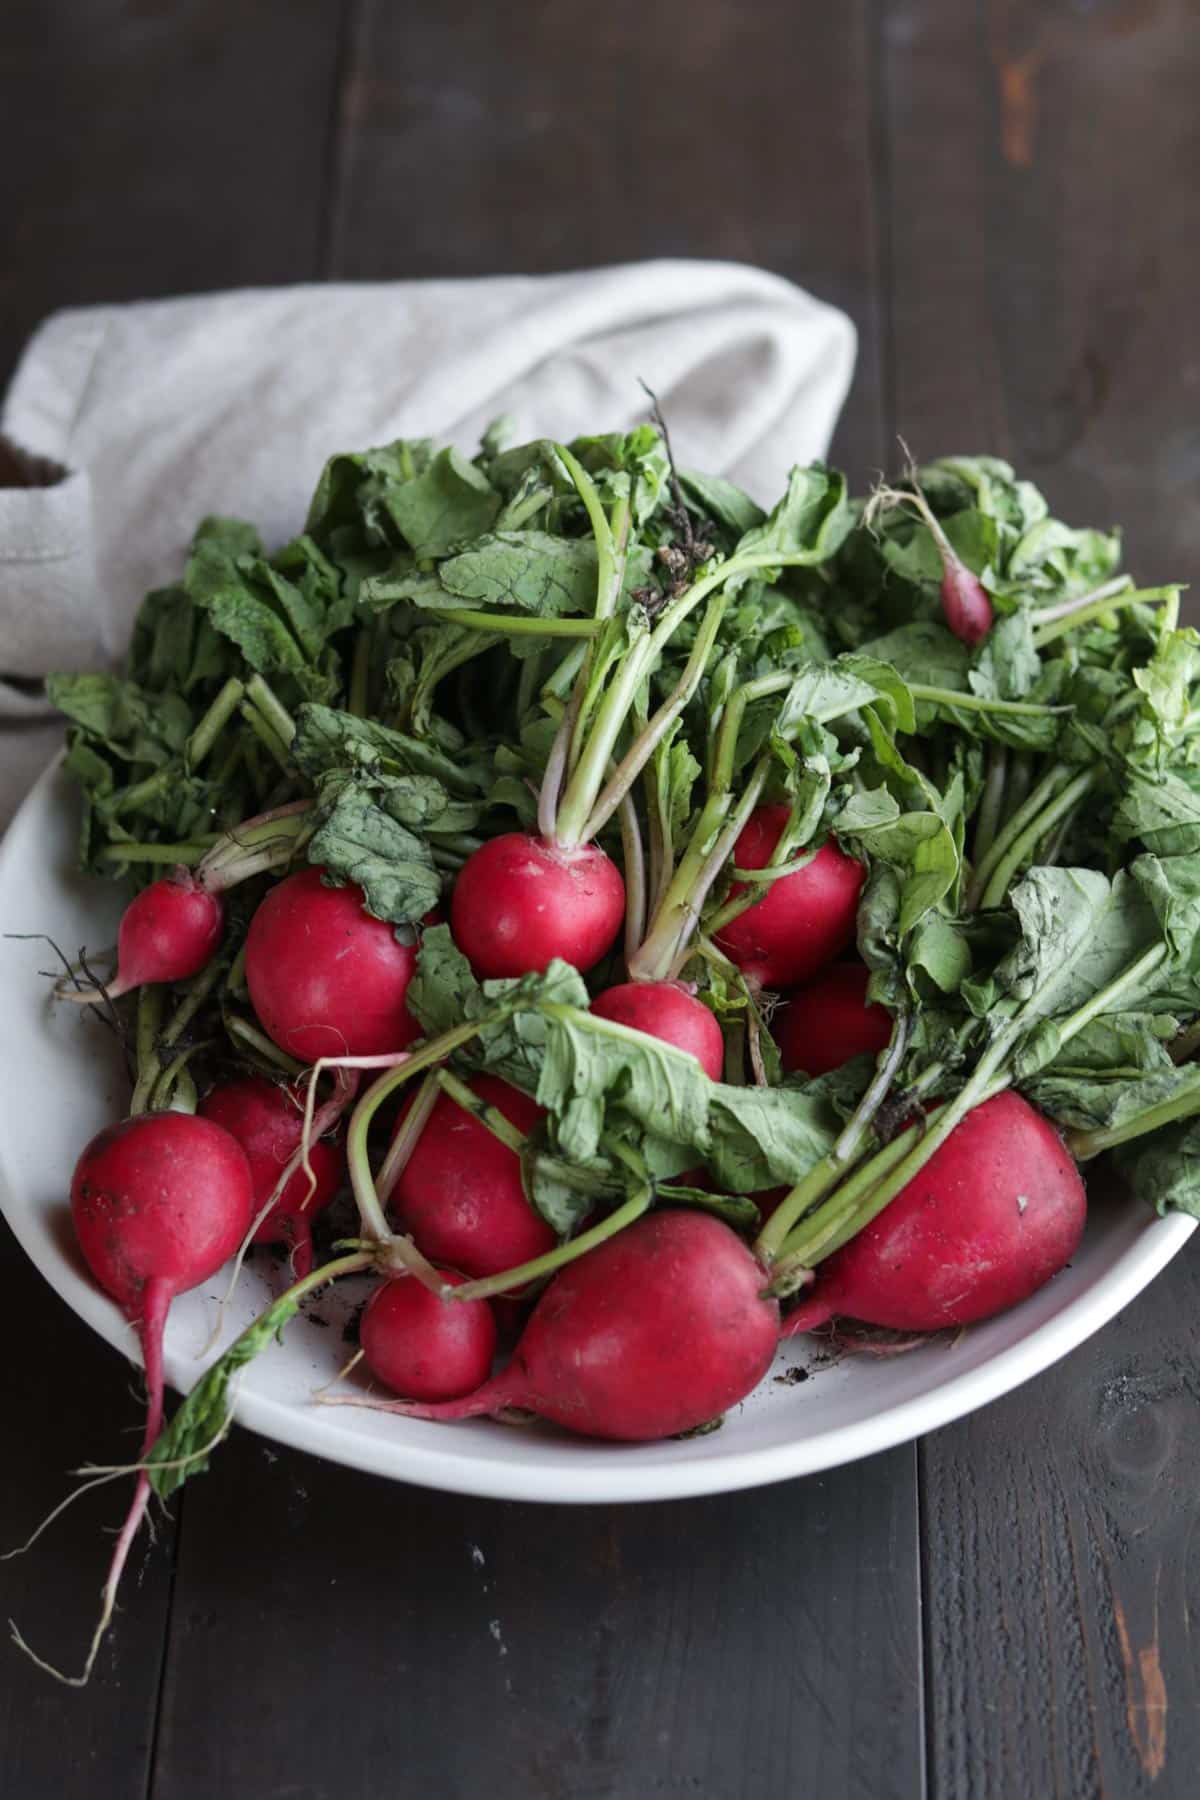
APERTURE
- Creates the appearance of background blur/depth of field
- 50mm lens: 2.5-4.0
- 100mm macro lens: 2.8-8.0
SHUTTER
- Lets in light
- Bigger # = faster shutter = less light
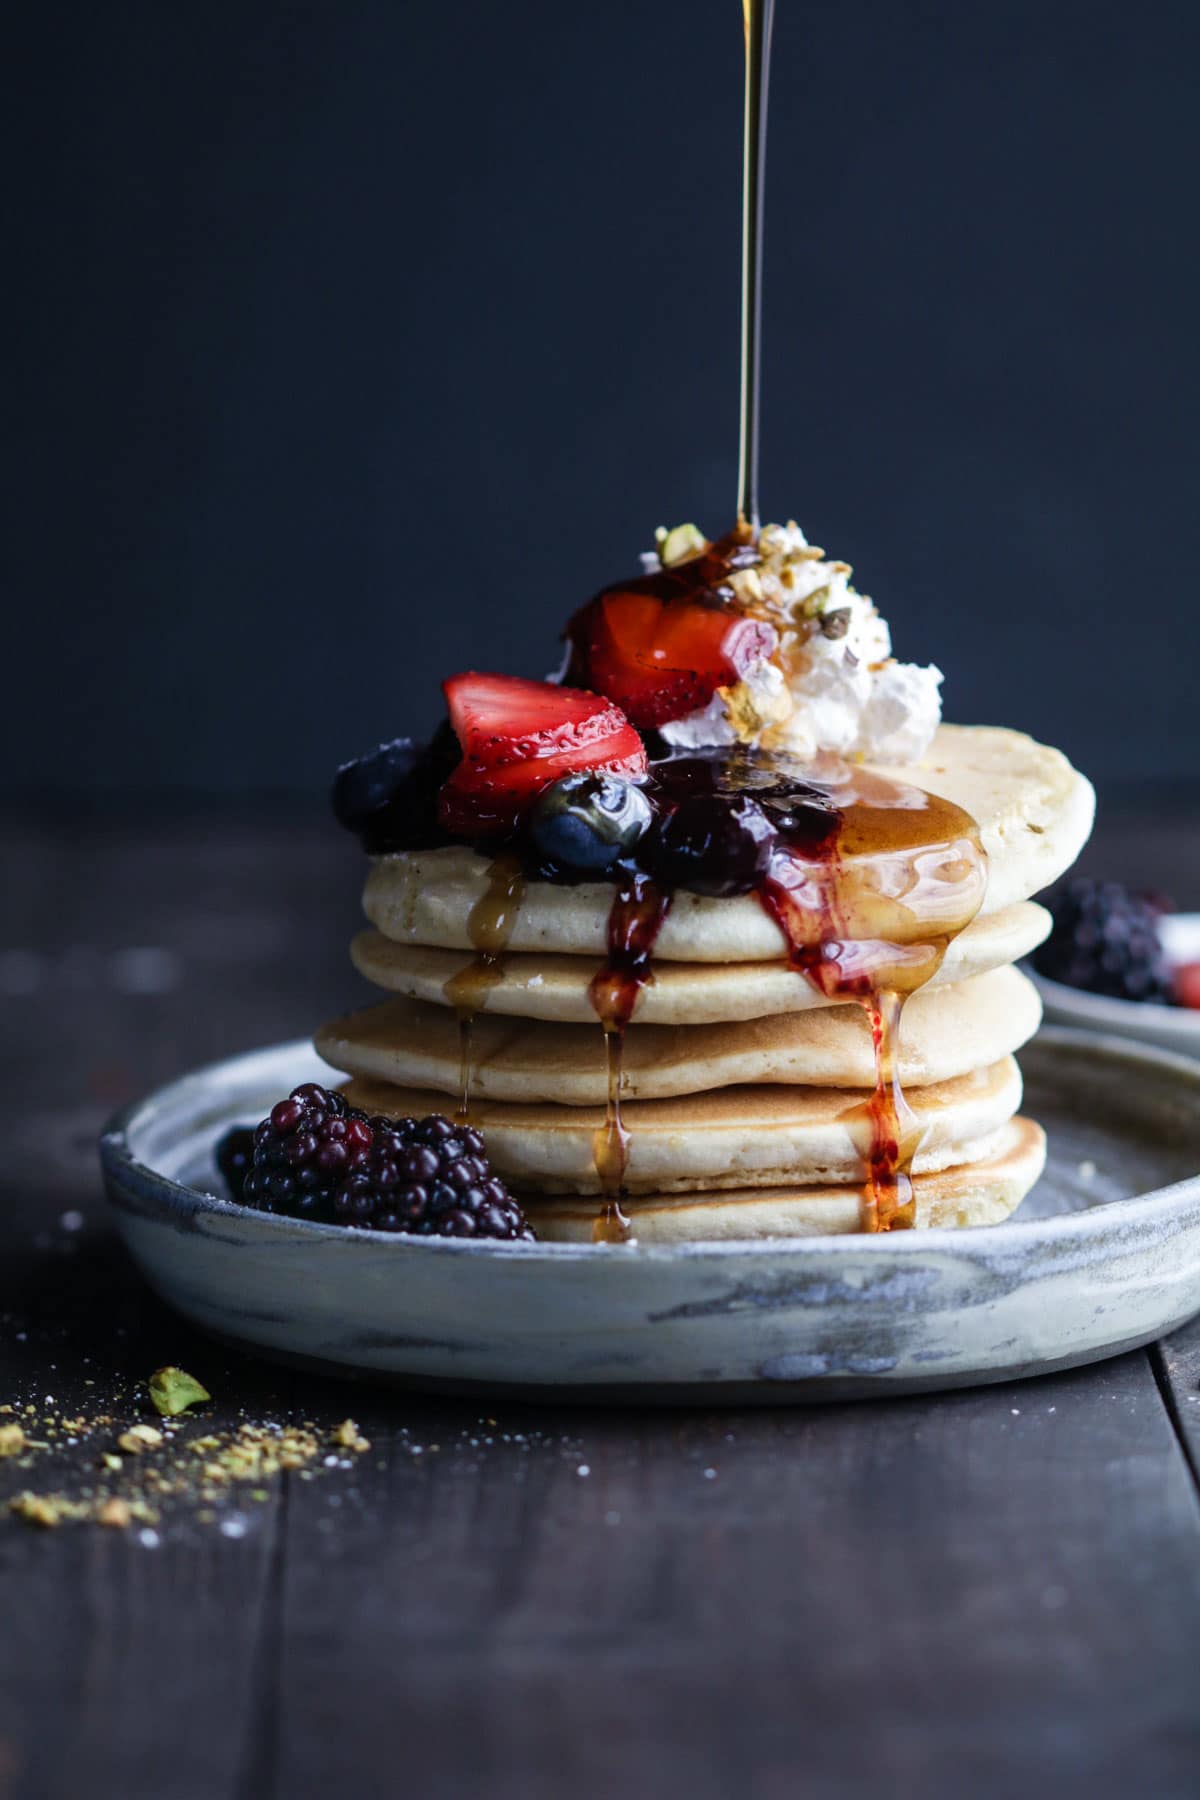
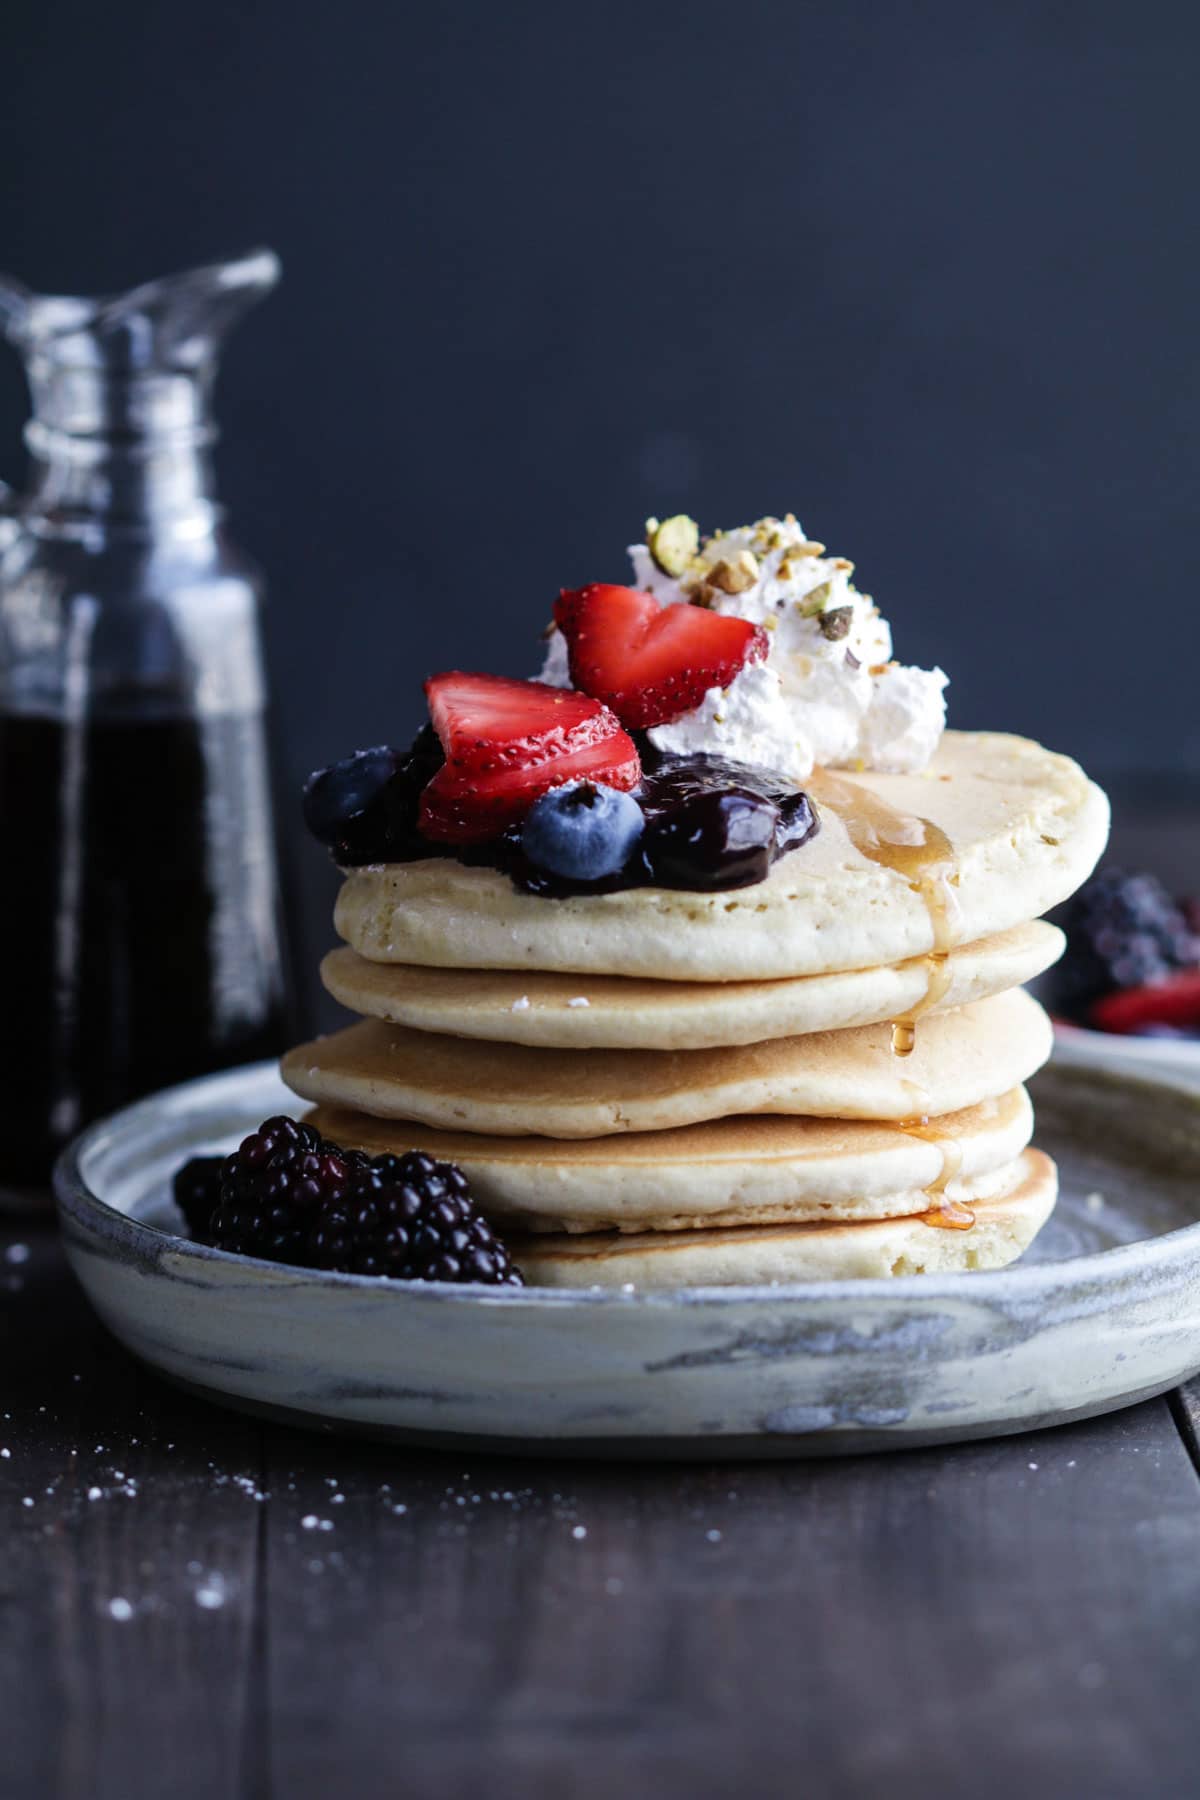
- Captures movement. So for the pour shot on my pancakes, I needed a higher shutter & I was using my 100mm lens for the pancake shots.
- 50mm lens: 60-200
ISO
- Simply makes your photo brighter or darker
- Sensitivity to light AKA the magic light booster!
- Higher ISO = higher brightness = more noise (be careful of that).
- 50mm lens = 200-800
During the styling part of the workshop Lindsay told us, “Props don’t make you a good photographer.” And it’s so true. If you don’t have the camera settings down and the proper lighting first – props won’t really make a big difference.
Another big thing I took away from the styling section was the idea of doing a test styling run – so during the recipe development or even before, getting a really good idea of the way I’m going to style the food before I set up the shoot. Often times I am so caught up in making the food and hurrying to take a really good picture so I can get a blog post up and overall rush through the shoot. This doesn’t make for good food photography. There was so much thought, patience and intentional decisions made when taking the pancake photo at the POY studio. That shoot probably look me the full hour to get the photo I was “happy” with. I want to spend quality time moving forward like that with all of my photos. A popular quote from the 2 days was: “You live and die with every photo you take.”
During the editing section, we learned how to edit photos using Lightroom. I’ve been using Lightroom for my photos for a long time, but I quickly learned I was not using it in the most effective way. My photo editing routine basically consisted of going to the basic panel and playing with the shadows, highlights and saturation here and there and then calling it good. We learned more detail about using the adjustment brush AKA the best tool ever, the color panel (HSL), copying and pasting edits from one photo to the next, and so much more. A big thing I took away from this section is keeping in mind what photo style I have. Are my photos typically bright with pops of color, or more dramatic and have a lot of shadows? Do I use a lot of props or do I like the more simplistic style? I think I have yet to truly find what my style is because I am learning so much every day about food photography. I remember I took an Uber in Boston last year and was chatting with the guy about photography. He had previously taught photography and was pretty experienced (so it seemed). I told him I have a food blog and he quickly told me food photography was the hardest photography of them all. Eeeek. According to my track record, I’m always up for a challenge. And this food photography journey has been one of the best challenges I’ve set for myself. Time, practice, and patience.
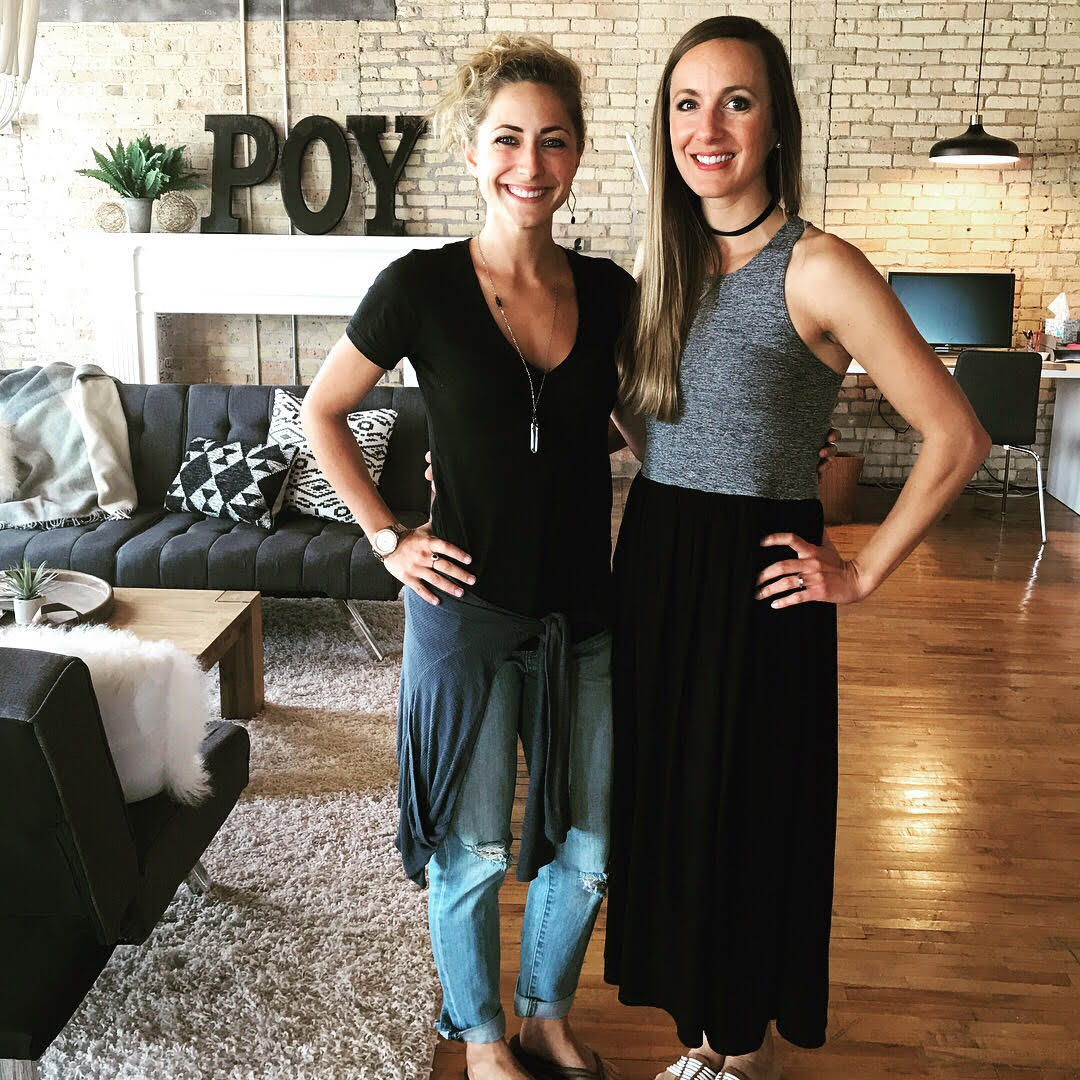
I can’t thank you all enough for supporting and following Kroll’s Korner. I am SO stoked to see what’s next and explore this journey with you all!
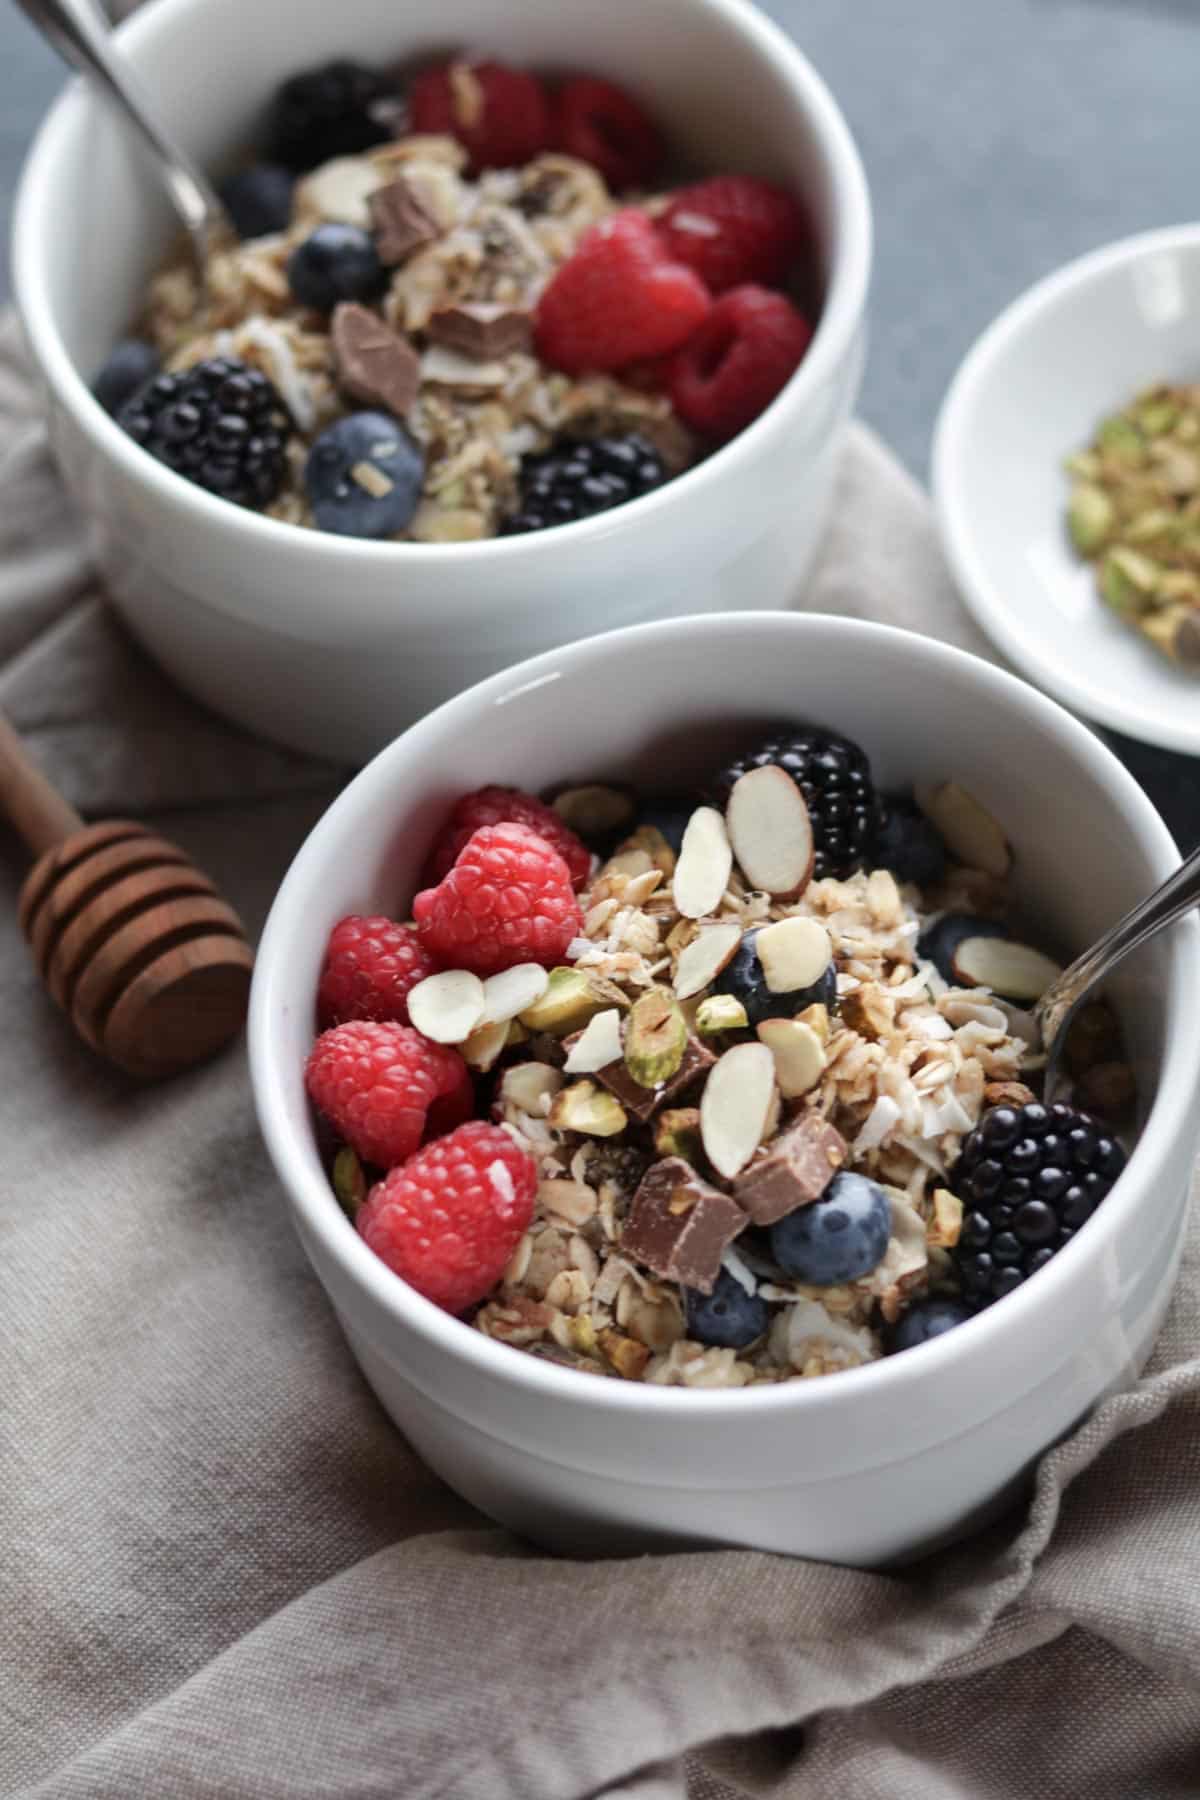
The Tasty Food Photography Workshop is so worth it in my opinion if you’re looking to improve your skills and take your blog to the next level. I am so thankful for my opportunity to attend and meet some wonderful ladies!

YAYAYAYAY! Thanks for sharing your experiences! I’m starting to appreciate moodier photos, and your photos from this workshop are so freaking cozy and moody! LOVE them! They just scream morning pancakes! Do you know where she gets her linens & tableware? I’m loving those plates!
Thank you! It’s 100% that POY studio magic! She mentioned https://www.restorationhardware.com/ and IKEA 🙂
I’m so happy for you! Going Annika, and understanding the whys and how’s opens up a world of creativity! Can’t wait to follow along to see where you go from here!
Thank you so much Katie!! Means a lot 🙂 Cant wait for blog brulee this year!
Your photographs from the workshop are absolutely spectacular Tawnie! I loved the experience too and you did such a fabulous recap of the session.
Thank you Erin!! Trying to be more creative like you 😉
It was so nice to meet you Tawnie! I’m glad you had a good time at the workshop – your photos look beautiful! Hope to cross paths again with you sometime in the future. 🙂
So nice meeting you IRL too Lindsay! You’re making an impact on many! Yes – agreed! <3
Great summary! I’ve been hearing about the POY workshops and have always wondered what they were like. I can so relate to some of the things you’ve said – especially finding your own style. I think I’m still developing mine and haven’t quite found my niche yet but I keep trying!
Thank you – it’s totally worth every penny in my opinion! Style is hard to find. A tip I learned from Lindsay is to make a Pinterest board of pictures you like and are drawn too. (it can be a private board) then from there start to add some of your own pins and do some comparing. Good way to get some inspo!
WOW! Sounds like such an amazing experience. I need to take this workshop! It sounds unbelievable! Your photos are absolutely amazing!
Thanks so much Julie! You would love it!
Great photos Tawny, and very good and interesting photography tips. I too love photography but have never tried food photography. Your article has enticed me to try.
Thank you!
This sounds like such an incredible experience!! I hope to be able to go one day… and totally agree about slowing down and taking time to play with my camera. Curious if you learned or had any time to play w/ unnatural light and what they said!
Thank you! Yes – you for sure should consider it! She had a table set up with artificial lighting for those interested – she uses the Lowel EGO digital imaging florescent lights (about $100). But we really focused on natural light. On Food Blogger pro they have an entire video series on artificial lighting too!