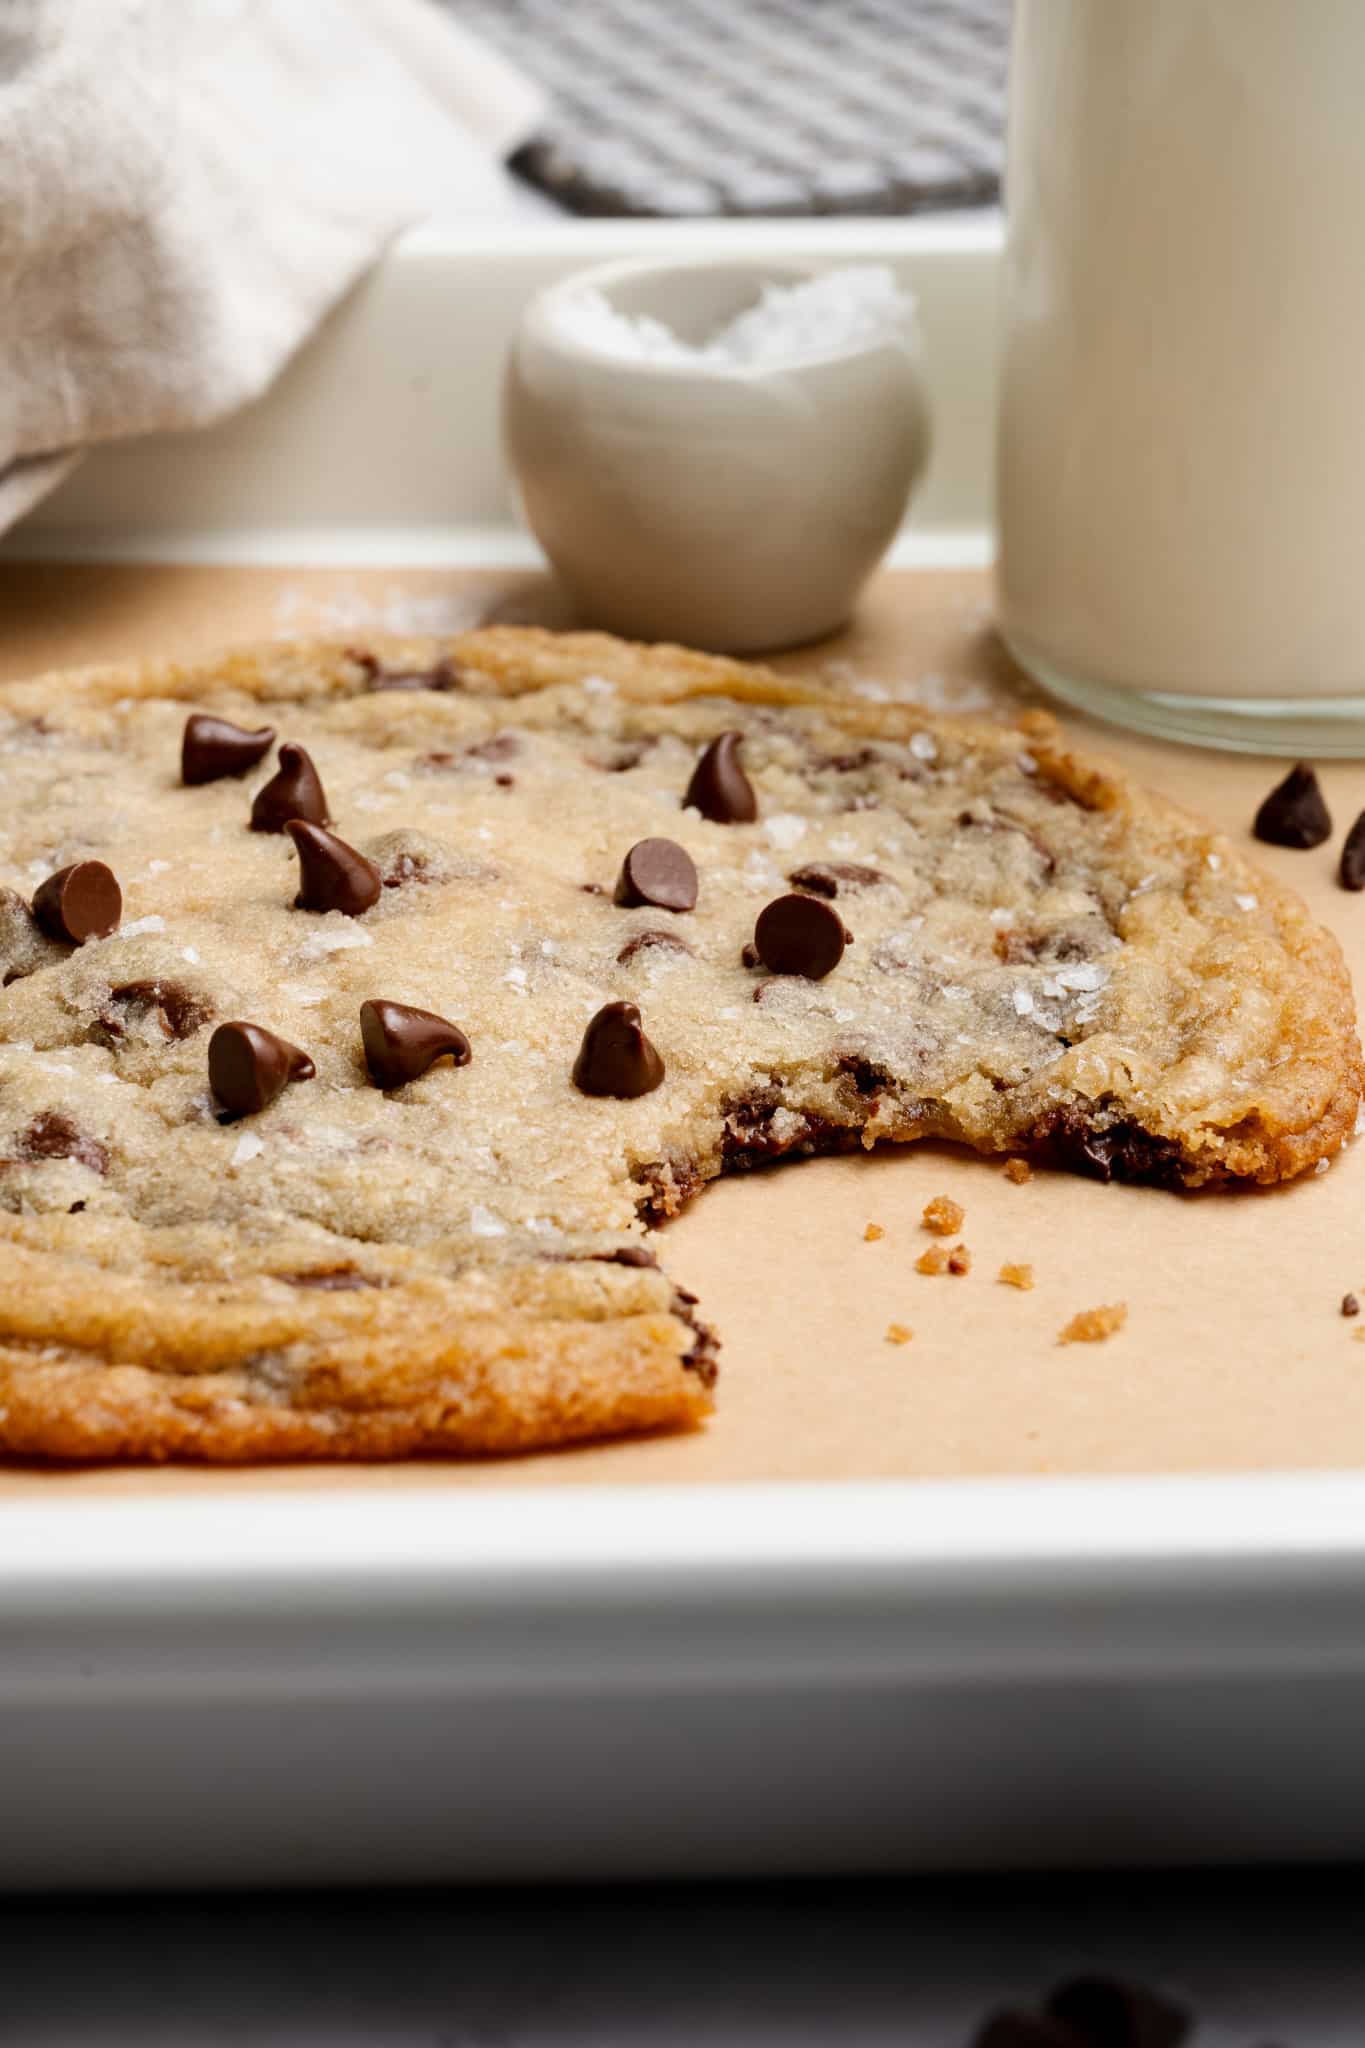
Single-Serve Thin and Chewy Chocolate Chip Cookie
This post may contain affiliate links. Please read our disclosure policy.
Whether you’re craving something sweet after dinner or want a late-night treat without making a whole batch, this single-serve chocolate chip cookie delivers all the buttery, chocolatey goodness you love in a classic chocolate chip cookie but scaled down to one!
I love this recipe because it’s so easy to make. You only need one bowl, there’s no chill time required, and it’s ready in minutes! Plus, this recipe doesn’t require an egg, so you probably already have all the ingredients you need right in your pantry, which is perfect for a last-minute dessert.
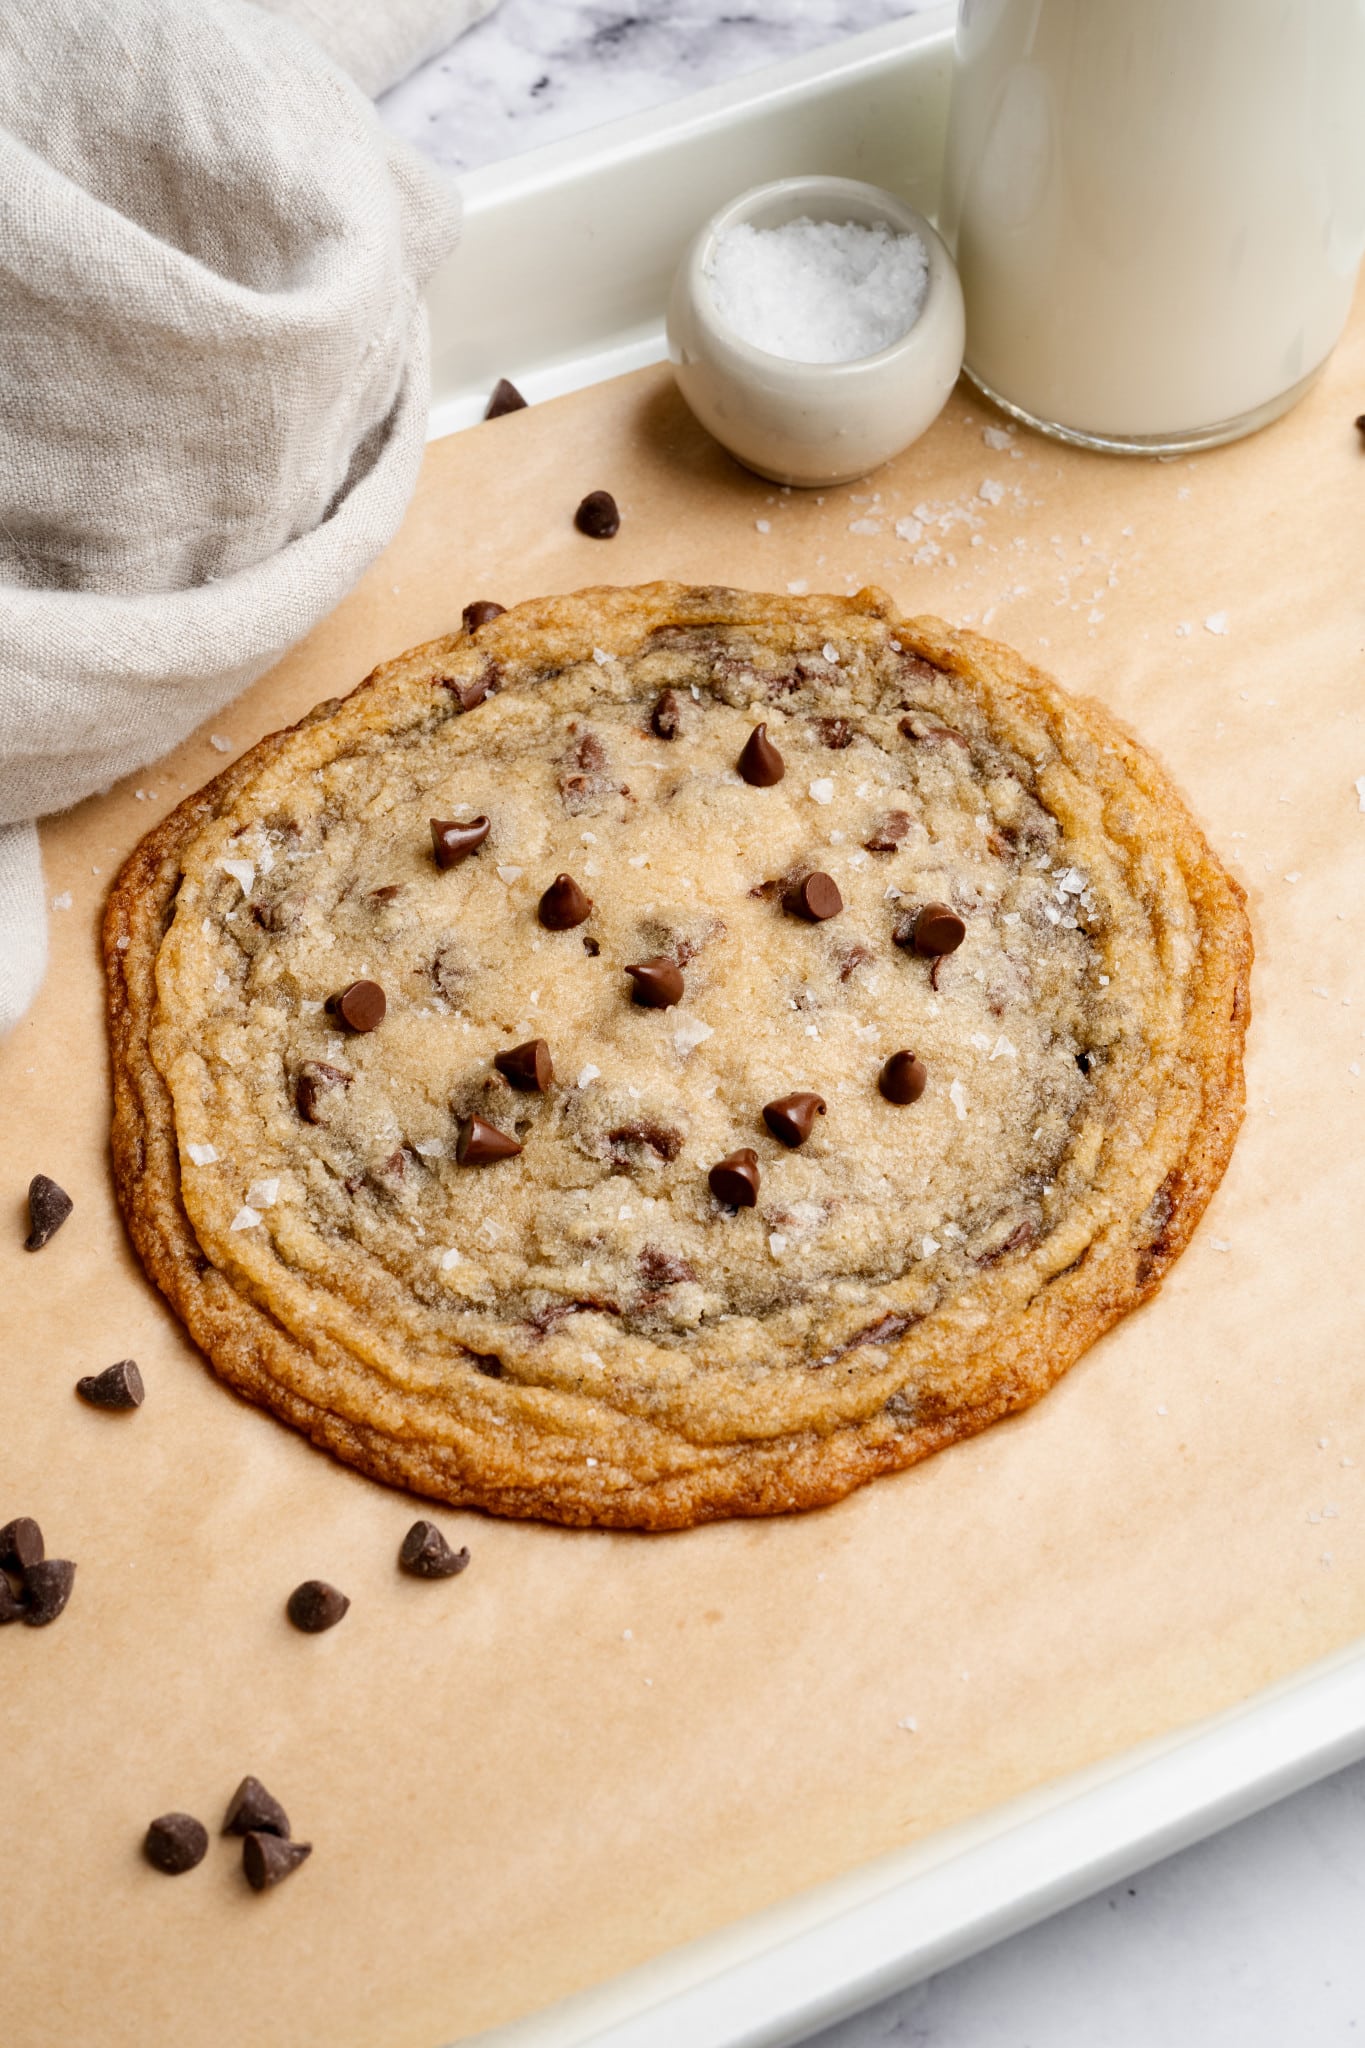
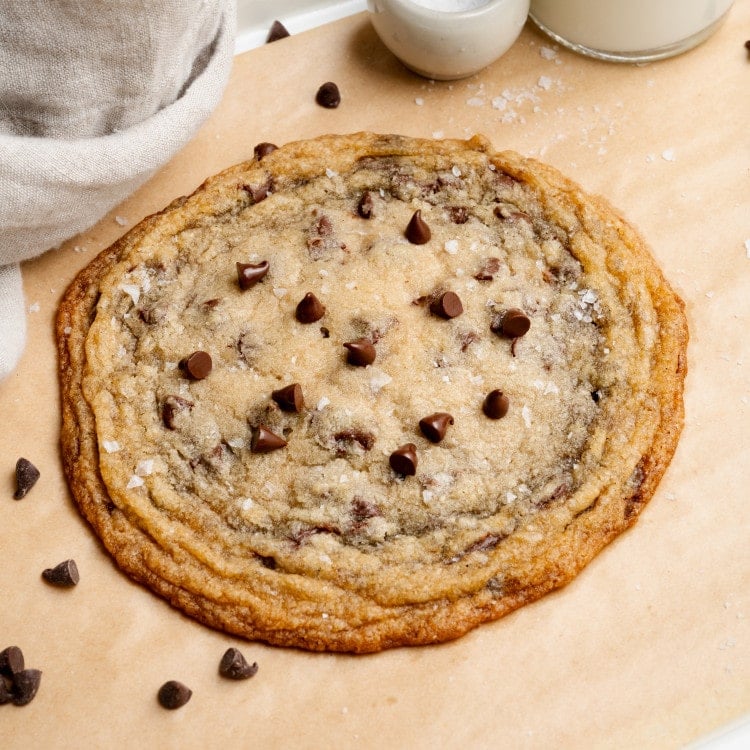
This cookie recipe is for those of you who love cookies with crispy edges and a chewy middle! If you’re looking for a giant, soft, fluffy cookie, try my Single-Serve Chocolate Chip Cookie, which is based on my infamous Kroll’s Kookies recipe.
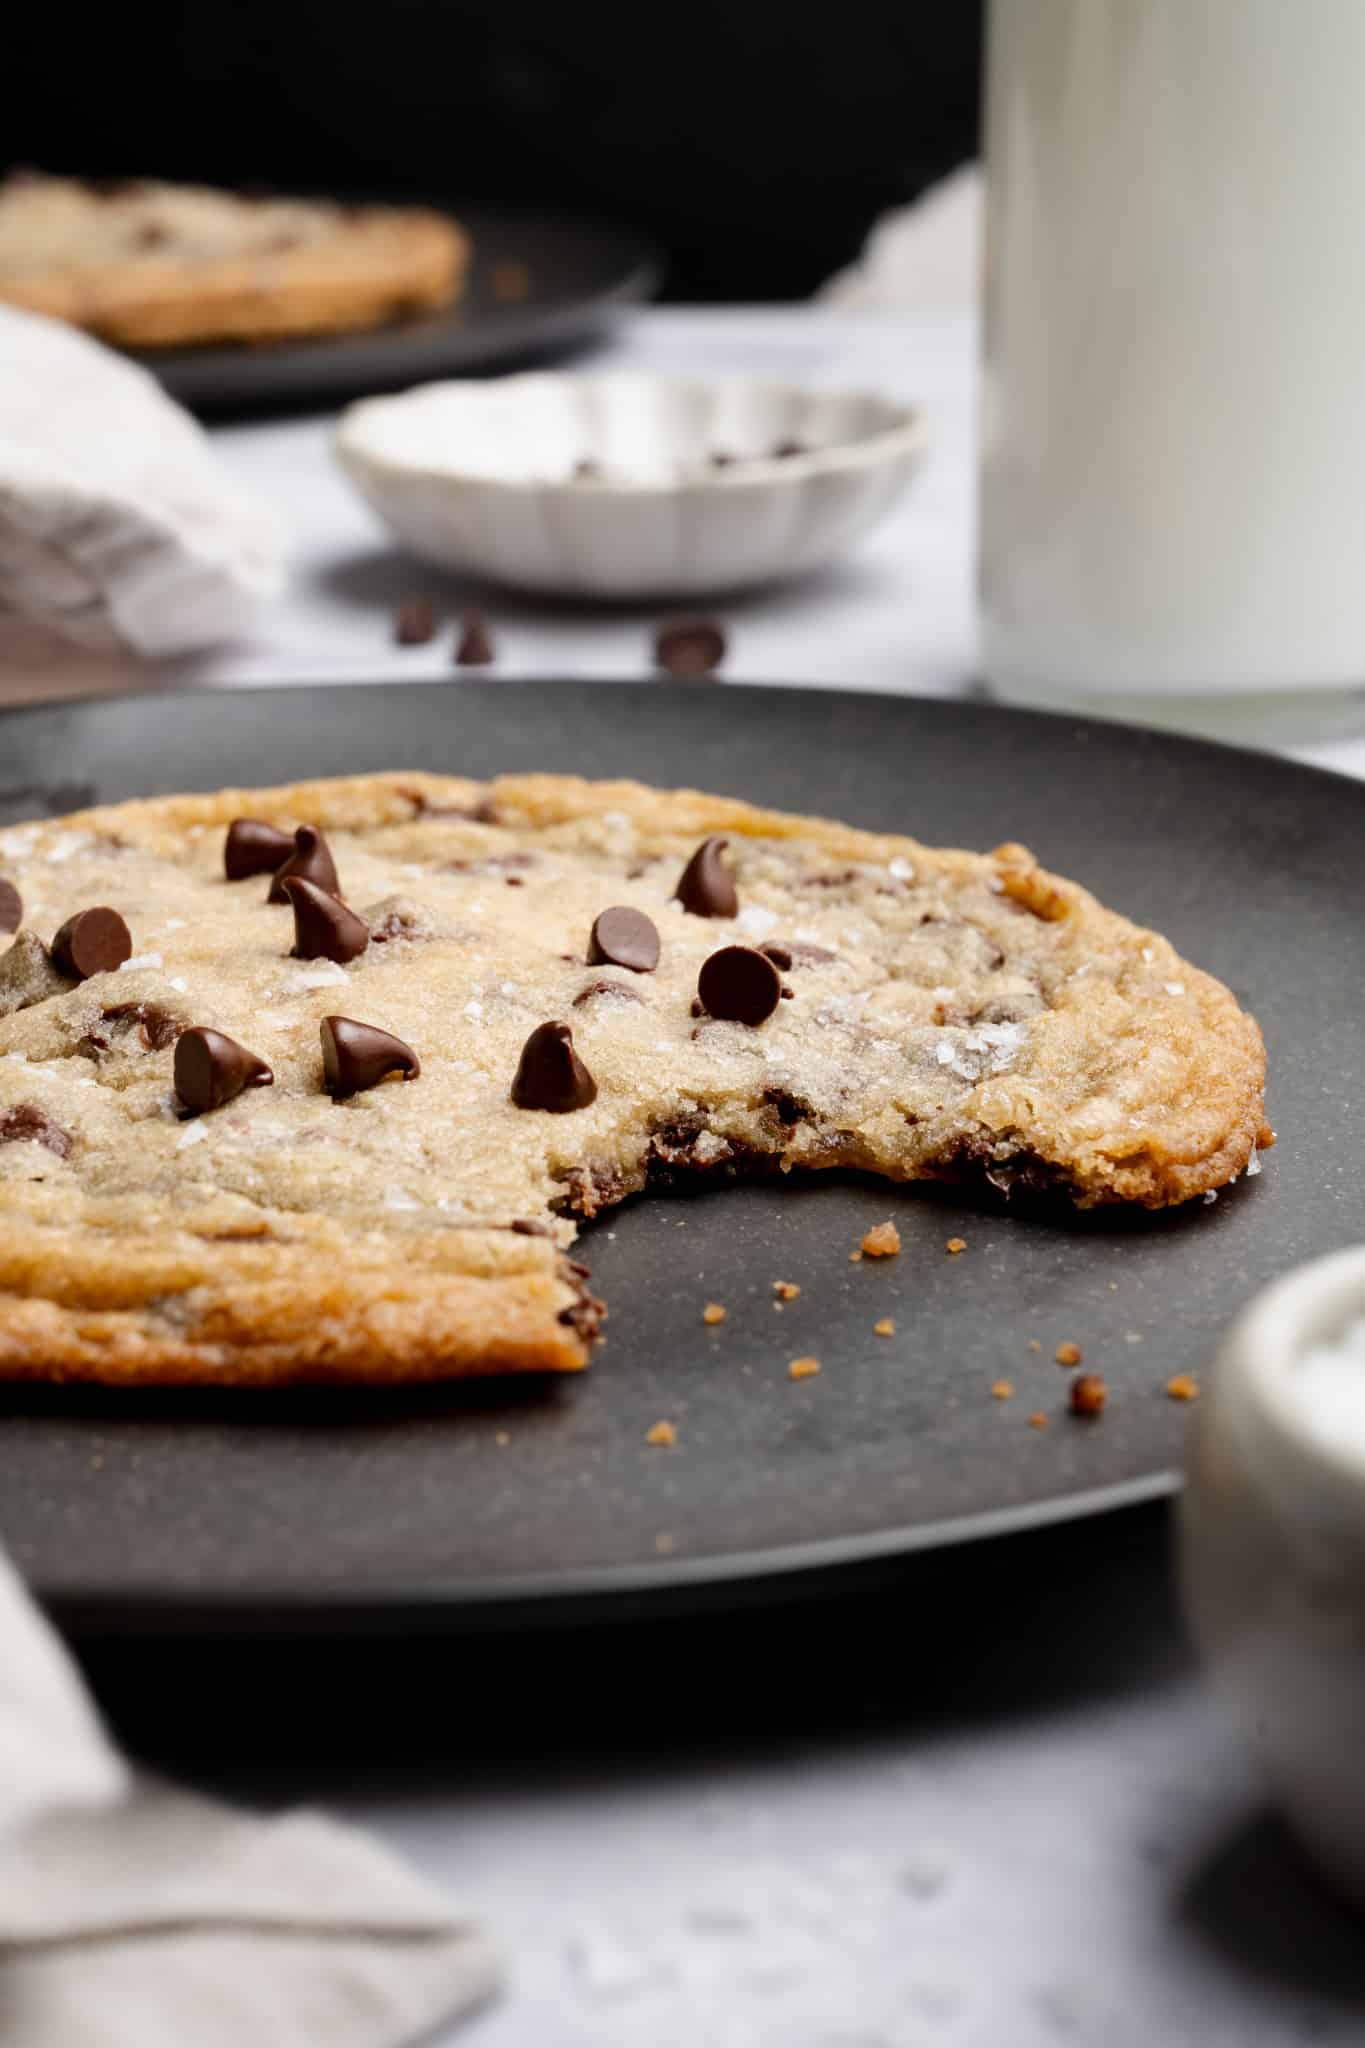

 Table Talk with Tawnie

Sometimes you just need a warm chocolate chip cookie, you know? But when the craving hits last minute, the thought of pulling out the mixer, chilling the dough, and waiting 12 minutes per batch, yeah, no. That’s exactly why I love this single-serve cookie recipe. I wanted an easy recipe that I could quickly mix up, pop in the oven, and enjoy straight from the oven before I even finish cleaning up. Plus, there’s no egg to crack or dough to chill. It’s like instant cookie satisfaction, and let me tell you, the crispy edges and chewy center hit every single time.

- All-purpose flour: As always, it’s essential to make sure you’re using the spoon and level method to measure your flour when baking. Too much flour can result in a drier, harder cookie.
- Sugars: Both brown sugar and granulated sugar get mixed into the softened butter to form a paste. No need to cream the ingredients with a stand mixer, just a bowl and a rubber spatula (or spoon)! Be sure to break up any clumps of the brown sugar.
- Heavy cream: Since there’s no egg, the heavy cream provides moisture and fat to bind everything together and keeps the cookie soft and slightly chewy rather than dry or crumbly.
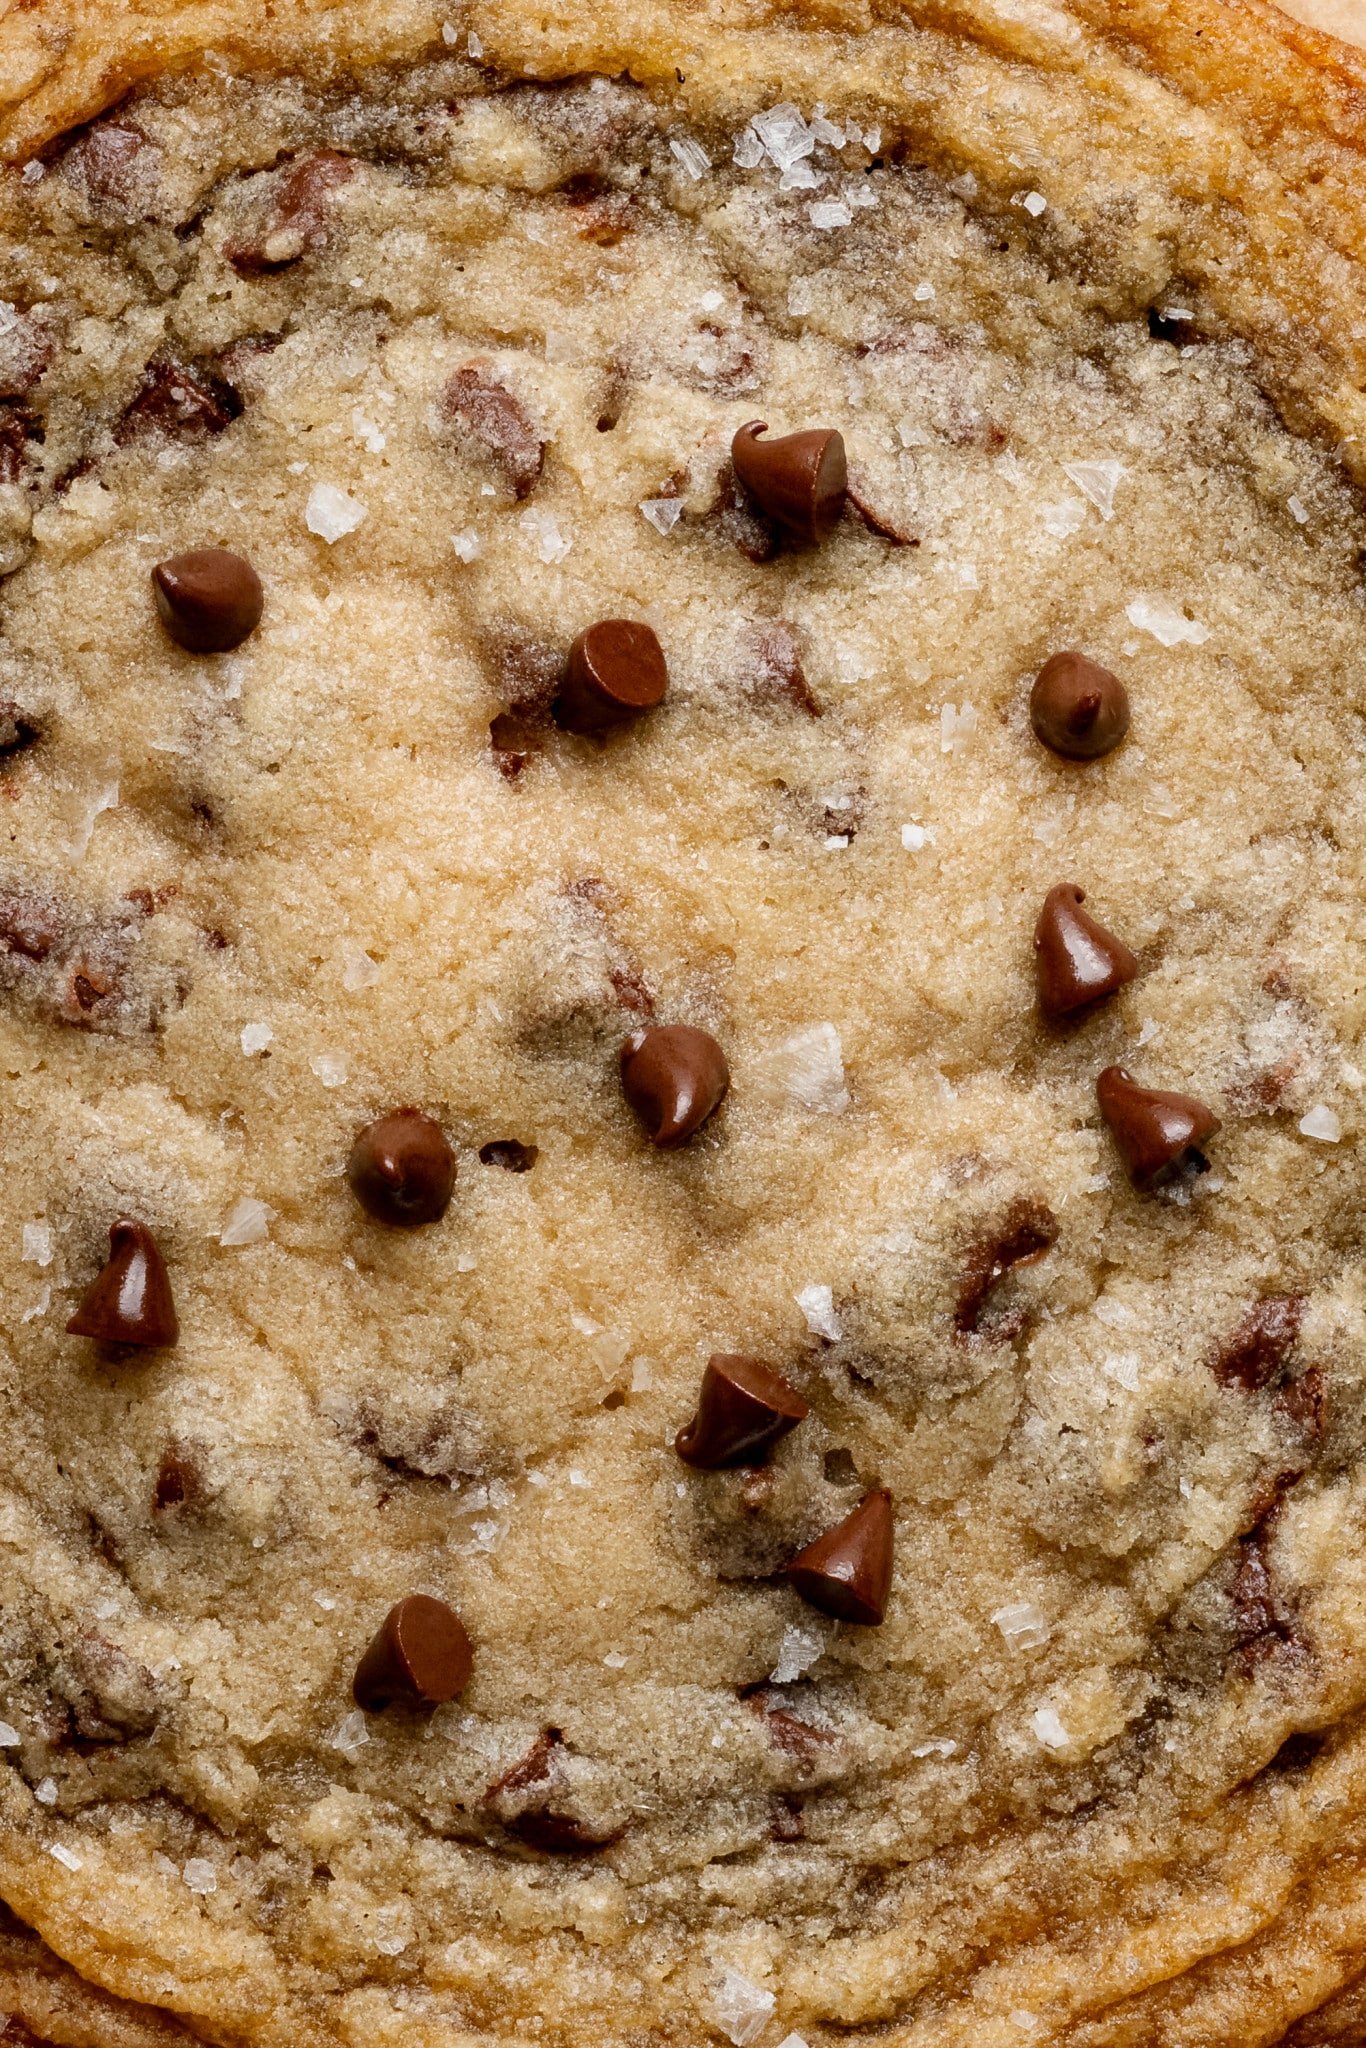
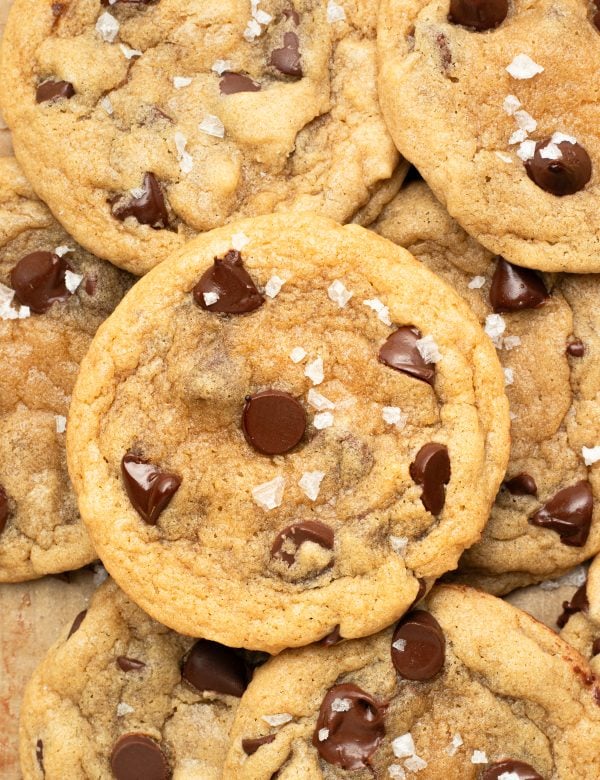
- Chocolate: You can use chopped chocolate, mini chocolate chips, or any type of chocolate you prefer!
- Flaky sea salt: I love Maldon. It’s the perfect finishing touch and really not optional in my opinion! It balances out the sweet flavors and complements this cookie really well.
Step by Step Directions
(For the full recipe, scroll down to the recipe card below)
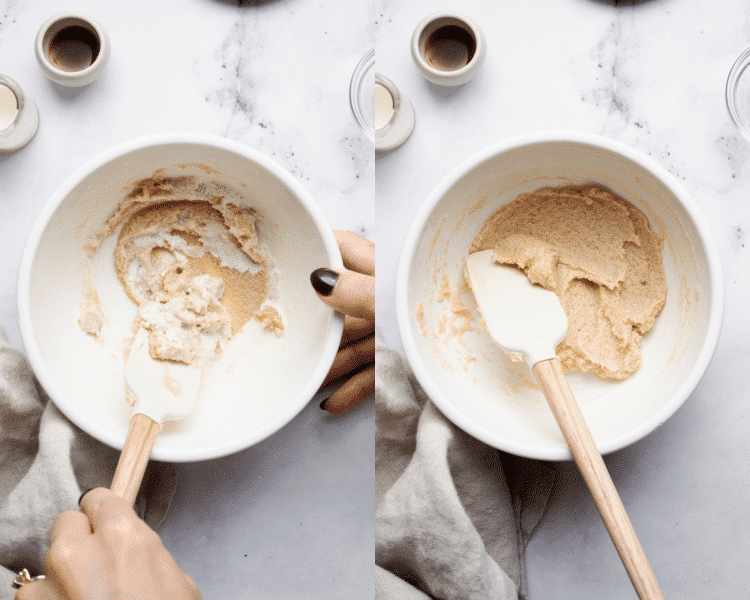
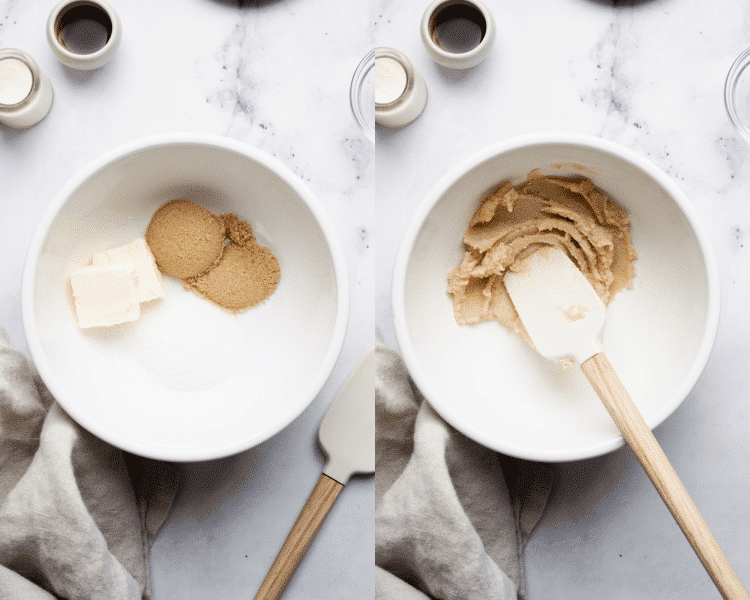
Mix butter and sugars
In a small bowl, mix the softened butter, brown sugar, and granulated sugar until smooth.
Add wet ingredients
Stir in the heavy cream and vanilla extract.
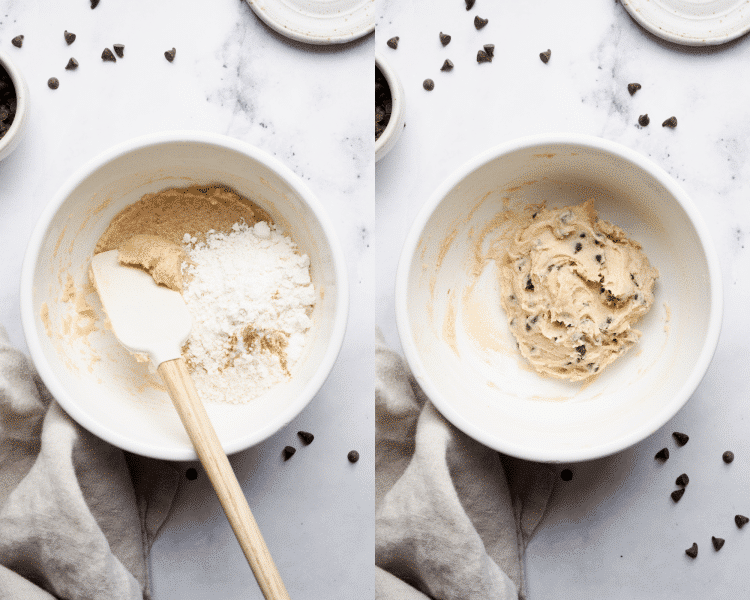
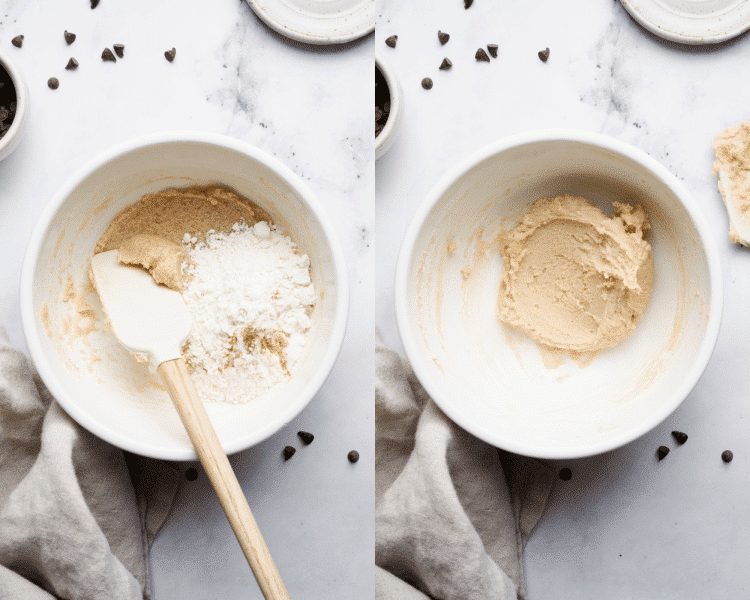
Mix dry ingredients
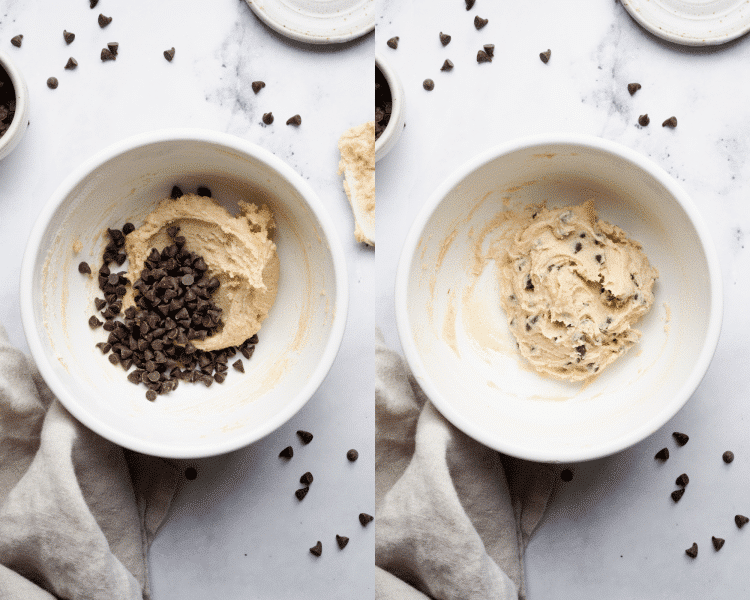
Add the dry ingredients and stir until a dough forms. Then fold in the chocolate.
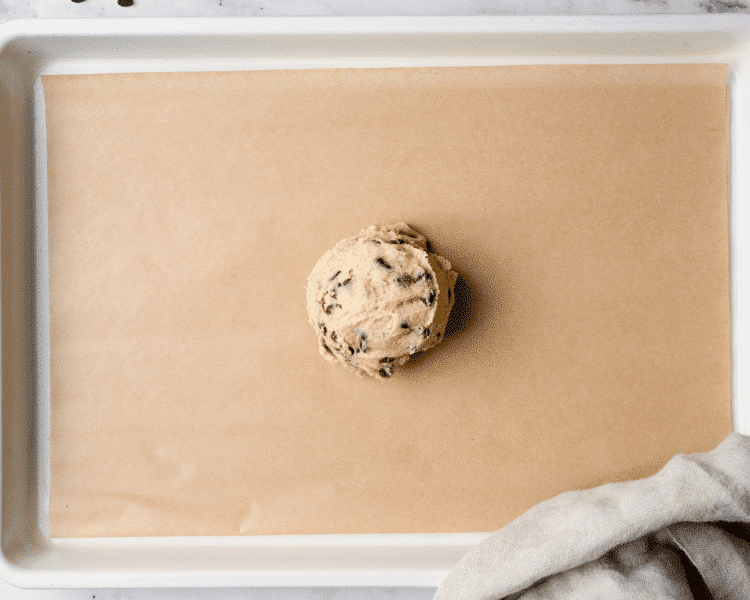
Scoop the dough onto the prepared baking sheet.
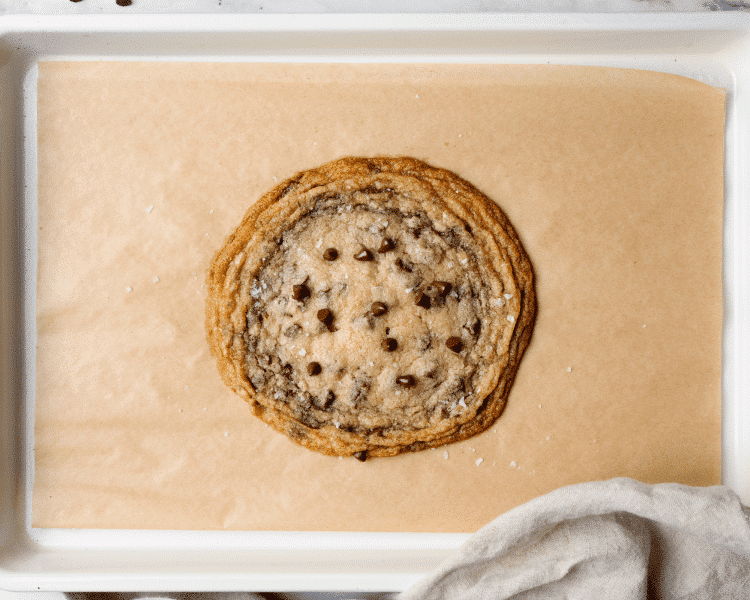
Bake & enjoy!
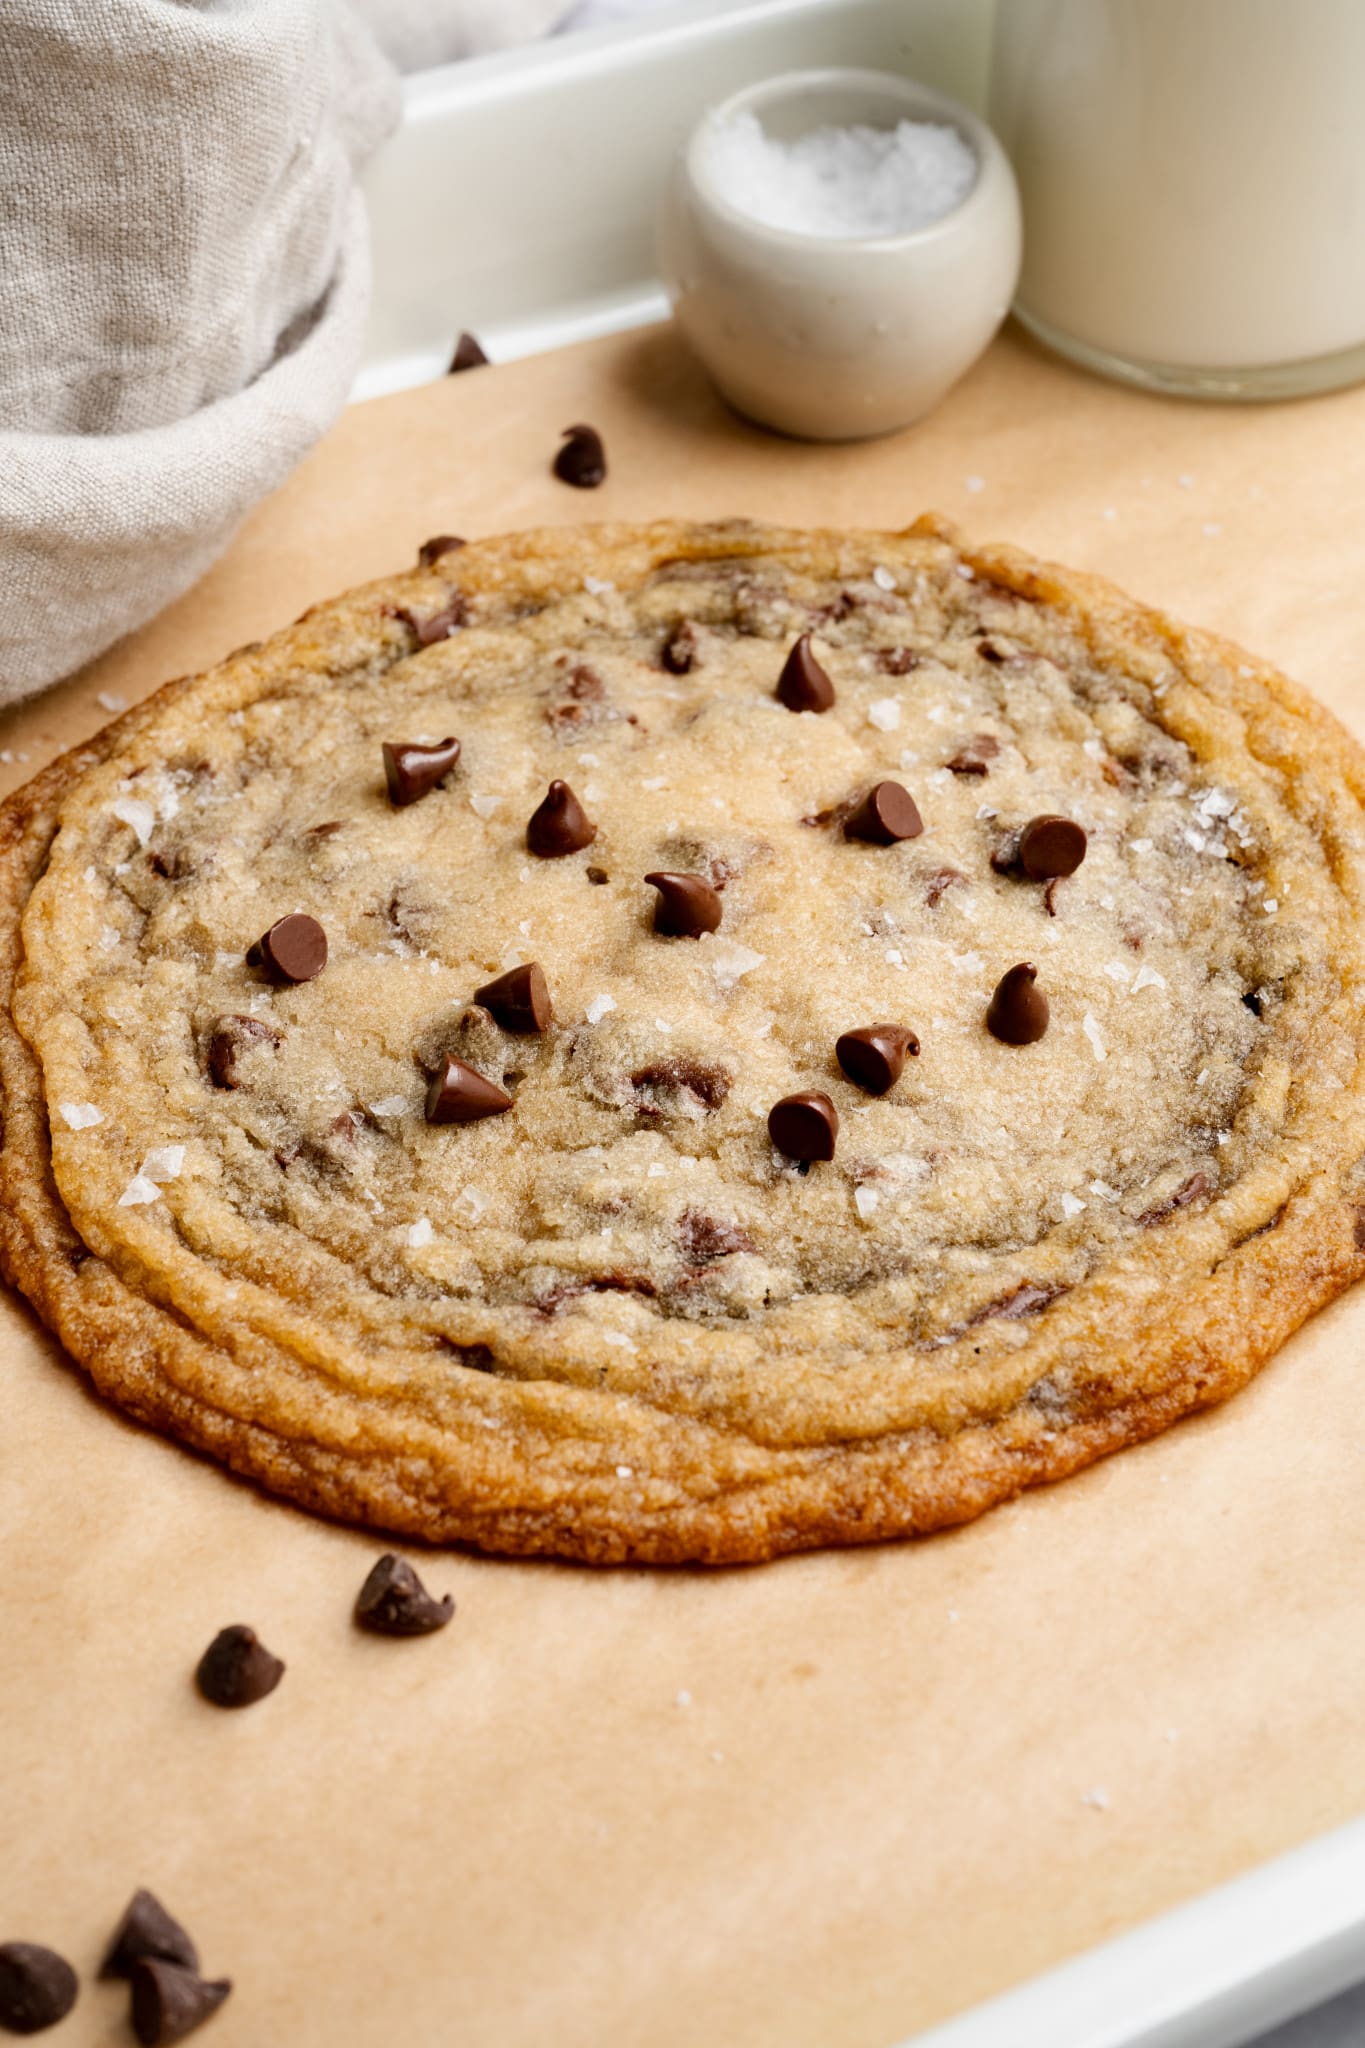
Bake for 10-12 minutes. Remove from oven, sprinkle with flaky sea salt and more chocolate if desired. I also like to take a spoon and slightly push the edges in to create a perfect circle and to give it that rippled edge look too! Let cool and ENJOY!
Expert Tips
- Spoon and level flour: Spoon the flour into your measuring cup and be sure it’s leveled. Do not scoop the flour out of the container/bag with your measuring cup because you could end up with 50% more than you need. Spoon and level by using a spoon to scoop the flour into the measuring cup and use the back of a knife to level off the top of it.
- Accurately measure ingredients: Take extra care to measure your ingredients precisely for this recipe since we are dealing with such small measurements. Every little bit counts! I recommend using a kitchen scale for accurate measurements.
- Don’t over-bake: Bake just until the edges are set and lightly golden but the center still looks slightly soft. The cookie will continue to bake on the cookie sheet, so take it out just as the edges begin to look golden.
- Top the freshly baked cookie: I like to top the freshly baked cookie with a few more chocolate chips and flaky sea salt right when it comes out of the oven.
- Rippled edges: I also like to take a spoon and slightly push the edges in to create a perfect circle and to give it that rippled edge look right after you take it out of the oven.
Variations / Substitutions
- Different chocolate chips: You can use regular chocolate chips, mini chocolate chips, chocolate chunks, or even a chopped chocolate bar (great for getting pools of chocolate). You can also use a mix of dark chocolate, milk chocolate, semi-sweet, or white chocolate chips.
- Nuts: Reduce the chocolate chips to one tablespoon and add one tablespoon of chopped walnuts, almonds, or pecans to add a little bit of salty crunch!
- Big batch: If you want to make a batch of thin and chewy chocolate chip cookies, use this Chocolate Chipless Cookie recipe and just add chocolate chips!
shop this post
 Buy Now →
  Buy Now →
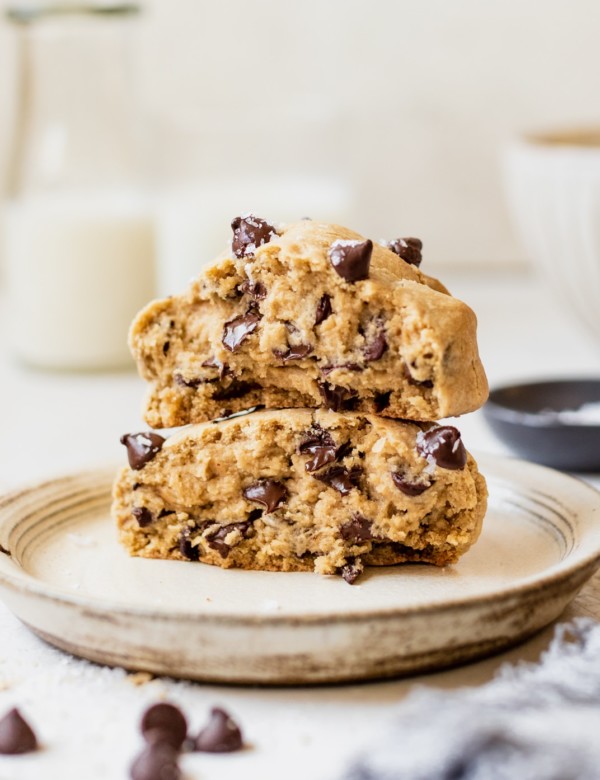
Before You Begin! If you make this, please leave a review and rating letting us know how you liked this recipe! This helps our business thrive & continue providing free recipes.
Ingredients
- 1½ Tbsp. butter (very softened)
- 1½ Tbsp. brown sugar (packed)
- 1 Tbsp. granulated sugar
- 1 Tbsp. heavy cream
- 1/4 cup all-purpose flour (spooned and leveled)
- 1/8 tsp. vanilla extract
- Pinch of salt
- Pinch of baking soda
- Pinch of cinnamon
- 2 Tbsp. chopped chocolate or mini chocolate chips
- flaky sea salt (for finishing)
Last step! If you make this, please leave a review and rating letting us know how you liked this recipe! This helps our business thrive & continue providing free recipes.
Instructions
- Prep the oven & pan: Preheat your oven to 350°F (175°C). Line a small baking sheet with parchment paper.
- Mix butter & sugars: In a small bowl, use a rubber spatula (or just a spoon) to mix together the softened butter, brown sugar, and granulated sugar until smooth and well combined.1½ Tbsp. butter, 1½ Tbsp. brown sugar, 1 Tbsp. granulated sugar

- Add wet ingredients: Stir in the heavy cream and vanilla extract until incorporated and creamy.1 Tbsp. heavy cream, 1/8 tsp. vanilla extract
- Mix dry ingredients: Add the flour, baking soda, salt, and cinnamon. Stir until a dough forms (it will be soft and slightly sticky).1/4 cup all-purpose flour , Pinch of salt, Pinch of baking soda, Pinch of cinnamon
- Add chocolate: Fold in the chocolate of your choice.2 Tbsp. chopped chocolate or mini chocolate chips
- Shape the cookie: Scoop the dough onto the prepared baking sheet.
- Bake: Bake for 10-12 minutes, or until the edges are set and lightly golden but the center still looks slightly soft. The cookie will continue to bake on the cookie sheet, so take it out just as the edges begin to look golden. Start Timer
- Finish: Remove from oven, sprinkle with flaky sea salt and more chocolate. I also like to take a spoon and slightly push the edges in to create a perfect circle and to give it that rippled edge look too! Let cool on the baking sheet for 10-15 minutes before enjoying.
Notes
- Spoon and level flour: Spoon the flour into your measuring cup and be sure it’s leveled. Do not scoop the flour out of the container/bag with your measuring cup because you could end up with 50% more than you need. Spoon and level by using a spoon to scoop the flour into the measuring cup and use the back of a knife to level off the top of it.
- Accurately measure ingredients: Take extra care to measure your ingredients precisely for this recipe since we are dealing with such small measurements. Every little bit counts! I recommend using a kitchen scale for accurate measurements.
- Top the freshly baked cookie: I like to top the freshly baked cookie with a few more chocolate chips and flaky sea salt right when it comes out of the oven.
- Rippled edges: I also like to take a spoon and slightly push the edges in to create a perfect circle and to give it that rippled edge look right after you take it out of the oven.
Nutrition Information
Nutritional information is provided as a courtesy and is automatically calculated. It should only be construed as an estimate rather than a guarantee. Ingredients can vary and Kroll’s Korner can’t make any guarantees to the accuracy of this information.
📸 Photography by Creating Kaitlin

Easy and quick! Didn’t really flatten out much to be thin and crispy so texture was somewhere between cookie and cake-like.
Hi! Oh no, hmmm I wonder if they chocolate you used prevented some of the spread. Sorry!
Love the simplicity of this recipe. Great cookie when you’re craving something sweet. The cookie was soft and chewy! Loved it!
So happy you enjoyed it Ashley, thank you!
i froze it so it wouldn’t sopready quite as much and made my own choclate chinks because i like how the chocolate is distributed more, quick and easy and yum! It doesn’t beat my brown butter cookie, but shes a great little cookie when you need something sweet ASAP!
Glad you enjoyed it, thanks so making! 🙂
What a great cookie! It is thin with crisp edges and a chewy center and I love that it is eggless! Absolutely perfect for when you don’t want or need a whole batch! Another keeper!
Yummmm that looks so good, Adrienne! 🥰
So yummy!! The perfect chewy cookie that is large enough to share (if you feel kind enough). I underbaked it a bit in the middle, so next time I might bake it an extra minute or two. I used a pinch of kosher salt & used a mix of dark chocolate and semi sweet chips. So quick to whip up and clean. I love that there’s no egg to crack or try to measure also!
yay! It looks so perfect, thank you!!
Super Delicious! Maybe I put a smidgen too much baking soda because my cookie wasn’t flat at all! 😂
Oh no I haven’t had that happen to me! hmmm what kind of baking sheet did you bake it on, light or dark?
I’m usually on team thick, soft, and chewy for chocolate chip cookies. However, this cookie recipe was actually really good and ridiculously quick to make. This recipe is perfect for a quick late night dessert.
Aw yayyy! It looks fab! Thank you for making 🙂
So easy and so delicious! 😋 i omitted chocolate chips bc i like a plain cookie and it was SO GOOD. Definitely my go to recipe for when i just want a cookie 🍪 thank you for saving me a ton of calories lol
hehehe it looks great Liz! Thank you! 🙂
I love having just one cookie! Easy to make and tasted great. Mine fell apart a little after it cooled but not a big deal because I was about to eat it anyway.
Thank you! Oh no I am sorry it fell apart I haven’t had that issue before!
Here is a picture of my cookie!
Yum!! 🙂 thank you!