Overnight No Knead Bread
This post may contain affiliate links. Please read our disclosure policy.
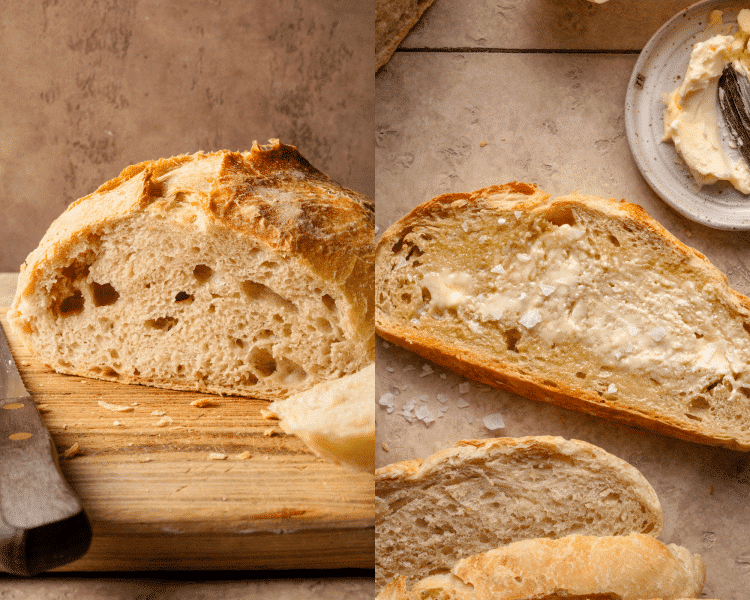
Trust me when I say you don’t have to be a master bread maker to make this Overnight No Knead Bread recipe. It’s quite possibly one of the easiest recipes I’ve made and yields the most gorgeous loaf of bread every single time!
Making this recipe is mostly hands-off (literally, while you’re sleeping), and the hardest part is waiting for the dough to rest.
It’s the easiest ultimate bread loaf, and everyone you know will think you’re the most experienced bread maker ever!
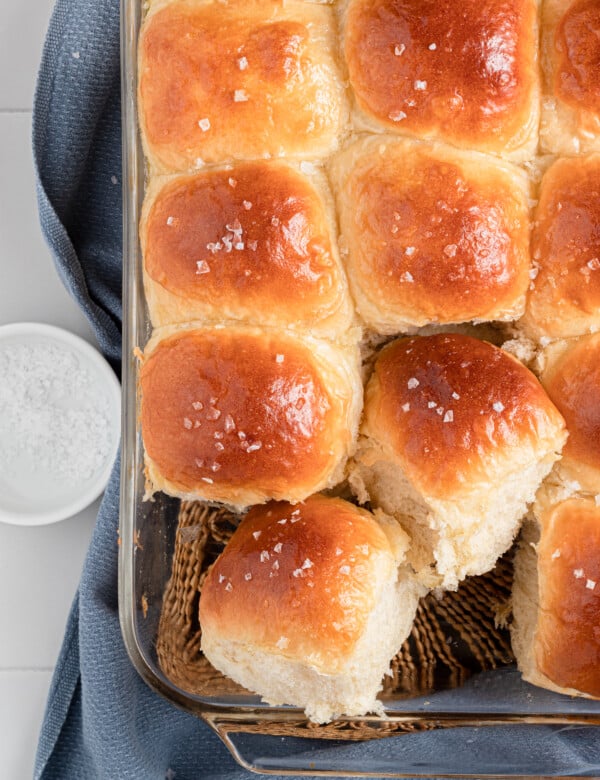
If you want to get more comfortable baking with yeast, try my Sheet Pan Pizza recipe, 1-Hour Dinner Rolls, Sheet Pan Cinnamon Rolls, or these really delicious Blueberry Cinnamon Rolls.

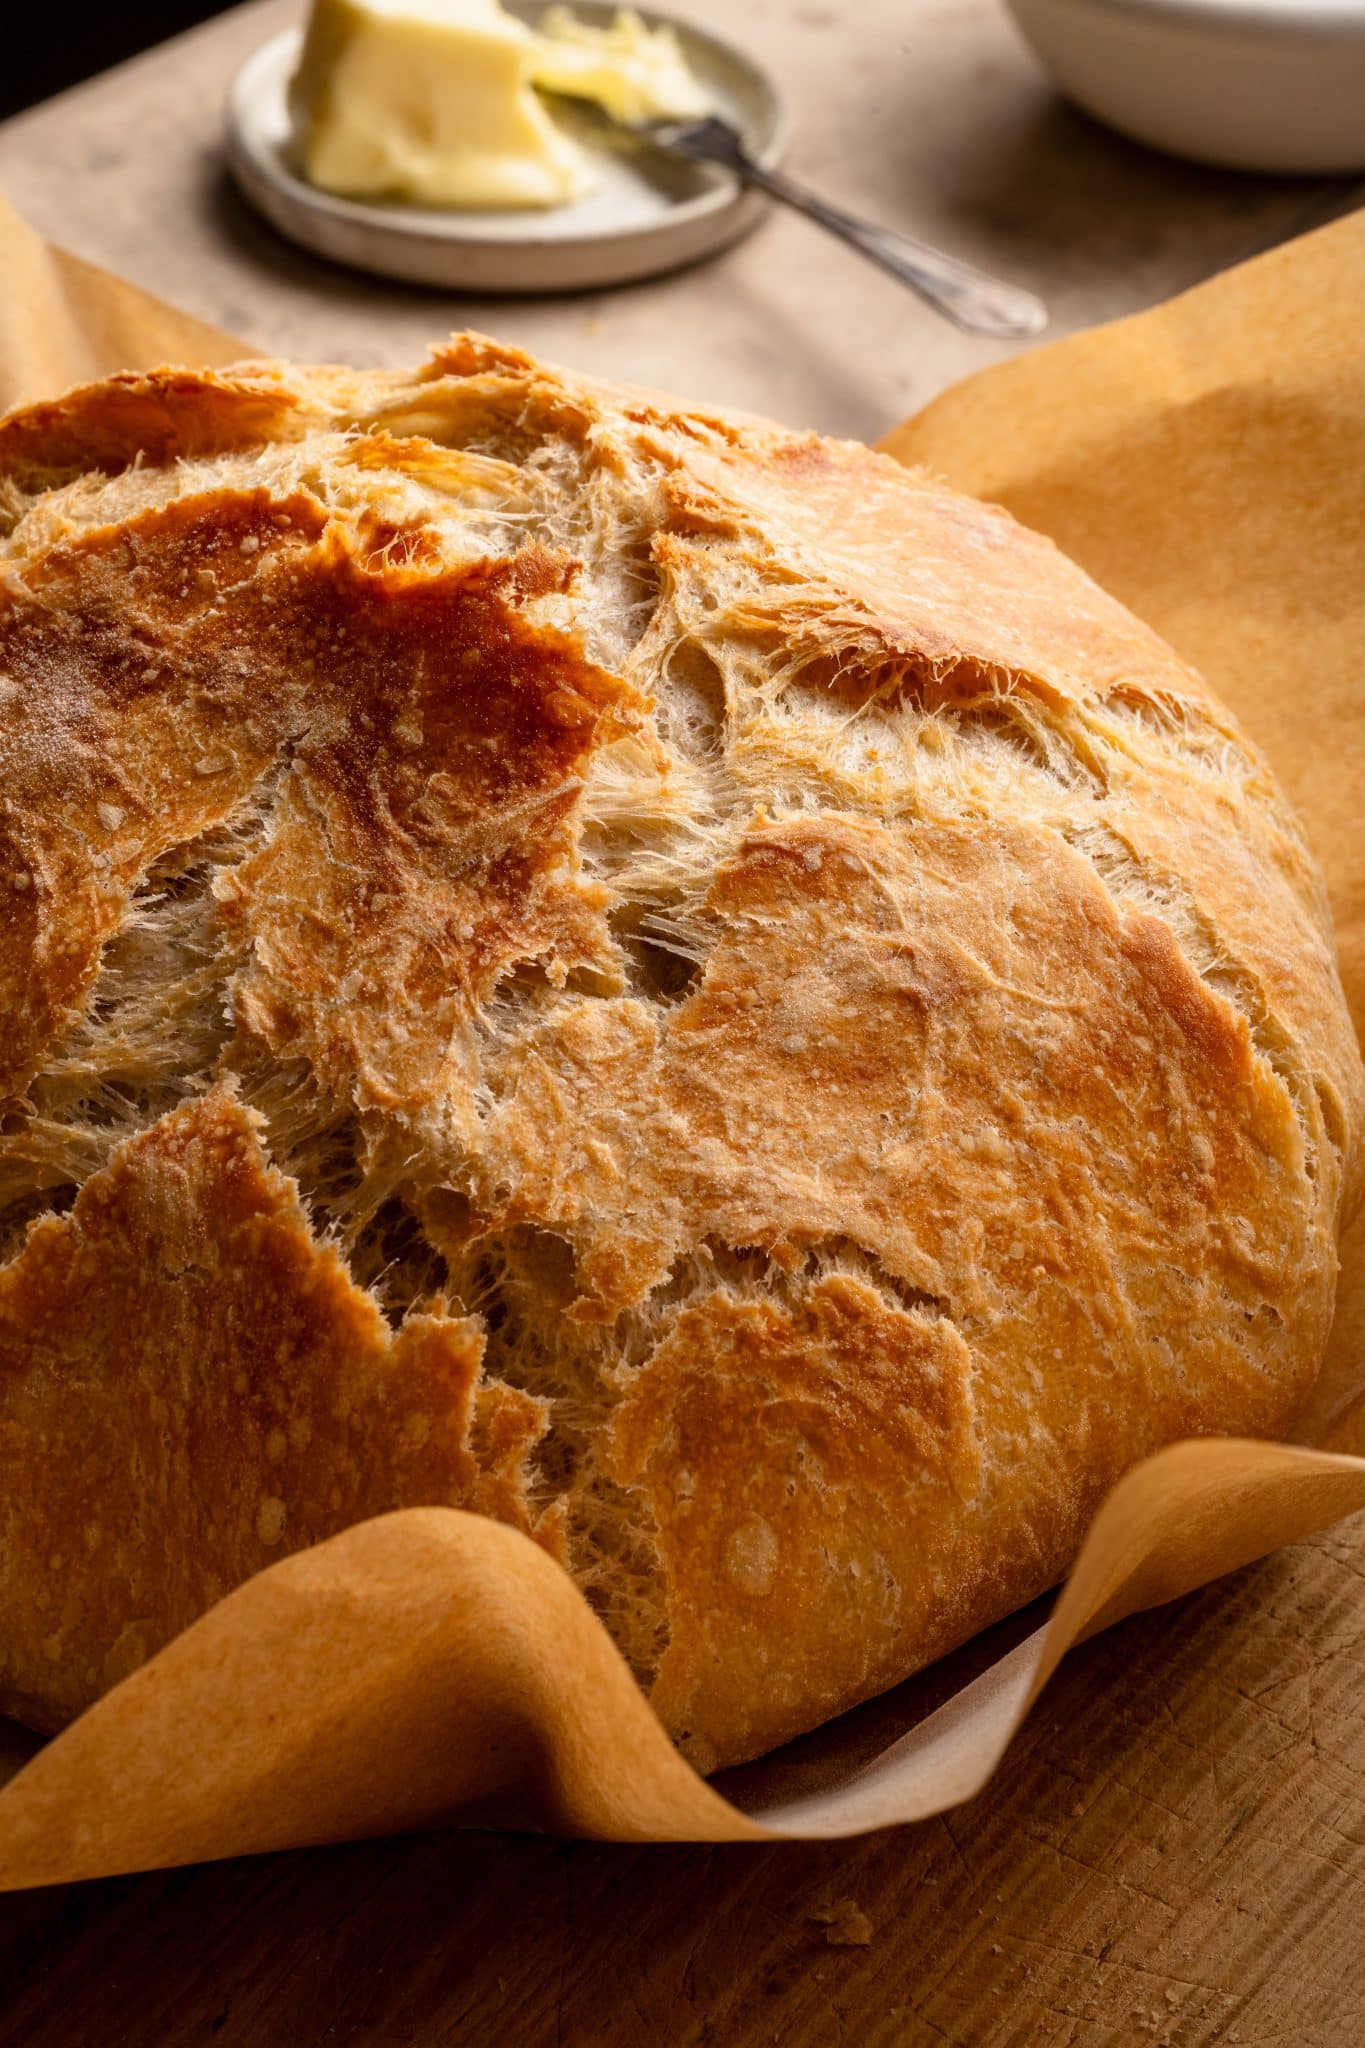

 Table Talk with Tawnie

I know everyone is really in to sourdough bread making, but if you’re just starting out in the homemade bread world, this no knead bread is the perfect introduction! And even if you’re an experienced bread baker, this loaf is really delicious and easy to bring together. I seriously could eat this every day, and the recipe is not overly complicated for my tired mom brain! I can’t wait to hear what you think of this in the comments below!
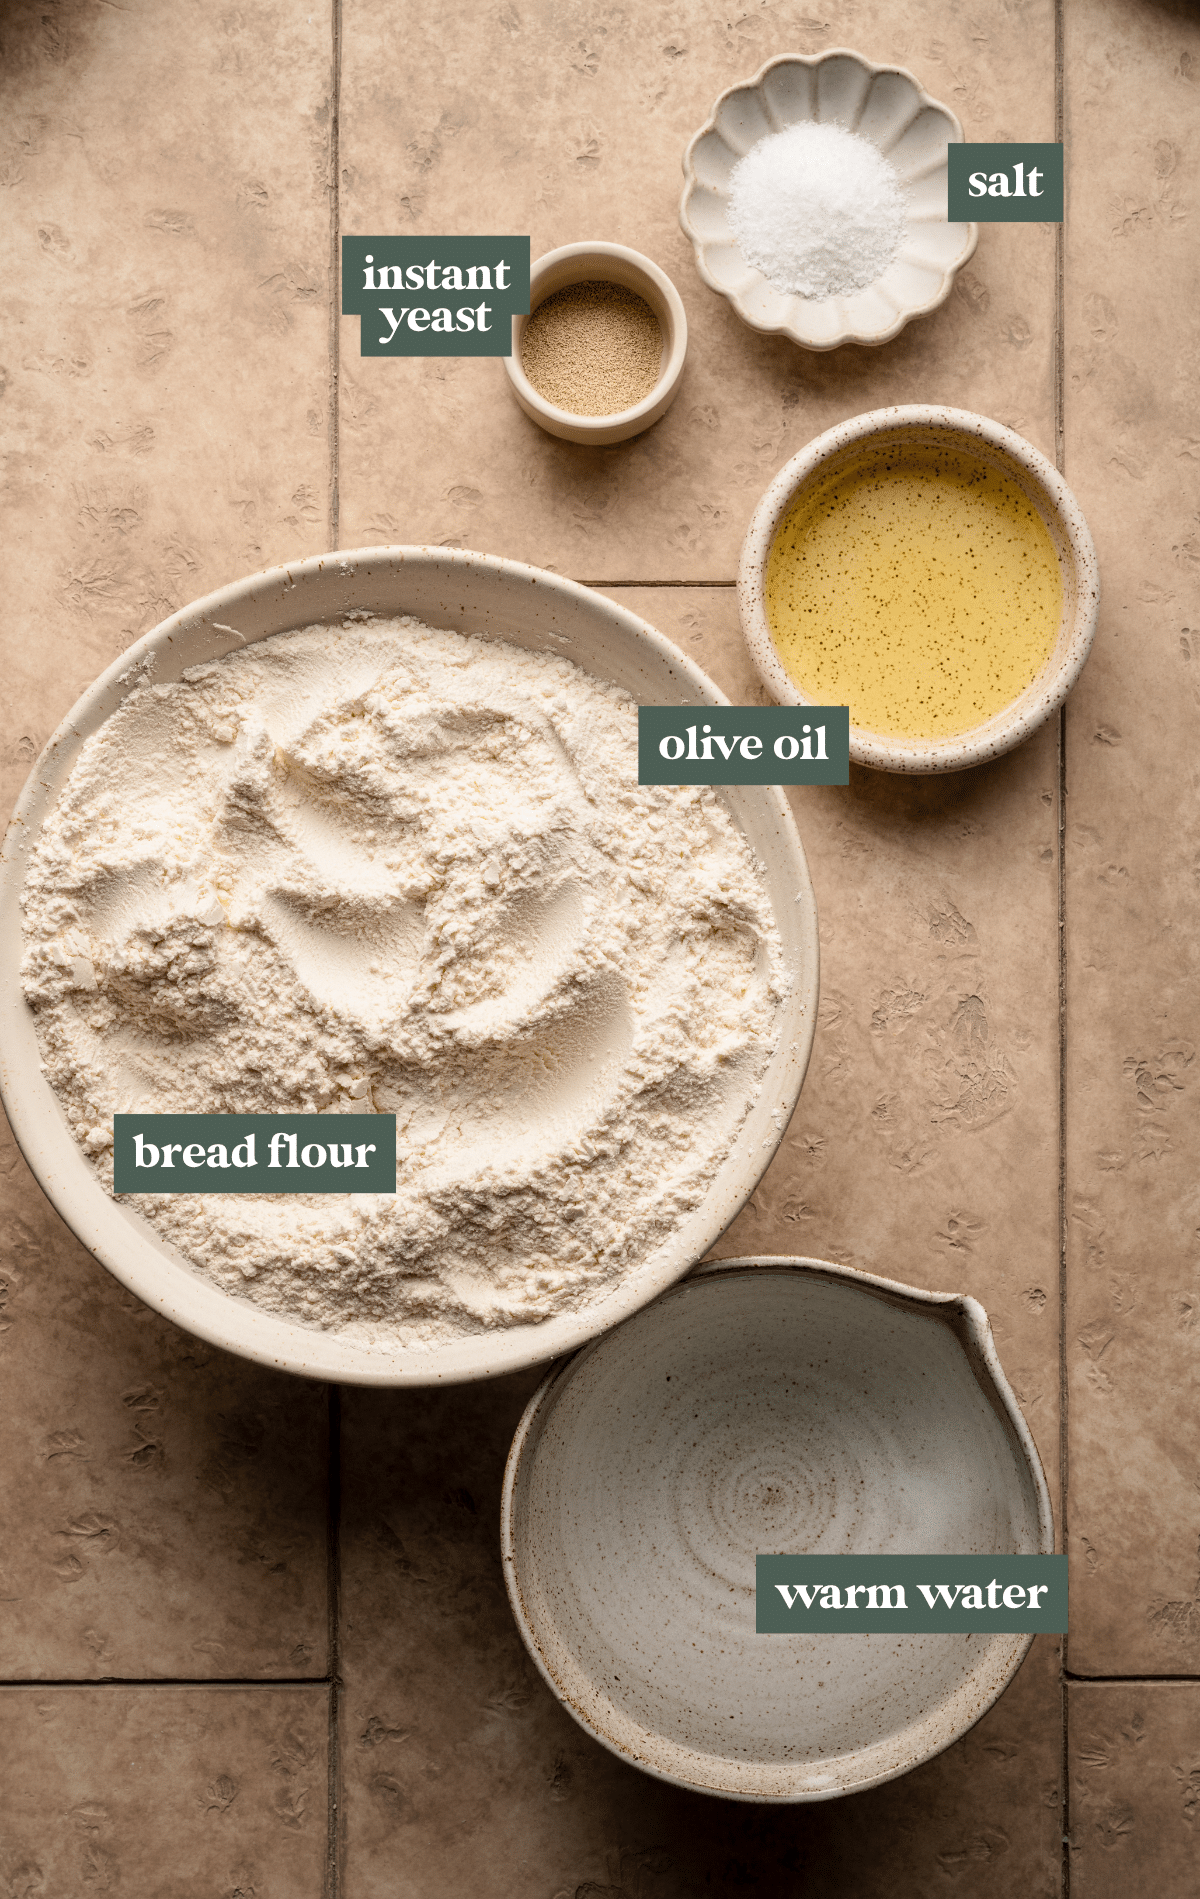
- Flour: I chose to use bread flour for this recipe. Bread flour provides structure and chewiness due to its higher protein (gluten) content. You can substitute with all-purpose flour, though it may yield a slightly softer crumb, which isn’t a bad thing at all! Just a different preference.
- Yeast: this recipe uses instant yeast, or sometimes labeled “rapid rise” yeast. See the FAQ section below on how to use active dry yeast. It’s an easy swap!
- Salt: if using kosher salt, use two teaspoons. If you only have a finer salt, like table salt, use 1 1/4 teaspoons. I like using kosher salt because it has a clean, straightforward saltiness that won’t interfere with the bread’s natural flavor.
- Water: Water hydrates the flour and activates the yeast. Aim for a water temperature of 110°-120°F (anything over 130°F will kill the yeast, and too cold will slow fermentation).
- Olive oil: This is optional, but in my testing, I found it adds a subtle richness to the flavor and helps keep the crumb moist. You can leave it out if you prefer a more rustic loaf or experiment with other oils for different flavors!
Step by Step Directions
(For the full recipe, scroll down to the recipe card below)
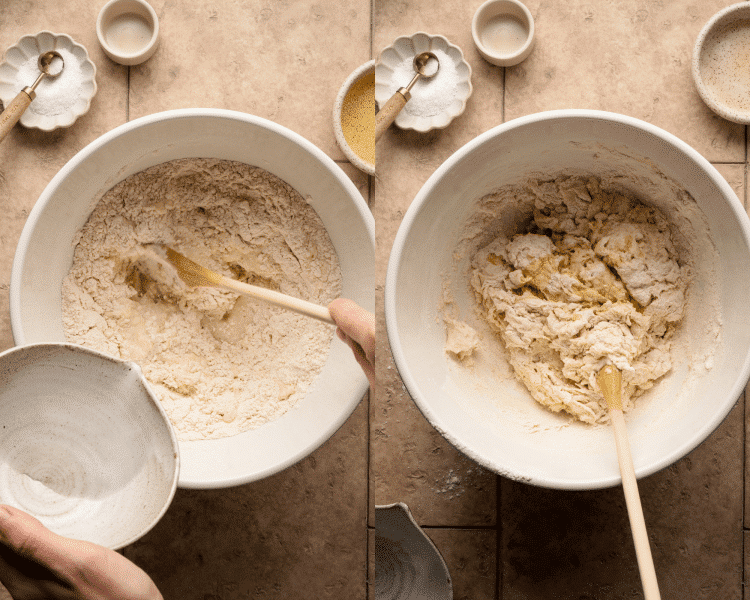
Mix the dough
Mix together the flour, salt, and yeast. Add the warm water and olive oil and bring together into a shaggy dough.
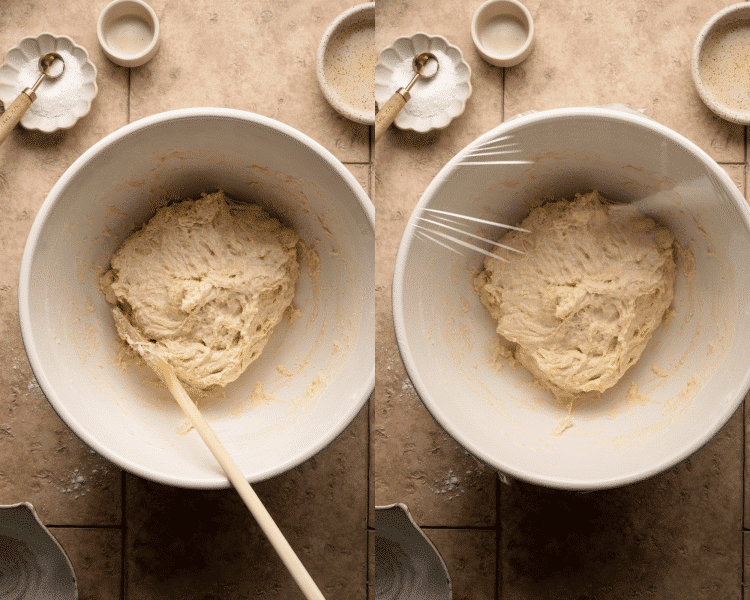
Cover & rise overnight
Let rise on the counter at room temperature for 18 hours. I usually like to make this at night before bed, and then bake it the next afternoon.
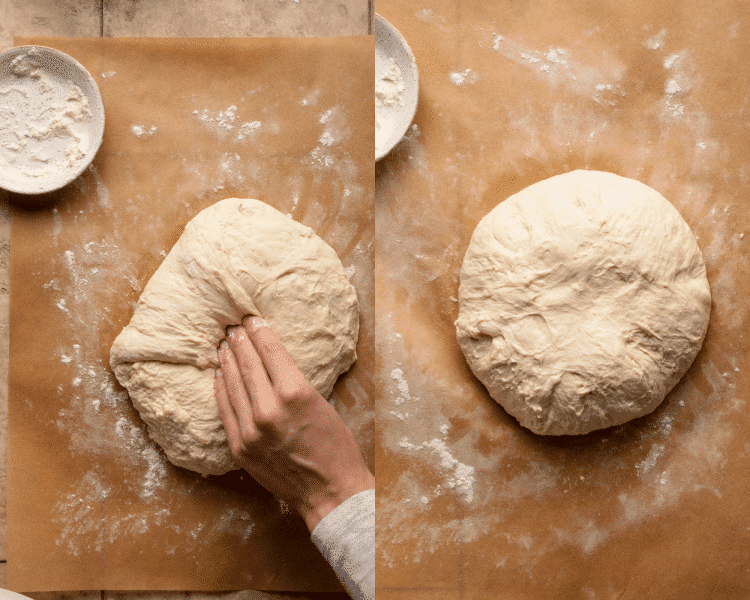
Shape & rise 30 minutes
Remember, no knead bread! Simply fold the sides of the dough up and towards the center to create a rough, round shape. Then cover with a clean kitchen town for one more 30 minute rise.
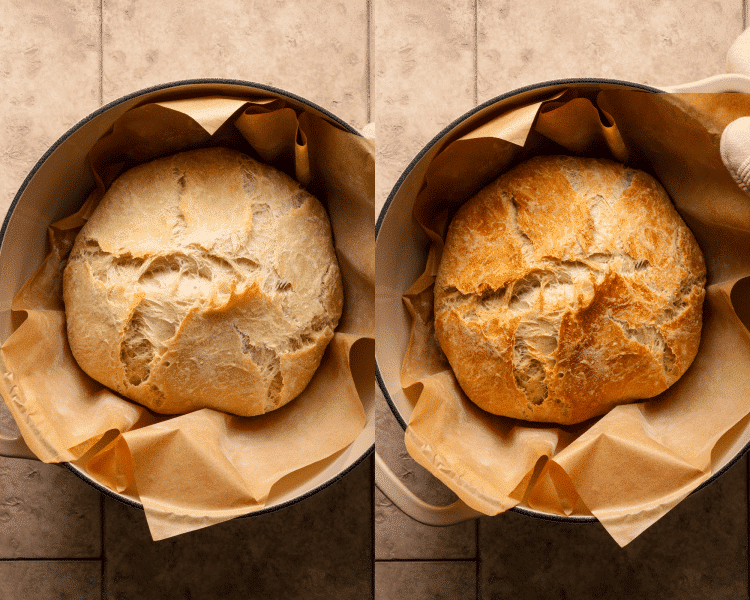
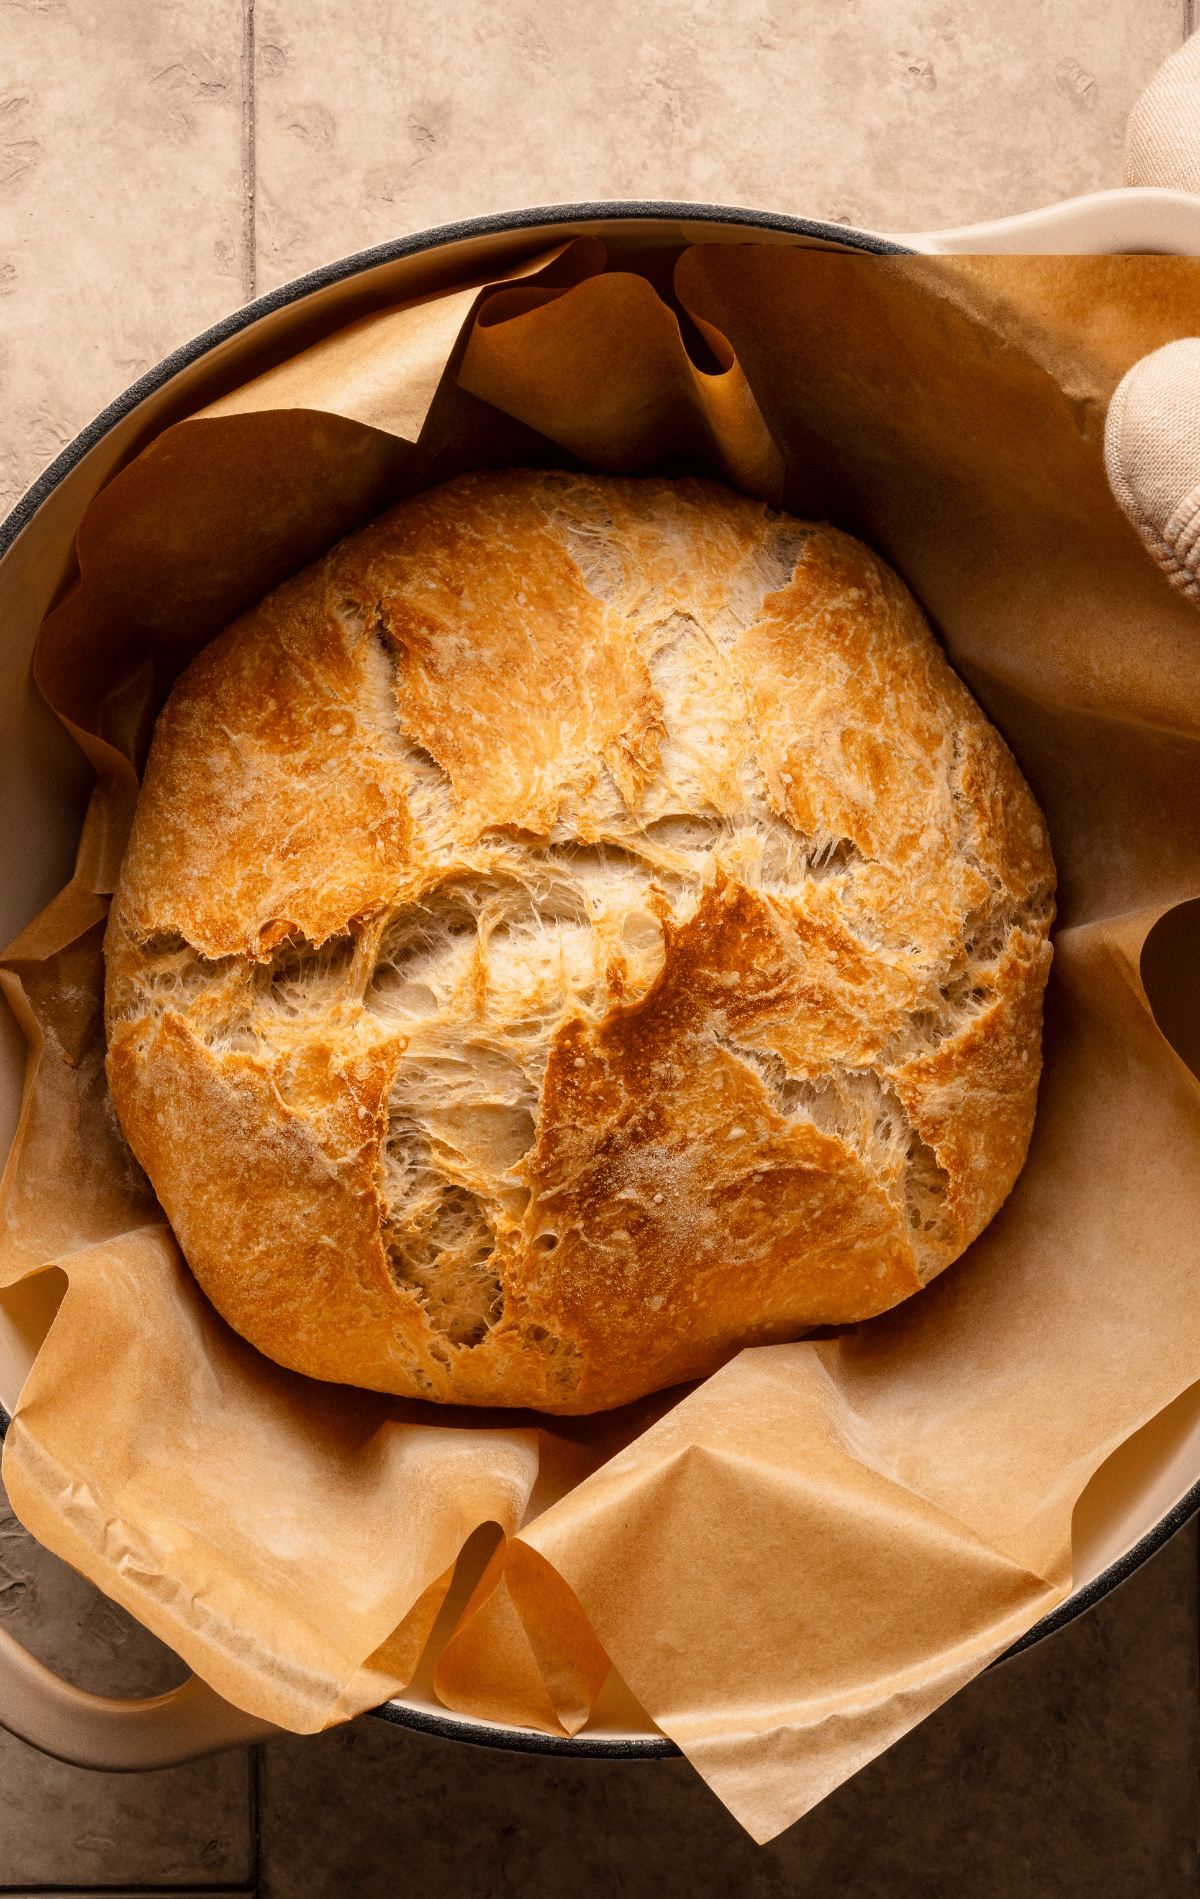
Bake
The time has come…let’s bake!
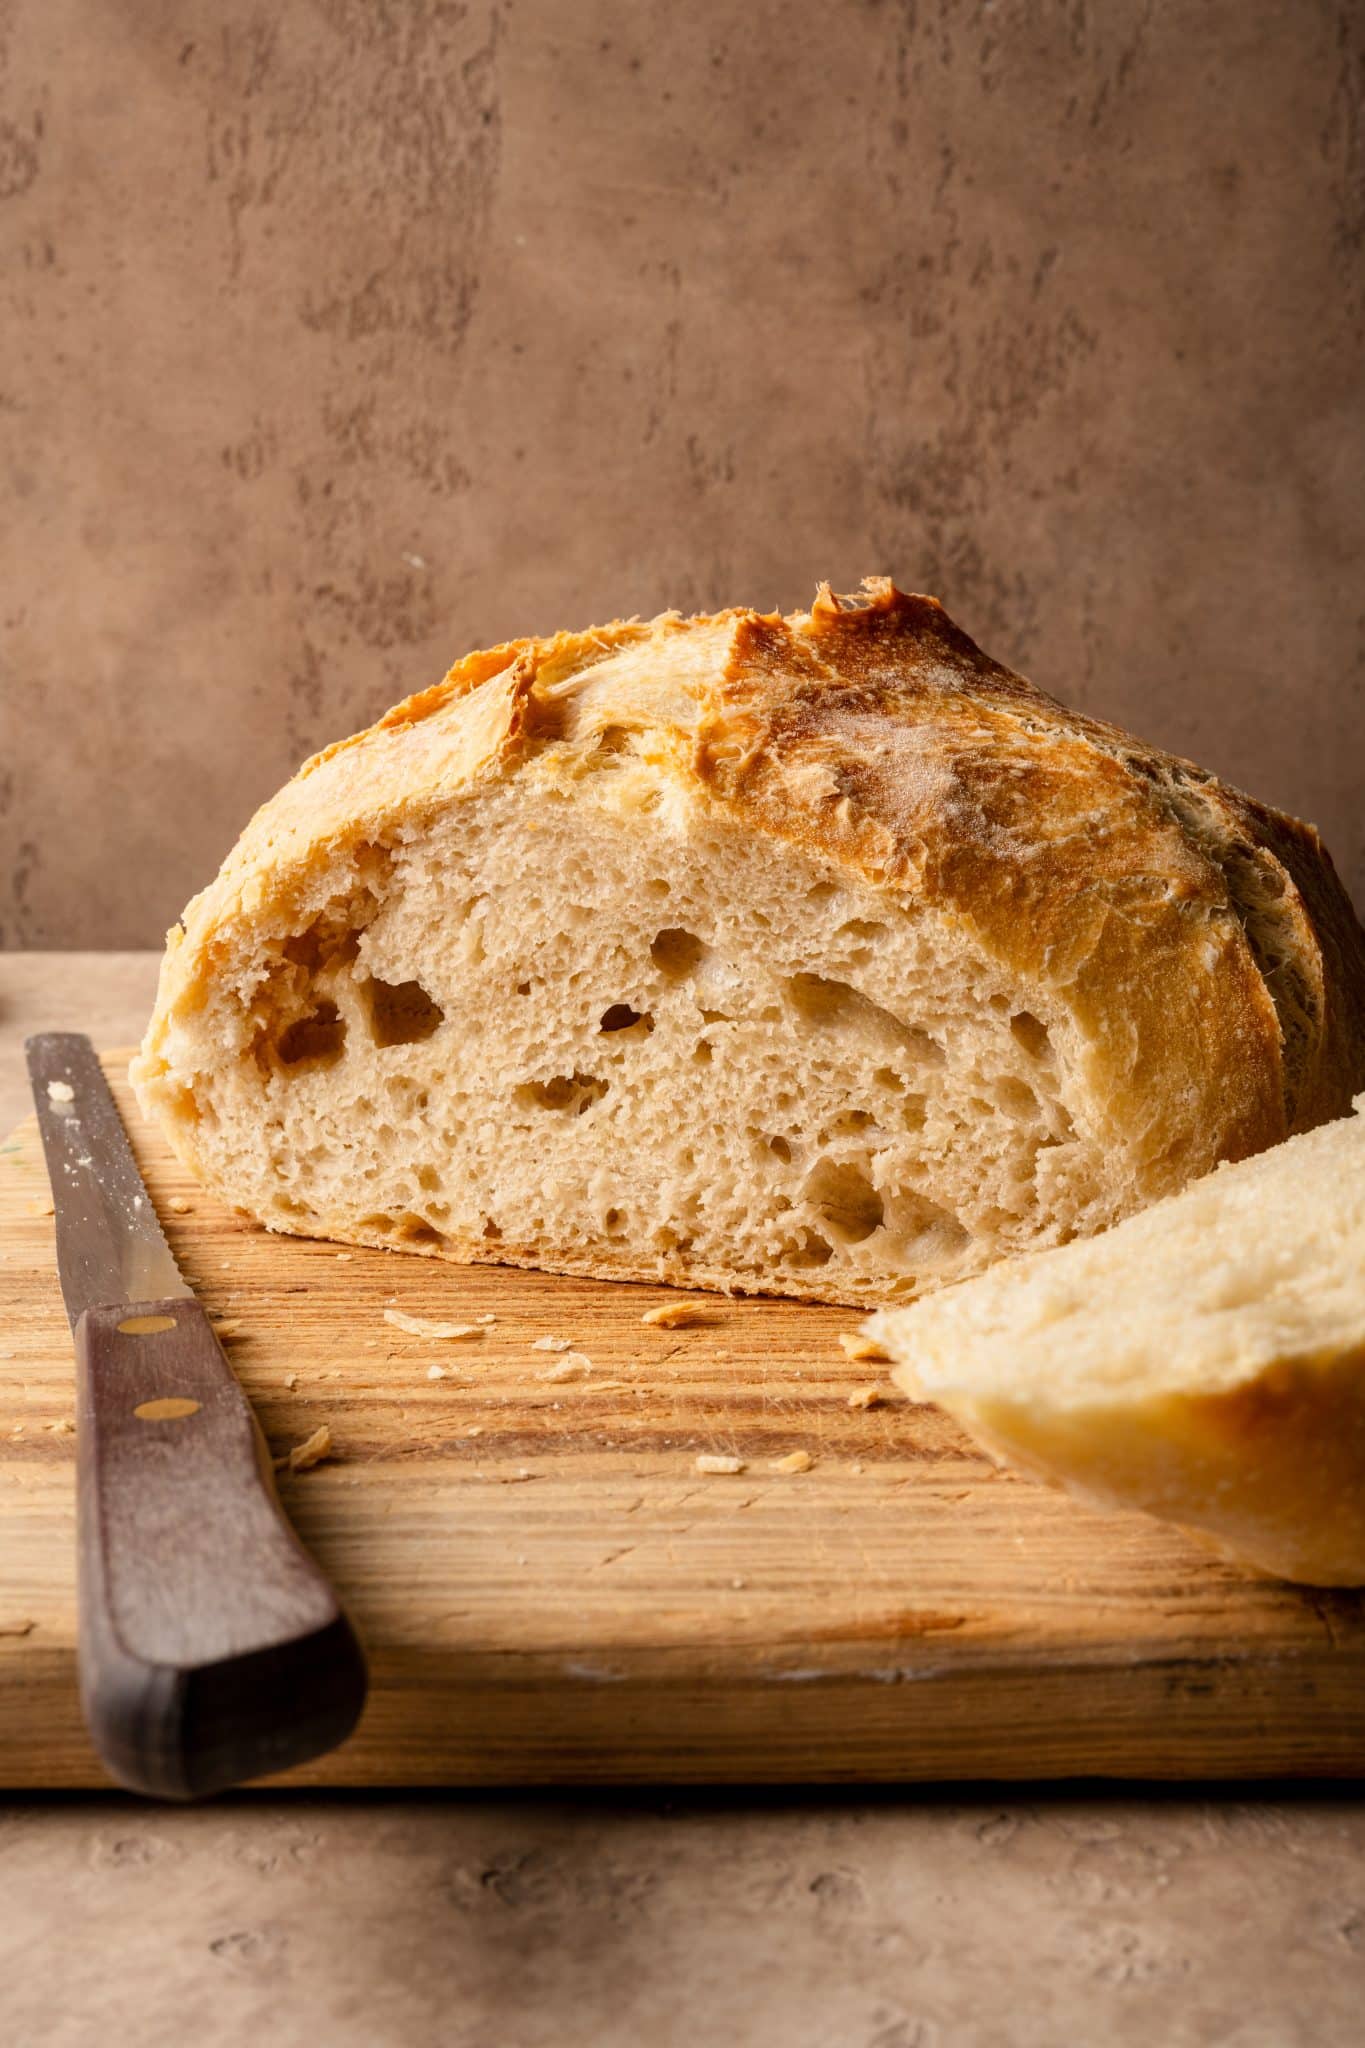
Slice & enjoy
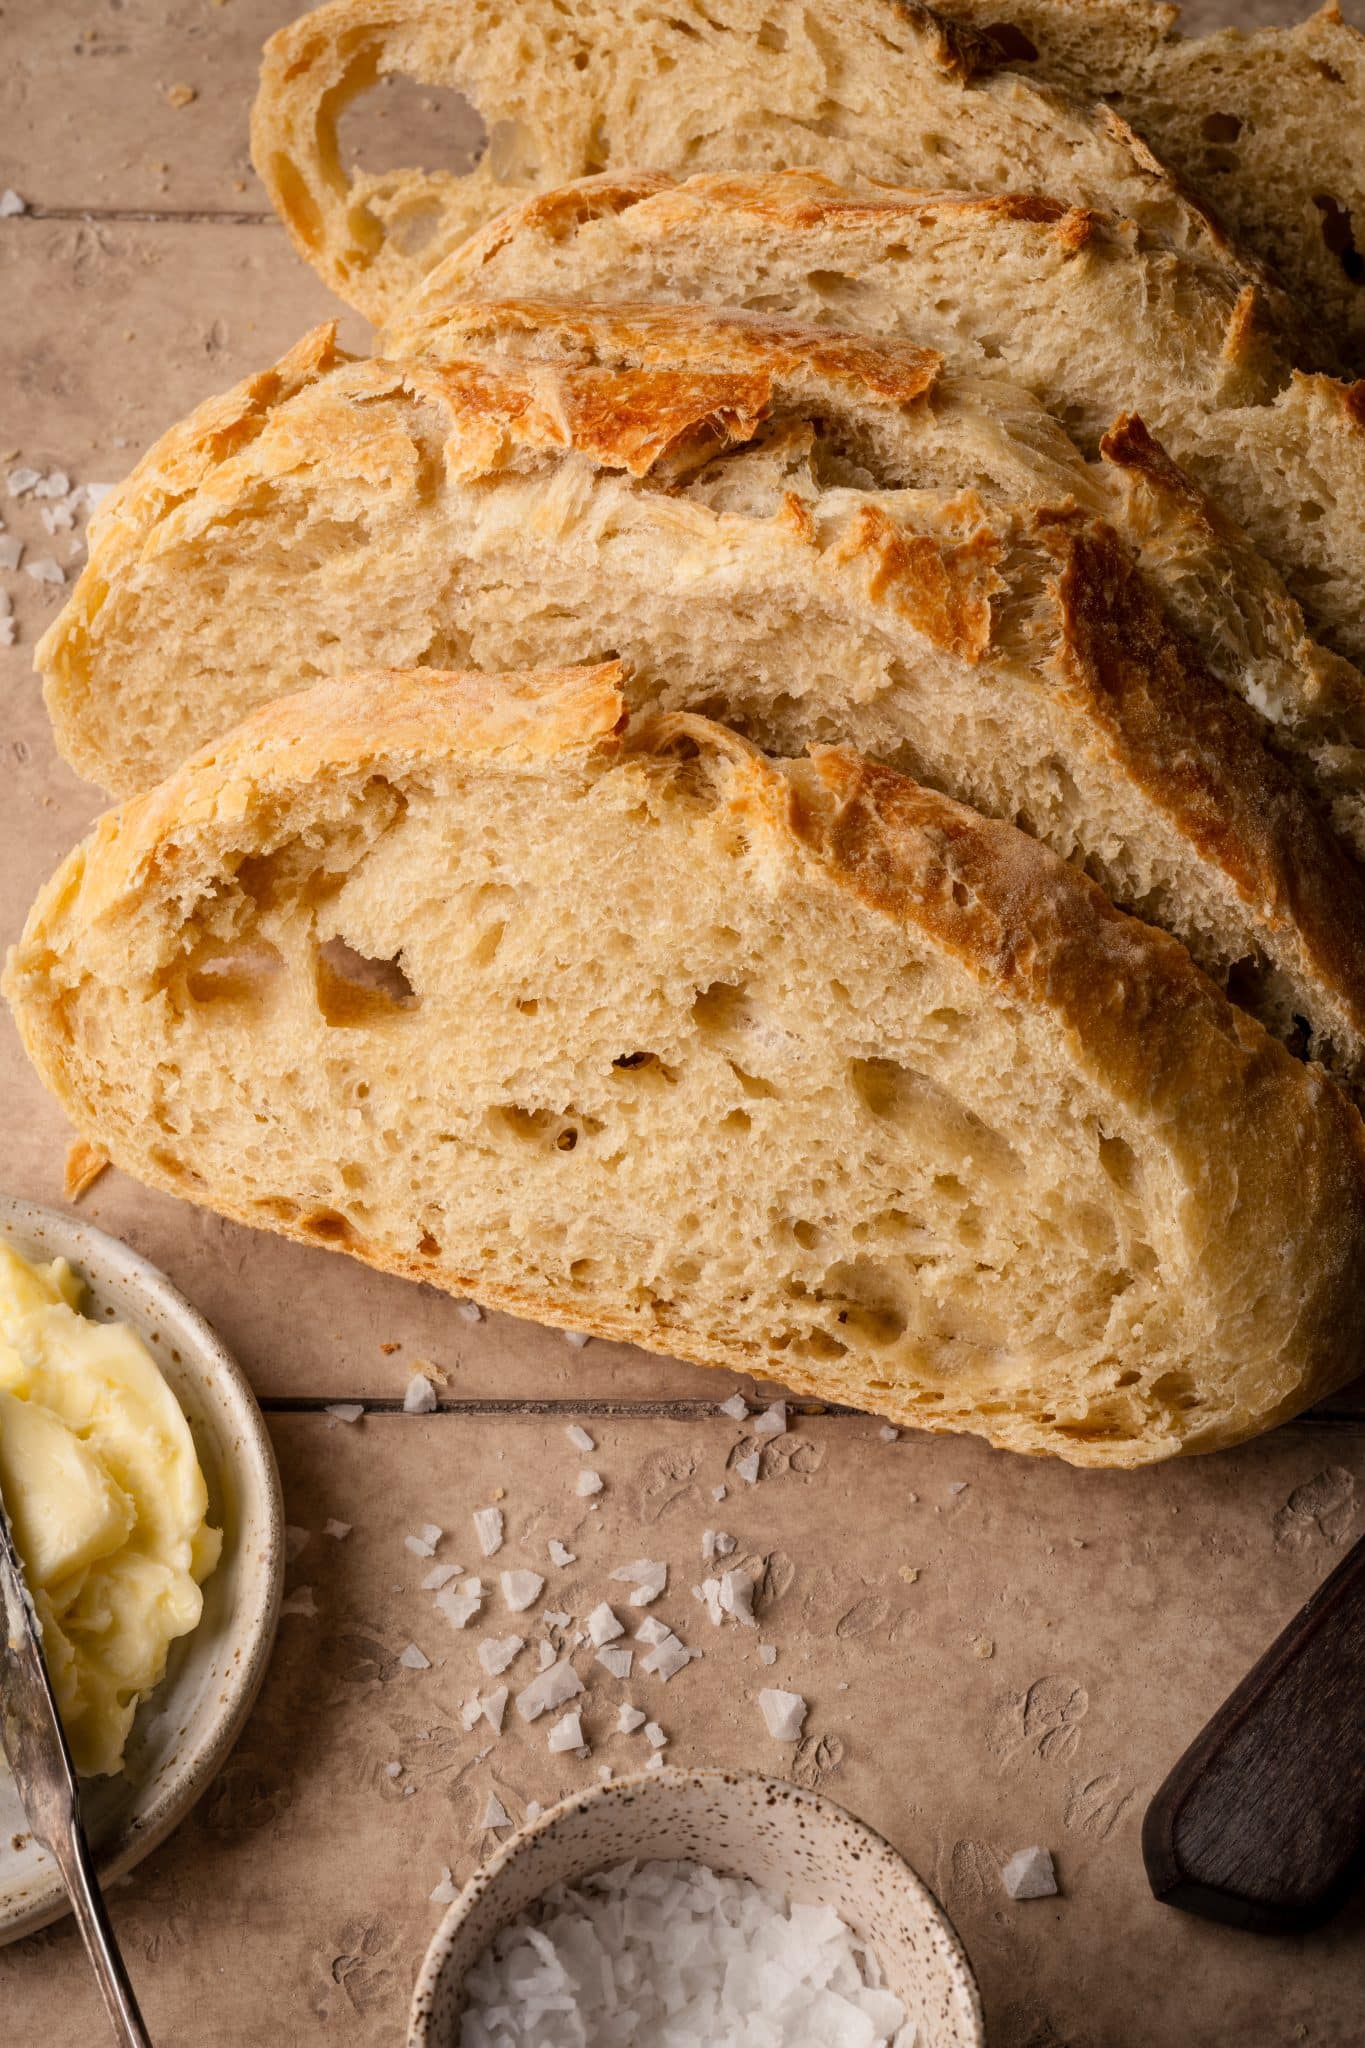
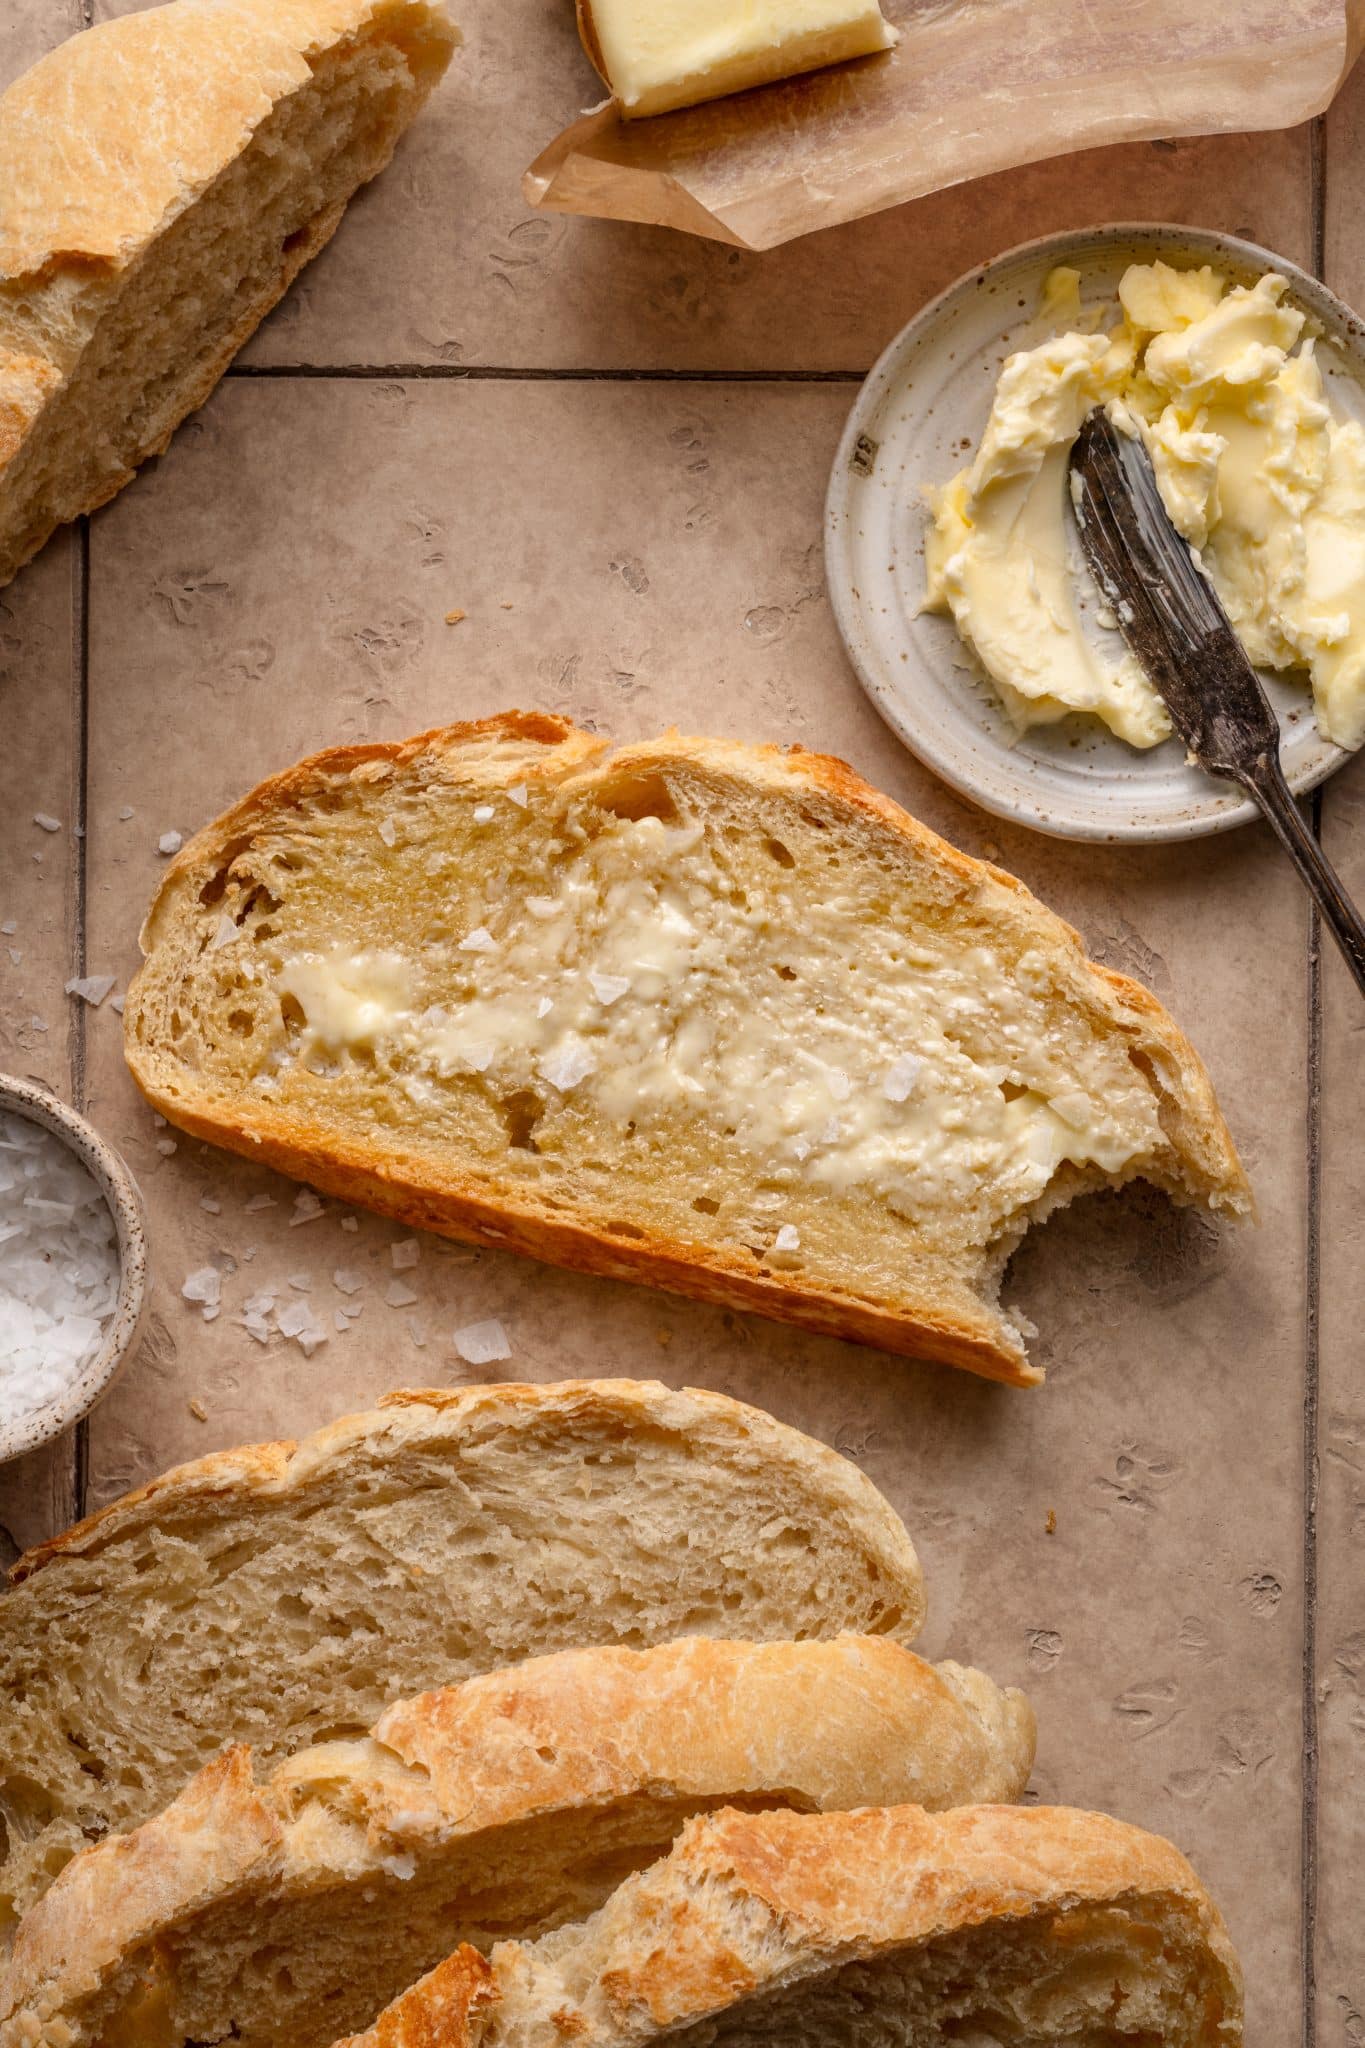
Allow the bread to cool for 10 minutes (errr, if you can wait!) and then slice. Enjoy with butter and flaky sea salt. How good is that?!
Expert Tips
- Using a Dutch oven is key for getting that artisinal crust and bread vibe. The steam is essential in bread baking. Baking with the lid on for the first 30 minutes will trap in residual moisture, allowing the dough to form it’s gorgeous look and crust. See the FAQ section below if you don’t have a Dutch oven and need alternatives.
- The internal temperature of the bread should be around 200°F-210°F. I like to use this kitchen thermometer to check.
- Don’t rush the rest time: The long rest time is essential for no knead breads because this long, slow fermentation helps to to develop both flavor and structure without the need for kneading.
- Try refrigeration: if you’re looking for a loaf with even more flavor, cold fermentation is a good option. After it rises at room temperature overnight, place it in the refrigerator for up to 3 days. When you’re ready to bake, shape the dough (step 3) then allow the dough to come to room temperature to take the chill off (about 1 hour) and then complete its final rise before baking as directed in the recipe below. Cold dough won’t rise well, so just give it a little time.
Variations / Substitutions
- Whole wheat: Feel free to substitute a portion (or all) of the bread flour with whole wheat flour. This adds a nutty flavor and boosts the fiber content, though the crumb may be denser.
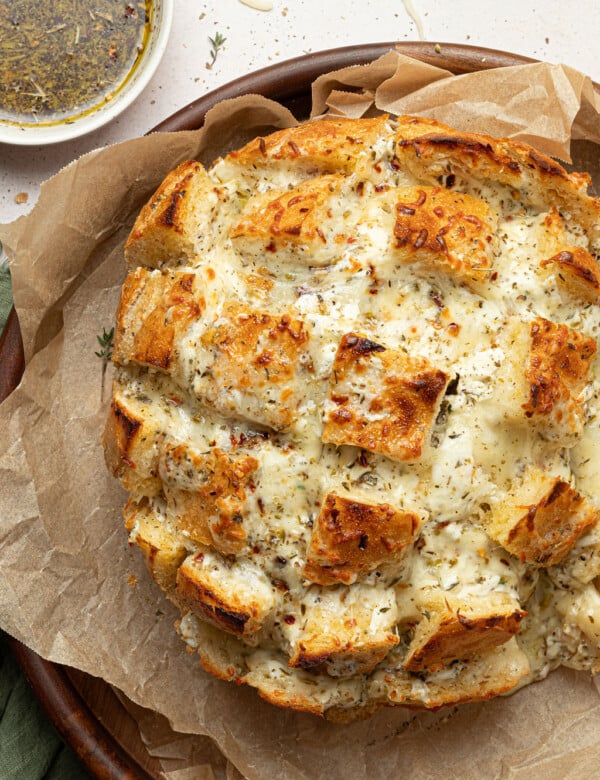
- Herbs: In step 1, add fresh or dried herbs (rosemary, thyme, basil) to the dough.
- Olives or sun-dried tomatoes: Mix in chopped olives or sun-dried tomatoes to create a Mediterranean-inspired twist with bursts of flavor in every bite.
- Parmesan cheese: For the best flavor, use a high-quality Parmesan. The aged, nutty notes will shine through the no-knead bread!
- Something sweet: you can add in a touch of cinnamon, raisins, or even a little honey. This creates a lightly sweet, aromatic loaf that pairs well with butter or cream cheese.
Storage / Freezing
- It’s best enjoyed fresh, but leftovers can be stored at room temperature for 2-3. Preferably wrapped in a bread bag or bread box, or wrapped in a clean kitchen towel. I don’t recommend storing in the fridge because it makes the bread stale faster than at room temperature.
- Freezing: cool completely, wrap in plastic wrap or foil and place in a freezer safe baggie for up to 3 months. I like to freeze it in slices to make it easier to toast and reheat.
FAQs
What can I bake the bread in if I don’t have a Dutch oven?
You can use any oven-safe pot with lid. Just make sure it can heat up to 450°F. Choosing something that can create a steamy environment (with a lid) is key. Some options are:
Cast Iron Skillet with a Lid: If you have a heavy, oven-safe cast iron skillet with a lid, it’s a great option since it retains heat well and will give your bread a great crust.
Baking Steel & Steam: a baking stone will conduct the heat well, you will need to preheat it for at least 30 minutes before baking. When ready to bake, place a sheet of parchment down on the steel, then the bread on top (this is for convenience). For the steam, place a smaller oven safe baking dish filled with 1 cup of water on the rack under the baking steel. Remove the water during the last 10-15 minutes of baking.
Oven safe stock pot or saucepan: a pot around 5-6 quarts with higher sides so the bread can rise up instead of out and into a blob. You won’t have to preheat it, and using a sheet pan as the lid will work well.
Can I make this recipe using active dry yeast?
Yes! All you need to do differently is dissolve the active dry yeast in the water first, then immediately add in the flour, salt, olive oil, and mix. The active dry yeast benefits from being dissolved in the warm water first, but you don’t need to let it get foamy. Then, proceed with the recipe as directed.
shop this post
 Buy Now →
  Buy Now →
 March 2025 Baking Challenge!


Before You Begin! If you make this, please leave a review and rating letting us know how you liked this recipe! This helps our business thrive & continue providing free recipes.
Overnight No Knead Bread
Ingredients
- 450 grams bread flour*, plus more for dusting (about 3 1/4 cup)
- 2 tsp. kosher salt*, not table salt
- 1/2 tsp. instant yeast*
- 1 1/2 cups warm water, 110°-120°F (anything over 130°F will kill the yeast)
- 1 Tbsp. extra virgin olive oil (optional )
Last step! If you make this, please leave a review and rating letting us know how you liked this recipe! This helps our business thrive & continue providing free recipes.
Instructions
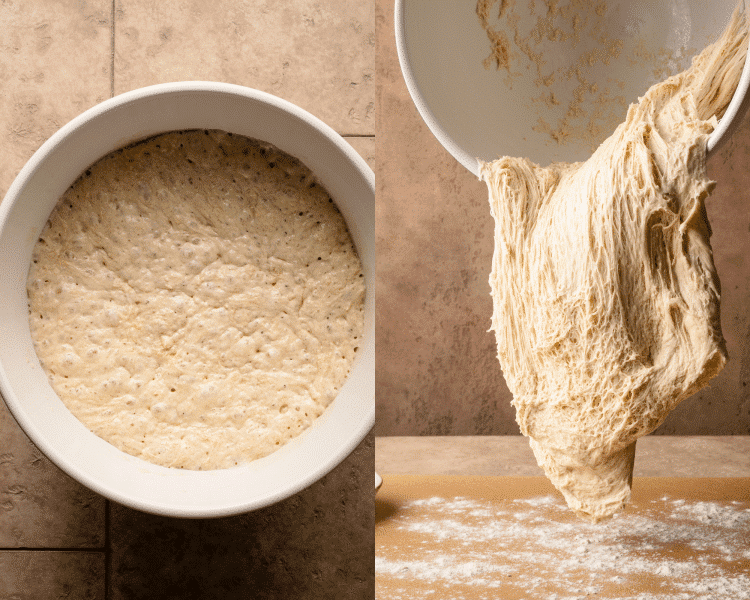
- Mix the dough: Combine the flour, salt, and yeast in a large bowl. Add the water and olive oil and stir as you add it in. Mix for 1-2 minutes until you have a shaggy, sticky dough. It might not look like it’s coming together, but the flour will hydrate. Adjust with a touch more water as needed, but be careful not to add too much.450 grams bread flour*, plus more for dusting, 2 tsp. kosher salt*, not table salt, 1/2 tsp. instant yeast*, 1 1/2 cups warm water, 110°-120°F (anything over 130°F will kill the yeast) , 1 Tbsp. extra virgin olive oil

- Rise: Cover with plastic wrap and let rise on the counter at room temperature for 16-18 hours.
- Transfer dough to parchment: Lay out a piece of parchment paper and dust with flour. Scrape the dough out of the bowl onto the parchment, it should have bubbles over the top and appear wet.
- Shape the dough: Sprinkle a little more flour on top of the dough. Remember, no knead bread! Simply fold the sides of the dough up and towards the center to create a rough, round shape. Pinch the seams together at the top of the dough.
- Rise again: Cover with a clean kitchen towel and rise again for 30 minutes.
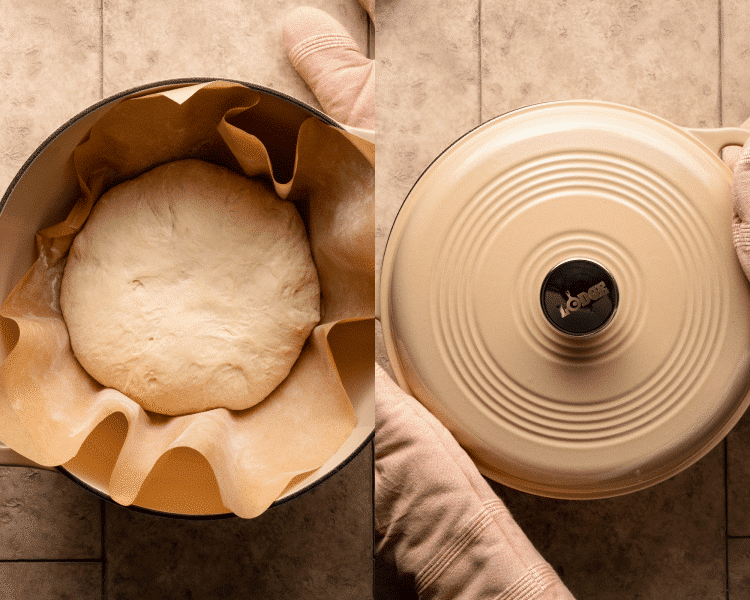
- Preheat: Place a large Dutch oven with the lid on in the oven. Preheat it to 450°F and keep the Dutch oven in there to get hot for 30 minutes.
- Transfer to pot: very carefully remove the hot Dutch oven from the oven, remember the lid will be hot too! Pick up the dough along with the parchment (blowing off any excess flour on the bottom) and place the dough in the pot. Place the lid back on. Note: I don't score the top of my bread, and it bakes beautifully but feel free to score yours if you prefer!
- Bake: Bake for 30 minutes covered. Remove the lid and bake again for another 10-15 minutes or until crust is golden.
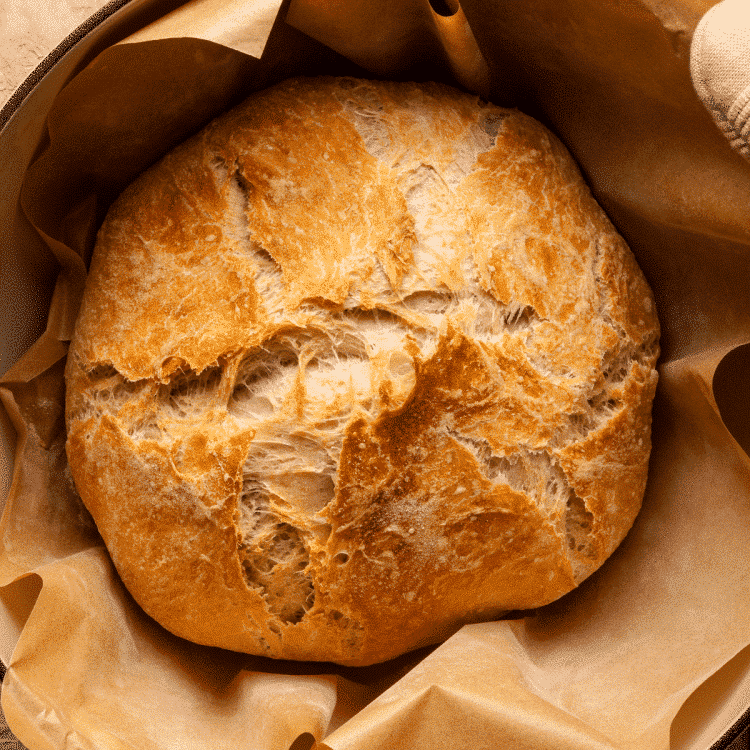
- Cool: carefully remove the bread from the Dutch oven (I like to use tongs) and allow to cool on a wire rack for at least 10 minutes before slicing. Enjoy with butter! Isn't it HEAVEN?!
Notes
- Storage: It’s best enjoyed fresh, but leftovers can be stored at room temperature for 2-3. Preferably wrapped in a bread bag or bread box, or wrapped in a clean kitchen towel. I don’t recommend storing in the fridge because it makes the bread stale faster than at room temperature.
- Flour: I personally prefer the crust and crumb of this no-knead bread using bread flour, but you can, of course, use all-purpose flour as well.
- Salt: if using kosher salt, use 2 teaspoons. If you only have a finer salt, like table salt, use 1 1/4 teaspoons.
- Yeast: If using active dry yeast, all you need to do differently is dissolve the active dry yeast in the warm water first, then immediately add the flour, salt, olive oil, and mix. The active dry yeast benefits from being dissolved in warm water first, but you don’t need to let it get foamy. Then proceed with the recipe as directed.
- Refrigeration: cold fermentation is a good option if you’re looking for a loaf with even more flavor. After it rises at room temperature overnight, place it in the refrigerator for up to 3 days. When you’re ready to bake, shape the dough (step 3) then allow the dough to come to room temperature to take the chill off (about 1 hour) and then complete its final rise before baking as directed in the recipe below. Cold dough won’t rise well, so just give it a little time.
- Source: This recipe was modified and adapted from Jim Lahey, who developed the famous no-knead bread method.
Nutrition Information
Nutritional information is provided as a courtesy and is automatically calculated. It should only be construed as an estimate rather than a guarantee. Ingredients can vary and Kroll’s Korner can’t make any guarantees to the accuracy of this information.
📸 Photography by Creating Kaitlin

I’ve tried to be a sourdough baker but found the process tedious. Love your recipe! Delicious bread with little effort. I found all your handy hints very useful and will look forward to trying different “add ins” with future loafs. Thanks!
Same, I always resort back to this recipe because sourdough just isn’t in my wheelhouse at the moment. Maybe one day! haha thank you! So glad you enjoyed it:) let me know what add ins you try first!
I’ve been trying many no knead recipes and I think I have finally found the best!! I believe the addition of the olive oil really makes this bread. I’m so happy that while searching I actually came across your site thanks to AI mode! Thank you…I plan to keep searching your site for more recipes!
Such a beautiful loaf! I am glad Ai worked to my advantage and you stumbled across this recipe 🙂 thank you Beverly!
Very easy to make! Made this one a few days ago and about to put another one in the oven. I’ve made lots of bread recipes and this one is definitely the easiest and softest. Thanks!
That makes me soo happy, thank you! 🙂
This was super easy to follow and turned out perfect!
Me and bread have a love hate relationship but this one was actually SO easy and turned out perfect! My husband loves it.
Ahhhh, I’m thrilled that this one was easy for you, Kim!! Your loaf looks delish!! 🫶🏻
I’ve made this recipe as written several times and it always comes out great! This loaf I added orange zest and dried cranberries, for my mom’s 84th birthday. It smelled SO GOOD while baking and when it came out of the oven. I just know she’s going to love it!
Looks so great!! I love the orange zest and dried cranberry additions! 🥰
Just came out of the oven! Very good. Followed the recipe exactly and it came out perfectly. Will make again! And try different seasonings. So easy.
So glad you loved this one, Sherie! Thanks for leaving a review 🫶🏻
Simple and delish- can’t love the taste and smell more!!!! Thanks for sharing. I’ve made it three times and shared the recipe with family. Appreciate it!!
Awww Patti, this makes me SO happy to hear! I’m go glad you love it and have shared it with family. Thanks for leaving a review! 🫶🏻
This is the only bread I make now. I like to leave it in the fridge for the 3 days, but if I am in a time crunch, I can do the overnight version. I have stopped looking for any other recipes.
This makes me so happy! Thank you Vicki! Time for me to make another loaf, too!
Can I add in chopped seasoned kalmata olives without having to adjust the recipe?
Yes! Let me know how it turns out for you 🙂