Double Chocolate Thumbprint Cookies

This post may contain affiliate links. Please read our disclosure policy.
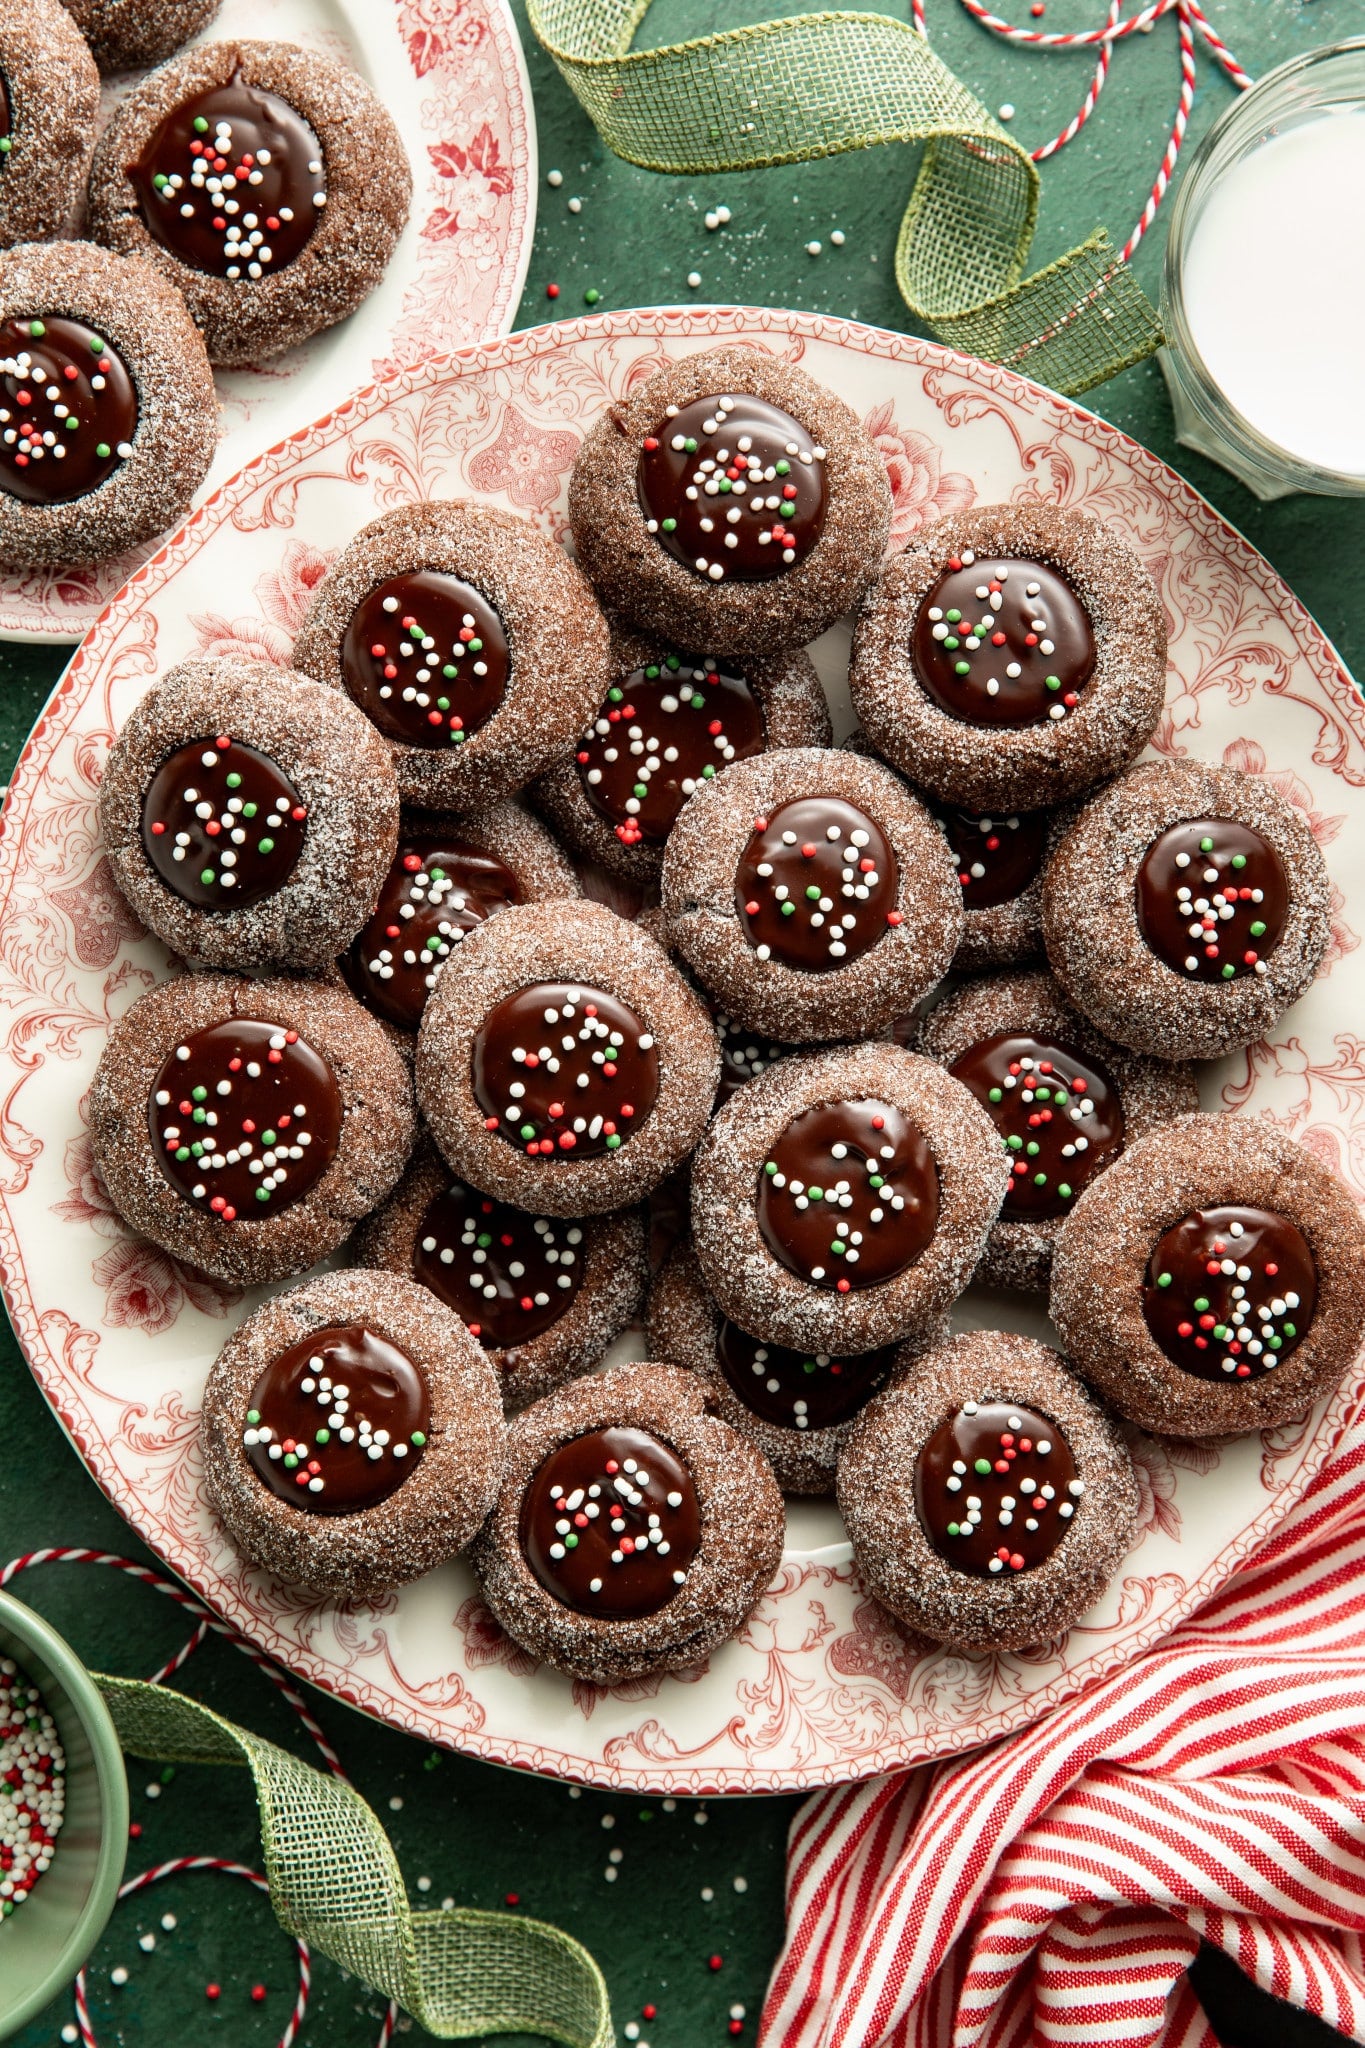
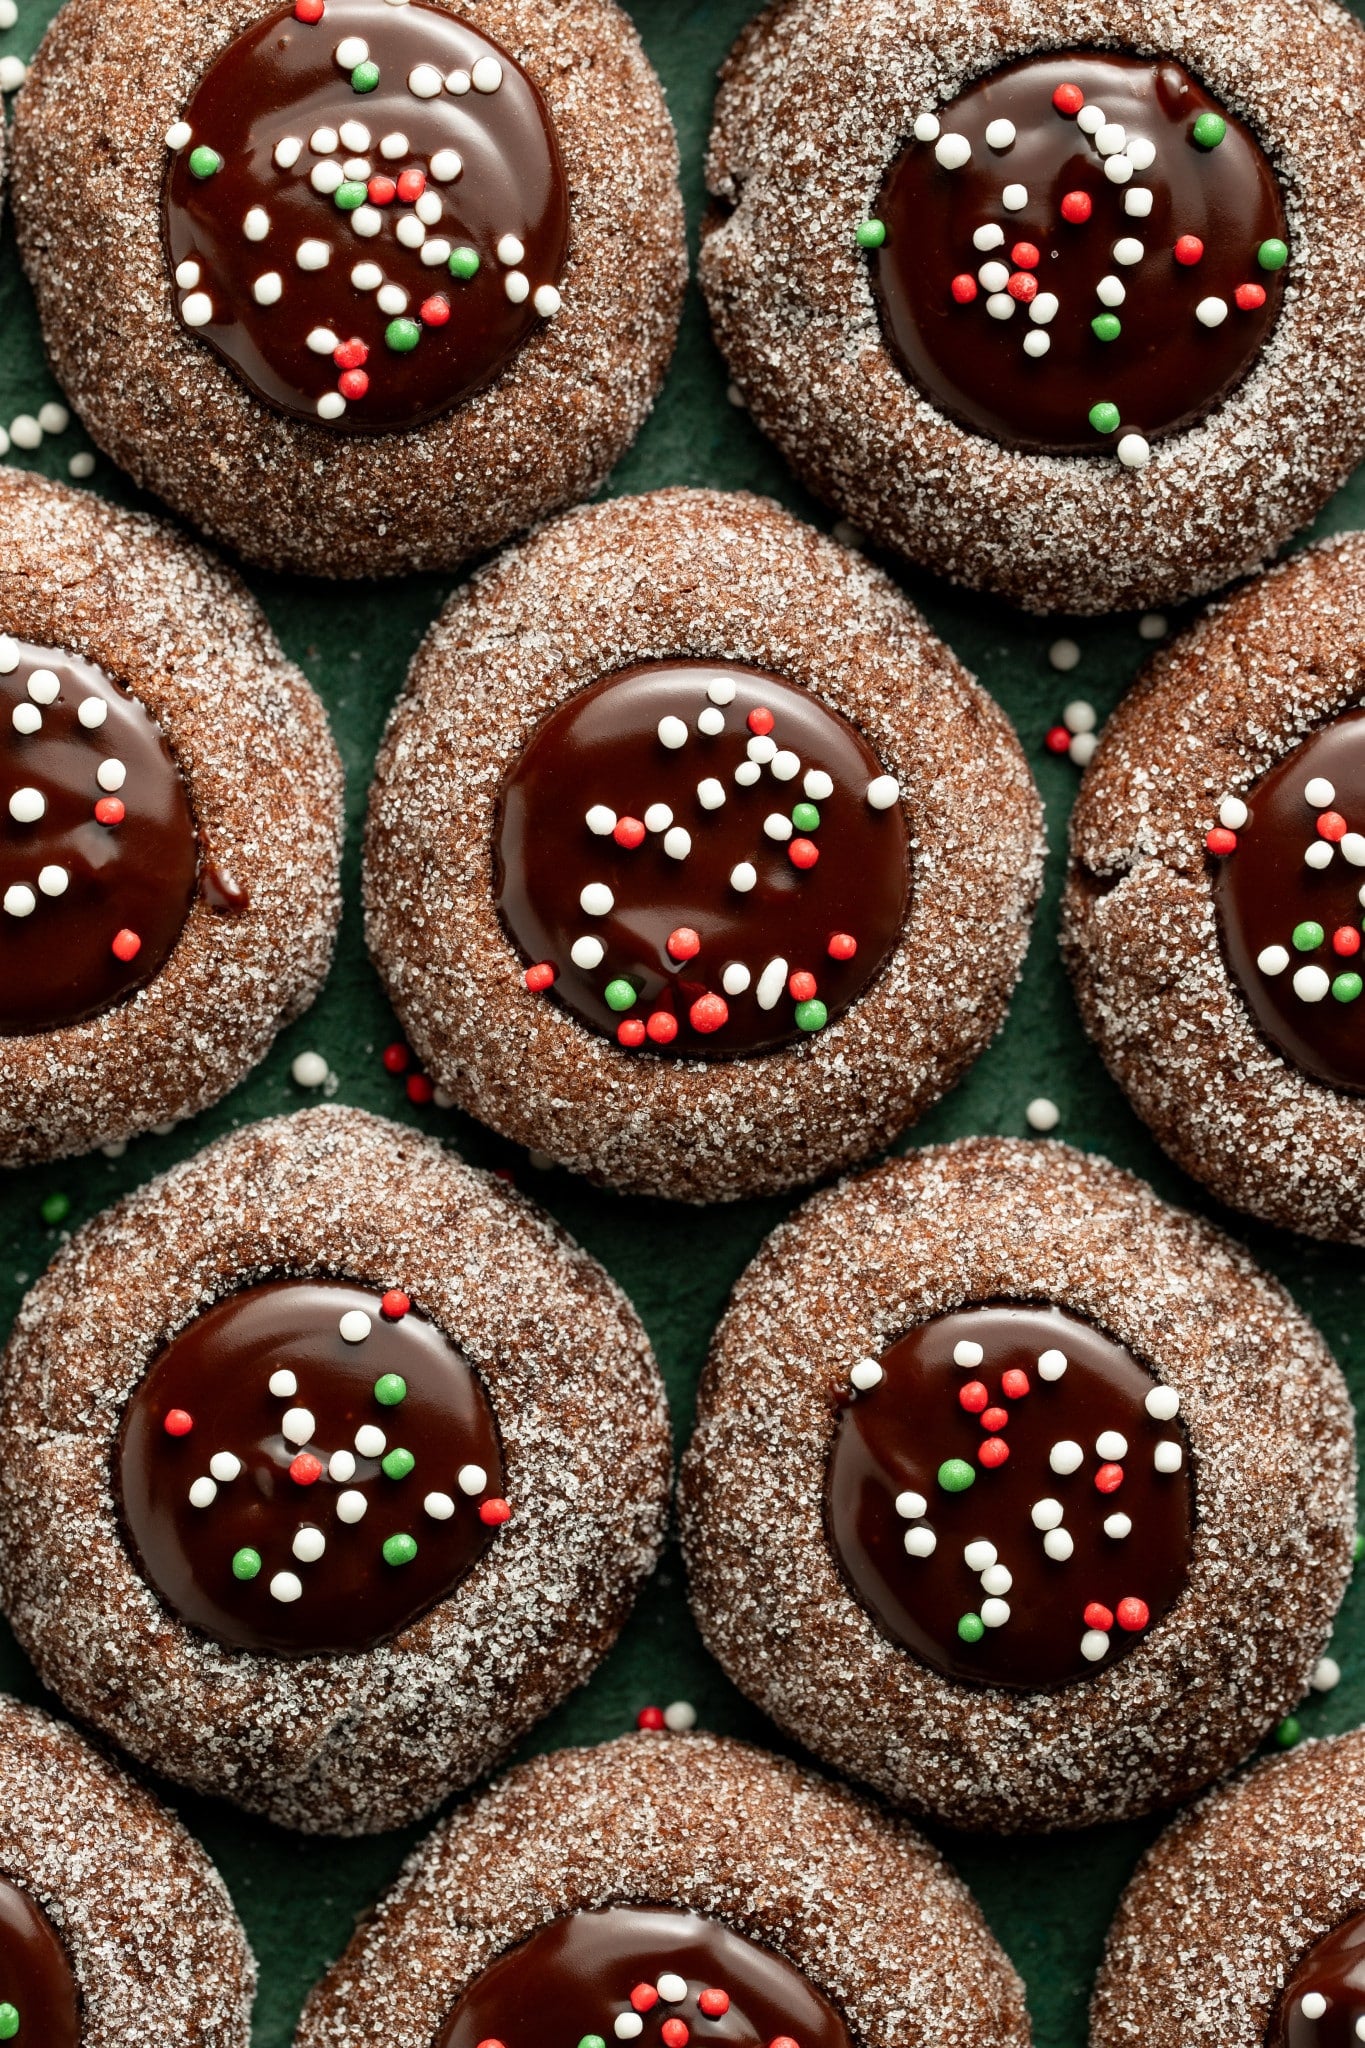
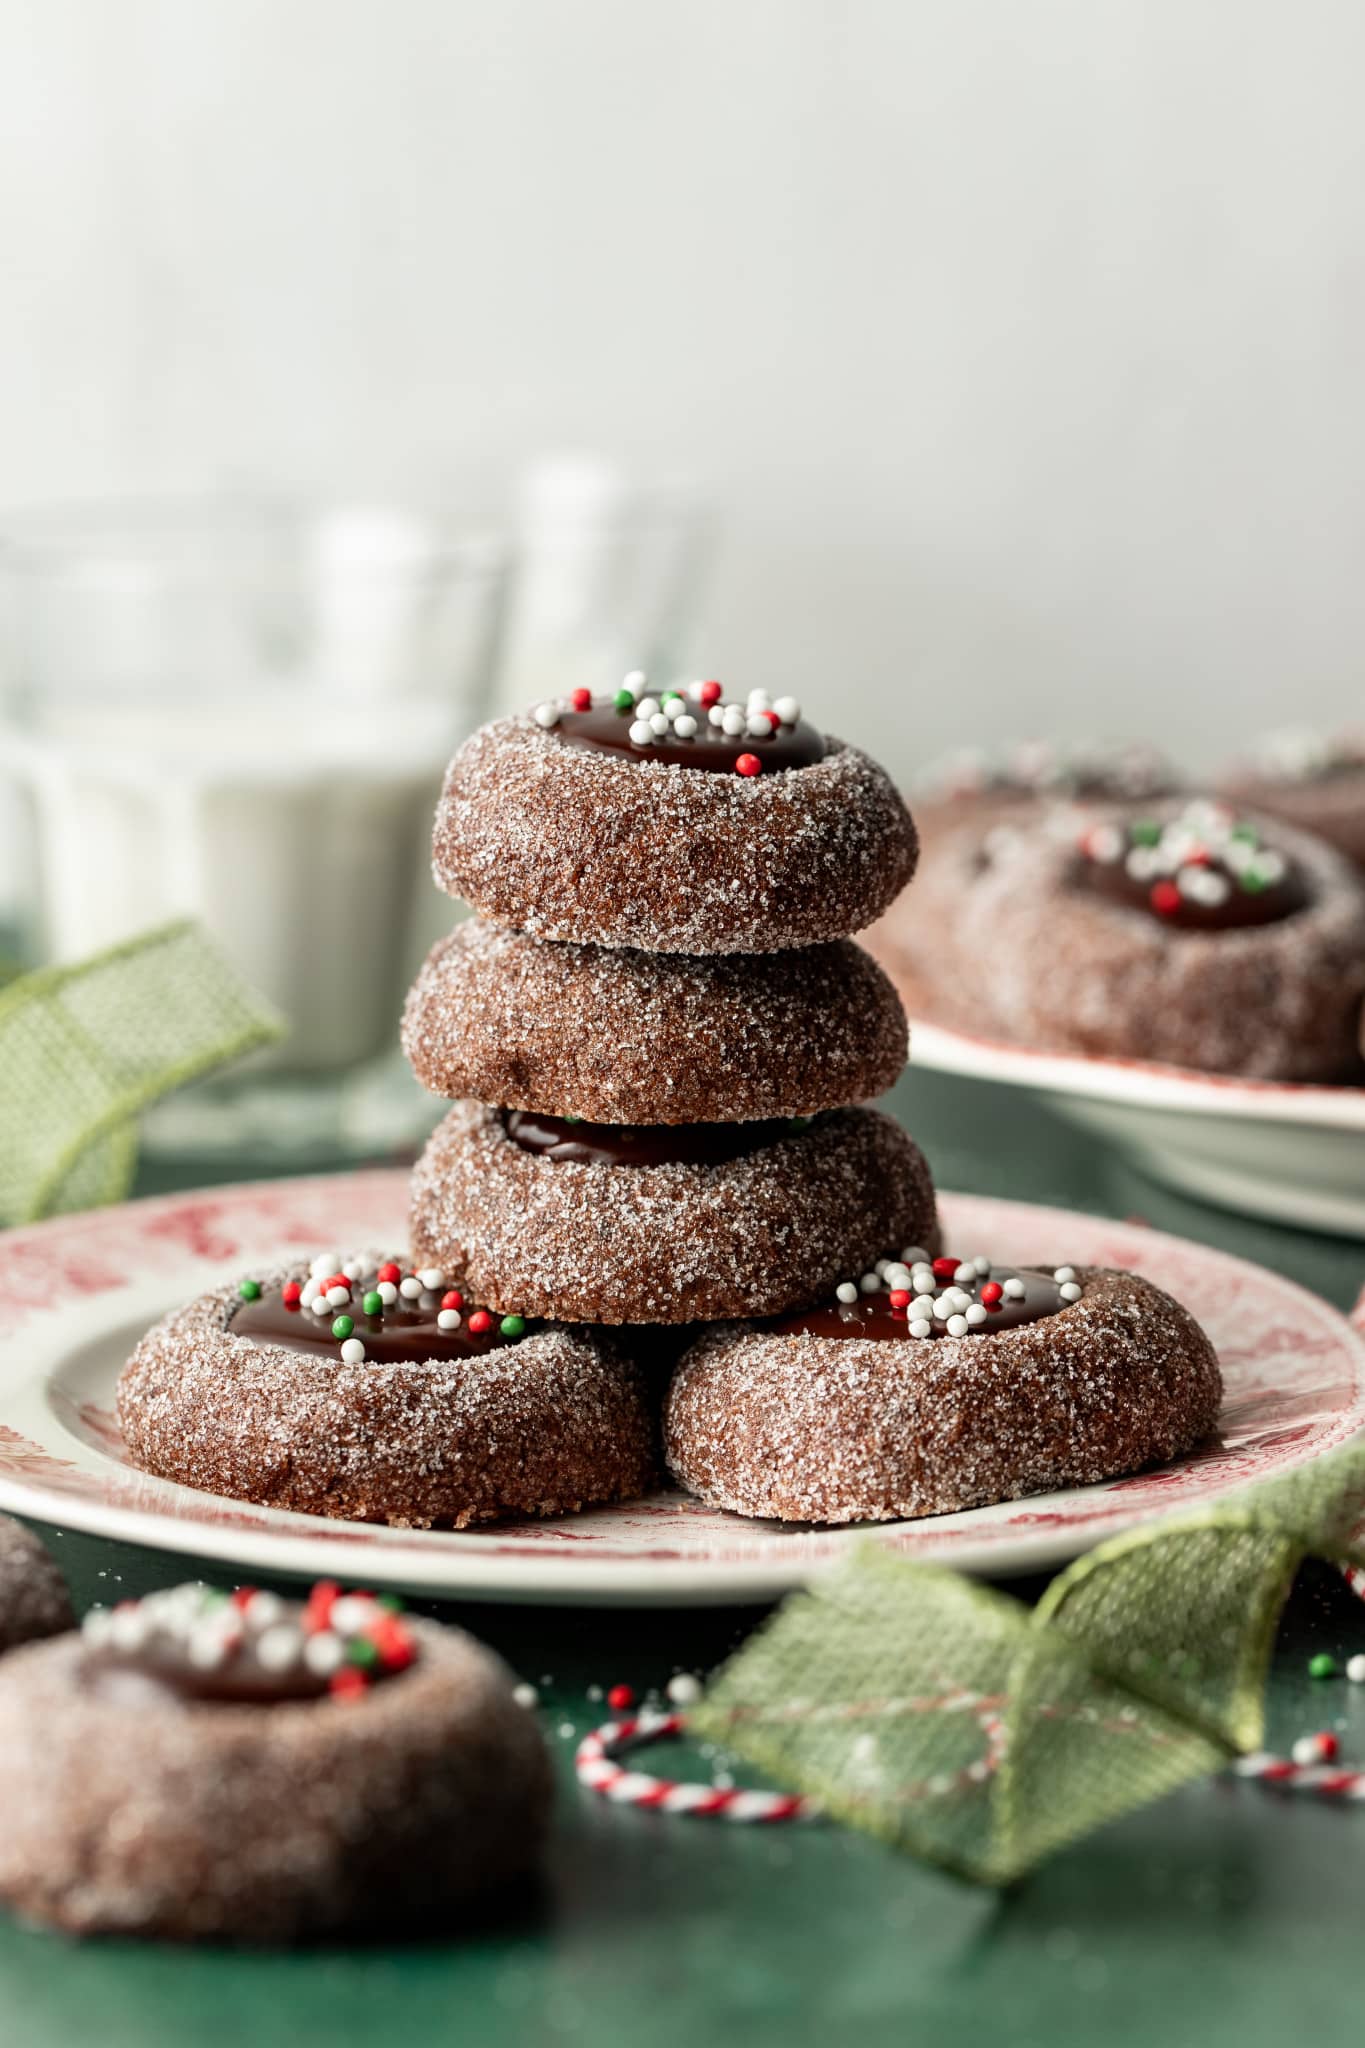
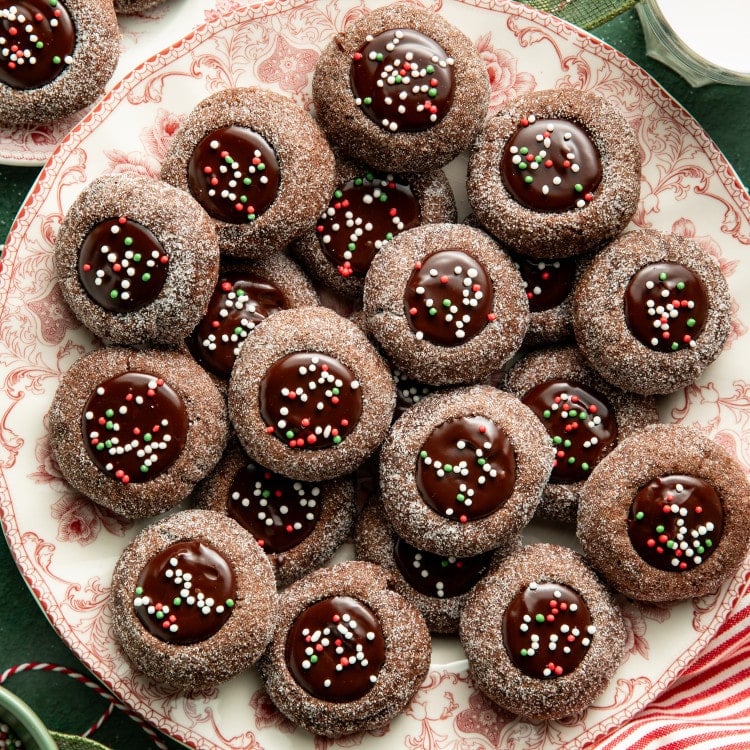
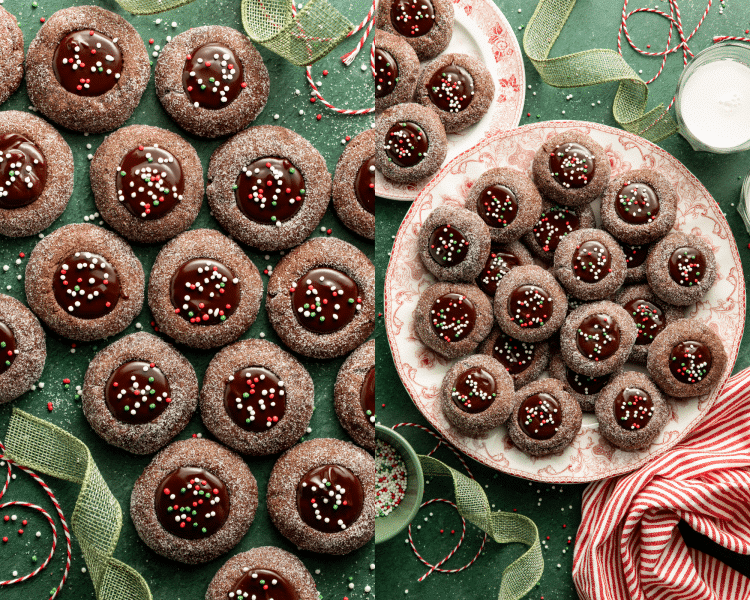
If you love chocolate, you need to add these Chocolate Thumbprint Cookies to your holiday baking list! They’re made with soft, rich chocolate cookies, rolled in a little sugar, and filled with a simple chocolate ganache that makes them extra delicious.
You’ll love these cookies because they’re easy to make, don’t require any fancy ingredients, and are perfect for Christmas cookie trays, cookie exchanges, or just keeping around when you’re craving something sweet. Add some festive sprinkles on top, and you’ve got a fun little holiday treat everyone will love!
Looking for more chocolate favorites🍫? Try my Chewy Chocolate Cookies, Chocolate Peppermint Cookies, Chocolate Andes Mint Cookies, Double Chocolate Crinkle Cookies, Chocolate Peanut Butter Chip Cookies (Bakery Style), or Chocolate Peanut Butter Blossoms.
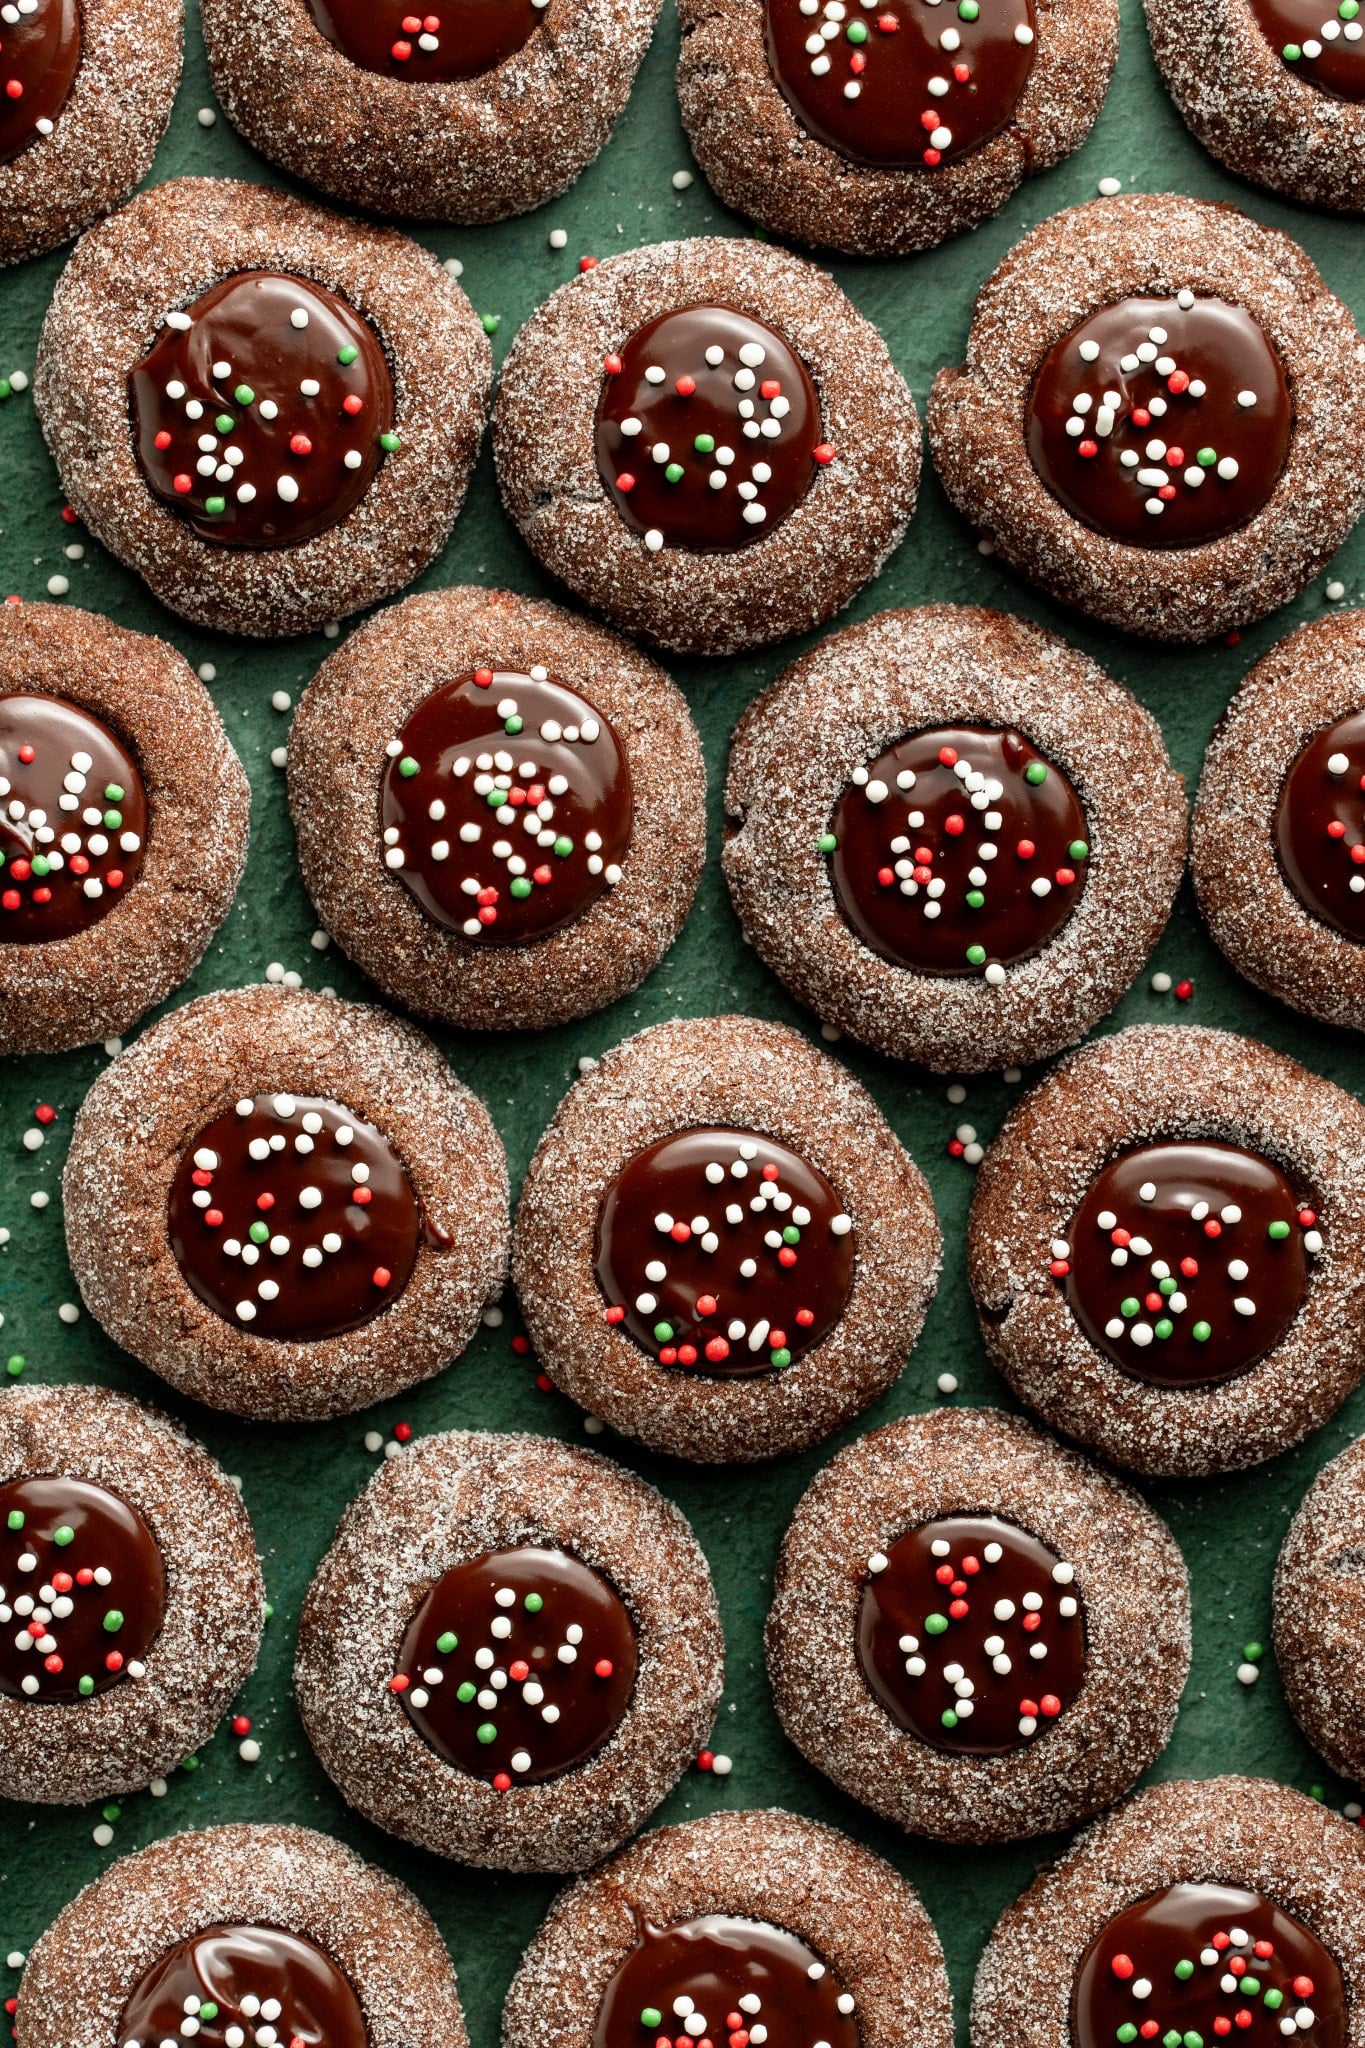

 Table Talk with Tawnie

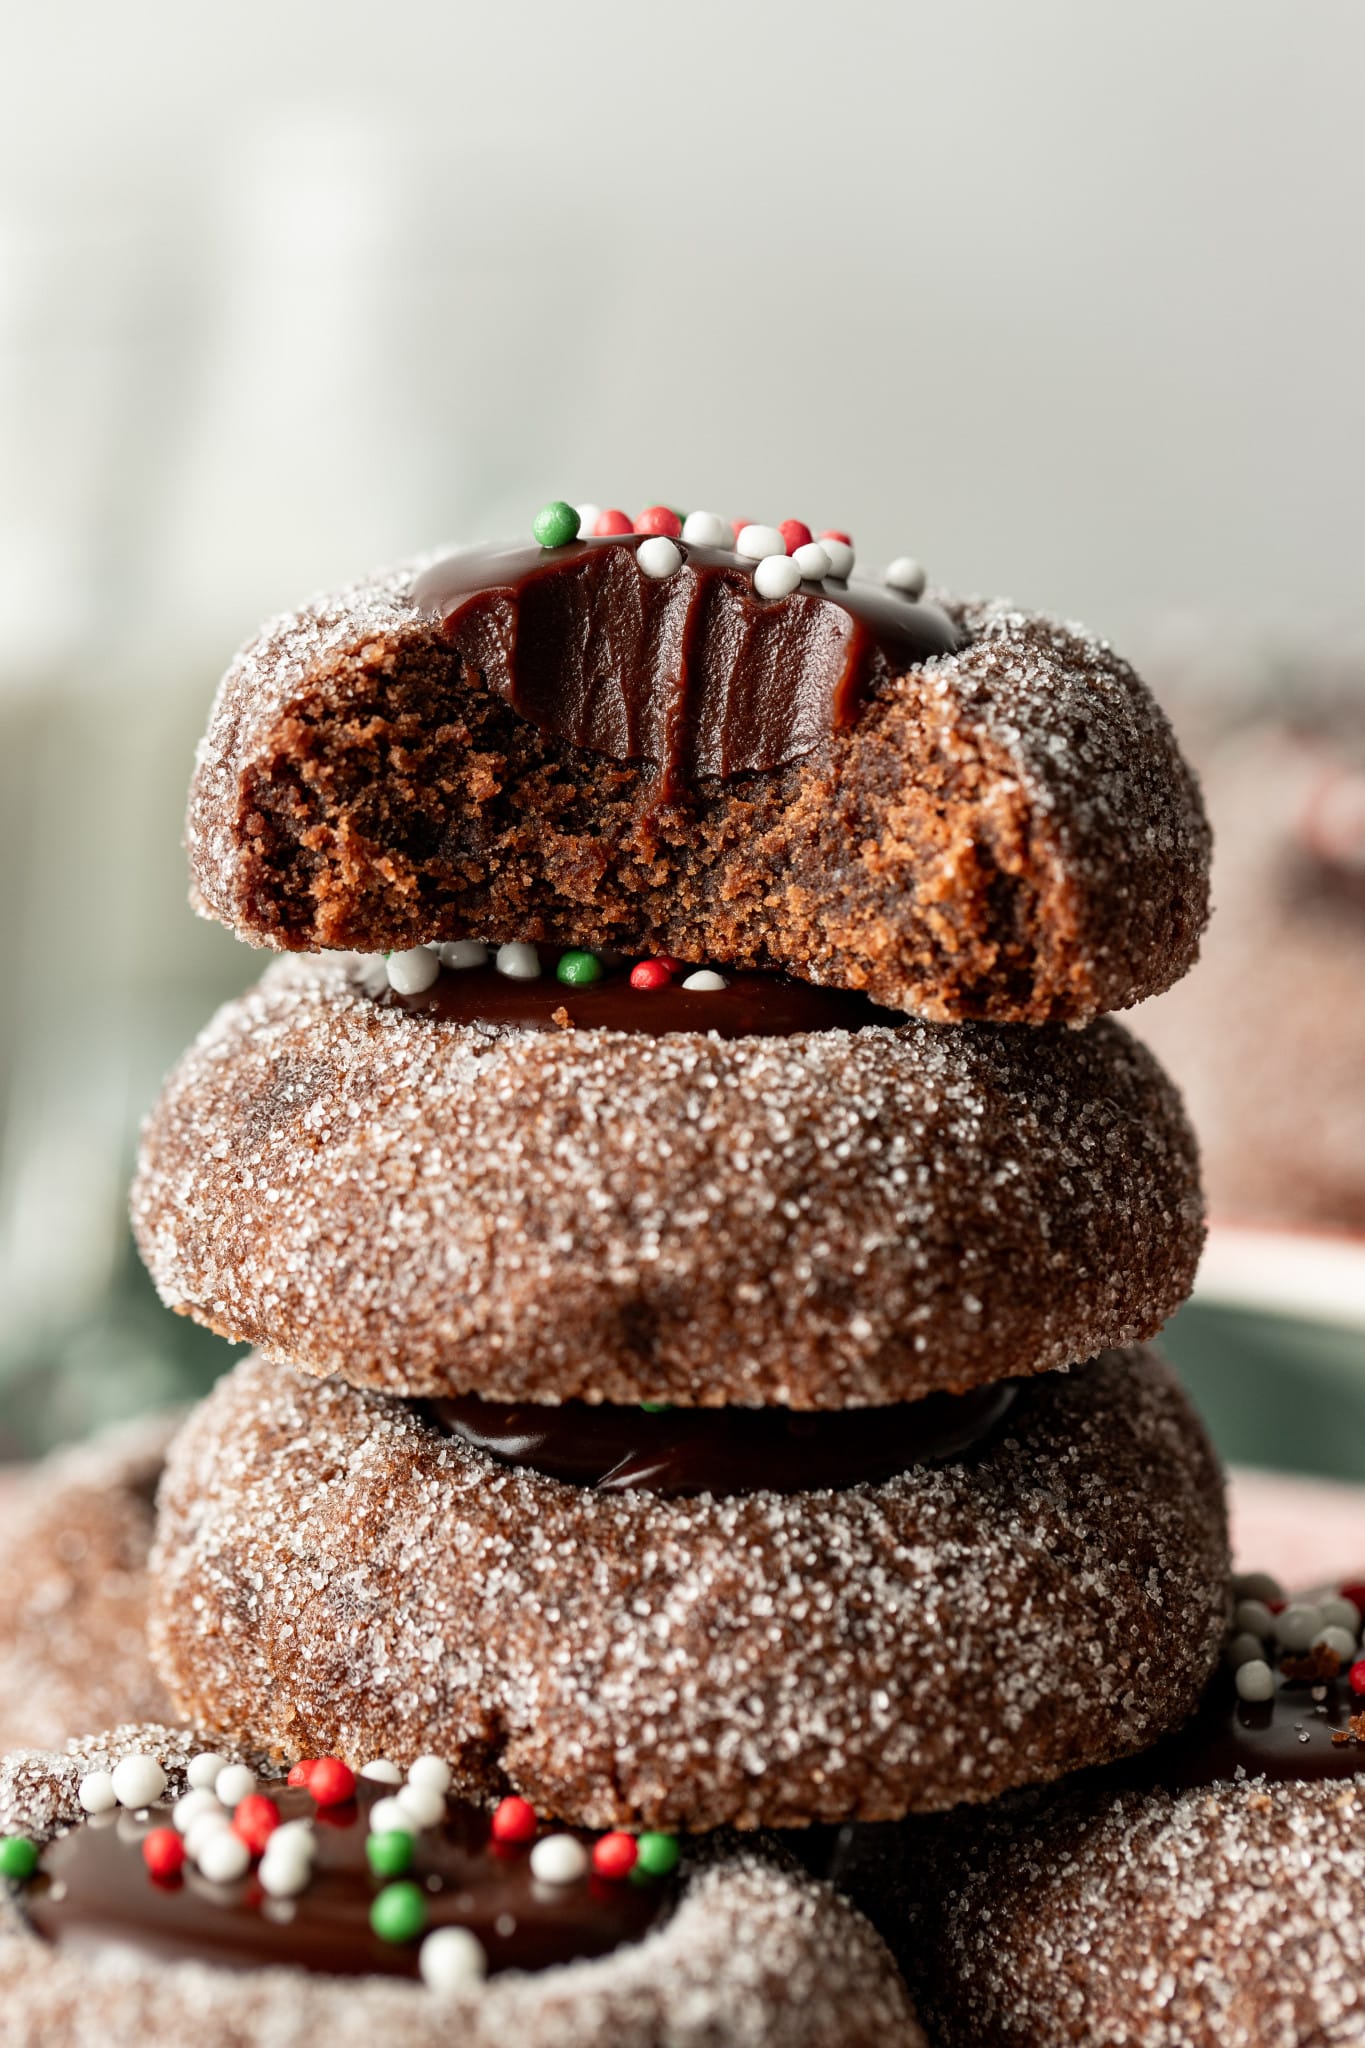
I love that this cookie feels a little elevated and different than most cookies during the holiday season! They’re such a gorgeous cookie and hold their shape so well I just know you’ll love this one
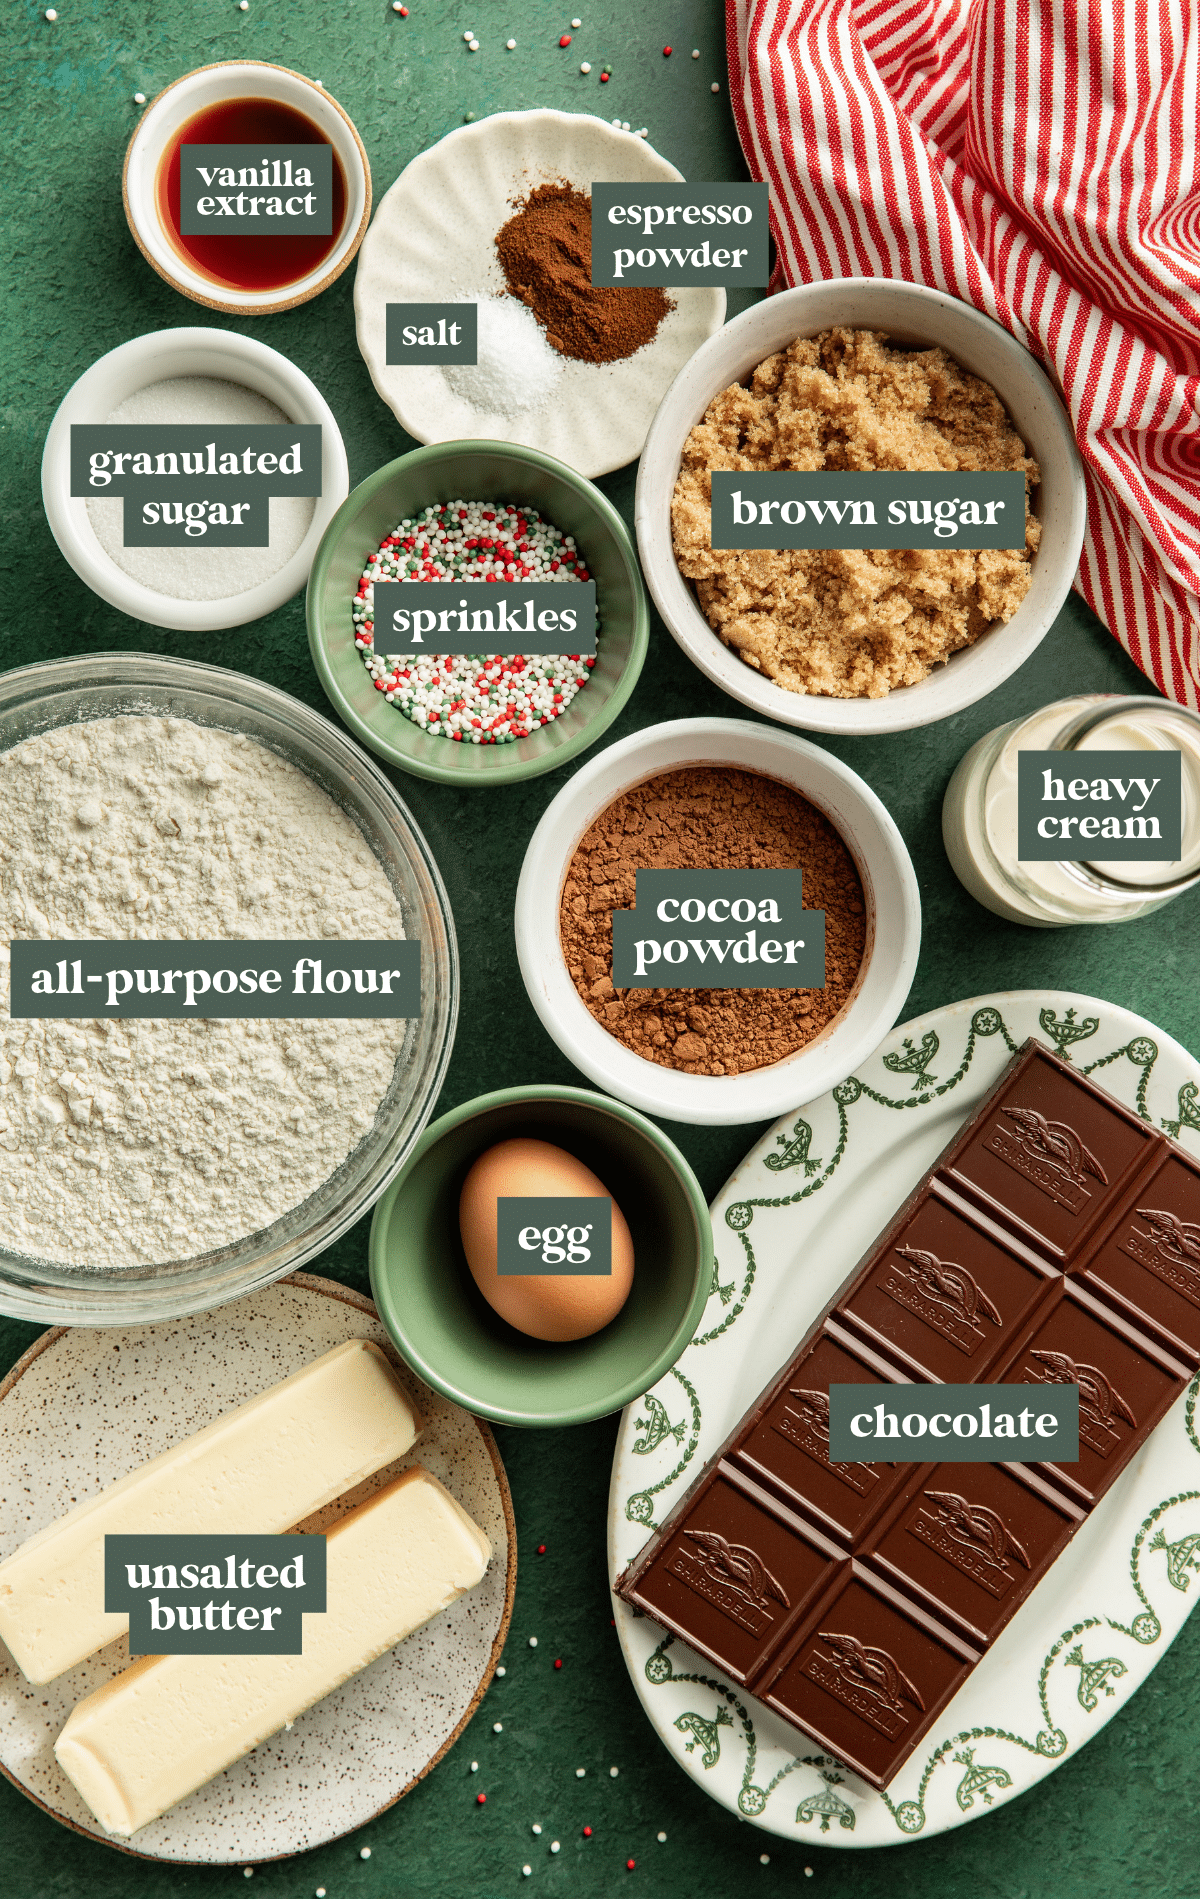
- All-purpose flour: As always, it’s essential to make sure you’re using the spoon and level method to measure your flour when baking (you can also use a kitchen scale to weigh your ingredients).
- Unsalted Butter: Make sure the butter is at room temperature for easier creaming with sugar, which helps create a tender and chewy texture. If you forgot to pull your butter out in time, check out this post on How To Soften Butter Fast (6 ways!).
- Dutch-process cocoa powder: Dutch-process cocoa has a smoother, less acidic flavor than natural cocoa, making these cookies extra fudgy and decadent.
- Espresso powder: Espresso powder helps to enhance and intensify the chocolate flavor of these cookies. Don’t worry, they won’t taste like coffee! The King Arthur espresso powder is my favorite!
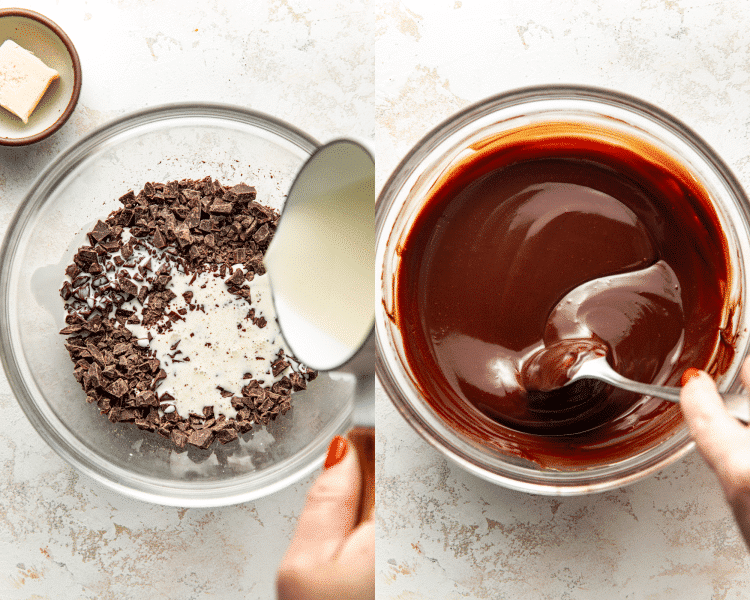
- Chocolate ganache: Use my chocolate ganache recipe to make the chocolate filling. Just note, you’ll only need 4oz of chocolate and 4oz of heavy cream for this recipe, as opposed to the 6oz as the original recipe states.
Step by Step Directions
(For the full recipe, scroll down to the recipe card below)
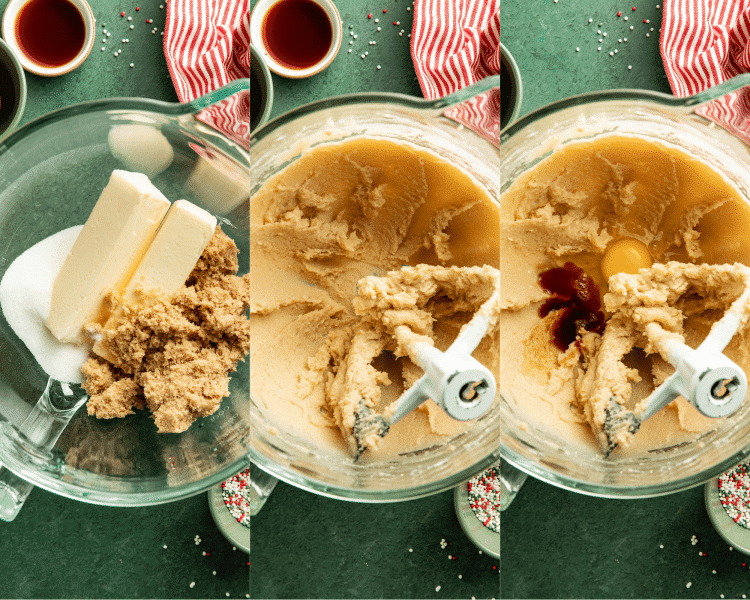
Mix wet ingredients
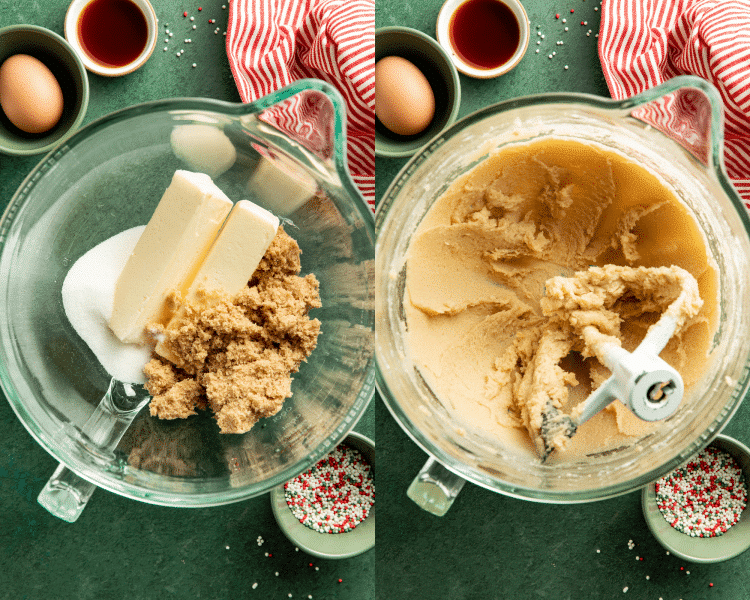
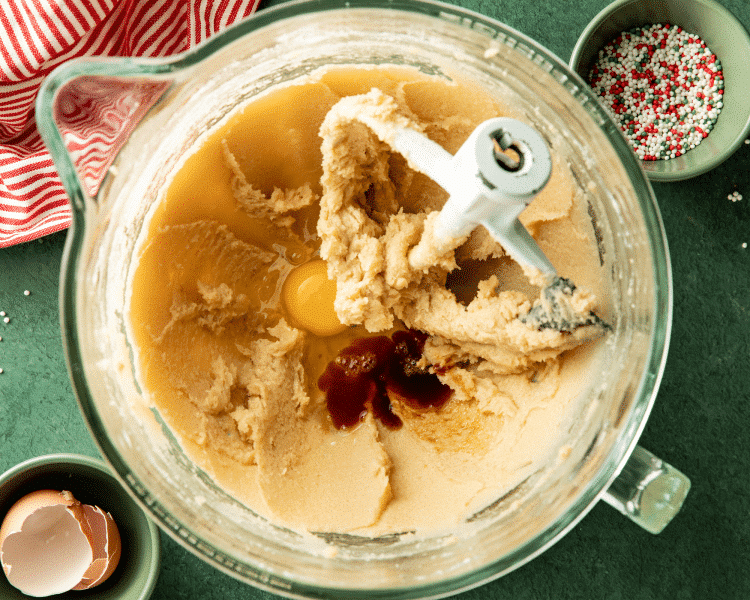
Beat the butter and sugars until light and fluffy. Then add the rest of the wet ingredients and mix until combined.
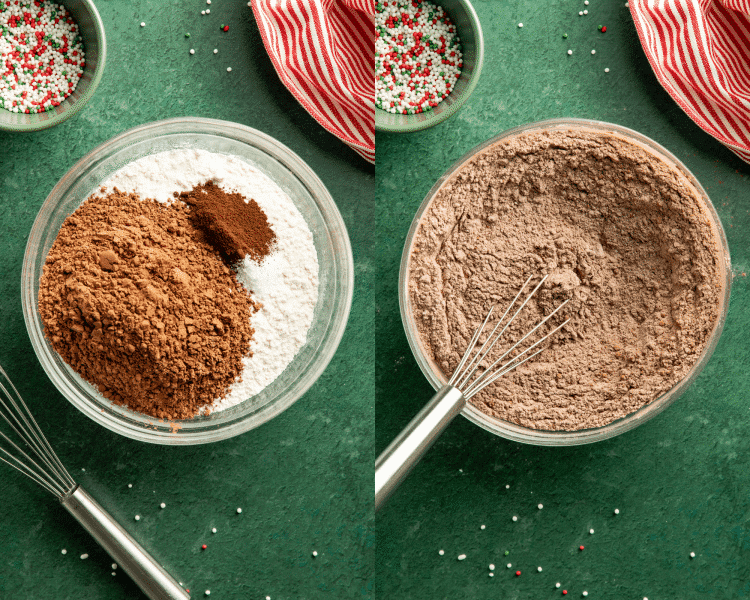
Whisk dry ingredients
Whisk the dry ingredients in a separate bowl.
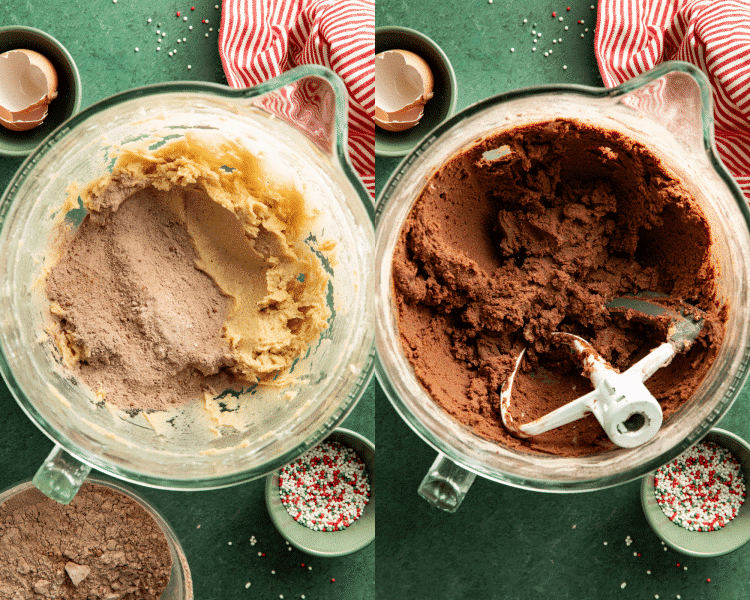
Combine ingredients
Combine the wet and dry ingredients until the dough forms.
Shape and bake
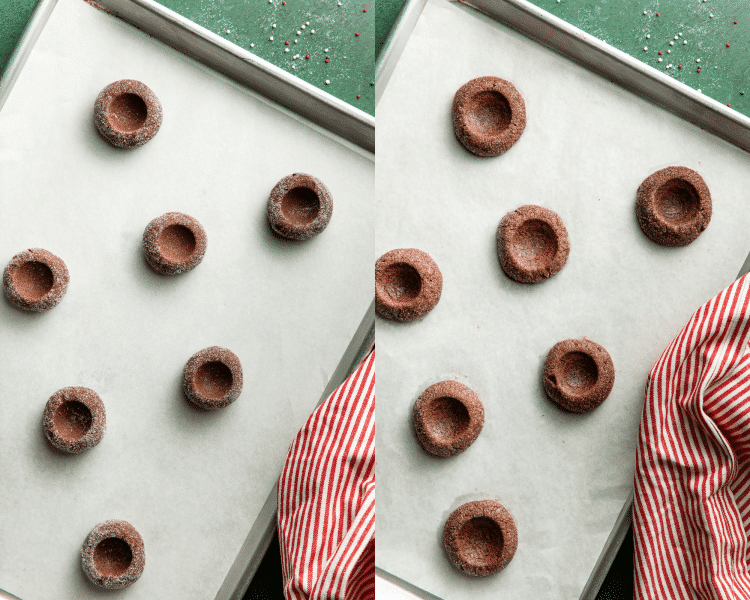
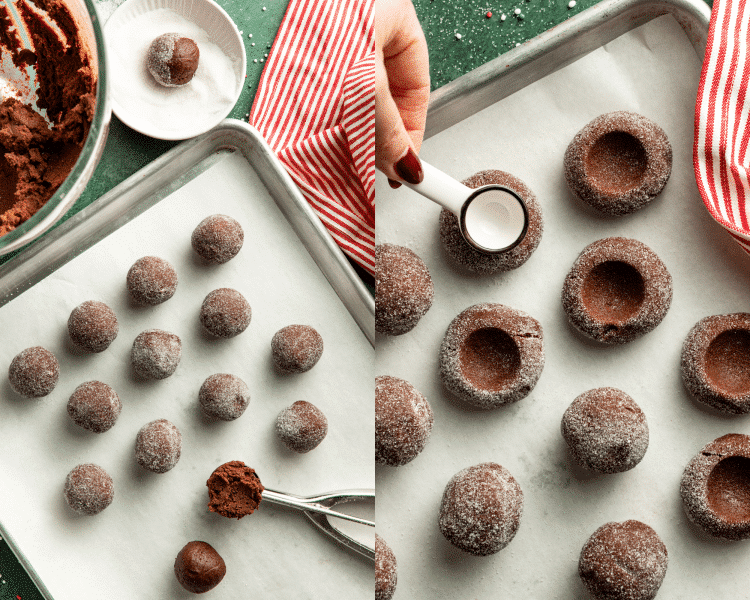
Scoop the dough and roll into smooth balls. Roll in granulated sugar and then place on a baking sheet. Press an indentation into the center of each ball, then let them chill for at least 45 minutes. Bake for ~10-12 minutes, then let cool completely.
Fill and enjoy!
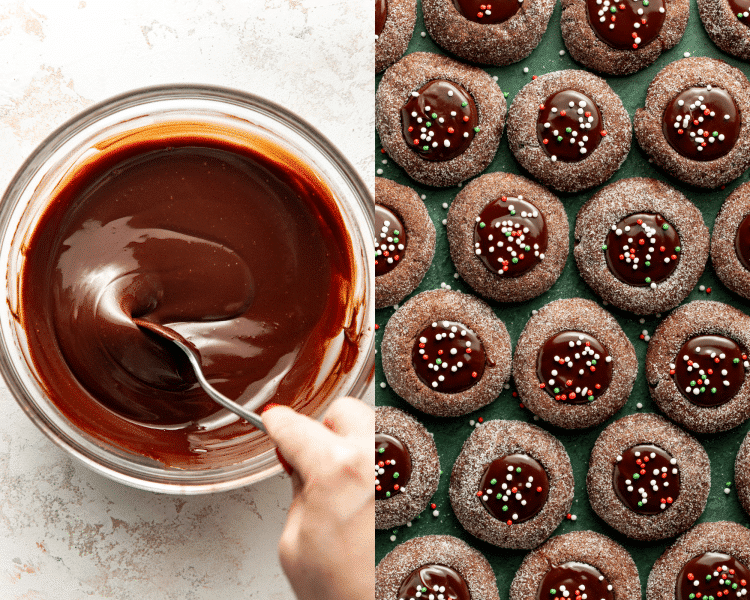
Make the chocolate ganache. Spoon it into the centers of the cooled cookies and sprinkle with festive sprinkles. Allow the ganache to set then enjoy!!
Expert Tips
- Properly measure the flour: As with any baking recipe, make sure to spoon the flour into your measuring cup and use the back of a knife to level off the top. Do not scoop the flour out of the container/bag with your measuring cup because you could end up with 50% more than you need. See this baking tip video for an easy tutorial.
- Use room temperature ingredients: Make sure your butter and eggs are softened to room temperature. This helps everything incorporate evenly and creates a smooth, creamy cookie dough and frosting.
- Don’t rush creaming the butter and sugar: This step is important for getting soft, chewy cookies with the perfect texture! Beat the softened butter and sugars together for 2–3 minutes, until the mixture looks light, fluffy, and slightly pale. Properly creaming incorporates air into the dough, which helps create a tender cookie. If you need a refresher, check out my post on How To Cream Butter and Sugar for a step-by-step guide and all my tips and tricks!
- Chill the dough: Don’t skip this step! Once you’ve shaped the cookies, let them chill in the refrigerator for at least 45 minutes. This helps the cookies to hold their shape while baking.
- Slightly underbake: Bake these cookies just until the edges are set, but the centers still look slightly soft. Slightly underbaking these cookies gives them their chewy, fudgy center.
- Let cookies cool before filling: Make sure to let the cookies cool all the way before adding the chocolate filling! If they’re even a little warm, the chocolate ganache will melt right off.
Variations / Substitutions
- Gluten-free: Swap the all-purpose flour for Bob’s Red Mill Gluten Free 1-to-1 Baking Flour.
- Change up the chocolate: Use semi-sweet, dark, or milk chocolate for the ganache filling depending on how rich or sweet you like your cookies. You could even use white chocolate ganache for a fun twist!
- Add a little peppermint: Add 1/4 teaspoon of peppermint extract to the ganache for a chocolate peppermint thumbprint cookie. A little crushed candy cane on top would make them extra festive.
The Holiday Cookie Series is back for the 2026 holiday season and full of festive, delicious ideas! From brown butter toffee chocolate chip cookies, Reese’s stuffed crinkle cookies, white chocolate dipped brown butter cookies, and more, there’s something for everyone to enjoy!
Storage / Freezing
- Storage: Store the baked cookies in an airtight container at room temperature for up to 5 days. You can also freeze them for up to 3 months. If your kitchen is particularly warm, refrigerate them to keep the ganache firm.
- To freeze: Scoop and shape the cookie dough, making the indentation in the center. Freeze in a single layer until solid, then transfer to an airtight freezer-safe container for up to 3 months. Bake directly from frozen, adding an extra 1–2 minutes to the baking time as needed.
- Make ahead: You can prepare and shape the cookie dough, including the indentations, and refrigerate it for up to 2–3 days. When ready to bake, let the dough sit at room temperature briefly to soften slightly, then bake as directed.
- One additional suggestion: If you’re freezing the cookies, I’d recommend freezing the baked cookies without the ganache and filling them after thawing. This will give you the best texture and appearance, although freezing them fully assembled should also work.
shop this post
 Buy Now →
 Buy Now →


Before You Begin! If you make this, please leave a review and rating letting us know how you liked this recipe! This helps our business thrive & continue providing free recipes.
Ingredients
- 1 cup unsalted butter (softened)
- 3/4 cup light brown sugar (packed)
- 1/4 cup granulated sugar (plus extra for rolling)
- 1 large egg (room temperature)
- 2 tsp. vanilla extract
- 2¼ cups all-purpose flour (spooned and leveled)
- 1/2 cup Dutch-process cocoa powder
- 1/2 tsp. fine salt
- 1 tsp. espresso powder
- Christmas sprinkles (optional for decorating)
Chocolate filling
- Batch chocolate ganache (recipe here)

Last step! If you make this, please leave a review and rating letting us know how you liked this recipe! This helps our business thrive & continue providing free recipes.
Instructions
- Cream butter and sugars: In a stand mixer fitted with the paddle attachment, beat softened butter, brown sugar, and granulated sugar for 2-3 minutes until light and fluffy. (Check out my post on How to Cream Butter and Sugar for all my tips and tricks.)1 cup unsalted butter, 3/4 cup light brown sugar, 1/4 cup granulated sugar

- Add wet ingredients: Beat in the egg, egg yolk, and vanilla until combined, scraping down the bowl as needed.1 large egg, 2 tsp. vanilla extract
- Combine dry ingredients: Whisk flour, cocoa powder, salt, and espresso powder together in a separate bowl.2¼ cups all-purpose flour, 1/2 cup Dutch-process cocoa powder, 1/2 tsp. fine salt, 1 tsp. espresso powder
- Make dough: Gradually mix dry ingredients into wet ingredients just until combined. The dough should be soft but sturdy enough to roll.
- Shape: Scoop into approximately 30g portions and roll into smooth balls. Roll in granulated sugar and then place on a parchment-lined baking sheet. (or something you can fit in your fridge). Using a rounded teaspoon measure or the end of a handle, press an indentation into the center of each ball, taking care not to press all the way through.
- Chill: Refrigerate shaped cookies for at least 45 minutes.
- Bake: Preheat oven to 350°F. Bake for ~10-12 minutes, until the edges are set but the centers still look slightly soft. Immediately after baking, gently press the indentations again if they've puffed up at all.
- Cool: Allow cookies to cool on the baking sheet for ~10 minutes, then transfer to a wire rack to cool completely.
- Make ganache: (You’ll only need 4 oz. chocolate and 4 oz. heavy cream, not the full 6 oz) Place finely chopped chocolate in a heatproof bowl. Heat heavy cream until steaming, but not boiling. Pour over chocolate and let sit for 2-3 minutes. Stir gently until smooth, then stir in softened butter.Batch chocolate ganache
- Fill: Spoon or pipe ganache into the centers of the cooled cookies. Sprinkle with festive sprinkles. Allow the ganache to set before serving and enjoy!
Notes
- Don’t rush creaming the butter and sugar: This step is important for getting soft, chewy cookies with the perfect texture! Beat the softened butter and sugars together for 2–3 minutes, until the mixture looks light, fluffy, and slightly pale. Properly creaming incorporates air into the dough, which helps create a tender cookie. If you need a refresher, check out my post on How To Cream Butter and Sugar for a step-by-step guide and all my tips and tricks!
- Chill the dough: Don’t skip this step! Once you’ve shaped the cookies, let them chill in the refrigerator for at least 45 minutes. This helps the cookies to hold their shape while baking.
- Let cookies cool before filling: Make sure to let the cookies cool all the way before adding the chocolate filling! If they’re even a little warm, the chocolate ganache will melt right off.
- Storage: Store the baked cookies in an airtight container at room temperature for up to 5 days. You can also freeze them for up to 3 months. If your kitchen is particularly warm, refrigerate them to keep the ganache firm.
- Freezing: If you’re freezing the cookies, I’d recommend freezing the baked cookies without the ganache and filling them after thawing. This will give you the best texture and appearance, although freezing them fully assembled should also work.
Nutrition Information
Nutritional information is provided as a courtesy and is automatically calculated. It should only be construed as an estimate rather than a guarantee. Ingredients can vary and Kroll’s Korner can’t make any guarantees to the accuracy of this information.
📸 Photos by Megan McKeehan of The Broke Girl Table