Cutout Sugar Cookies
This post may contain affiliate links. Please read our disclosure policy.

My Cutout Sugar Cookies are a quintessential holiday cookie!
There is no better memory than making cutout sugar cookies and decorating them during the holiday season. With my recipe, you’ll have perfectly shaped cookies every time and cookies that actually taste delicious. 😌
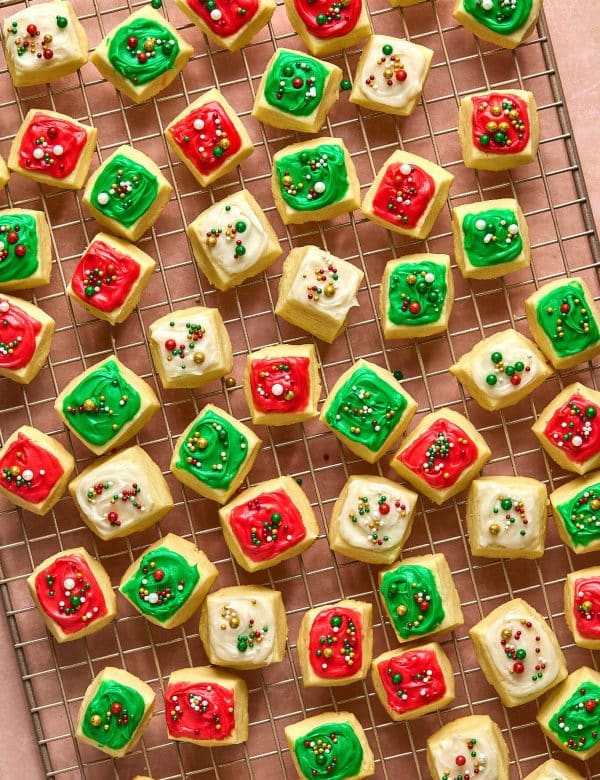
This recipe’s sugar cookie base is the same as my Christmas Sugar Cookie Bites. I knew that recipe would be perfect for these cookies as well. I just love how soft and buttery they are and how simple they are to make!
These cutout sugar cookies are the latest addition to my holiday cookie series. If you’ve missed them, be sure to check out my other festive holiday cookie recipes.

- Simply put, cutout cookies are generally made with a sugar cookie dough base, that has been rolled out, chilled, and then cut into shapes using cookie cutters. They’re commonly seen during the holidays, but also for birthday parties and events
- Gingerbread Cookies are another fan-favorite cutout cookie!
Why This Recipe Works
- The powdered sugar is what sets my sugar cookies apart! In my recipe testing, I found the powdered sugar (vs. granulated sugar) resulted in a smoother cookie dough texture, softer cookies, and the cookies do not spread.
- Cold butter: I found using cold butter makes the dough easier to handle and reduces spreading. Even when using the cold butter, you’ll still need to chill the dough for 2 hours or overnight (freeze for 20-30 minutes if you’re in a pinch!)
- Festive & fun. Mix up the frosting colors and sprinkles as you wish – the possibilities are endless!
- Easy to decorate with the kiddos! Let them pick which color frostings and sprinkles to use – they’ll love the freedom to make them their own!
- They have soft, thick centers and golden brown edges. They’re so perfect every time!
Ingredient Notes
(For the full recipe, scroll down to the recipe card below)
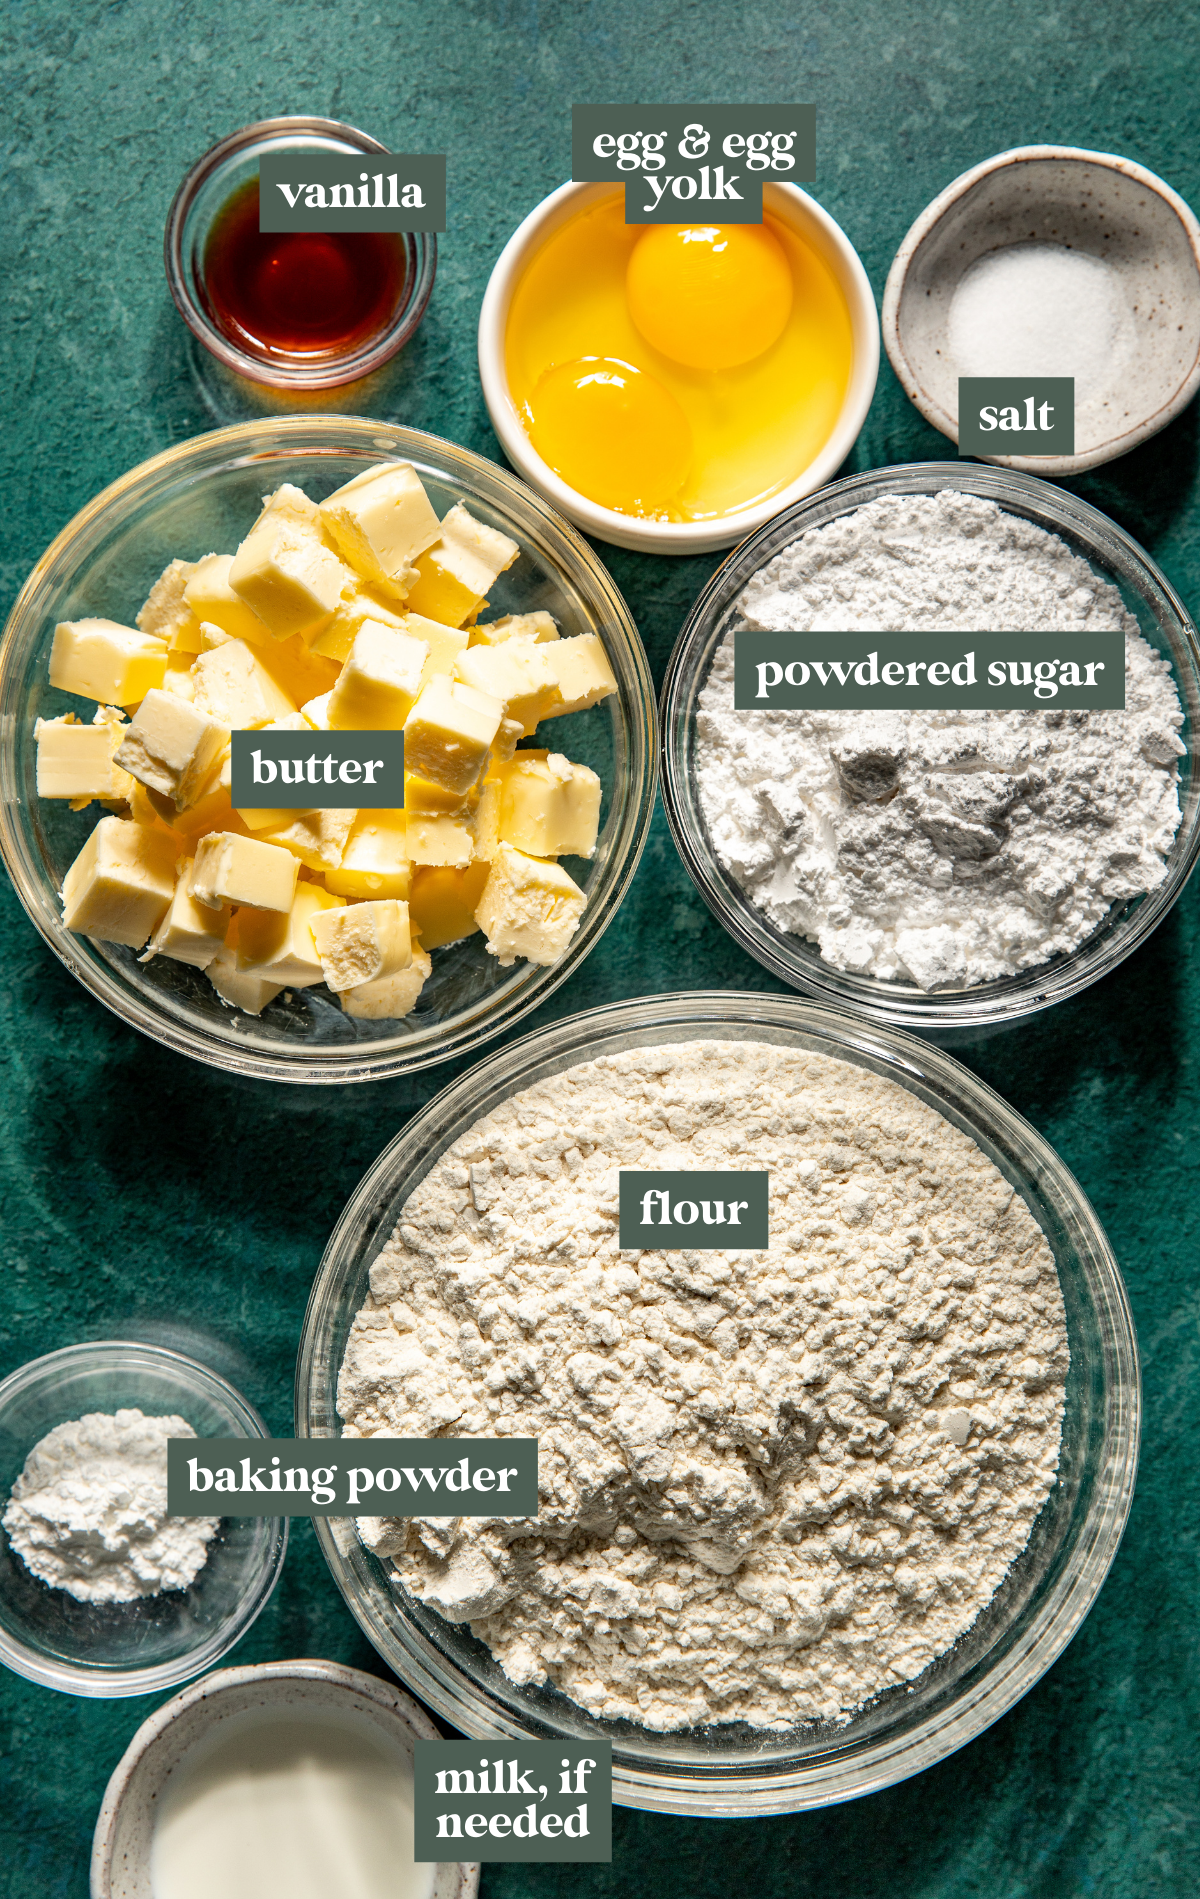
- Cold butter (unsalted): This cookie dough calls for using cold butter, straight from the fridge. Cut the butter into cubes for easier incorporation with the rest of the cookie dough ingredients. If using salted butter, simply omit the added salt listed later in the ingredients.
- Powdered sugar: Gives the cookies their sweet, delicious taste!
- Vanilla & almond extract: The almond extract is optional, but personally I think it really enhances the flavor of these cookies, especially how it complements the vanilla extract. I don’t bake with almond extract often (my husband is allergic to nuts) but really love the taste when I do use it!
- 1 egg + 1 egg yolk: I like using an extra egg yolk to help bind the dough, and it also adds some richness and softness.
- Milk: After mixing, if the dough feels a bit dry or crumbly, add a splash of milk to help hydrate it.
- Other ingredients needed: all-purpose flour (spooned and leveled of course!), baking powder, and salt (unless using salted butter, then omit the extra salt)
- For the easy icing: you’ll need more powdered sugar, light corn syrup, warm water, vanilla extract, and a pinch of salt.

Step by Step Directions
(For the full recipe, scroll down to the recipe card below)
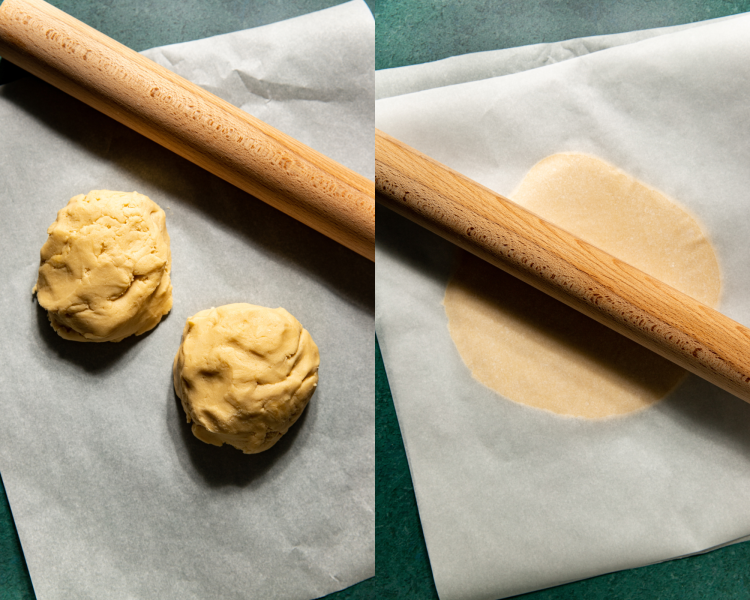
If you love my sugar cookie bites, you’ll love this recipe too because it’s the same cookie base 😉 You can use your stand mixer or food processor to make it! Chill it in the fridge for 2 hours or overnight, or freeze for at least 20 minutes if you’re in a pinch!
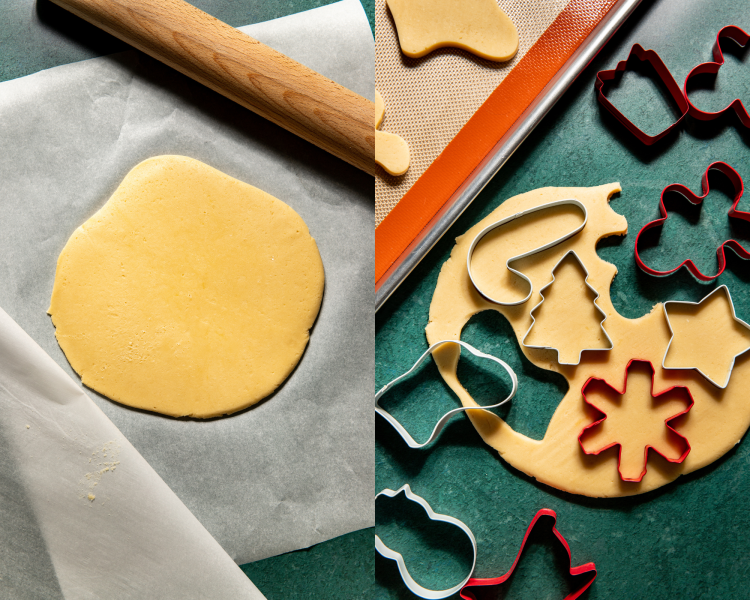
Cut into shapes
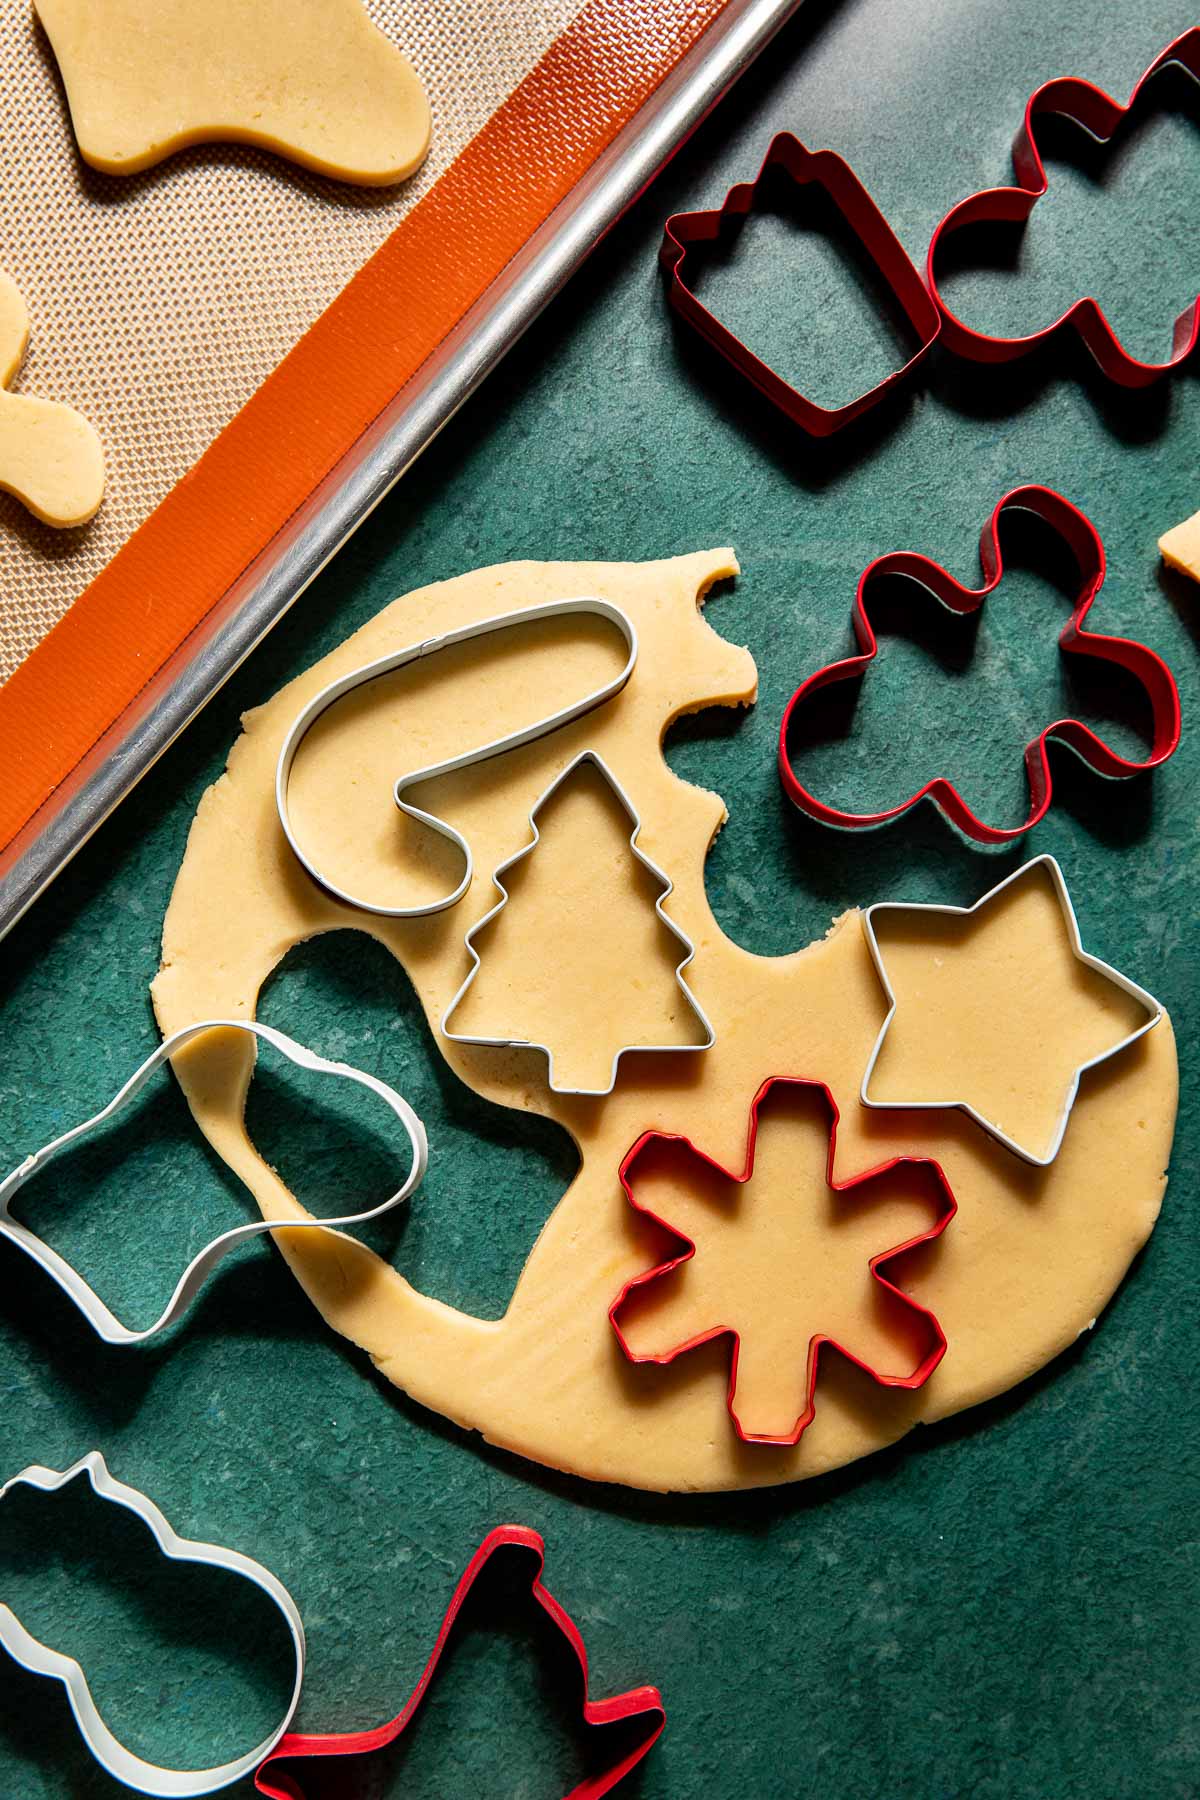
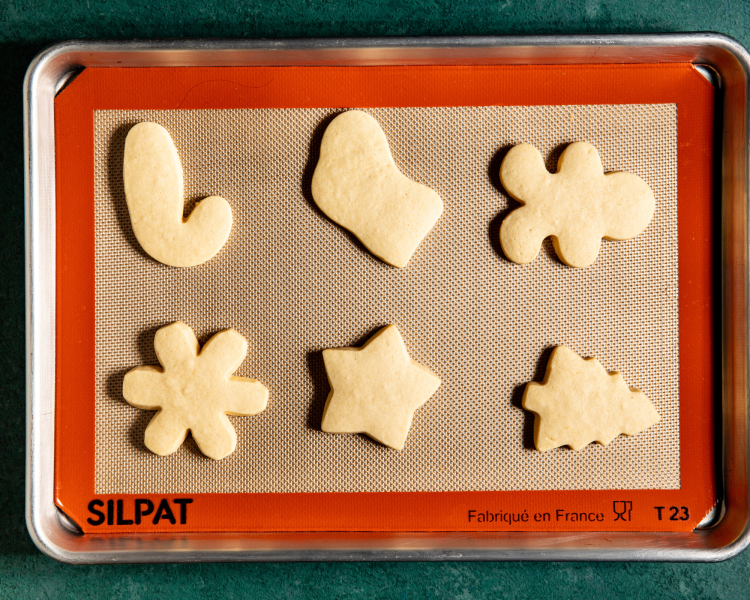
Use your favorite cookie cutters to cut into festive shapes! Re-roll the scraps, and chill them again if needed before cutting again.
Bake!
Bake them just until the edges turn a light golden color, ~8-11 minutes should be perfect, being careful not to over bake.

Cool & then decorate!
The fun part…decorating! Have fun with different colors, sprinkles, designs, etc.!
Success Tips
- If frosting or decorating cookies isn’t your thing, simply dust them with powdered sugar; they’ll look just as beautiful!
- Cut the shapes close together to reduce scraps. I only like to reroll the dough up to 2-3 times. Overworking it can lead to tough cookies.
- Use a sharp-edged cookie cutter for clean cuts and dip the cutter in flour between uses to prevent sticking.
- Allow the cookies to cool completely before icing them. Use my easy icing recipe below, royal icing, or store-bought cookie icing.
- Gluten-free: while I haven’t personally tested yet, I’ve successfully used a 1:1 gluten-free flour blend in most other recipes.

FAQ
I like my sugar cookies a little more on the thicker side, 1/2 inch. However, 1/4 inch works well too.
The dough may have gotten too warm. Be sure to chill for at least 2 hours in the fridge, and if you feel the dough has gotten warm after you cut it into shapes, you can pop it back in the freezer for 15 minutes to chill it before baking.
How do I make different colored icing?
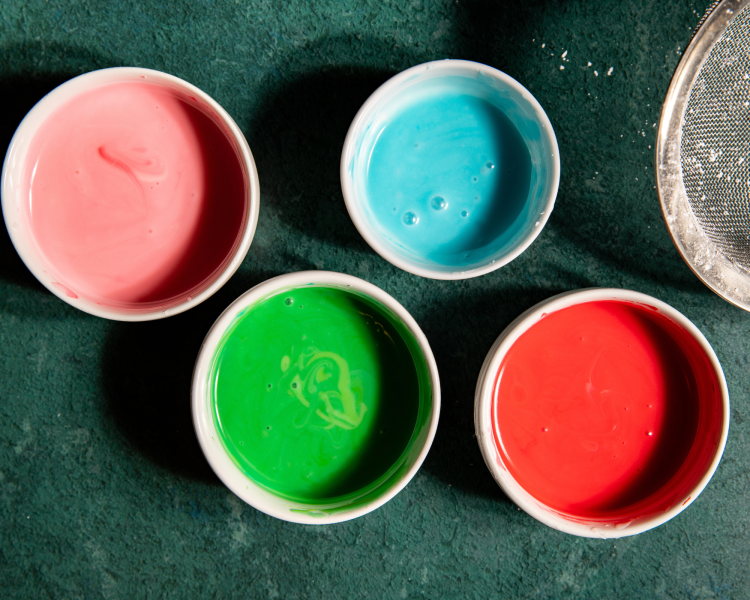
I love using these gel food colorings! Remember, less is more. Start with a little and keep in mind the colors darken as the icing sets.
At room temperature, up to 5 days. Or you can freeze the decorated cookies for up to 3 months.
I haven’t personally tested it yet, but I think it would work well! 🤗

shop this post

Gel food coloring (classic colors)
Buy Now → Buy Now →
 Before You Begin! If you make this, please leave a review and rating letting us know how you liked this recipe! This helps our business thrive & continue providing free recipes.

Ingredients
- 1 recipe Sugar Cookie Dough
Easy Icing
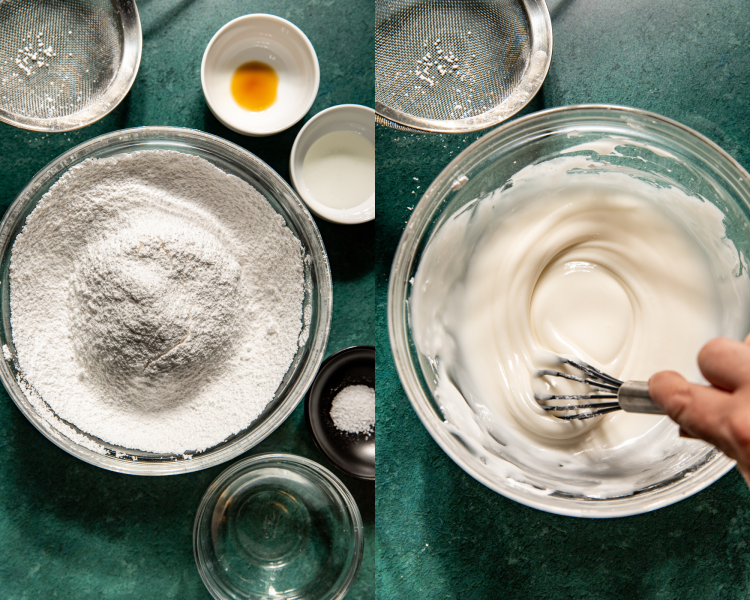
- 2 cups powdered sugar, sifted
- 3 Tbsp. warm water
- 2 tsp. light corn syrup
- 1/8 tsp. vanilla extract
- small pinch of salt
Last step! If you make this, please leave a review and rating letting us know how you liked this recipe! This helps our business thrive & continue providing free recipes.
Instructions
- For the sugar cookie dough: you can make the cookie dough using the food processor or stand mixer method, whichever you prefer. Follow the same directions for dividing the dough in half, I like to make these cookies thicker for softer cookies, ~½ inch is perfect. Chill dough in the fridge for at least 2 hours or overnight.

- When ready to cut into shapes and bake, preheat the oven to 350°F. Line a few baking sheets with parchment.
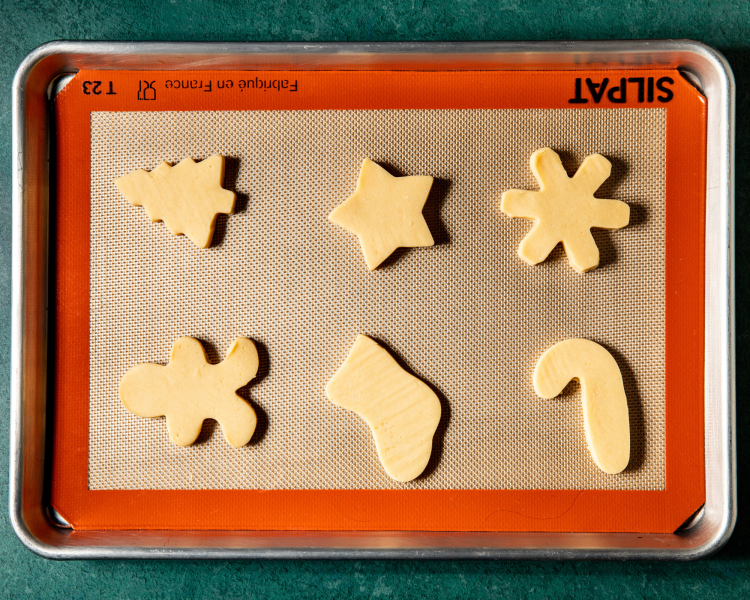
- Use your favorite Christmas cookie cutters to cut out the cookies, and place them about 1-2 inches apart on the prepared baking sheets.

- Repeat with the remaining dough. Re-rolling the scraps and chilling in between as needed if it gets too warm (I usually re-roll it and pop in the freezer between batches for it to get cold quickly) This recipe should yield about 24-26 cookies.

- Bake for 8-11 minutes or until edges are just lightly brown, edges look set, and the middles have puffed up a bit.

- Cool on the baking sheet for just 5 minutes then transfer to a wire rack to cool completely.
For the icing
- Add the powdered sugar to a medium sized bowl and set aside. In another small dish, combine the warm water, corn syrup, and vanilla and mix.
- Add this to the powdered sugar and mix to combine, it will be thick.
- Add the pinch of salt, mix again and taste.
- Check the consistency, if too thick you can add a small tiny drop of water and whisk it in. Or if too thin, add a bit more powdered sugar until perfect thick consistency.

- Use food gel colors to color the icing if needed. Divide the icing into bowls, and add just a few drops at a time. The colors will darken as the icing dries so be careful not to add too much.

- Decorate using the round piping tip (#4 Wilton) or piping bottles, outline the cookies first, then fill them in. You can decorate with sprinkles or dip in sprinkles then set up at room temperature until icing dries, about 1-2 hours. Get creative and have fun with it! Once icing harden they're easy to package or deliver to friends/family!

Notes
- The dough will be soft but not sticky. It should be fine to work with once it’s chilled, and easy to roll between the 2 sheets of parchment paper.
- Storage: At room temperature, store decorated cookies in an air-tight container for up to 5 days. Or you can freeze the decorated cookies for up to 3 months.
Nutrition Information
Nutritional information is provided as a courtesy and is automatically calculated. It should only be construed as an estimate rather than a guarantee. Ingredients can vary and Kroll’s Korner can’t make any guarantees to the accuracy of this information.
📸 Photos by Megan McKeehan of The Broke Girl Table


Followed recipe and they were perfect! Froze some shapes for kids to help bake and decorate!
They look SO CUTE!!! Thank you! 🙂
The cookies are amazing!
I usually think sugar cookies are a little bland & I don’t love the texture. These cookies have a buttery vanilla taste with just the right amount of sweetness. They have more of a softer shortbread like texture to them. The bake up nicely without spreading out of shape. I will definitely be making these cookies again.
Thanks for sharing!😊
How cute!! I love the NYE theme. So creative. So glad you enjoyed them as well, thank you!
These turned out great! Not a huge fan of icing, so I used my cookie cutter/stamper to make some snowflakes and they were wonderful. The dough was a great consistency after freezing it to work with the cutter/stamper. Saving this one!
How beautiful!! I love the stamp idea for a non frosted good. Thank you Gina!
This is exactly what sugar cookies are supposed to taste like. Refrigerating the dough made them very easy to roll out, and they kept their shape while baking. I made Royal icing to frost the cookies and served them at our family Christmas gatherings. Everyone loved them!! 🎅🎄
HOW PRETTY!!! They look so perfect. Thank you Tamara!
These cookies are delish! I make lots of cookies this time of year and this is a favorite! It has a nice flavor and is sturdy enough for decorating. Love it!
Soooo cute! I’m so glad you loved these!! 🫶🏻
Amazing flavour! Tastes really good!
Oh my gosh how cute!! Thanks for sharing!! 🫶🏻
I have some heavy handed decorators lol but these were really good. I love a good soft sugar cookie and making sure these came out at the right time = perfection. I froze them overnight and decorated in the morning and they kept their shape perfectly.
Ahhhh they’re so cute, Jenna! So glad you loved this recipe 🫶🏻
I made these for a group of senior citizens and they loved them! I also made them as the alternate recipe from the baking challenge
that is so sweet – they are adorable, thank you soo much!
Great, easy recipe! Everyone loved them! Thank you!
These are so cute Erin!! So glad you loved them!! 🫶🏻
This recipe is perfect! I’ve done others that have no chill required but they were not as flavorful as these! Definitely worth the chilling aspect of it! I can’t wait to frost them! They taste great without the frosting!
(And yes, one of the cookies is a Bass fish — gift from visiting Santa at Bass Pro this year 😂)
Ahhh I’m sooo happy to hear you love this recipe, Molly!! That’s so cute about the Bass fish. Merry merry Christmas!! 🫶🏻🎄🎅🏻