Christmas Cookies in A Jar
This post may contain affiliate links. Please read our disclosure policy.
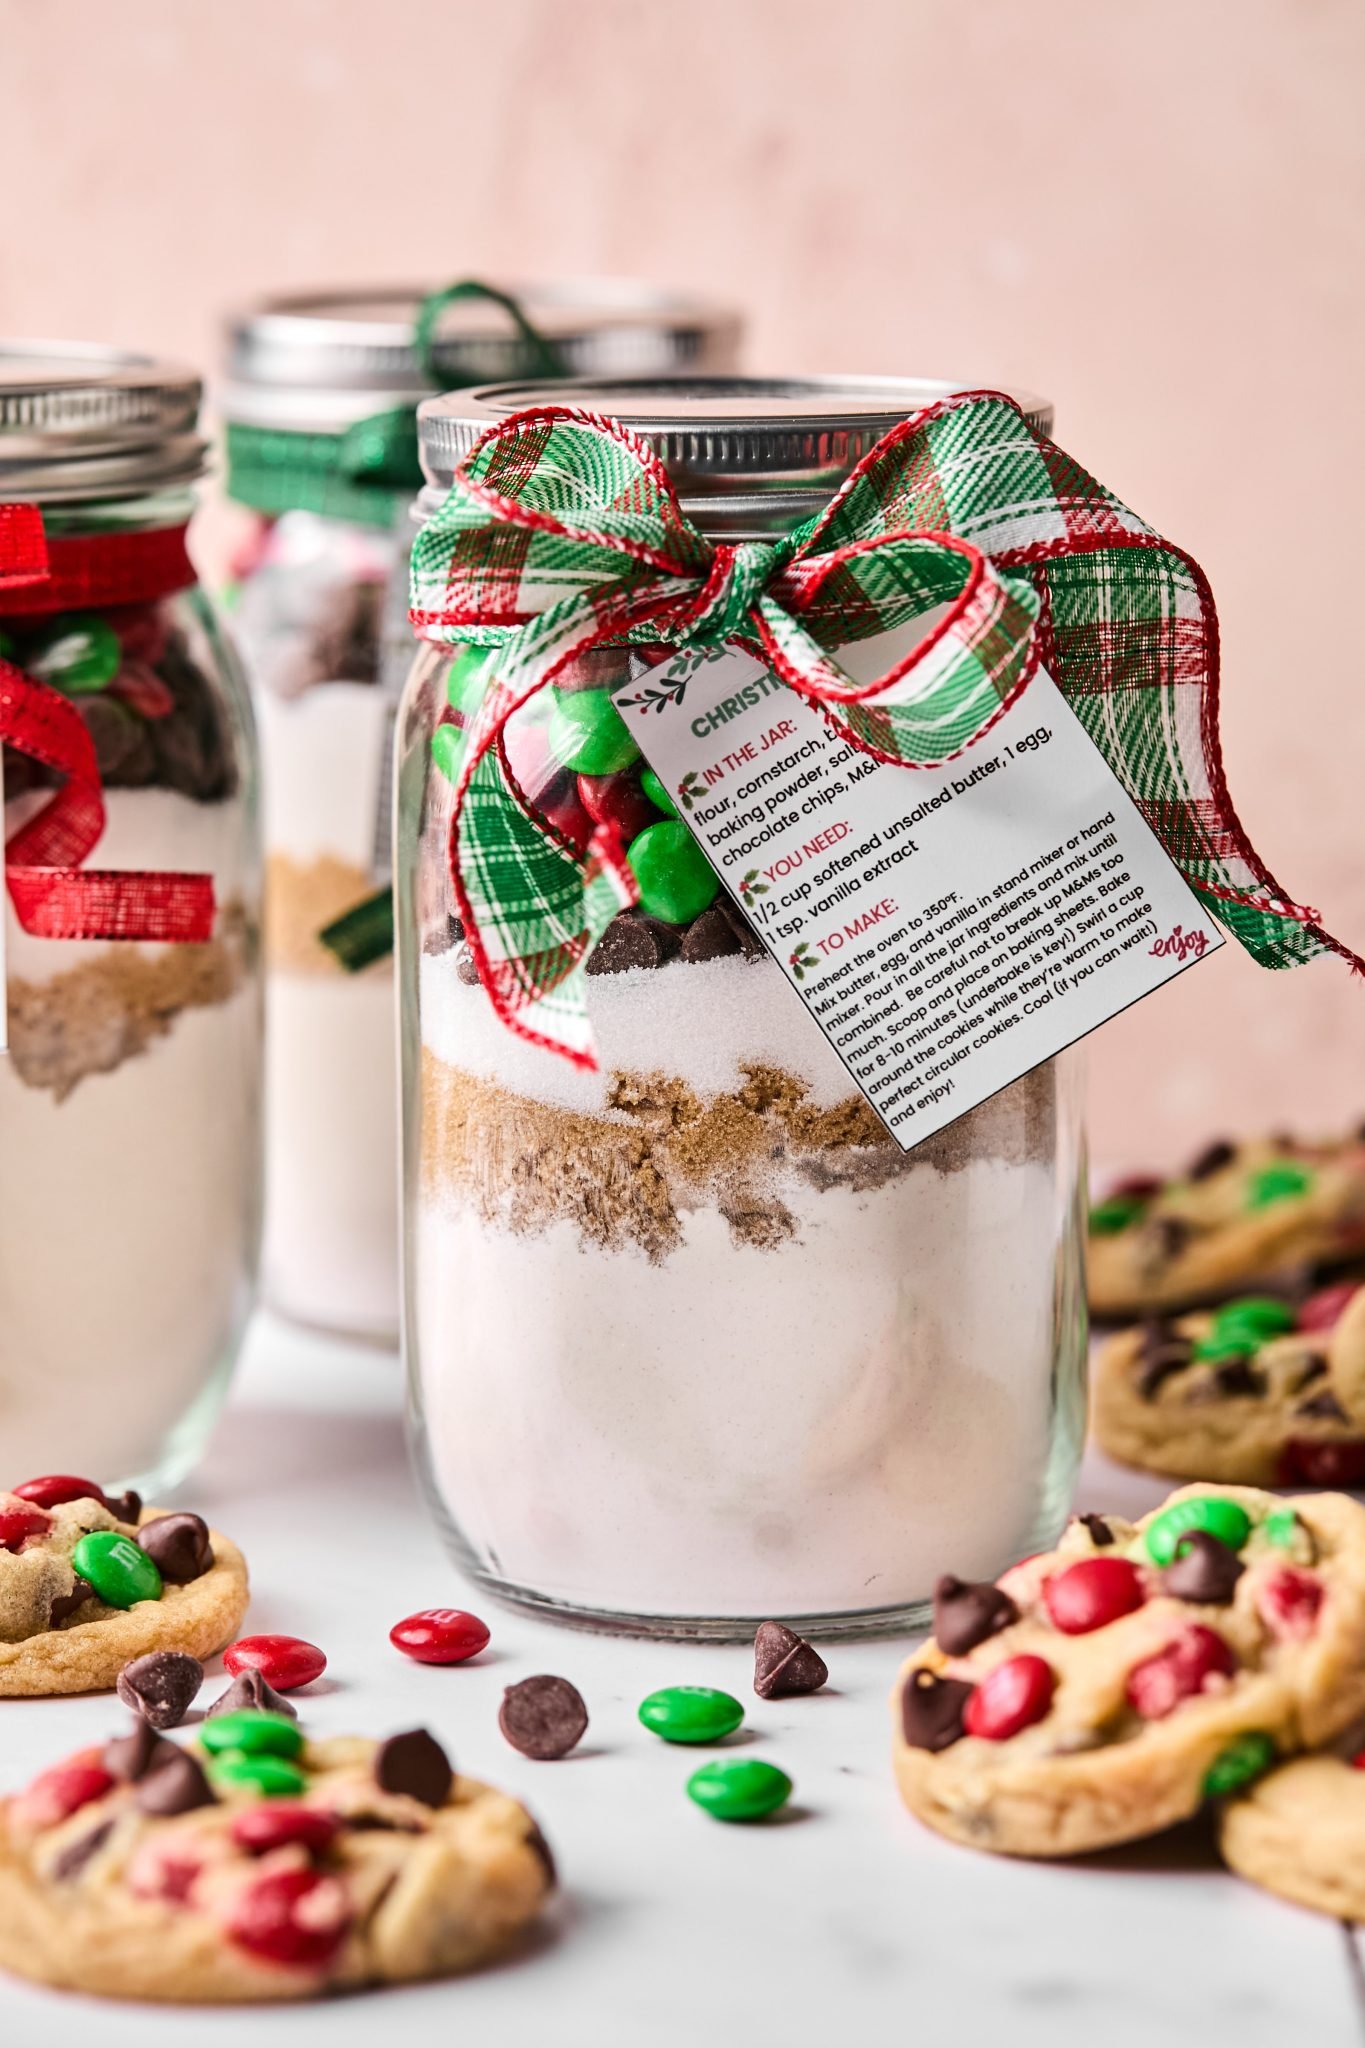
Christmas Cookies in A Jar make the perfect budget-friendly, cute, and thoughtful holiday gift. Plus, they’re such a timeless gift! I mean, who wouldn’t want to be gifted cookies?! It’s a universally loved treat; you can’t go wrong.
A homemade gift is always so much fun to make and to receive. It’s perfect for friends, family, teachers, nurses, or something sweet for your coworkers. And hey, while you’re making them, make one for yourself too!
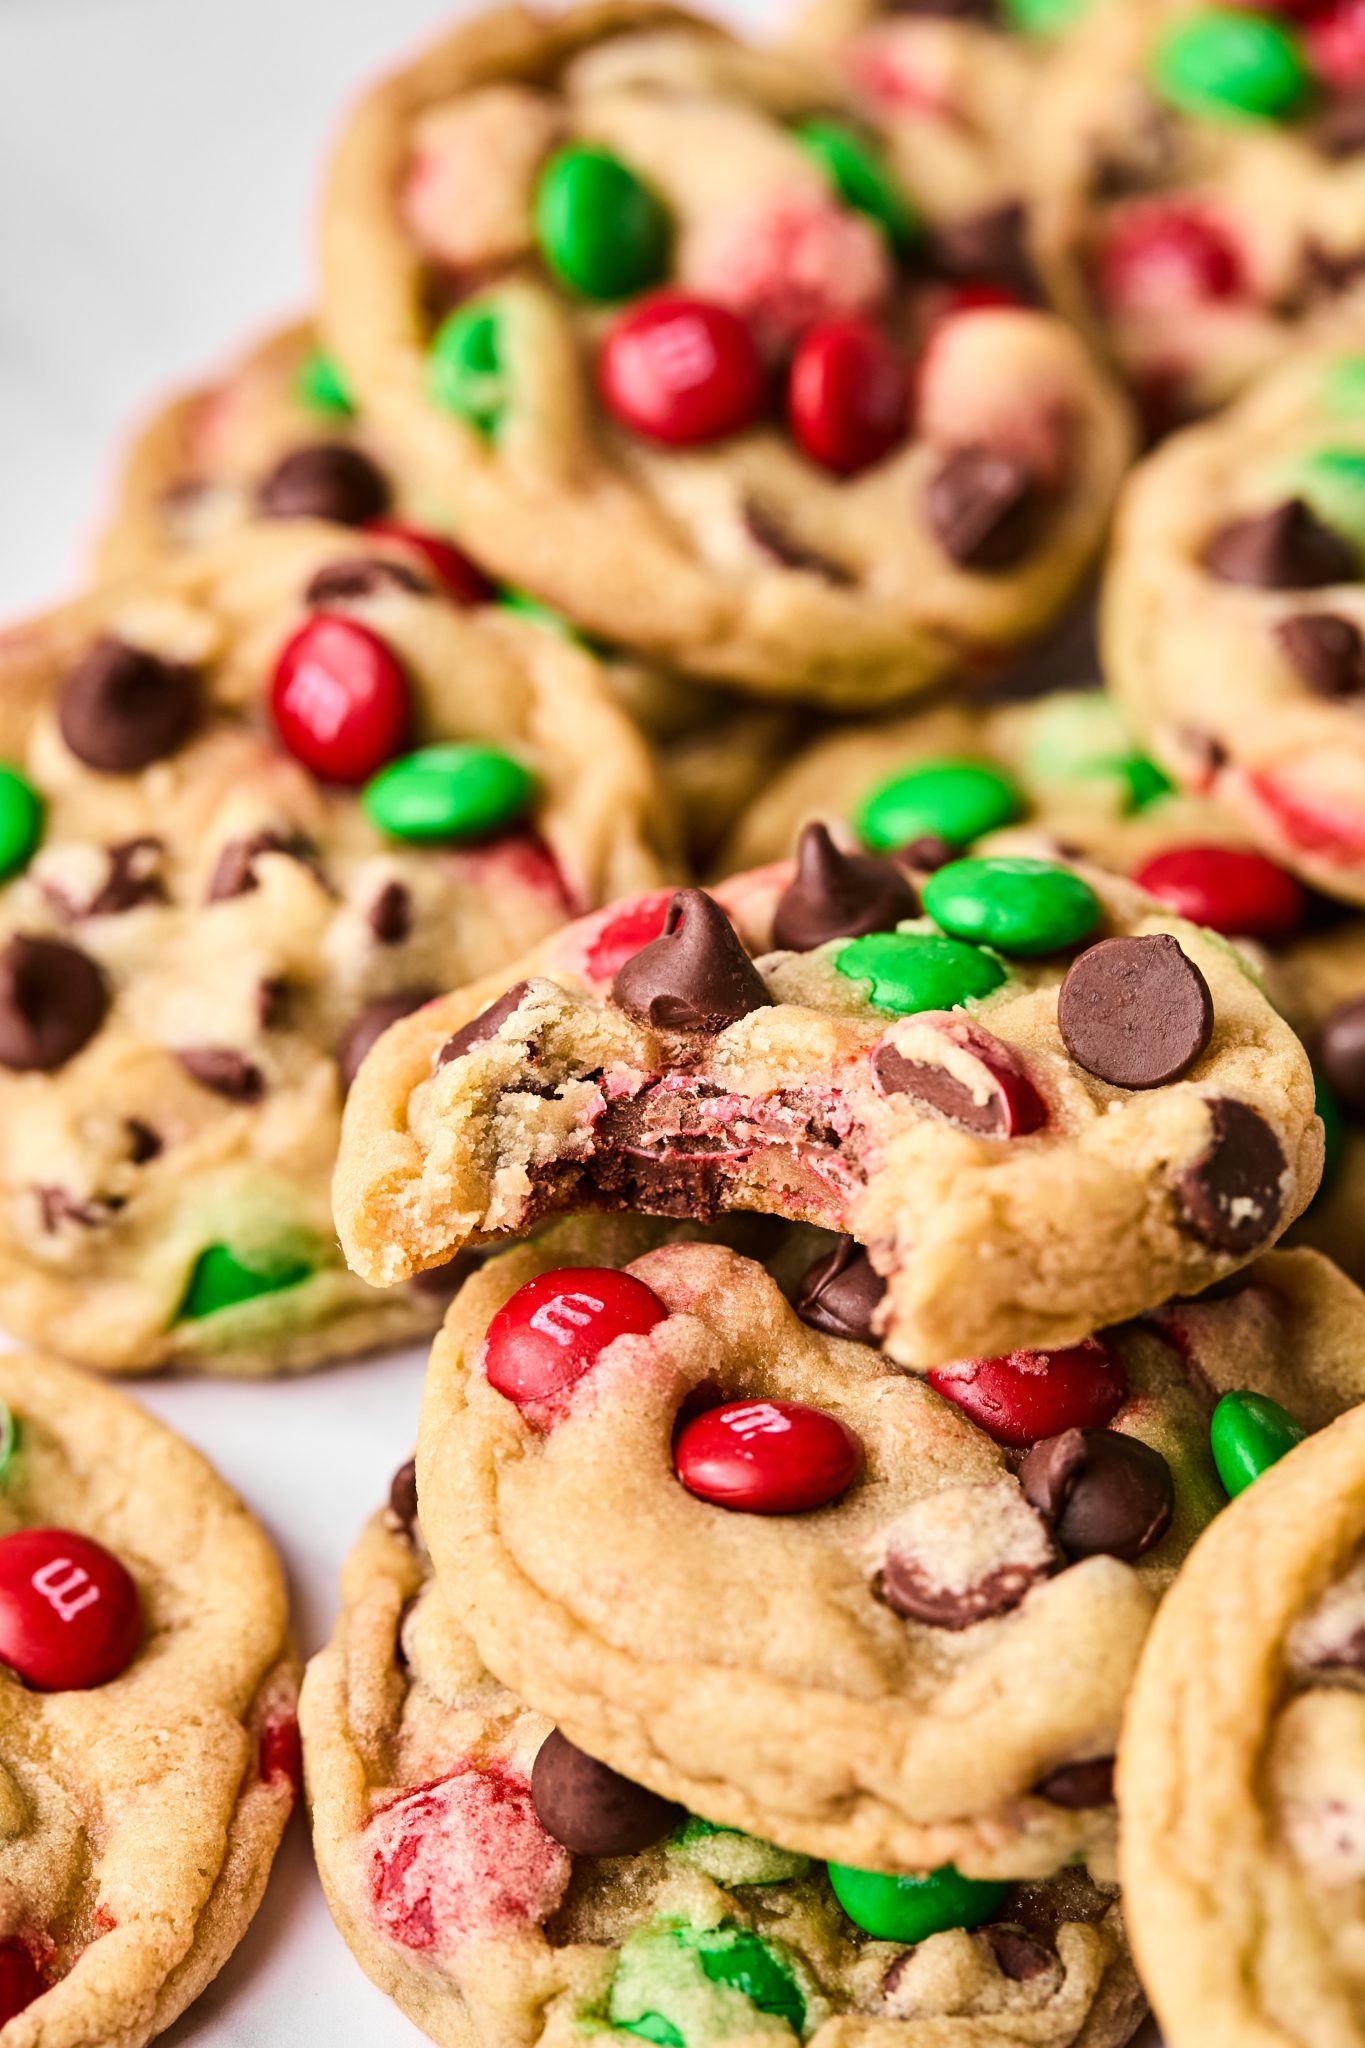
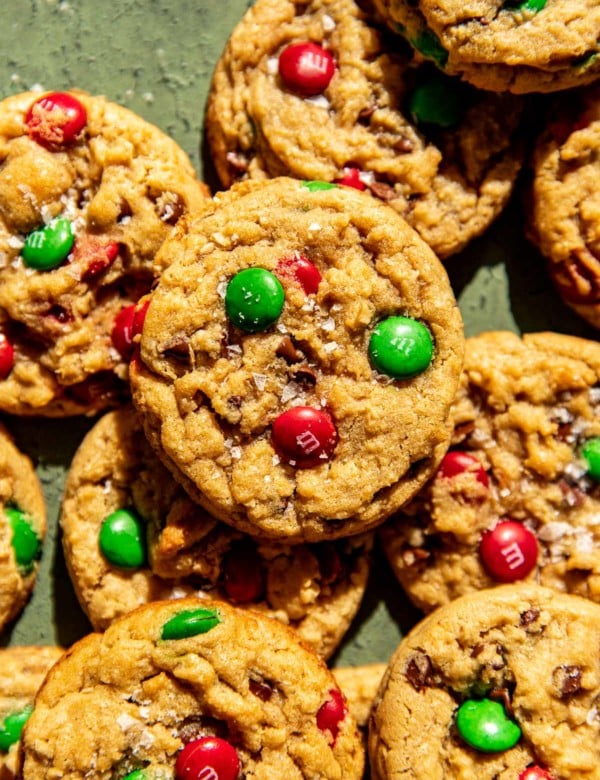
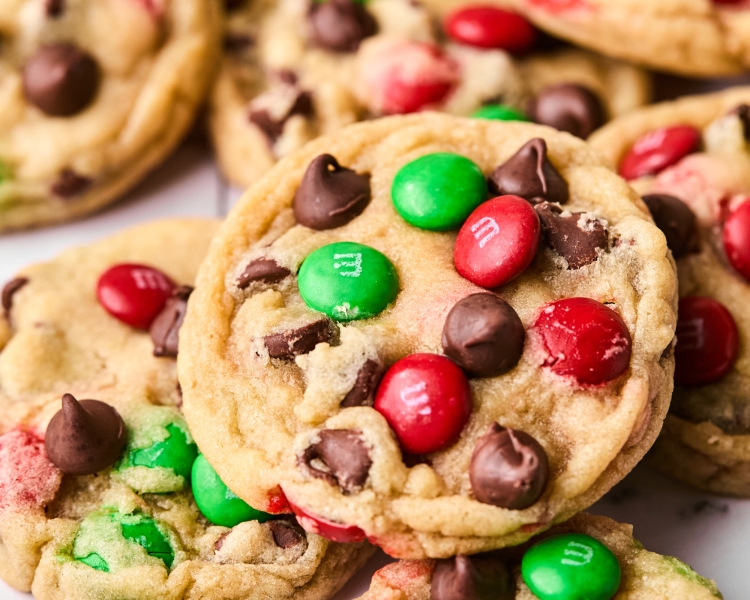
The cookies bake beautifully. They’re soft and chewy and studded with festive red and green M&Ms and chocolate chips. YUM! I love all things cookies, but there is something so yummy about these ones, and they’re so simple to make!
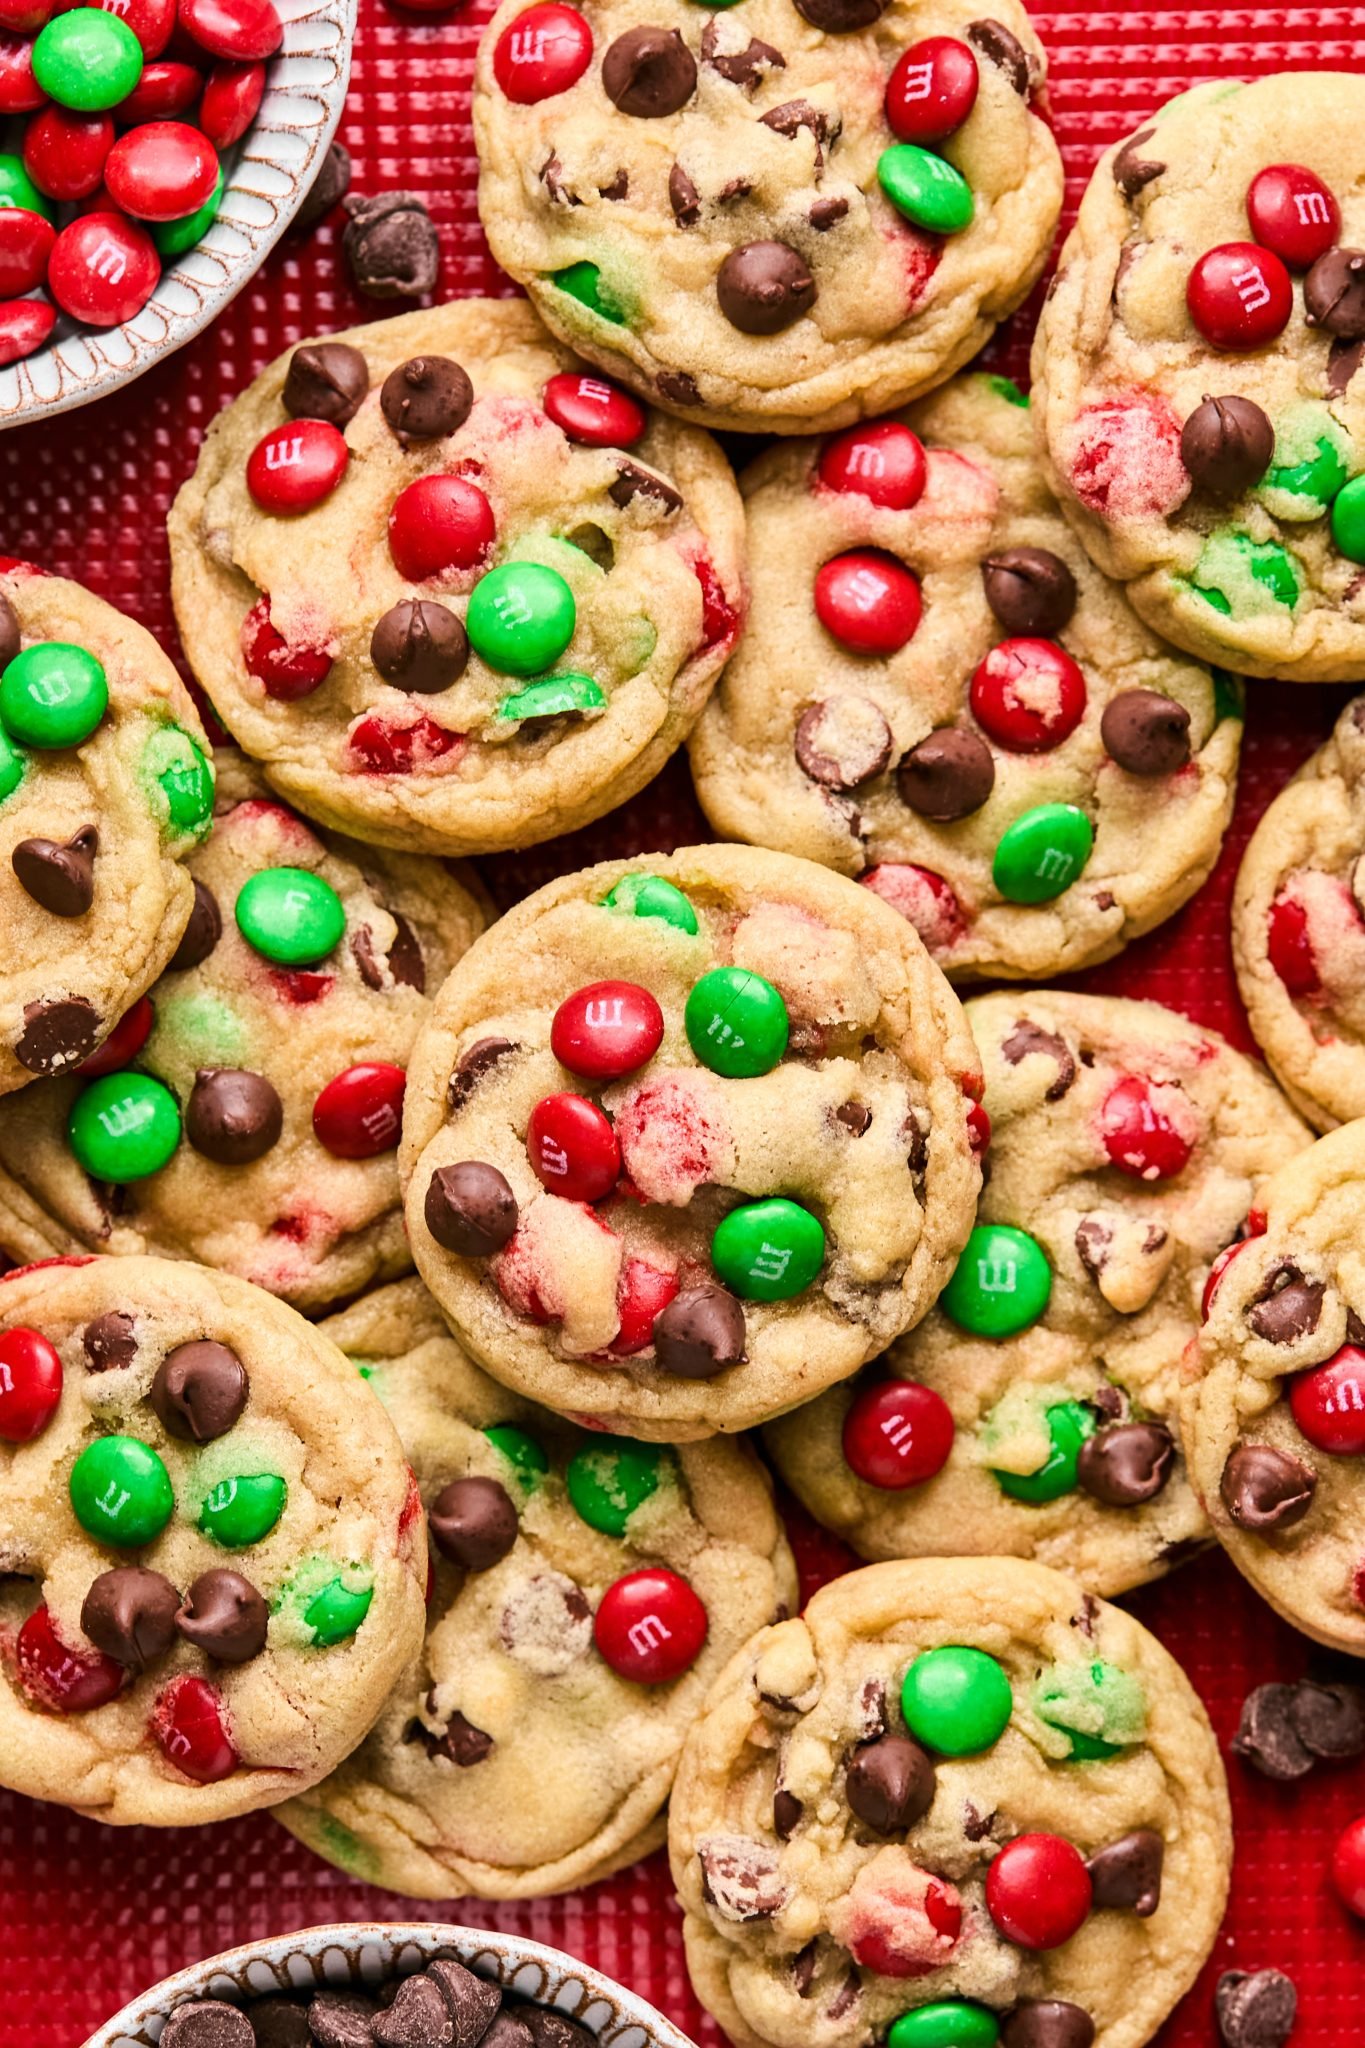
If you’re looking for more festive cookies to make, my Holiday Cookie Series has a lot more recipe inspiration!
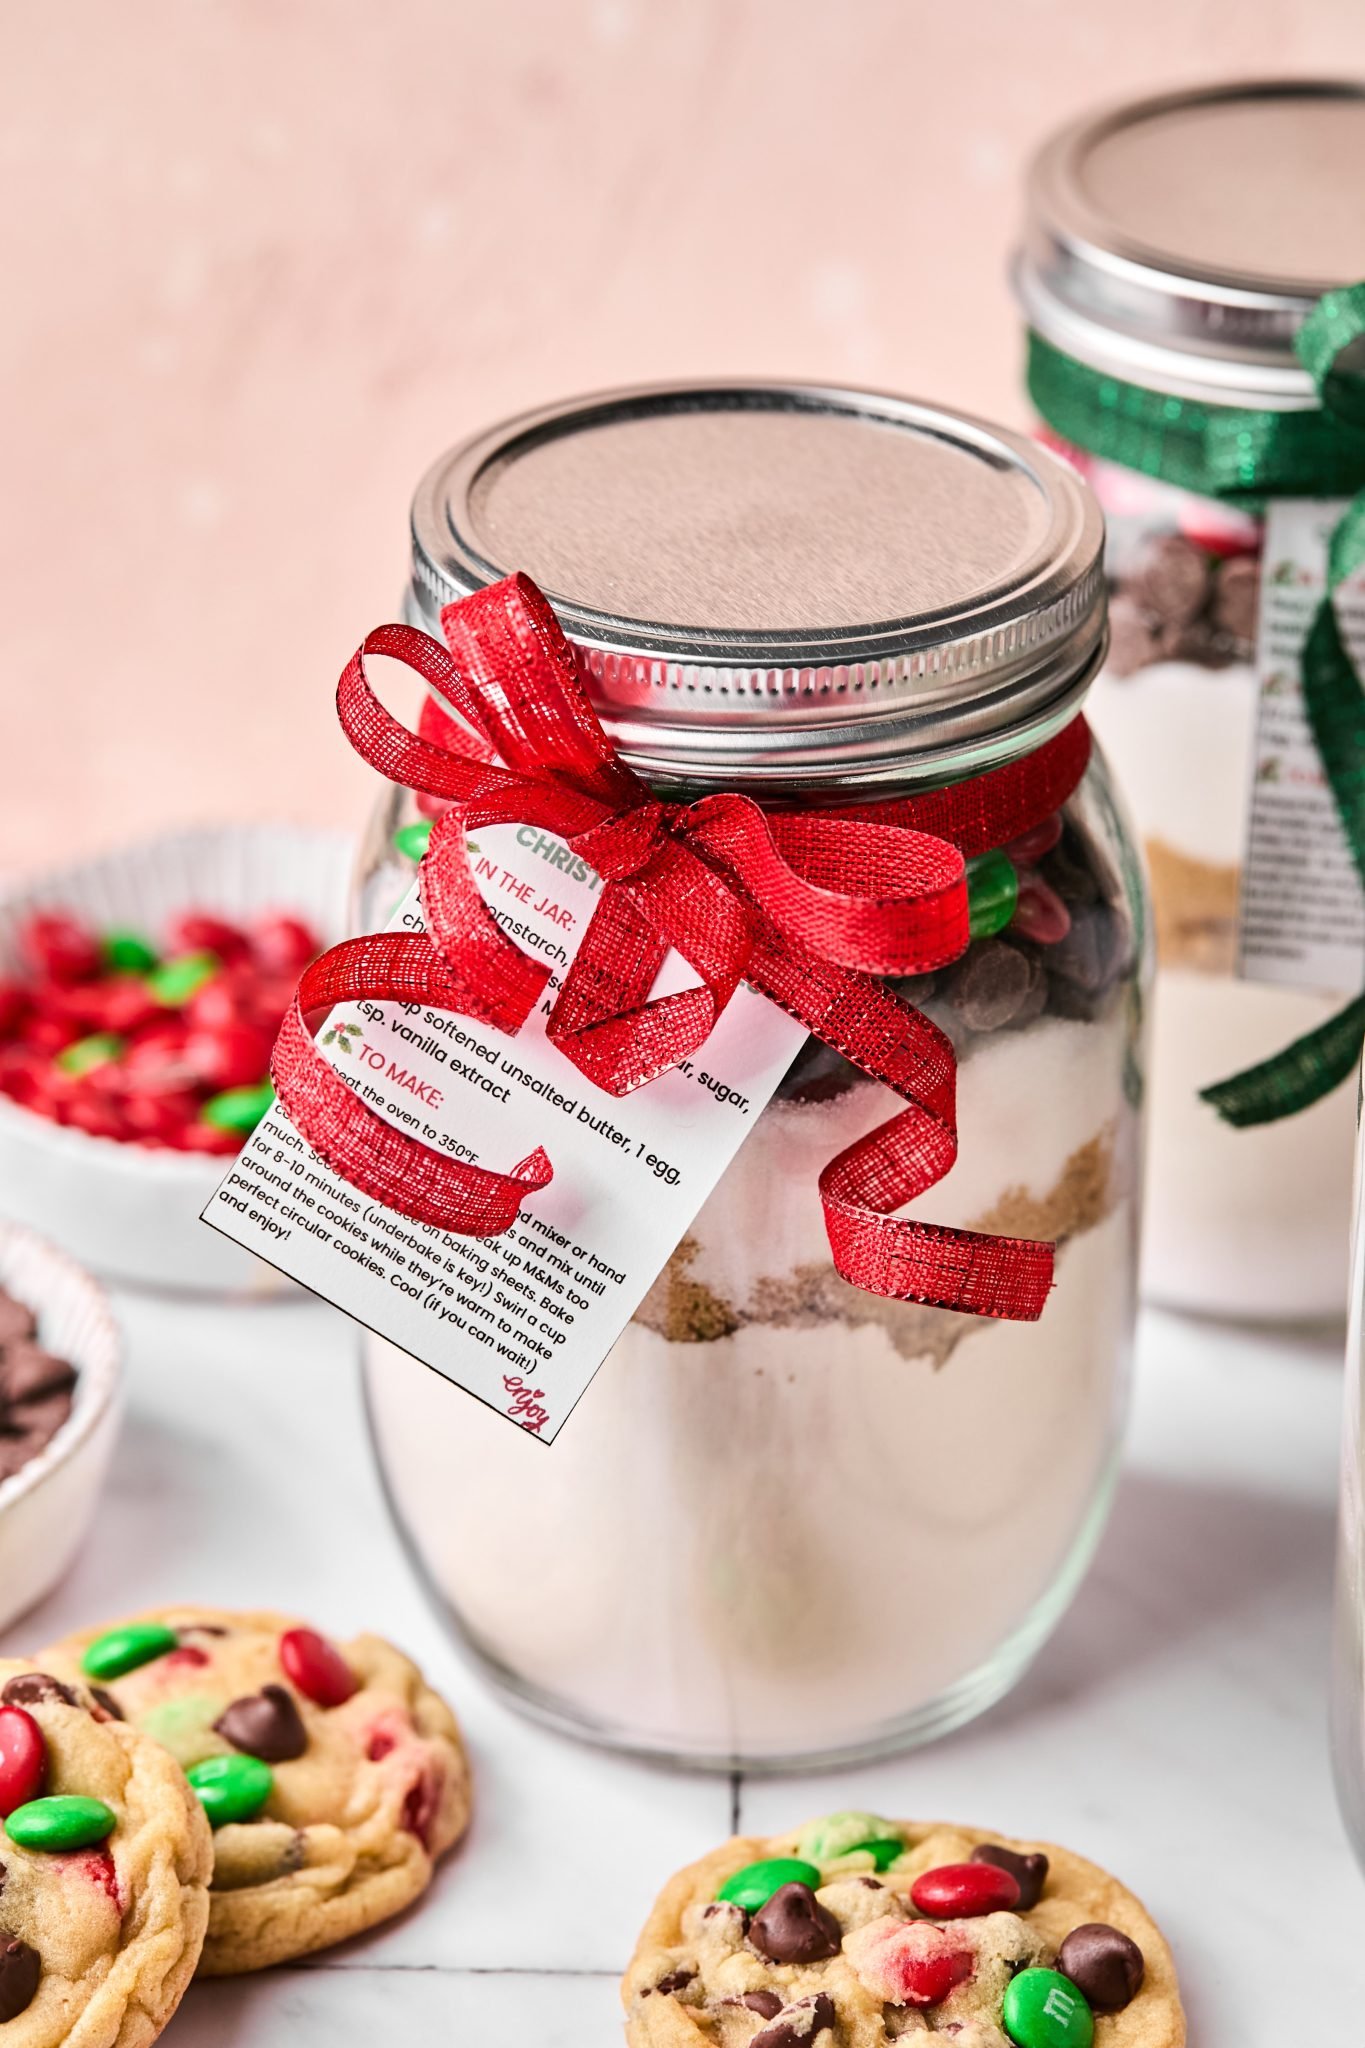
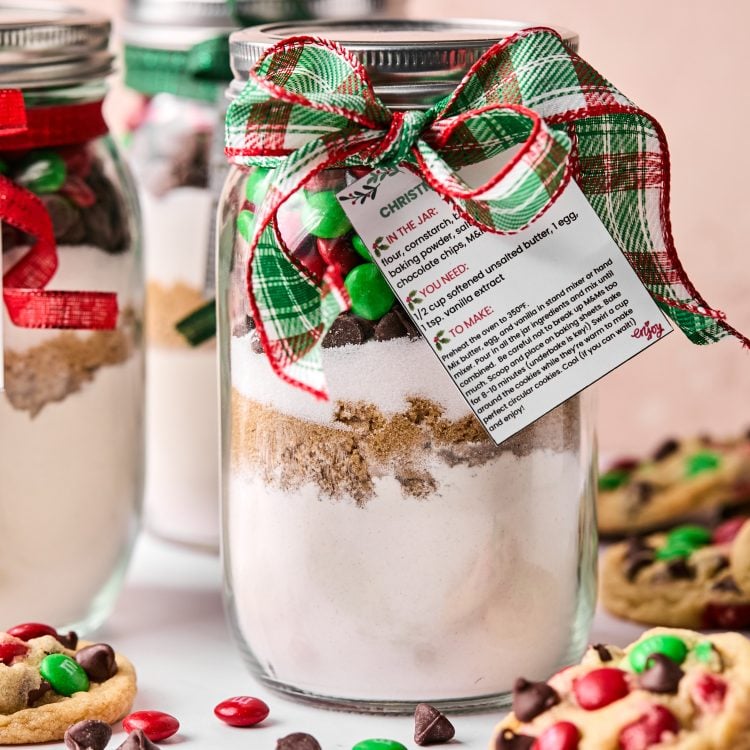
I created a free printable tag for you to use! Simply open up the PDF, print on card stock, cut along the black lines, hole punch a hole in the top left corner, and tie the tag on using ribbon or twine. 🤗
Why This Recipe Works
- Affordable and convenient
- SUPER CUTE!
- It is fun to make (and customize based on the holiday!)
- A gift that keeps on giving; the recipient gets to keep the jar!
It’s a DIY concept where all the dry ingredients needed to make cookies are layered neatly into a mason jar. The jars are usually decorated with something cute and festive (i.e. ribbon, mini whisk, bows, twine, recipe printable card) and all the gift recipient needs to add are usually a few wet ingredients like the butter, eggs, and vanilla.
Ingredient Notes
(For the full recipe, scroll down to the recipe card below).
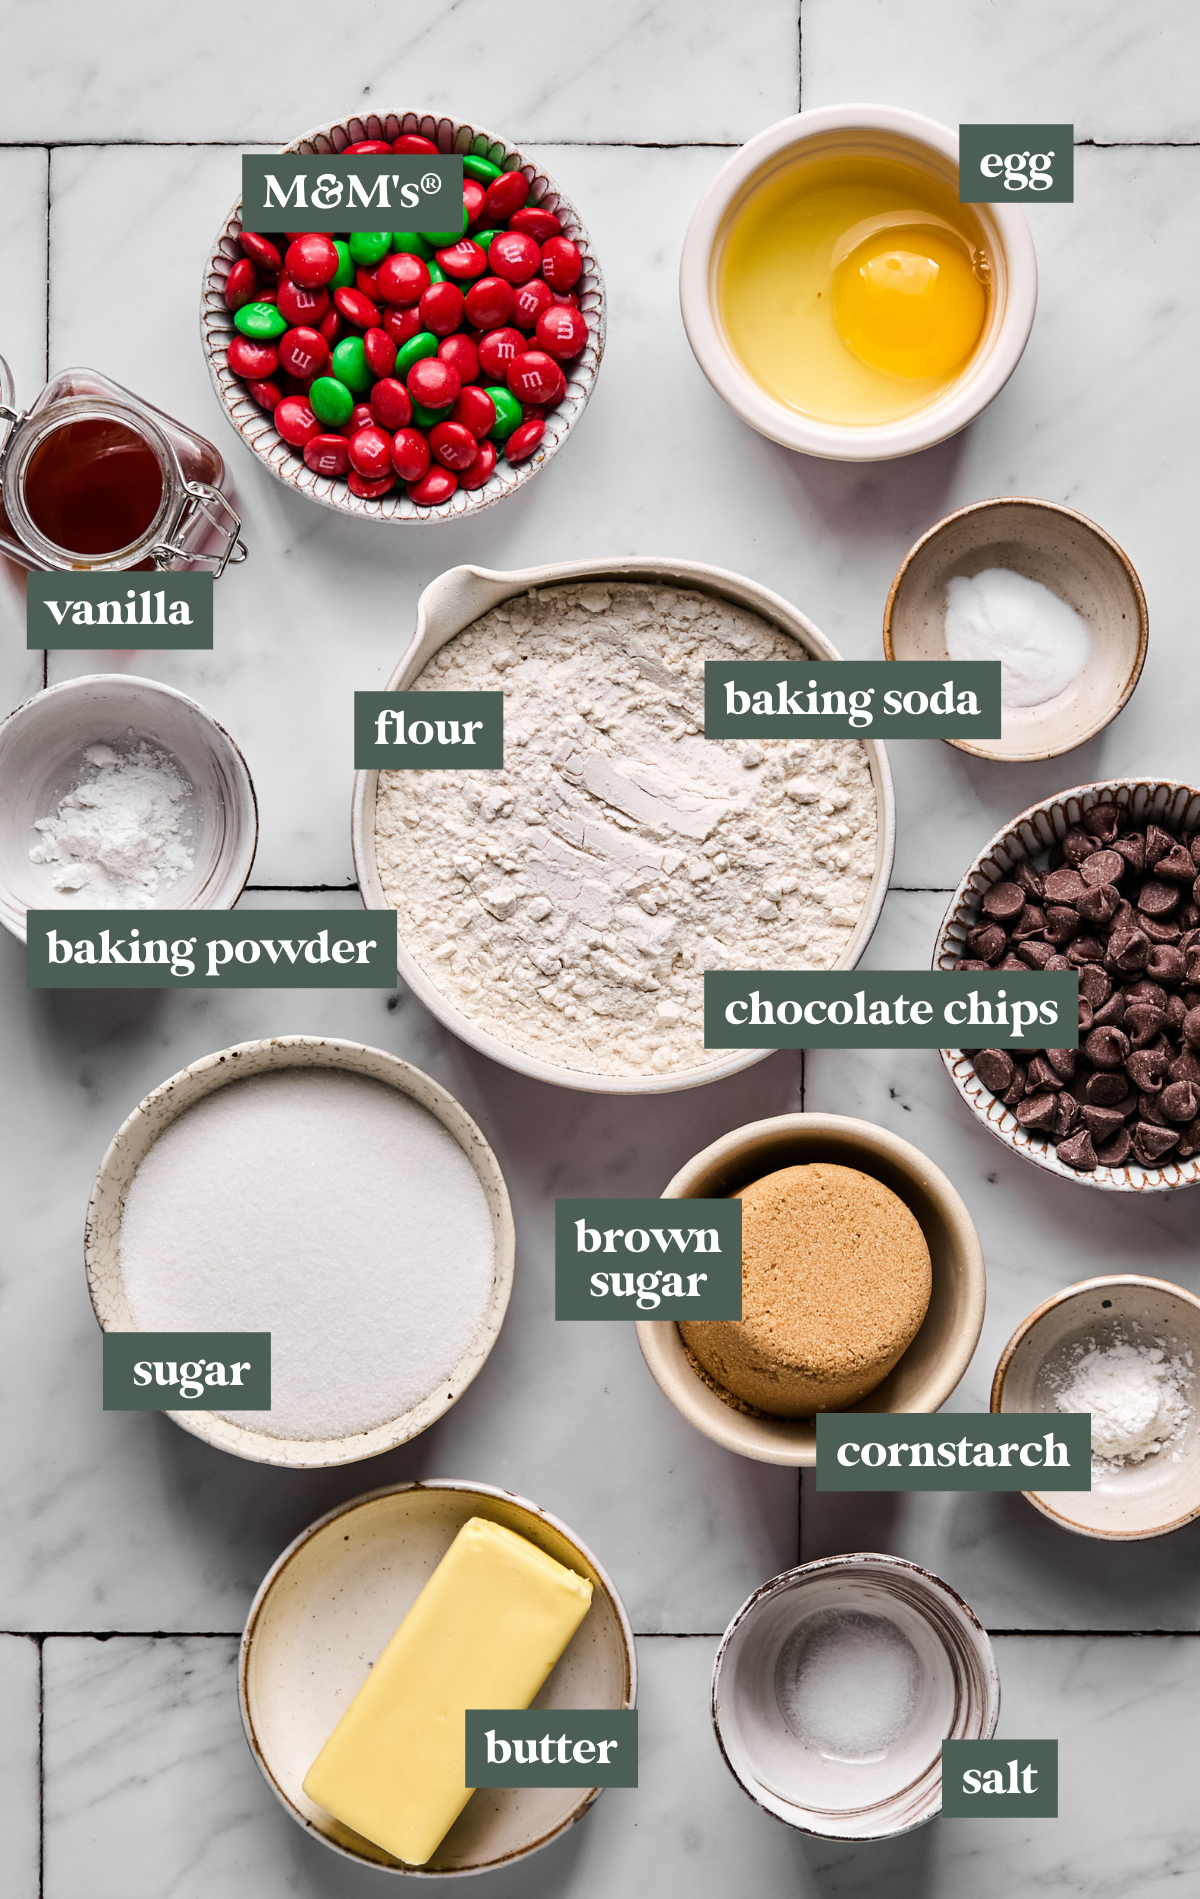
- Dry ingredients: For the jars, you’ll need all-purpose flour, cornstarch, baking soda, baking powder, and salt.
- Chocolate: You’ll need some red and green M&M’s®, & mini chocolate chips (or your favorite chocolate chips).
- Sugars: I like making these cookie jars with a blend of granulated sugar and brown sugar for the best flavor and texture.
- The gift recipient will add in: softened butter, egg, and vanilla! Easy peasy!
Step by Step Directions
(For the full recipe, scroll down to the recipe card below).
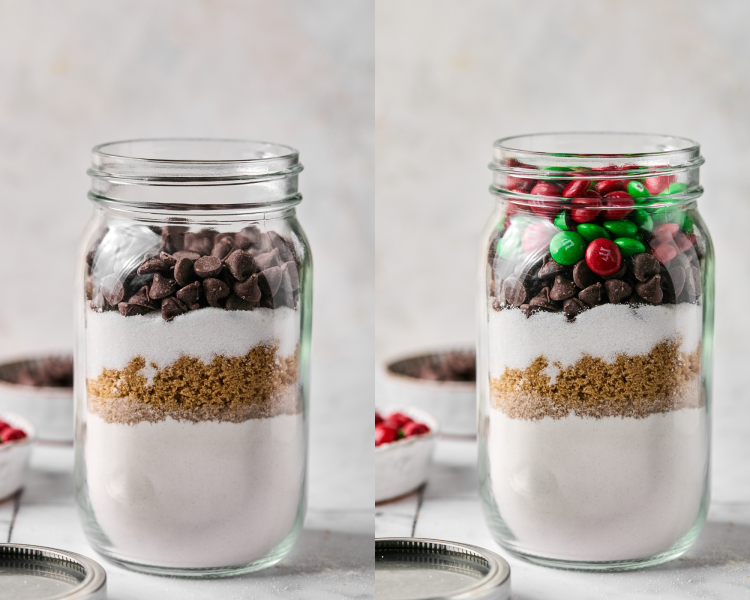
Layer!
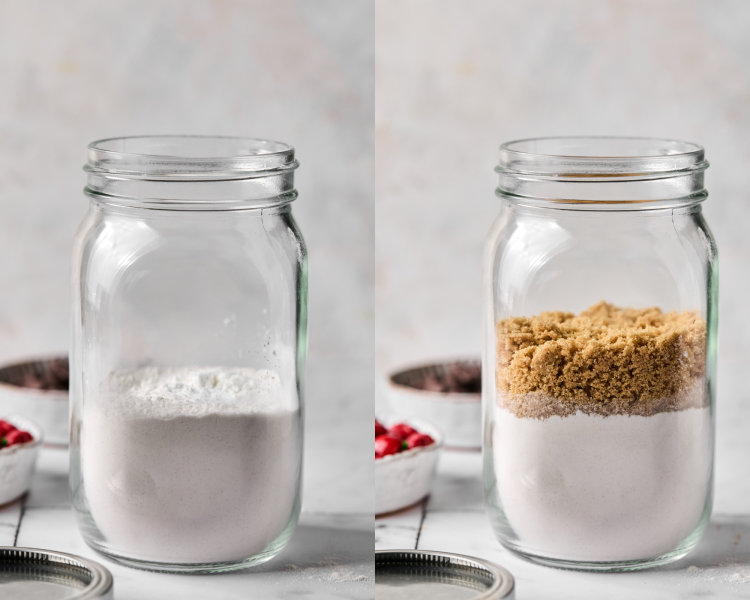
I like to layer the ingredients with the dry ingredients down first, then the brown sugar, granulated sugar, chocolate chips, and M&Ms on top!
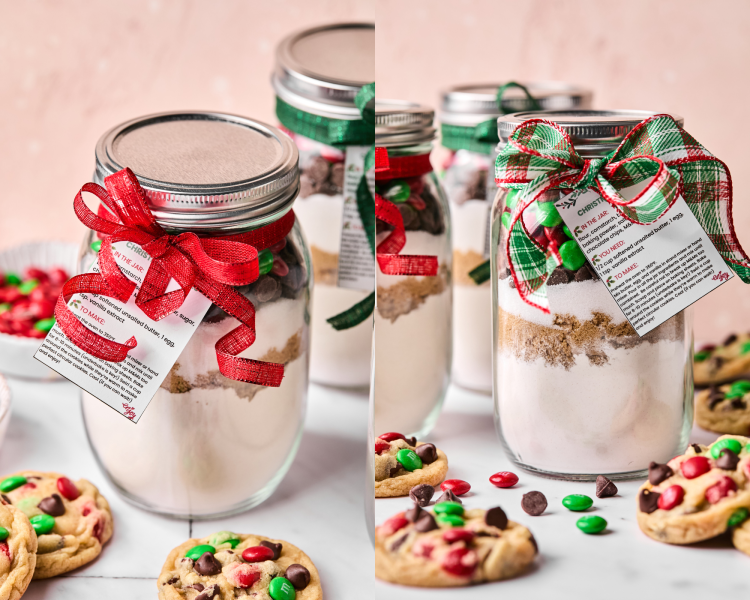
Decorate
Add the free printable tag and a cute bow. That’s it! Couldn’t be easier 🤗
Success Tips
- Be sure to layer the ingredients neatly and pack them in there! It looks pretty, and eliminates the risk of ingredients shifting around.
- Customize it! Feel free to add in white chocolate chips, dried cranberries, nuts, shredded coconut, or whatever your favorite cookie mix-ins are that you want to gift.
- Be sure to use the wide mouth mason jars; it’s easier to get the ingredients in the jars.
Before You Begin! If you make this, please leave a review and rating letting us know how you liked this recipe! This helps our business thrive & continue providing free recipes.
Ingredients
FOR EACH JAR
- 1 1/2 cups all-purpose flour, spooned and leveled
- 1/2 tsp. cornstarch
- 1/2 tsp. baking soda
- 1/2 tsp. baking powder
- 1/2 tsp. salt
- 1/2 cup brown sugar, packed (dark or light)
- 1/2 cup granulated sugar
- 1/2 cup mini semi sweet chocolate chips
- 1/2 cup red & green M&M's®
GIFT RECIPIENT WILL ADD IN
- 1/2 cup unsalted butter, softened
- 1 large egg, room temperature
- 1 tsp. vanilla extract
Last step! If you make this, please leave a review and rating letting us know how you liked this recipe! This helps our business thrive & continue providing free recipes.
Instructions
ASSEMBLE THE JARS
- You’ll need a wide mouth 1 quart/32 oz. mason jar. Add the flour, cornstarch, baking soda, baking powder, and salt to the bottom on the mason jar first. (You can place them on a paper plate and fold the paper plate to easily get the ingredients into the jar if you don’t have a funnel, or just spoon it in). Tap on the counter to level it off.

- Spoon in and layer the brown sugar in next, followed by the granulated sugar. Then, the semi sweet chocolate chips, and the M&M's® on top.

- Seal tightly with a lid, and decorate with a bow, fabric, free printable recipe card, etc.

TO MAKE
- Preheat the oven to 350°F and line 2 baking sheets with parchment paper.
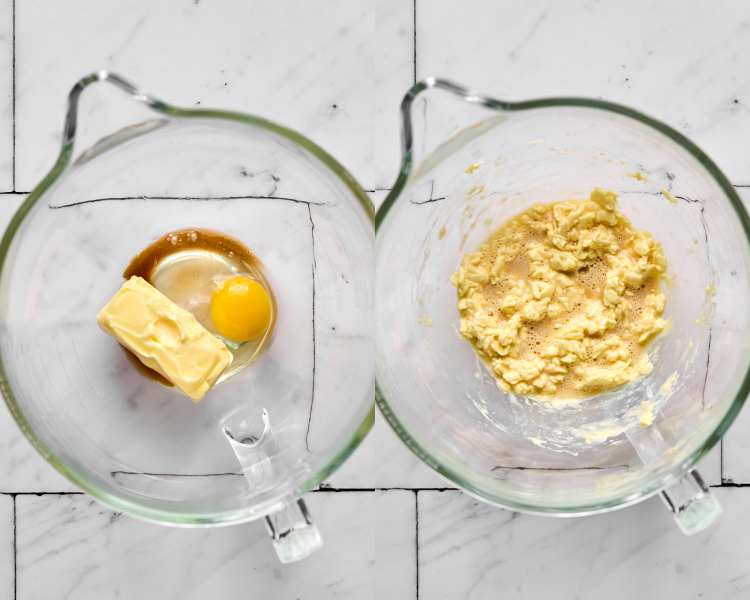
- Add the butter, egg, and vanilla to a stand mixer bowl fitted with the paddle attachment. Combine for 2-3 minutes, everything won’t look very incorporated at this point and it’s OK.

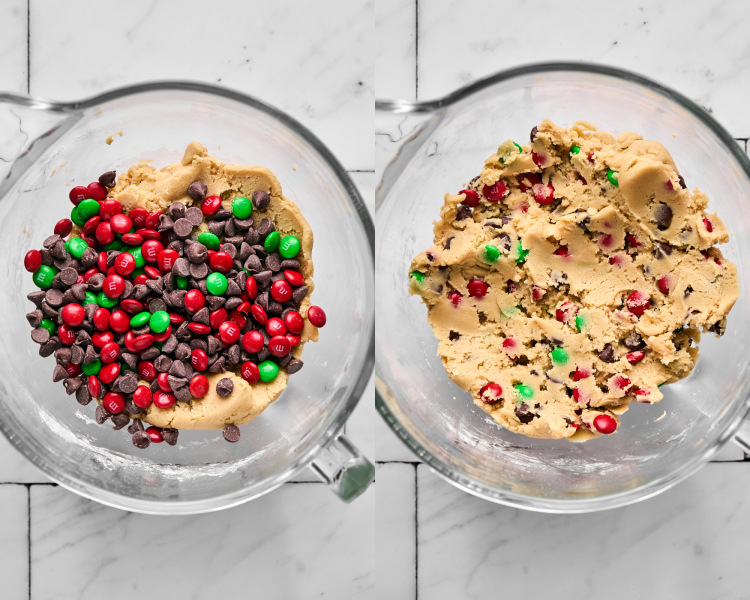
- Add all contents of the jar in and mix together on low speed, being careful not to break up the M&M's® too much. You could always pour the M&M's® out first and then stir them in to ensure they don’t break.

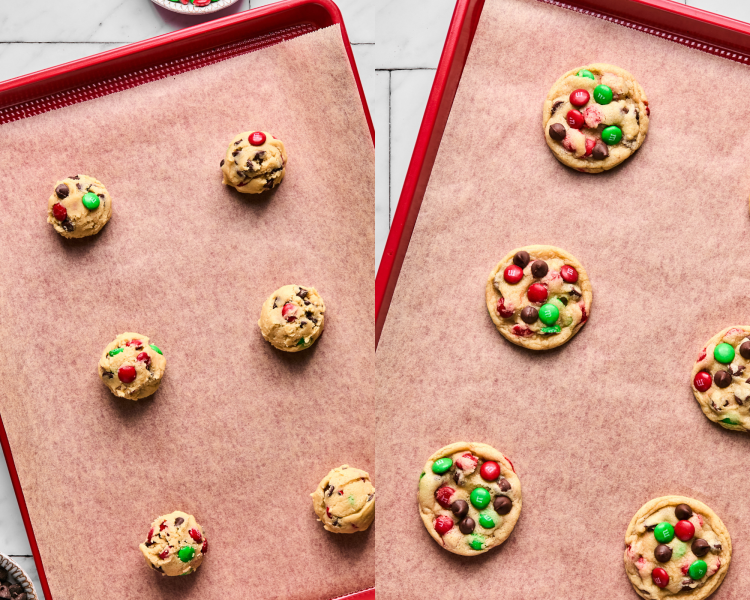
- Scoop into ~2 tbsp. Sized cookies, and place on prepared cookie sheet.

- Bake for 8-10 minutes. The cookies will look underbaked but set up as they cool. Swirl a cup or something a little larger around the cookies right out of the oven to give them a perfect circular look. Add more M&M's® or chocolate chips on top, if you have any!

- Place on cooling rack, and enjoy! Store at room temperature in an airtight container for 3-5 days or freeze for up to 3 months.
Notes
Nutrition Information
Nutritional information is provided as a courtesy and is automatically calculated. It should only be construed as an estimate rather than a guarantee. Ingredients can vary and Kroll’s Korner can’t make any guarantees to the accuracy of this information.
I made these with my daughter and they turned out so cute. She’s excited to gift them to her friends. Thank you for the premade printable tag!
Sooo cute! Thank you for making 🙂
This is such a cute gift. Everyone loves them. Thank you for sharing this idea.
Aww they look great Sarah!! Thank you! 🙂
hello, I had a quick question. Are these soft cookies or are they chewy cookies? I’m looking for a soft cookie recipe to gift family members.
Question 2 can I mix different candy or nuts instead of chocolate chips and M&M?
Hmmm they are soft AND chewy in my opinion 🙂 and yes feel free to use different mix-ins! 🙂 thank you!
thank you so much. The recipe came out. Perfect I did just chocolate chips tonight to see how they would turn out I’m super excited to make these for my family
Do you have any other cookies or brownies in a jar recipes?
I am glad! No, this is my only one so far. So sorry!
These cookies are SO cute!! And I couldn’t believe that the tags were actually free and printable. I made these as gifts this year and I’m so happy with them.
Aww thank you so much Lydia! Happy Holidays!
I made these cookies and they taste really good but the dough was so dry I had to form them in my hands. I followed the instructions correctly and made sure my butter and egg was at room temperature. What went wrong?
Hi Linda, that’s so odd. Were you gifted a jar or did you just make the recipe? I am wondering if the flour was measuring properly and a trick if my cookie dough is ever dry, is adding in a splash of whole milk until it gets to a nice consistency to roll and work with. I am sorry about that, but I am glad they taste yummy!
Made up a couple jars for the neighbors (forgot to take a picture) and they absolutely loved them! Added some Santa spatulas to each, in addition to the fabric and ribbon. Baked up a batch for ourselves and they’re delicious! Not super sweet too!
The spatulas are such a cute idea! Thank you so much for making 🙂
These are going to make the cutest gifts. I added a spatula and Christmas towel. So easy to put together too.
Gahhh, Dana these are SO CUTE!! Love love loooove them! Thanks so much for leaving a review! 🫶🏻
These were fun to make for teacher gifts! I think I’ll be making more to give to neighbors! Love this! My youngest enjoyed helping me decorate these too!
They look SO CUTE!! Thank you 🙂
I’ve made these to sell on a market sale next Sunday. They ate beautiful. I’ve baked them as well. Delicious! I put extra care in not breaking the candy. Thank you!
They look so perfect! Thank you so much 🙂 I hope they go over well!
These are lovely but I learned to make them to make them by put the ingredients in the order the are used. So the chocolate and candy would be at the bottom and the flour, baking soda following the sugar we packed brown sugar in then the white sugar.
That’s a good idea, too!