Protein Peanut Butter Cups

This post may contain affiliate links. Please read our disclosure policy.
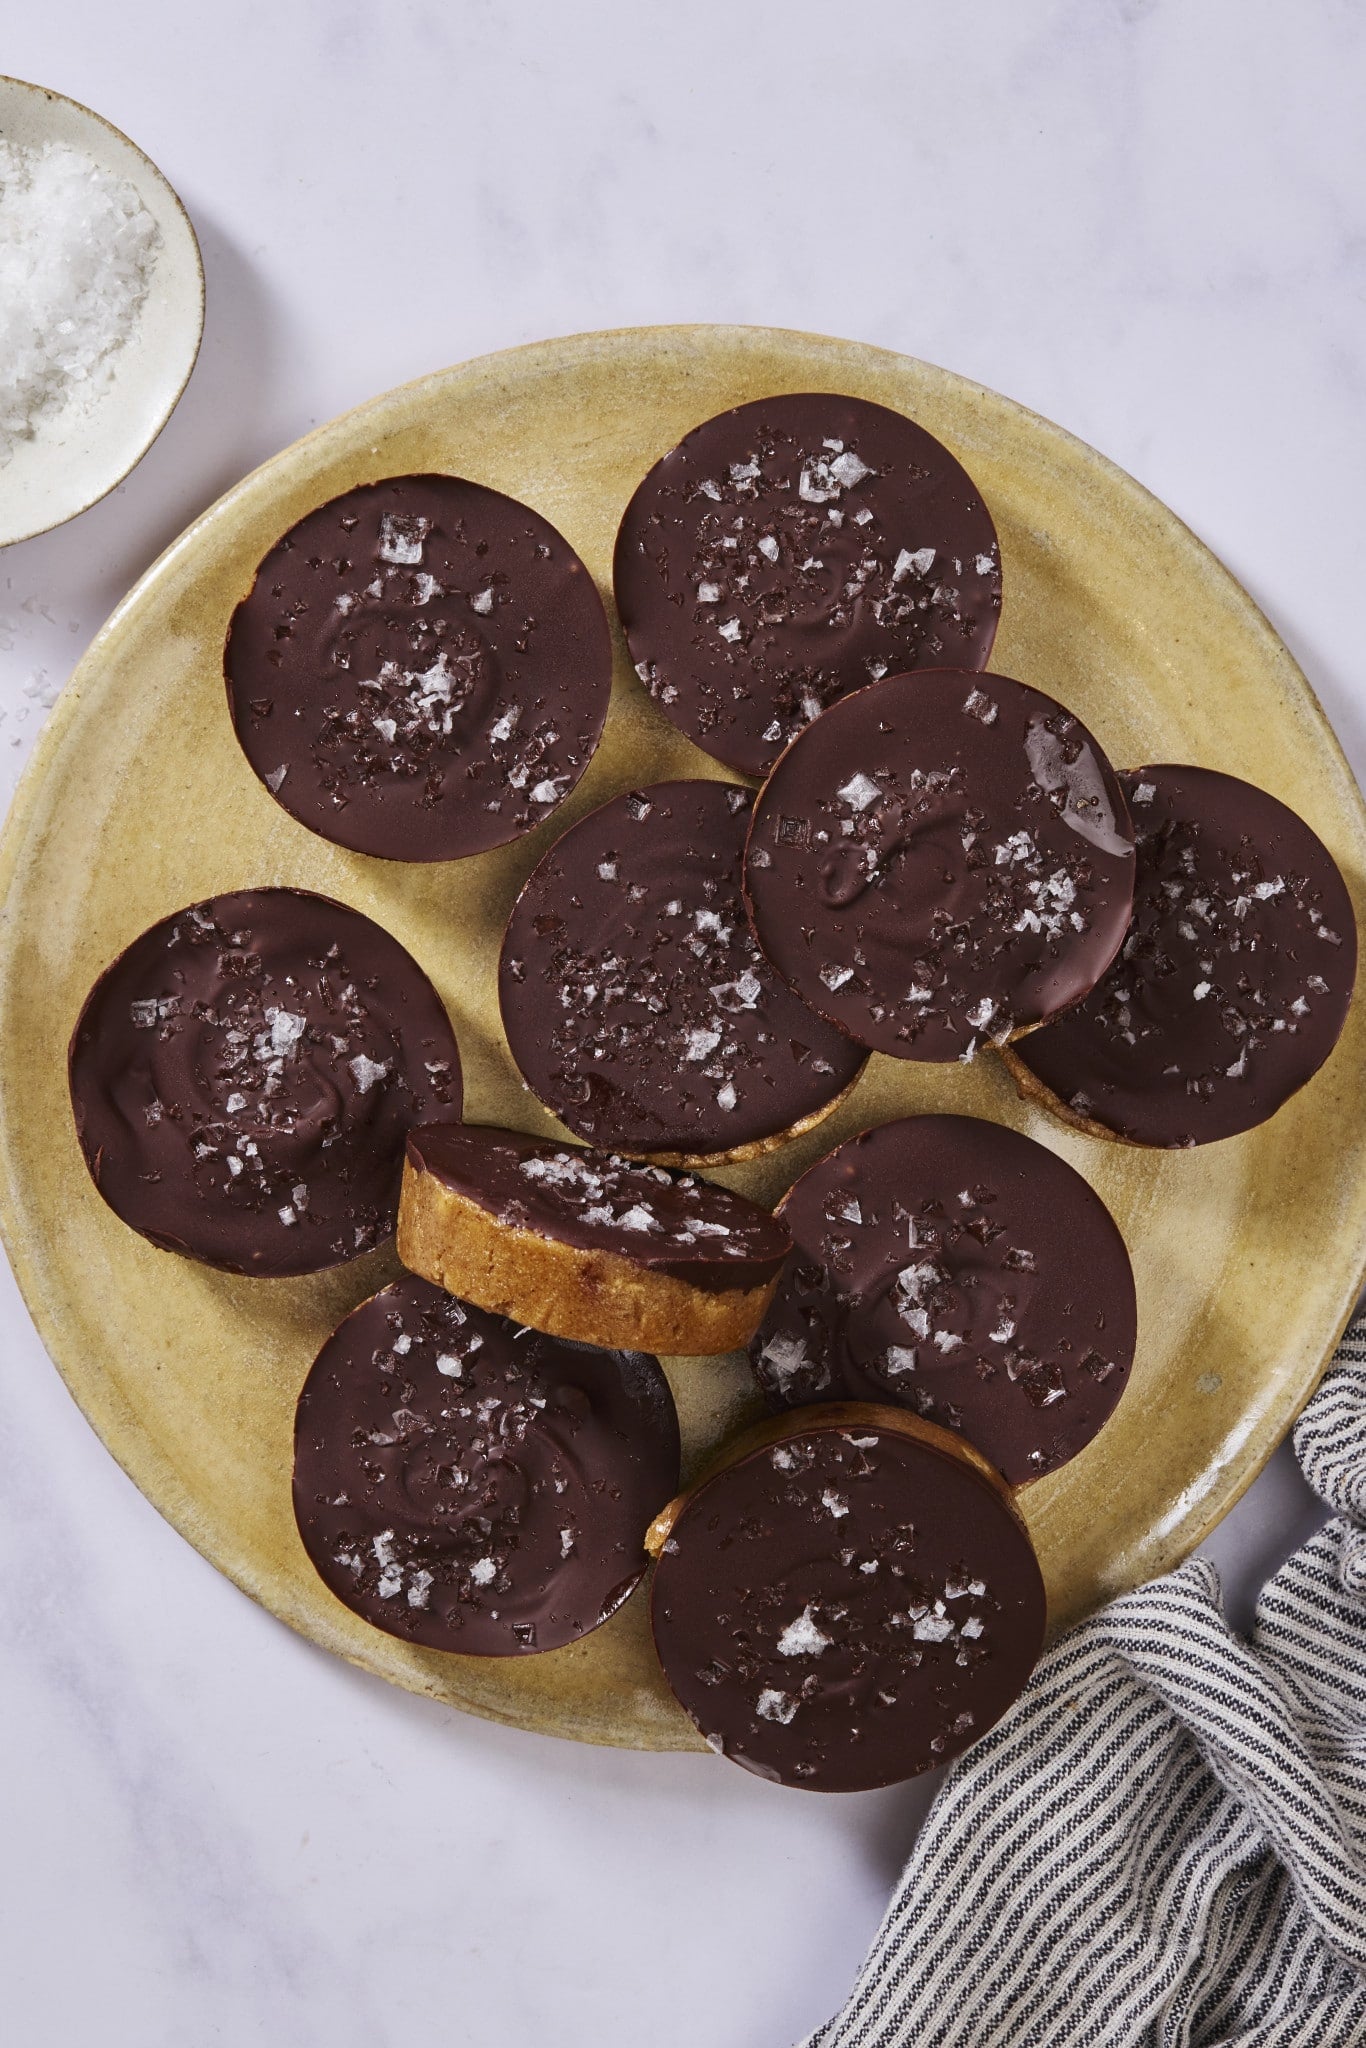
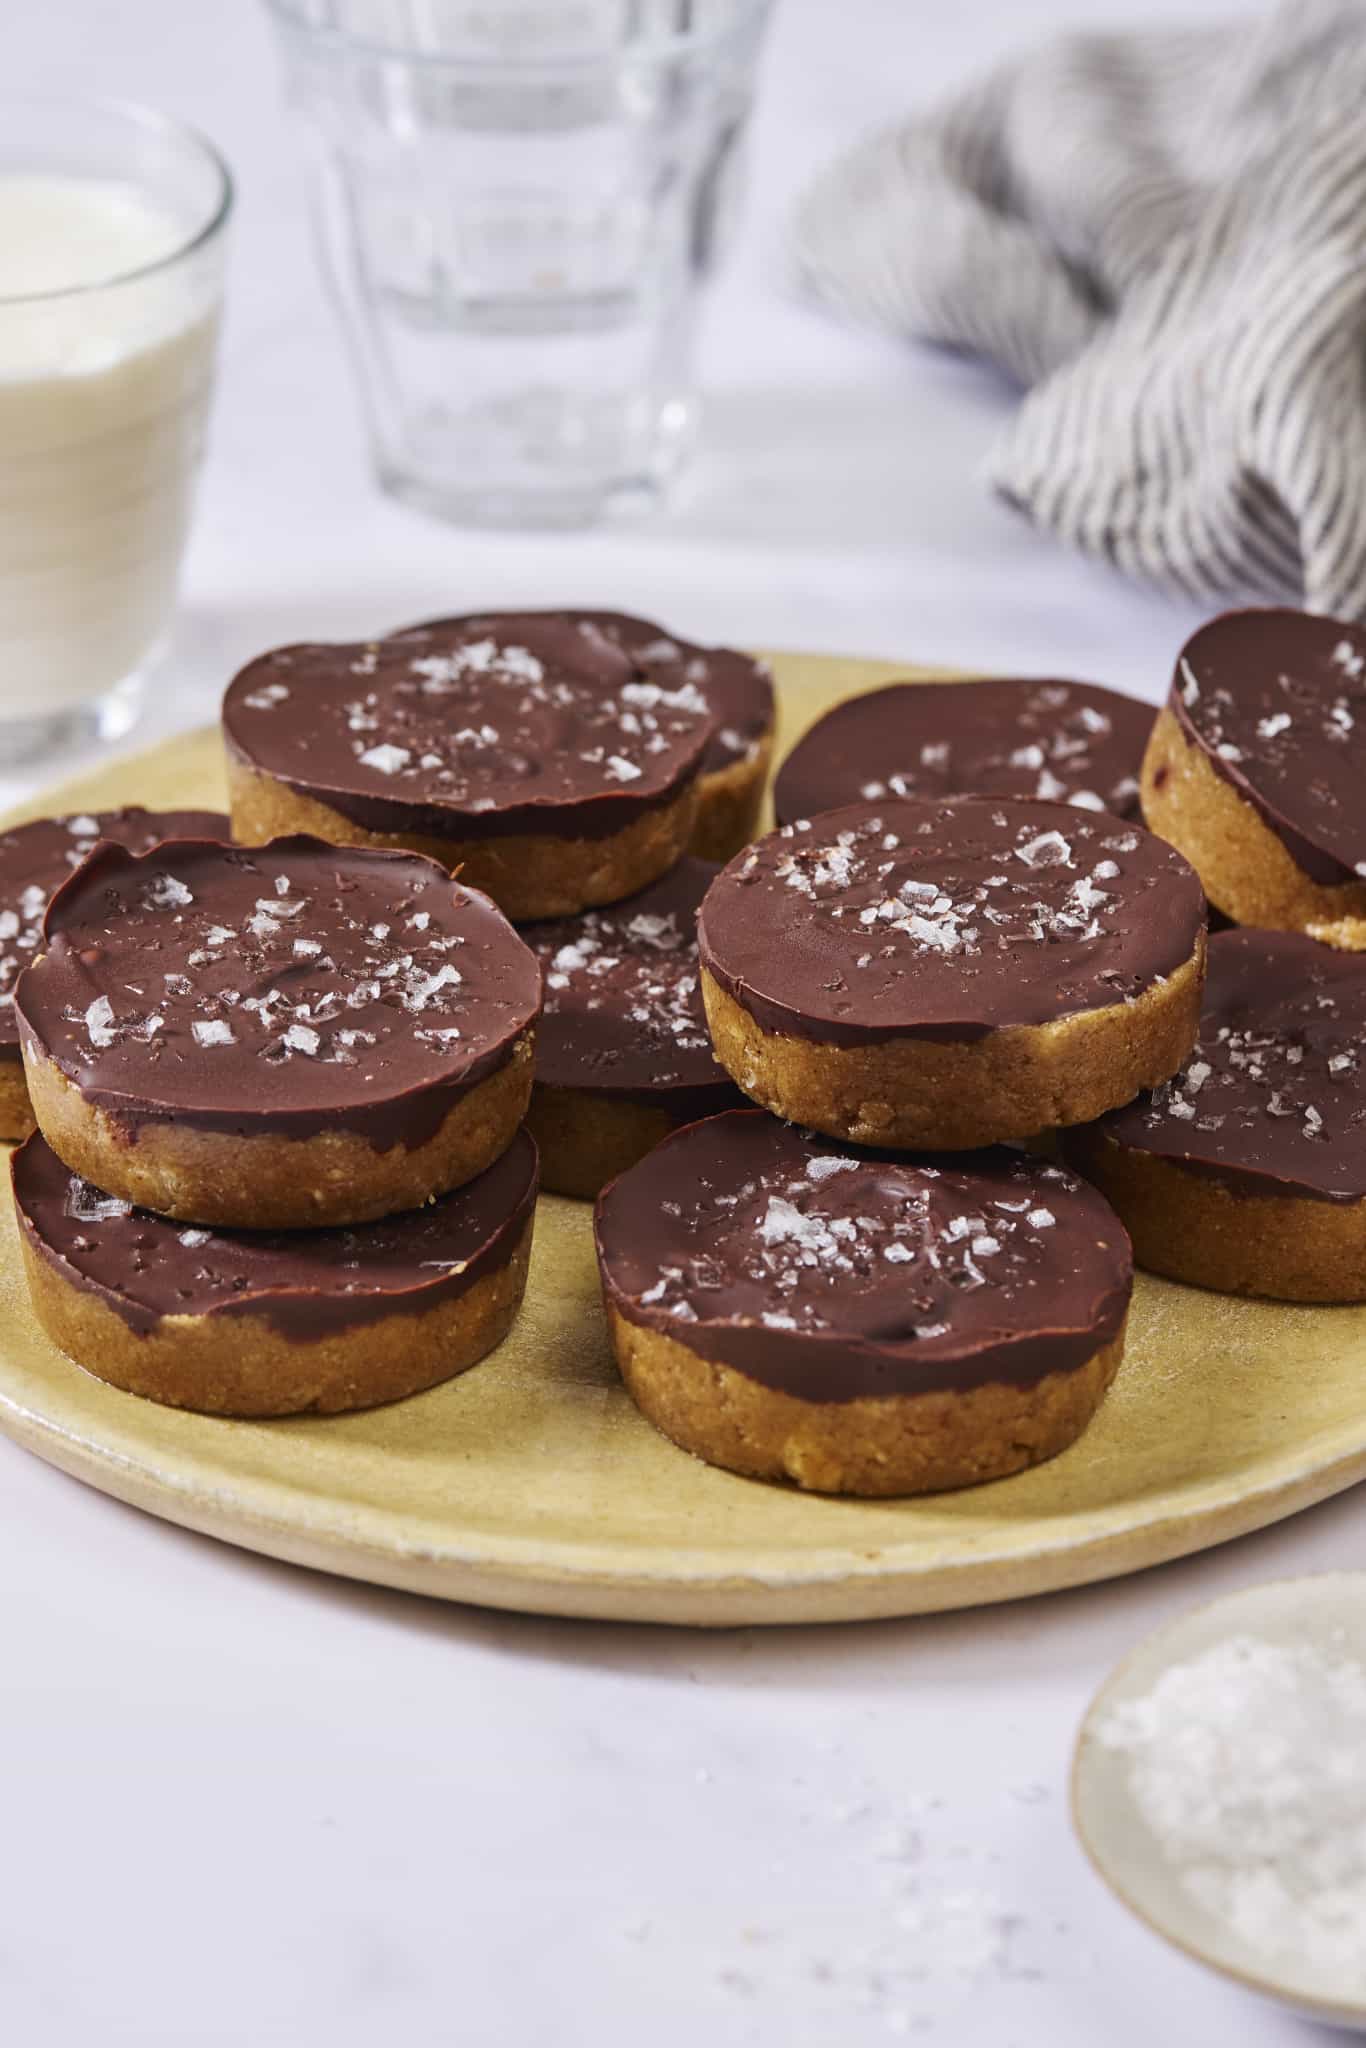
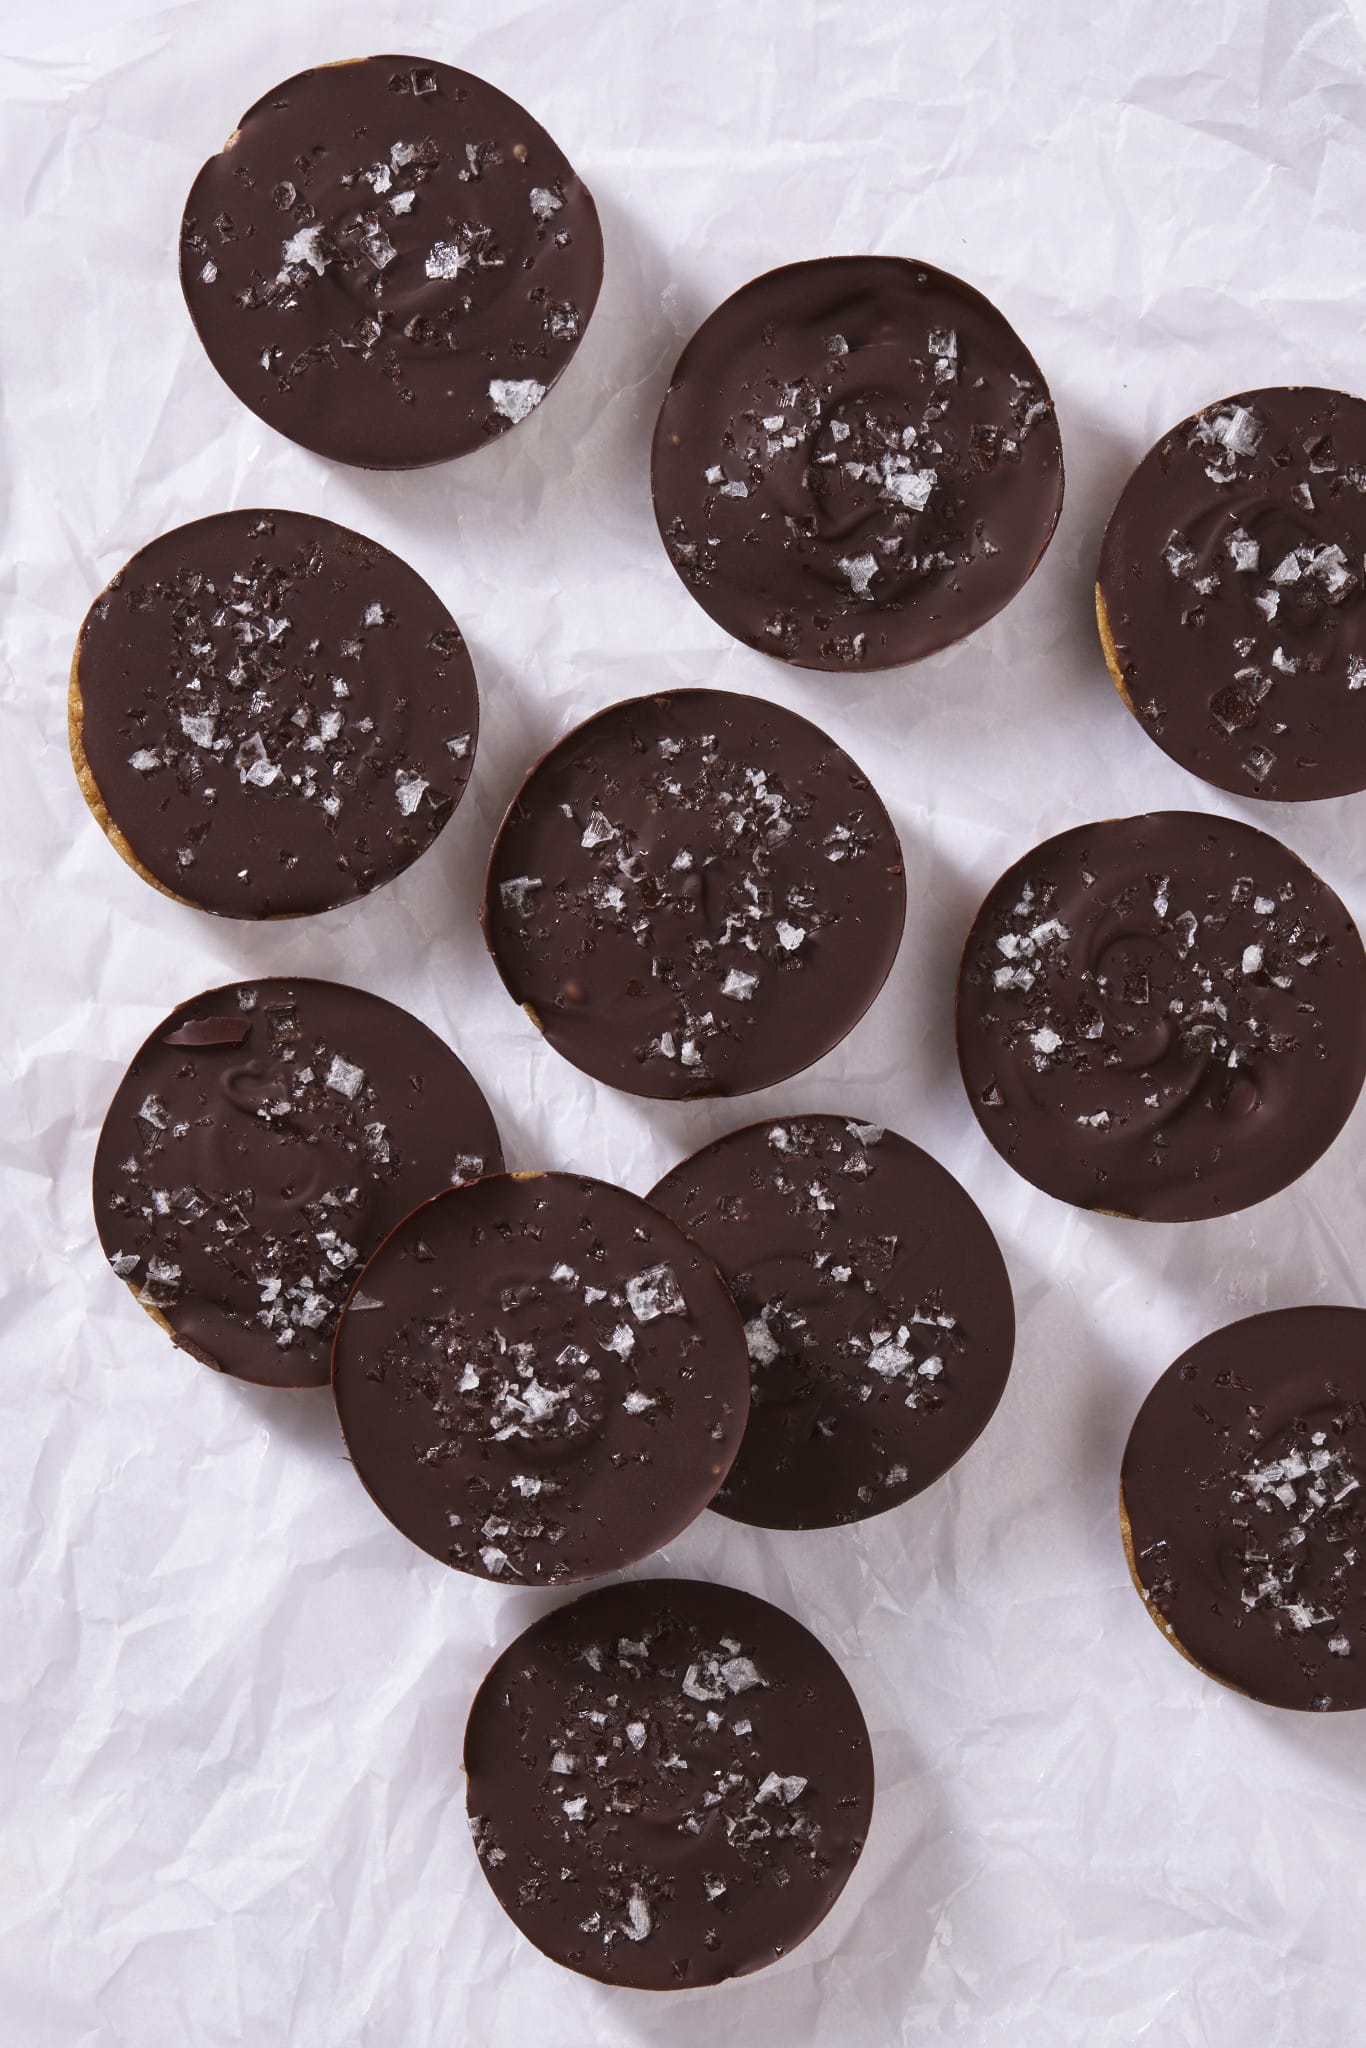
If you’re a fan of peanut butter cups but want a version that’s a little more filling and packed with protein, these homemade Protein Peanut Butter Cups are about to become your new favorite snack. They have a thick, chewy peanut butter filling made with oat flour, protein powder, and crispy Rice Krispies, all topped with a smooth layer of dark chocolate and a sprinkle of flaky sea salt.
The best part? They’re completely no-bake and come together with just a handful of pantry staples. They taste like a cross between a peanut butter cup and a peanut butter protein bar, with just the right amount of crunch from the Rice Krispies.
They’re perfect for meal prep since they store well in the refrigerator, making them an easy grab-and-go snack, post-workout treat, or healthier dessert whenever a chocolate craving strikes. Or, crumble one of these peanut butter cups on top of my favorite vanilla protein ice cream for a healthier Dairy Queen blizzard vibe😉🍦
And if you love all things chocolate + peanut butter, be sure to also try my Chocolate Peanut Butter Blossoms, Chocolate Dipped Chewy Peanut Butter Cookies, Peanut Butter Chocolate Chip Banana Bread, or Peanut Butter Dark Chocolate Chip Cookies (Levain Copycat).
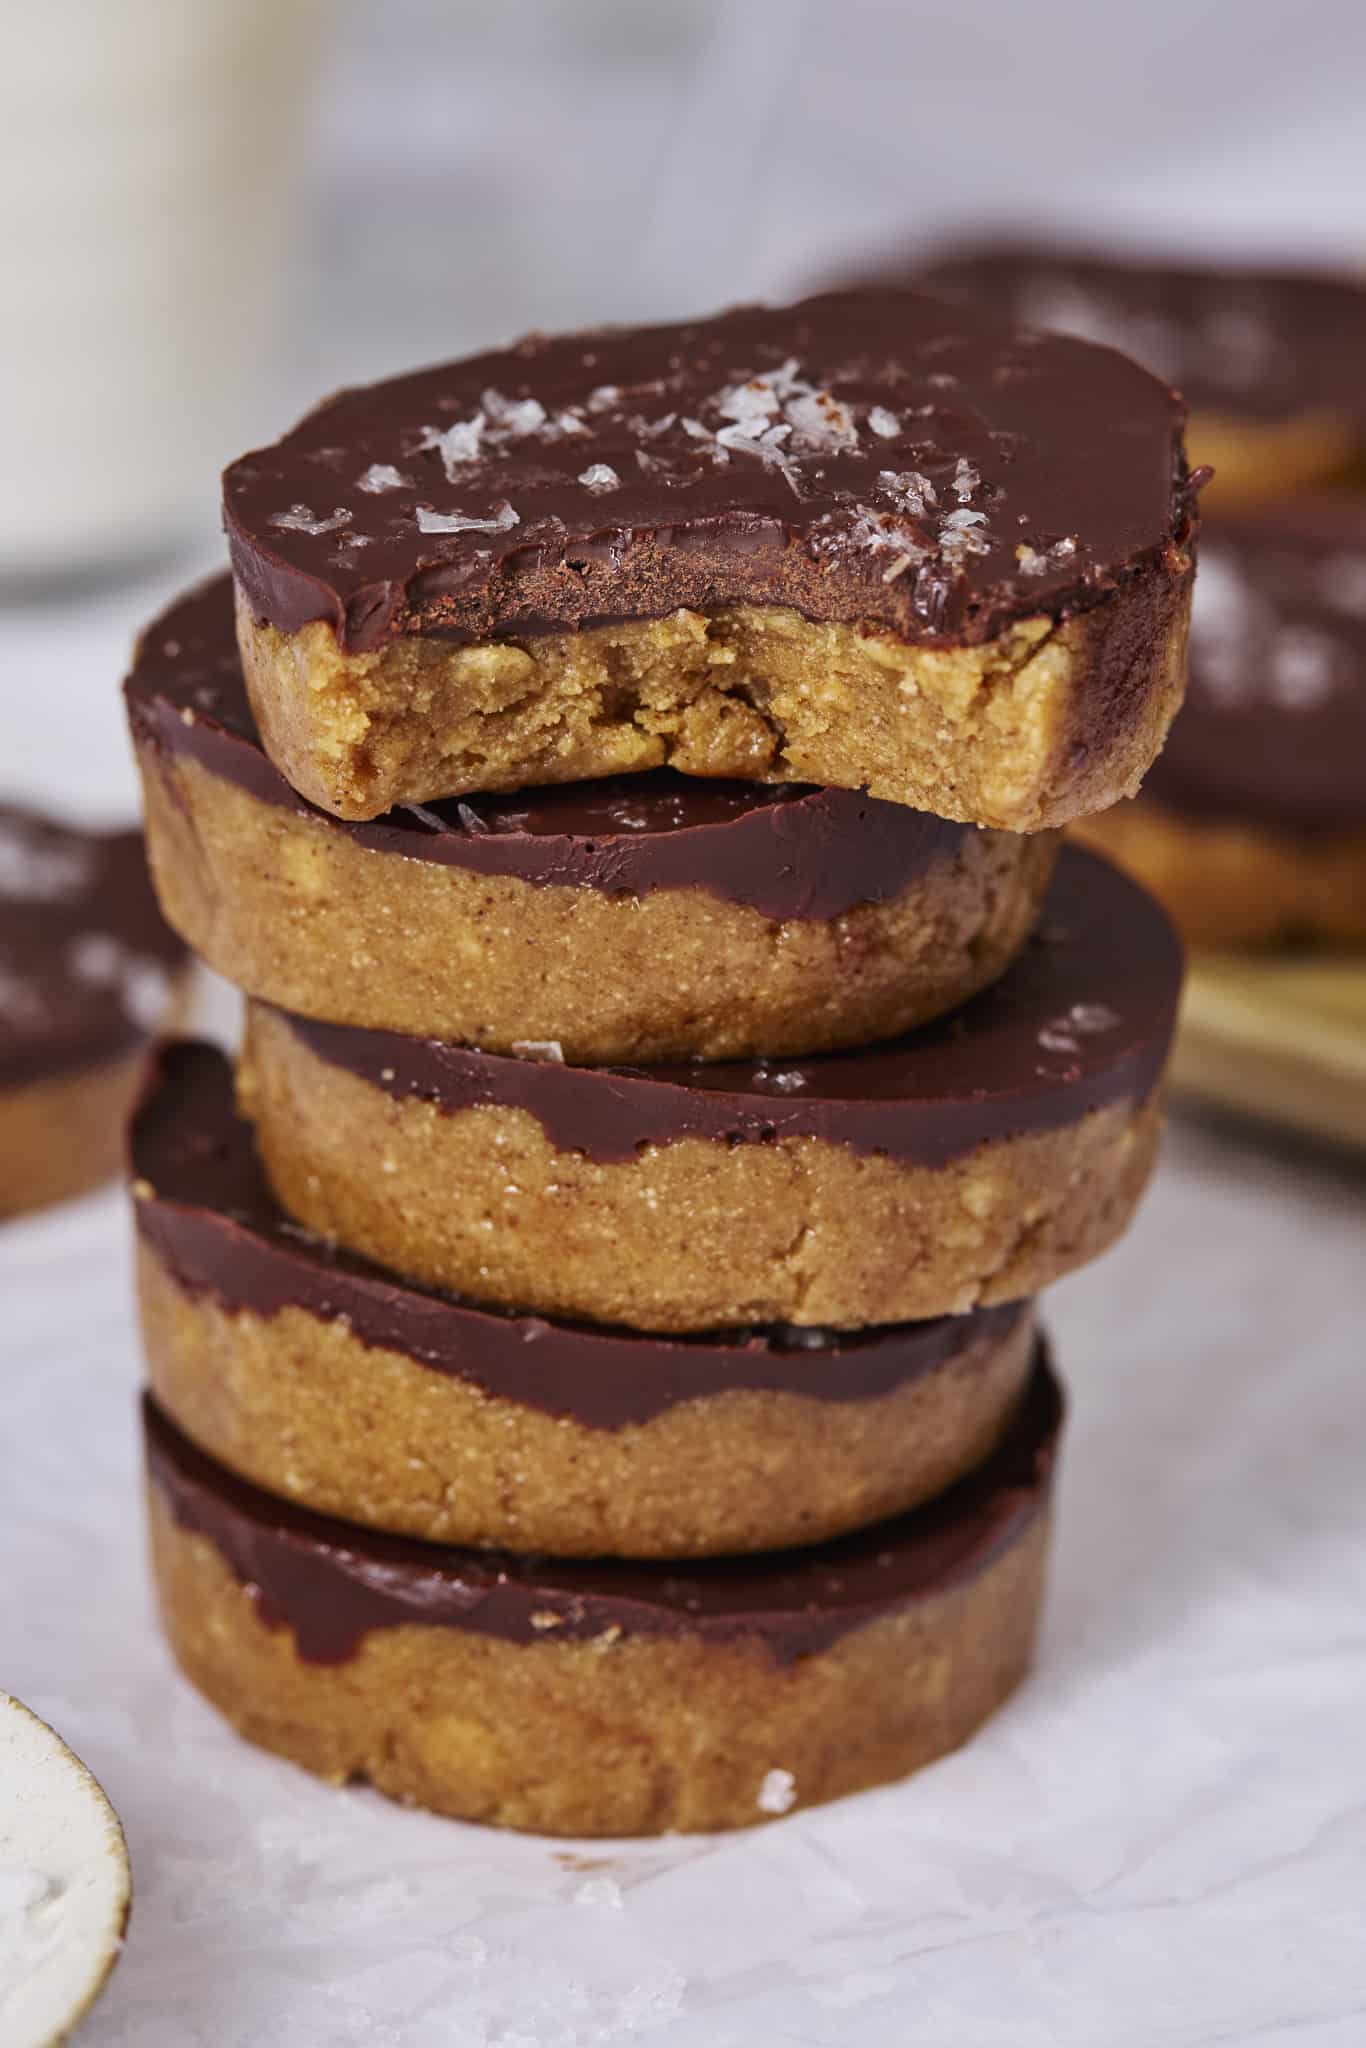
 Table Talk with Tawnie

I’ve been really loving keeping better-for-you treats stashed in the freezer these days and my protein peanut butter cups will be made over and over again until the foreseeable future! Easy to make, easy to eat, and satisfying my cravings. Plus, they’re so fun! They remind me a little of my Crunchy Peanut Butter Snack Bites but in peanut butter cup form. I can’t wait to hear what you think!
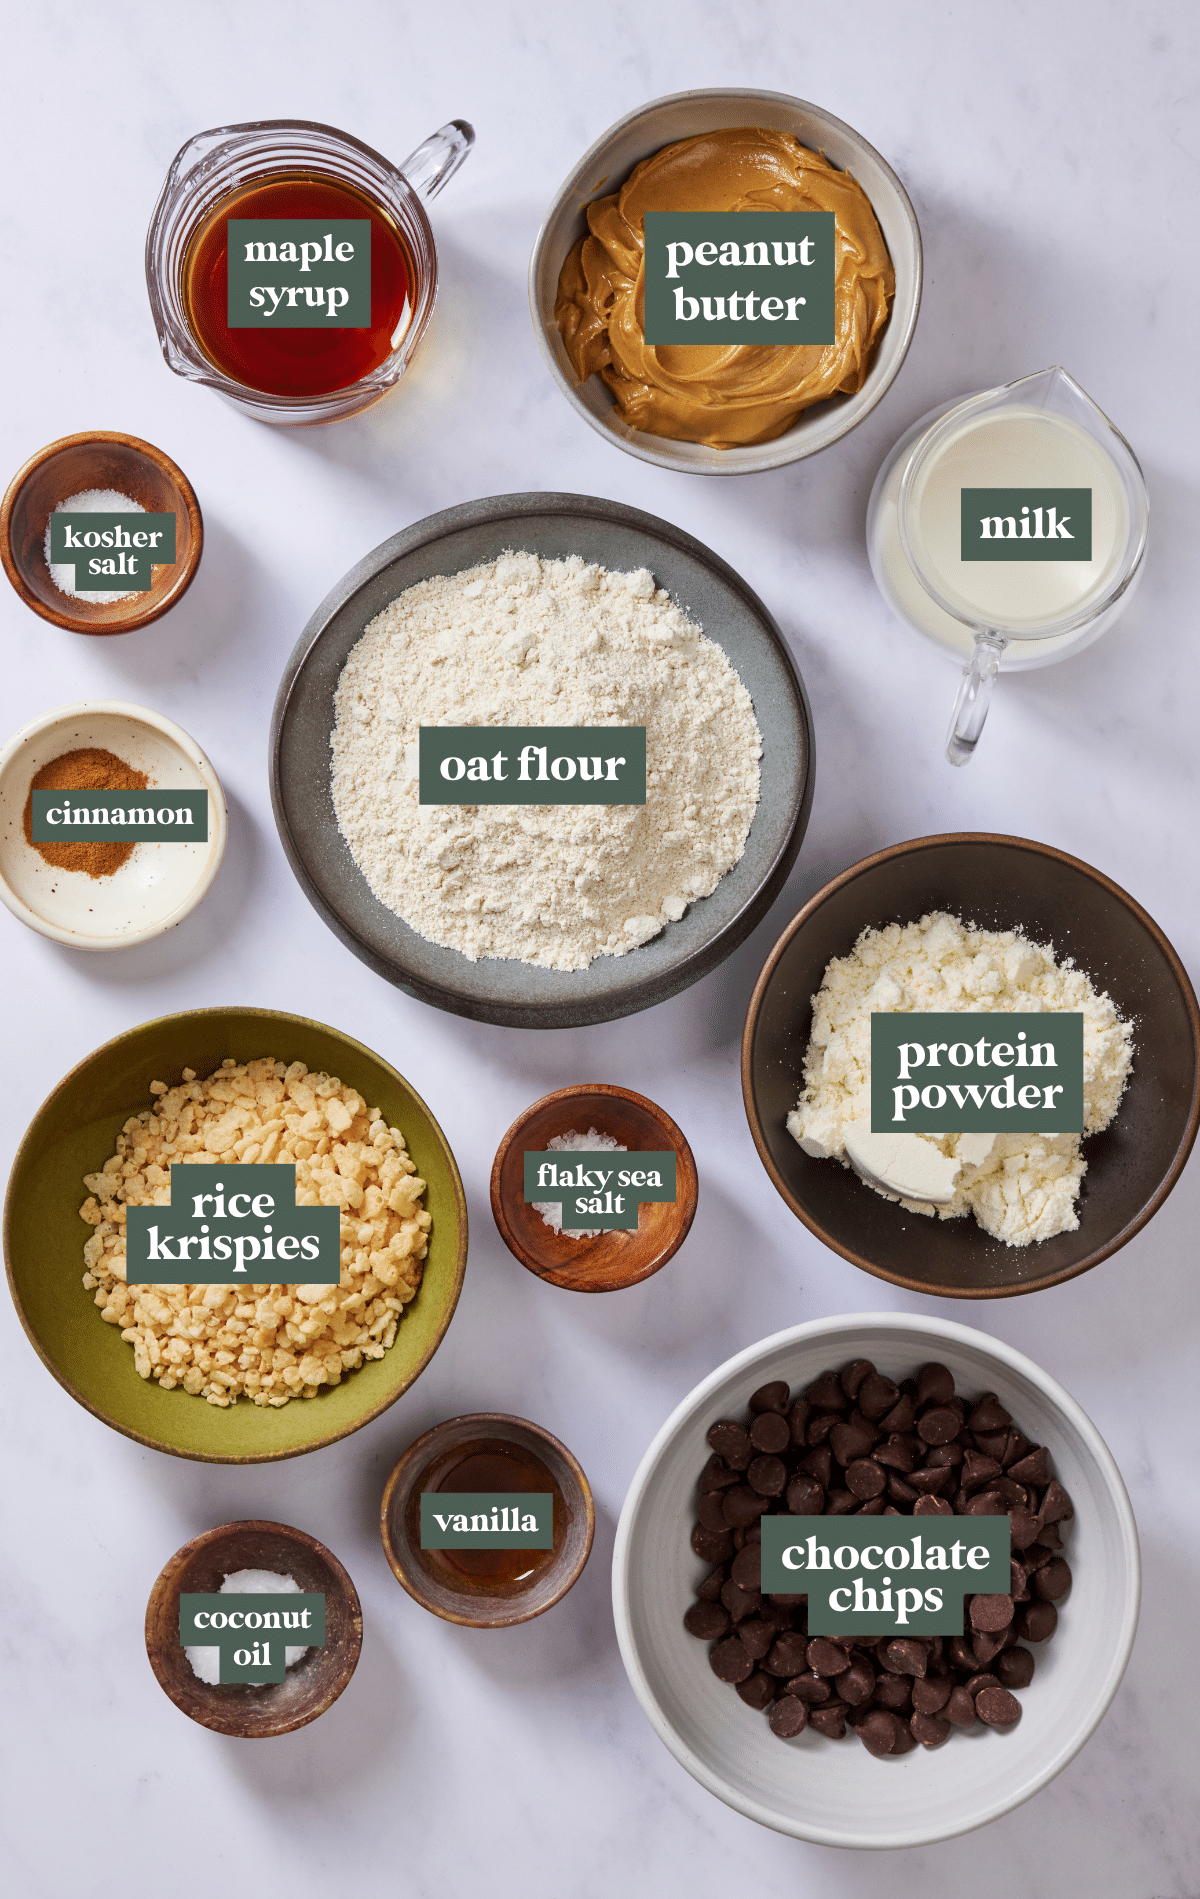
- Oat flour: You can use store-bought oat flour or make your own by blending old-fashioned or quick oats in a high-powered blender until they reach a fine, flour-like consistency.
- Peanut butter: Creamy, drippy peanut butter like Skippy or Jif works best for the smoothest filling and helps the cups hold together well. Natural peanut butter can be used, but the texture may be softer and a bit more crumbly.
- Protein powder: Vanilla protein powder gives these peanut butter cups a classic flavor, but chocolate protein powder is just as delicious. Since protein powders vary in absorbency, you may need to add an extra tablespoon or two of milk until the mixture comes together like a thick cookie dough. I like the vanilla protein powder from Clean Simple Eats, but if you have a different favorite brand of protein powder, go for it!
- Chocolate chips: I used dark chocolate chips, but semi-sweet or milk chocolate chips also work if you prefer a sweeter finish.
- Rice Krispies cereal: Adds the perfect crispy crunch and gives the filling that classic peanut butter cup texture. Use gluten-free crispy rice cereal if needed.
Step-by-Step Directions
(For the full recipe, scroll down to the recipe card below)
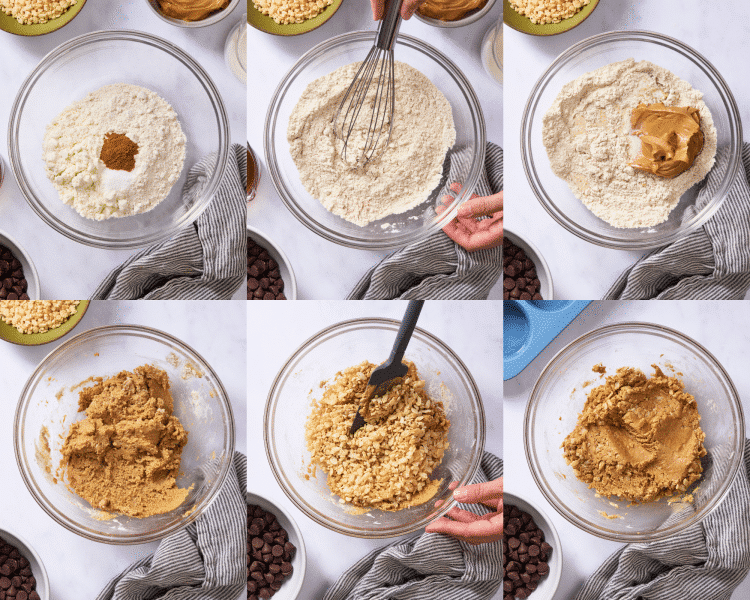
Make the peanut butter filling
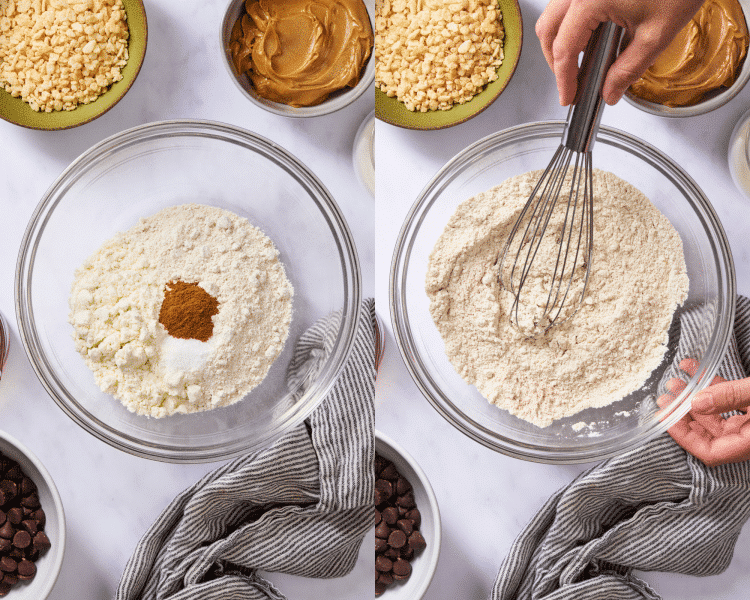
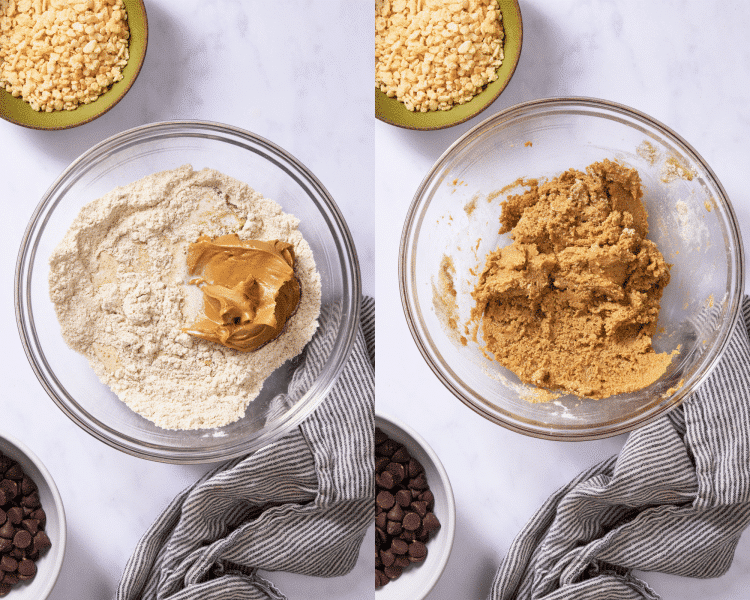
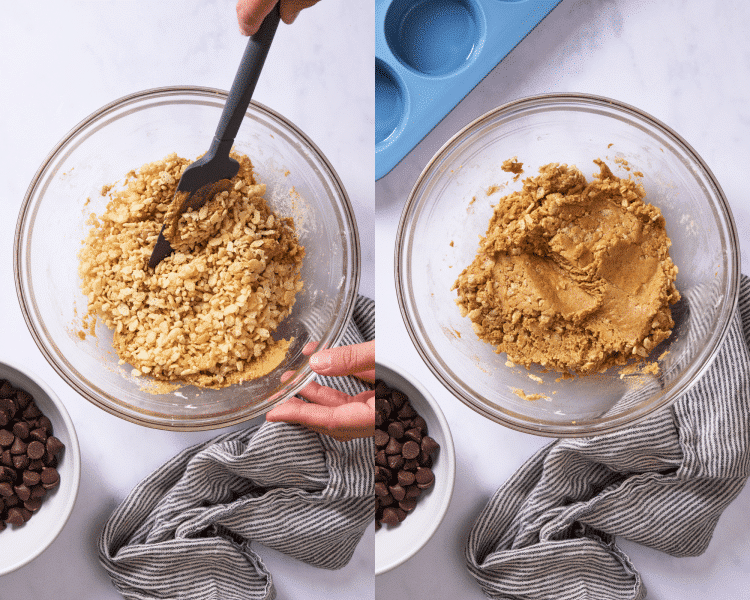
Combine all the peanut butter filling ingredients and mix to combine.
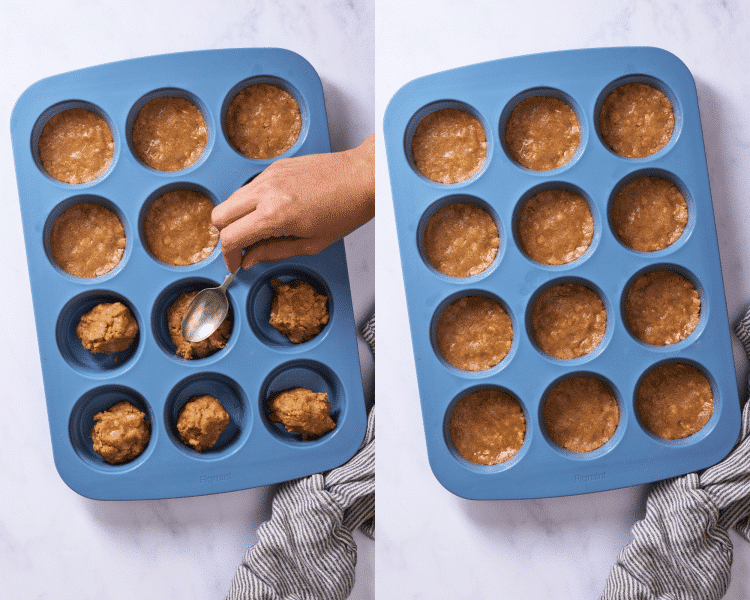
Press into pan
Evenly divide the mixture between the muffin tin cavities, pressing it down firmly to form an even layer in each cup.
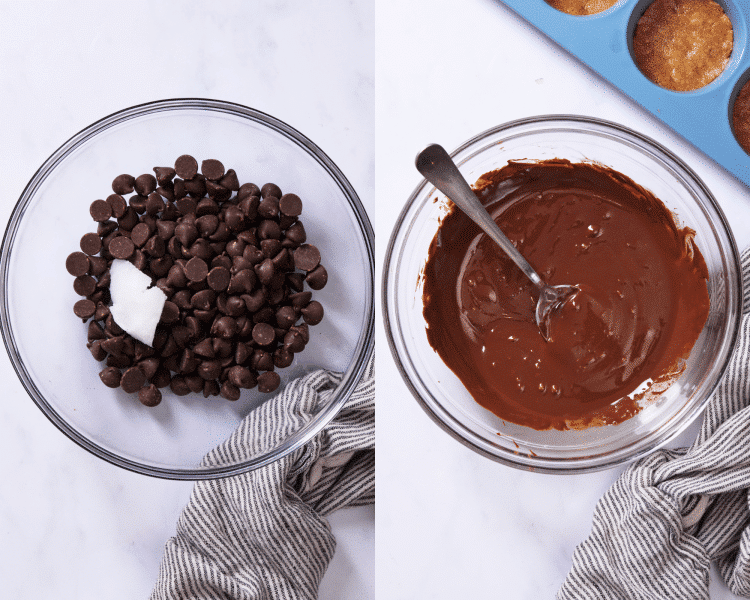
Melt the chocolate
Melt the chocolate in the microwave.
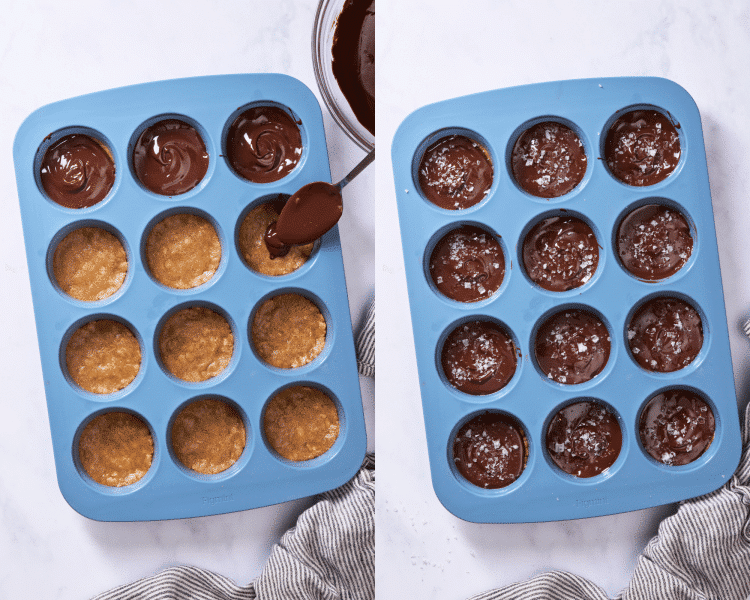
Add chocolate layer
Pour the melted chocolate into each cavity, then sprinkle with flaky sea salt.
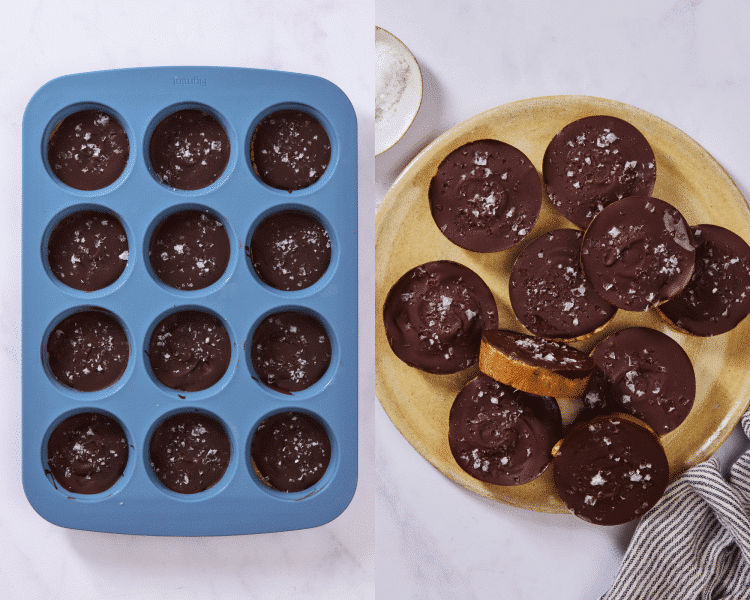
Chill & enjoy!
Refrigerate for 1-2 hours. Pop out of the silicone mold and enjoy!!🥜🍫
Expert Tips
- Use creamy peanut butter: Creamy peanut butter like Skippy or Jif creates the smoothest filling and helps the cups hold together best. Natural peanut butter can make the mixture softer and more crumbly.
- Choose a protein powder you enjoy: Vanilla protein powder gives these a classic peanut butter cup flavor, but chocolate protein powder is a delicious option if you want an even richer chocolate taste.
- Adjust the liquid as needed: Protein powders absorb moisture differently. If the mixture seems dry or crumbly, add milk 1 tablespoon at a time until it resembles thick cookie dough and holds together when pressed.
- For extra crunch: Feel free to increase the Rice Krispies for even more crispy texture in every bite.
- Use a silicone muffin pan: It makes removing the peanut butter cups incredibly easy. If using a metal muffin tin, be sure to line it with paper liners.
- Don’t skip the chill time: Refrigerate the cups until the chocolate is completely set before removing them from the pan. This helps them hold their shape and gives the best texture.
- Sprinkle with flaky sea salt: A pinch of flaky sea salt on top balances the sweetness and makes the chocolate and peanut butter flavors pop.
Variations / Substitutions
- Chocolate protein: Swap the vanilla protein powder for chocolate protein powder for an extra chocolatey filling.
- Use a different nut butter: Almond butter or cashew butter can be substituted for peanut butter. Just use a creamy variety for the best texture.
- Try white chocolate: Replace the dark chocolate chips with white chocolate or semi-sweet chocolate chips for a different flavor profile.
- Add mix-ins: Stir in mini chocolate chips, chopped peanuts, shredded coconut, or hemp hearts for extra texture and flavor.
- Make them gluten-free: Use certified gluten-free oat flour (or certified gluten-free oats to make your own) and gluten-free crispy rice cereal.
Storage / Freezing
- Store the protein peanut butter cups in an airtight container in the refrigerator for up to 1 week. They’re best enjoyed chilled, as the filling stays firm and the chocolate topping holds its shape.
- For longer storage, freeze them in a freezer-safe container with parchment paper between layers for up to 3 months. Let them sit at room temperature for 5–10 minutes before enjoying, or eat them straight from the freezer for a firmer, fudgier treat.
shop this post
 Buy Now →
  Buy Now →
 More Dessert Recipes You’ll Love
Before You Begin! If you make this, please leave a review and rating letting us know how you liked this recipe! This helps our business thrive & continue providing free recipes.
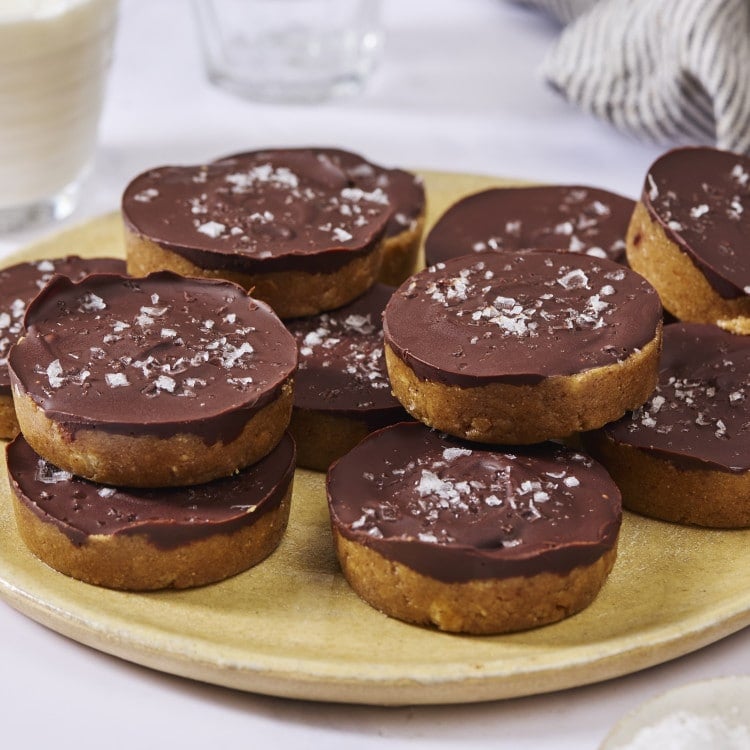
Protein Peanut Butter Cups
Ingredients
Peanut Butter Filling
- 1 cup oat flour
- 1/2 cup vanilla protein powder or protein powder of choice (I use Clean Simple Eats)
- 1/2 cup Rice Krispies cereal
- 3/4 tsp. kosher salt
- 1/2 tsp. cinnamon (optional)
- 3/4 cup creamy peanut butter (Skippy or Jif)
- 1/3 cup maple syrup
- 1 tsp. vanilla extract
- 3-4 Tbsp. milk (as needed)
Chocolate Topping
- 1 cup dark chocolate chips
- 1 tsp. coconut oil
Optional
- Flaky sea salt for topping

Last step! If you make this, please leave a review and rating letting us know how you liked this recipe! This helps our business thrive & continue providing free recipes.
Instructions
- Prepare the pan: Use a 12-count silicone cupcake pan or line a regular cupcake pan with cupcake liners; set aside.
- Whisk the dry ingredients: In a large bowl, whisk together the oat flour, protein powder, salt, and cinnamon.1 cup oat flour, 1/2 cup vanilla protein powder or protein powder of choice, 3/4 tsp. kosher salt, 1/2 tsp. cinnamon

- Mix the wet ingredients: Add the peanut butter, maple syrup, vanilla, and 2 tablespoons milk. Mix until a thick cookie dough-like mixture forms. Add milk 1 tablespoon at a time until it holds together when pressed.
- Add Rice Krispies: Fold in the Rice Krispies.1/2 cup Rice Krispies cereal
- Press into pan: Divide the mixture into each cavity in the cupcake tin, and firmly press into each cup. You should get 12 exactly.
- Melt the chocolate: Add the chocolate chips and coconut oil to a microwave-safe bowl. Microwave in 20-second intervals, stirring between each, until smooth and melted.1 cup dark chocolate chips, 1 tsp. coconut oil
- Add chocolate layer: Pour over the peanut butter mixture and spread evenly. Sprinkle with flaky sea salt, if desired.Flaky sea salt for topping
- Chill: Refrigerate for 1-2 hours or until fully set. Start Timer
- Enjoy: Pop out and enjoy! Store in an airtight container in the refrigerator.
Notes
- Refrigerator: Store in the fridge for up to 1 week.
- Freezer: Freeze for up to 3 months.
- Peanut butter: Use creamy, drippy peanut butter for the best texture.
- Protein powder: Vanilla protein powder works best, but chocolate protein powder is delicious too.
- Liquid: If using a very absorbent protein powder, you may need an extra tablespoon or two of milk.
- Crunch: For extra crunch, increase the Rice Krispies to ¾ cup.
Nutrition Information
Nutritional information is provided as a courtesy and is automatically calculated. It should only be construed as an estimate rather than a guarantee. Ingredients can vary and Kroll’s Korner can’t make any guarantees to the accuracy of this information.
📸 Photos by Amanda Chasten Photography

Easy to make and so good. I have been eating them throughout the week. This will be a weekly treat on repeat! Thank you
amazing!!! so glad 🙂 thanks Kayla!!
Hi Tawnie, Thanks for all your wonderful ideas and recipes. I made the Protein Peanut butter cups for my son-in-law to have at work. He does all the maintenance for our local police dept. Thanks, Margie
Thanks for making them, Margie! I hope your son in law loved them! 🥰